


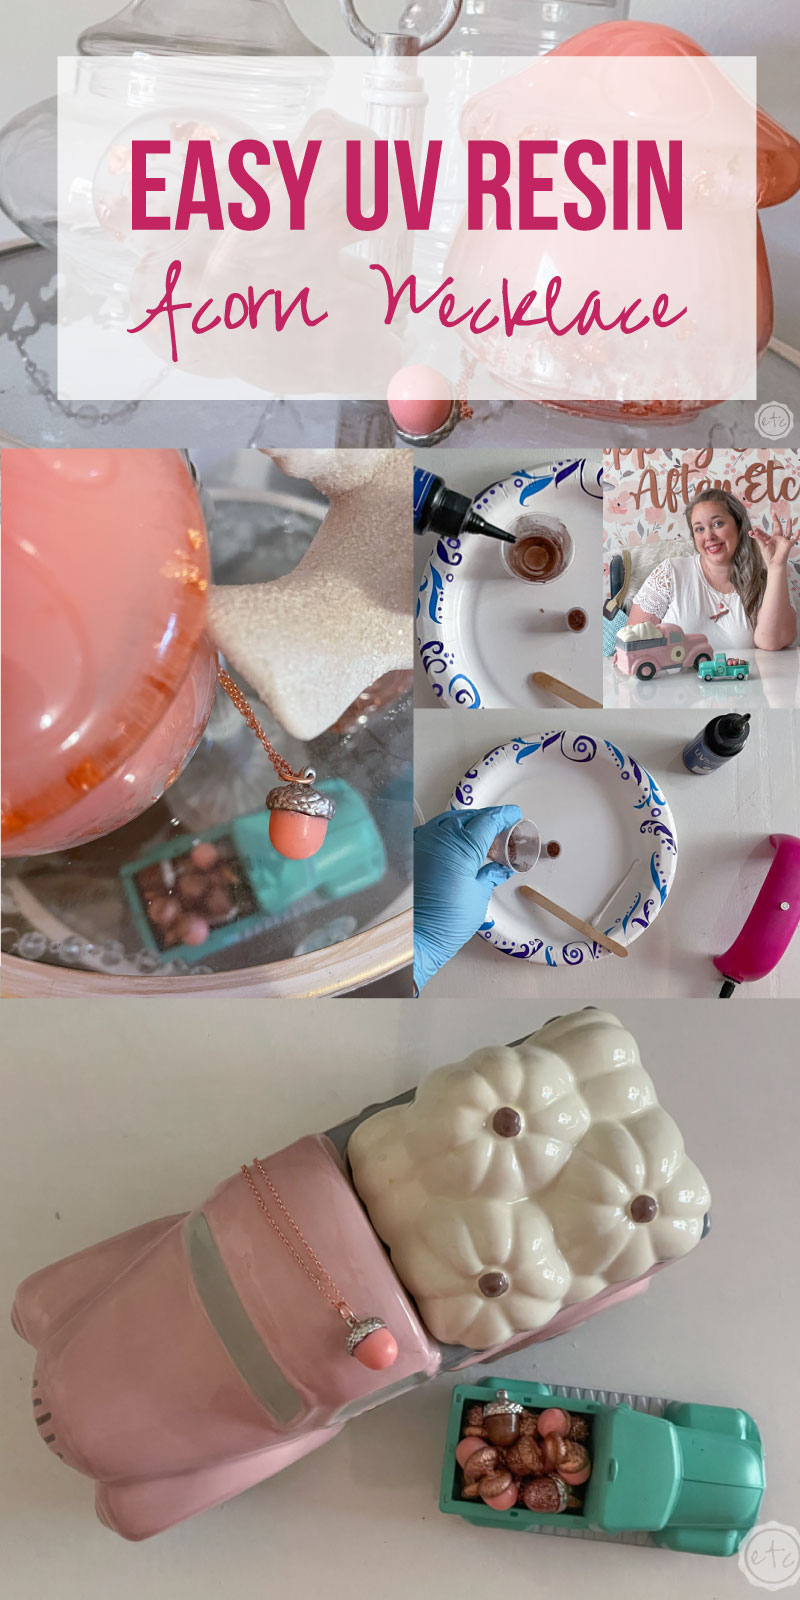
If you have been itching to give UV resin a try but aren’t sure where to start… this post is for you! I love resin (I’ve made a few dozen things this year alone) but I’ve never veered away from casting resin and into the world of UV resin… which is better for small scale, tiny, jewelry size pieces.
So when I found this itty, bitty, teeny, tiny, real life-size acorn mold I knew I’d have to take a step away from regular resin and into the world of UV resin. I mean technically I could use casting resin on such a small scale but waiting hours between acorns for the curing process isn’t ideal.
With UV resin we can instantly cure each acorn and move on in a minute or two. Now that’s more like it!
So let’s bust out the UV resin and get to work making a few fun resin acorns… then we can make a super cute acorn necklace or keep making acorns so we have a pile to use for home decor.
Whatever floats your boat!
Supplies:
- UV Resin and Light
- Acorn Silicone Mold
- Medicine Cups
- Copper Testers Brand Paint
- Fine Rose Gold Glitter
- Pink Craft Paint
- Respirator/Mask (resin graded filters)
- Gloves
- Wagner HT400 Heat Gun
- Freezer Paper
- Necklace Supplies: Chain, Jump Rings, Lobster Clasp
- Jewelry Pliers
Just getting started with resin? Download my free resin supply list and make your first project today!
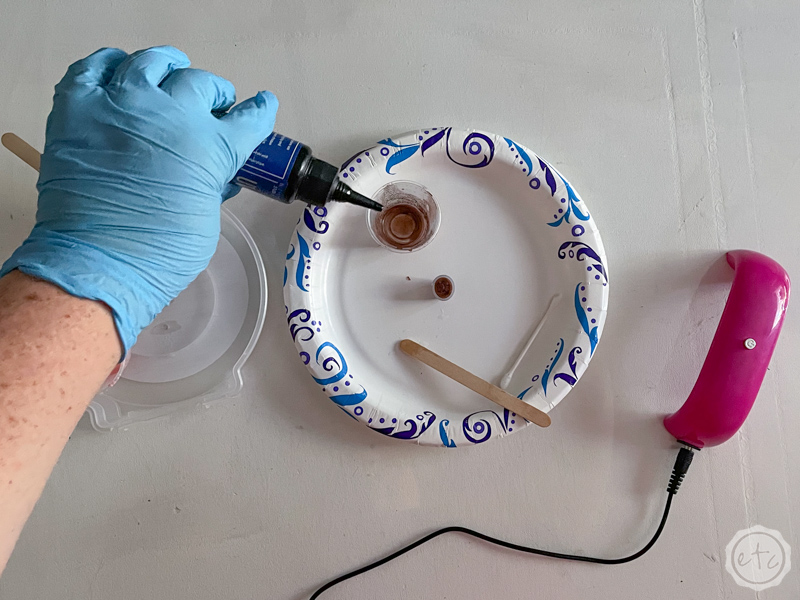
Step 1: Mix Your Resin
First we’re going to mix our resin! UV resin doesn’t need to be mixed for a certain amount of time… there’s no part a or part b. BUT if we want to color our resin we’ll need to mix in our colorant.
So if you’re looking for clear resin you can add it straight from the bottle to your piece.
Which is also fun if you want to add something to your piece: say a tiny acorn with a tiny flower inside.
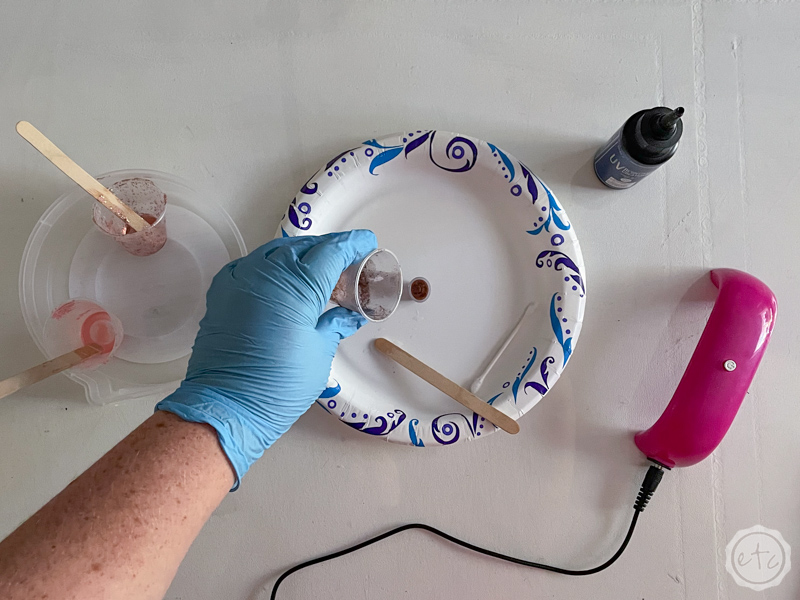
Since I want to want to make solid colored acorns (rose gold glitter, metallic copper and blush pink) I’m going to squeeze some resin (about 10 ml) into a medicine cup and then add my colorant.
You can do 3 measuring cups at a time but I just made one color acorn and then moved on to the next color since I wasn’t sure how much resin I’d need for 3-4 acorns. This way if I needed a bit more blush pink I’d just mix a bit more of that color.
Make sure you’re wearing your protective gear here (a respirator and gloves)… UV resin is still resin!
Once your resin is mixed up and looks consistent we’ll move on.
Step 2: Pour Your Resin
Now we’re ready to roll. Go ahead and pour your resin into your mold.
This little acorn is tiny but he is mighty! I was surprised by how deep it was the first time I filled it up… but compared to my large molds it’s still a drop in the bucket.
Go ahead and pour the entire acorn and then we’ll cure it. The mold isn’t too large to cure the entire acorn in one go especially since the clear sides allow the UV light to reach all entire acorn to cure the outside.
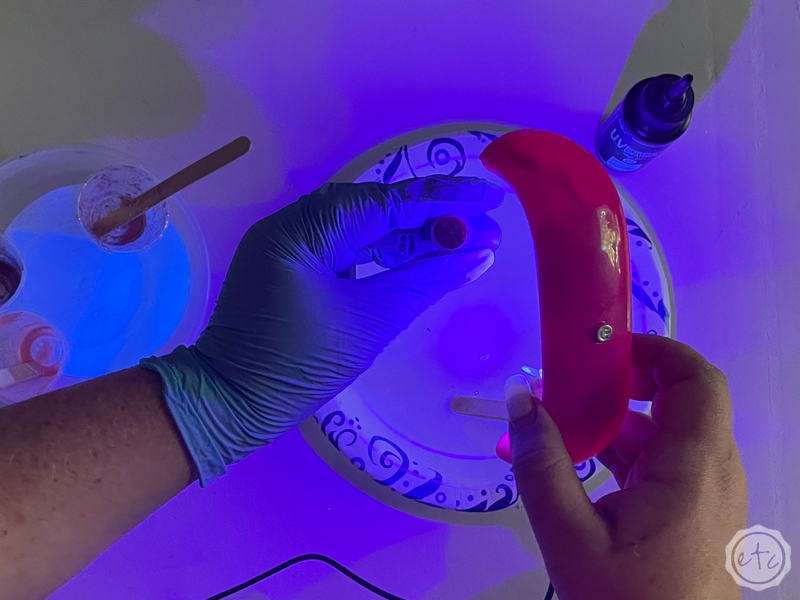
Step 3: Cure Your Resin
Alright… let’s cure that baby! Go ahead and place your UV light over your acorn and hit the go button. My light goes for about 30 seconds but if your light doesn’t have a timer you’ll want to cure your piece for 10-30 seconds depending on the piece.
Just remember that your UV light will cure ALL UV resin… so move your little measuring cup of resin out of the way so we don’t cure our second and third acorns worth of resin before we can even use it!
Once your 30 seconds is up you can carefully remove your acorn from the mold… and then I like to turn it over and place it back under the uv light for another 30 seconds.
I find that the little acorn is deep enough that the underside benefits from a separate curing to cut down on that sticky tacky feeling. Once it’s been cured a second time you’re good to go!
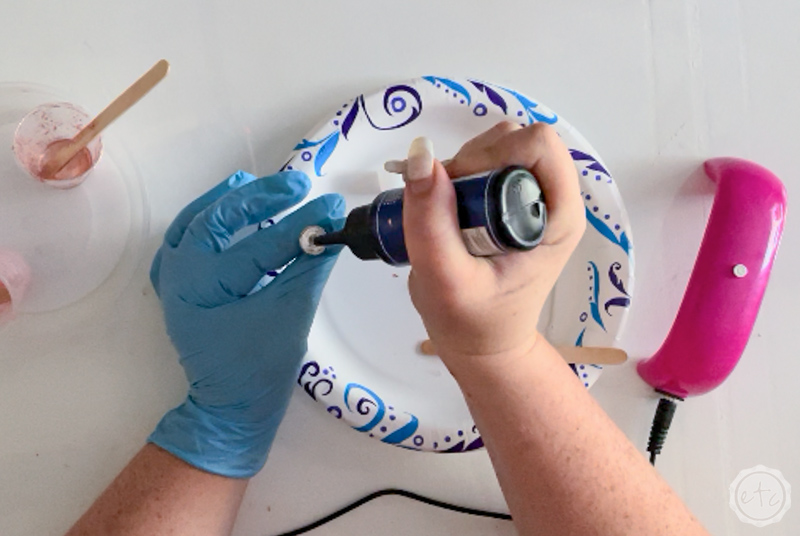
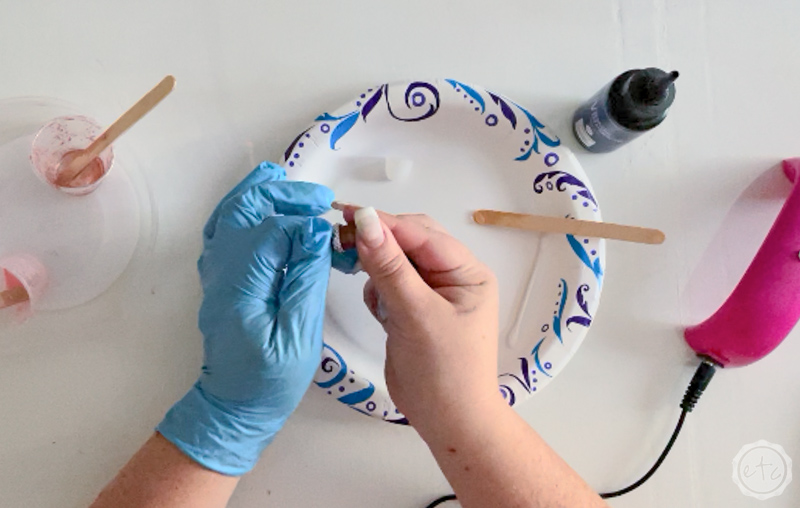
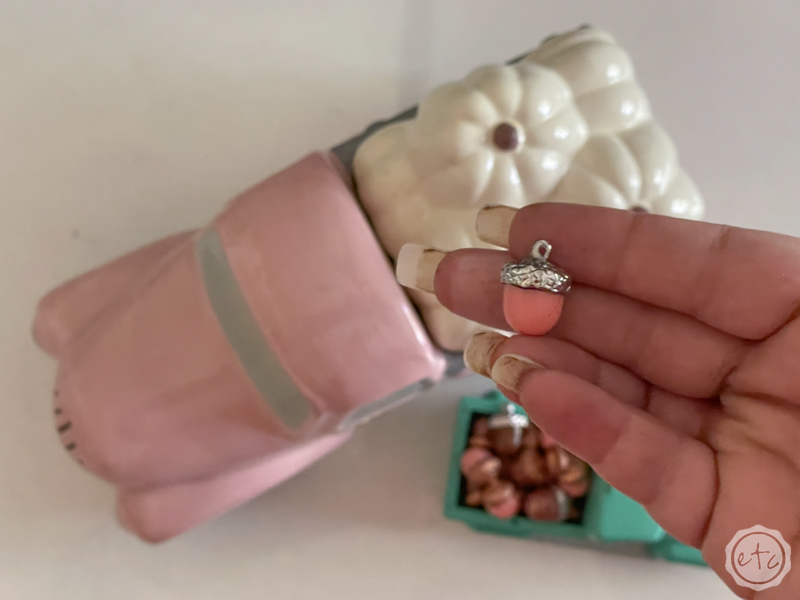
Step 4: Add Acorn Top
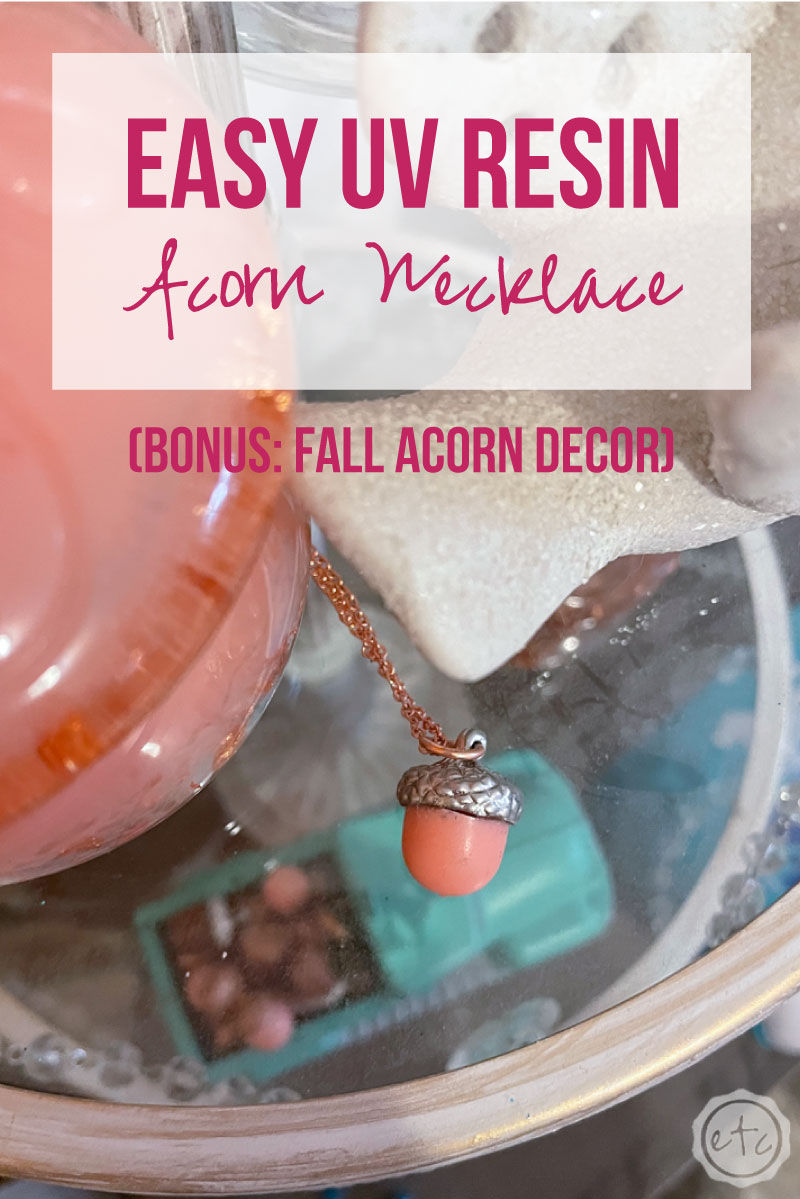
Ready for the best part? Adding a cute little hat to that acorn! I wanted quite a few acorns to fill my little teal truck so I painted a few natural, real life, from my yard acorn tops to coordinate with the silver ones that came with my mold.
The silver ones that came with my silicone mold however came with a spot for a necklace chain… so that’s awesome!
Either way we’re going to add our acorn top the same way… fill the inside of the acorn top with resin and then add your acorn. Now hold the two pieces together and hit them with the UV light.
30 seconds later and you can add your chain… volia instant necklace.
Step 4: ENJOY
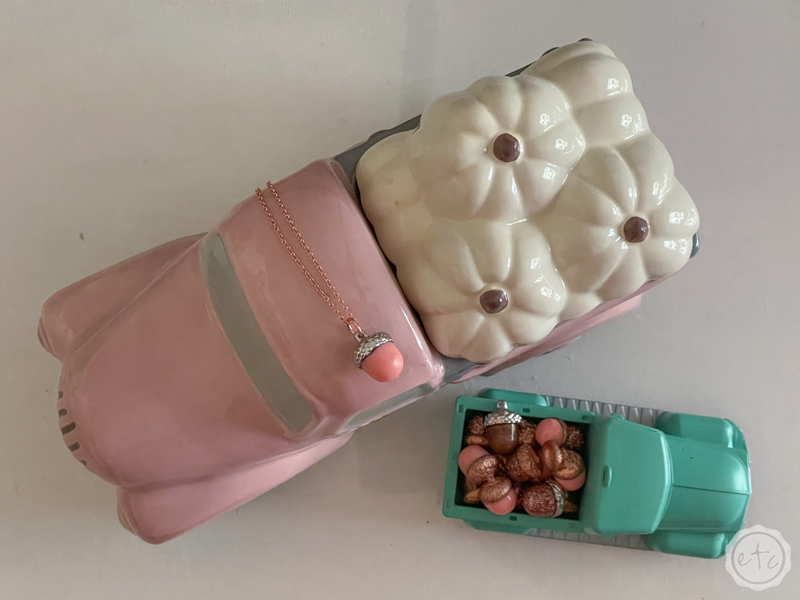
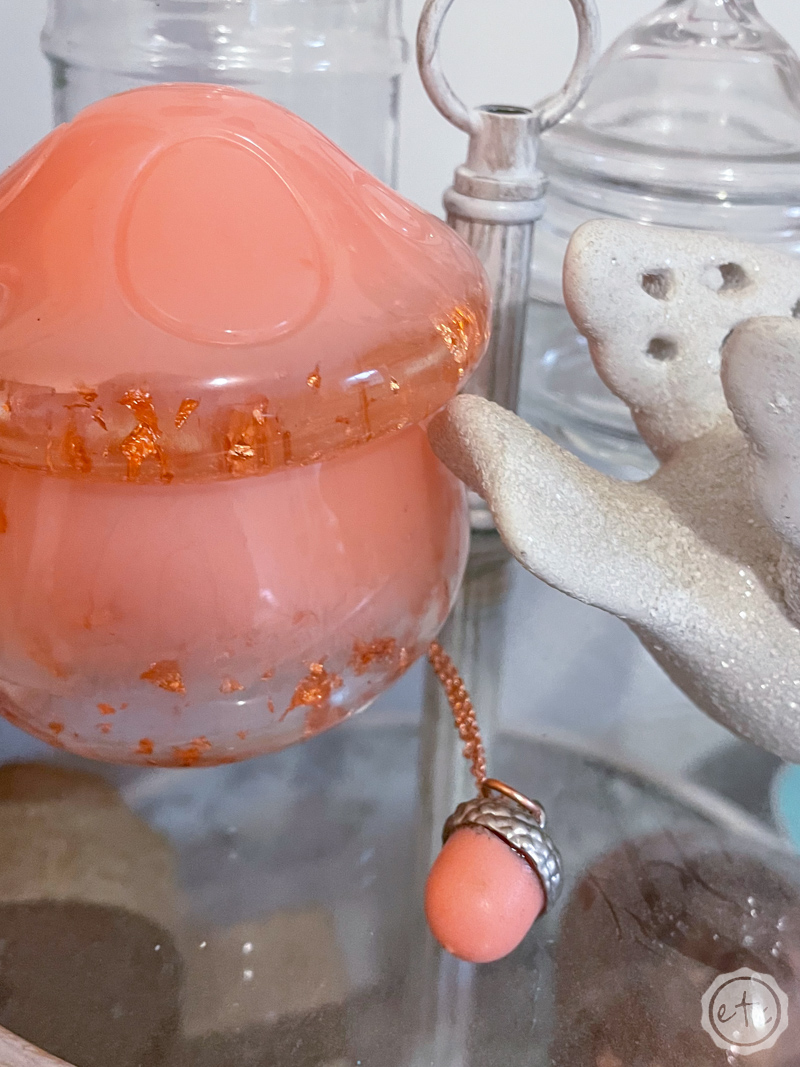
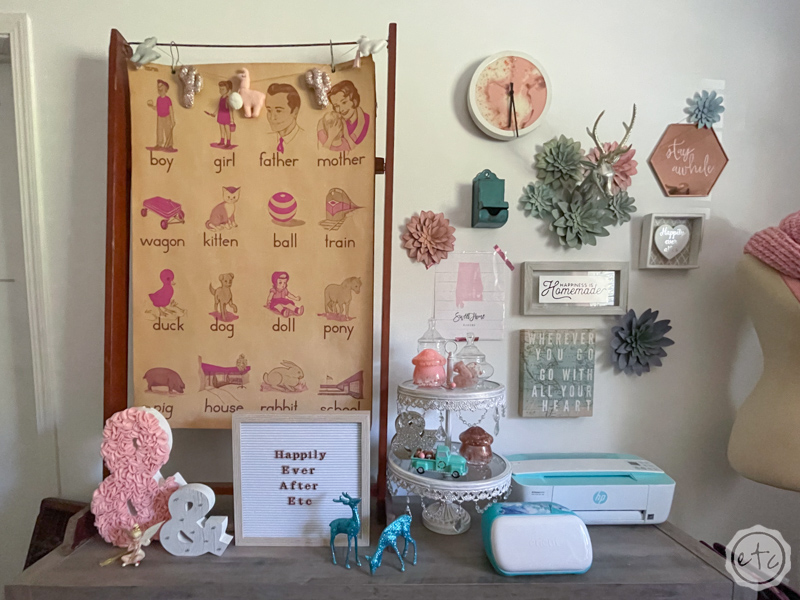
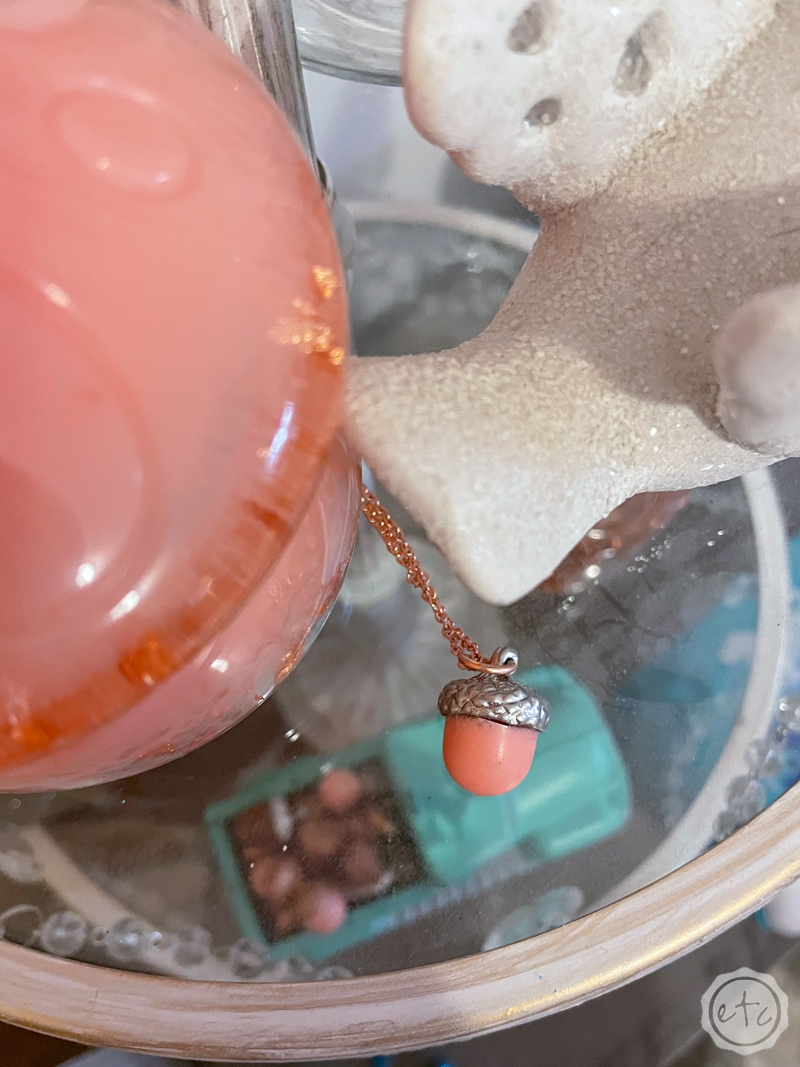
They turned out SOOOOO cute! I am literally obsessed! I have been wearing my new acorn necklace everyday… and I’ve already busted out the UV resin for a few new projects.
A fun little branch necklace to layer with my acorn necklace and a sweet little reindeer for an upcoming Christmas sign.
I love it!
Ready for a few close up’s?


Looking for more resin projects? I’ve got you covered!


Leave a Reply