


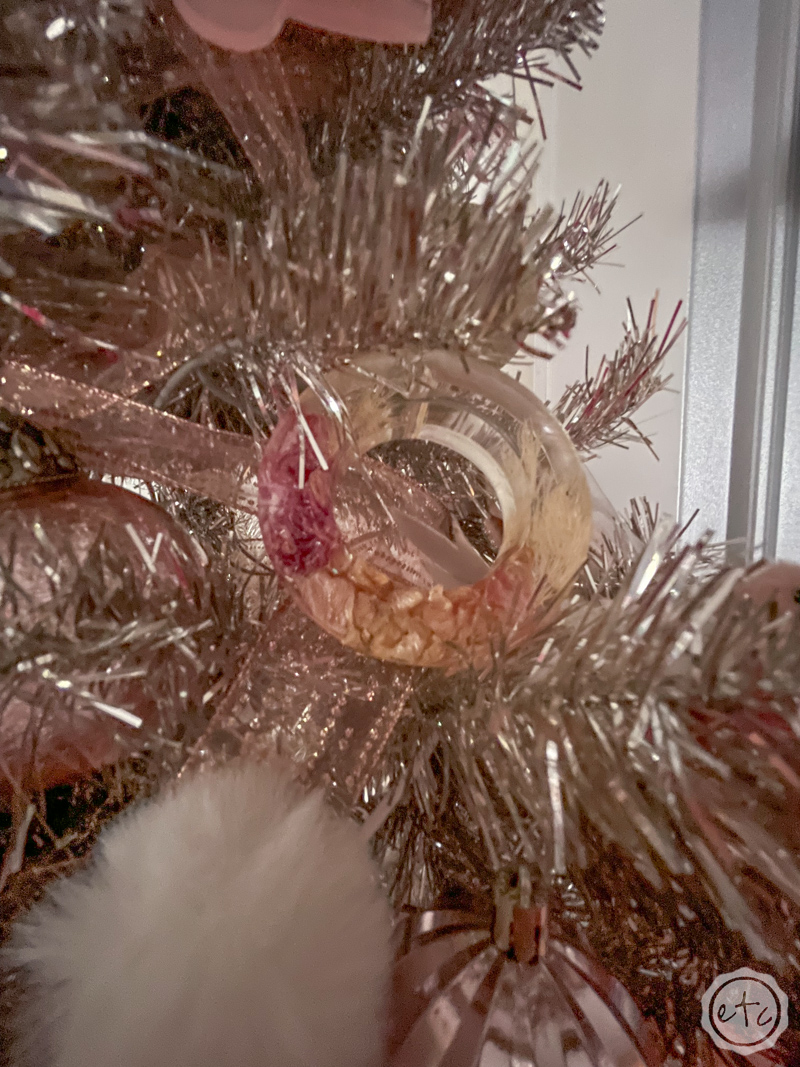
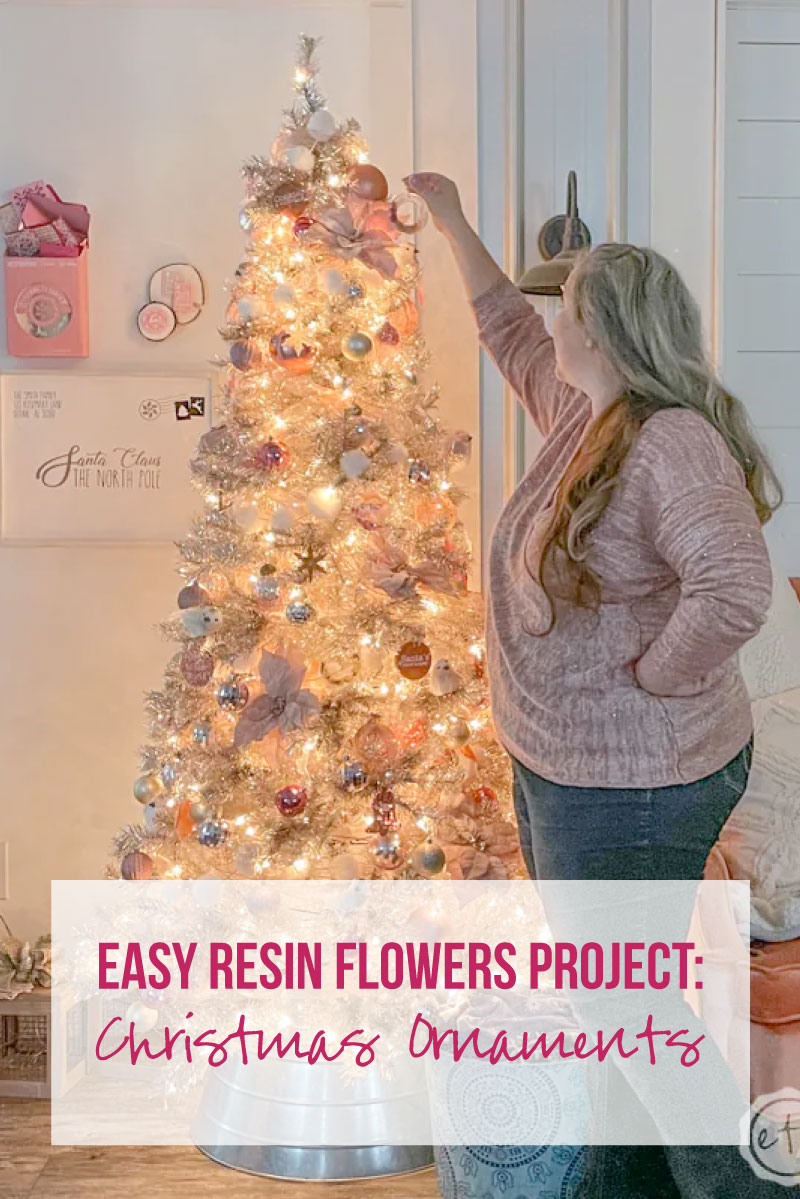
I love love love love LOVE making Christmas ornaments out of resin. I literally decorated an entire rose gold Christmas tree with different resin ornaments this year! The best part about resin Christmas ornaments is that when the light hits it just right it glows so today I’m grabbing a few dried flowers from my garden and adding them to pretty resin ornaments.
I love that this will preserve the flowers from my garden and give me another pretty ornament for my tree. I’m thinking I might do this with a few of my favorite flowers every year… how fun would that be?
It’s also a great idea for preserving flowers with special meaning like wedding flowers or from a special bouquet.
Either way the process is the same so let’s jump right into it!
Supplies:
- Total Boat Maker’s Epoxy Resin
- Silicone Ornament Mold
- Flowers (Here’s a set I love if you need filler flowers)
- Respirator/Mask (resin graded filters)
- Gloves
- Wagner HT400 Heat Gun
- Freezer Paper
- Silicone Mat
- Baking Pan
- Heart Shaped Silicone Mixing Cup
- Small Mixing Cups
- Silicone Measuring Cup/Larger Mixing Cups
- Reusable Silicone Stir Sticks
- Toothpicks
- Paper Towels
Just getting started with resin? Download my free resin supply list and make your first project today!
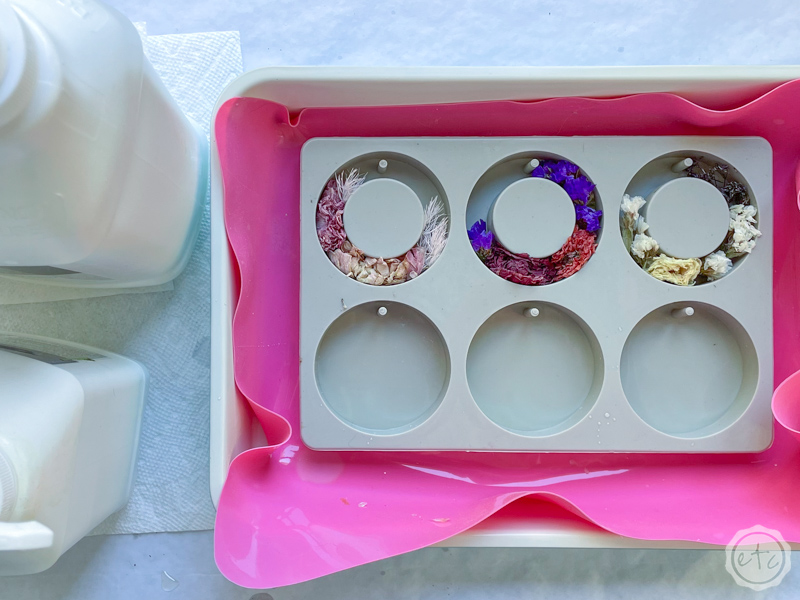
Step 1: Arrange your Flowers
Okay… so before we put on our gloves and crack open the resin let’s get started with our flowers.
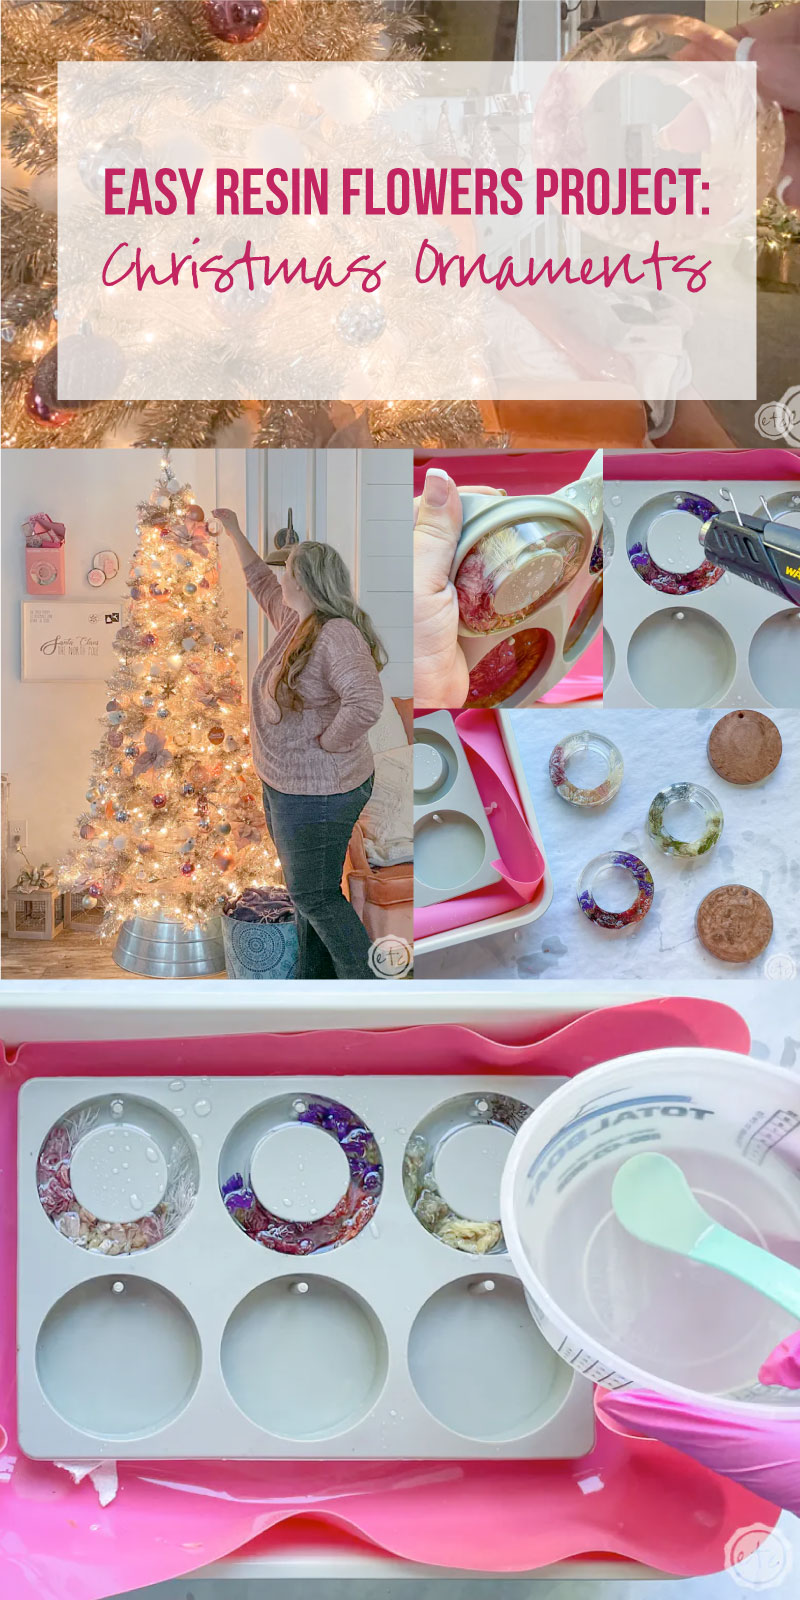
We don’t want to be messing around with tiny flower arrangements while we’re on the clock for resin curing after all! Instead grab your ornament mold (I picked this one with nice deep wells and decided to do the top 3 circle ornaments so they’d be interesting) and start to place your flowers.
You’ll need to decide if your piece is going to have a front or if both sides should be “pretty”… which can be a little hard since some flowers have a very obvious front and not so great back. I decided to place my flowers in the mold face-up so I could see how they looked and make sure I liked the arrangement.
The only problem with this is that the “face” of the ornament is technically the bottom of the mold… that will give you a shiny, glossy, smooth side of your ornament.
You’ll have to decide the front based on personal preference… and if you’re not sure how to arrange everything just stick to things like babies breath or sprigs of lowers that look good on both sides. Two fronts!
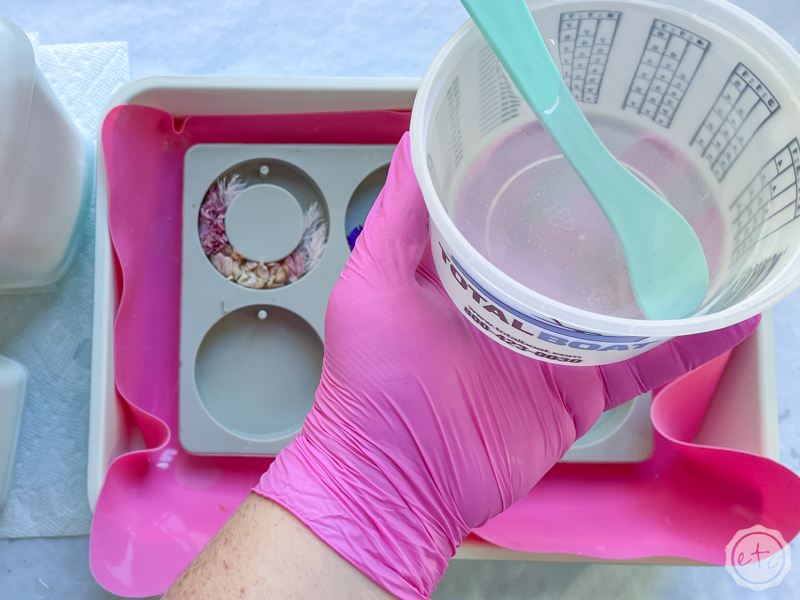
Step 2: Mix Your Resin
Okay… now that we have our flowers set up let’s mix some resin. Go ahead and put on your gloves and respirator so you’re safe. I also like to place my mold in a baking pan with a silicone mat so that I can move it inside to cure once I’m done pouring outside.
Perfect!
We’ll need a minimum of 50ml per ornament so I mixed about 200ml to make sure I had enough resin to fully fill each mold and cover any flowers that were sticking up out f the mold. We’re using Makerpoxy which is a 1:1 ratio so we’ll need 100ml of part A and 100ml of part B!
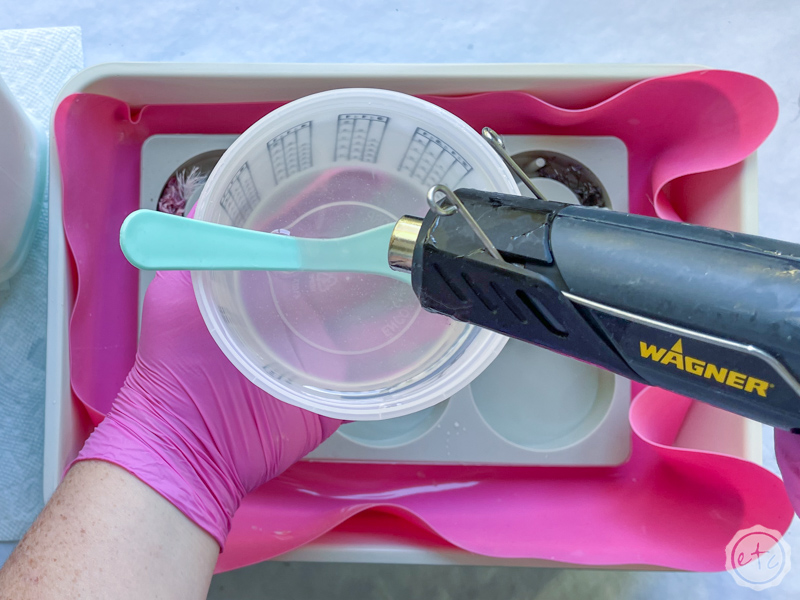
Go ahead and add these to your mixing cup and slowly mix for 3 minutes until your resin runs clear. Then pop any bubbles that have risen to the top (with your heat gun) and we’re good to go!

Bonus Tip: If you’ve never mixed resin before it’s not nearly as intimidating as you’d think! I’ll walk you through all the steps here in my How to Mix Resin for Beginners Tutorial.
Step 3: Pour your Resin into your Silicone Mold
Flowers (check!), Resin (check!)… looks like it’s time to add these guys together! Go ahead and start to pour your resin into the molds.
We want to make sure that each flower petal is coated and that any air bubbles are minimized. Especially because flower petals really like to trap bubbles… their layers of petals make great places for air pockets to hide! To minimize this pour your resin from as high a distance as you feel comfortable in a thin stream.
Carefully drizzle that thin stream allllll along the petals of the flowers letting it pool in the mold by itself until the entire mold is full. At this point you can use your heat gun to carefully pop any bubbles that have risen to the surface.
Just be careful with your heat gun as it can burn the petals of your flowers… keep it constantly moving and you should be fine.
Once all 3 mold are full and all the bubbles are popped go ahead and and set your little mold aside for a full 24 hours to cure!


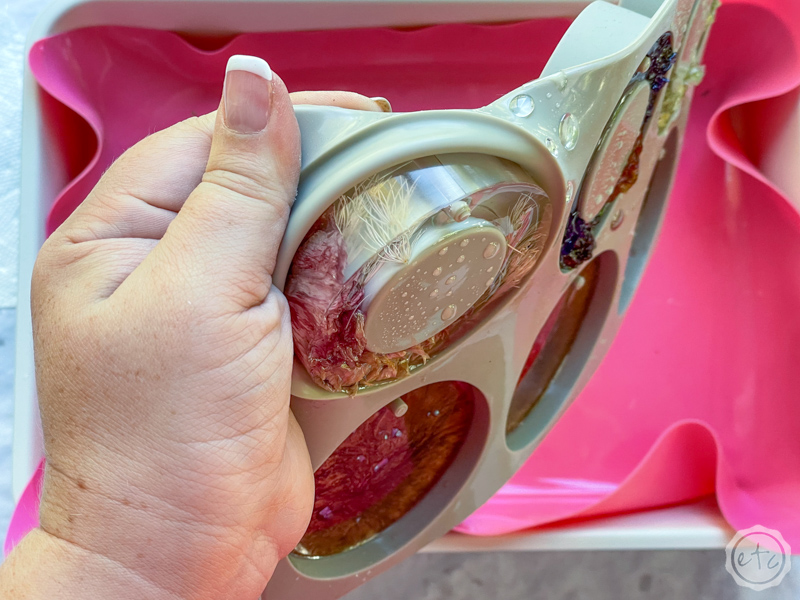
Step 3: Un-Mold your Piece
Ready for the BEST part?
Un-molding!
These little guys are so quick and easy to un-mold it doesn’t even feel fair to write instructions… just pull the mold away from the resin alllll the way around the ornament until it pops out!
Be careful of the little spot where the ornament hook will go and you’re good to go! 3 adorable resin flower ornaments!
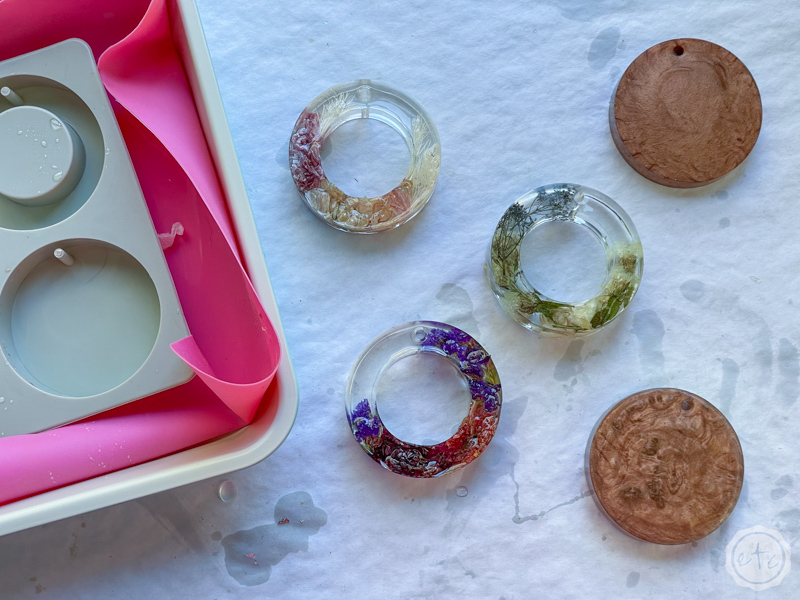
You can see the difference in the two sides down below… the middle green and blue ornament is turned over so the smooth side is face up while the 3-d flowers coming out of the resin sides are face-up for the other two.
Both are pretty in their own way so pick whichever you like. You could also sand the bumpy side down so it’s smooth but you would loose a bit of flower texture doing that… so it’s all personal preference!

Step 4: Enjoy!
Now we’re done!
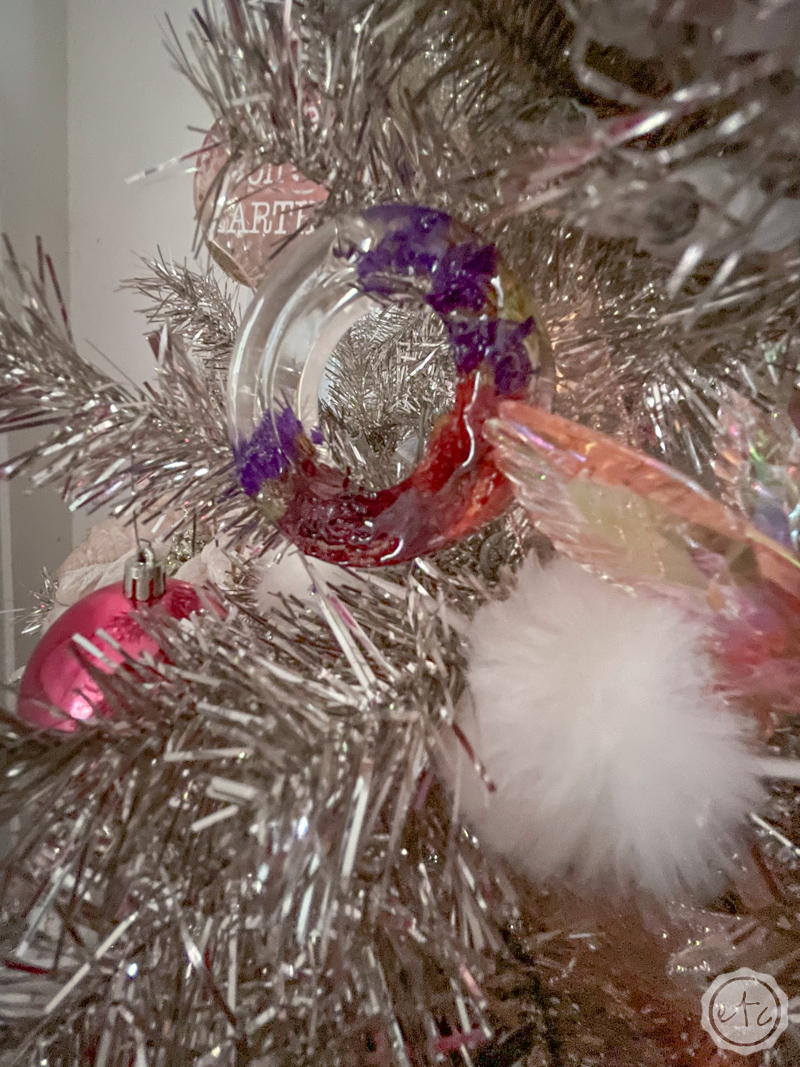
You could easily cut a bit of vinyl with your Cricut machine for the smooth side to write out the year and the occasion but I just added mine directly to my tree.
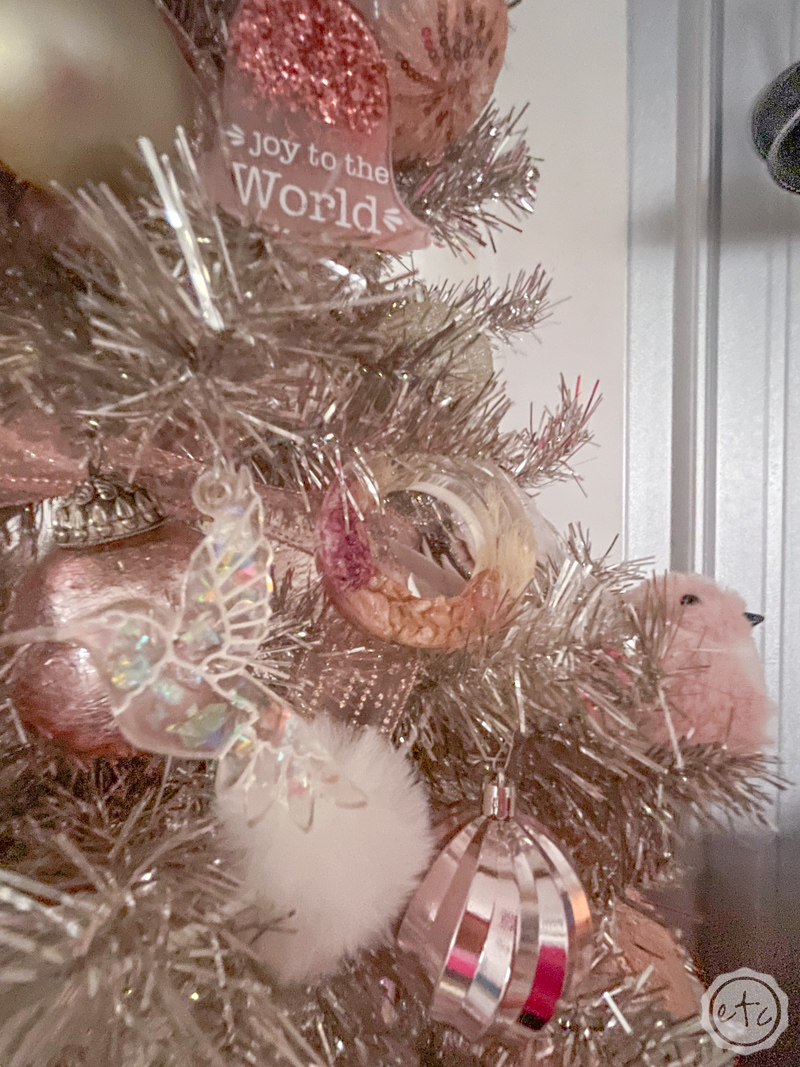
They’re so pretty with the lights behind them!
I think these are my second favorite resin ornaments behind the resin background ornaments I made with these acrylic blanks.
Check out all the pretty details!


Looking for more resin projects? I’ve got you covered!


Leave a Reply