


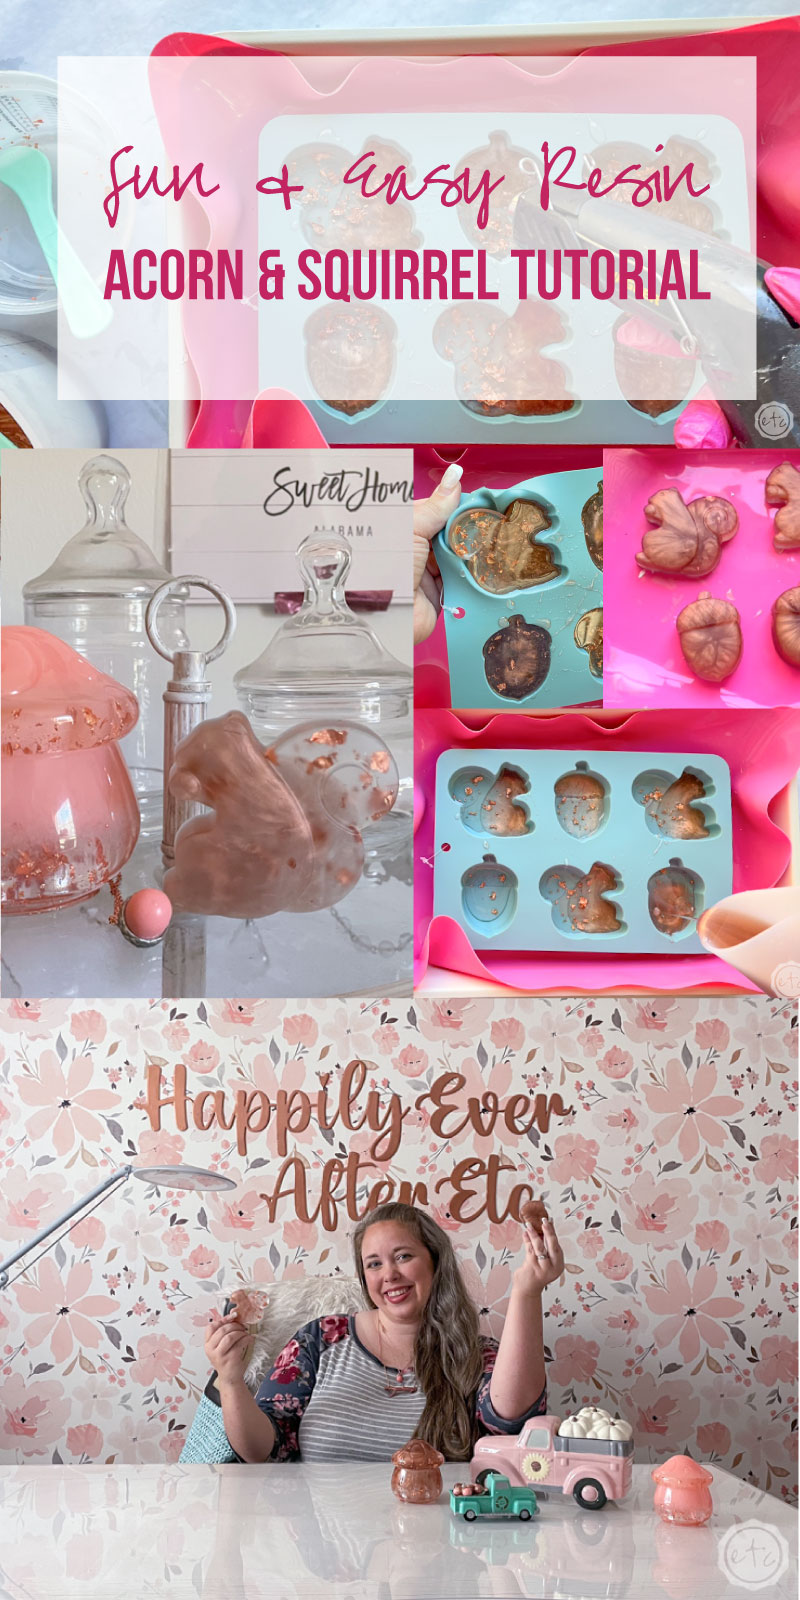
Ready for a fun beginner level resin project for fall? A few weeks ago I made an adorable acorn necklace out of uv resin and ever since I’ve been itching to make a larger resin acorn. They’re just soooo cute and the copper resin is the perfect acorn color!
So I whipped out this larger silicone mold and thought “why make resin acorns when you can make resin squirrels and acorns.” I know… rocket science. We’re braining on a level most people don’t understand.
But in all seriousness these little guys are adorable decor and super easy to make.
Let’s get started.
Supplies:
- Total Boat Maker’s Epoxy Resin
- Acorn and Squirrel Silicone Mold
- Copper Testers Brand Paint
- Rose Gold Foil Flakes
- Respirator/Mask (resin graded filters)
- Gloves
- Wagner HT400 Heat Gun
- Freezer Paper
- Silicone Mat
- Baking Pan
- Heart Shaped Silicone Mixing Cup
- Small Mixing Cups
- Silicone Measuring Cup/Larger Mixing Cups
- Reusable Silicone Stir Sticks
- Toothpicks
- Paper Towels
Just getting started with resin? Download my free resin supply list and make your first project today!

Step 1: Mix Your Resin
First things first… before we start mixing we need to prep our work station. That means freezer paper for our workbench, gloves for our hands and a respirator for our face! Seriously y’all… I know this is a small project but put a respirator on your face.
I work outside (since you need a well ventilated space for resin and this is my easiest solution!) so I grab a baking pan and silicone sheet to easily transport my piece once it’s cured. You do not want to carry a tiny bear mold full of liquid resin over your living room rug to find a place to cure…. a baking pan with edges is your friend here.
It can’t stay on the front porch to cure or things might get wonky (both temperature and dust wise… have you ever found a fly in your cured resin? I have!)
Once you have on your safety gear and are in your well ventilated space we’ll start mixing!
This particular mold has 6 different spaces so you can make 1 acorn or 3… 3 squirrels and 3 acorns or 1 of each. Either way I find that 50 ml of resin fills 1 space (acorn or squirrel) about half way. You’ll need 75 to 100 ml of resin to fill a single space alllll the way to the top. Of course, that would make a very chunky resin piece so I find that half way is a great depth.
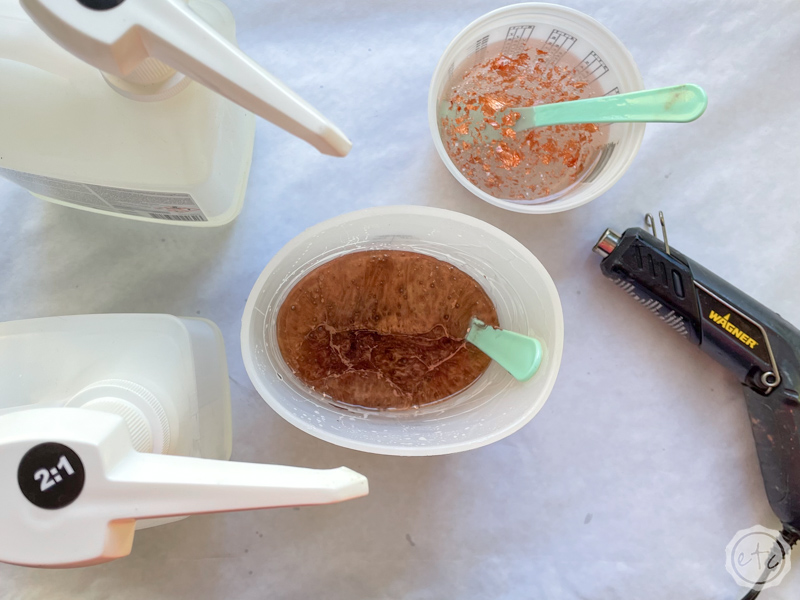
For 50ml of resin we need 25ml of part A and 25ml of part B… it’s a one to one ratio so make sure you have equal parts a to b and you’ll be fine. Now mix those together slowly and thoroughly for 3 minutes and we’ll be good to go.
Quick reminder… once you’ve mixed your resin for the initial 3 minutes you can add your colorant. You can do solid pieces but I decided to spice things up a bit and split my resin into two containers. I added a few drops (10% colorant to 90% resin) of copper paint to the first container and a few rose gold foil flakes to the second container. Then mix until each container looks consistent!
Perfect, darling!

Bonus Tip: If you’ve never mixed resin before it’s not nearly as intimidating as you’d think! I’ll walk you through all the steps here in my How to Mix Resin for Beginners Tutorial.

Step 2: Pour your Resin
Ready for the fun part?
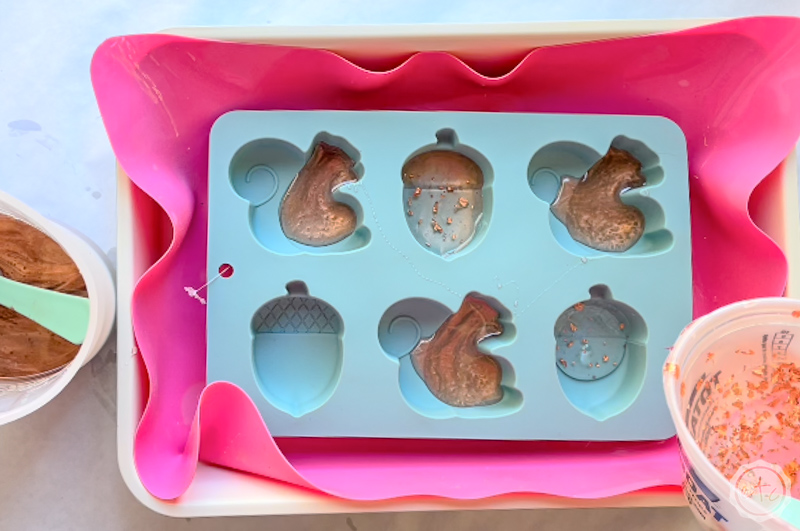
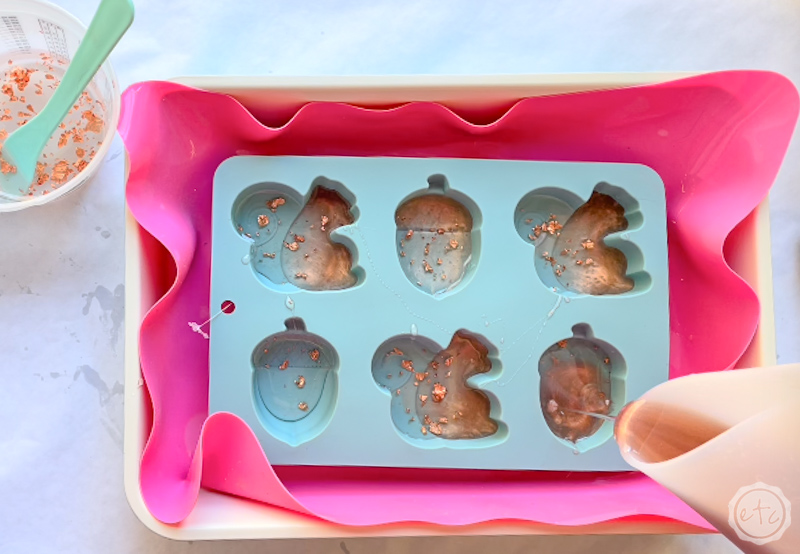
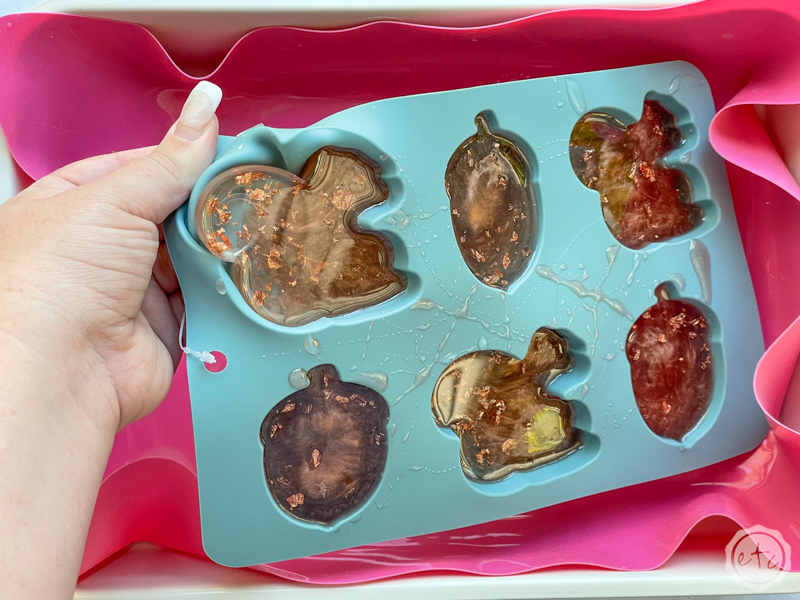
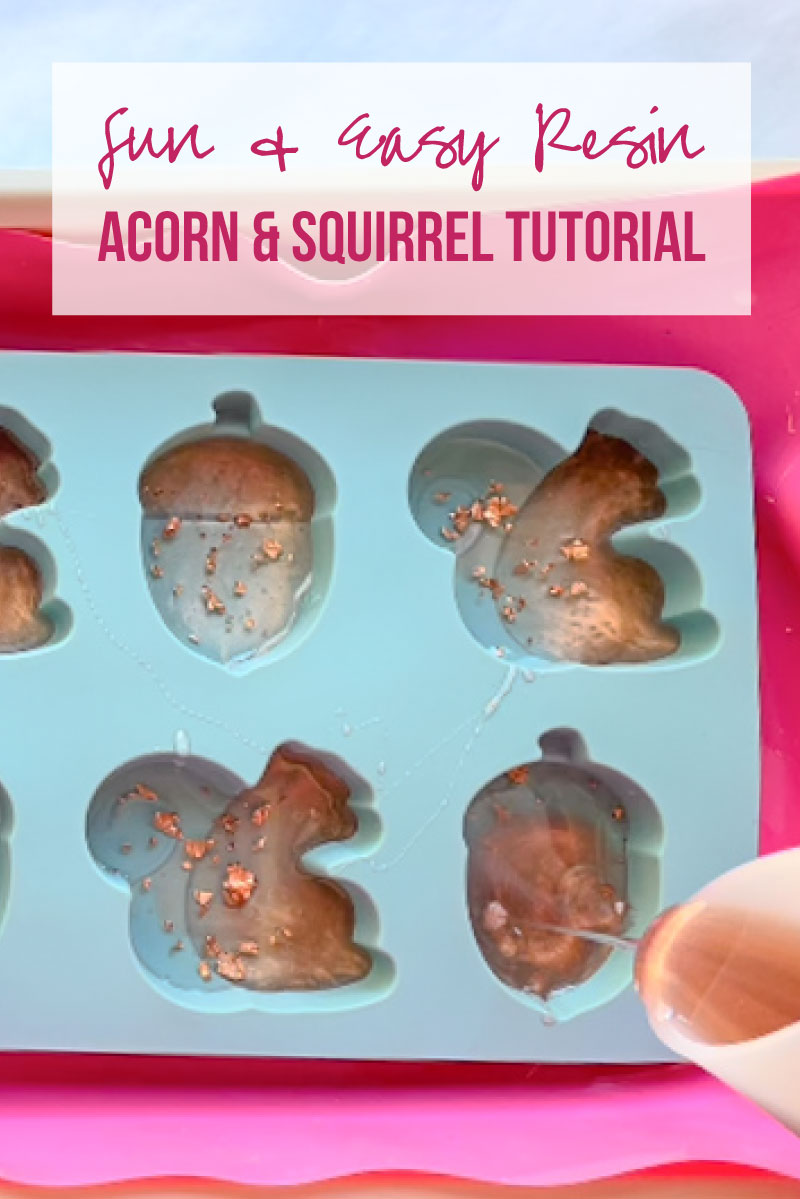
You can add your resin in whatever way you like… I tried a few different techniques but ended up liking a half and half kind of approach. Half copper for the front of the squirrel and half rose gold flakes for his tail! Half copper on the top of the acorn and half rose gold flakes on the bottom!
The colors will end up swirling together a bit (more if you pour 2 or 3 layers with alternating colors) but if you pour a clear line of half one color and half the other they will stay fairly separate! Of course, that’s just what worked for me… feel free to experiment with any combination you like!
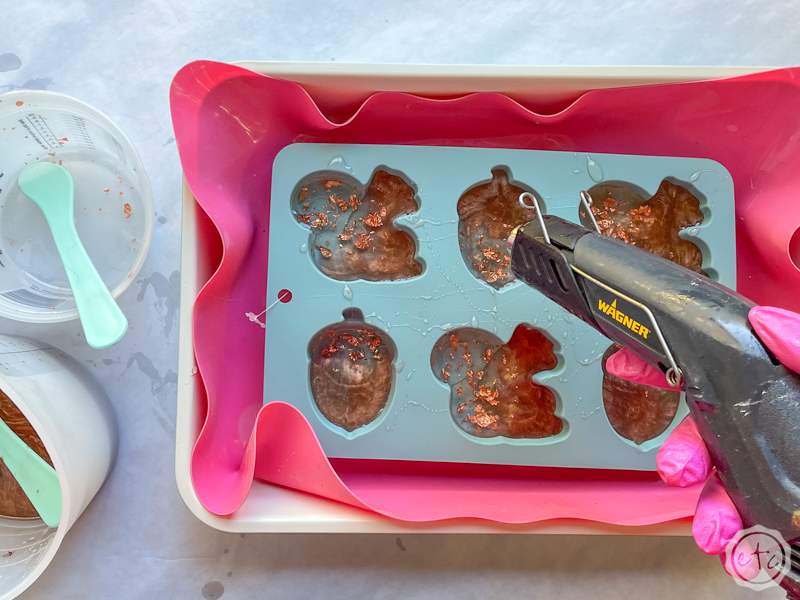
Once you’ve filled your molds make sure to pop any bubbles that rise to the surface with your heat gun (a torch will melt your silicone mold so make sure to use a heat gun here!) and then you’re golden! Place your mold in a clean dry place (with a something over it to block the dust) and wait 24 hours for it to cure.
Then we’ll pop these babies out and see how cute they are!
Step 3: Un-Mold your Resin Acorn
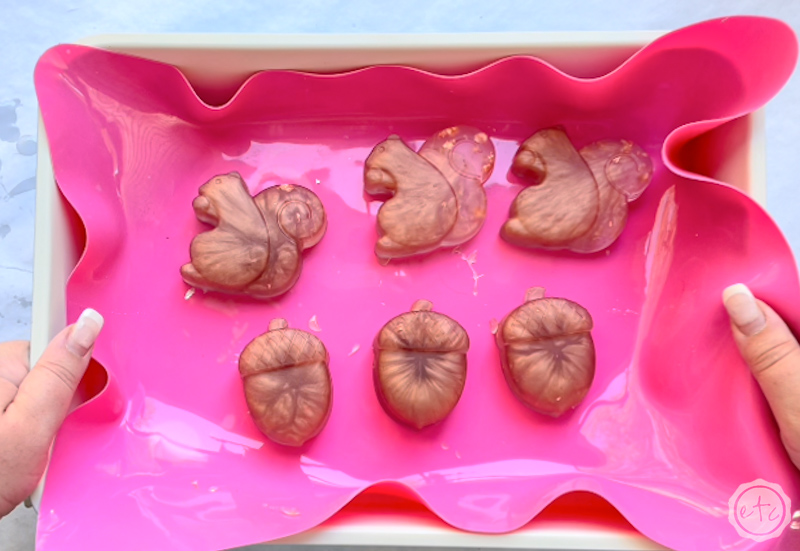
This is where the magic happens! Go ahead ans peel the silicone back to reveal your little resin friends (resin pieces? resin squirrels? what am I suppose to call these?). They turned out sooo cute!
I love how the oil based copper paint lends a movement to the resin… and the flakes on the squirrel tails are so cute!
You can see that I layered the 2 resins on the acorns and the flakes are hardly visible (although they are more visible in person) while the squirrel tail has a very distinct difference. I like both but keep that in mind when picking which method to go with!
Step 4: Enjoy!
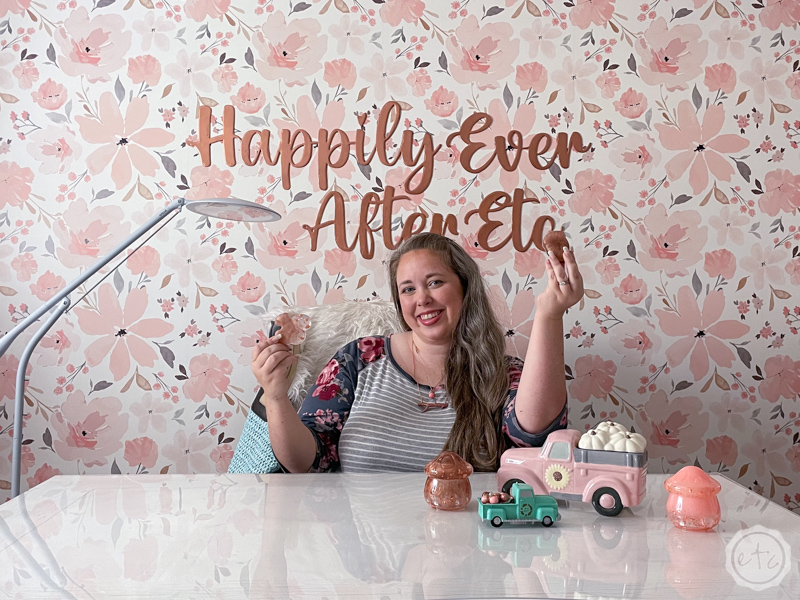
Once your pieces are done you’re good to go! Pop them on your fall table, add them to a shelf, use them as name tags… whatever floats your boat!
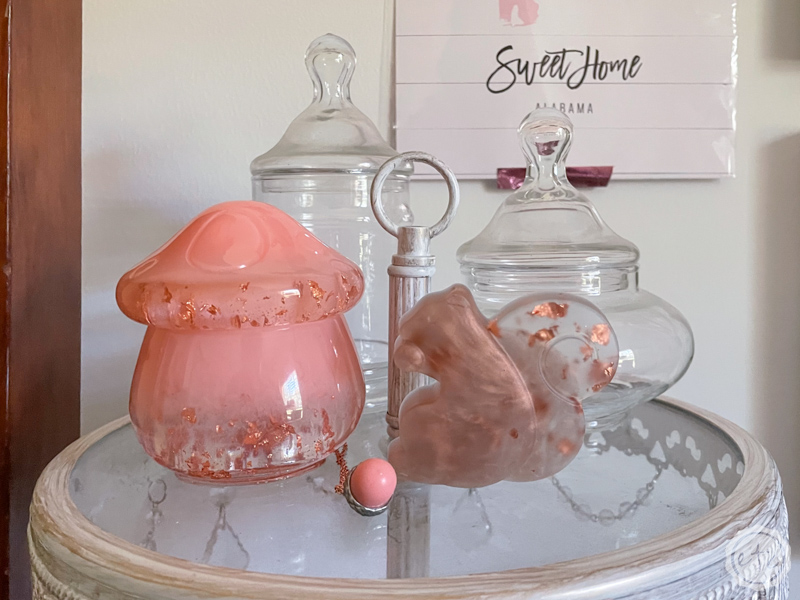
I think I’m going to use mine as fall decor. They just look so cute with the resin mushroom jars I made!


Looking for more resin projects? I’ve got you covered!


Leave a Reply