

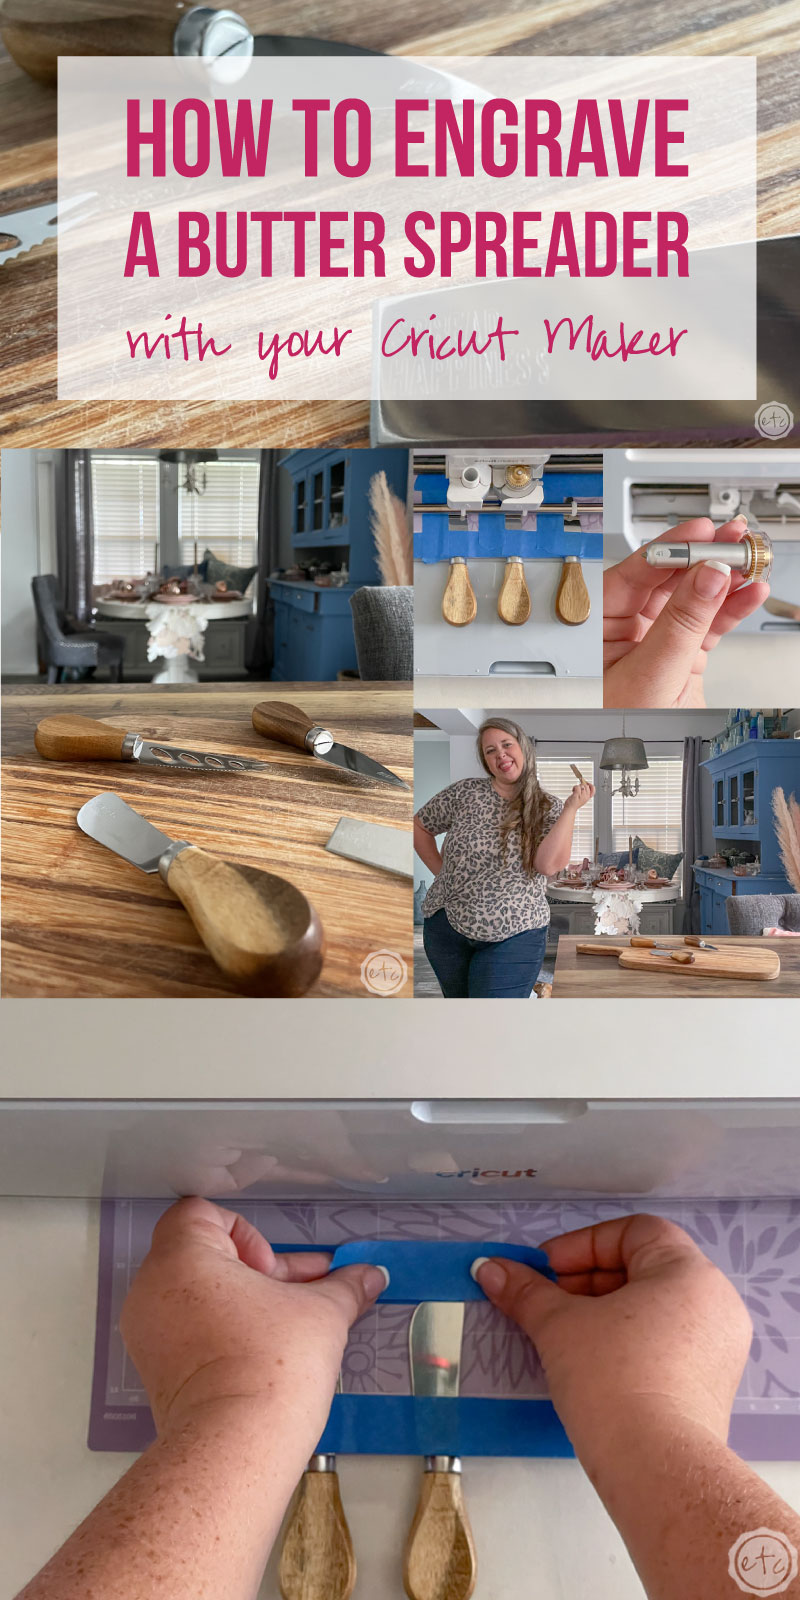
I have a fun and quirky tutorial for you today… engraving a set of butter spreaders with your Cricut Maker. Ever since Cricut’s engraving tool came out I have been in love with all things engraving… it’s just one more fun trick to add to your Cricut bag of tricks. Originally I engraved a metal sheet as part of a beautiful set of wedding invites but y’all I want to do more 3-dimensional pieces.
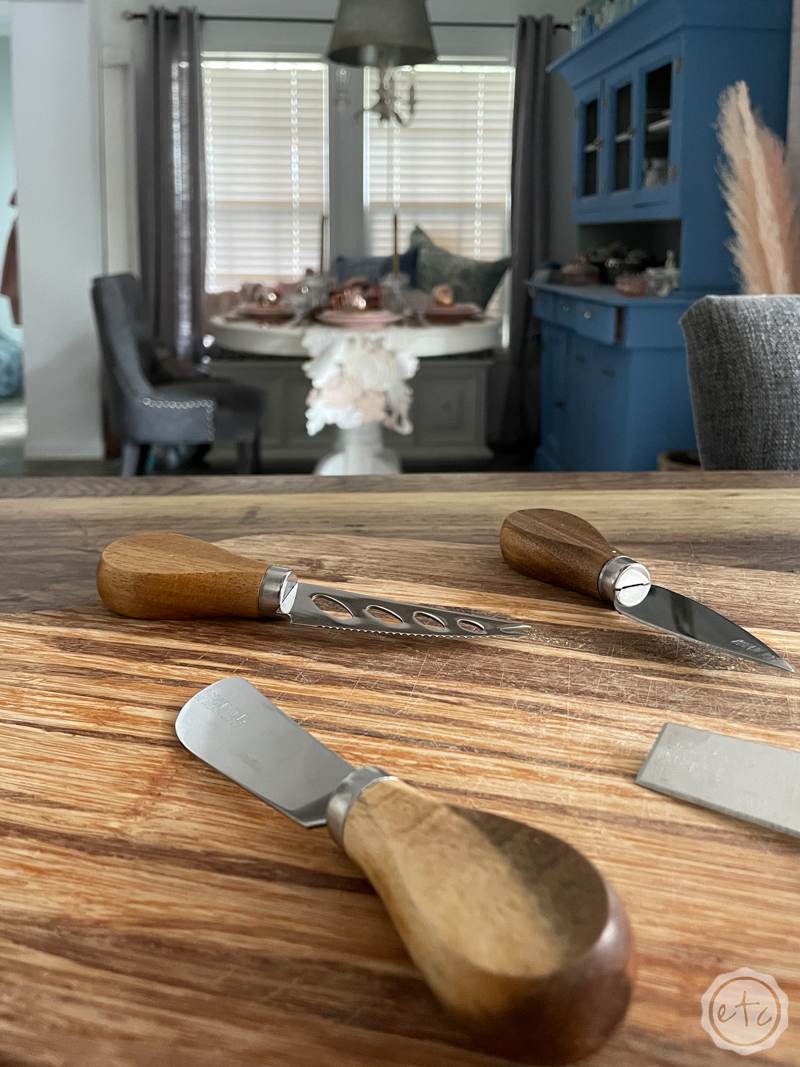
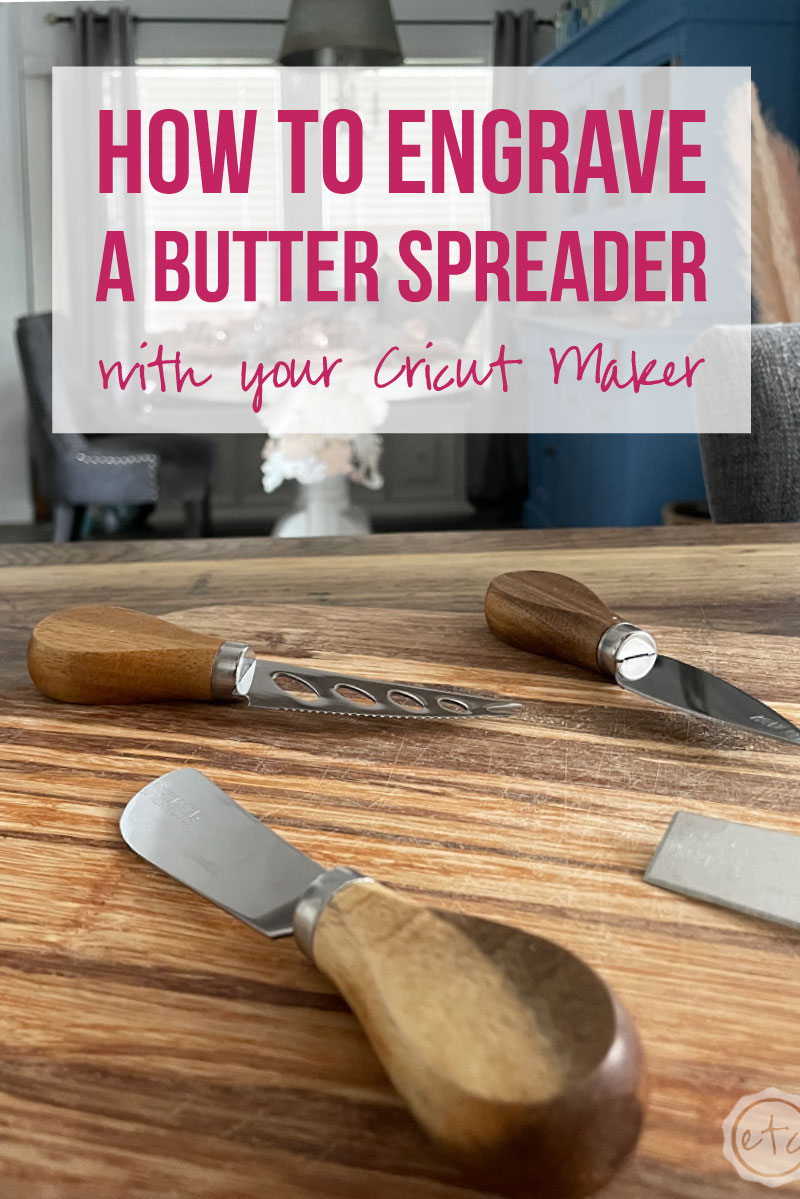
So when I saw Jen at Well Crafted Studio (the fabulous Queen of all things engraving) engrave these cheese spreaders an idea was formed… I loved her tutorial but I didn’t necessarily love the spreaders she used. They look pretty enough and the flatter handles definitely work better in your Cricut Maker but darn it I wanted pretty handles.
Which is at odds with the whole pretty handles won’t fit in my Cricut thing. So when I found a set at a discount store I figured… why not? Let’s give this whole engraving butter spreader thing a try!
Ready to get started?
Supplies:
- Cricut Maker 3
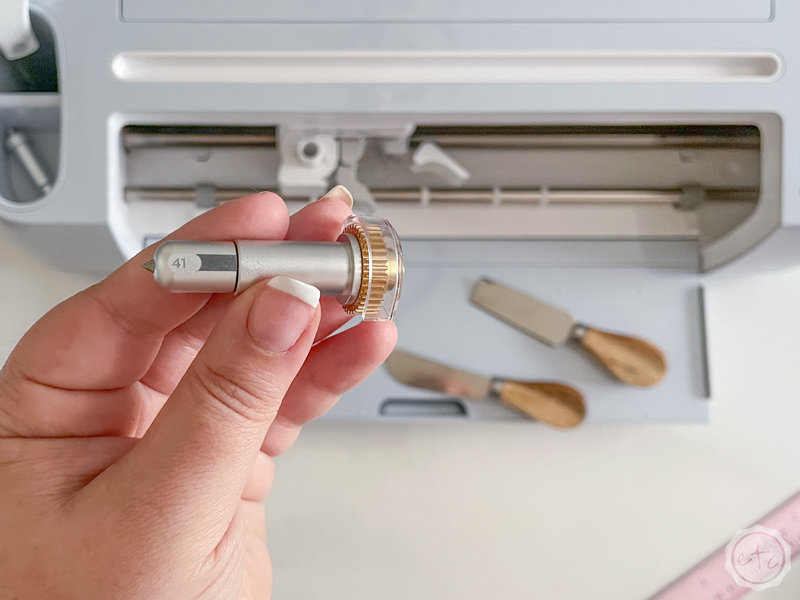
- Engraving Tip
- Strong Grip Mat
- Painters Tape
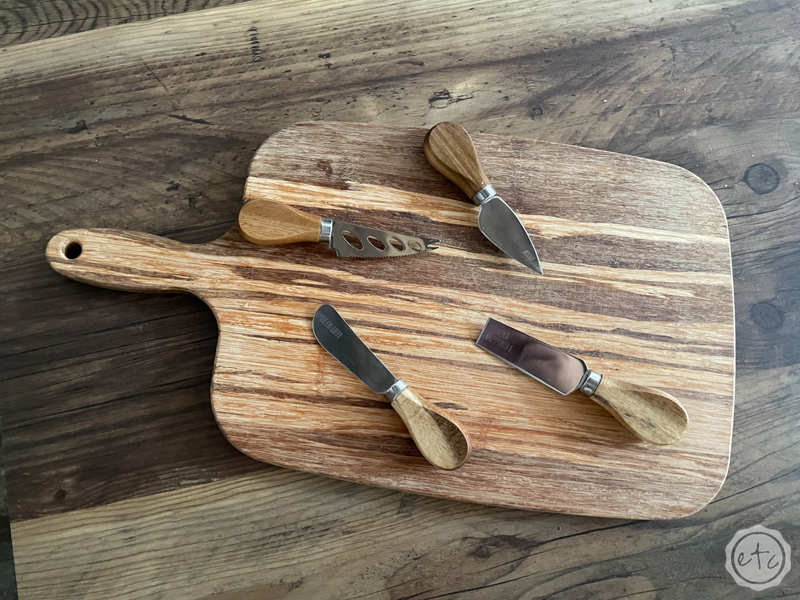
- Butter Spreader with Wooden Handles
- Flat Butter Spreader
- Ruler
- Spreader SVG’s (FREE at the bottom of this post)
Just a quick heads up… we’re working with the engraving tip here so you can only use machines that are compatible with the quick adaptive system. At this moment in time that is the Cricut Maker or the Cricut Maker 3.
VIDEO: How to Engrave Butter Spreaders with your Cricut Maker 3
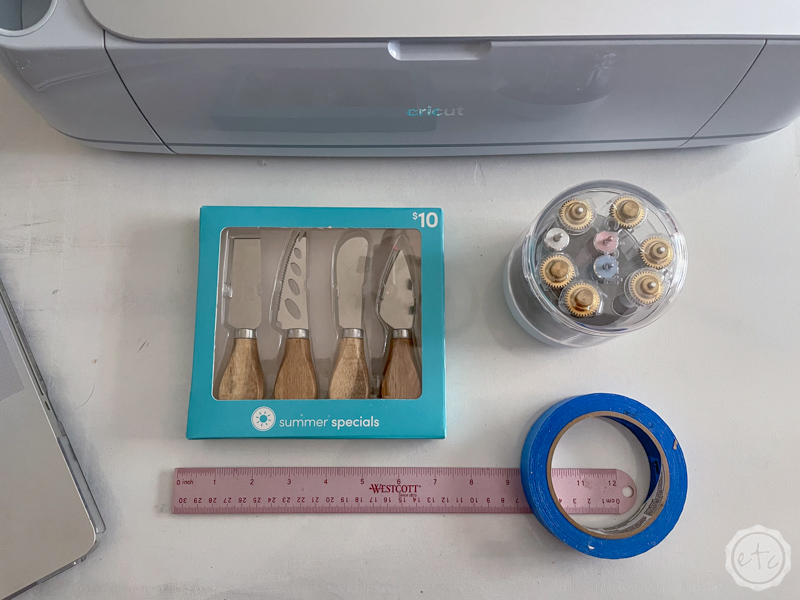
Step 1: Pick your Butter Spreaders
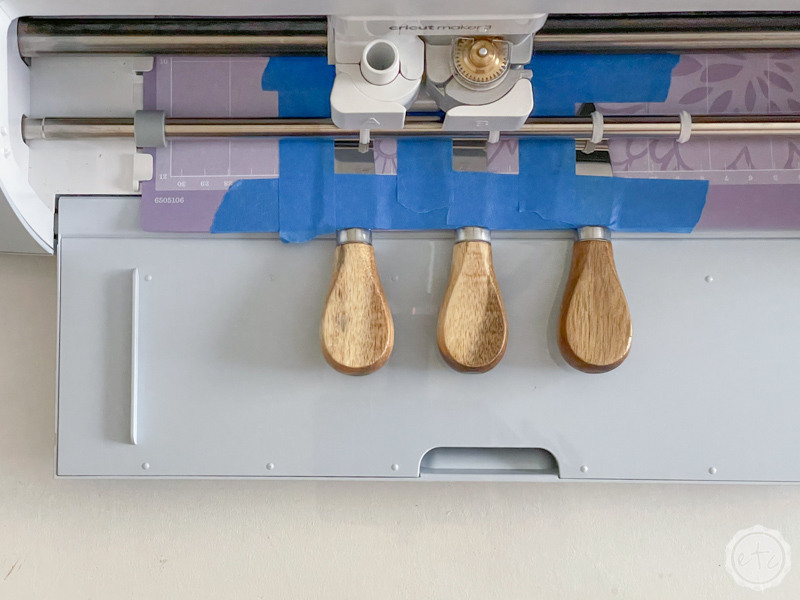
So in order to engrave items like these butter spreaders we’re working with the knowledge that your Cricut Maker does not draw the cutting mat allllllll the way through the machine when it works… just far enough. So you can add things like butter spreaders to the bottom of the cutting mat and engrave them as long as their handles are technically off the cutting mat.
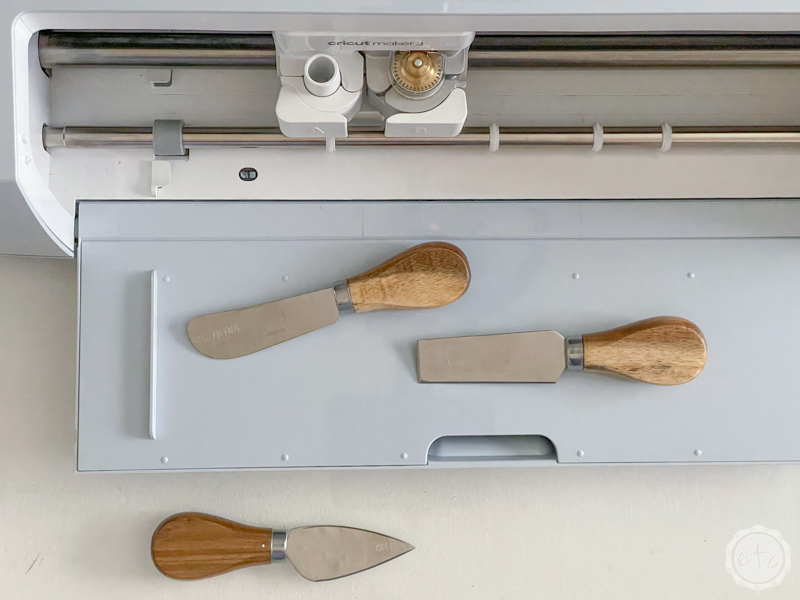
This works but it gives us very little surface area to actually engrave on our butter spreaders. That was an ok trade off for me as I wanted those cute handles but a flatter, longer butter spreader will give you more room to work with.
The cute spreaders with the wooden handle can only be engraved in the very last inch of the blade… whereas the longer spreaders can reach further onto the mat and therefore be engraved further along the blade.
Keep that in mind when you’re deciding which set of spreaders to buy.
We’ll go over the exact dimensions as we setup our project below (and the free svg’s are already the proper size) but I just wanted to give you a heads up that if you follow this exact tutorial your engraving won’t be centered along your butter spreaders.
They’ll be super cute though!

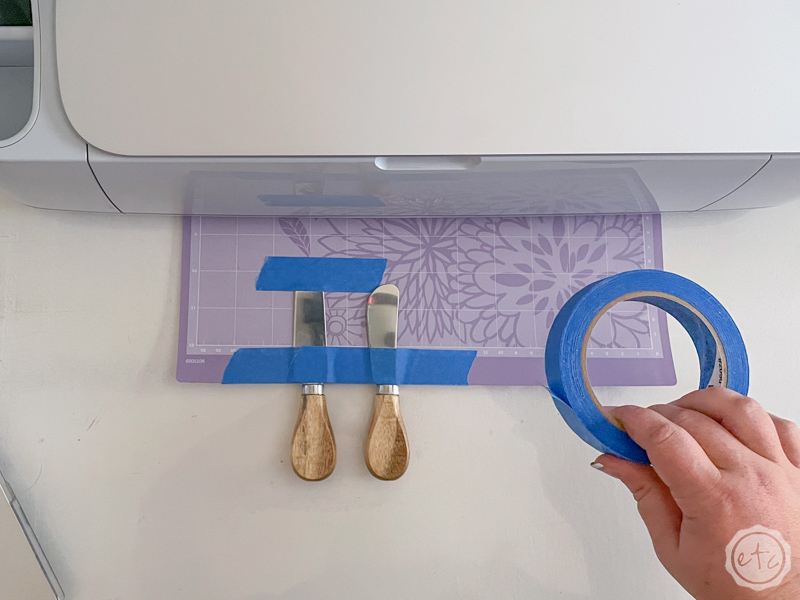
Step 2: Tape your Butter Spreaders to your Strong Grip Mat
Well that’s something I never thought I’d have to say!
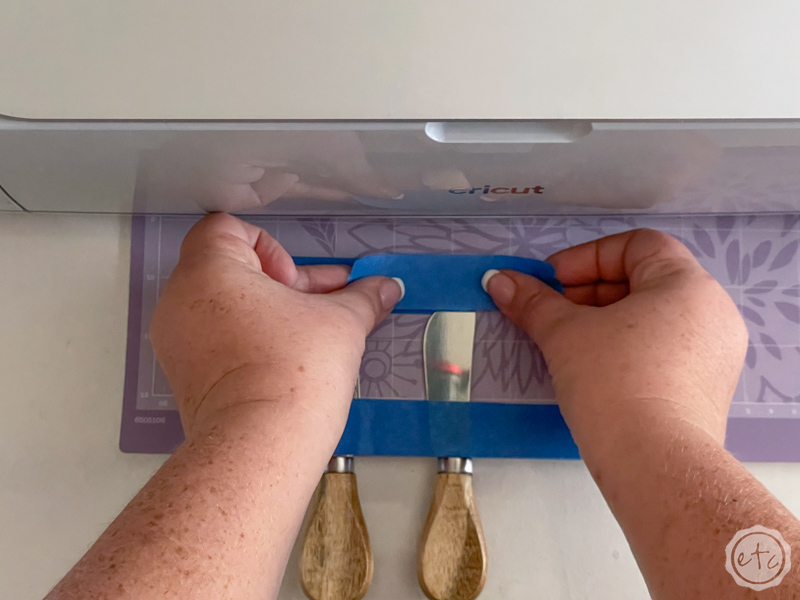
Now that we’ve picked our butter spreaders (hello cute handles!) let’s get to work. You’ll want to use a strong grip mat and a bit of painters tape to secure your butter spreaders to your cutting mat. If they move at all during the engraving process you’ll have a mess on your hands.
Well not really a mess… they’ll just be engraved wrong. Which sounds messy to me.
Anyways. I lined my butter spreaders up by snugging them up to the bottom of the mat and then centering them on the 3 inch, 5 inch and 7 inch lines. By centering them you’ll be able to center your cut files in Cricut Design Space on those same lines and have your engraving in the right position. I find this easier then trying to put the bottom of the svg on the line but you do whatever’s easiest.
Once each butter knife is centered I pressed it firmly to the cutting mat and then used a bit of blue tape to securely tape it into place.
Beautiful, darling!

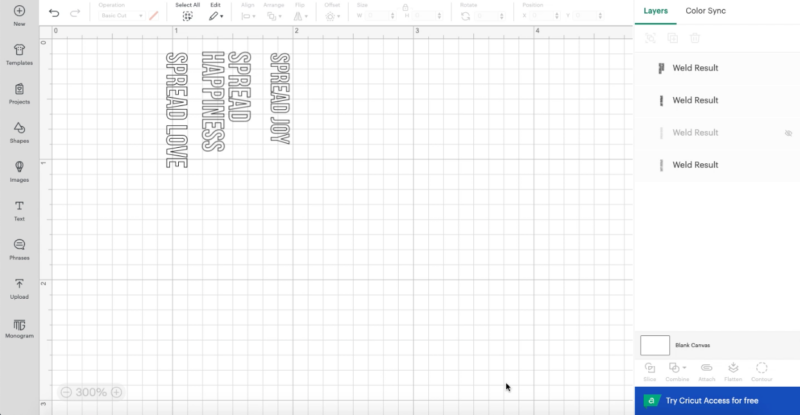
Step 3: Upload and Prep your SVG’s in Cricut Design Space
Normally I upload my cut files first and then prep my cutting mat but by prepping our cutting mat first we know exactly where to line up our SVG’s within Cricut Design Space… which is very important.
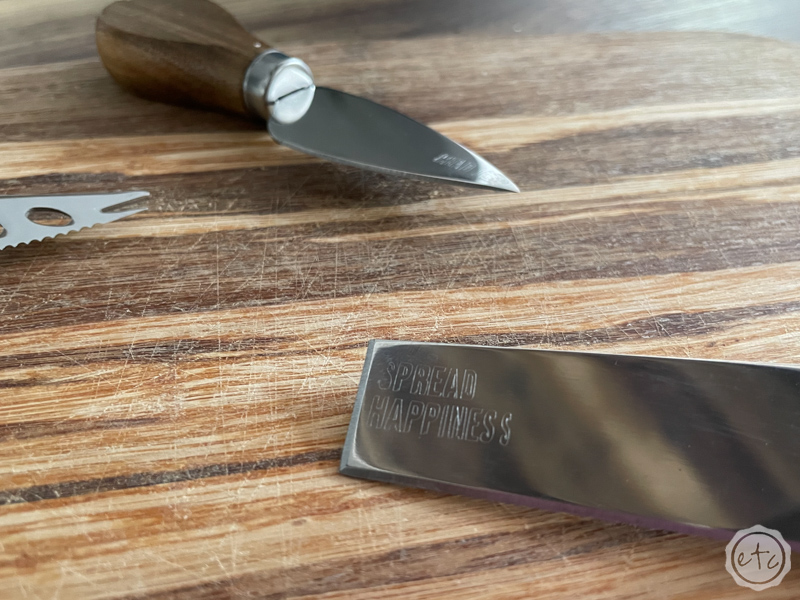
Go ahead and upload your SVG’s (if you’ve never done this before you can follow my full how to upload SVG cut files to Cricut Design Space here)… these SVG’s are very simple. I find that when it comes to engraving the simpler the better. I just wanted a little bit of a fun cheeky saying on each of my butter spreaders… we’re not breaking the mold here just making it adorable.
So while I’ve sized the SVG’s for these butter spreaders you can simply type anything you like in the Bebas Neuve font and set it to engrave to have a matching design.
Of the SVG’s I’ve provided you have 4 designs in 2 styles so pick whichever fit your butter spreaders best and shut the rest off. I’m using 3 of the eight so I made the other 5 invisible. Then set all 3 to engrave (up top next to the color option… if you need a full overview of Cricut Design Space’s Dashboard I’ve put one together here) now hit MAKE IT and we’ll go over the cutting mat screen.
This is where the magic happens.
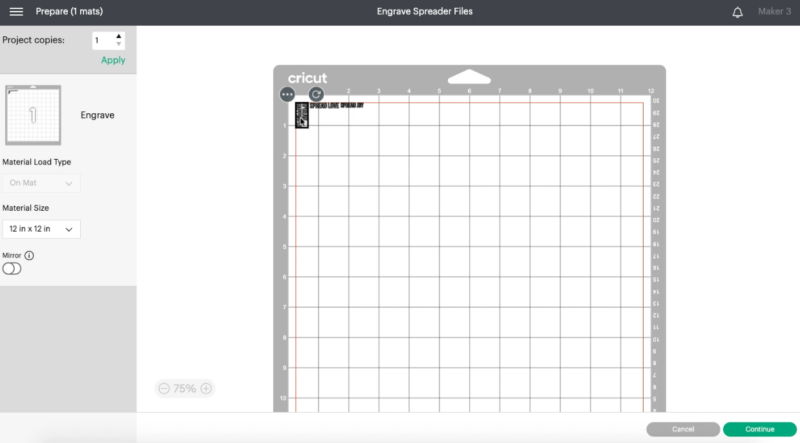

Design Space will automatically fit all 3 SVG’s onto my cutting mat in the best way to save space… but I need them to line up with my butter spreaders on the bottom of our cutting mat.
Luckily this is pretty easy. Simply drag each one down and use your mouse to spin it until it’s oriented in the right direction. Keep in mind what your actual butter spreaders look like on your real life cutting mat… which direction do you want the words facing along that blade. Make sure it’s turned in the proper direction on the virtual cutting mat.
Once they’re turned you can center each one on the 3 inch, 5 inch and 7 inch lines so that they correspond to the proper butter spreader in real life… then we’re good to go!
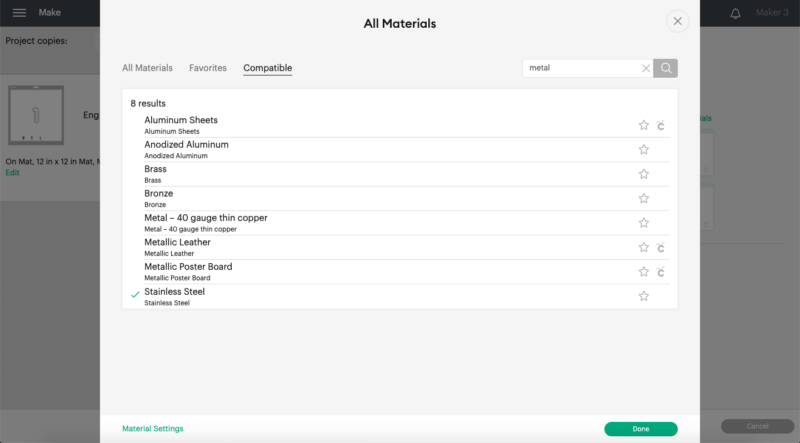
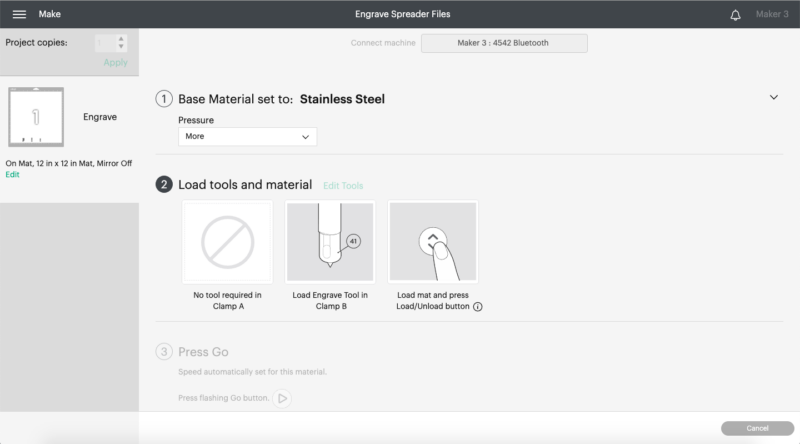
From here you can hit continue and proceed to the cut screen. We’ll select our material (for these babies I went with stainless steel) and set the pressure to “more”.
Killing it!
Step 4: Engrave your Butter Spreaders
Ready for the real thing?
At this point you can load your cutting mat into your Maker and hit go… I found that I needed to hold up the end of my cutting mat so that the handles didn’t get stuck on the edge of my Maker.
I also found that when I cleared the star wheels away from my butter spreaders the entire process wouldn’t work… my Maker just kept spitting the cutting mat back out and saying to get a longer cutting mat.
Which obviously wouldn’t help.
On the other hand if I put the star wheels tooooo far over the butter spreaders they would stop the cutting mat from going all the way into the machine. We had to find the setting that was just right… so I just kept adjusting the star wheels and loading the cutting mat into the machine until we found a spot that would work.
For me this was just over the edge of the largest butter spreader with the first star wheel.
Then hit go and watch the magic happen!
Step 5: Enjoy!
All done! The best part of engraving something is that when it’s done cutting you’re allllll finished! There’s nothing to weed or score or fold… just take it out and you’re good to go.
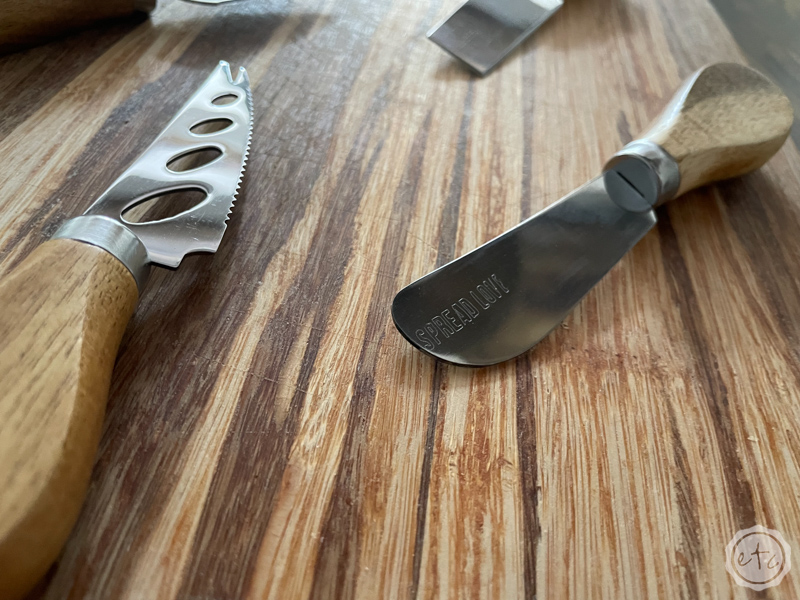
I love how these turned out.
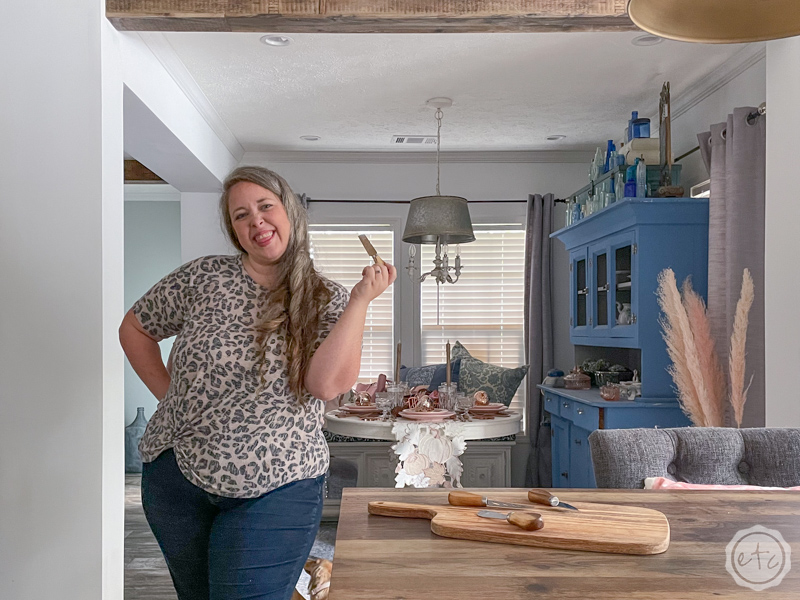
They’re not perfect but that’s half the fun… I made them and I’m going to use them with my copper table for an upcoming Friendsgiving party! Cheese balls for everyone!!
If you try this project don’t forget to send me a picture of your spreaders… I’d love to see how they turned out!






Leave a Reply