

It’s been about 2 months since I moved into my new house and y’all I am an organizing machine. I’m working on cabinets, I’m hitting the closets (my master closet is even color coded), I’ve gone through every single Christmas decoration I own and now have the best organized Christmas closet in town.
If I don’t need it, if I don’t love it then it can’t live here with me.
I do not want to fill all the nooks and crannies of this new house with all the crap I never needed. Even more than that I am busy (busy, busy, busy… that’s busy trippled!) which means when I have time to cook or relax I want to do those things… not spend time searching for items.
So instead we’re organizing.
Starting in the kitchen.
I’ve worked my way through each and every cabinet and pulled together my most helpful tips and tricks. So that you can get started organizing your kitchen the quick and easy way.
Enjoy.

1. Make your Pots and Pans Easy to Grab
Ready to jump in? I figured we’d start in the pots and pans cabinet since a) people typically just have them in stacks and it makes it difficult to get what you need when you need it b) I got a brand new set of beautiful pots and pans for Christmas and I’m excited to show them off!
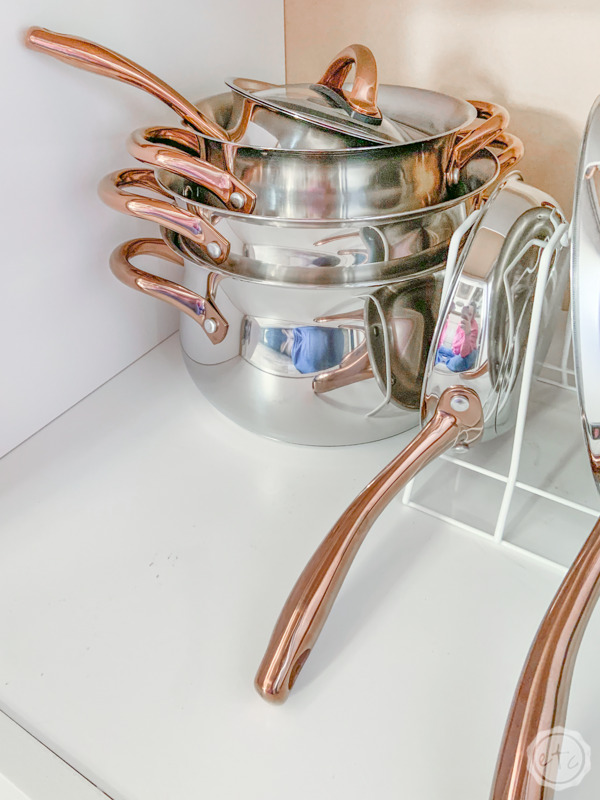
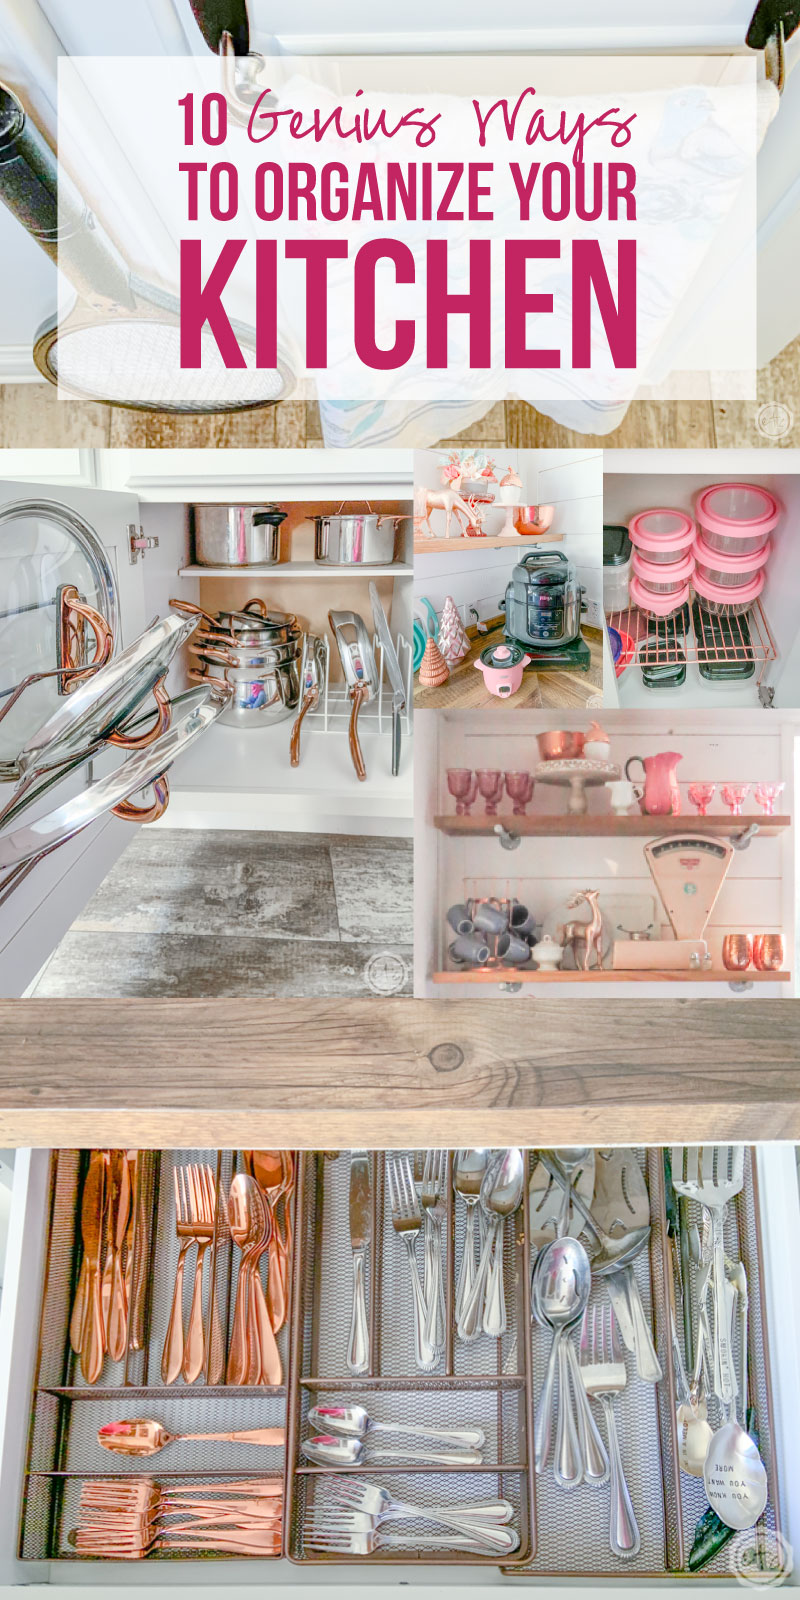
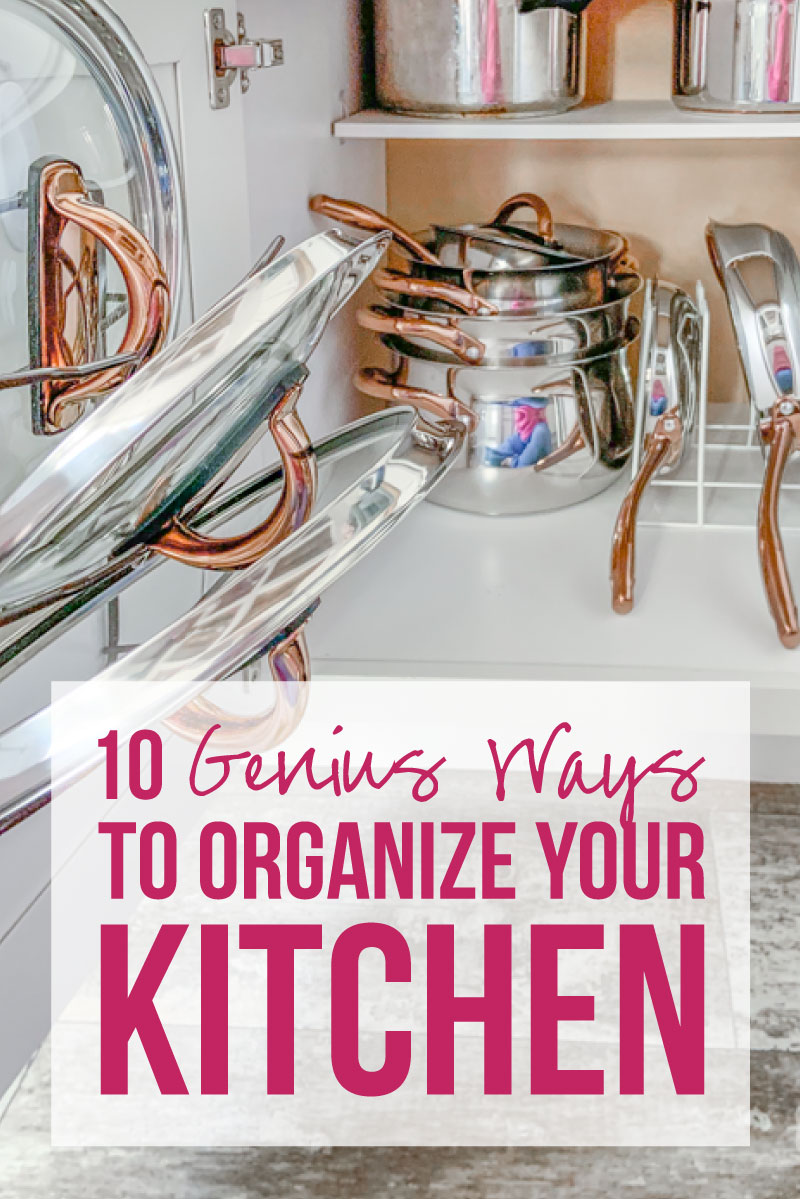
I have a rather large cabinet to put all my pots and pans in right next to the stove… but I don’t want to stack things in it. Instead I grabbed this pot lid holder and arranged it in the back of the cabinet.
Then (instead of pot lids) I filled it with my skillets and frying pans. I also used one of the spots on the end for my splatter guard so that everything is in the same spot and I can just reach in and grab what I need.
Then I placed my larger stock pot and cooking pots next to the skillets. I rarely use these (since I tend to make most larger items in my Ninja) so a stack is ok here.
I will need to find a recipe that calls for a double broiler though because I cannot wait to use that stock pot.
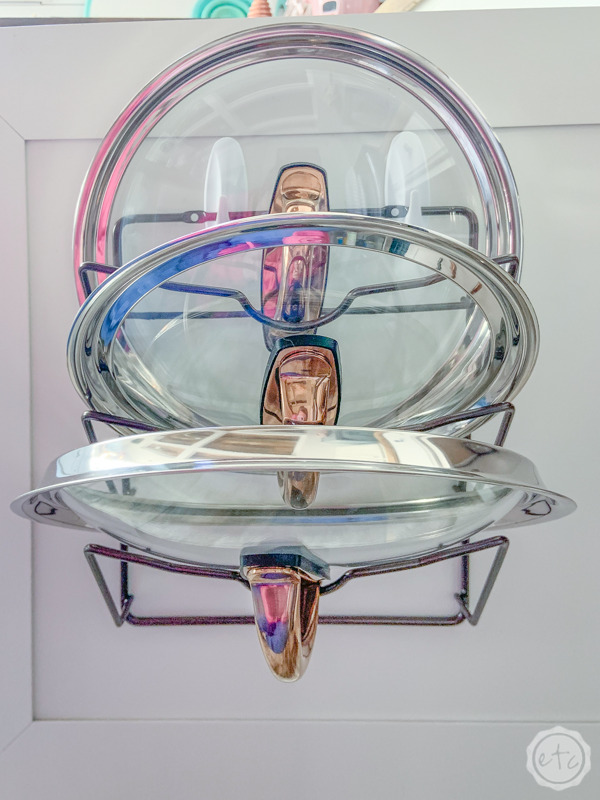
Last but not least I bought a pot lid holder that you can hang on the wall for the back of my cabinet door. This should keep everything seperate so that I can reach exactly what I need at a second’s notice without having to pull other things out of the way.
One last tip? The pot lid organizer came with screws but they were too long… they would have come out the other side of my cabinet door. Instead I grabbed a few command hooks and hung the entire rack off the command hooks.
Easy peezy.
Before we go on to the next step I’m going to give you a few photos of my new pots and pans… since they’re sooooo pretty and I want to show them off.
I love them.
They’re b-e-a-utiful.
Thanks Dad and Kellee.

2. Organize Cookbooks and Appliance Info Under the Appliance
Okay so you may or may not need this tip but if you have an instant pot or a Ninja Foodi (like I do!) then here’s my favorite kitchen trick.
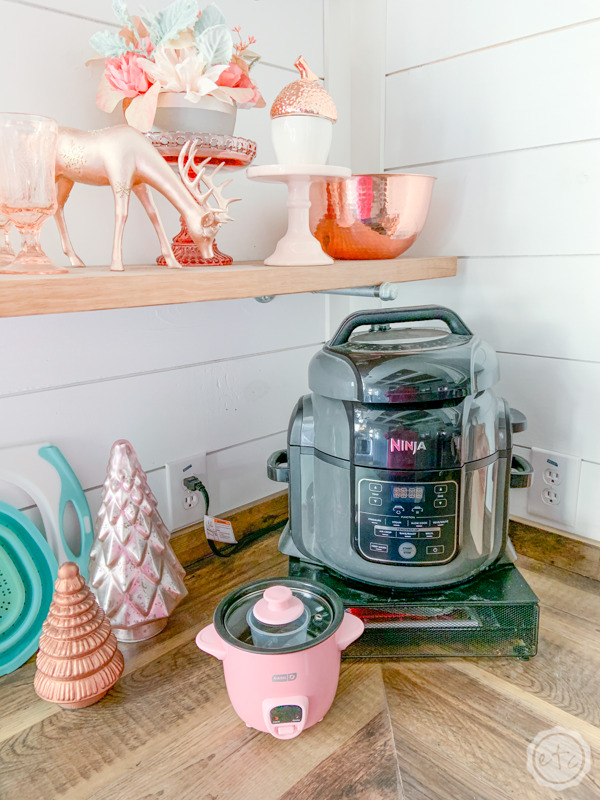
A little drawer that my Ninja can sit on and that holds all the cookbooks and warranty information that came with my machine! I have an entire drawer for large cook books but this specific cookbook has a section in the back with a handy little guide to cooking most foods in my Ninja so I like to keep it close.
And since I no longer need a Keurig, the Keurig drawer I bought for my hubby is now a cookbook and Ninja warranty info holder.
Although I can’t take all the credit… my Mom did this first and I liked the idea so much I did it too!
One last tip? I love this silicone accessory set for the Ninja. It has a silicone steam releaser (which looks like a little periscope) to help direct steam from under your cabinets and my favorite: a little silicone hat for your Ninja. It goes on top of the Ninja and lets the pressure cooking lid sit directly on top of the Ninja so they’re always together.
Score.
Update to Add: For everyone that keeps asking the little machine in front of my Ninja is a rice cooker… so I can cook rice at the same time that I’m making meals in the big Ninja pot. Plus it comes in different colors… although why you would want it in any color other than pink.
3. Use Drawer Dividers to Keep your Flatware Tidy
Flatware, serving pieces, can openers… oh my! If you’re anything like me you have plenty of tools and gadgets that need to be organized… along with several sets of flatware.
Okay two, two sets of flatware.
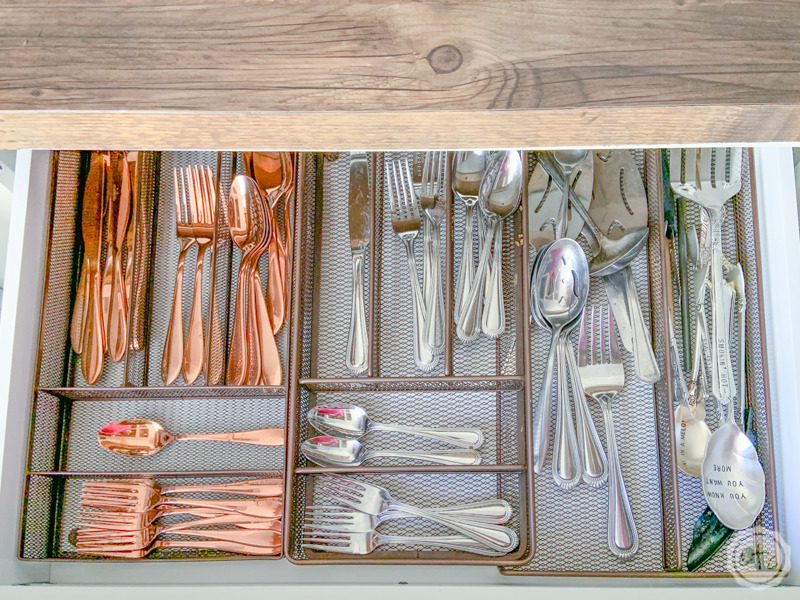
And the best way to keep it all straight and tidy and in it’s place? Drawer dividers! I have one in my flat ware drawer and one in my utensil drawer (where I keep the can opener and the chip clips… important kitchen tools).
If you only have one set of flatware (like a normal person) you may only need one drawer! Either way a drawer divider will keep everything separate so that you can find exactly what fork you’re looking for when you need it.
Unless it’s in the dishwasher.
Which is where half of my pieces are.
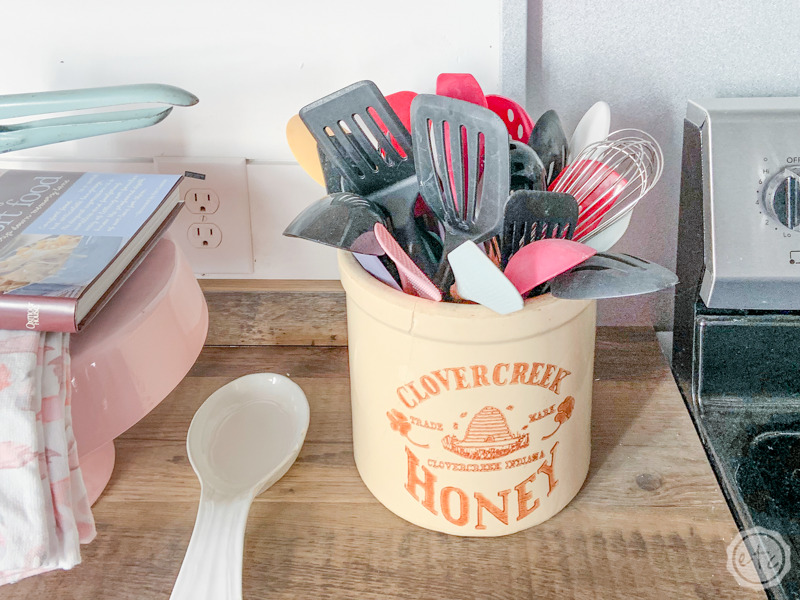
4. Use a Large Crock to Keep Utensils Next to the Stove
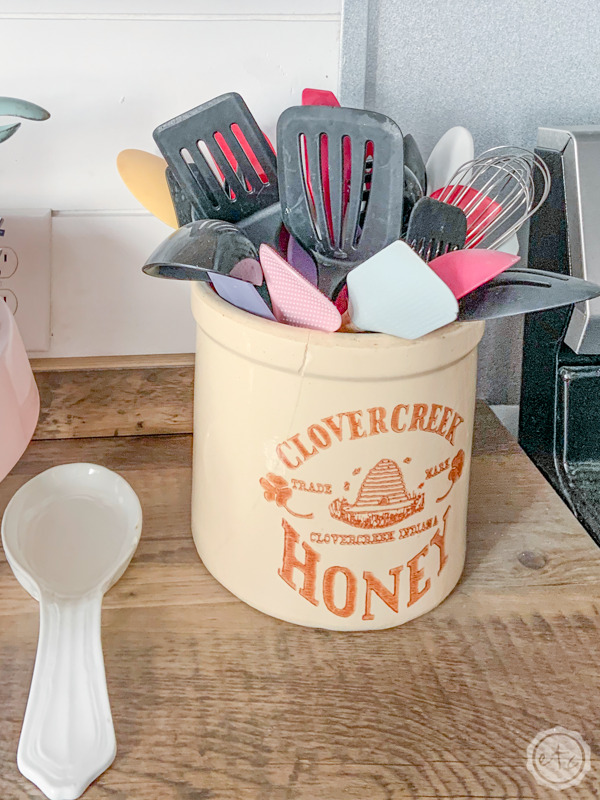
I’m fairly sure that everyone does this already but just in case you don’t here’s my favorite kitchen tip. Take a large crock or container and place it next to your stove… then fill it with utensils.
Spatulas, wisks, tongs, spoons… anything you may need at a moment’s notice when actually cooking on the stove (or in this case in the Ninja which is just to the left of my stove).
This will free up drawer space plus it puts things right at your finger tips which is great for cooking. Of course, in my case there’s even a bit of sentimentality because this is the same crock my mom use to keep by her stove when I was growing up.
She gave it to me when I moved out and even though it’s not really my style I just love that it was hers. So the crock stays.

After I wrote this post I decided to upgrade my utensils… some were fine but being on the counter I wanted prettier (but still functional pieces). I started with this adorable pink and rose gold utensil set that has all the important pieces… then added extra spatulas and silicone spoons for the ninja.

5. Use Pretty Kitchen Supplies as Decor
Ready for my favorite tip? You’ll hear me say it time and time again but form and function y’all. Form and function. Which means that helpful, functional items can be pretty!
And all of these pretty items don’t have to be locked away in cabinets and drawers.
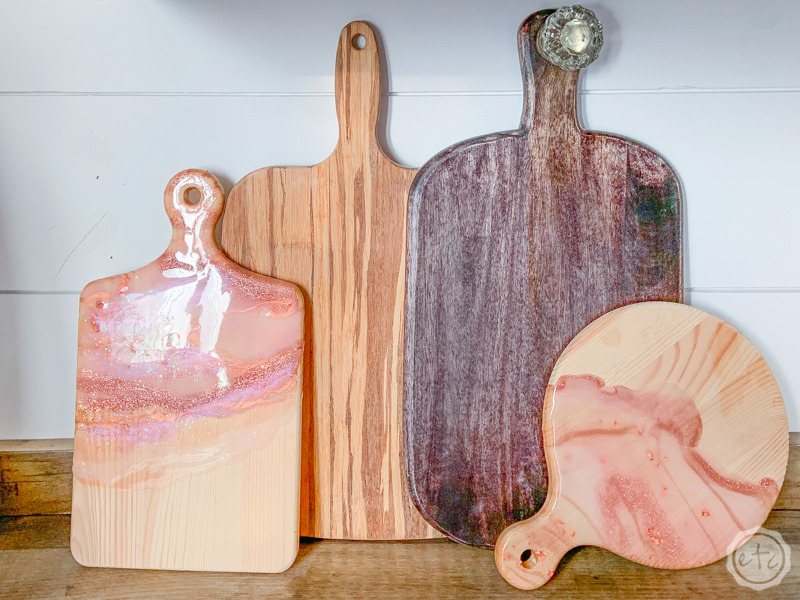
Instead put your cutting boards on the counter (here’s the tutorial to make the resin boards), put mugs on a mug rack or pretty scales on a shelf.
Really there’s a never ending list of fun items you can use to decorate your kitchen with but here’s a few I personally use: cutting boards, colanders, mugs, mixing bowls, scales etc.
Want an even better tip? There’s a certain charm to being able to reach over on the counter and grab a cutting board that you can actually use but I’m pretty sure you get brownie points if you display antique items instead.
Just a gut feeling.

6. Take Advantage of Over the Cabinet Door Organization
Ready to get crazy? At one point in my life someone introduced me to these little over the cabinet door storage solutions, I don’t remember who that person was but thank you.
If I’m that person for you then you’re welcome.
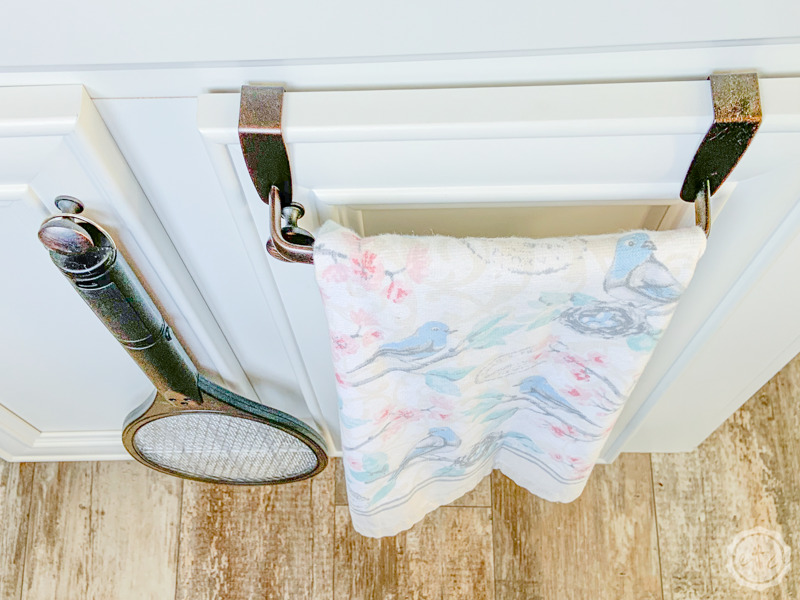
I started with a standard towel bar for the outside of my cabinets. This isn’t 100% storage but I’m going to let it slide since it is organization. Instead of simply hanging a towel on the knob of you cabinet this towel holder lets you fold it which means it dries better (and looks cuter!).
Form plus function… now that’s a win win.
And yes that is an electric tennis racket on the hook next to it. Yes I need to get an actual hook. Yes it is amazing at clearing out all the pesky flies and wasps that find their way into my kitchen.
Thanks Mom.
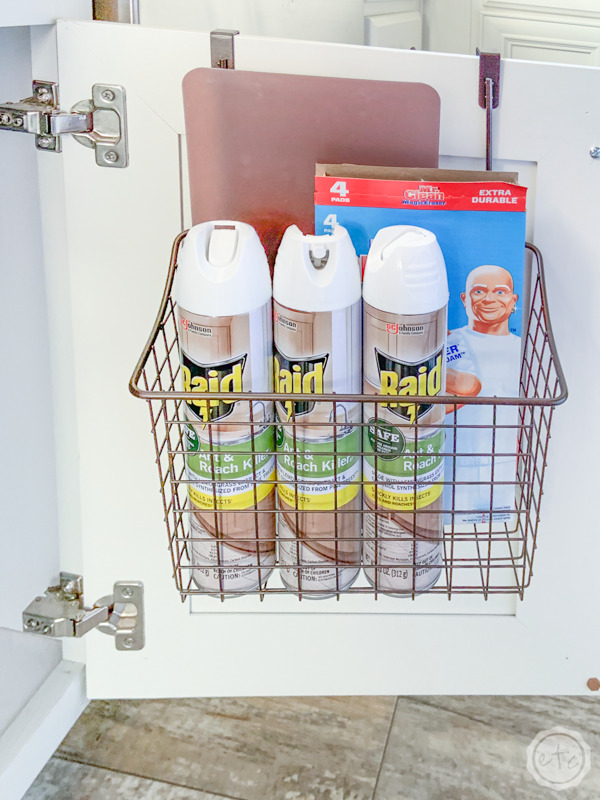
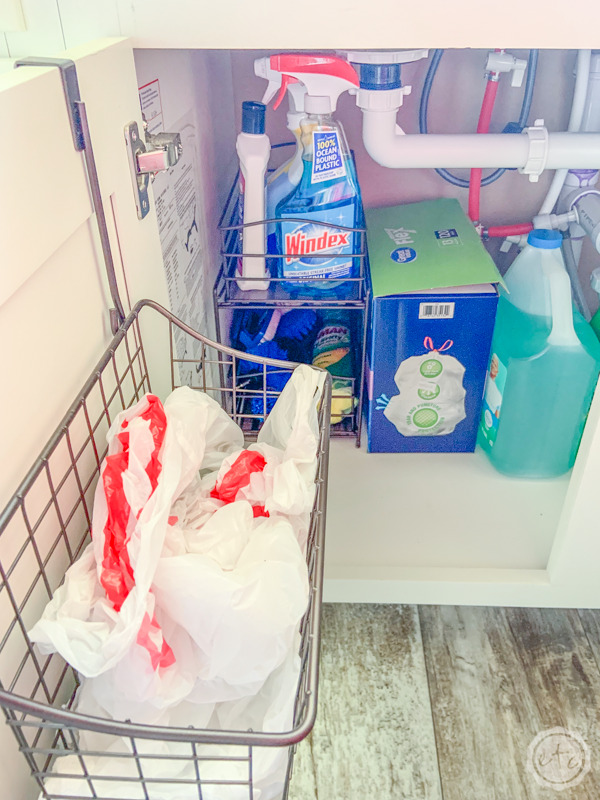
My second over-the-cabinet suggestion are these baskets that hang inside the doors. I love them for inside the cabinet under my sink. They utilize all the space at the front of the cabinet while keeping things handy.
I’ve filled one with all the extra bags I just know I’m going to need one day and the other holds the essentials: raid and magic erasers.
Things I may need at a moment’s notice.

7. Use Under the Sink Stackable Storage Drawers to Organize Under the Sink
Ready to tackle under the sink? Typically this is a large mess of a cabinet… with the sink plumbing there’s so much junk already in the way that plenty of sink cabinets look like a hodge-podge of whatever.
But since the under the sink cabinet is also usually the biggest cabinet (to store all that plumbing!) it’s always a good idea to utilize it to the best of it’s ability.
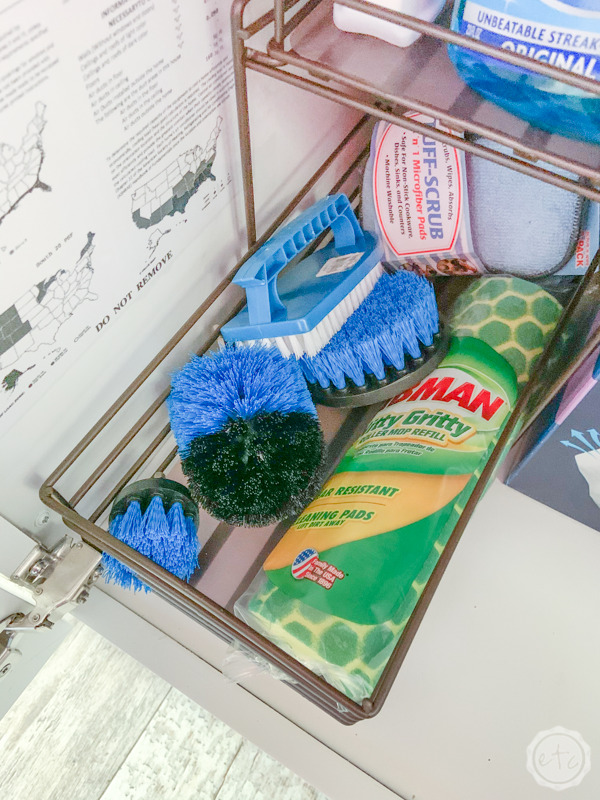
In this case I’ve taken 2 stackable storage shelves with sliding baskets drawers and placed them on either side of the cabinet against the wall. These are the same storage shelves I used to organize the under the sink cabinet at my last house (so they’re great for multiple spaces!).
I love that these drawers let you pull everything out easily and not have to reach in the verrrrry back of the cabinet (hello hands and knees… let’s not meet like this again). Plus with a tall stacking shelf like this you can utilize the full potential of such a tall cabinet.
I like to put cleaners and sprays on the top shelf since they’re tall and take up lots of room. Then I’ll fill the bottom basket with things I don’t need as often.
In this case: replacement mop heads, sponges and scrubbing attachments for my drill. You never know when something is going to need a really good deep clean.
You’ll notice that I put larger bottles of cleaner under the plumbing in the middle. Things like trash bags, mopping detergent, dish-washing detergent, dish soap. All the good stuff.

8. Store Flat Items in Skinny Drawers
If your kitchen is anything like mine (who knows… weirder things have happened!) you may have more long skinny drawers than you know what to do with. Obviously you’ll use one for flatware, maybe one for baggies and plastic wrap, one for a pot holders and towels… and I’ve still got 6 long skinny drawers.
So Mom suggested I store all of the placemats, napkins and table runners that I’ve collected over the years in one of the larger drawers. It’s the perfect solution.
You could use another drawer for chargers!
The main point here is to store flat items in these drawers.

9. Use an Expandable Shelf to Organize Smaller Stacking Objects
Alright y’all… it is no secret that kitchens are full of small items. From canned goods to Tupperware there’s always something small to put in a big cabinet. Which is why expandable shelves are nothing new.
You can get them in all different shapes and sizes so that you can configure your cabinet however you like. Then you can use them to add additional shelves where otherwise you’d have stacks and stacks of items.
Like in this Tupperware cabinet… where I have a few different sets of tubs to store. I recently threw out all the mismatched, unorganized, unusable pieces that I’ve been hauling around for years and replaced all the junk with newer glass storage containers.
And by throw out I mean gift to my brother who just got his first place.
But when I went to put the new pieces back in the cabinet I didn’t want to store the smaller plastic pieces on top of the newer (larger) glass pieces. Especially since I’ll reach for the glass pieces more.
Instead I used an expandable shelf to separate the smaller pieces on the bottom and the larger glass pieces that I’ll use more often. This way they’re easy to grab and fill… which is the whole point of organizing your Kitchen.
Making things usable.
10. Organize your China by Type and Collection
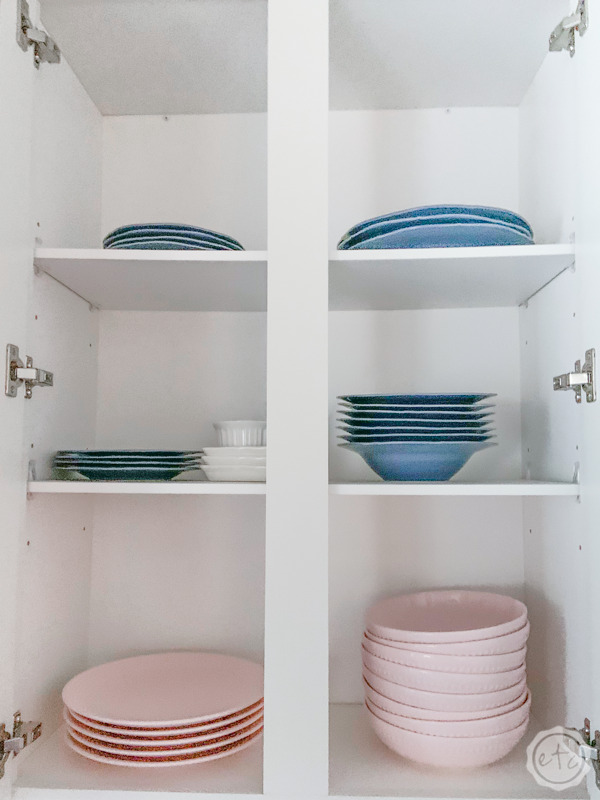
So if you don’t have more than one set of china than you may not need to worry about multiple shelves… I have 7+ sets of china. In my main kitchen cabinets I keep the everyday dishes and I organize them in rows according to which ones I’m going to use the most.
So pink matceramica on the bottom, white french country mikasa on the middle (which may be confusing since most of it’s at my brother’s place since he has no china yet) and the top row is split between the blue set we received for our wedding and desert rose on the right.
The main goal here is to organize the pieces you use the most often so that they’re at your fingertips. In this case that’s the pink matceramica on the bottom shelf. I’ve organized it in stacks so plates, pasta bowls, cereal bowls and ramekins respectively.
That way I can grab what I need without disturbing anything else.
Don’t worry y’all I won’t show you the pie safe today where the good china is… or where I store my season collections (Easter and Christmas y’all!)

That’s it! All my tips, all my tricks… every last secret.
If you liked this post then don’t forget to pin for later… and stay tuned. I have plenty more organization coming your way.
Want to follow my journey to purchase my new home? Check out every post from the beginning:
Get Your FREE New Home Checklist

Moving into a new home?
Here's 22 FREE printables to help you get organized!







Leave a Reply