

Are you ready for a new Cricut project? Today I’m whipping up an adorable make-up bag for those days when you’re just not feeling it. I’m thinking a little candy, a little lip gloss, maybe some mascara, a bunch of chocolate… the basics.
Of course, as soon as I saw Cricut release new infusible ink blanks I knew I had to get my hands on them (there’s a wine bag, pillow covers and these cosmetic bags in case you were wondering) and while I have big plans for those pillow covers I decided to start with the little cosmetic bag.
I wanted a bag I could keep in my locker at work with the basics for those days I’m just not feeling it in the morning. Ready to get started?
Supplies:
- Cricut Joy
- Cricut Joy Standard Grip Mat
- Infusible Ink Transfer Sheet in Rainbow Triangles
- Infusible Ink Heat Resistant Tape
- Cricut Cosmetic Bag Blanks for Infusible Ink
- Mini Easy Press
- Easy Press Mat
- Scissors/Paper Cutter
- Cricut Access (for the NOPE, Not Today SVG!)
“Nope, Not Today” Infusible Ink Cosmetic Bag Tutorial
Ready to take the leap but not sure which machine is right for you? Check out my Explore Air 2 and Maker comparison before pulling the trigger. I go over the pro’s and con’s of each machine and even have an easy to read check list of each machine’s features so you can decided which cutting machine is perfect for you.

Step 1: Pick your Design
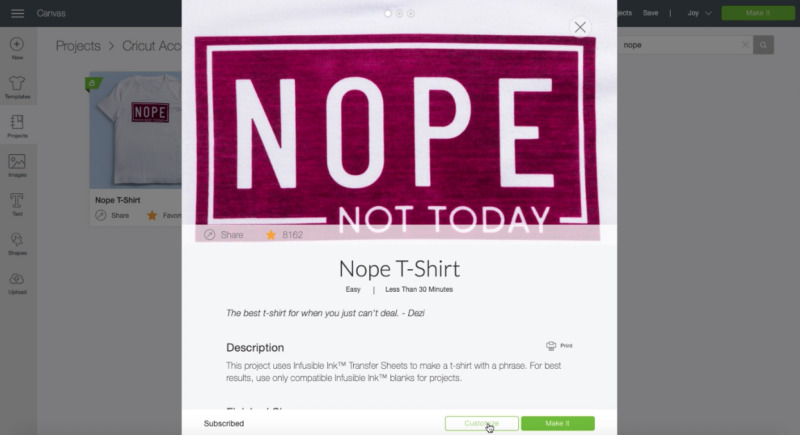
Once I had all of my supplies I hopped onto Cricut Design Space and started to scroll through all of the infusible ink designs. I found this little “Nope T-Shirt” and thought… now that would be a cute makeup bag!
So I customized it to the proper size and away we go!
If you’re looking for this SVG simply search “nope” in the search bar and it will come up. It’s one of the free cricut access design files so it was super easy for me to grab and if you have cricut access you can make this little bag easily too.
Step 2: Prep your Infusible Ink Sheet
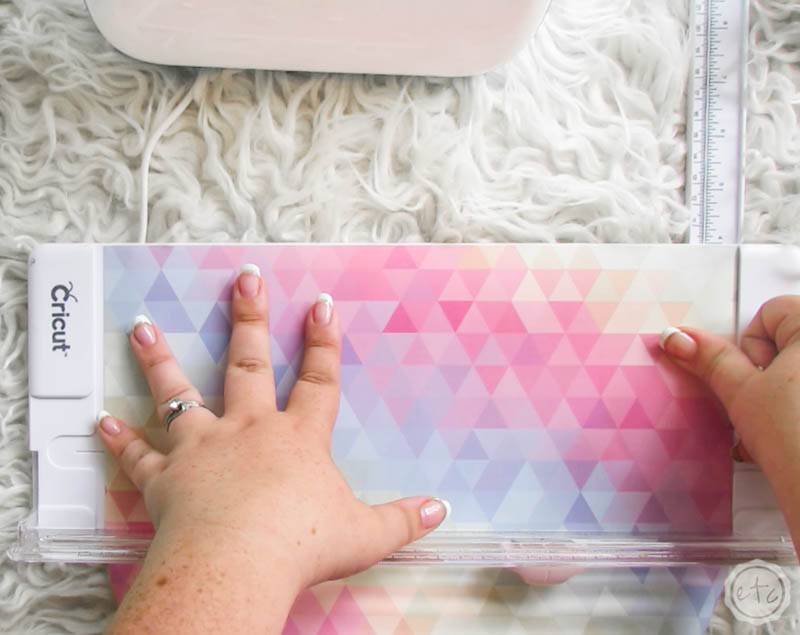
Since I decided to use my Cricut Joy for this project I customized the design file to be smaller than 4 inches… and then cut a piece of infusible ink sheet that would fit the dimensions I needed.
Remember that if you’re using a mat for your Cricut Joy and not smart vinyl/infusible ink you need to fit the design within the tiny mat constraints of the Joy. Since this makeup bag is small that wasn’t a problem!
Another tip? When working with infusible ink make sure to have clean dry hands and be careful not to crease the ink… it is ink after all. Which means it will smear if you get it wet! You may also notice that the ink sheet looks dull compared to the vibrant colors on the box… that’s ok! The ink color will be much brighter after you heat it up with your easy press!
Once your infusible ink sheet is cut go ahead and carefully smooth it onto the cutting mat. Don’t use a smoother or a brayer but use clean dry fingers or the little white piece of cloth that comes in the infusible ink sheet box.
Now we’re ready to rock.
Step 3: Cut Your SVG
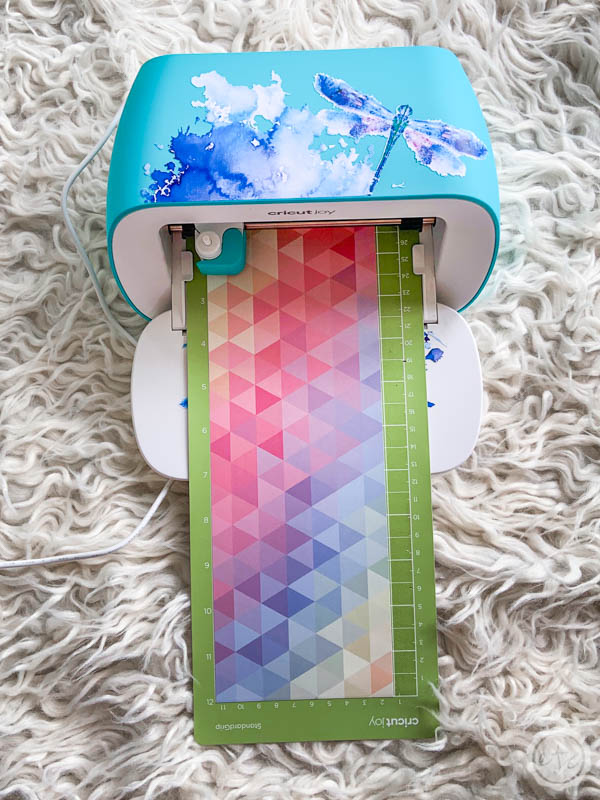
Now that your mat is loaded go ahead and hit cut! Cricut Design Space will remind you to mirror your design (if you haven’t already) and to load your mat with the ink side facing up.
From here the Joy will do all the work.
Just hit go and watch it do it’s thing! This design is pretty simple so it won’t take long at all… easy peezy!


Step 4: Weed Your Design
Beautiful darling!
Now that your design is cut go ahead and remove the infusible ink from the cutting mat… place the mat ink side down and then curl the cutting mat away from the infusible ink sheet so that you don’t curl your design.
Then cut away any excess ink and carefully put it back in the black bag inside the infusible ink sheet box. That black bag will protect your extra material from the sun until you’re ready for to make another project… so always make sure to use it!
Ready for the best part? Weeding!
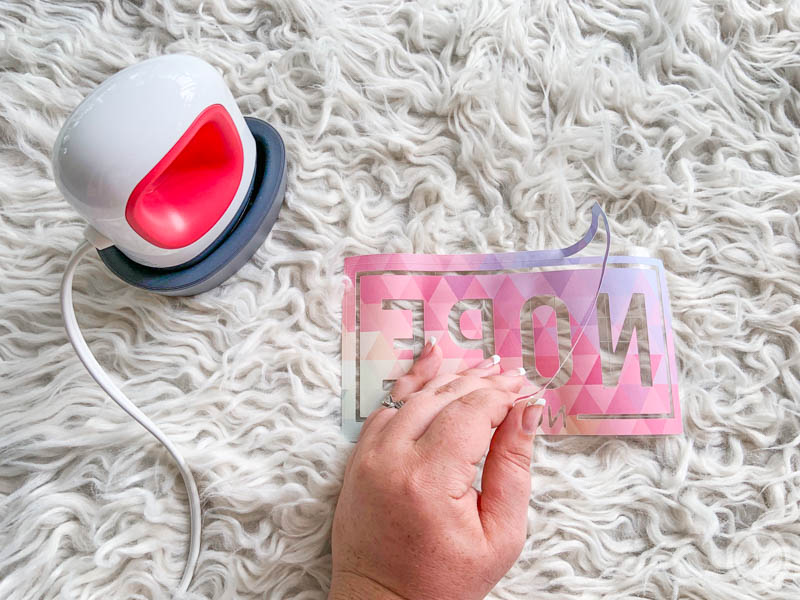
In this case the infusible ink sheet is actually a bit delicate so don’t use your weeding tool but instead use your fingers to carefully remove any extra or excess pieces of infusible ink from the transfer sheet.
You can also pre-heat your mini easy press at this point… turn that baby all the way up to heat 3 and let it warm up!


Step 5: Heat Up your Design
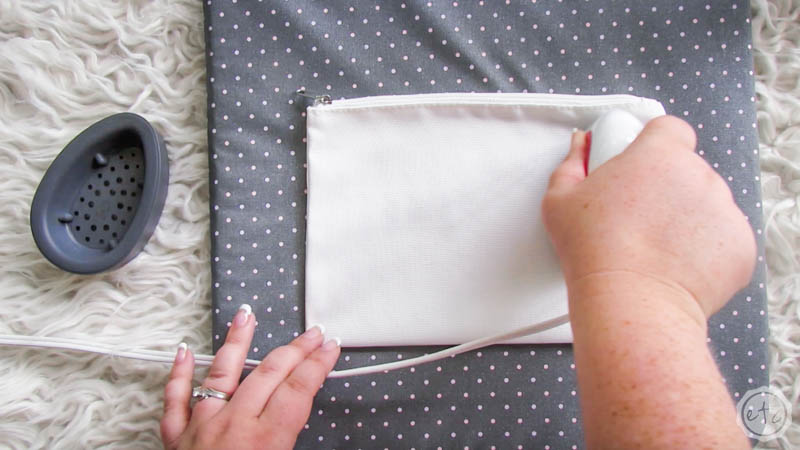
It’s time to heat things up! Now that your design is weeded and your mini easy press is good and hot go ahead and break out the easy press mat. Place your makeup bag in the middle and use your easy press to pre-heat the surface of your bag.
Basically iron that little bag until the surface is nice and warm… that means it’s ready to receive the ink transfer.
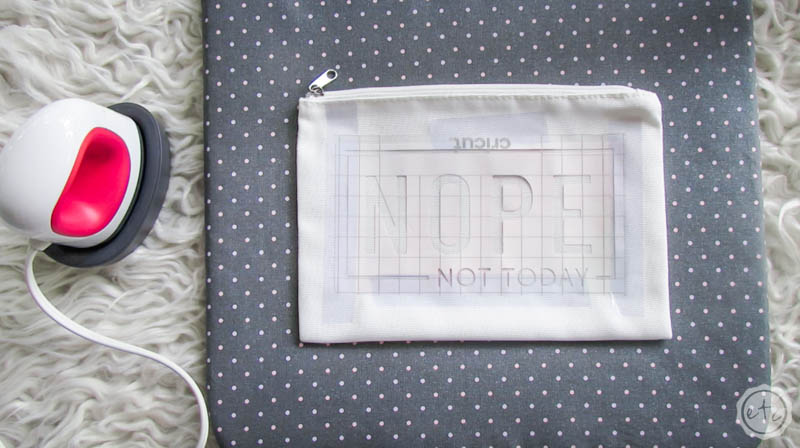
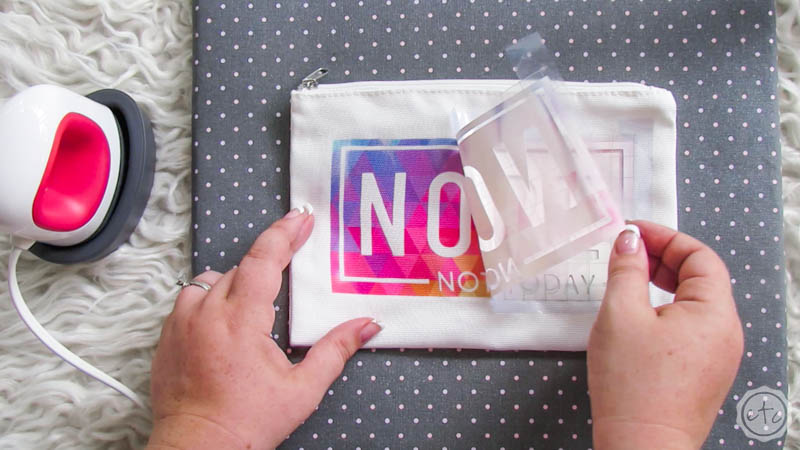
Now place your design down on the make-up bag and secure it with the heat resistant tape. Since we’re using a mini easy press we need to make sure the design won’t move at all when we start heating it up. Any movement means the end design will be hazy or not clear.
Ready for the heat?
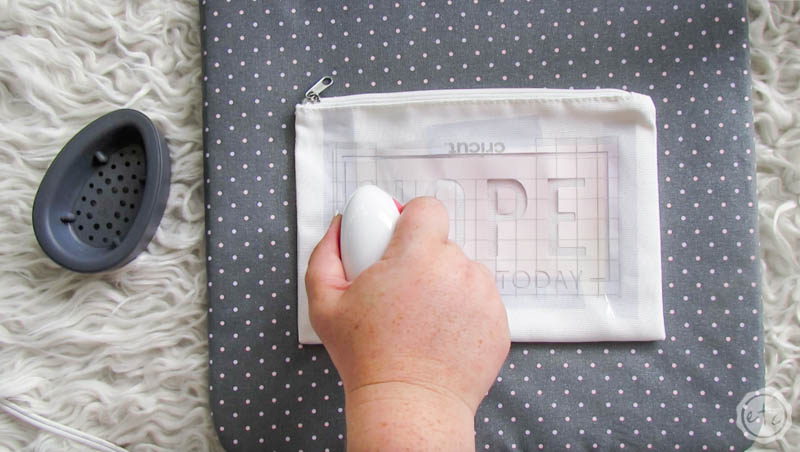
Once your design is taped in place go ahead and start heating it up. You want to pick up your easy press and firmly place it down in one specific spot. Hold that heat in place for 10 seconds before lifting it straight up and moving it to a new spot… place for 10 seconds, lift it straight up and repeat until you’ve covered the entire surface.
The mini easy press isn’t ideal for infusible ink (I usually use my easy press 2) since infusible ink works best if you can place the easy press down once, leave it for 40 seconds and then lift it straight up. BUT I wanted to show that you can achieve the same results with your mini easy press if that’s all that you have.
Where there’s a will there’s a way!
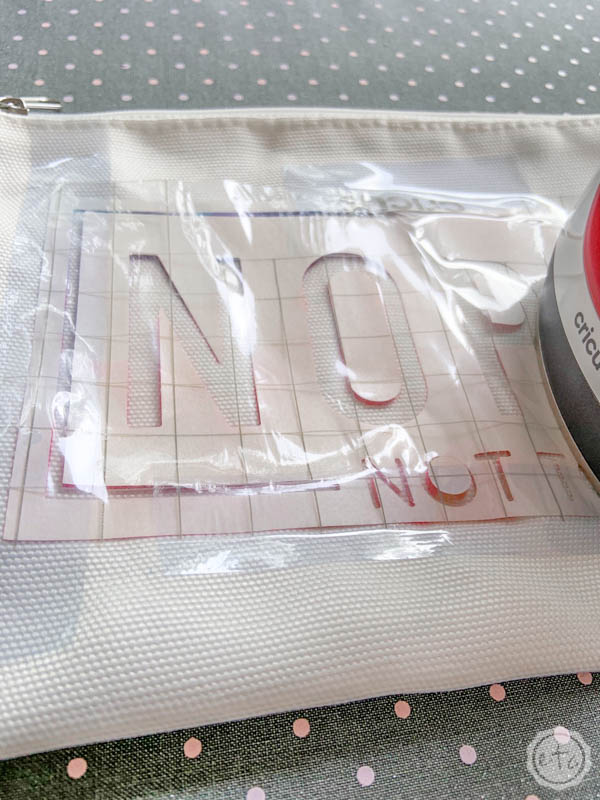
Of course, it will take a lot longer to cover the entire surface, one press at a time. But once you’re done, you’re done! So it’s not a huge inconvenience. Once you’ve lifted the easy press up for the last time make sure you wait a few minutes before you attempt to remove the transfer sheet… the transfer will still be hot and you want it to fully cool before removing it.
Beautiful darling!
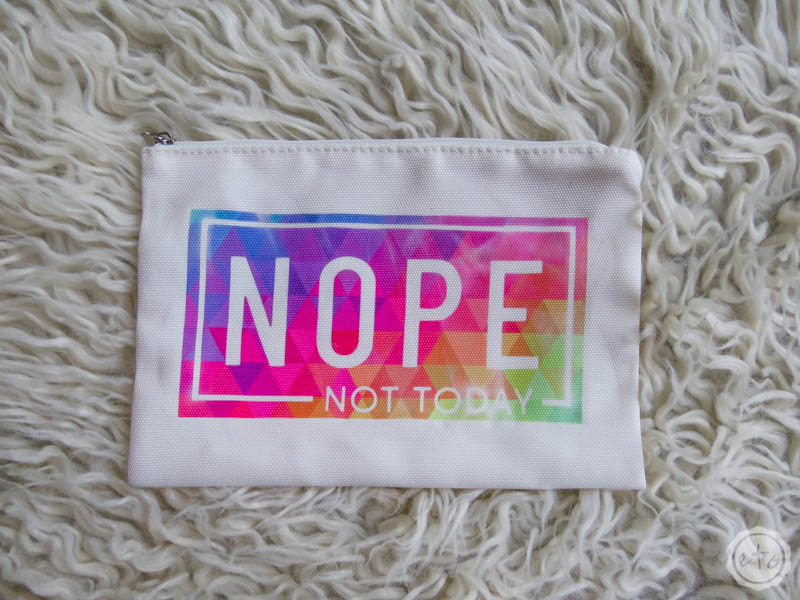

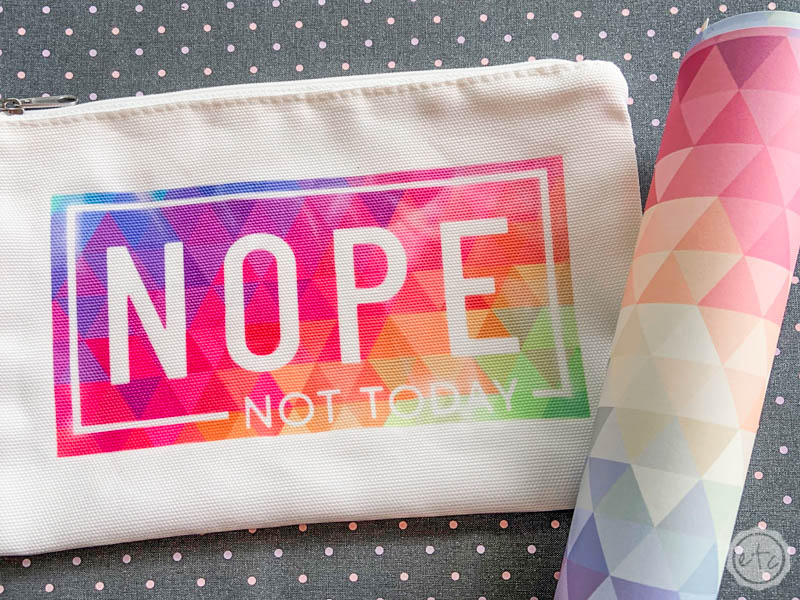
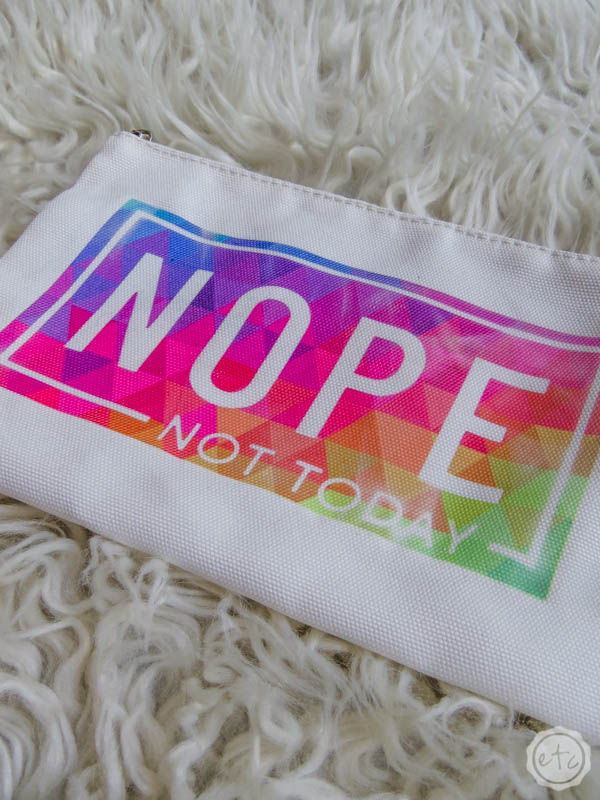
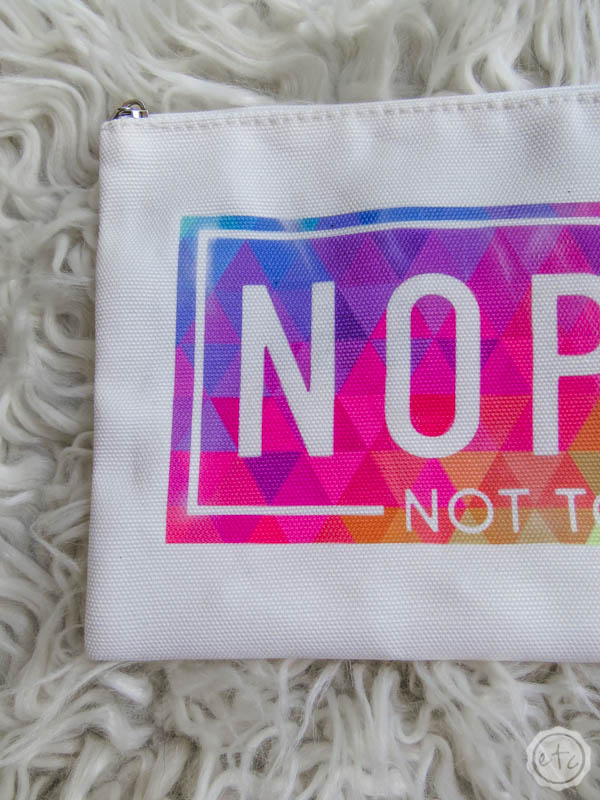
I absolutely love how this turned out! PLUS I love this rainbow triangle transfer sheet way more than I originally thought I would… and I kind of want to use it for all the things!
Before I go I thought I’d leave you with one more thing… a close up of how dull and faded the transfer sheet is before vs. how vibrant and beautiful the design is afterwards!
It’s amazing what a little heat can do.
Want More FREE SVG’s? Check out our seasonal collection:


Get Your FREE PDF Guide!

Don't forget to snag your free PDF Guide to buying your first Cricut!







Leave a Reply