


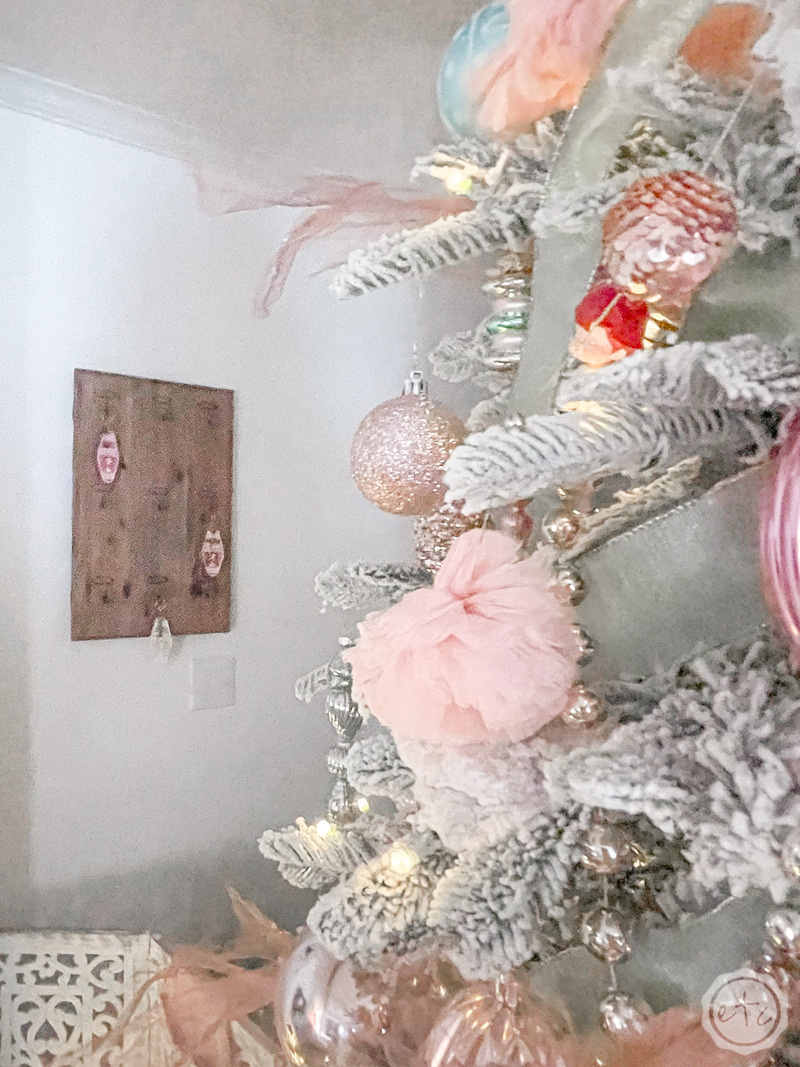
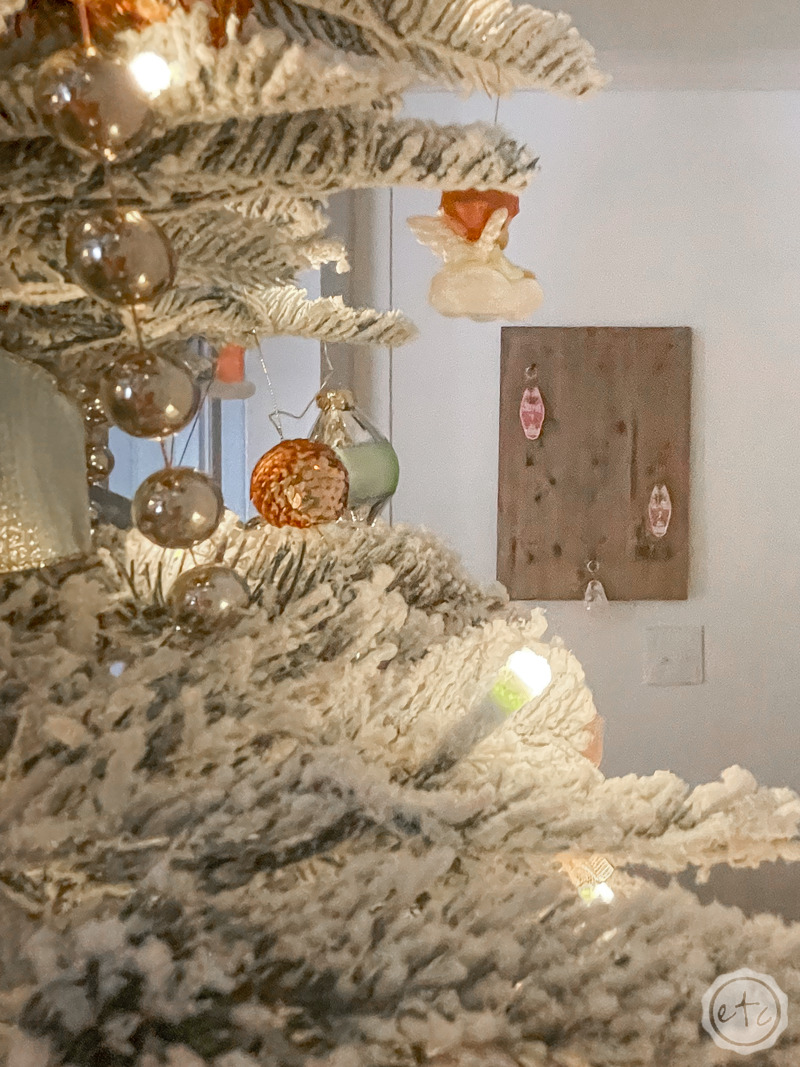
Are you ready for the cutest Schitt’s Creek inspired resin project ever!? When little keychain mold crossed my Etsy dashboard I didn’t even hesitate… I immediately added it to my cart. And then after I made a few of them I took it a step further and made an entire vintage motel key hook rack to display them on.
Because apparantly that’s the kind of person I am.
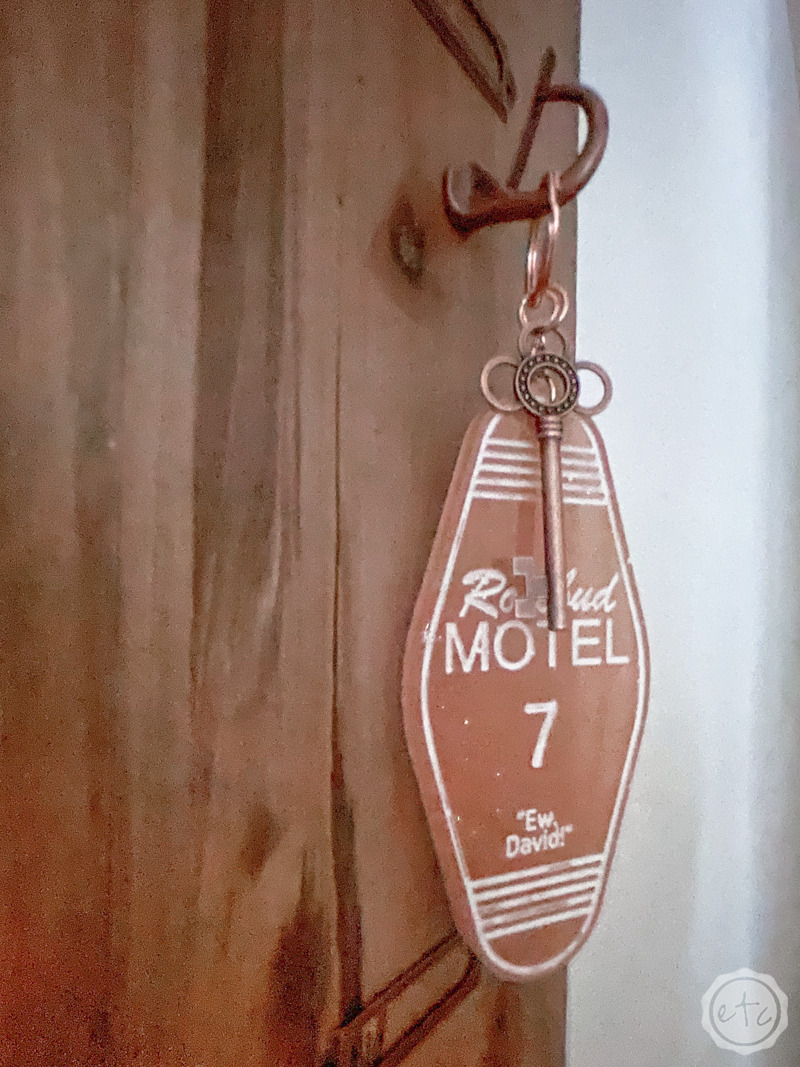
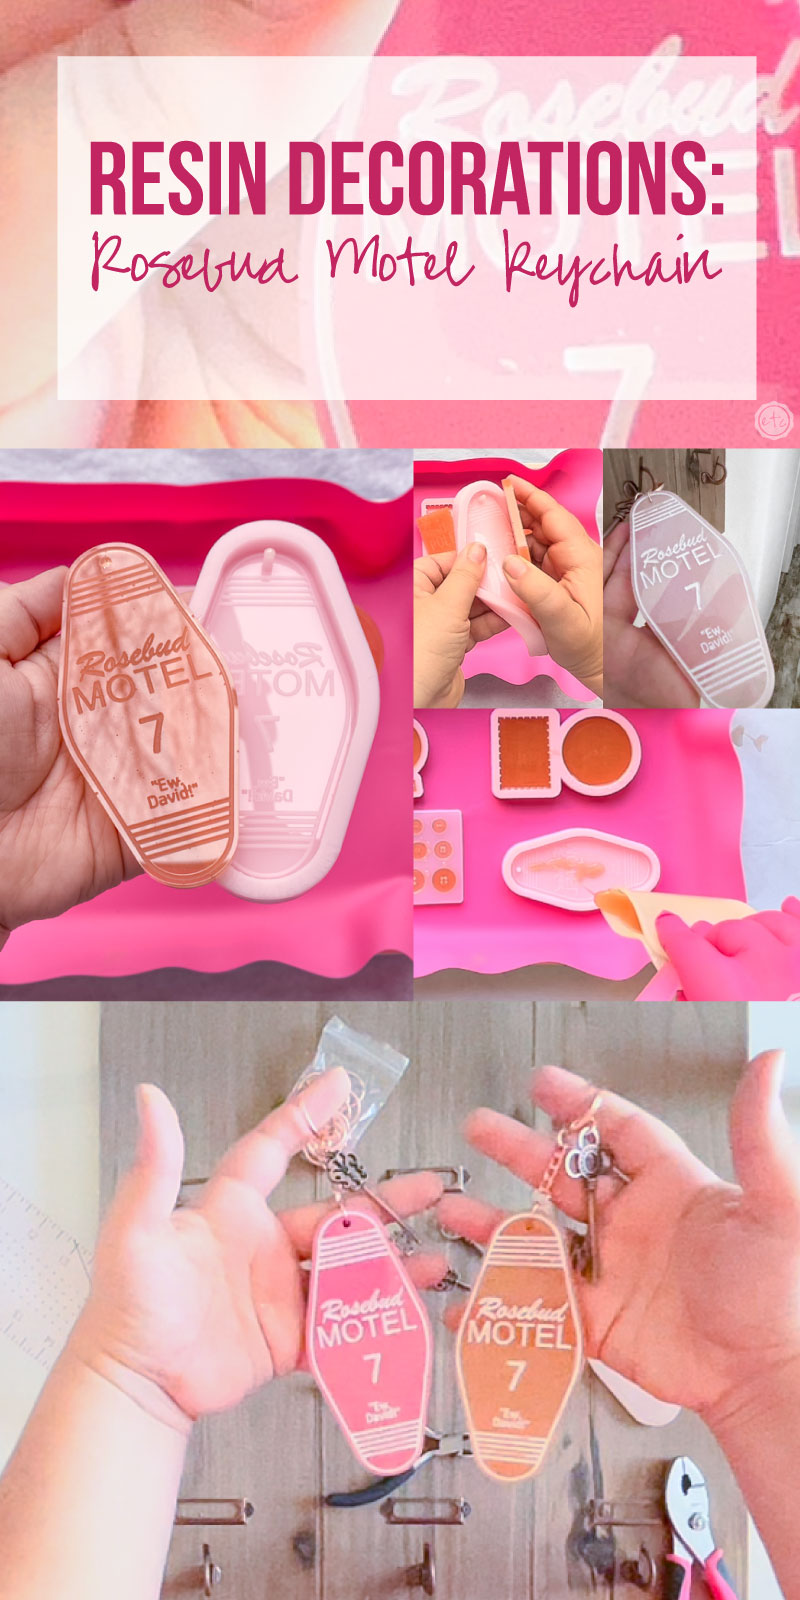
But let’s not get ahead of ourselves. Today we’re going to whip up a few Rosebud Motel Keychains that we could use to open our very own hotel in the quaint town of Schitt’s Creek.
And if that doesn’t excite you you’re in the wrong place.
Let’s get started.
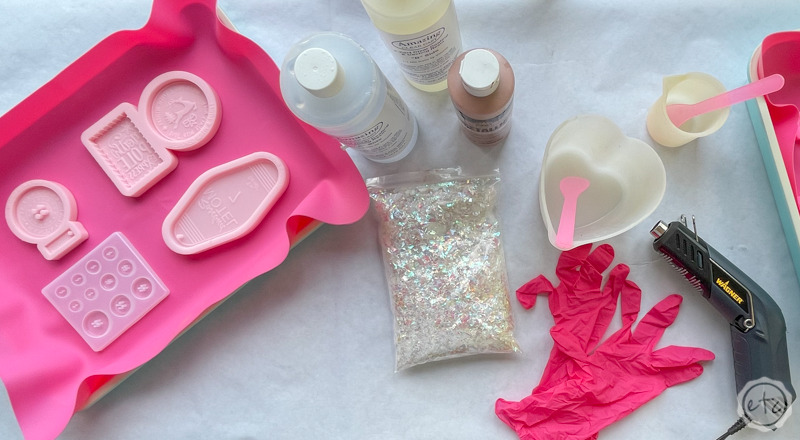
Supplies:
- Total Boat Maker’s Epoxy Resin
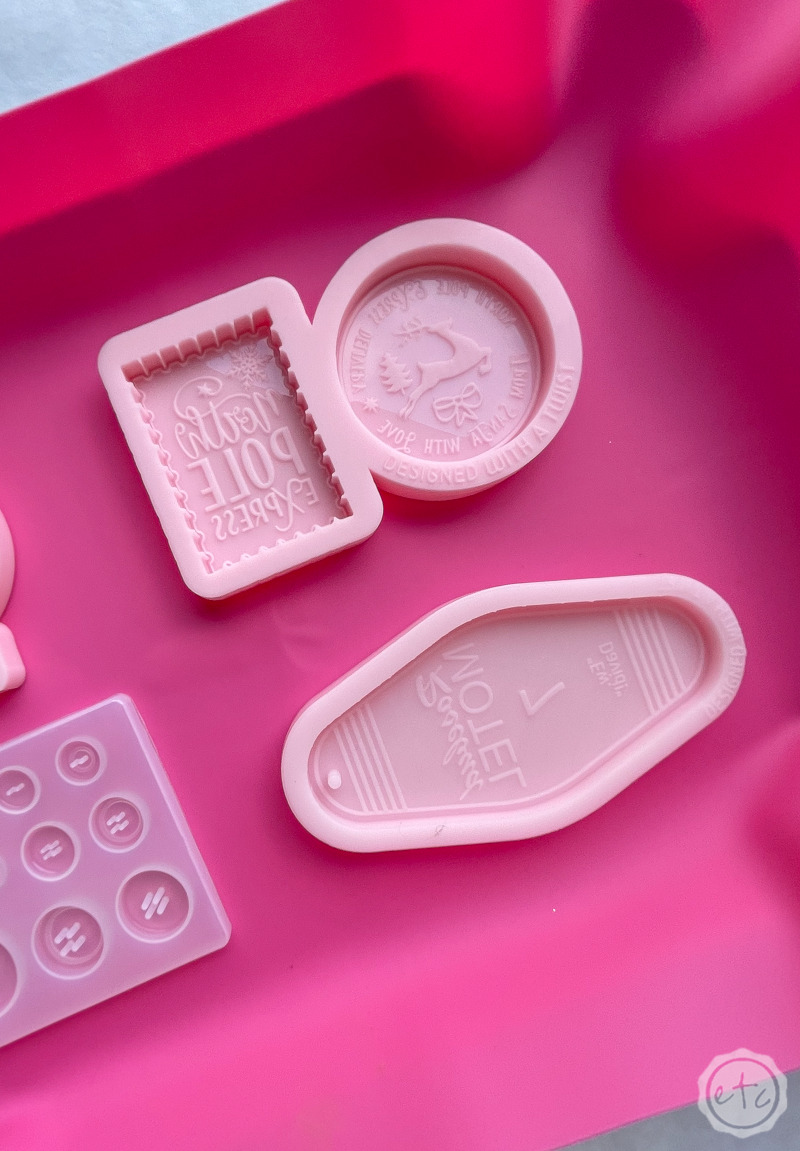
- Rosebud Motel Keychain Silicone Mold
- Respirator/Mask (resin graded filters)
- Gloves
- Wagner HT400 Heat Gun
- Freezer Paper
- Silicone Mat
- Baking Pan
- Heart Shaped Silicone Mixing Cup
- Small Mixing Cups
- Silicone Measuring Cup/Larger Mixing Cups
- Reusable Silicone Stir Sticks
- Toothpicks
- White Craft Paint
- Rose Gold Metallic Craft Paint
- Paint Brush
- Paper Towels
- Keychain Rings for Crafts
- Antique Style Keys
- Jewelry Pliers
Just getting started with resin? Download my free resin supply list and make your first project today!
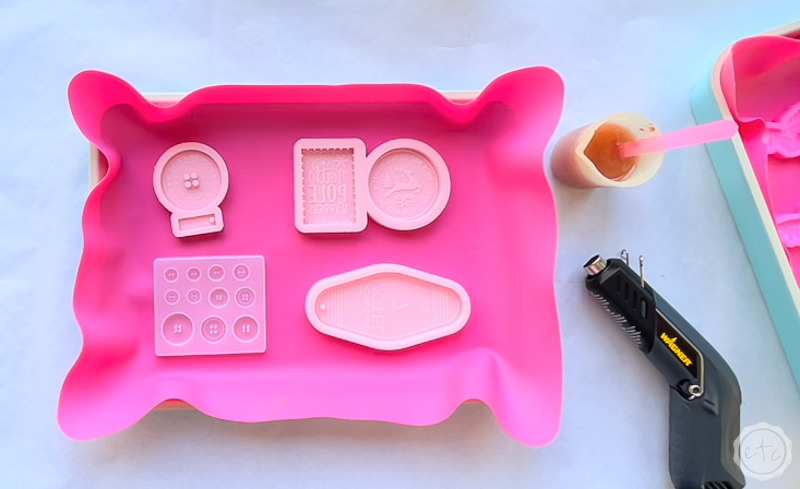
Step 1: Prep your Work Station
Are you ready to resin? Probably not… unless you have a permanent resin station set up in which case I am insanely jealous.
Since I have to set my work station up on the front porch we need to do a little prep work first: gather all our supplies, cover all the surfaces with freezer paper, place all of our molds on silicone (in baking trays) so they can be easily transported into a safe space to cure overnight.
You need a really well ventilated space to work with resin and since I have 5 dogs and a cat inside (without a workspace and air ventilation system) that place (for me) is my front porch. That means a little extra prep work but it’s totally worth it to be able to turn out resin projects like these. Don’t let a lack of work space keep you from creating!
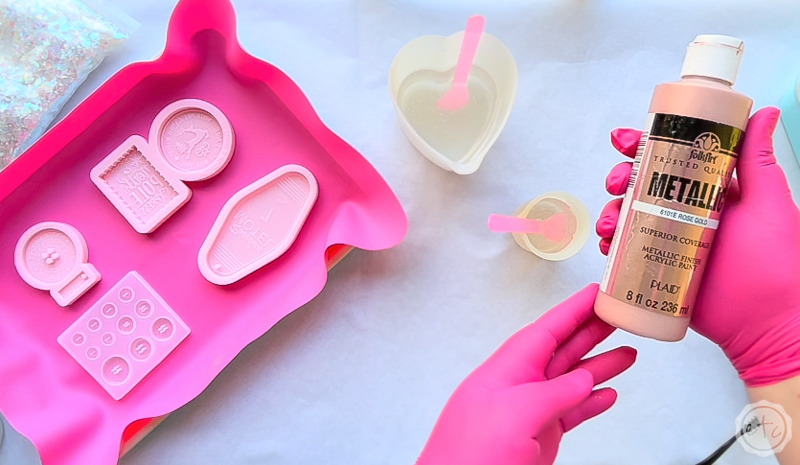
Once you have your space set up make sure you have all of your pigments and glitters. I’m going to make a few of these little guys in different colors but this first one is going to be a metallic rose gold… so I’ll go grab that paint. You definitely don’t want to be mid pour and have to go riffling through your pigment collection… make sure you have all your supplies before you start to mix your resin!
Once you’re all set up it’s time to grab your resin and get started. Resin needs to be room temperature (not too hot or too cold) so I like to leave it inside while I’m setting up so that it doesn’t change temperatures while I’m prepping my space. Resin that’s too hot will cure too quickly and resin that’s too cold will have lots of bubbles… so keep that in mind when gathering your supplies.
You’ll also want to keep that in mind when picking a day to work on your resin creations… a super cold or rainy day won’t let your pieces cure as quickly while a scorching hot day will cook the pieces faster. You want nice weather for a resin work day!
Now that we have everything in one space let’s jump in (before it gets too cold… after all it is winter at the moment!)

Step 2: Mix your Resin
Since I only have one mold for this little keychain (I really should have bought a couple of them so I could make a bunch at once) we’ll start with the rose gold one and then I’ll make the others later.
Sound good?
Start by pouring your resin in equal parts (a and b) into your mixing cup. I like to pour my projects in large groups to minimize the amount of times I have to turn my front porch into a resin workshop but this particular mold used about 30ml of resin… so that’s 15ml of part a and 15ml of part b.
Don’t forget that as soon as you open that resin bottle you need to have on all of your personal protection equipment: gloves, respirator and even eye protection if you have it.
Now make sure to stir slowly for 3-5 minutes until the resin is thoroughly mixed. Scrape the sides and the bottom of the cup often to make sure alllll of the resin is incorporated into the mixture but try not to lift your stir stick out of the resin. You want to minimize the amount of bubbles in the mixture and the easiest way to make bubbles is to a) mix really quickly or b) lift your stir stick out of the cup over and over.
At this point you can add a few drops of your paint… I like to do about 10 drops. Remember that you don’t want to add more than 10% paint to your mixture or the resin won’t cure properly BUT at the same time if you only add 1 or 2 drops your rose gold will be very transparent.
If that’s what you’re going for great but just know what you want before you start adding your paint!

Bonus Tip: If you’ve never mixed resin before it’s not nearly as intimidating as you’d think! I’ll walk you through all the steps here in my How to Mix Resin for Beginners Tutorial.


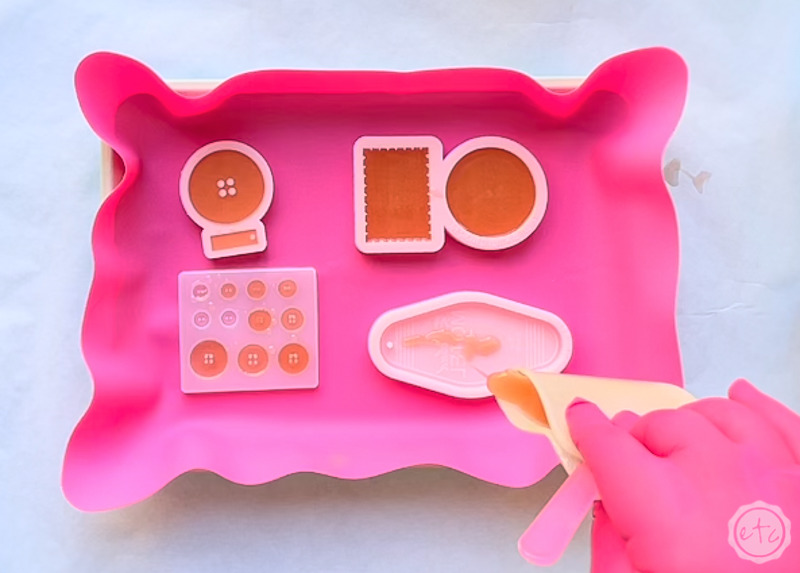
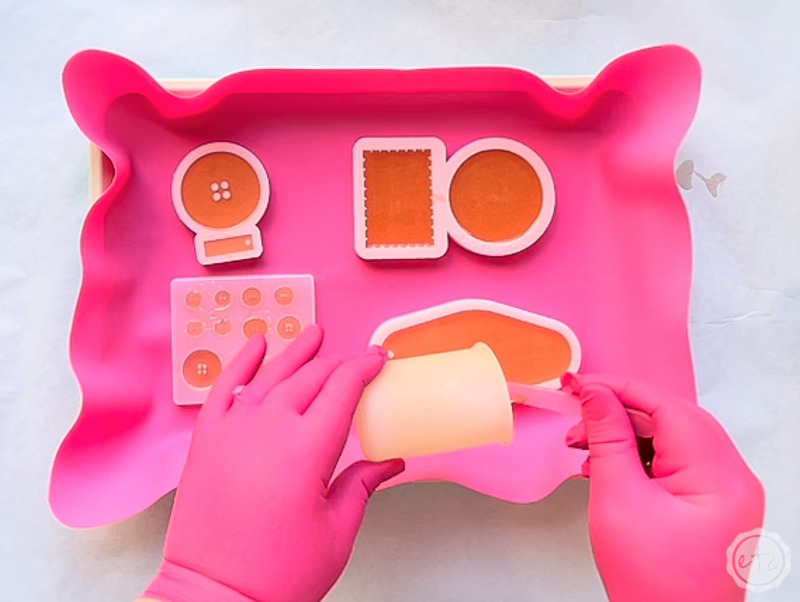
Step 3: Pour Resin into your Silicone Mold
Let’s get to pouring! This is where the magic happens… but it’s also where the bubbles happen so let’s be careful to pour bubble free resin.
Bubbles are great in bubble blowers but not great in resin.
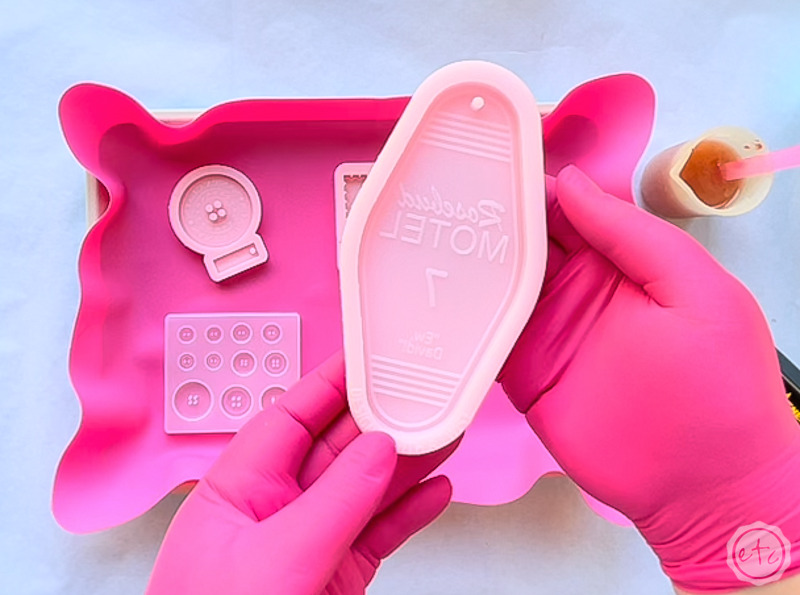
Start by making sure the mold is clean of all dust and dirt then start to pour your resin into the mold in a thin stream. The thinner the stream the fewer the bubbles! Take that stream alllll the way up and make it super thin… trust me, works like a charm.
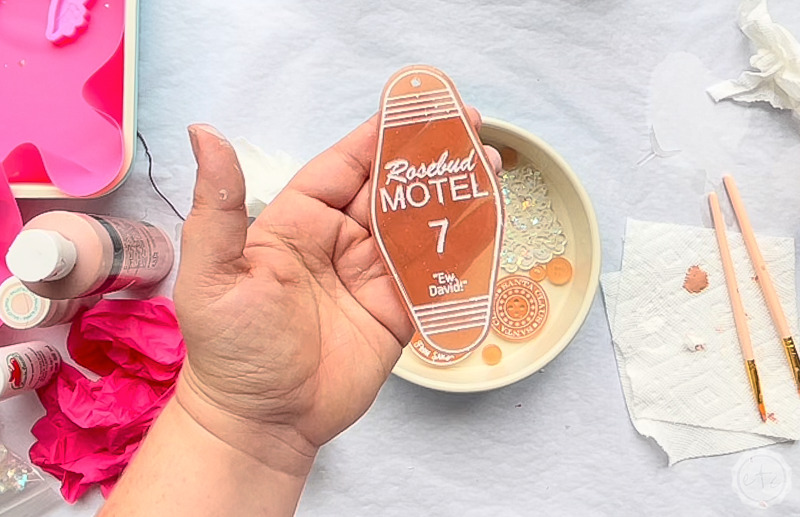
As I’m pouring I like to slowly cover the entire front surface of my mold. Then take a quick pouring break to pop any bubbles that have made their way into the mold. The bottom of the mold is the front of our keychain after all… so the fewer bubbles the better. Plus we want to be able to read all those words!
Especially “Ew David!”
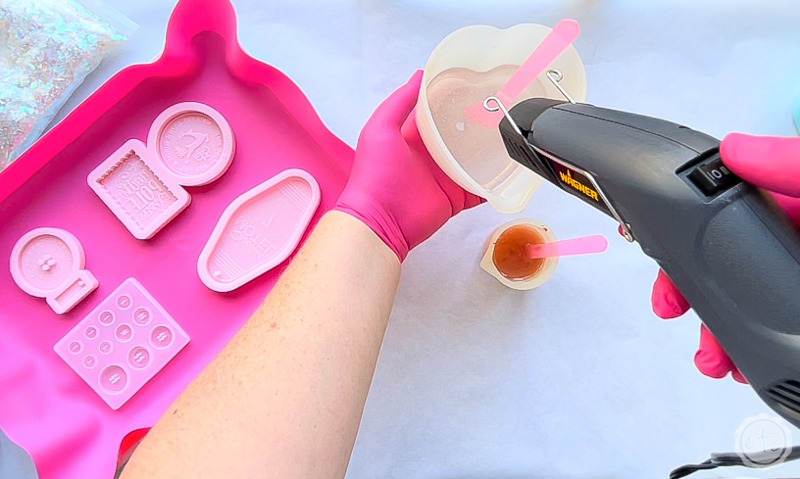
If you see any stubborn bubbles hiding in a corner or crowding the words you can use a toothpick to push any small bubbles to the surface… then blast them with your heat gun. Perfect!
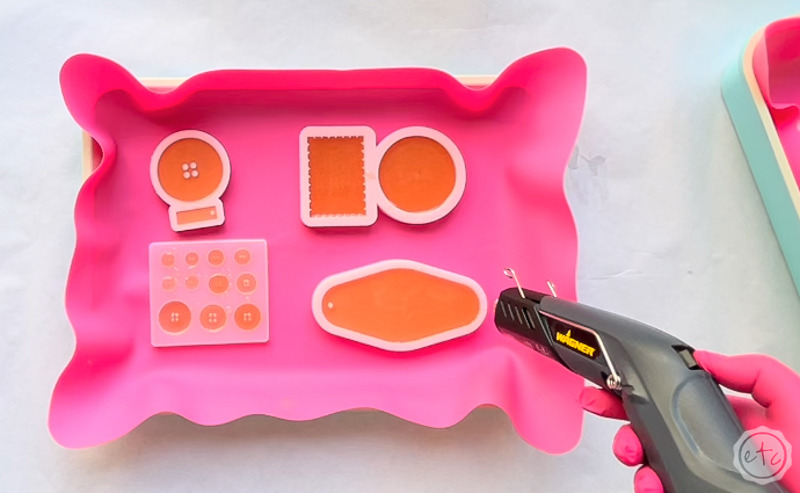
Once you’ve popped all the bubbles set your entire cooking tray in a cool (temperature controlled) location to harden. Honestly? I like to set mine in my guest bathroom so that they’re inside, no one messes with them and I don’t have to smell the cooling resin. It definitely still smells like resin as it hardens (and no one wants to wear a respirator for 24 hours) so you’ll want it to be somewhere out of the way (with a door).
Another tip? Cover the tray so that no dust or dirt (or dog hair) can settle in the resin as it cools. Then leave the entire piece for about 24 hours. Once the resin has cured we’ll move on to de-molding!
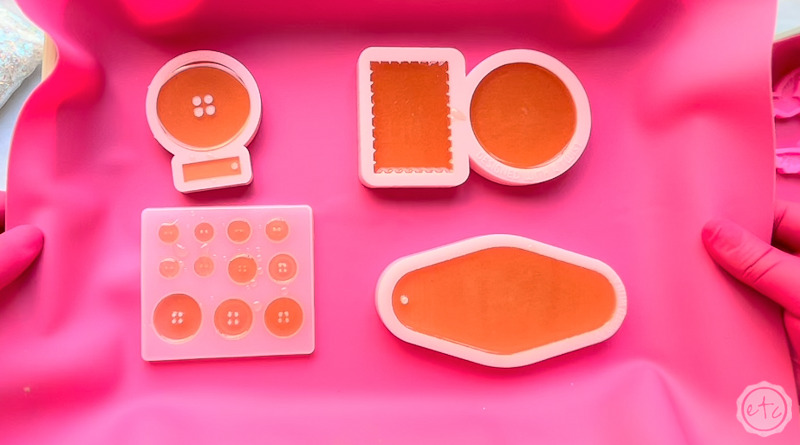

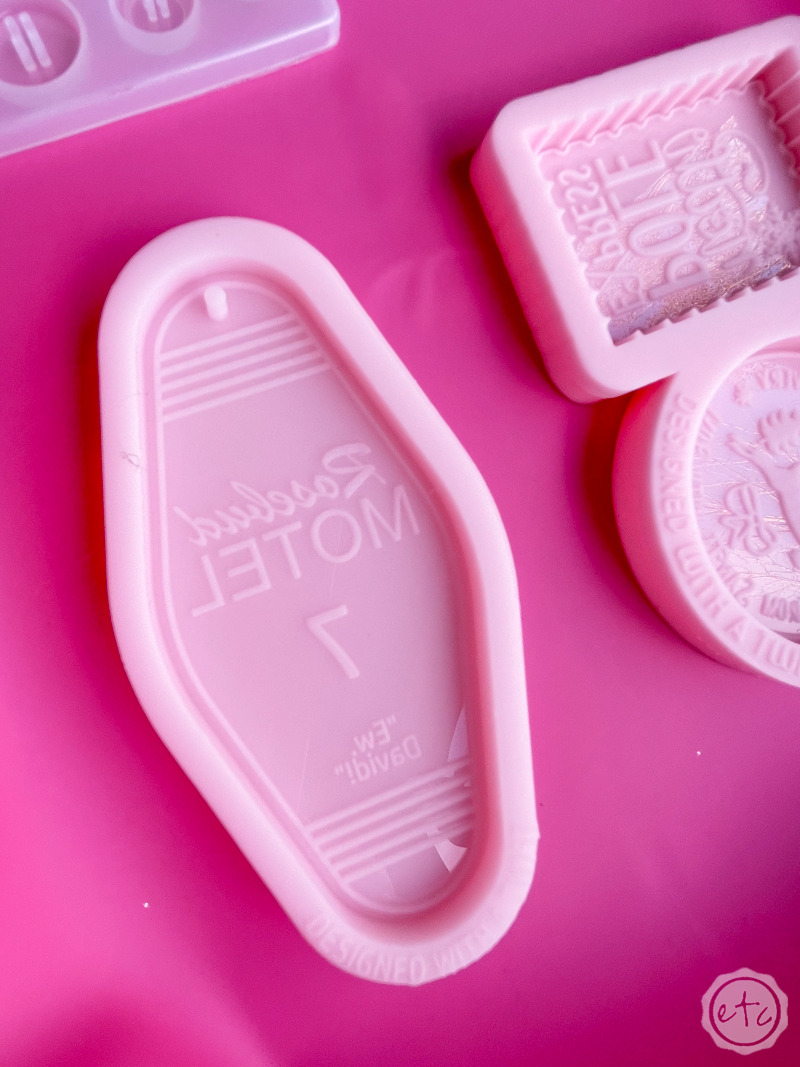
Step 4: De-mold your Resin Piece!
Ready for the fun part? Pulling a fresh resin piece from it’s silicone mold is a special kind of magic. Like popping a piece of bubble wrap or taking the clear film off a new phone.
You’ll want to start from the outside and carefully pull the edges of the silicone away from your piece. The silicone will stretch realllllly far if you need it to but you don’t want to stretch it to far out of shape… once you have the edges all pulled back (so that you can actually grab the resin piece) you’ll want to pull the resin piece free from the mold.
Volia! De-molding finished!
Make sure your silicone mold is clean and you can put it away for the next project (or make another piece… it’s ready to go right away!). If possible try to store all of your silicone molds flat in a temperature controlled place so that they don’t distort and warp over time. Perfect!


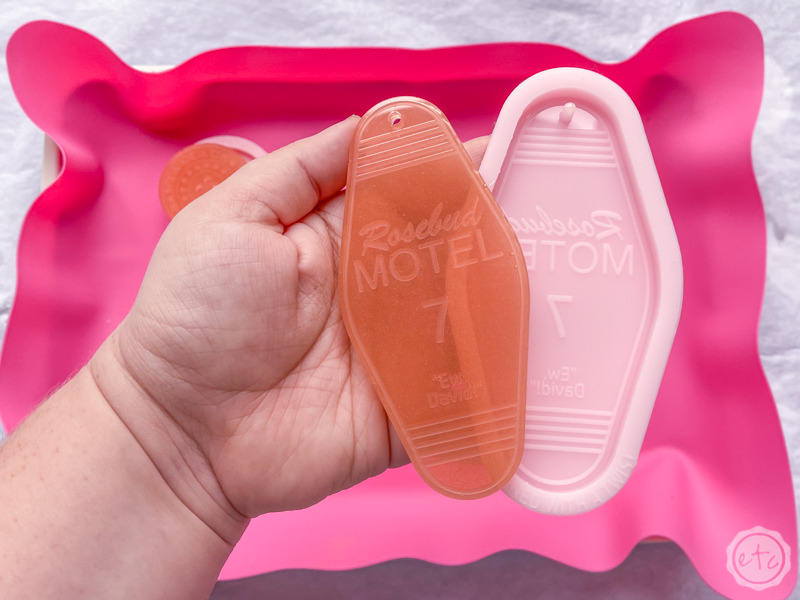
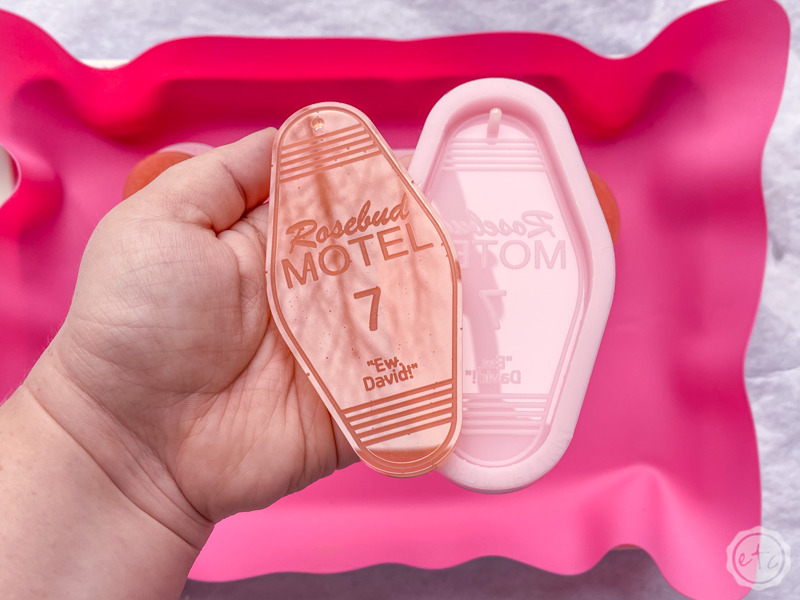
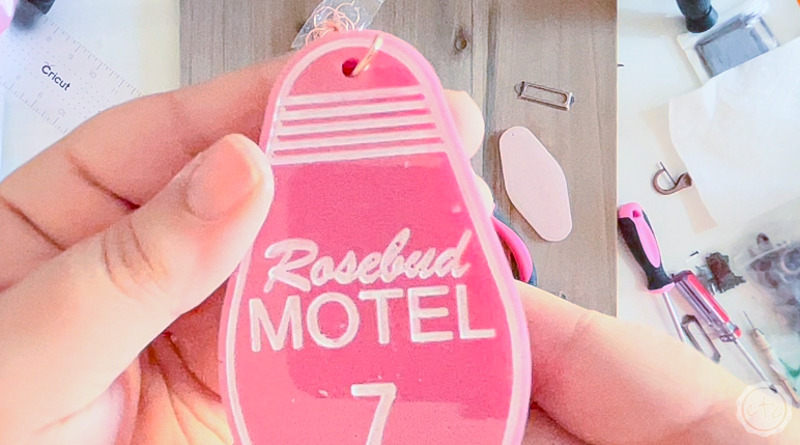
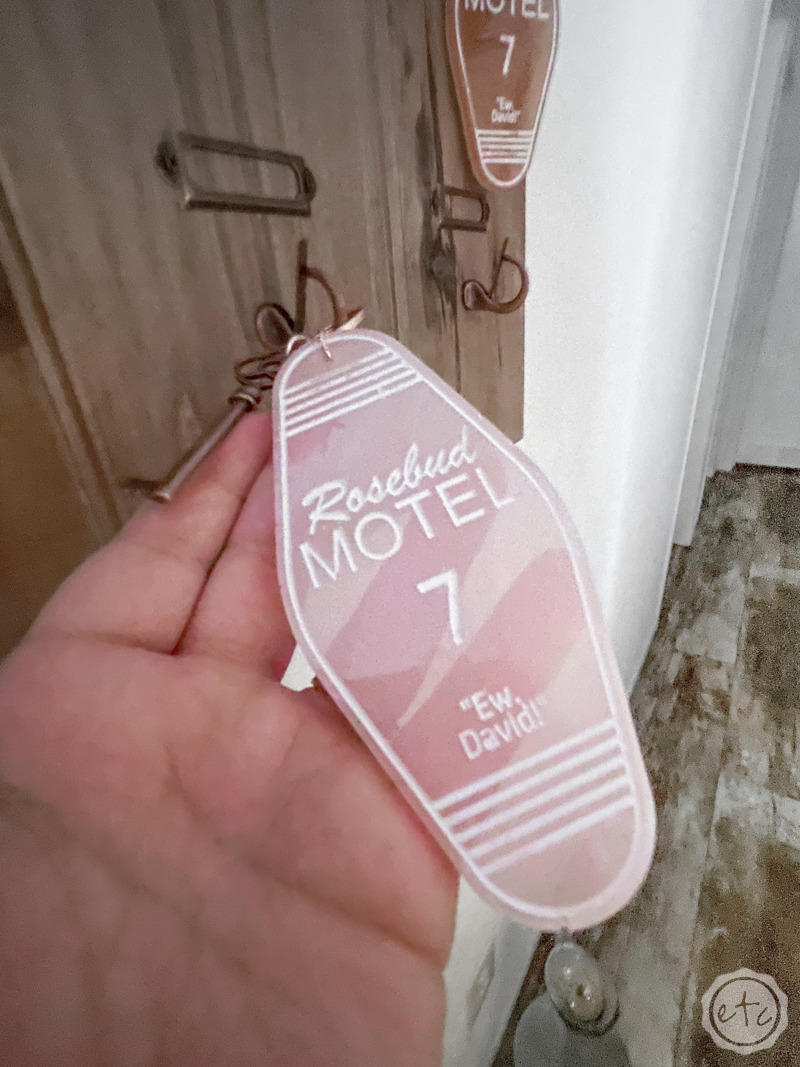
Step 5: Paint the Indention’s
At this point you could be finished… but do you see the difference in the resin pieces above? How when the sun hits them the surface is shiny and the words are clearly visible? That’s great but we can’t rely on the sun alllll the time. Plus I kind of want to be able to read my keychain without needing to tilt them this way and that way.
So instead of relying on the sun we’re going to use a little paint to highlight those indention’s.
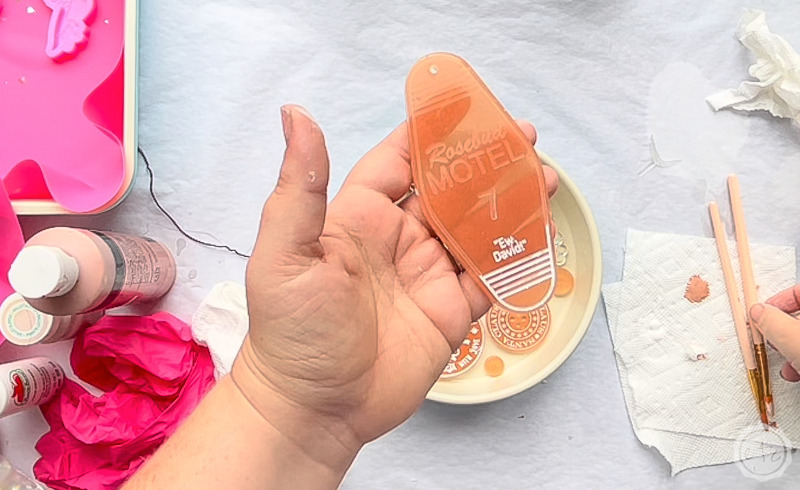
Luckily this is a pretty easy process.
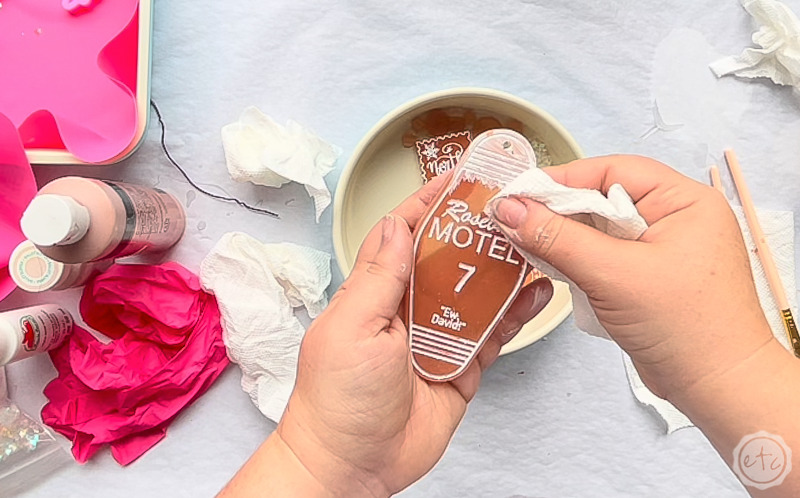
Basically we’re going to add a bit of craft paint to our piece and then use our paper towel to wipe the paint off. This will leave the paint in the indention’s while the surface is super shiny smooth.
Perfect!
A few tips? The paint wipes off super easy while it’s wet so work in small sections… paint, wipe, paint, wipe. Another tip is that if you’re having trouble removing paint from small areas a q-tip comes in handy!

Ready for the last tip? When you’re painting try not to put paint alllll over the sides of your piece. It will wipe off but I find it way harder to remove paint from the sides v.s. the front (go figure) and honestly it’s much easier to just avoid painting the sides in the first place.
At this point our little resin pieces are finished! You could easily add a ribbon to these bad boys and hand them out as Christmas presents… but I had a completely different idea.
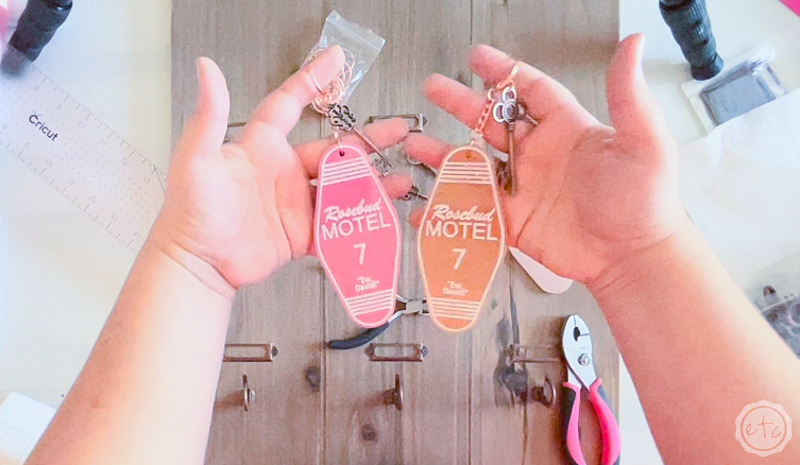
I added a pretty rose gold keychain and a vintage style key so that they look perfect when I hang them on my vintage motel key hook rack.
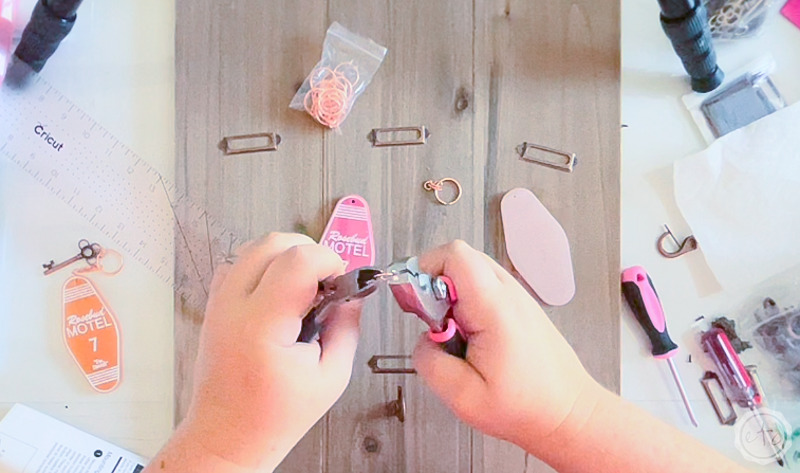
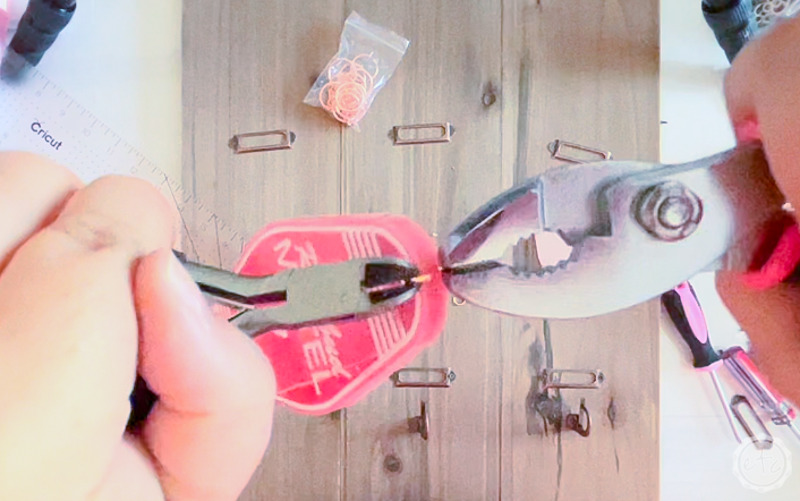
Step 6: Attach the Keyring
Alright y’all this part is pretty easy but even easy things can be confusing so here we go. In order to make this little guy a keychain we need to attach a keychain. All that means is taking a large jump ring and opening it with a pair of pliers.
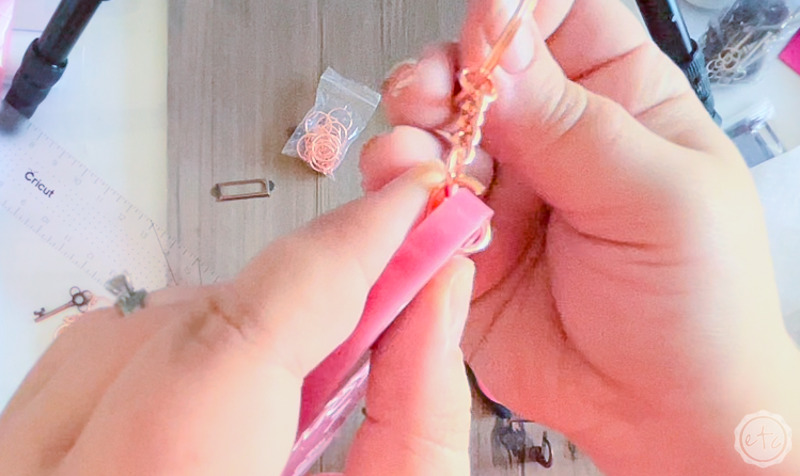
Then while the jump right is open you can thread it through the top of the Rosebud Motel Keychain. While the jump ring is open go ahead and add the chain of your keyring to the jump ring.
Then close the jump right with your pliers!
Volia!
I added an antique style key to the top of my keyring with an extra jump ring but if you’re going to use this little guy as a functional keychain you could easily leave that off.
Whatever floats your boat!
Ready for the grand reveal?


Looking for more resin projects? I’ve got you covered!


Leave a Reply