


Last weekend I made a few resin pieces (most of them were for Christmas like these little iridescent hummingbird ornaments or these adorable Christmas postage stamps) but I made a few everyday pieces as well (like these little resin gnomes!) and these extra adorable, super sassy, Schitt’s Creek inspired Rosebud Motel Keychains.
They’re sooo cute!
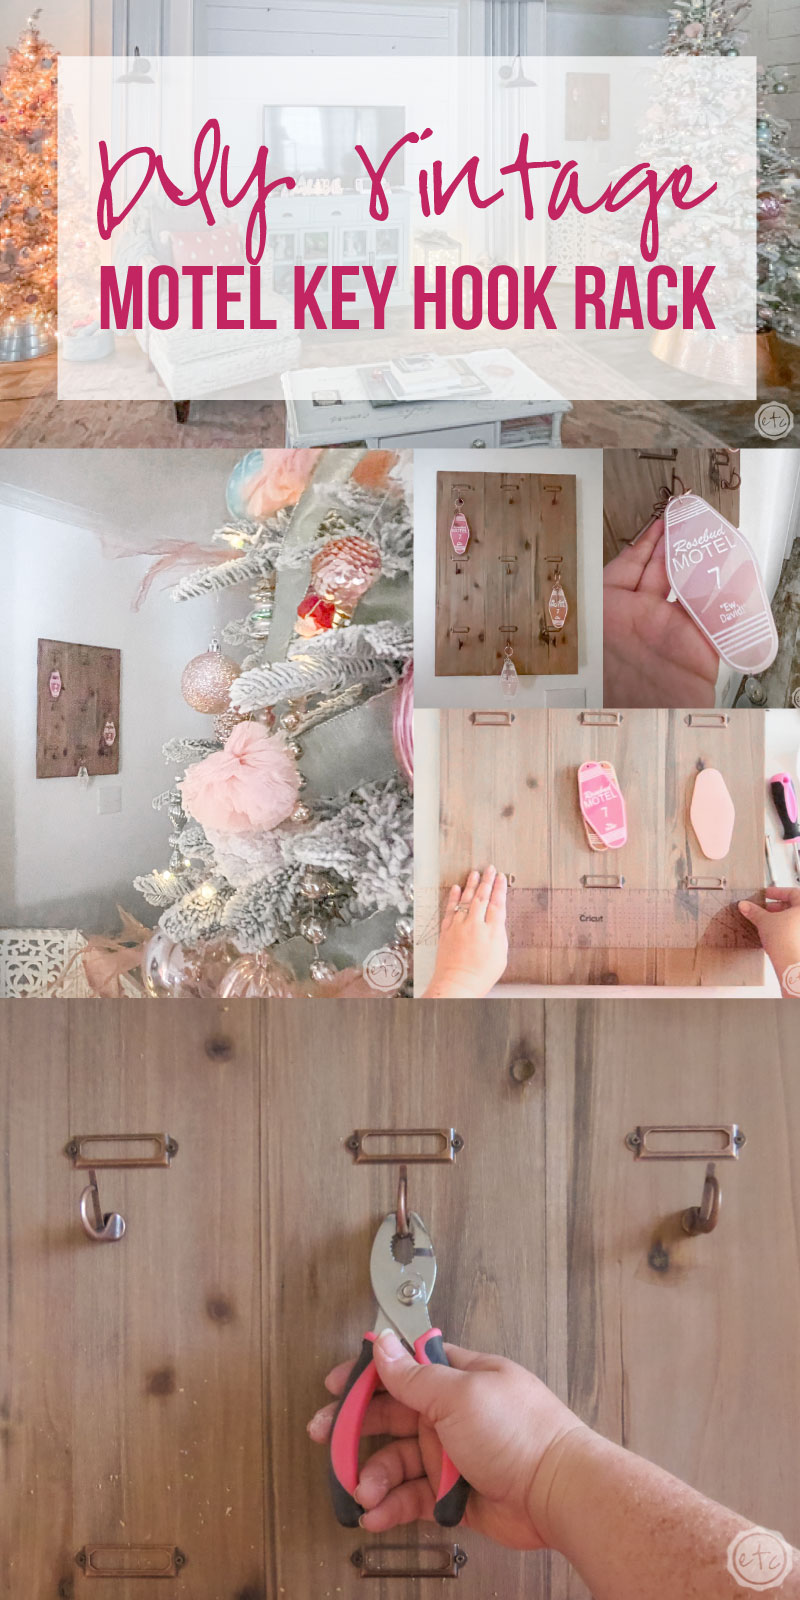
But I made a few of them and instead of weighing down my car keys with resin keychains I decided to switch routes and whip up a little Vintage inspired motel Key Rack.
This little sign is so cute… and it’s easy to make! The entire piece took about 30 minutes from start to finish.
Ready to get started?
Supplies:
- Copper Label Holder
- Wooden Sign
- Vintage Skeleton Keys
- Resin Rosebud Motel Keychain
- Bronze Cup Hooks
- Power Drill
- Small Drill Bit
- Hand Drill
- Small Screw Driver
- Pliers
- Straight Edge (I used my acrylic ruler from Cricut)

Step 1: Determine your Layout
First things first… before we can start to attach things we need to lay everything out so we can determine the perfect spacing. If you’re using the same board as I am then you’re good to go (I already figured it out) but if you’re using a different sign take a minute to figure it all out first.
In my case my little sign has 3 boards running vertically across the sign. So I decided to run with that and make 3 columns of labels & hooks. Next you have to decide how many rows you need… in my case I wanted my Rosebud Motel pieces to fit perfectly between the hooks so I simply placed those on my sign to see how much space I needed.
Turns out that 3 columns across and 3 rows down was the perfect number. If I wanted to do a header or a label for this little sign I could have left off the top row but I decided it was good enough without a header.
Once I had decided on spacing I laid out all my label holders and used a straight edge to line them up straight across each row. Just make sure the edge of your straight edge is flush against one of the straight edges and you’re good to go.
Once everything was level across the front I made sure each label holder was in the middle of it’s specific column… and now we’re ready to start attaching these babies!


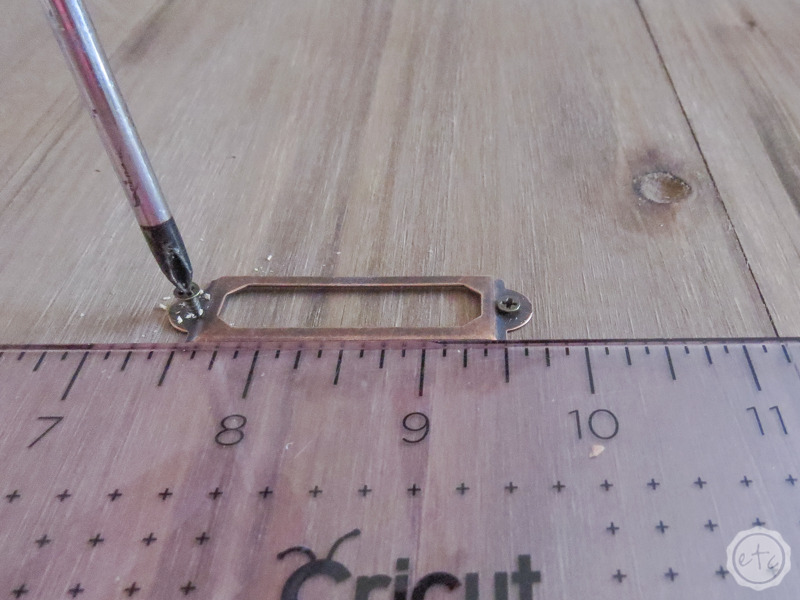
Step 2: Attach your Label Holders
Here’s the thing… these label holders come with the smallest screws ever. They’re like eyeglass screws!
They also do not want to screw into this hard wood sign without a little bit of help… so I grabbed my little hand drill and a tiny screw driver and set to work.
For each label holder I carefully held the label holder in place while I used the hand drill to drill a hole through the pre-drilled hole on each side of the label holder.
Once I had a hole on either side I used my tiny screw driver to screw the tiny screws in to place.
Perfect!
Honestly I probably had a tiny drill bit and screw driver I could have used used with my power drill but I didn’t want to hurt anything. I’m not great with a power drill for precision work.


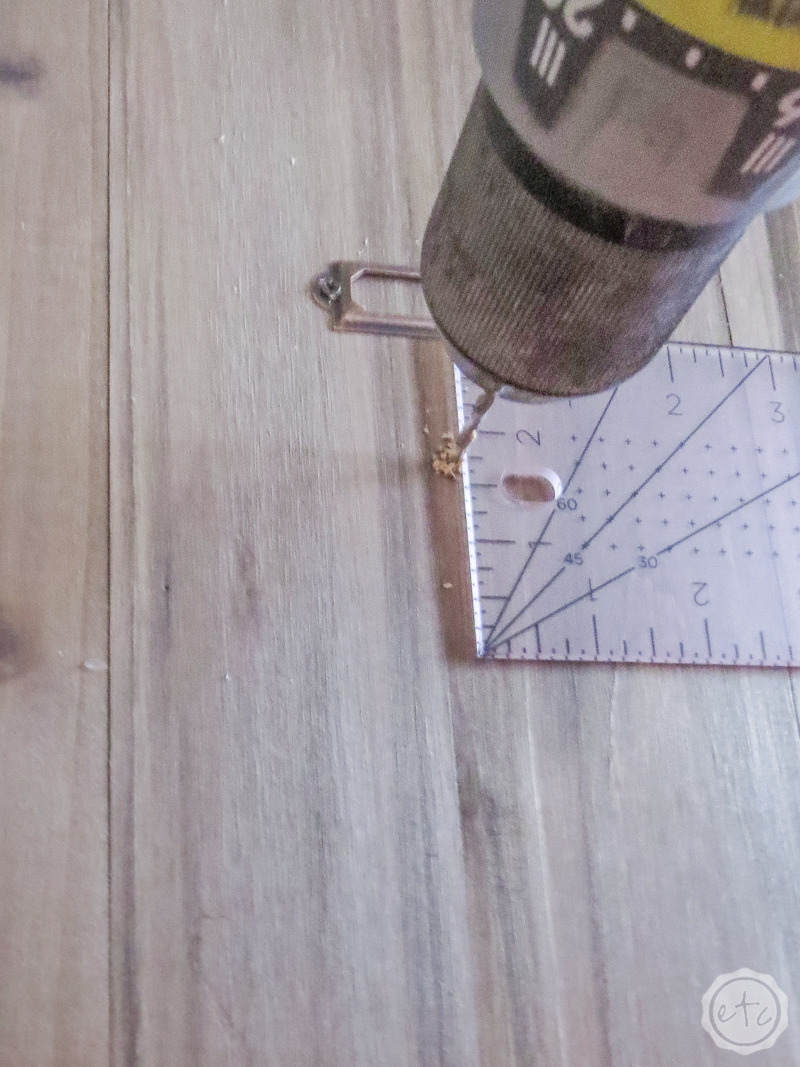
Step 3: Attach your Cup Hooks
Ready for the next step? Which is also the last step!
Let’s add our cup hooks (so we have something to hang our keyring’s on!). I did use a powerdrill with a small drill bit for these guys… since the screw end of these cup hooks is quite a bit bigger than the small screws from the last step. I didn’t want the wood on my sign to split so pre-drilling is always the safest solution.
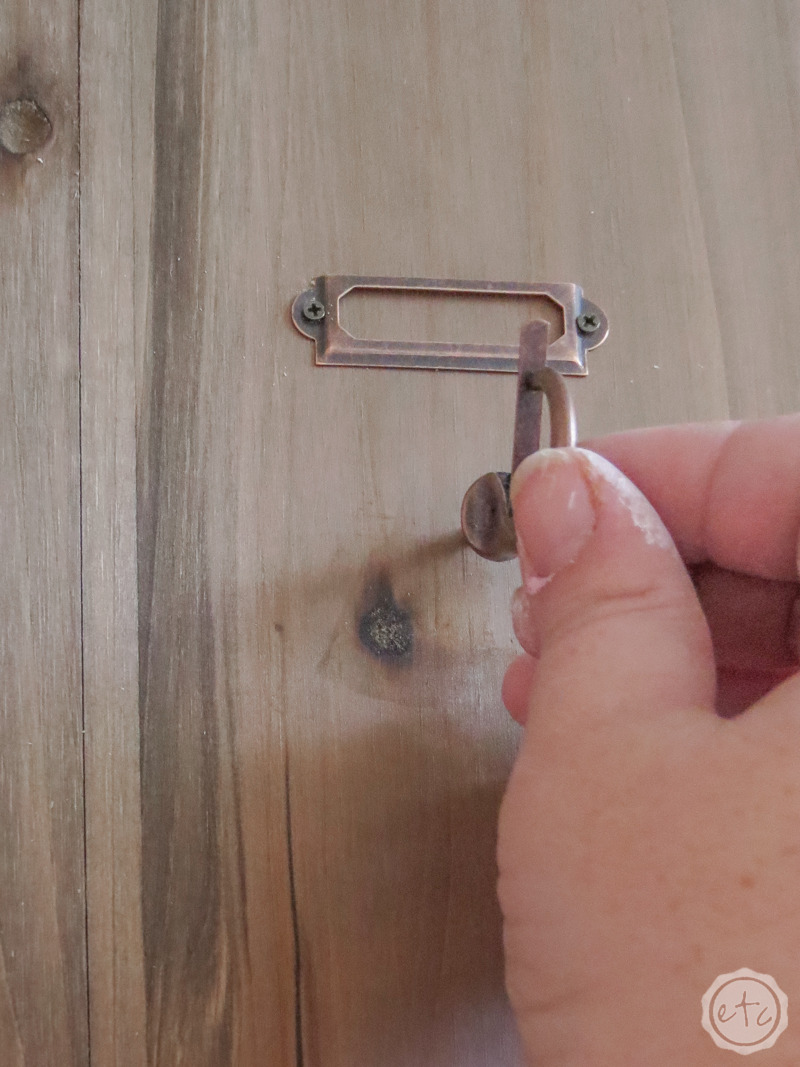
Start by drilling a hole underneath your label hook. I tried to be consistent with this and drilled about 1.25 inches underneath each label holder (so that all the cup hooks are at the same height). Then I added the cup hooks!
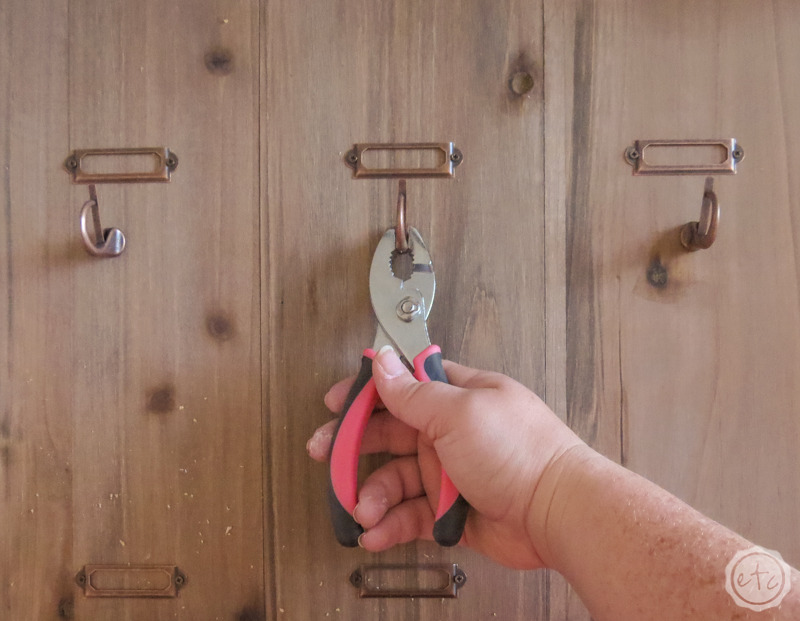
Even with pre-drilling the holes it was hard to screw in the cup hooks… I went as far as I could with each hook and then used my pliers to finish attaching everything.
One last tip? My sign has two pieces of wood going across the sign in the back (these are braces that hold the front 3 columns in place). I placed my cup hooks so that the top and bottom hooks went into these wooden braces. Since the cup hooks are thicker than the sign without these braces the screws will poke out of the back of the sign. Which is what happened with the middle row (that doesn’t have a brace to drill into).
It’s hidden in the back of the sign and the screw tips aren’t sharp enough to be dangerous but keep this in mind if it’s a deal breaker for you… maybe find smaller cup hooks.

Step 4: Enjoy
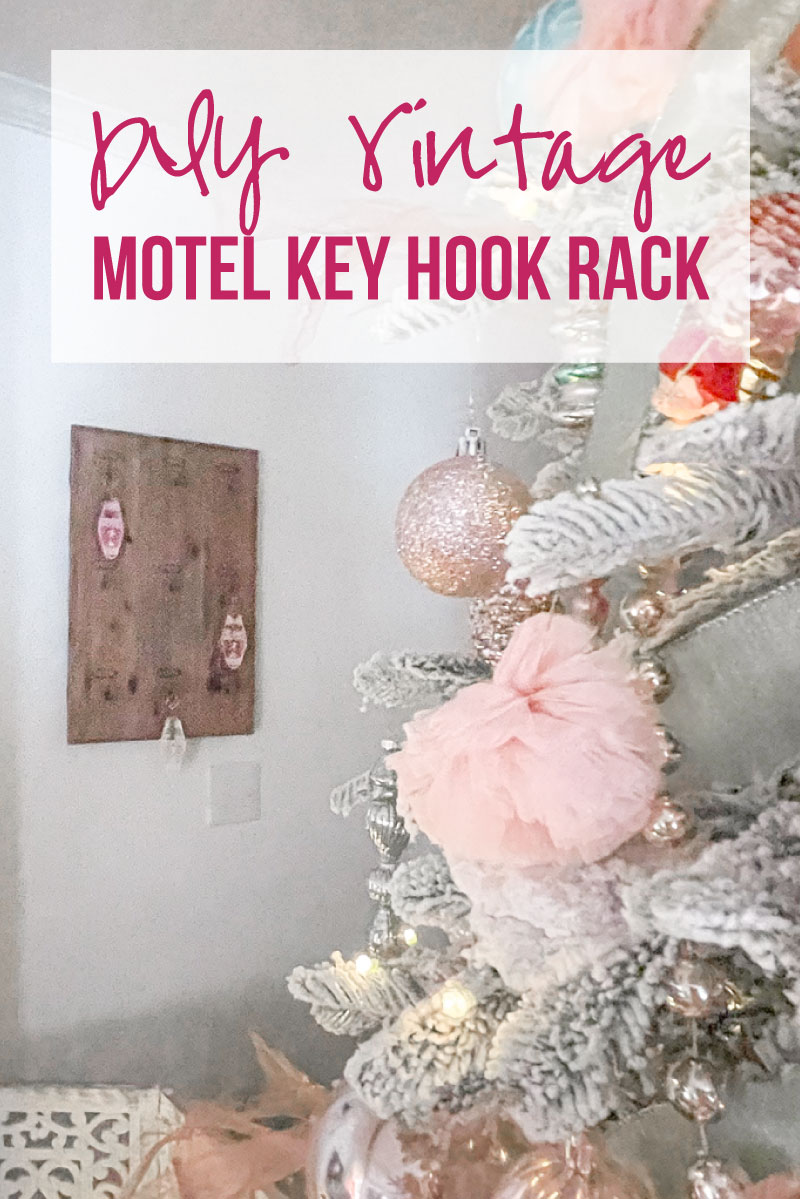
Now you can add your little Rosebud Motel keychains and enjoy! I ended up hanging this little sign to the right of my tv to counter balance the picture grouping I have on the left (this cute Letters to Santa Mailbox, a few resin Christmas Postage Stamps and the sweetest Dear Santa sign that I made with my Cricut).
I absolutely love how it turned out!
Ready for the pictures?


Leave a Reply