

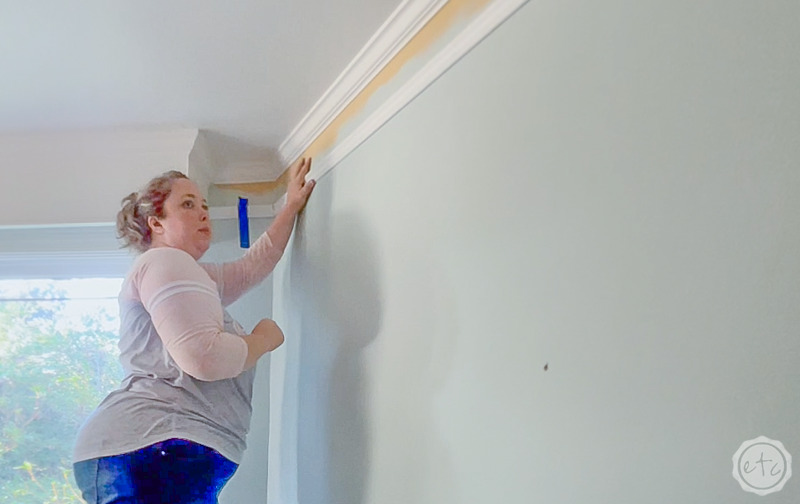
Last week Mom and I decided to install a bit of new molding to her living room to extend the already existing trim for an extended crown molding look. It’s actually glorious BUT we figured out pretty quickly that morning that our angle finder was lost. Instead of wasting time running to the store for a new angle finding tool we used a few pieces of scrap wood to measure the 2 angles in our room that weren’t standard.
I looked this little trick up on YouTube and it worked really well and was super easy… but I still managed to screw it up once or twice. Don’t worry I’ll show you how I screwed it up so that you won’t make my same mistakes!
Since the instructions I found weren’t quite as foolproof as I would like I figured I’d take my new found expertise and write a little guide here to finding the angle of any corner without tools (the easy way). I hope this helps someone!
Let’s get started.
Supplies:
- 2 pieces of scrap wood (that are the same width)
- Pencil
- Miter Saw (Manual like the one we have)
- Miter Saw (Electric like the one we want)
- Worx Portable Work Table
- Clamps
First things first… if you have an angle that’s less than 90 degrees you’ll need to use one method and if your angle is greater than 90 degrees you’ll need a slightly different method. So make sure to keep the two methods straight!

How to Measure an Angle that’s Less than 90 Degrees
Step 1: Mark Scrap Wood
Let’s jump right into it.
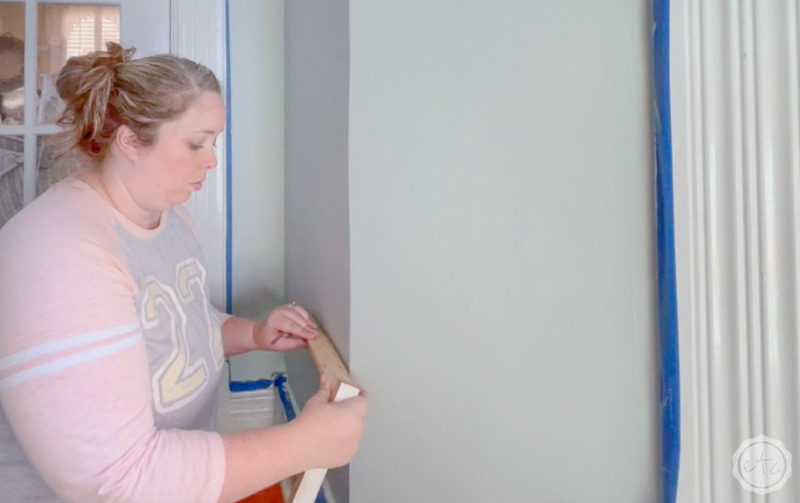
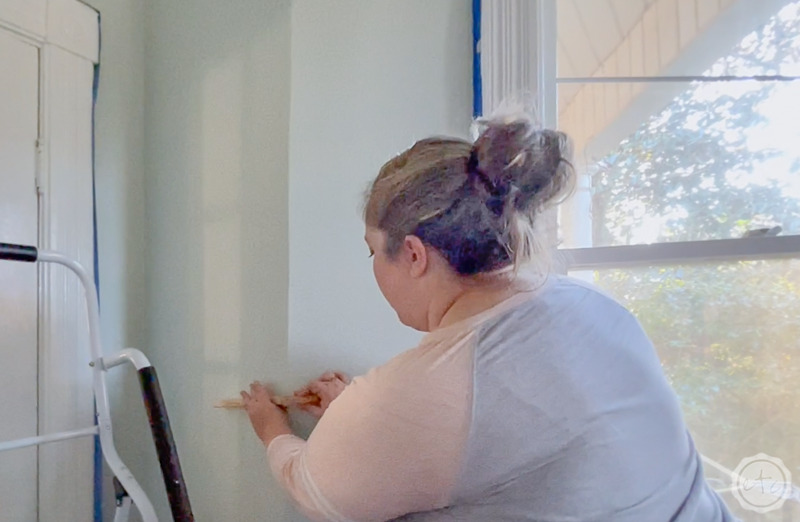
For an angle that’s less than 90 degrees we’ll start by placing our first piece of scrap wood flush to the wall on the left. Make sure that the corner of the piece of scrap wood is in the corner that you’re measuring. Making sure your scrap pieces of wood are placed accurately is going to be very important to getting an accurate measurement here.
Once the first piece is secure to the wall go ahead and place the second piece of scrap wood on top. This piece should be flush to the right side of the wall with the edge firmly in the corner. Getting those edges lined up corner to corner… in the corner is where all the magic happens. If these 3 points don’t meet in the corner you won’t have a tight fit.
Now take your pencil and trace the bottom of the right board onto the bottom board. This will give you a line that should intersect with the bottom of your piece of scrap wood. That bottom point (where the line hits the bottom of the wood) is the part of the measurement you need.
To find the angle all you need to do is place a straight edge on that bottom mark (where the line you drew hits the bottom of the wood) and draw a new line from that mark to the top corner of the scrap wood.
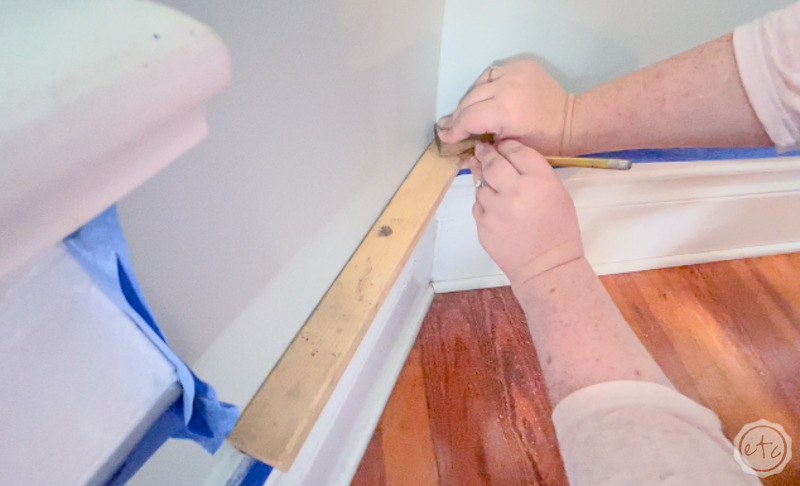
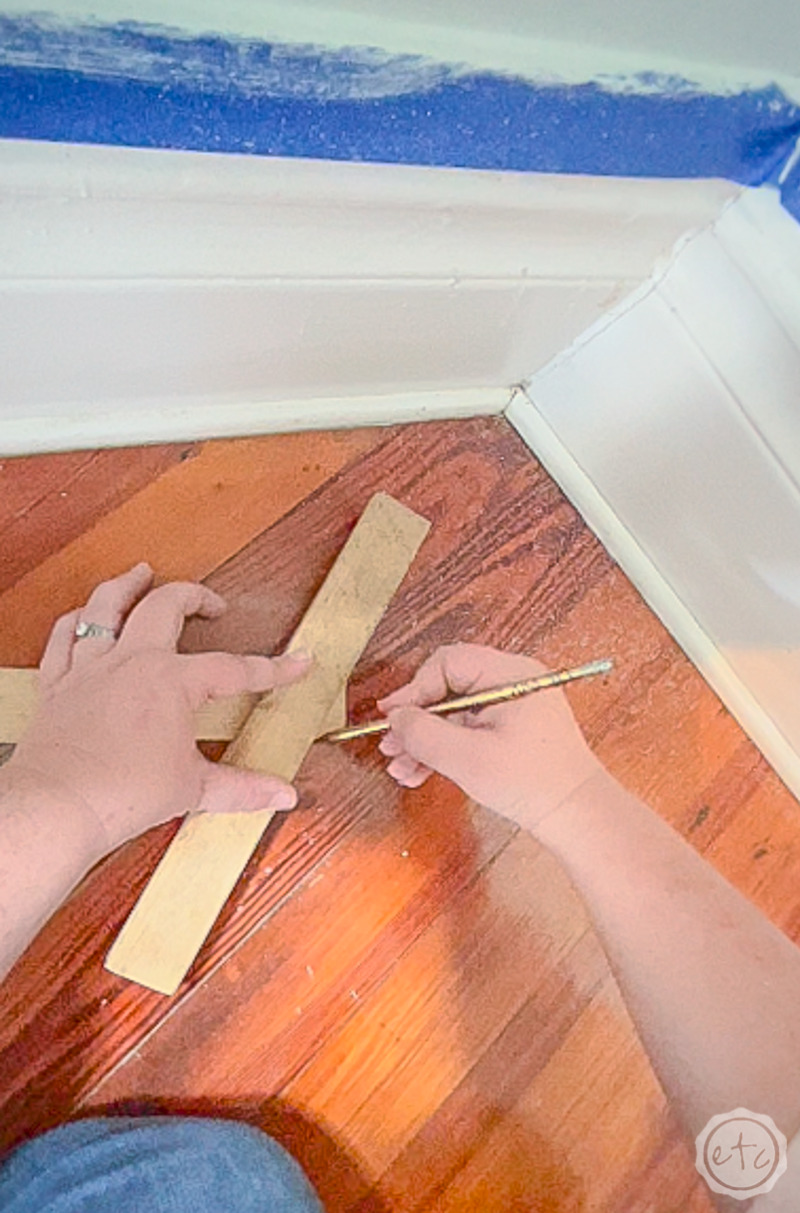
See how this looks? Draw that line nice and dark… this is the angle you needed. Now take your piece of scrap wood to your miter saw to determine the cut line for your mitered cut.
Step 2: Cut your Scrap Wood
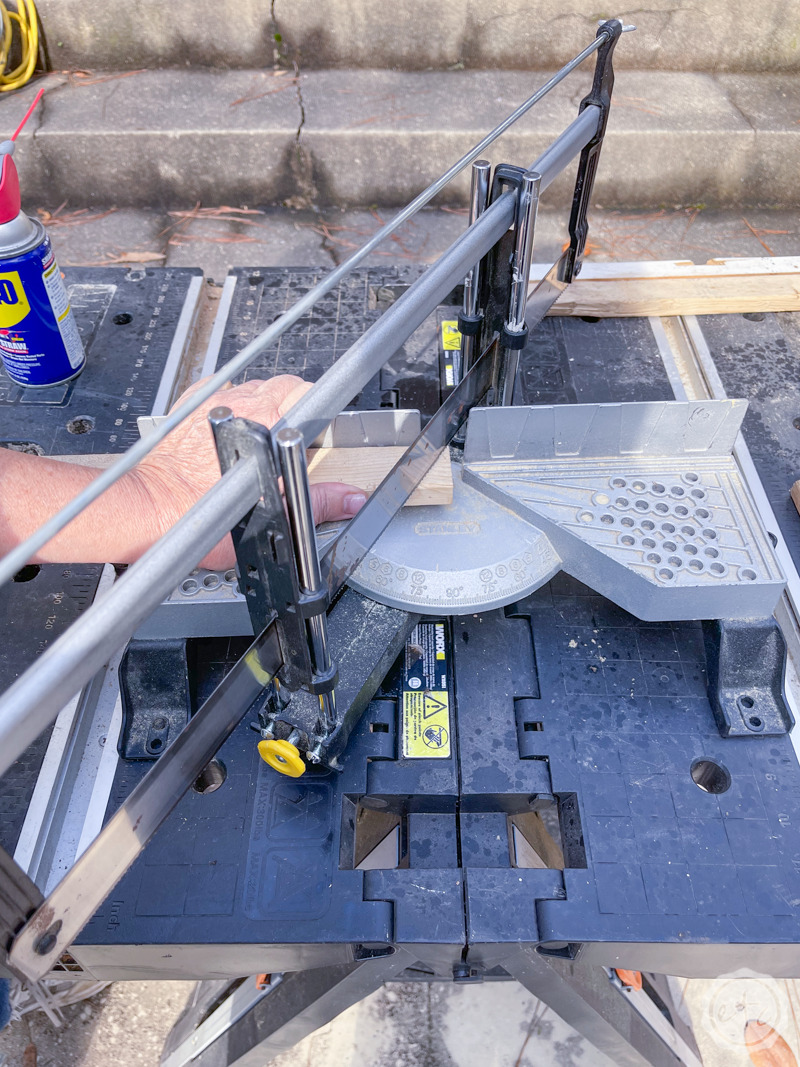
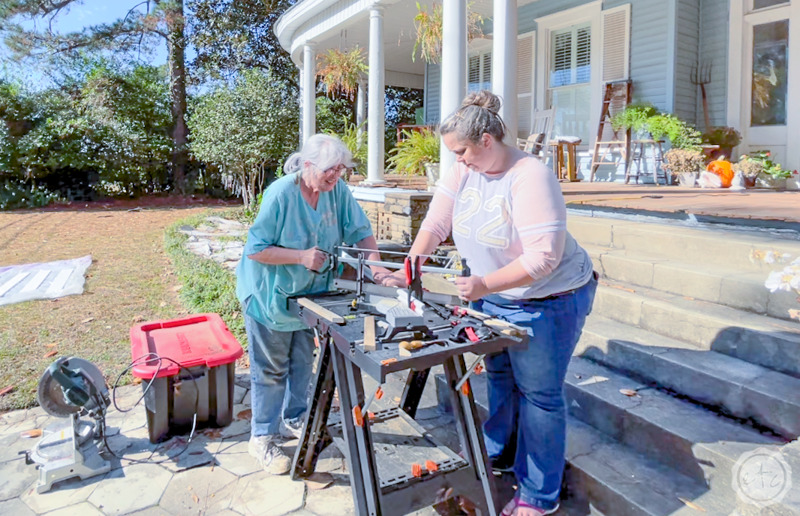
Let’s cut this bad boy! Now that we have our angle marked on our piece of scrap wood this next part should be super easy. Go ahead and place your wood onto the miter saw and clamp it down if you need the added security (it’s definitely helpful for the manual miter saw like I’m using).
Then adjust the angle of the miter saw until the actual saw blade lines up over the cut line you drew. Now you can read the angle of your corner! Go ahead and cut that angle… then leaving the miter saw set to the exact angle you just cut go ahead and cut a your second piece of scrap wood with the same setting.
When you flip the second piece of scrap wood over you should have two opposite angles that will fit perfectly into your corner. Let’s go try it!

Step 3: Test the Angle
I took my two little pieces of scrap wood inside and volia! They fit perfectly!
The perfect mitered cut to my exact angle measurement… all without a tool. Of course, it’s on two pieces of scrap wood and that doesn’t really help in the long run so let’s head back to the drawing board and cut our actual pieces of molding.
It’s time for the real deal.

Step 4: Cut the Molding
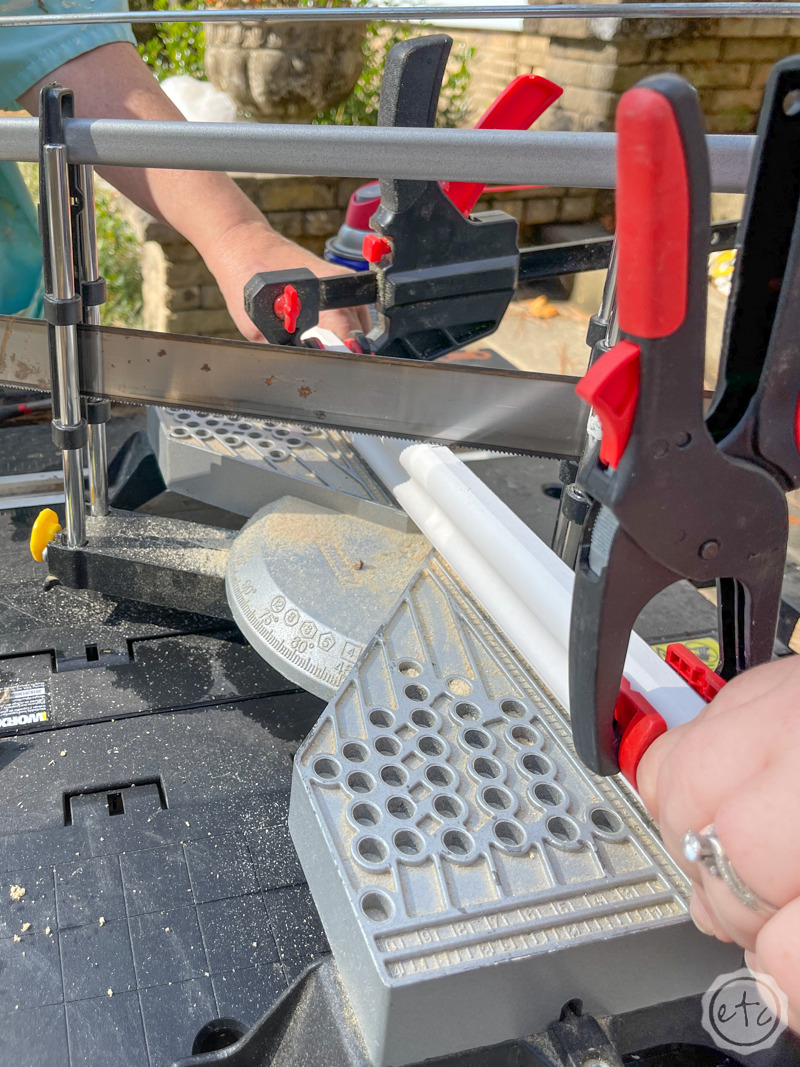
Now that you know which angle to cut it’s time to actually cut the molding! Just keep in mind that the first piece will be exactly the same angle as our test piece. That little section of wall between the cornice board and the corner needs to be 9.5 inches so I’ll cut my first angle with 9.5 inches of molding on the left side.
Then for the next angle we need a full piece of molding as this is a long wall.
But instead of cutting the angle identical to the first piece we’ll take the new piece of molding and flip it over so that the top is down and the bottom of the molding is up. THEN we’ll cut the angle. This way when we finish and turn the molding back over the two angles will be opposite and fit together perfectly.

Step 5: Install your Molding!
Now that you have the perfect angle you can install it on the wall. I like to use my brad nailer to secure the molding to the wall… then a bit of caulking under the molding and paint to cover the brad nails and we’re good to go!
I included a few pictures of the finished trim down below or you can check out the full installation post where I show you exactly how to extend your existing crown molding here.
How to Measure an Angle that’s Greater than 90 Degrees
Step 1: Mark Scrap Wood
If you have both angle types in your room like I do then this section will seem similar with a few key details (mainly how to mark your angle) but if you only have a larger angle then let’s jump into this.
Start by placing your piece of scrap wood flush to the wall on the left and extending past the edge of the corner. We’ll need to draw on this extended part of the scrap wood so leave plenty of space.
Next take your second piece of scrap wood and place it flush against the wall on the right… again extending past the corner and the first piece of scrap wood.
Perfect!
Now take your pencil and carefully trace both sides of the top piece of scrap wood onto the bottom piece.
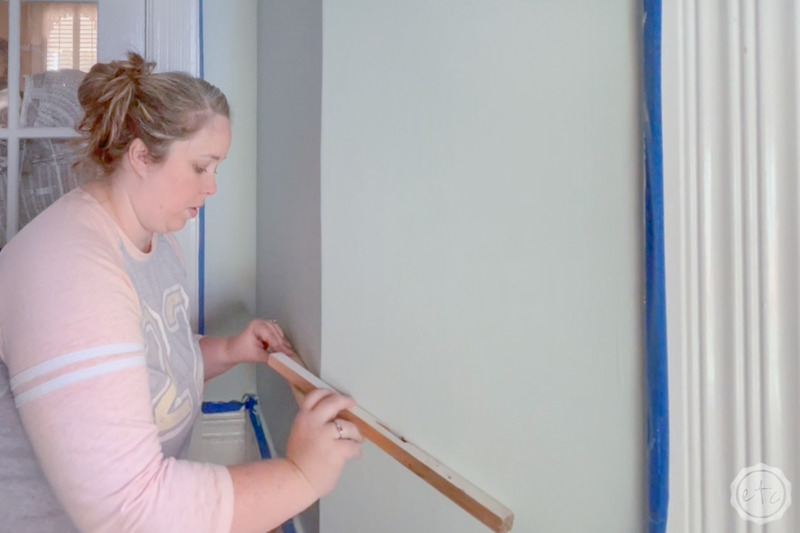

This should leave you with 2 lines on your wood. Now this is the easiest part… take a straight edge and draw a line connecting the two inside corners on your piece of scrap wood.
The pencil marks I used here were a little hard to see so I traced over them on my computer for you… the pink line is the angle we need to draw connecting the inside corners. It’s also the angle we’re looking for!
At this point we can completely disregard the gray lines… we only need the pink line. This middle line is the one we’re going to cut with our miter saw.
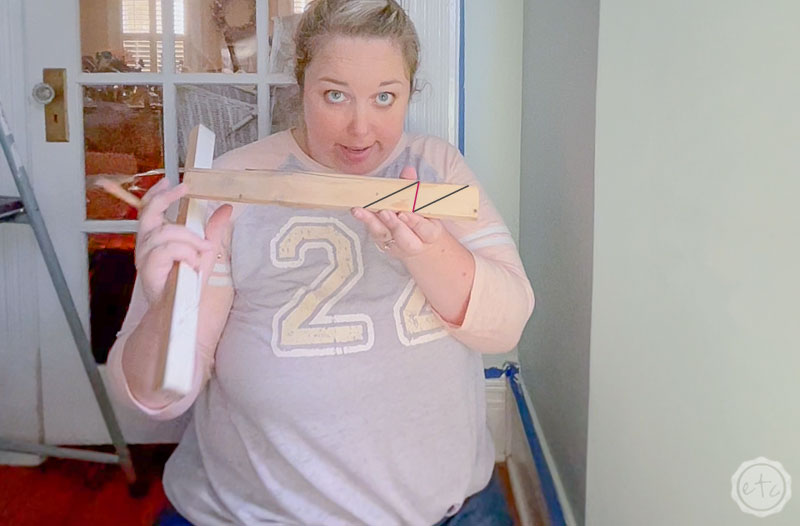
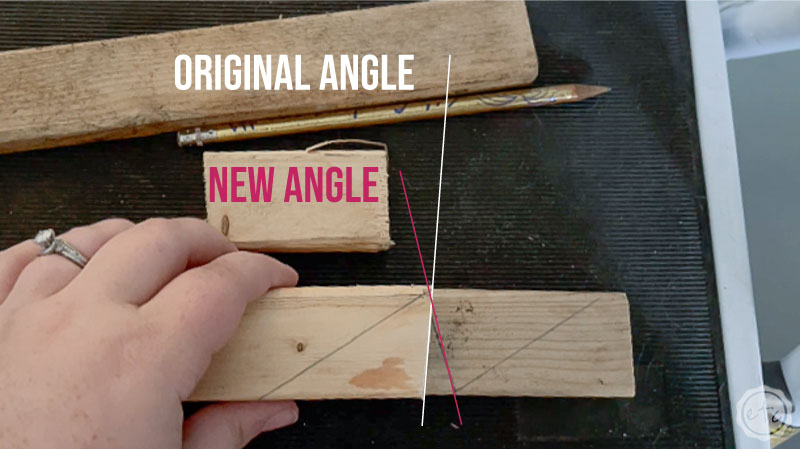
Here’s where I went wrong.
When I measured and cut the first angle (the one smaller than 90 degrees) my two pieces of scrap wood were conveniently the same width. HOWEVER when I measured my larger angle the two pieces of scrap wood were less conveniently different widths.
Which I didn’t think anything of until I cut my angles, brought them inside and they didn’t work.
So here’s my hot tip. Use two pieces of scrap wood that are the same width. The differences in the boards makes a huge difference and it will really throw off your measurements.
Just take a look at the photo above.
After a small panic attack I took two boards of the same widths and re-measured this corner using the same exact technique. But even though the technique is the same look at the difference in the old angle (where I used two different sized boards) and the new angle (using the same sized boards). That is quite the difference in angle!
News flash… the white line representing the old angle? It did not work. It didn’t even come close to wrapping around the corner. The pink line however… that cut worked like a charm.
So let’s get back to it. At this point we have our marked line and we’re going to go test it out by cutting that pink line on our miter saw.
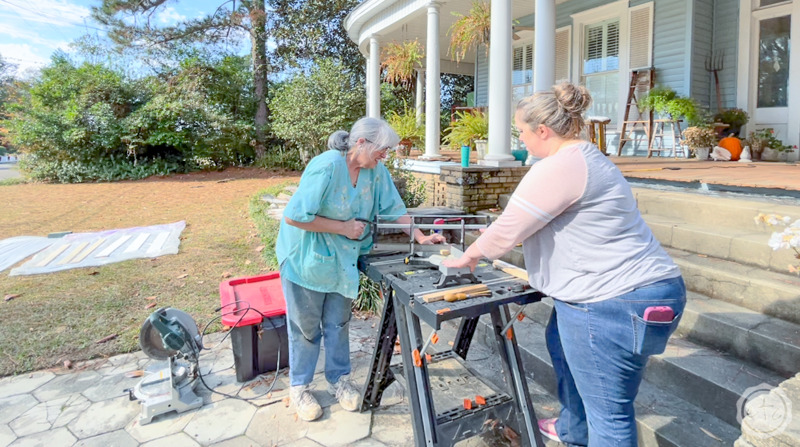
Step 2: Cut your Scrap Wood
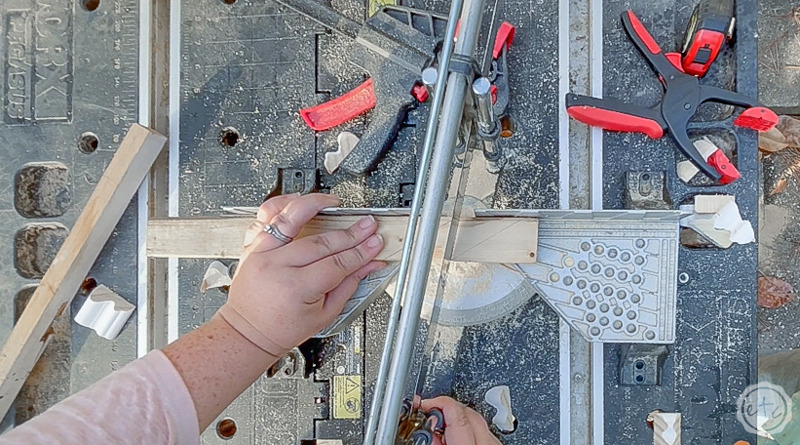
Ready to cut the correct angle? Go ahead and place your wood onto the miter saw and clamp it down if you need the added security (it’s definitely helpful for the manual miter saw like I’m using).
Then adjust the angle of the miter saw until the actual saw blade lines up over the cut line you drew. Now you can read the angle of your corner! Go ahead and cut that angle… then leaving the miter saw set to the exact angle you just cut go ahead and cut a your second piece of scrap wood with the same setting.
When you flip the second piece of scrap wood over you should have two opposite angles that will fit perfectly around your corner. Let’s go try it!
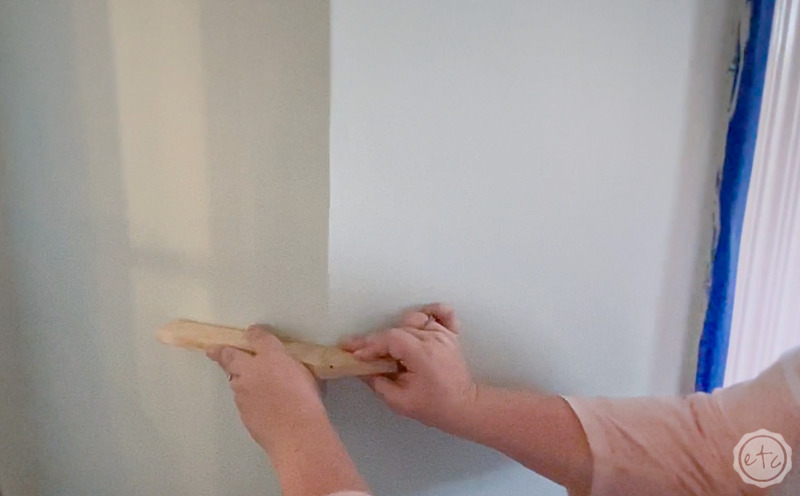
Step 3: Test the Angle
I took my two little pieces of scrap wood inside and it was like the heavens opened and angels started to sing! They wrapped perfectly around that corner!
The mitered cut (of the correct angle) was exactly right for my corner. And once I got my act together I didn’t even need a tool to help measure that angle. Of course, we’re still using scrap wood so let’s head back to the drawing board and cut our actual pieces of molding.
It’s time for the real deal.
No more screw ups.
Step 4: Cut the Molding
Now that you have your miter saw set to the perfect angle it’s time to actually cut the molding! Just keep in mind that the first piece will be exactly the same angle as our test piece. That section of wall between the corner of the wall and the corner we’re measuring is 23.4 inches long so we need a 23.4 inch long section with a 45 degree cut on the left and our first specialized angle on the right.
Then for the next angle we’ll need an even smaller piece with a straight edge on the right that will butt up against that cornice board.
But instead of cutting the angle identical to the first piece we’ll take the new piece of molding and flip it over so that the top is down and the bottom of the molding is up. THEN we’ll cut the angle. This way when we finish and turn the molding back over the two angles will be opposite and fit together perfectly.
Step 5: Install your Molding!
Now that you have the perfect angle you can install it on the wall (or Mom can). I like to use my brad nailer to secure the molding to the wall… then a bit of caulking under the molding and paint to cover the brad nails and we’re good to go!
I included a few pictures of the finished trim down below or you can check out the full installation post where I show you exactly how to extend your existing crown molding here. In the meantime let’s check out these little sections of molding once they’re installed and looking perfect!


How much do you love the finished look? And it was soooo easy!
Now that I know this little trick I’ll be using it any time I can’t find my angle tool. Which seems to be all. the. time.
Maybe I should buy a new one.
In the meantime if you’d like to see this entire mini makeover from start to finish here’s the scoop!
Check out my tips on how to paint a room fast and check out all the before photos for this room (the before paint was… something).
Next we extended the molding for a beefier more impressive crown molding effect. Check out my tutorial for extending existing crown molding here.
Last but not least we gave the room a focal point with an antique fireplace transformation. You can see the entire How to Refinish an Antique Fireplace Mantle here.
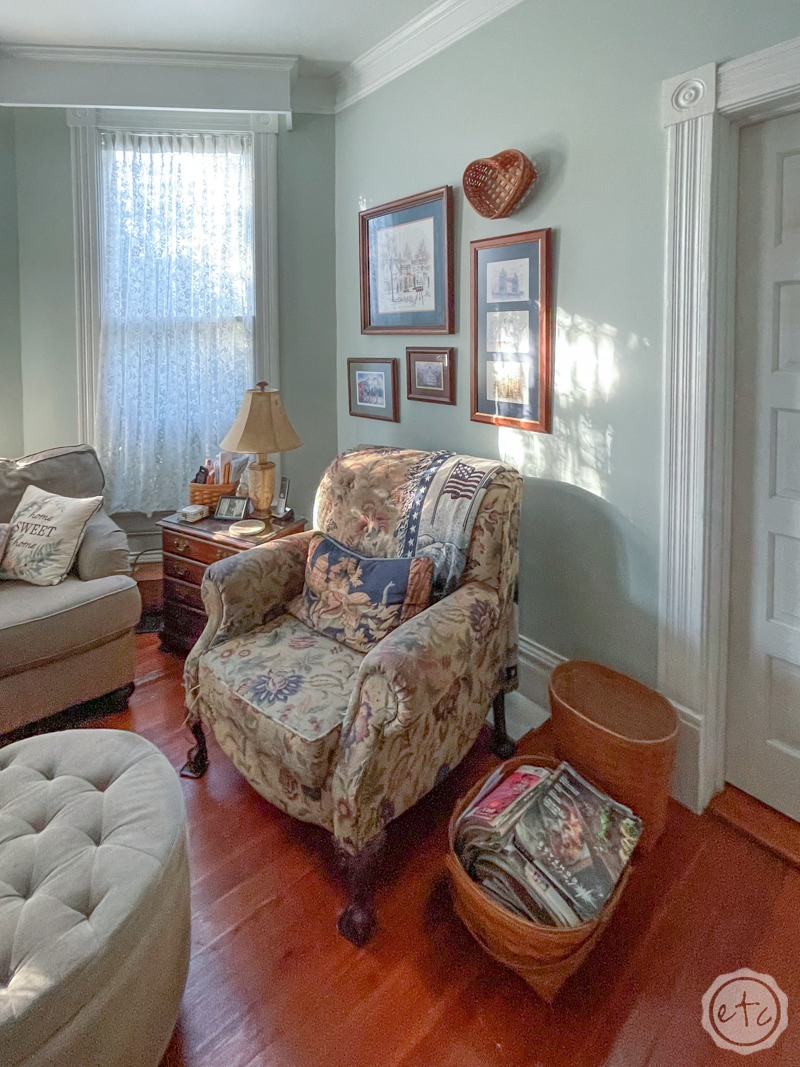
Want to check out the rest of the space?
Click on any of the links below to see the rest of Mom’s Living Room Makeover!

Get Your FREE Paint Color Tracker!

Ready to paint?
Make it a snap with our free paint color tracker! Never forget a paint color again!




Leave a Reply