This is a sponsored conversation written by me on behalf of Cricut. The opinions and text are all mine.

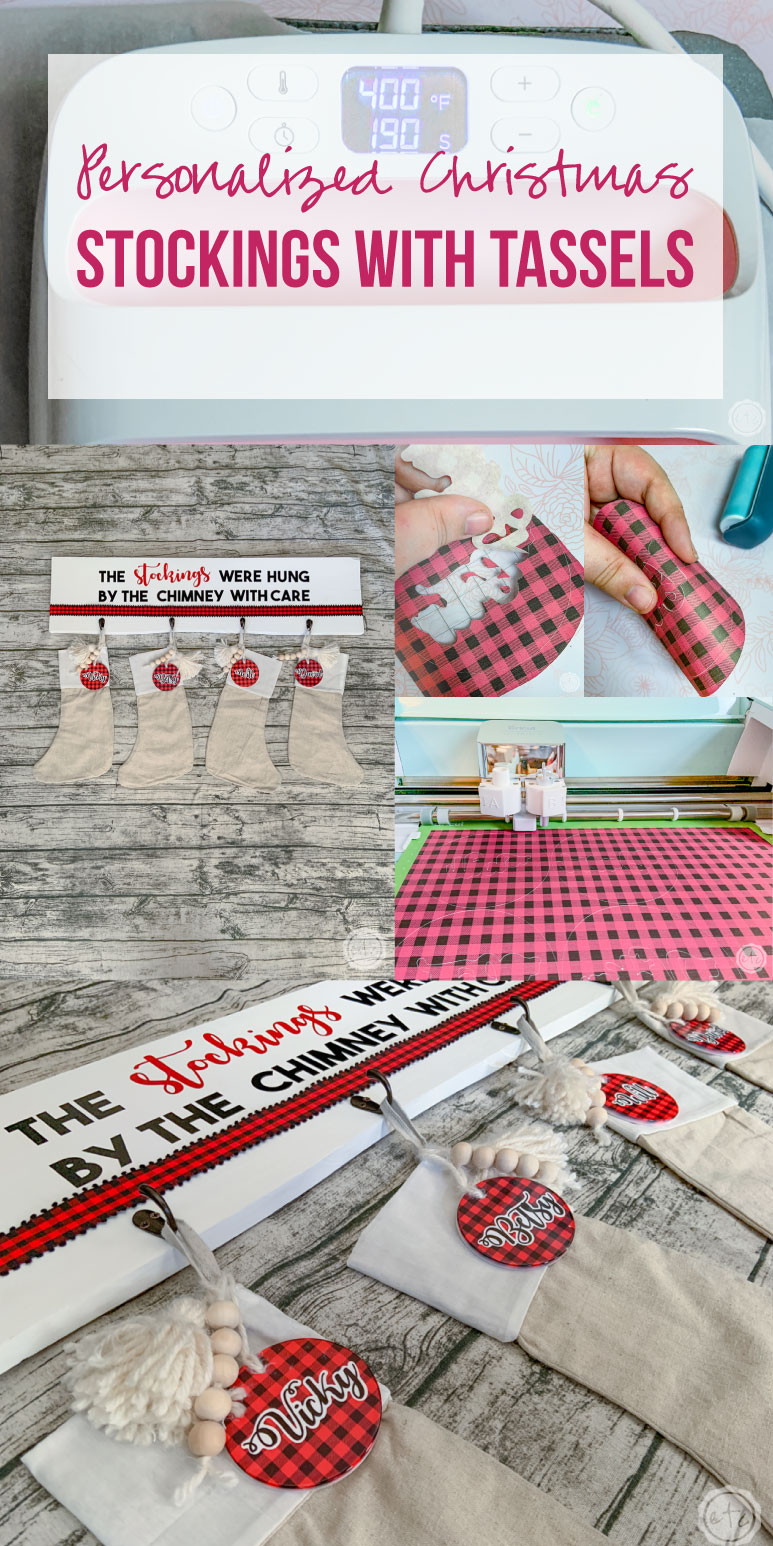
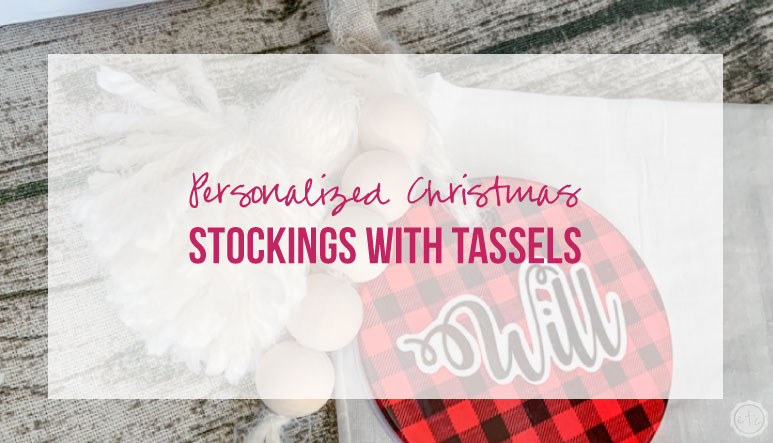
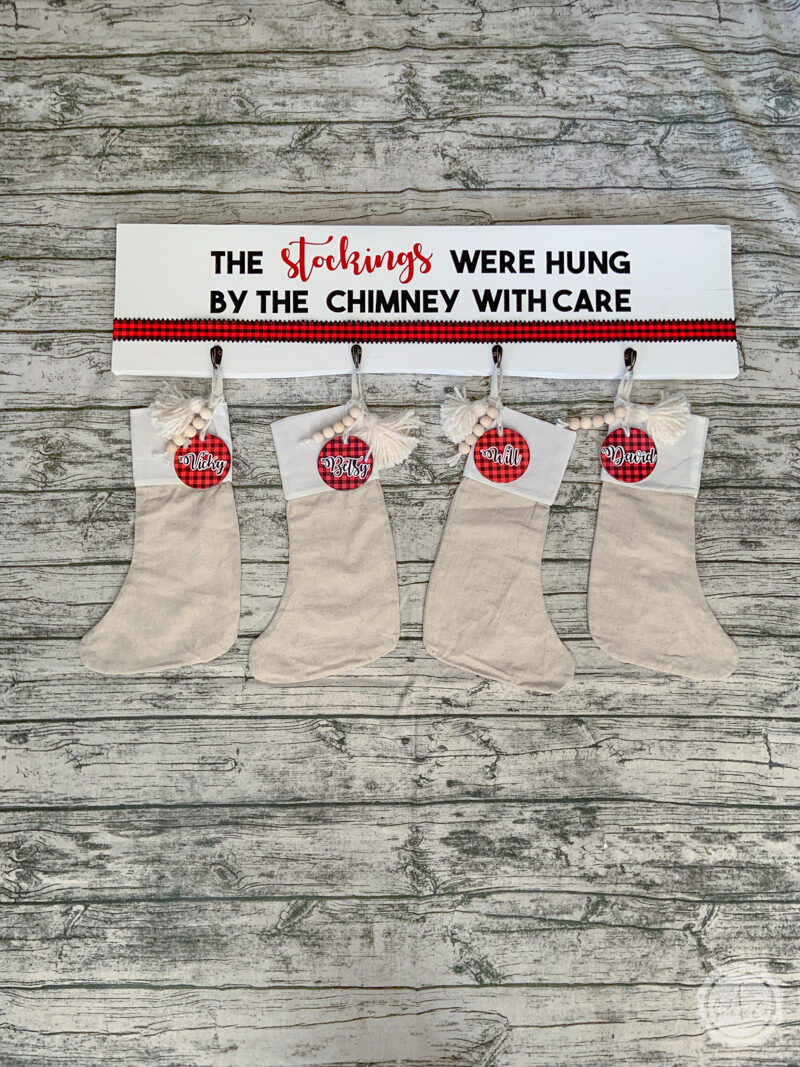
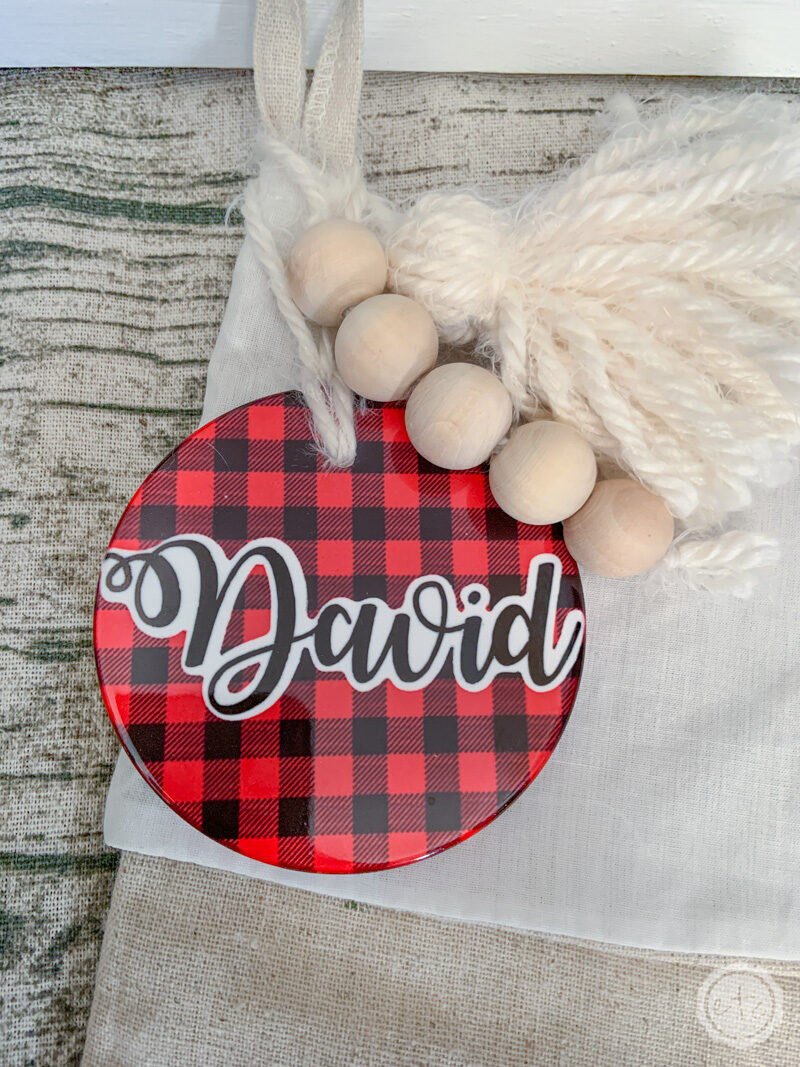
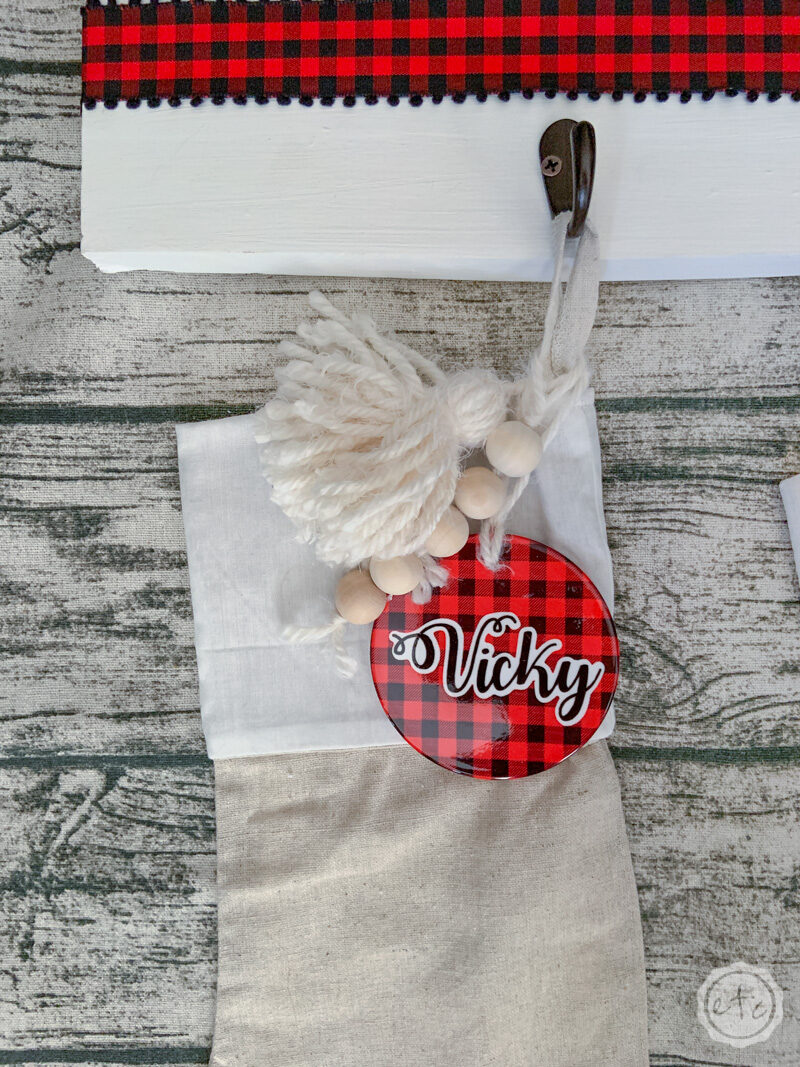
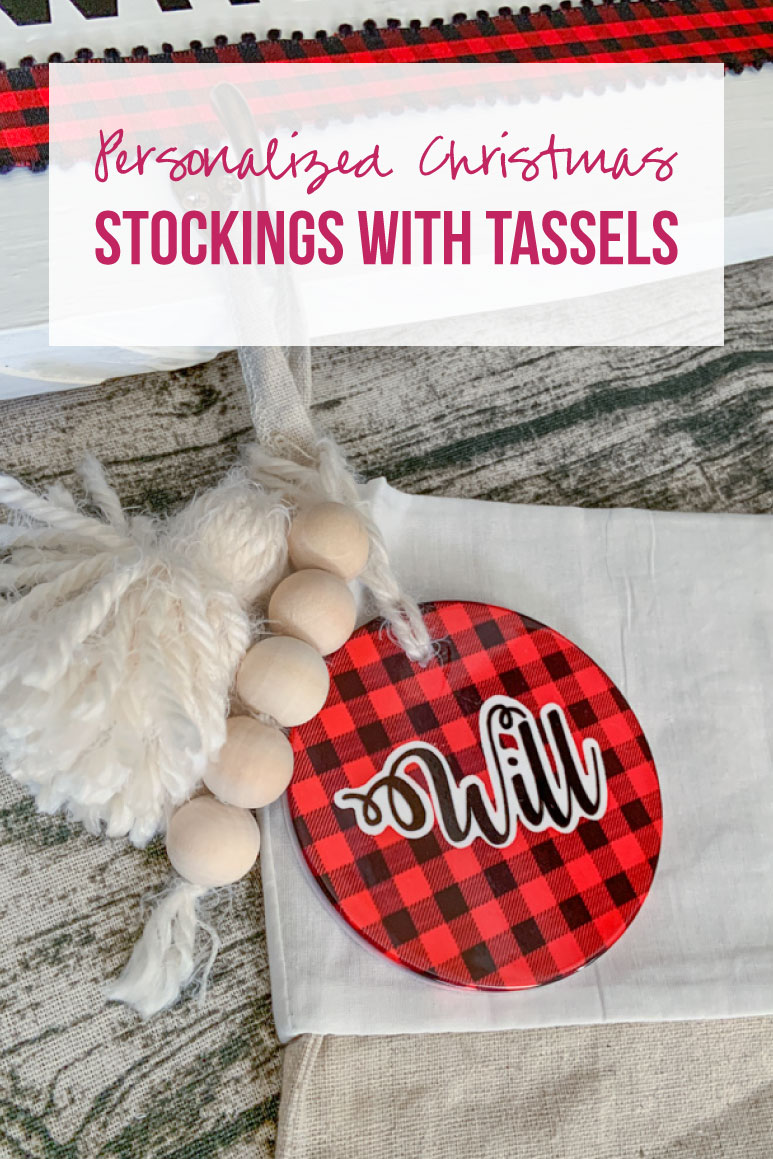
Looking for a cute way to personalize your stockings? These little stocking tags can be added to just about any stocking and since they’re made with infusible ink you can pick the pattern that best coordinates with your stockings. Volia! Personalized Christmas Stockings!
Ready to get started? Let’s whip up these little stocking tags so that we can move on to the fun part… deciding on stocking stuffers to fill these bad boys up!
Supplies:
- Cricut Coasters (Infusible Ink Blanks)
- Diamond Drill Bit
- Power Drill
- Clamp
- Cricut Explore Air 2
- Cricut SVG Files (FREE at the bottom of this post
- Cricut Standard Grip Mat (that’s the green one!)
- Fine Point Blade
- Buffalo Check Infusible Ink Sheet (comes with a black sheet as well)
- Cricut Heat Resistant Tape
- Easy Press 2
- Easy Press Mat
- Parchment Paper
- Cardstock
- Yarn/Tassels
- Linen Stocking with White Top
- Large 20mm Natural Beads

Step 1: Drill a Hole in your Stocking Tag
Alright y’all let’s get started. In order to use infusible ink on this project we needed to grab one of Cricut’s infusible ink blanks to work with. I wanted round stocking tags so I grabbed these little round coasters.
They’re nicely made and quite substantial but they are missing one key ingredient to be stocking tags: a hole to hang from. Luckily it’s a pretty easy fix. I grabbed a clamp, my power drill, a few diamond drill bits and my coaster.

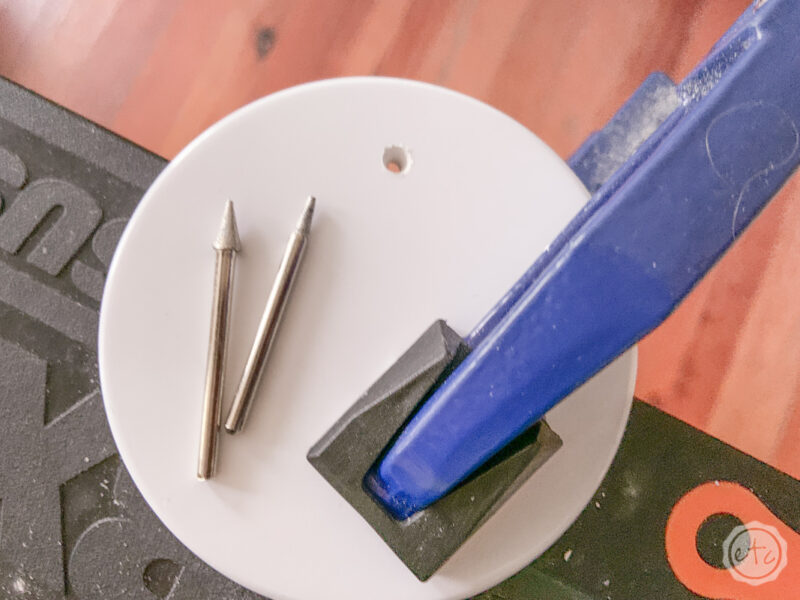
Go ahead and clamp these babies down tight using a clamp with a rubber protector on the tip so that your coaster isn’t damaged. You want most of your coaster to be clamped onto your work surface with about 1/3 of the coaster hanging off the edge… that way when you start to drill you don’t accidentally snap your coaster in half from the pressure.
*ahem* no I didn’t do that… too many times.
If you don’t have a work room I use this little portable work table and it’s a great solution to working in your living room. Although drilling these coasters will make a bit of dust so watch out for that!
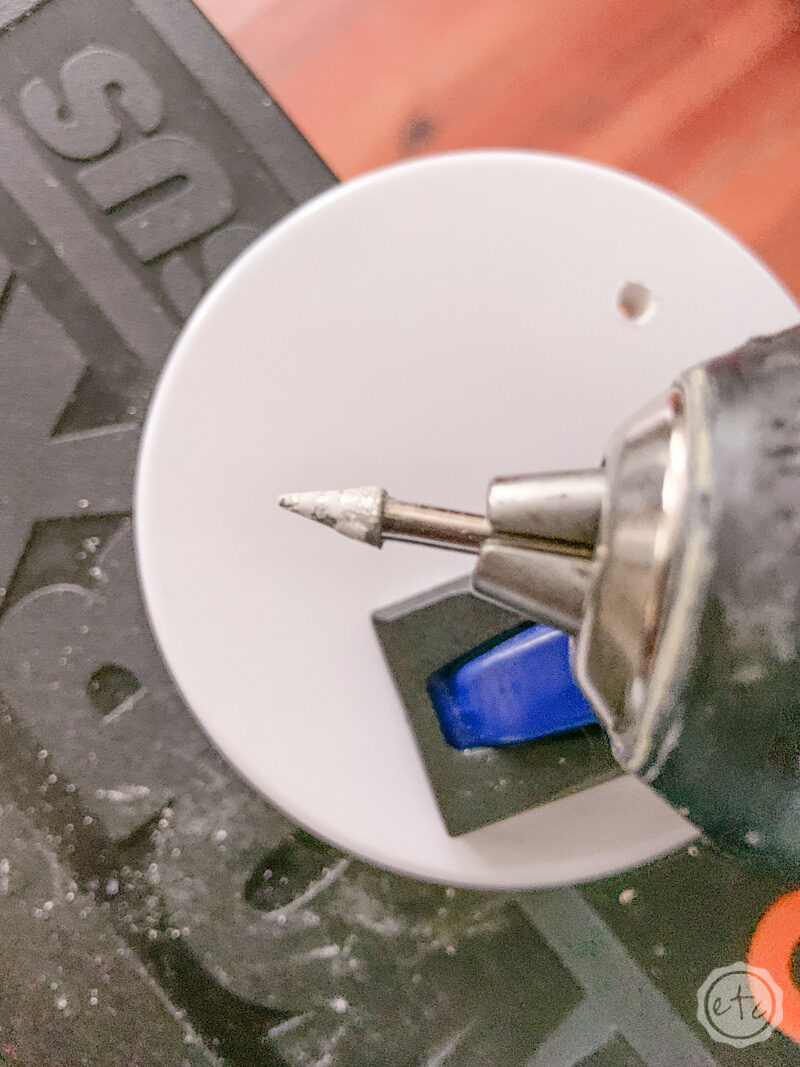
Once you’ve clamped your coasters down go ahead and start to drill. Use your diamond drill bit and steady (slow) pressure. It will seem like you’re never going to get through that top layer of porcelain but trust me you will… just keep going slow because the more pressure you use the greater the chance you have of snapping your coaster in half.
I use the smallest drill bit and then work my way up to a bigger one… ending with the triangle tipped one you see below to smooth out the top edges.
Step 2: Cut Your Infusible Ink Sheet
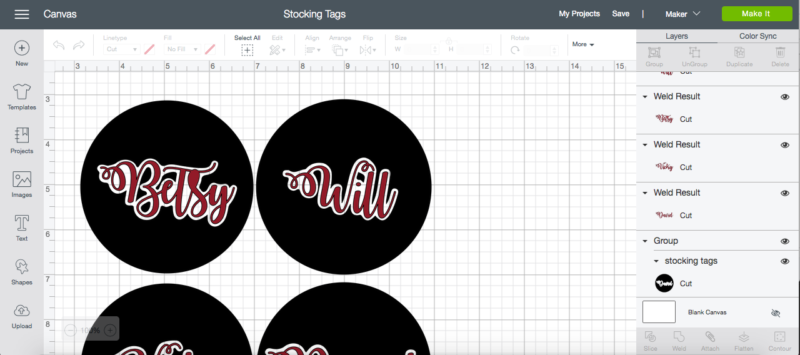
Now’s the fun part… cutting out the infusible ink! This is actually pretty quick… go ahead and download your free SVG’s from the bottom of this post and upload them in Cricut Design Space. I really wanted to personalize my stockings so I used my families names but I did include allllll the letters of the alphabet in SVG. That way if you don’t want to write out your fam’s names you can make stocking tags with your families initials instead.
If you do want to use your families names you can use Cricut fonts to design these babies right in the design software. They’re just circles and fonts!
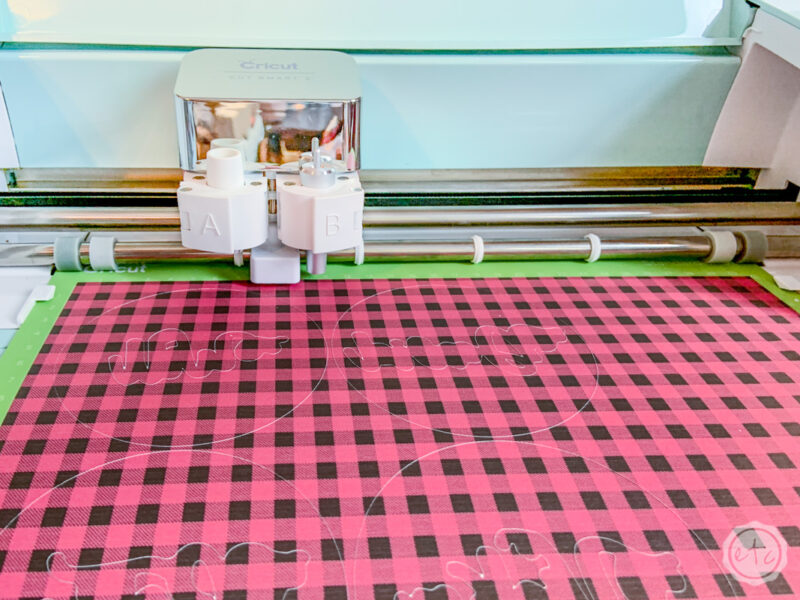
Once you’ve uploaded your file and are ready to go hit “make”. I used my Cricut Explore Air 2, a standard cutting blade and a standard cutting mat… just load your infusible ink sheet (ink side up) onto your cutting mat and you’re good to go.
Just make sure to “mirror” your design before you hit cut… then select “infusible ink sheet” for your material and you should be good to go. You’ll cut out your pattern first (buffalo check for me!) and then the names (which are black).


Step 3: Weed Your Design
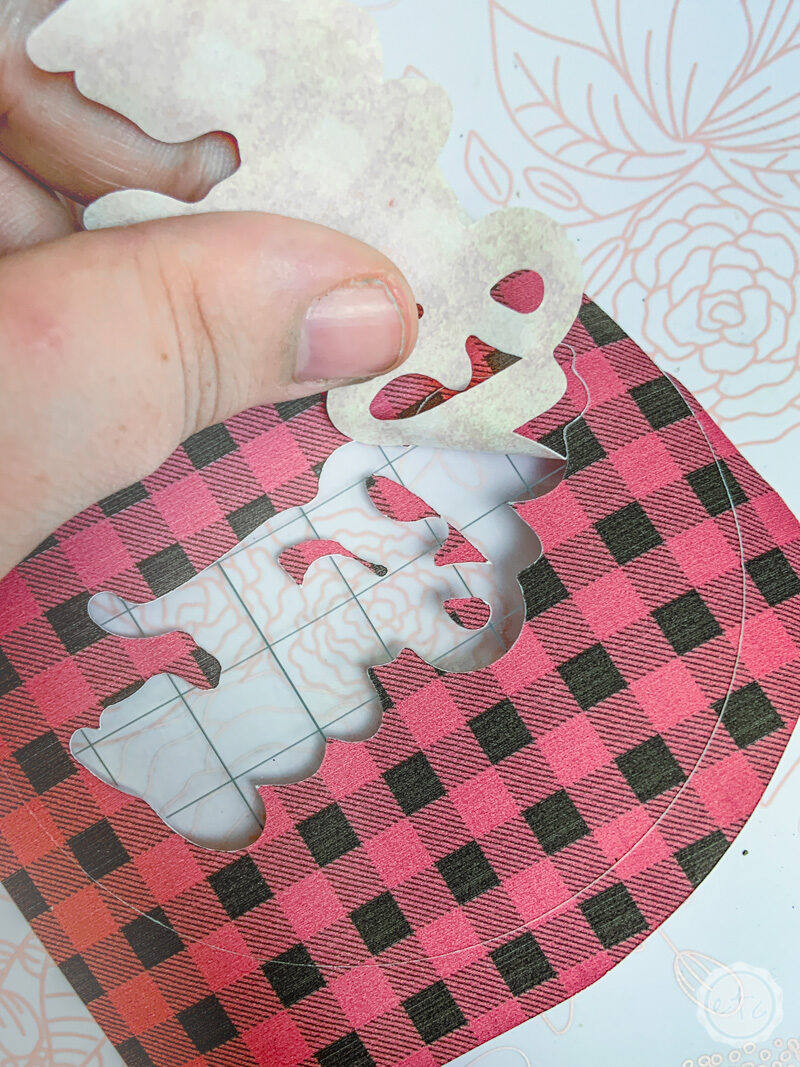
It’s time to weed our design! Once the infusible ink sheets are cut you’ll want to remove anything that isn’t part of the design… so the inside letters and the excess around our circle. Before you just start pulling up the negative space make sure to take your design and bend it backwards and forwards.
The infusible ink sheet is pretty thick so even though you’ve cut it the cuts need a little help to separate before you start weeding… which is why it’s recommended that you roll your sheet a bunch of ways before you start weeding. See how I’m bending the sheet in the picture above?
As you roll you’ll hear lots of little pops as the cut pieces separate… so you’ll know you’re doing it right. Just remember y’all this is an ink sheet so make sure you’re using clean, dry hands when you touch the ink… bad things will happen if you don’t.

Once you’ve popped all the seams you can go ahead and weed the negative space. The sheet is pretty thick so I didn’t even need a weeding tool… just my fingers.
Grip the edge and pull… you should be good to go!
Make sure to leave the little inside pieces so that your letters will make sense!
Step 4: Layer Your Design
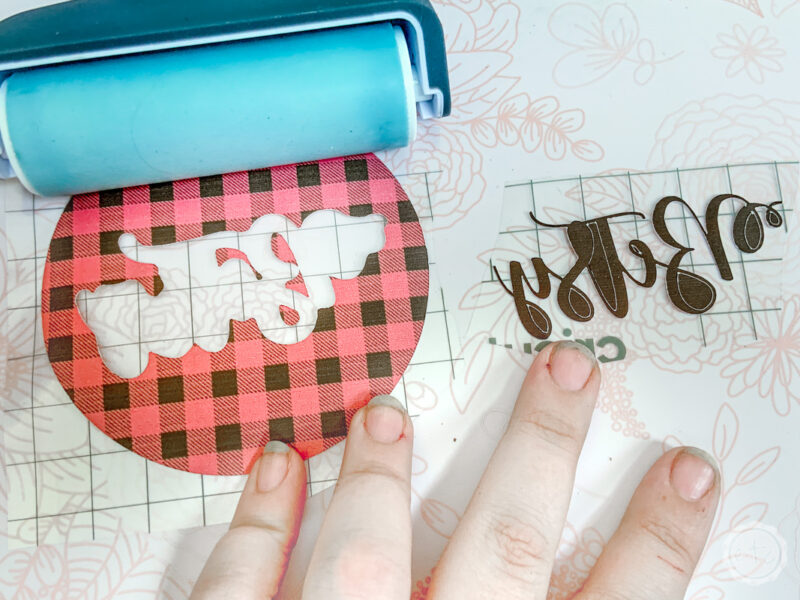
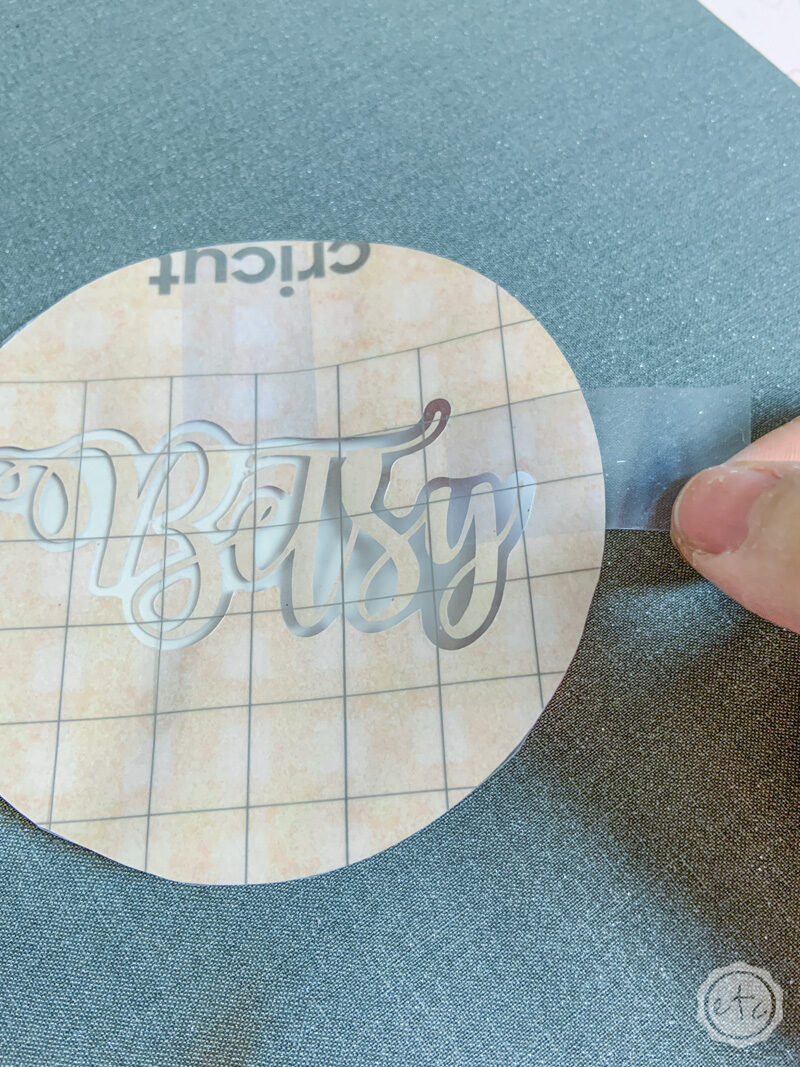
The interesting part of infusible ink is that you can layer different colors of infusible ink onto one design… but you can only heat your surface once. So allllll your different layers of ink have to be on one carrier sheet in order to be bonded to your surface.
That’s okay we can simply combine the entire design onto one sheet. The infusible ink sheets are pretty thick (kind of like thick card-stock) so it comes off the carrier sheet fairly easily by itself. Do not use transfer tape on this bad boy as it would mess up the ink.

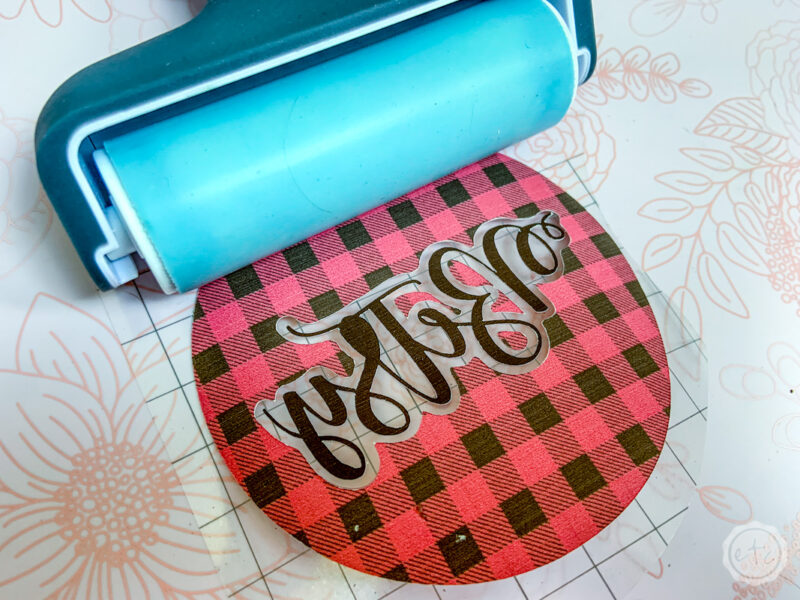
Instead separate the inside black layer from the carrier sheet and then carefully place it onto the same carrier sheet as the buffalo check.
The carrier sheet will be sticky so you can simply press the black word in place… although I didn’t find it as sticky as say the carrier sheet for iron-on. So place it down once and try not to move it around a bunch.
We don’t want to waste the sticky that’s there!

Bonus Tip: See how I’m using my brayer to hold down my little round buffalo check sheet? That’s because it’s super curly from being in the box. My brayer was the perfect width and weight to hold it flat while I put the letters in place! So it’s not necessary but very helpful… and if you don’t have a brayer handy I’m sure you have something else that would work: stapler, cell phone, paper weight! Just make sure it’s clean and dry!

Step 5: Tape Your Infusible Ink onto your Coaster
I thought this step was the biggest piece of wacado I’ve ever heard but now that I’ve made a few coasters I’m a big believer. Basically you need to heat your infusible ink up with your easy press in order to bond it to the coaster… it needs to sit very still for a long time and any shifting will take your coaster from fab to drab.
Yup. I said fab to drab. I thought the situation warranted it.
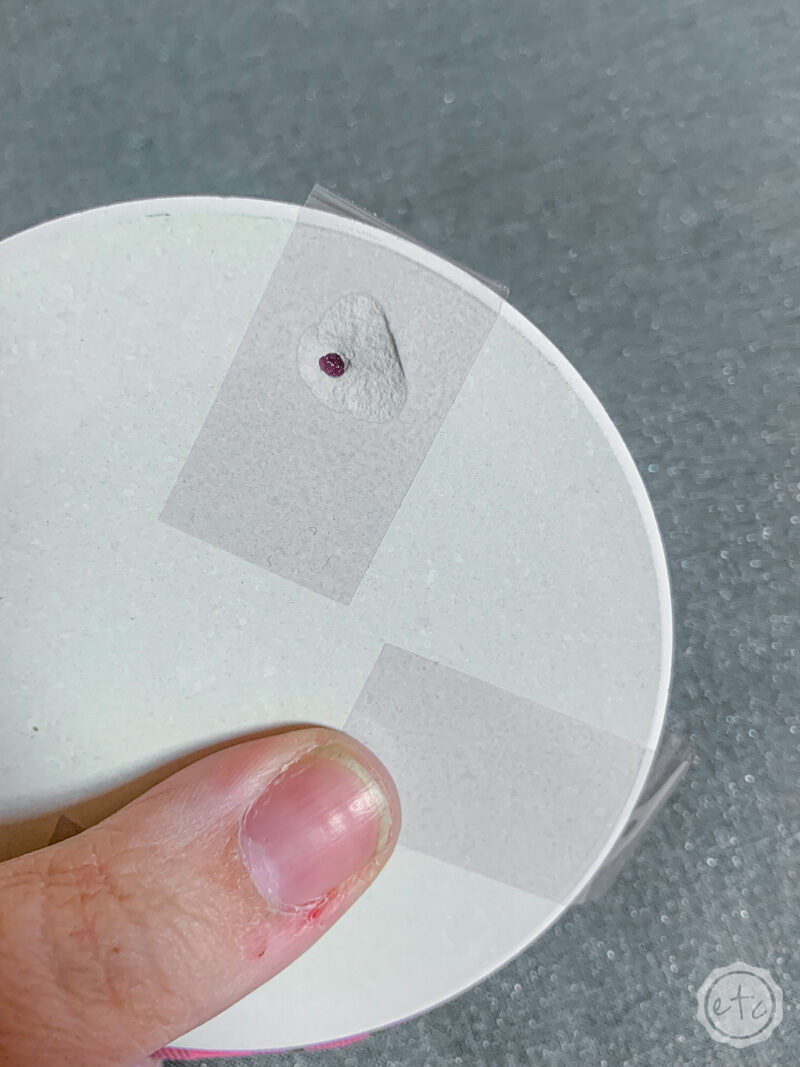
So the best course of action is to use a bit of heat resistant tape to secure your infusible ink sheet to your coaster.
No scotch tape or washi tape or duck tape will not work… it needs to be heat resistant. You do not want to scrap goop off your easy press. Trust me.
Just place your infusible ink sheet face side down onto your coaster and then tape it on all four sides. Easy peezy.

Step 6: Use your Easy Press to Bond the Infusible Ink to your Stocking Tag
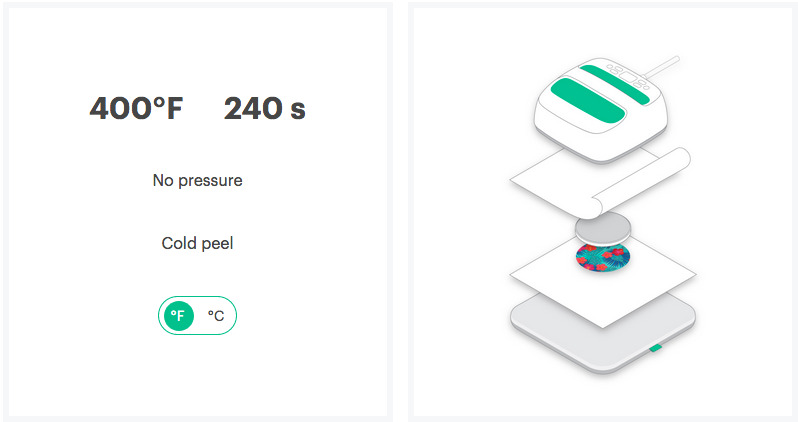
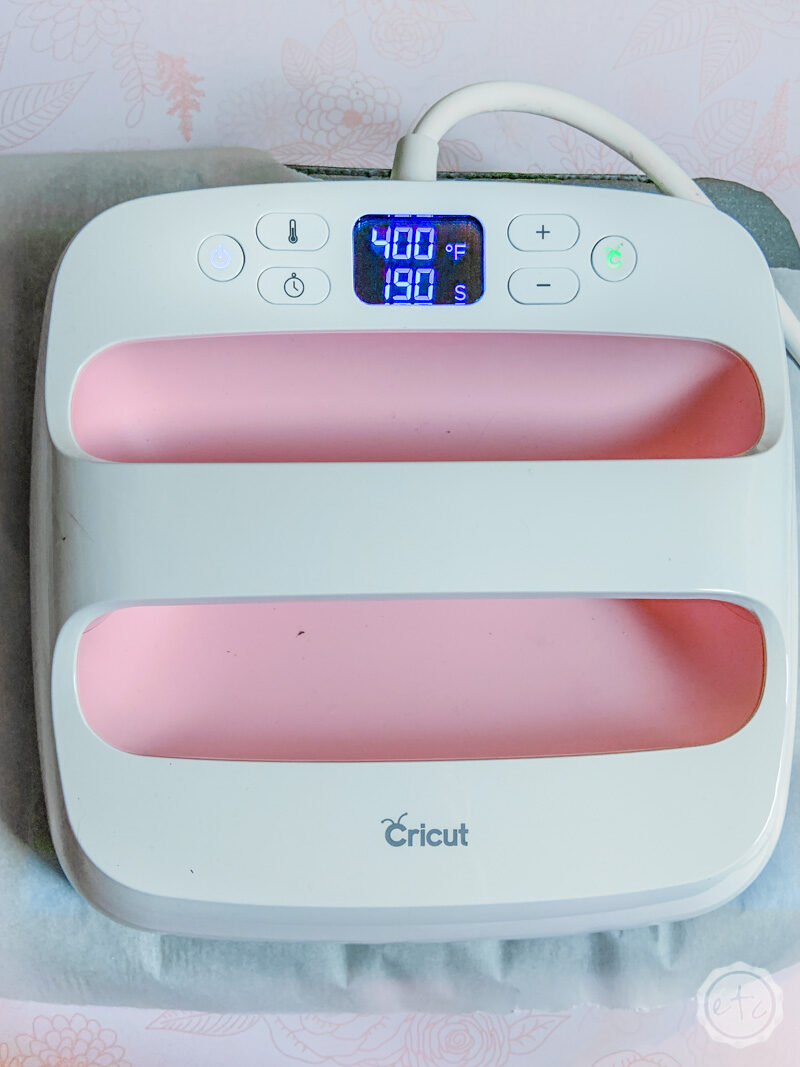
This is where the magic happens y’all. Let’s get started. First set your easy press to 400 degrees for 240 seconds… then let it heat up.
If you’re ever not sure what to set your easy press for you can go to the Cricut heat guide, put in your machine, material and surface and it will tell you… see?
The little guide also shows us the best way to sandwich our coaster: easy press mat, card-stock on the bottom, coaster (top up), infusible ink sheet (top down), parchment paper, easy press.
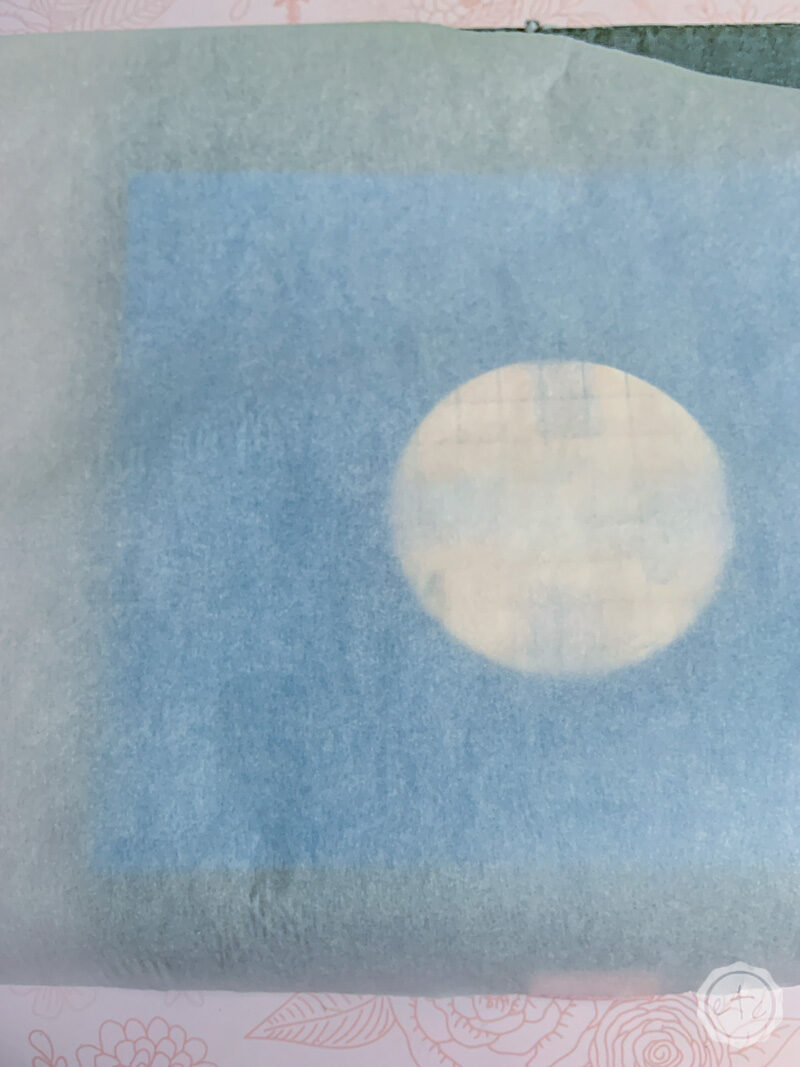
The card-stock on the bottom is to protect your easy press mat from getting infusible ink on it so it really doesn’t matter what type of card-stock you pick. Likewise the parchment paper on the top is just to protect your easy press from getting inked while it’s working.
Fun tip: you need a new sheet of parchment paper for every coaster (do your coasters one at a time so that the chance them shifting is not as high). The excess infusible ink can get on the parchment paper during heating and it totally transfers to the next coaster… trust me. You do get one sheet of parchment paper in your infusible ink box but the stuff comes in a roll and is pretty cheap so if you’re going to be doing a lot of infusible ink projects just grab a roll.
Once you’ve completed your coaster sandwich go ahead and carefully set your easy press on top. Click the cricut button to start the timer and then let it go (let it go!). 240 seconds is a lot of time but you don’t need any pressure so be very gentle, set the easy press on top, hit the button and back away.
The less you touch it the less chances you have of moving the coaster and messing up the infusible ink sheet.

Step 7: Cold Peel your Infusible Ink Sheet
Okay guys once the timer hits zero go ahead and lift the easy press away. Then set your entire coaster sandwich aside for a while… like 20 minutes. That coaster is ceramic and it is HOT. It will burn you.
This is not a drill.
Let it thoroughly cool before you touch it. Once it’s cool you can snip the tape off and peel back the infusible ink sheet to see how amazing the coasters turned stocking tags look! It’s amazing how vibrant the ink is after the easy press process… the sheets are so dull right out of the box!
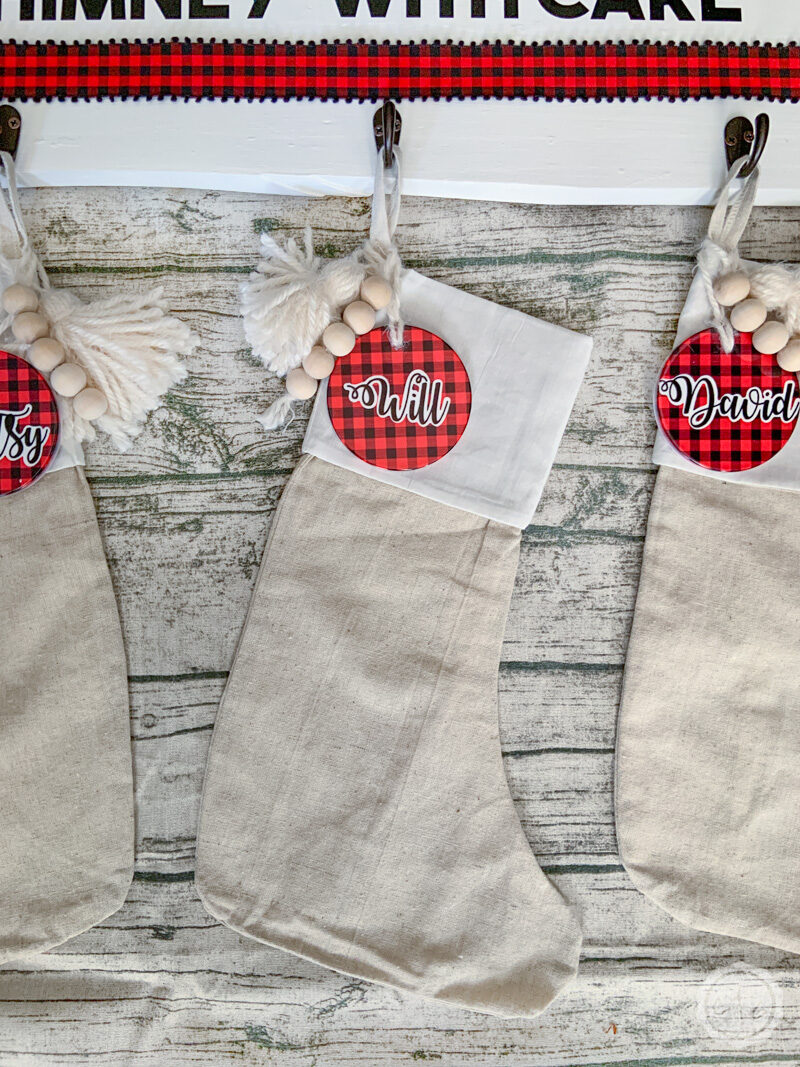
Now all that’s left is adding a bit of yarn to the top so that you can hang the tag on your stocking. I picked these fun linen stockings so that my new tags would contrast against them nicely.
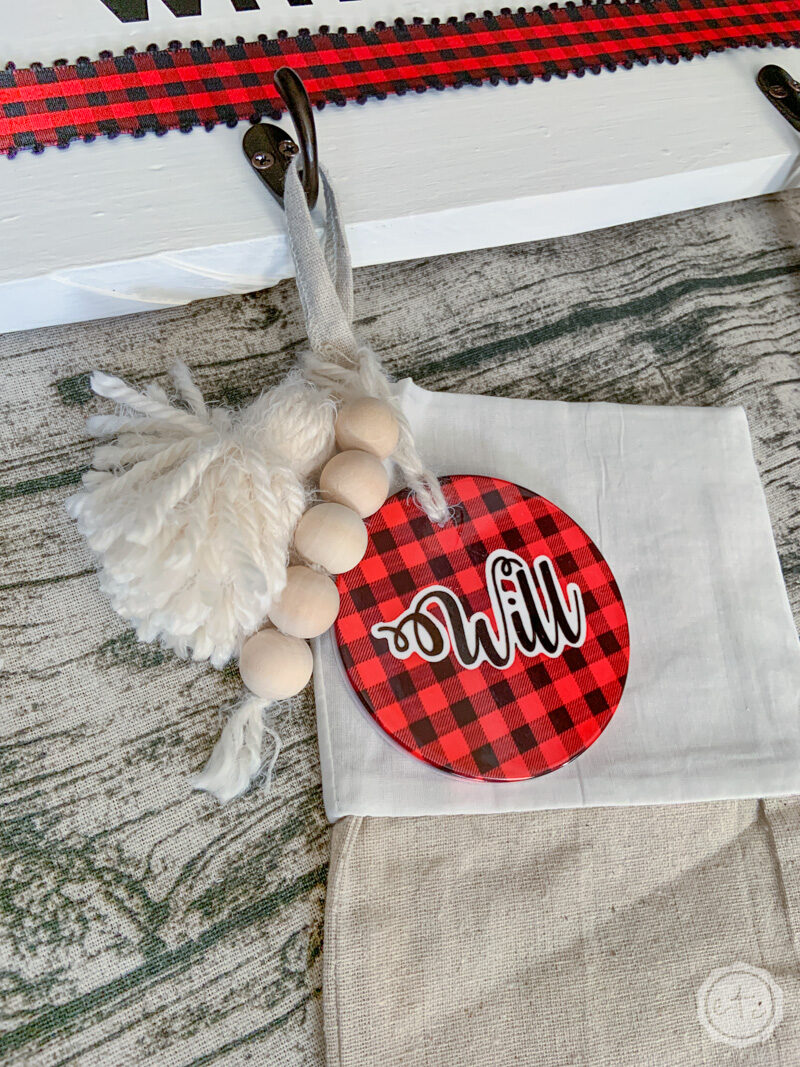
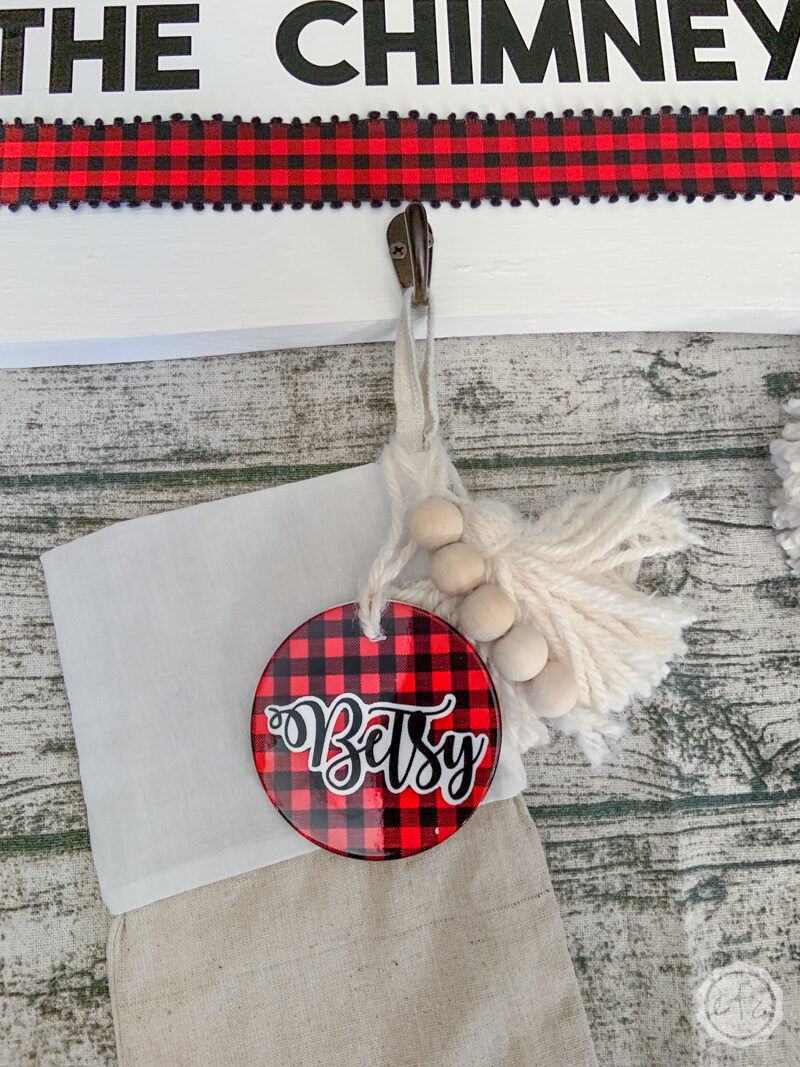
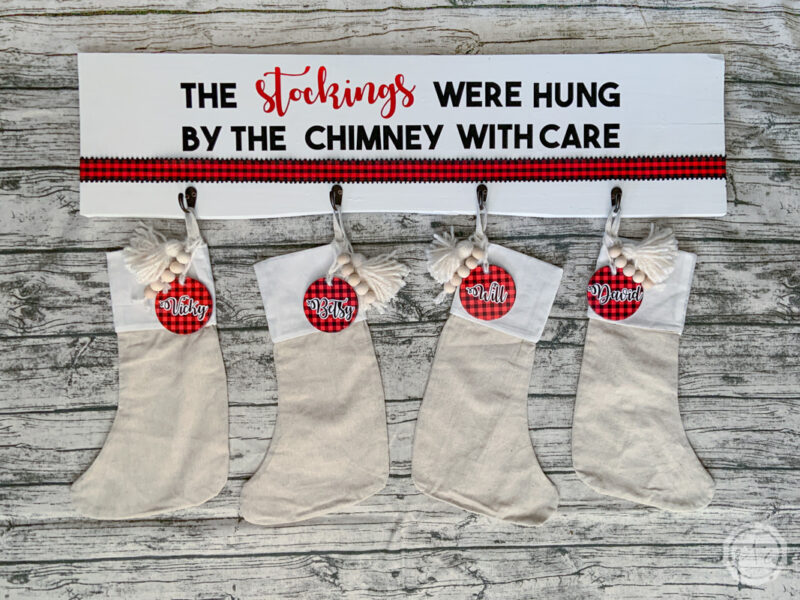
I added a fun yarn tassel and a few wooden beads so that my stocking tag was a bit more stylish… and then I hung these little stocking tags on the hooks with my stockings! Check it out:
Want to make the matching sign to hold your stockings? You can follow the full tutorial here!

Looking for a few more Christmas projects? Check out all these fun DIY’s!
