


It’s definitely time for Christmas in this house… and that always means an advent calendar. Growing up Mom had one shaped like a Christmas tree with a little star you would move everyday until you reached Christmas… and the countdown was the best part of the morning.
This year I decided to walk in her footsteps and make an advent calendar of my very own! I knew I wanted it to fit in with the rose gold and blush Christmas tree I’m working on and that I wanted it to be super easy.
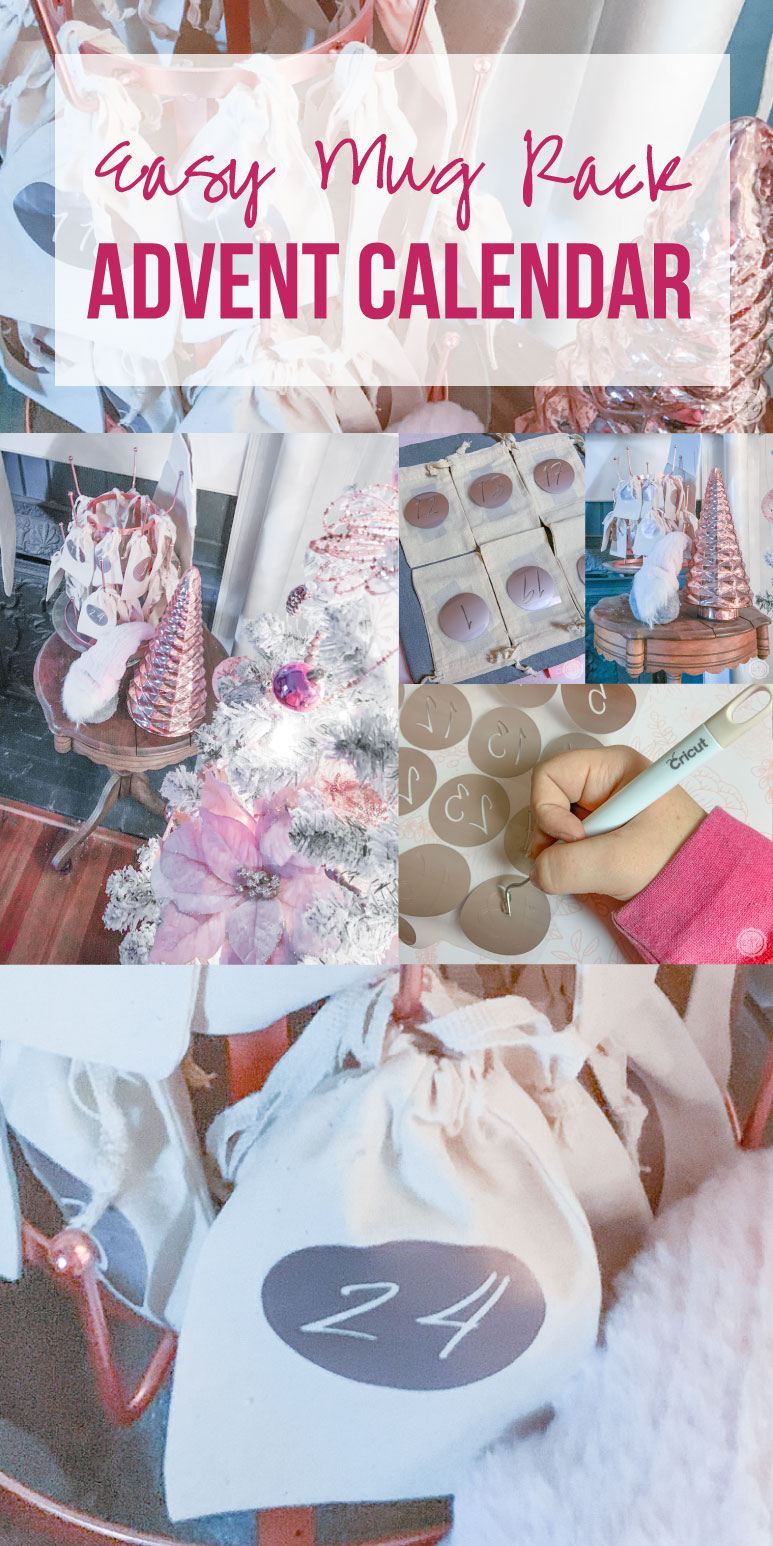
So I decided that simple is best and added a few fun burlap bags to my pretty rose gold drying rack for a fun and simple advent calendar for the family!
Of course, if you aren’t a fan of rose gold you can always grab a different color iron-on for a different vibe. Still looking for a different look? Scroll to the bottom of this post to check out all of the fun advent calendars my blog friends have whipped up.
Also… how many times did I say advent calendar in that intro? Because it feels like a lot.
Let’s get started.
Supplies:
- Rose Gold Mug Rack
- 25 Small Burlap Bags
- Cricut SVG Files (FREE at the bottom of this post)
- Cricut Maker
- Fine-Point Cutting Blade
- Standard Cutting Mat (that’s the green one! Even though I used the fabric mat for this project)
- Cricut Easy Press
- Weeding Tool
- Heat Resistant Tape
- Easy Press Mat
- Metallic Rose Gold Iron On
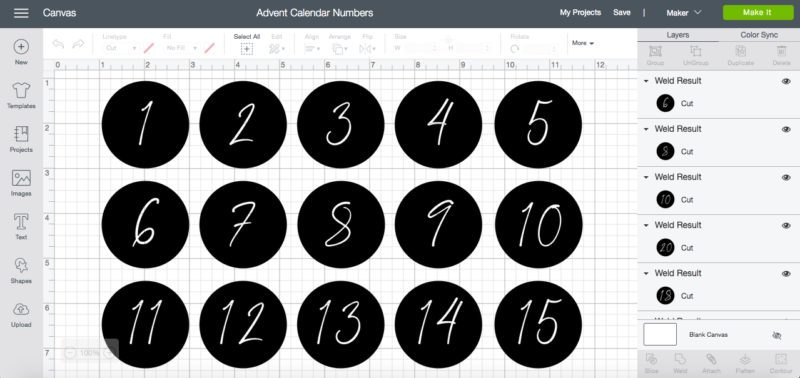
Step 1: Cut Out the Design
Go ahead and download your SVG’s from the bottom of this post and then upload them to cricut design space. All of the files are ready to go but don’t forget to weld the tiny centers of the numbers together (like the inside of the 8 or the 0).
That will make cutting these babies out super quick!
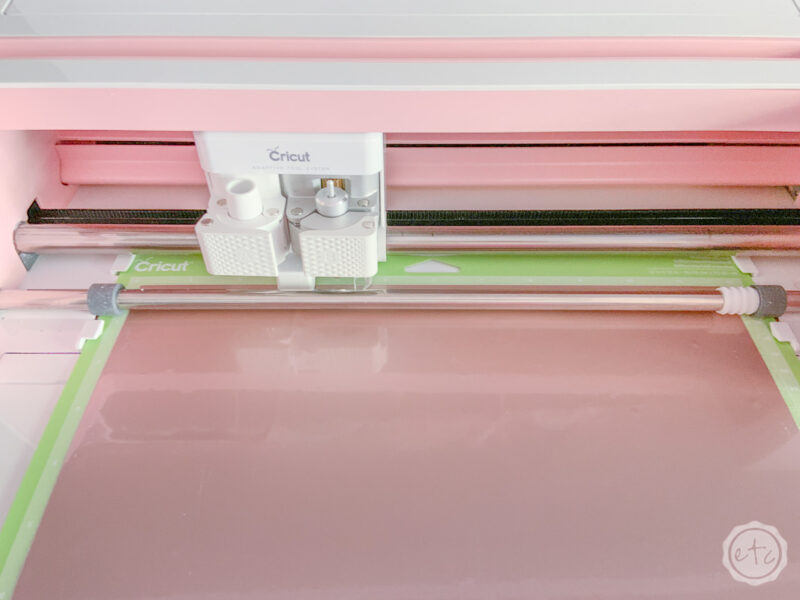
Make sure to mirror your design so that of the numbers cut out properly, pop your iron-on onto a standard grip mat and then cut the entire design out with a standard cutting blade.
The rose gold iron on took about 5 minutes to cut out total! That’s not bad for this little project!

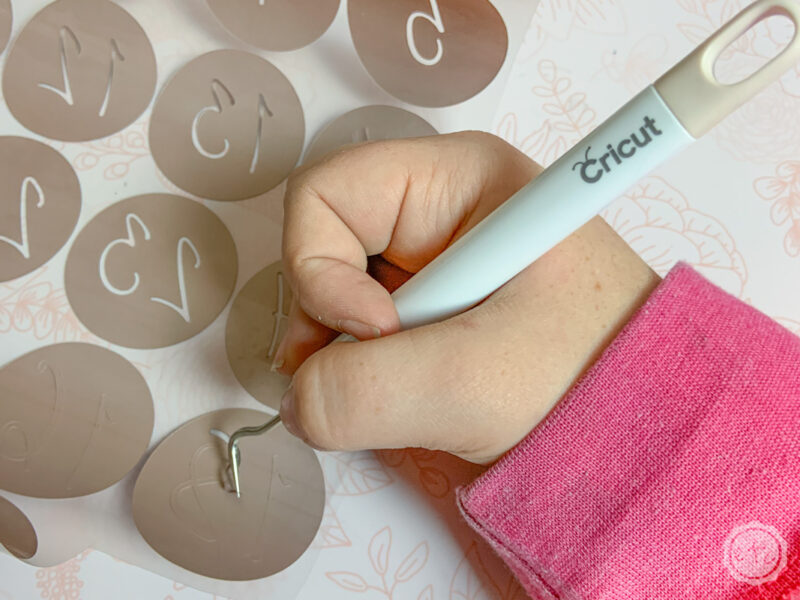
Step 2: Weed the Iron On Vinyl
Ready for weeding? Use your little weeding tool to take all of the negative bits and bobs out of the design. You want to remove the numbers but leave the circles and the little inside bits and bobs.
We’re leaving all the negative pieces so that you can read the numbers!
This step is probably the most tedious… although you can pull most of the outside vinyl off in one fell swoop. Then it’s just the numbers (which come off in teeny tiny little curly cues!) and you’re ready to rock.
Once all of the weeding is finished go ahead and cut all of the numbers apart so that you can put them on the little bags and you’re good to go.
Step 3: Iron On Your Design!
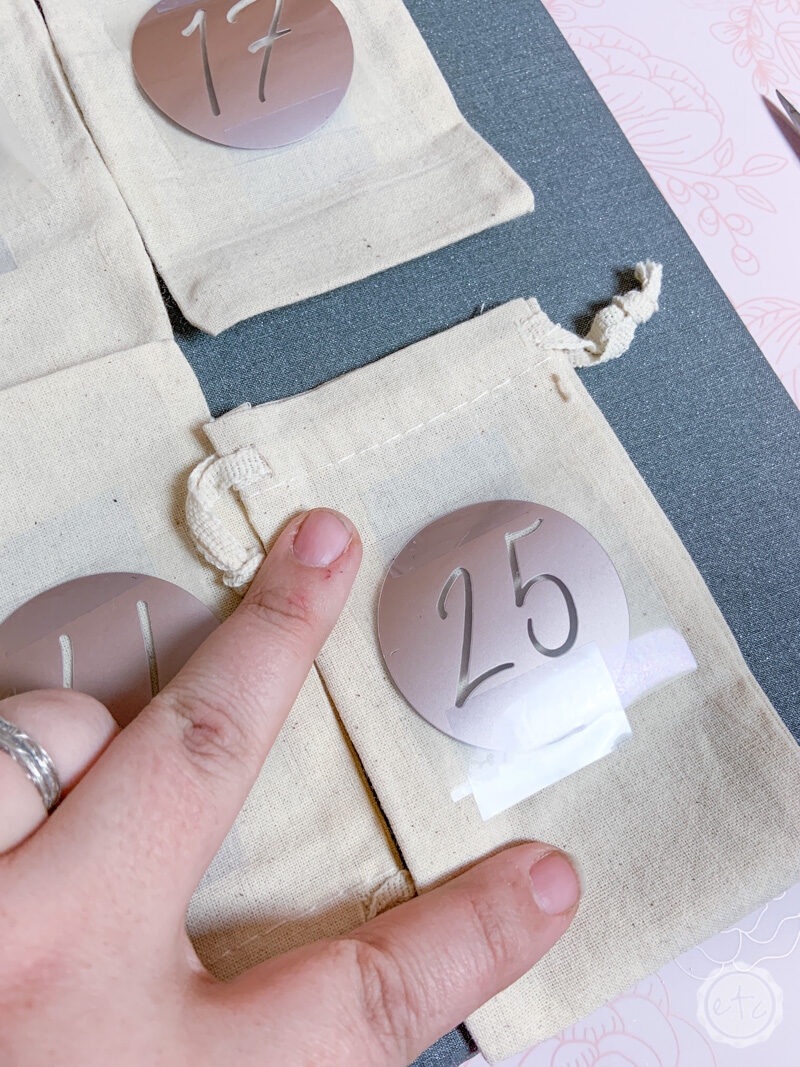
Now it’s time for the fun stuff… adding our numbers to our bags! These little bags are tiny so you can definitely heat them up one at a time… but I’m impatient so I decided to do 6 at a time.
I started by taping down each of my numbers in the perfect spot of my little burlap bags. Make sure that you’re using a heat resistant tape. I used the same Cricut brand heat resistant washi that I used for my infusible ink coasters turned stocking tags… since I know it can withstand the heat. Regular washi will melt. Trust me.
Once I had 6 bags ready to go I arranged them on my easy press mat and then used my easy press to set them in place.
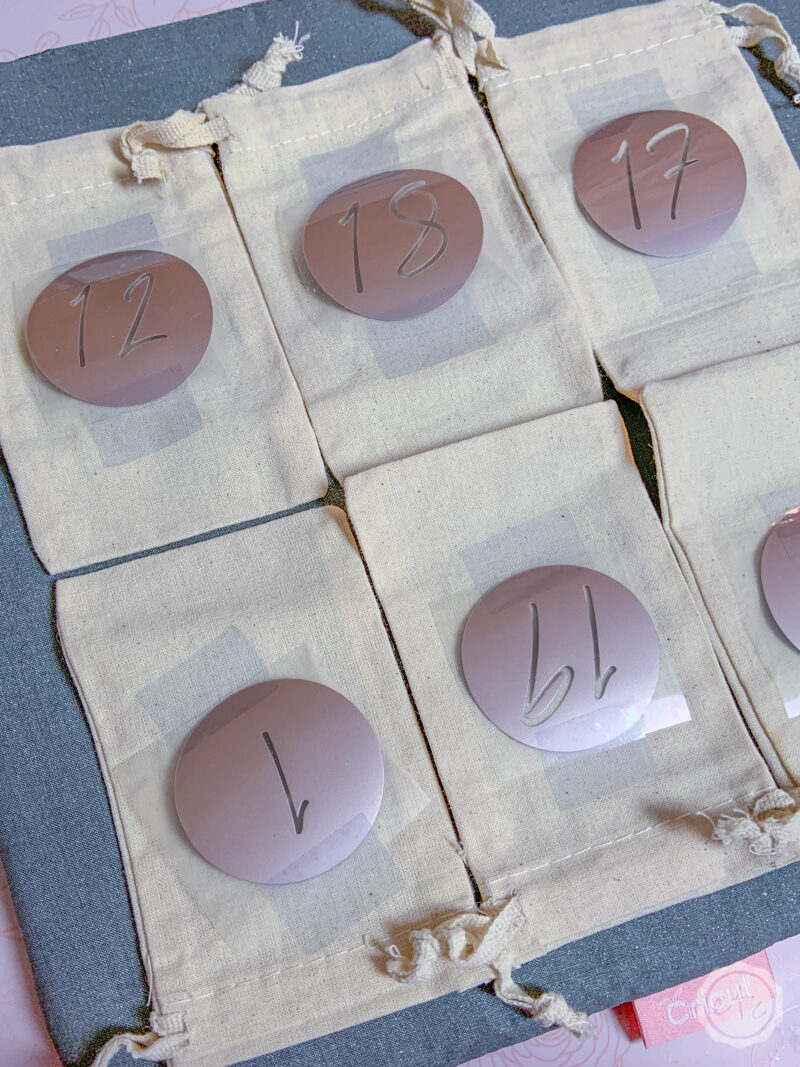

I used the same settings for this iron-on as I would for t-shirts. 340 degrees for 30 seconds. Go ahead and heat up the front of the little bags first (for 30 seconds) then turn all 6 little bags over and do another 30 seconds from the back.
Then set the first 6 little bags aside and move on to the next 6. You want the bags to cool down before you peel the carrier sheet away… cold peel is a must for iron-on on burlap fabric. I simply did all 24 little bags and then went back and started peeling all the carrier sheets at once.
Volia!
Now that your numbers are all bonded to your bags you’re basically finished. Go ahead and tie your bags to your mug rack and enjoy!


Did you like the sneak peek of my tree and mantle? Of course, you saw another sneak peek when I shared my diy beaded garland with you last week… but I’ve added all the ornaments since then!
I can’t wait to share the full tree and mantle reveal on November 30th… but until then you can see this little corner and wait for more.
Enjoy!
Looking for more rose gold holiday goodness? These posts are for you!


Leave a Reply