


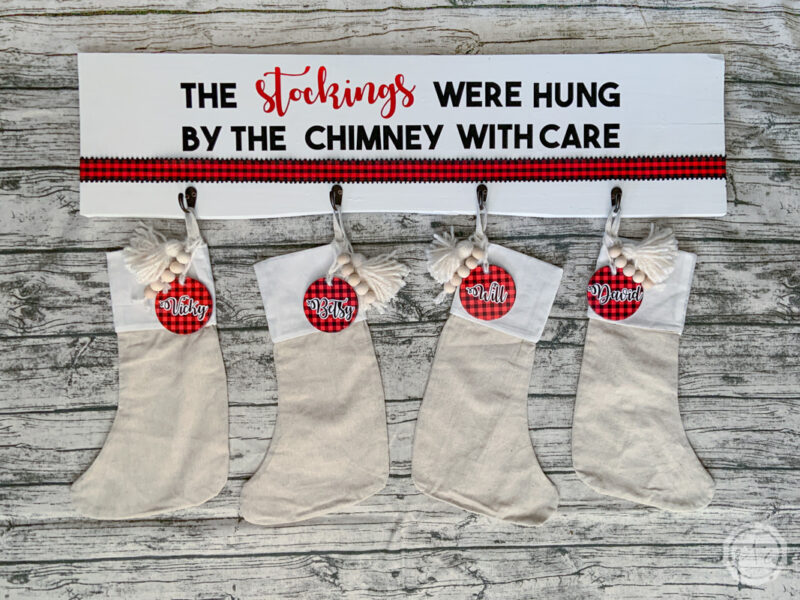
If you don’t have a mantle this cute little DIY Christmas Stocking Holder is the perfect solution. It’s easy to make and can fit almost any style! I used a little red and black buffalo check ribbon to help tie this sign in to my mom’s traditional decor.
Let’s get started.
Supplies:
- Long White Board (35″ by 10″)
- 4 Linen Stockings
- 4 Coat Hooks
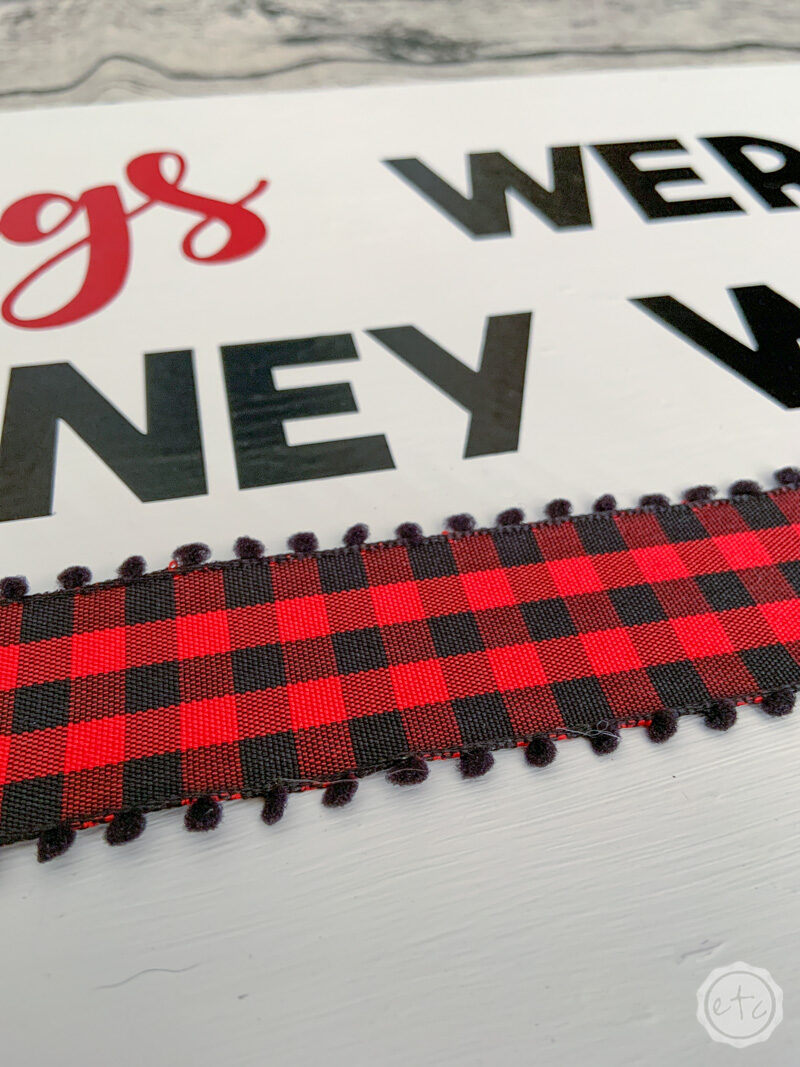
- Black and Red Buffalo Check Ribbon (45 inches long)
- Staple Gun & Staples
- Cricut Explore Air 2
- Cricut SVG Files (FREE at the bottom of this post
- Cricut Standard Grip Mat (that’s the green one!)
- Standard Point Blade
- Black Premium Vinyl
- Red Premium Vinyl
- Transfer Tape
- Weeding Tool
- Power Drill

Step 1: Cut and Weed Your Vinyl
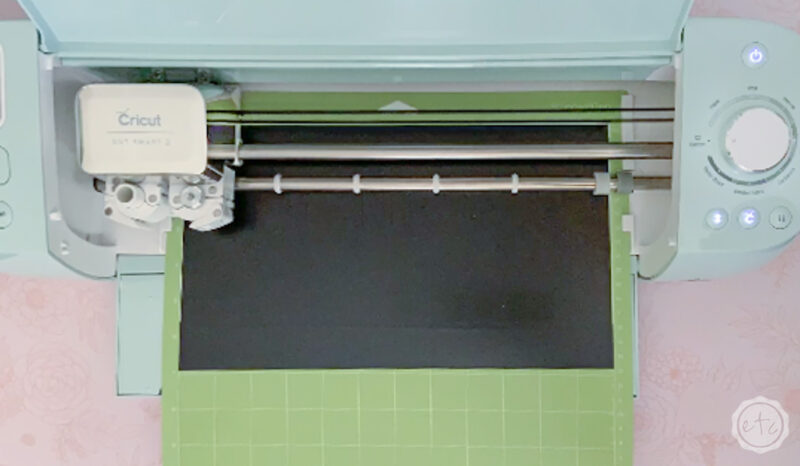
Let’s get started y’all! This is a pretty each project (as far as projects go!). Go ahead and grab your free svg and upload it to Cricut Design Space. Then it’s just a matter of cutting out your words out with your Cricut Explore Air 2.
I wanted my sign to be pretty sturdy so I grabbed a roll of black premium vinyl and one of red (to coordinate with my buffalo check ribbon). The SVG file is color coordinated so that the words will automatically separate when it’s time to cut. Just hit go, select premium vinyl and load each color vinyl (one at a time) on a standard grip mat.
Tip: I find that premium vinyl is a little thicker and even with the pre-determined settings my letters don’t come out cut all the way through. So I always turn my pressure up to “more” before hitting cut.
Once the cutting is done you can use a weeding tool to take all the little bits and bobs out of the design. Although this chunky font is pretty easy to weed on it’s own! (The “stocking” word does need a bit more weeding but it’s still super easy).

Step 2: Use Transfer Tape to Add your Words to the sign
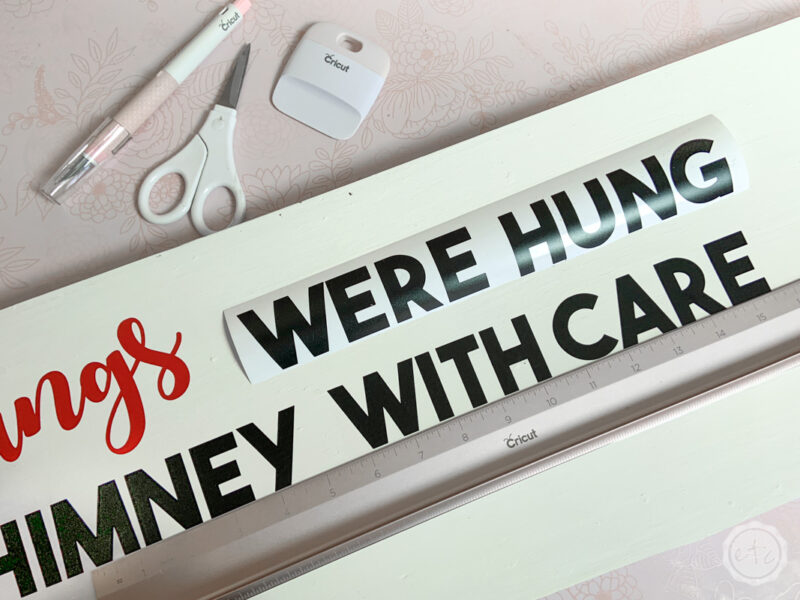
Let’s get crafty! Once my words were weeded I went ahead and cut out each word (or phrase!) so that I could place them on my sign and make sure everything was lined up properly.
Then I used a bit of transfer tape to move each set of words onto the sign.
If you’ve never used transfer tape before it’s really simple. Cut a piece of transfer tape that’s the same size as your words and lay it on top of your vinyl letters. Keep it straight so that the bottom of your letters is straight along the transfer tapes grid.
Then use your smoother to firmly press the transfer tape down onto the letters.
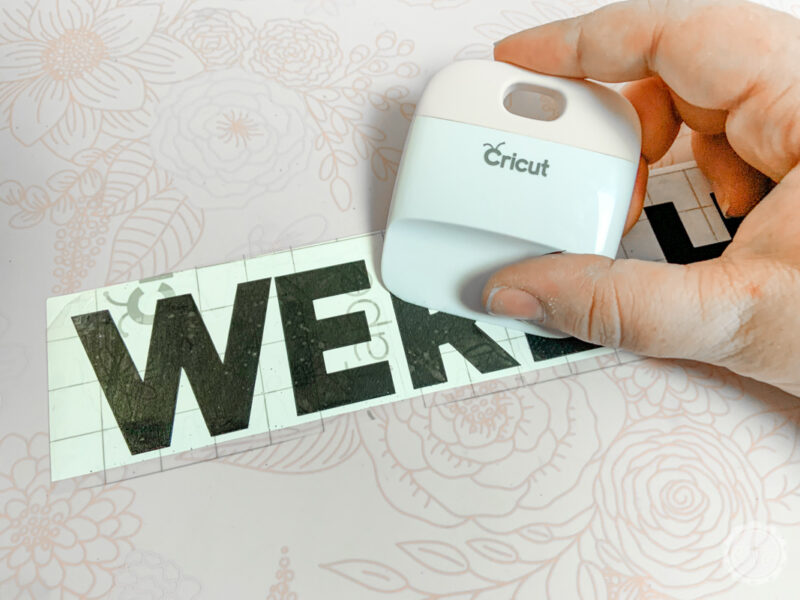

Then peel your transfer tape up and the letters should come with it! If they don’t you just need to press a little harder… but this vinyl works pretty easy with transfer tape so you shouldn’t have any problems.
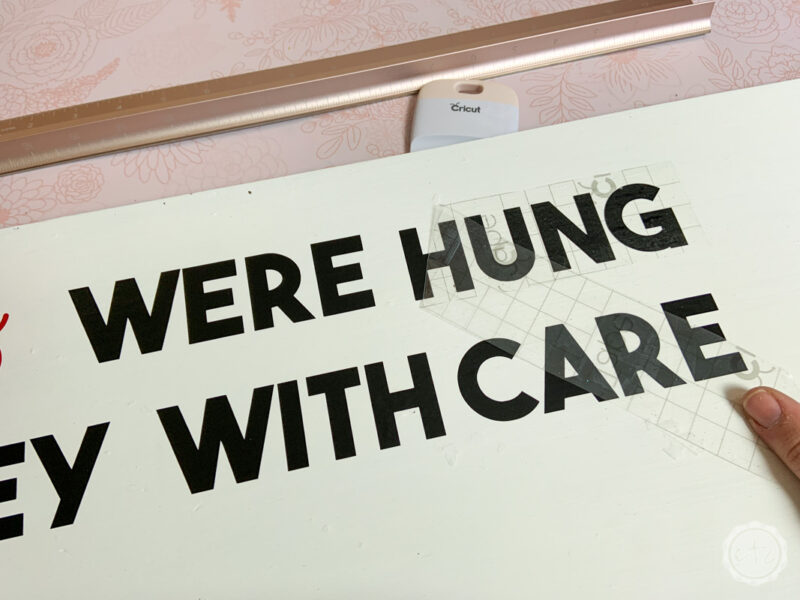
Next go ahead and place your words on your sign using the grid on the transfer tape to keep everything straight. Press the words down with your smoother again… this time activating the sticky on the back of the vinyl so that your words bond to your sign.
Then peel up your transfer tape leaving the vinyl firmly behind on the sign!

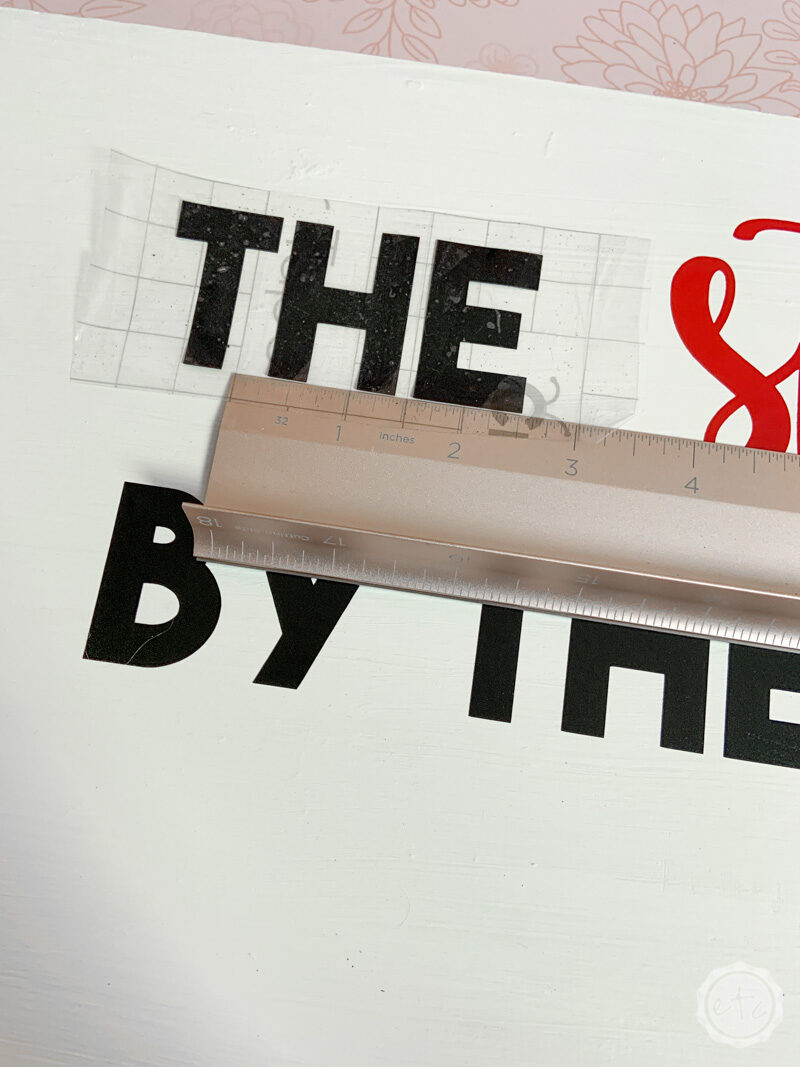
When working on a large design here’s a little trick I use… a long ruler. I line it up with the bottom of a word that is already straight and on my sign. Then when I add a new word I can line up the bottom of the new word with my ruler.
You can see below how the new word “the” is resting on the ruler… kind of like how you’d write super carefully on a line at school.
Once your new letters are perfectly aligned with the old letters you can press down the top of the letters so that the vinyl is stuck in place and then remove the ruler.
Volia!
Once all of your words are transferred it’s time to move on to the next step.
Tip: You can always use an extra long mat but if your words are longer than an extra long mat or you want to stick with a 12×12 for whatever reason (laziness *ahem*) this ruler trick is the bomb.
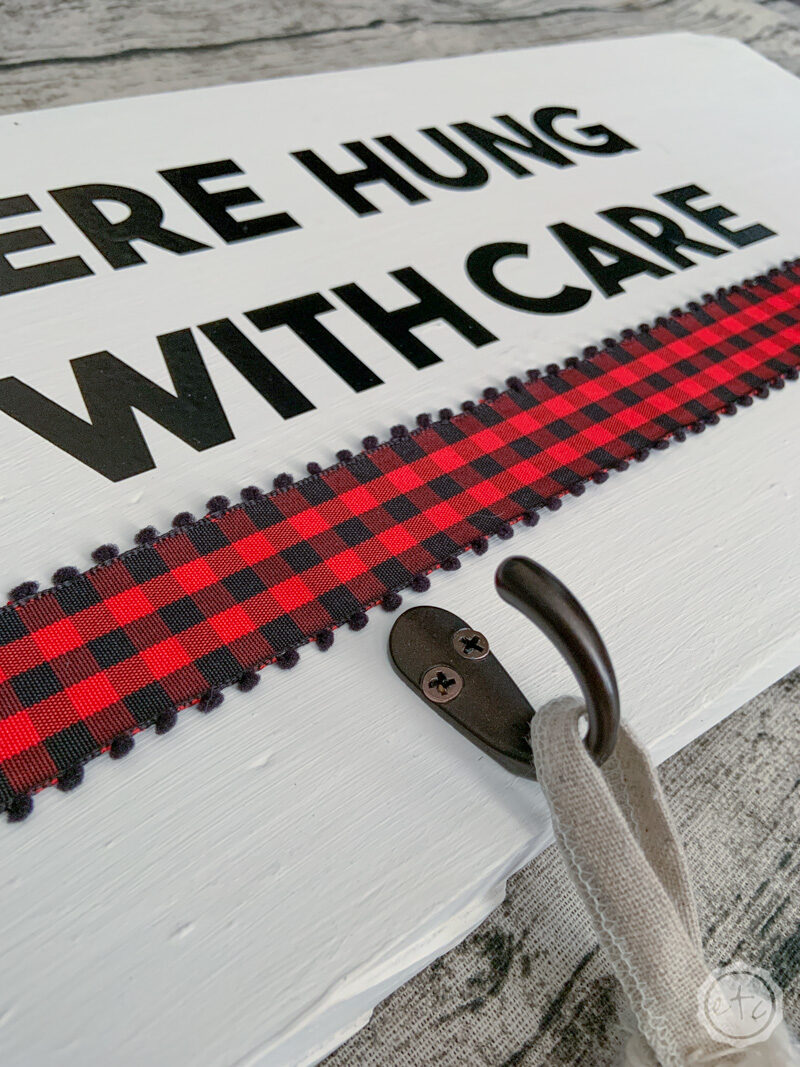
Step 3: Add Your Hooks
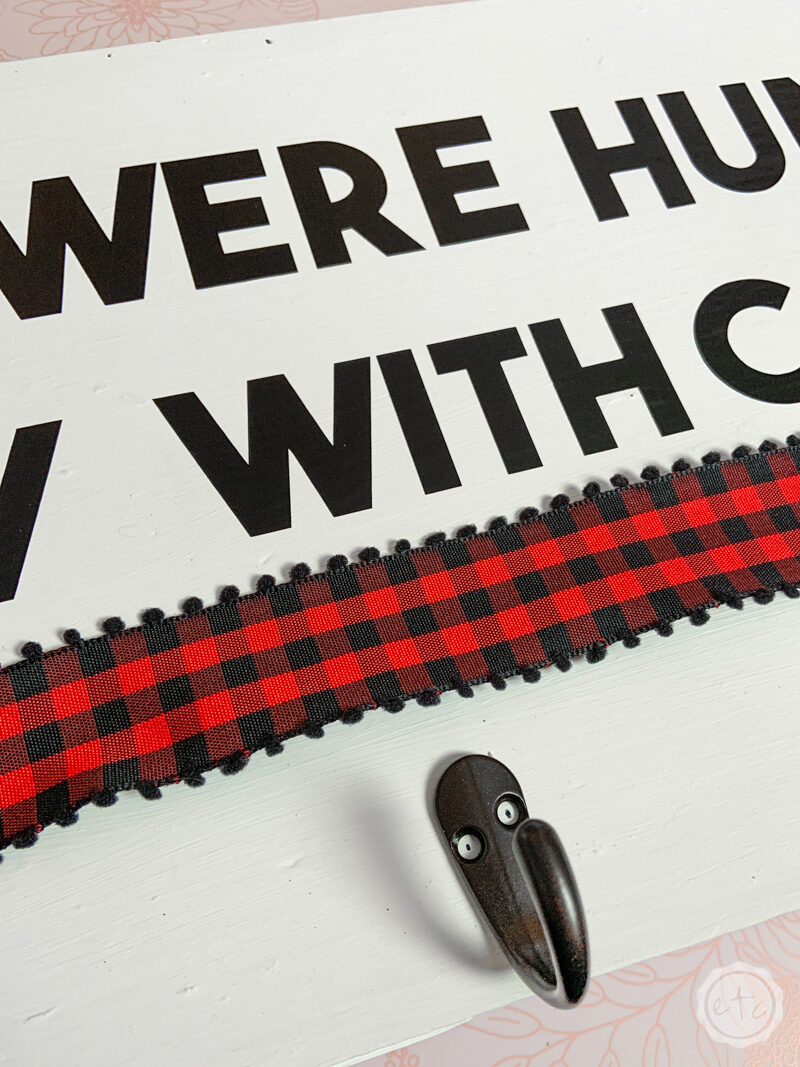
It’s time for a little drilling y’all… let’s add those coat hooks! This is a pretty simple process: first I stretched my ribbon across the front so that I could get a feeling for spacing. Then I placed the hooks across the bottom of the board.
I put one hook on either side that was even with the sides of my words (so about 8 inches in). Then I placed the other two hooks in the middle making sure there was equal space between all four hooks. This ended up being the perfect spacing for my little linen stockings to hang without being overlapped or hitting into each other.
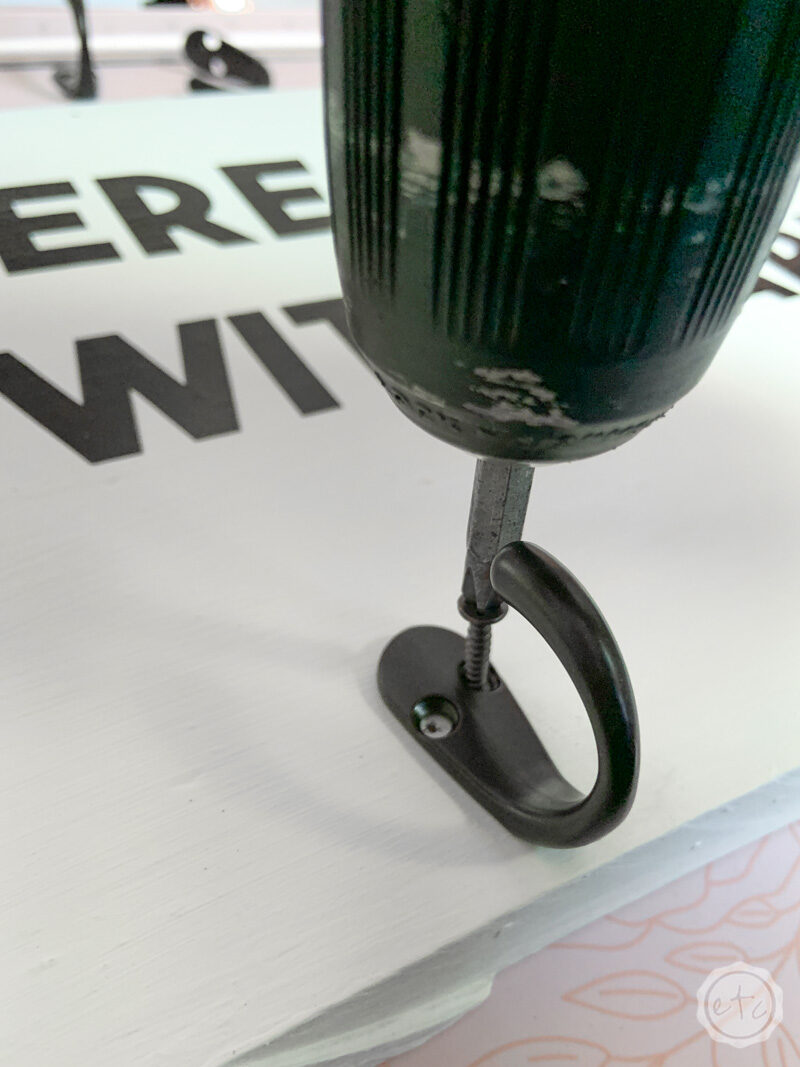
Once your hooks are laid out go ahead and mark the screw spots with a pen. These are fairly small screws and they’re going into soft wood so you don’t need to pre-drill but you can if you’d like. I pre-drilled just enough that my screw had a head start into the wood.
Then it’s just a matter of securing the screws with your drill.
Perfect darling!
Step : Attach your Ribbon
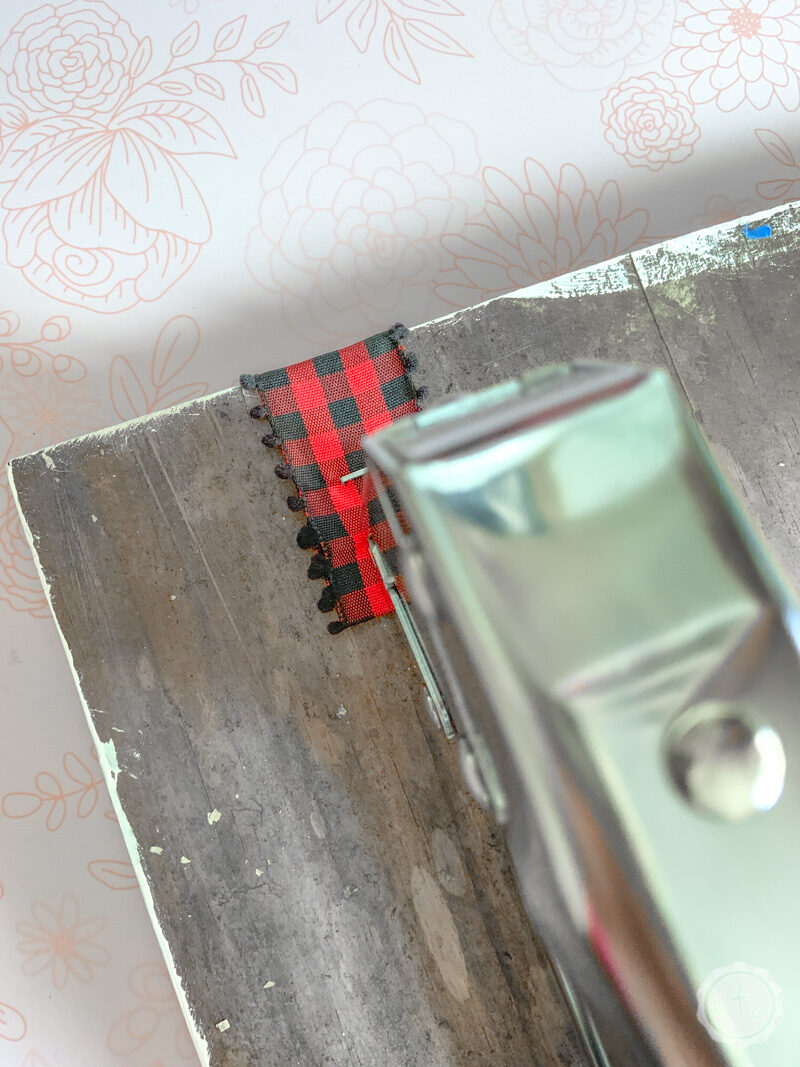
Now it’s time for the finishing touch! Go ahead and stretch your ribbon across the front… make sure it’s in just the right spot and pulled tight. Once you have it in place go ahead and turn your board over.
Take one end of your ribbon and turn it under so that you have a double up ribbon to put your staples into. Then put two staples in the end of your ribbon making sure they’re stapled in tight to hold the ribbon in place. Once you’ve done the first side make sure the ribbon is still where you want it and do the second side the same way.
Turn the end under and put two staples into the folded over end.
Volia!
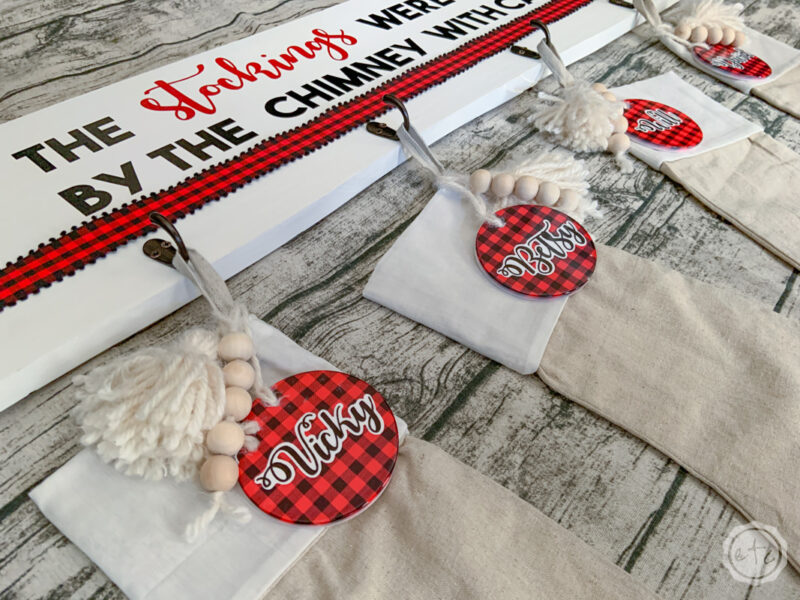
Ready for the finished product!? Take a look!
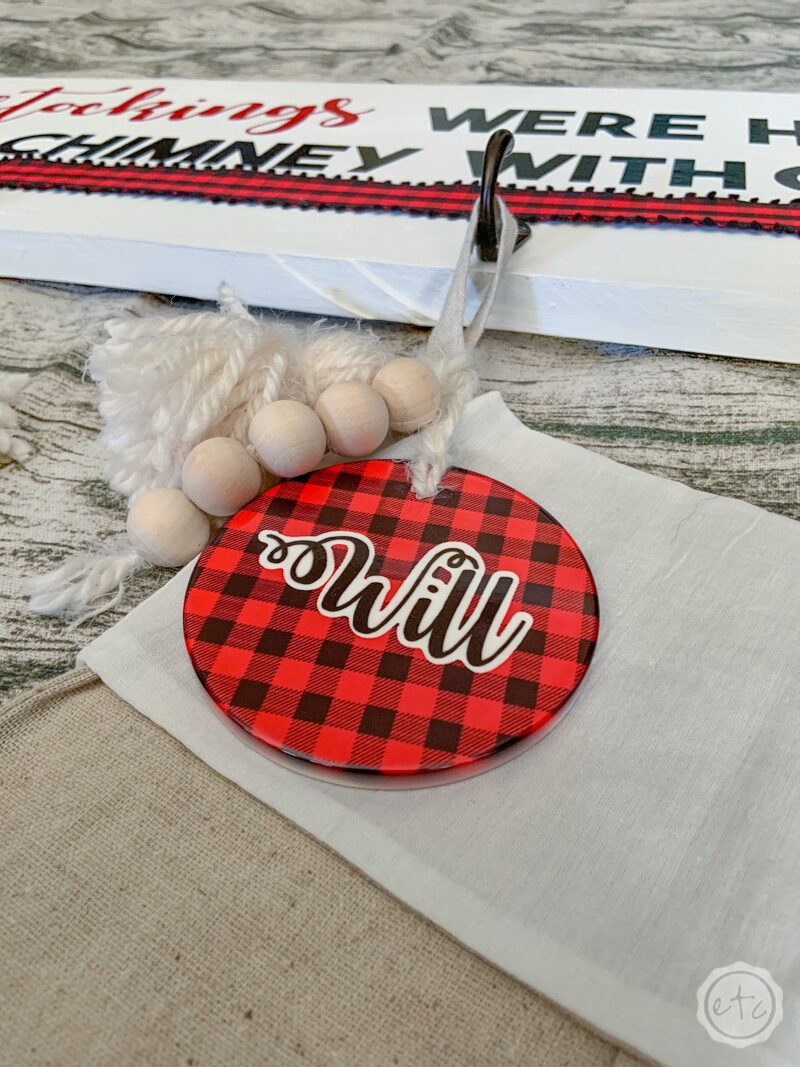
Want to make the matching tags to personalize your stockings? You can follow the full tutorial here!
Looking for a few more Christmas projects? Check out all these fun DIY’s!


[…] Want to make the matching sign to hold your stockings? You can follow the full tutorial here! […]