
Ready for a fun resin tutorial? Today we’re going to bust out the interference colors and have fun with a few color shifting pigment powders! I love how these mica powders change colors and sheen… and I especially love how you can add them to resin pieces for a fun and unique pop!
So we’re going to bust out a mold with a lot of detail and get started adding pigment powder to the raised details… then when the piece is finished we’ll have a nice distinct color difference between the interference color and the regular mica powder.
Ready to get started?
- Amazing Clear Cast Resin
- Wagner HT400 Heat Gun
- Paint Respirator
- Disposable Gloves
- Freezer Paper
- Large Silicone Mat
- Non-Stick Baking Pan
- Silicone Coaster Mold
- Heart Shaped Silicone Cup
- Large Silicone Measuring Cup
- 5 100ml Silicone Cups
- Re-useable Silicone Stir Sticks
- Large Mandala Silicone Mold
- Red Mica Powder (in Chili Pepper)
- Interference Blue Mica Powder
- Small Paint Brushes
Just getting started with resin? Download my free resin supply list and make your first project today!
Pearl Ex Color Shifting Pigment Powder Tutorial:

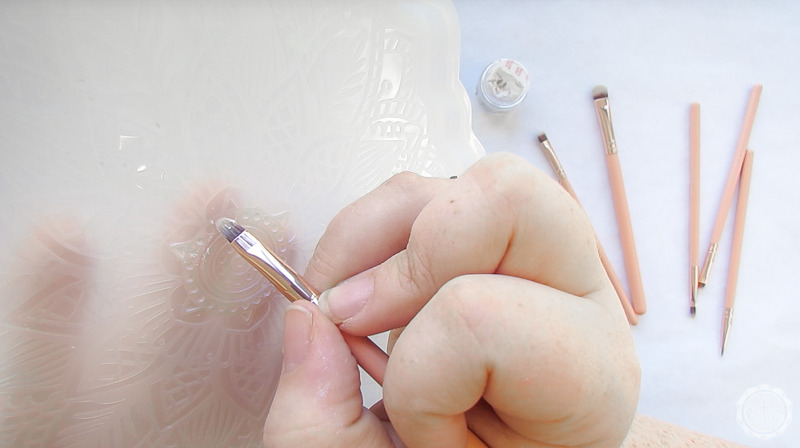
Step 1: Apply the Color Shifting Pigment Powder
There are a few ways of working with this interference color… you can mix it straight into resin for an all over color shift effect or you can use it to “paint” or “dust” certain parts of a mold in order to showcase the pigment.
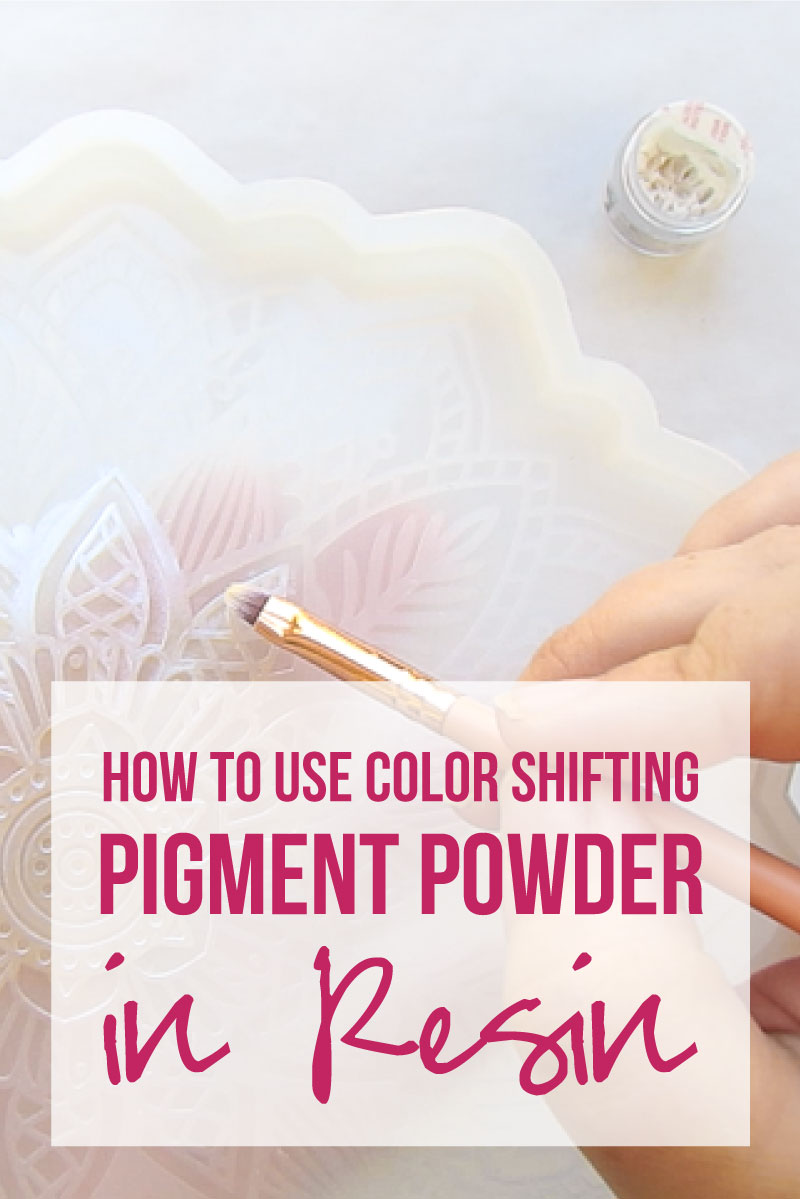
In this case the mandala mold we’re working with has a beautiful raised design… that we’re going to “paint” with the interference color. Although paint is kind of a loose definition of the word.
If you are trying to cover the entire mold then paint away but if you’re trying to only paint the raised design we’ll take a different approach.
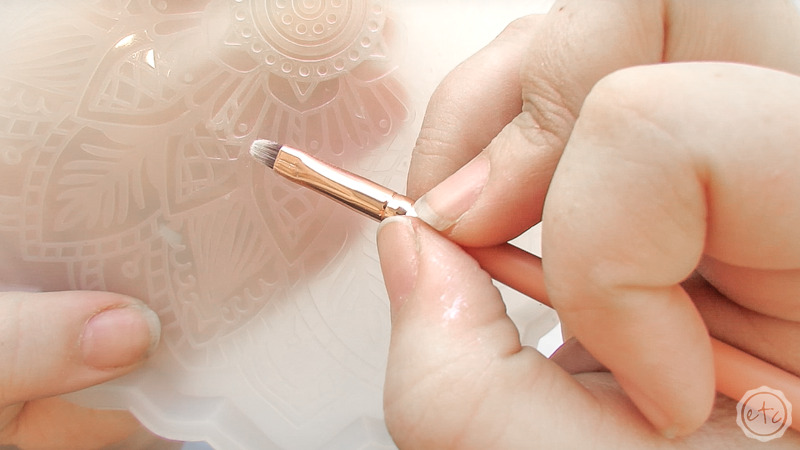
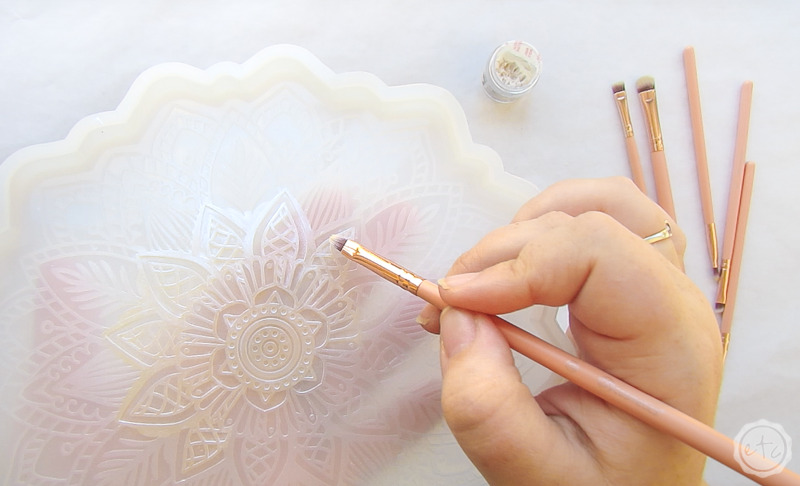
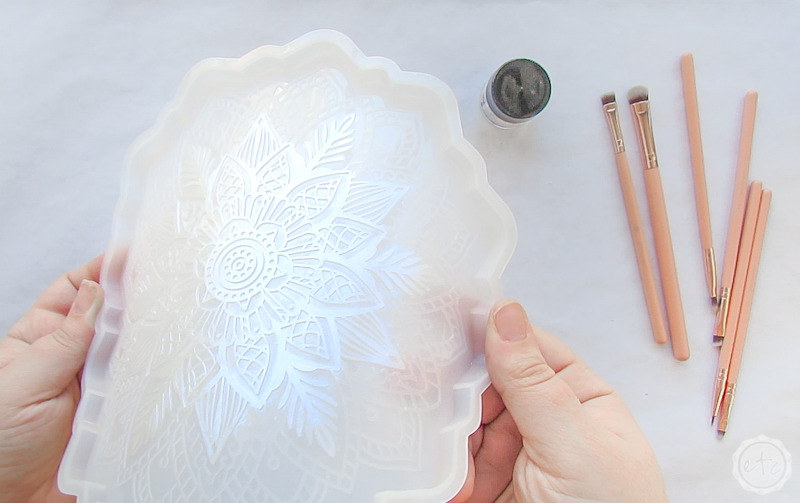
For this little mandala I started by painting the entire center medallion… then as I moved to the outer rings I moved to dusting only the raised portions.
I tried several different ways but I had the most success with a little brush. Add a bit of the pigment powder to the brush and then tap off the excess (I used the lid for this so that I could keep using the excess). Then instead of painting the raised portions, turn the brush on it’s side and carefully pat just the raised portions of the mold.
Work in small sections and when loose powder (inevitability) falls onto the mold make sure to blow it away before it can settle. If too much powder falls on the wrong portion of the mold you can use a small brush (or a q-tip) and a bit of rubbing alcohol to remove the powder.
Then make sure to dry the rubbing alcohol off the mold before moving on.
Overall the process isn’t very hard… just tedious. It will take *ahem* a few minutes! I simply put on a podcast and listened while I worked… easy enough! I did allllll the rings of the mendala out to the last ring… then I left that ring clear.
Step 2: Mix your Resin
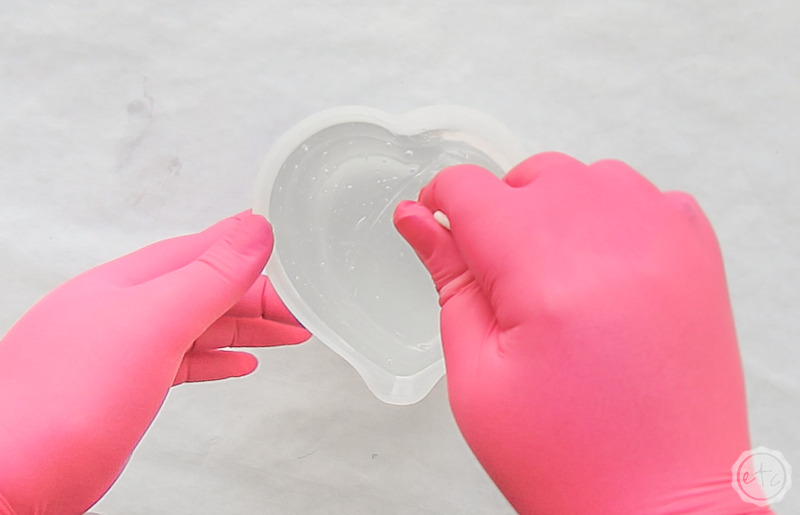
We need about 180ml of resin for this project and since the entire piece will be one uniform color you can mix it alllll up in one silicone cup! Or (like me) if you’re making several different projects at once you can mix a larger amount of resin in a big cup and then separate it out in smaller cups to add your colorant.
So I actually mixed about 500ml of resin in my large heart shaped mixing cup and then separated out about 100ml for this project. 100ml is not enough (which I learned the hard way) and had to add about 80 ml of resin later on to fill the mold.
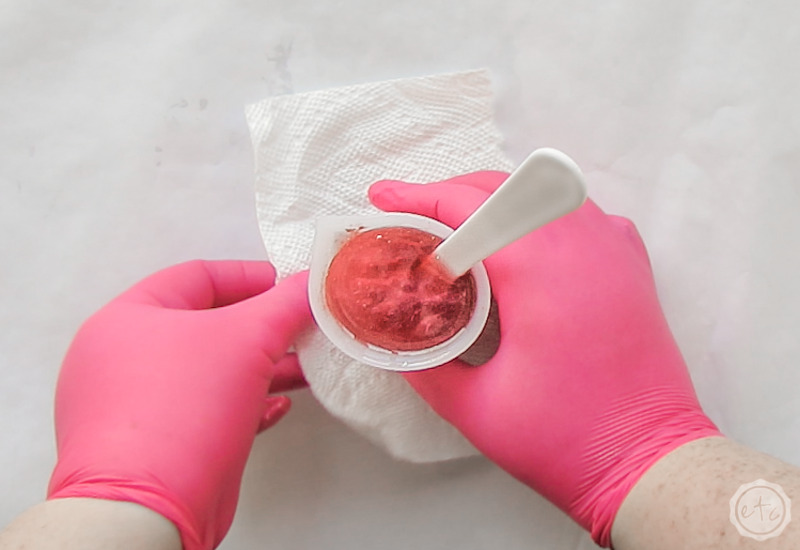
Regardless the base formula is the same. For this project you’ll mix about 180ml of red resin (all at once)… make sure to mix your resin for about 2-3 minutes before adding your colorant. Then mix for another minute to thoroughly stir in the red mica powder. Perfect!
Then slowly mix in the glitter and confetti… making sure to stir from the bottom. After another 2 minutes of mixing you can let it sit in the cup for a few minutes before pouring. This will let as many bubbles as possible rise to the surface. You can use your heat gun to help any bubbles close to the surface pop before you move on to pouring the resin into the mold.

Bonus Tip: If you’ve never mixed resin before it’s not nearly as intimidating as you’d think! I’ll walk you through all the steps here in my How to Mix Resin for Beginners Tutorial.
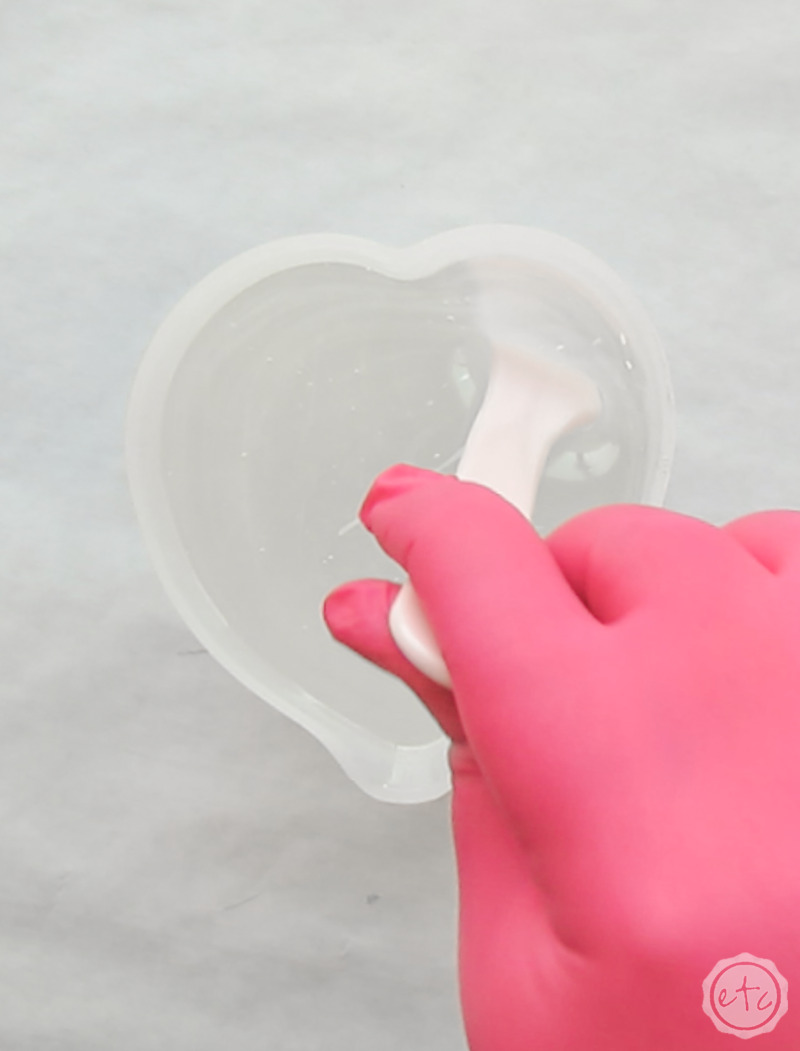


Just a side note: I’ve used this same technique to dust a mold with color shifting pigments before (you can see the entire tutorial here: DIY Resin Christmas Presents) and while the color shift effect did happen I don’t think the white background really let the color shift shine. So for this project I picked a darker mica powder for my background (the chili powder color is quite dark).
On the other hand I mixed two versions of the chili powder resin and the second one had more pigment and was much darker. It looked… better. Way better. So don’t skimp on the mica powder. Make sure you put enough red pigment into the resin for a truly saturated color.

Step 3: Pour your Resin
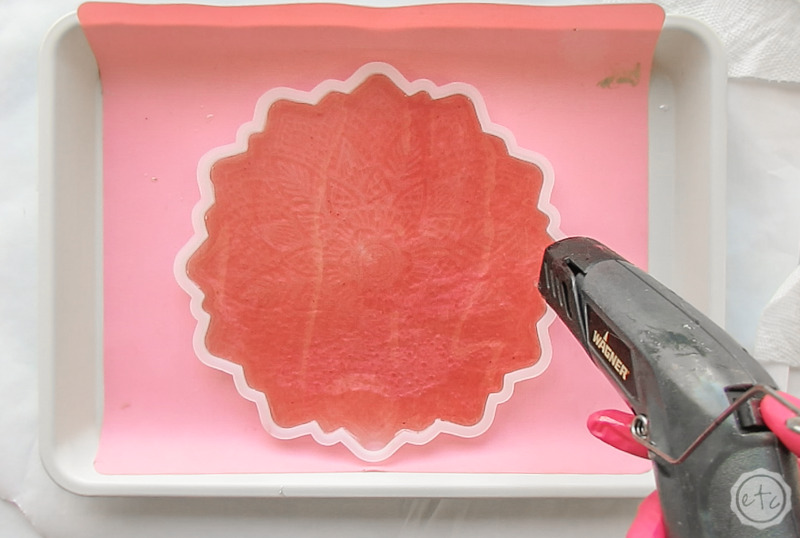
Now that your resin is completely mixed it’s time to pour! This is a very easy mold to pour BUT all of those raised details in the mold are little opportunities for bubbles to get trapped. So pour your resin slowly from high up… a thin stream will help minimize bubbles.
Then make sure to spread your resin allll the way out to the edges (this will be less of a problem if you make 180ml of resin and not 100ml).
Then use your heat gun to pop all the bubbles! Perfect!

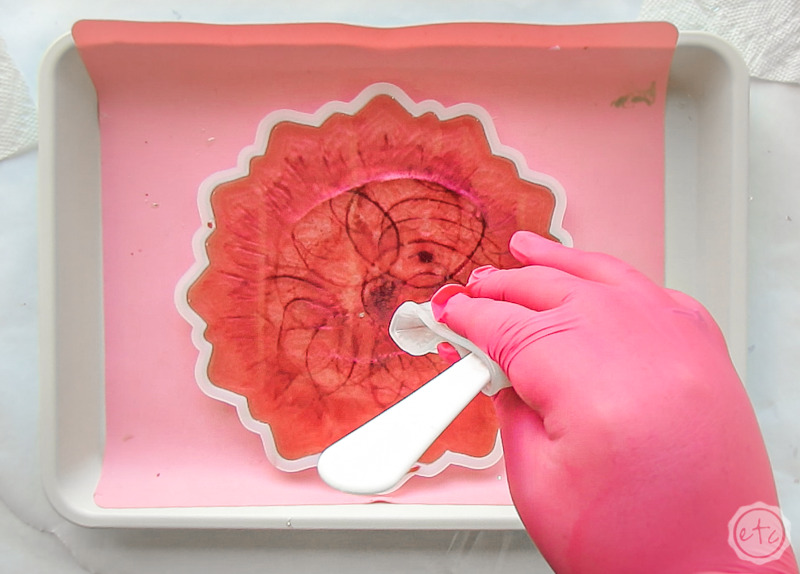
Bonus Tip: When I added the second batch of resin (the 80ml to fill up the mold) the resin itself was much darker… so while I could have added it directly to the center of the mold and just let an ombre effect naturally happen I wanted a more uniform look.
So I swirled the resin in. This will blend more as it dries but still give me a little movement which I actually kind of like. Maybe this is a happy little accident after all!
Once you’ve added all the resin make sure to hit it with your heat gun again to zap those bubbles… then set your piece aside for 24 hours to cure.

Step 4: De-mold your Piece
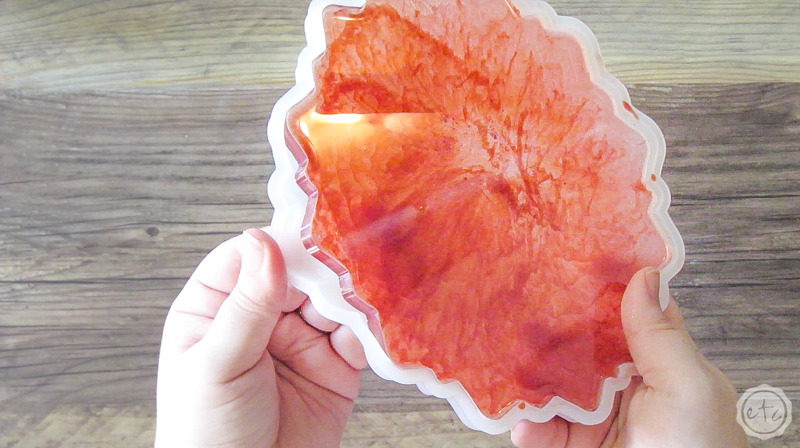
Now it’s time for the fun stuff! Taking this baby out of the mold! This is actually a very easy piece to remove from the mold. Simply start by working your way around the mold and peeling the mold back from the resin edges allllll the way around.
Once the edges are free flip the piece over and put it flat on the surface of your table (this will keep it stable and flat as you de-mold the center.
Now simply peel the rest of the mold away… volia! Done!
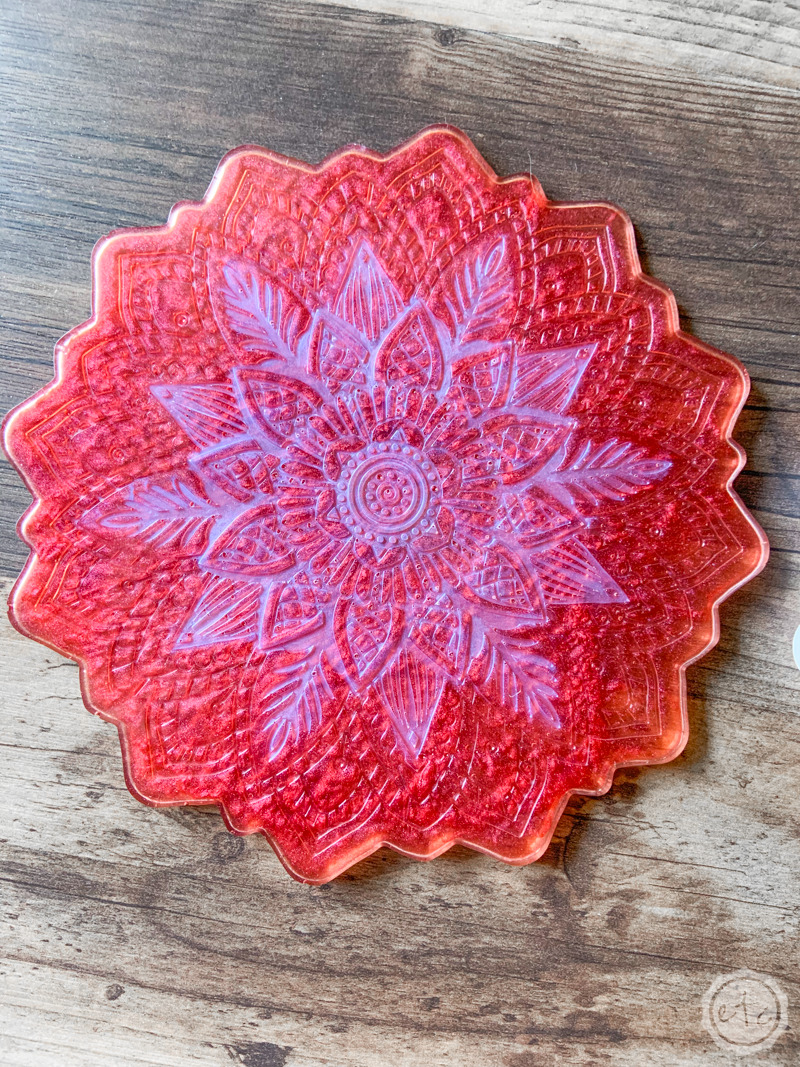
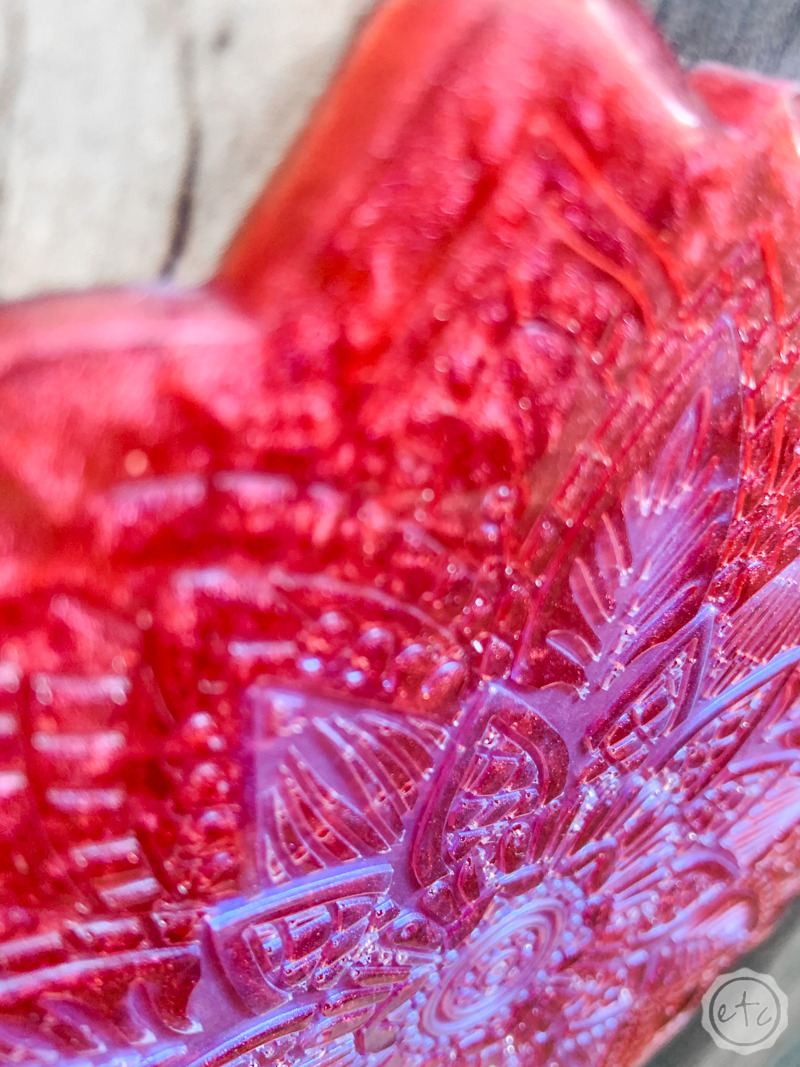
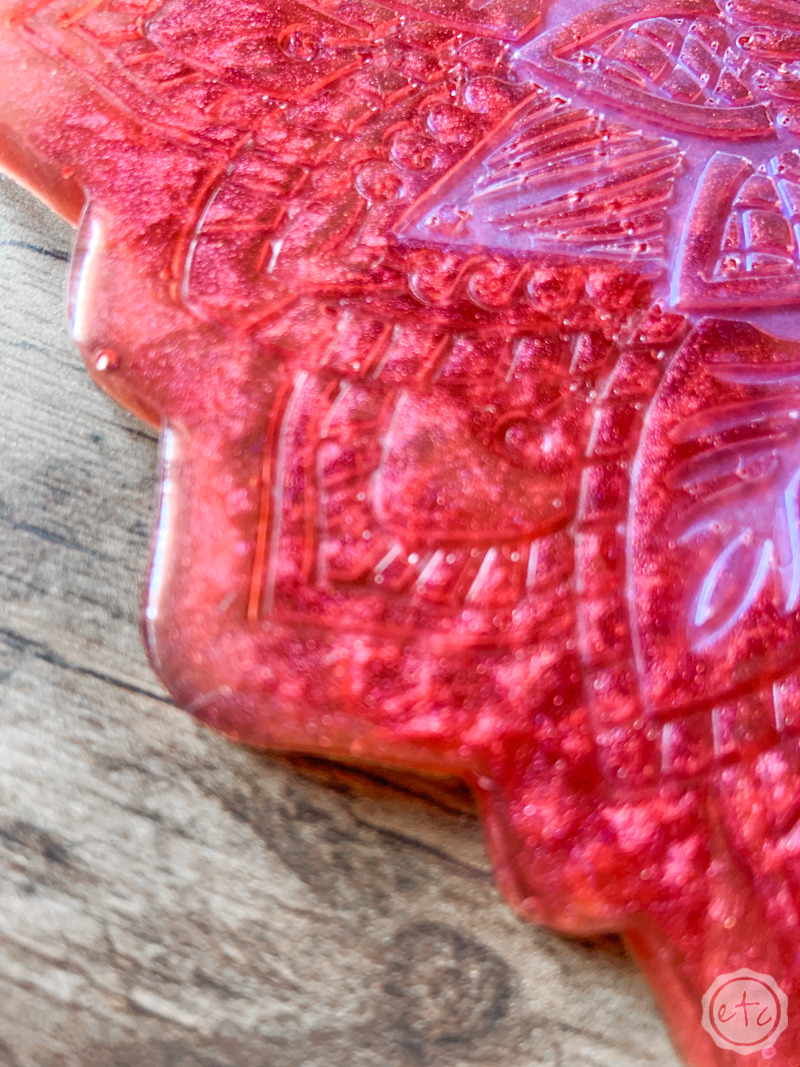
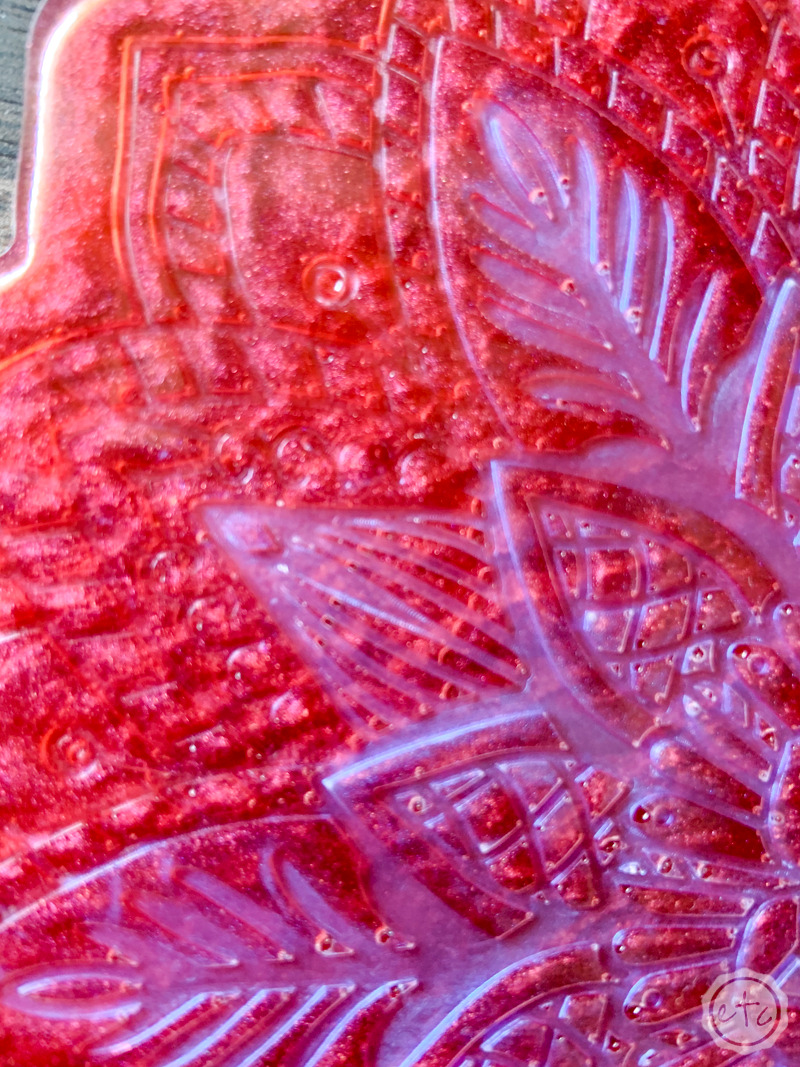
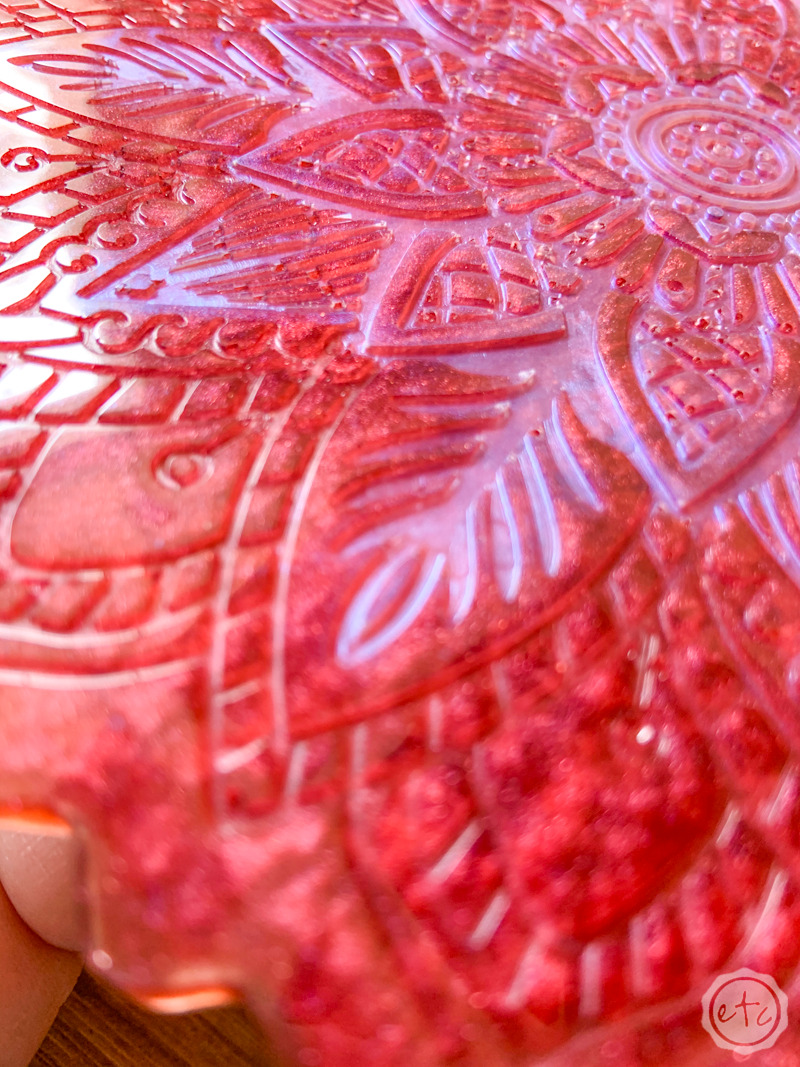
This piece would be a beautiful suncatcher! Ready for the pretty finished shots?




Looking for more resin projects? I’ve got you covered!


