


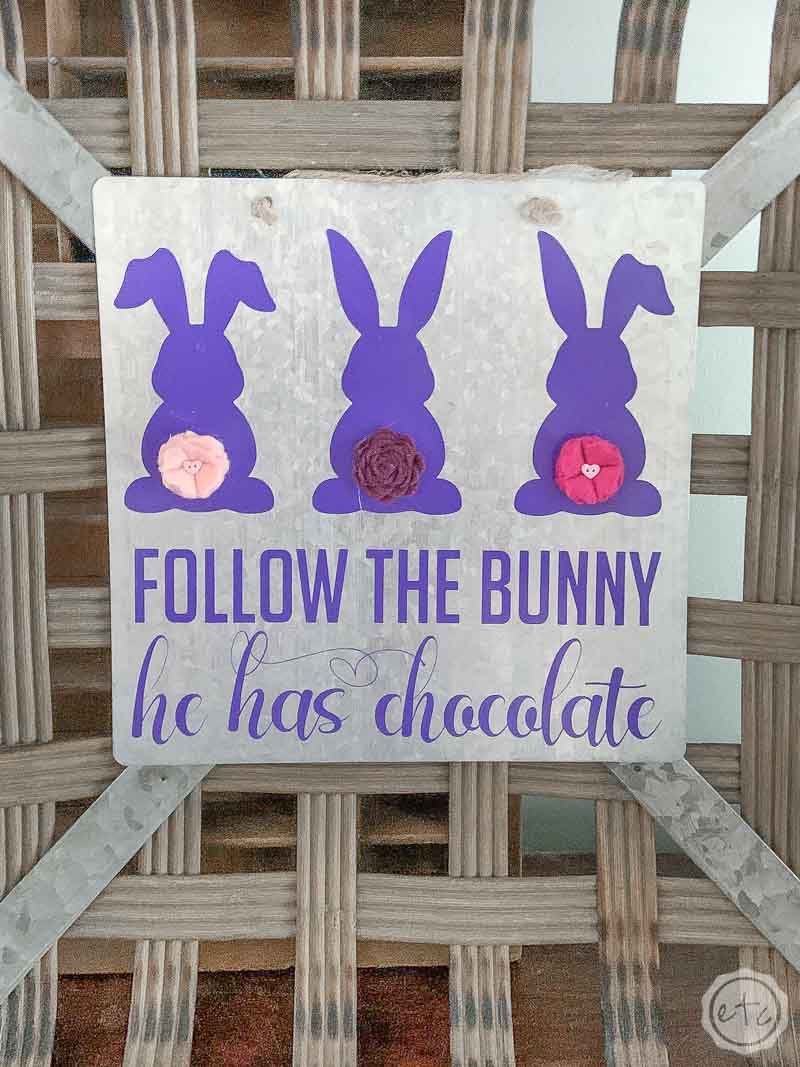
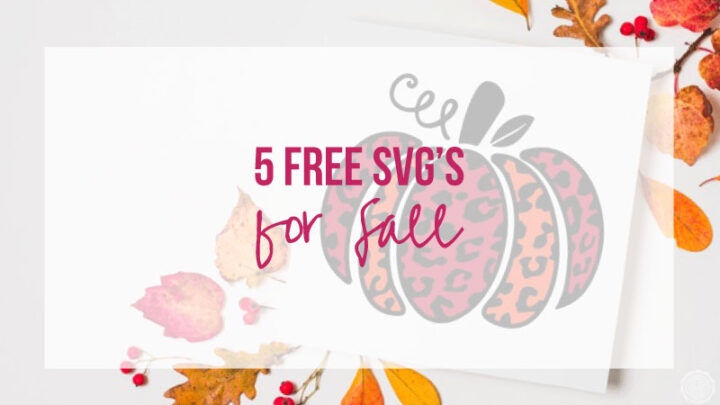
Ready for a fun little Easter sign? When I whipped up this month’s FREE SVG’s I was so excited to make this design… because I could see all the little bunnies in a row with their cute little cotton tails.
Or as I made them: little felt flower tails!
Luckily this is a pretty easy project: we’re basically going to cut out an svg out of vinyl and then add felt flowers. So if this is your first Cricut project then you’re in the right place. This one is quick and easy… but super cute.
Ready to get started?
Supplies:
- Cricut Maker
- Fine-Point Cutting Blade
- Cricut Standard Grip Mat (that’s the green one!)
- OR Cricut Fabric Grip Mat (that’s the one I use… it’s pink and holds everything)
- Cricut SVG Files (free at the bottom of this post!)
- Premium Vinyl
- Transfer Tape
- Weeding Tool
- Brayer
- Felt Flowers (you can follow my felt flower tutorial here)
- Aluminum Sign
- Hot Glue and Hot Glue Gun
Ready to take the leap but not sure which machine is right for you? Check out my Explore Air 2 and Maker comparison before pulling the trigger. I go over the pro’s and con’s of each machine and even have an easy to read check list of each machine’s features so you can decided which cutting machine is perfect for you.

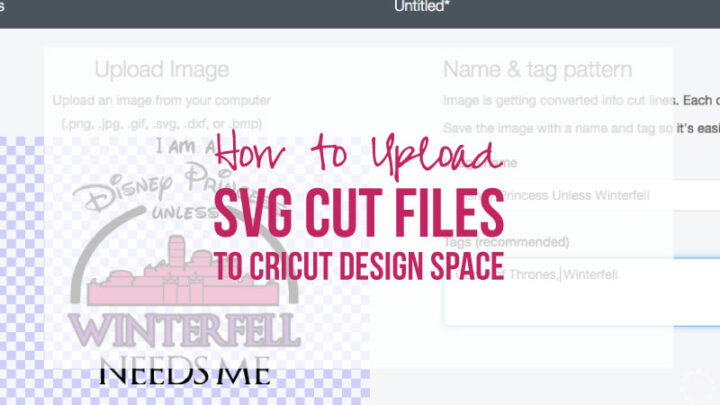
Step 1: Upload & Cut your Design
Alright y’all first things first, go ahead and download the files at the bottom of this post. Then you can upload the cut files straight to Cricut Design Space.
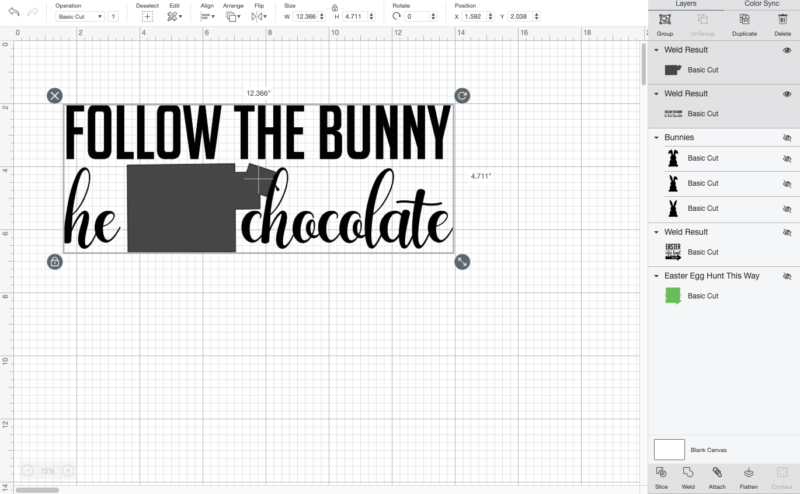
Just a heads up, for this particular project I actually used two cut files! I originally wanted to use the bunnies by themselves but since my little sign base was square I added the cute little “follow the bunny” svg underneath.
Two designs in one!
You could pick a different design to pair the bunnies with or use them by themselves… that’s completely up to you! Either way once I uploaded both SVG’s to Design space I welded the entire kit and caboodle together… and then sized them for my little sign.
Once you’re sized and ready to go you can click make it! I cut this little design out of vinyl so you do not need to mirror… and selecting permanent vinyl should give you the perfect cut strength. Now load your fine point blade in your Cricut and watch it work!
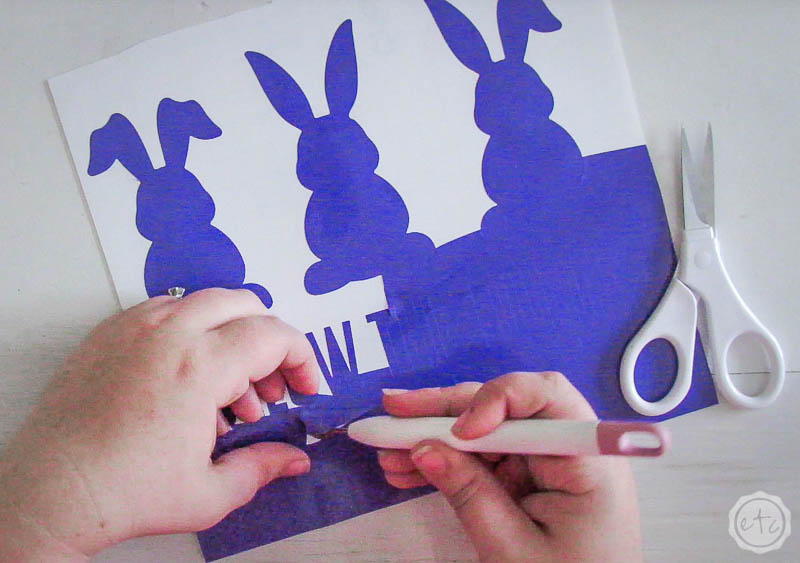
Step 2: Weed your Vinyl
Okay guys ready to weed? In case you’ve never weeded before it’s a simple process: you’re going to remove all of the negative space around the bunnies and the letters so that all we’re left with is the actual design.
The bunnies are suppper easy to weed (that vinyl peeled right off) but you’ll want to watch all the little loops and letters (especially in the script font section). Go slow, use your weeding tool and cut any excess vinyl off as you go (so you don’t get it stuck to the letters you’re trying to keep and make a mess).
Of course, if you do mess up the best part about Cricut is that it’s easy to piece the pieces back together. I actually killed part of the design while weeding this time. I simply wasn’t looking and ripped the cute little heart above the “has” section.
The most delicate portion! So I went back to design space and sliced that part of the design out using a few boxes that I welded into a custom shape. Then I was able to re-cut it out of a scrap of vinyl. Then I was able to add that part of the design right back in without anyone being the wiser.
Score!

BONUS TIP: If you weren’t sure what “weeding” was you might want to check out this post… it’s a full glossary of every single Cricut term I could think of and it will help you get a handle on what everything means. So you’ll know what the heck all these Cricut people are talking about!


Step 3: Transfer your Design
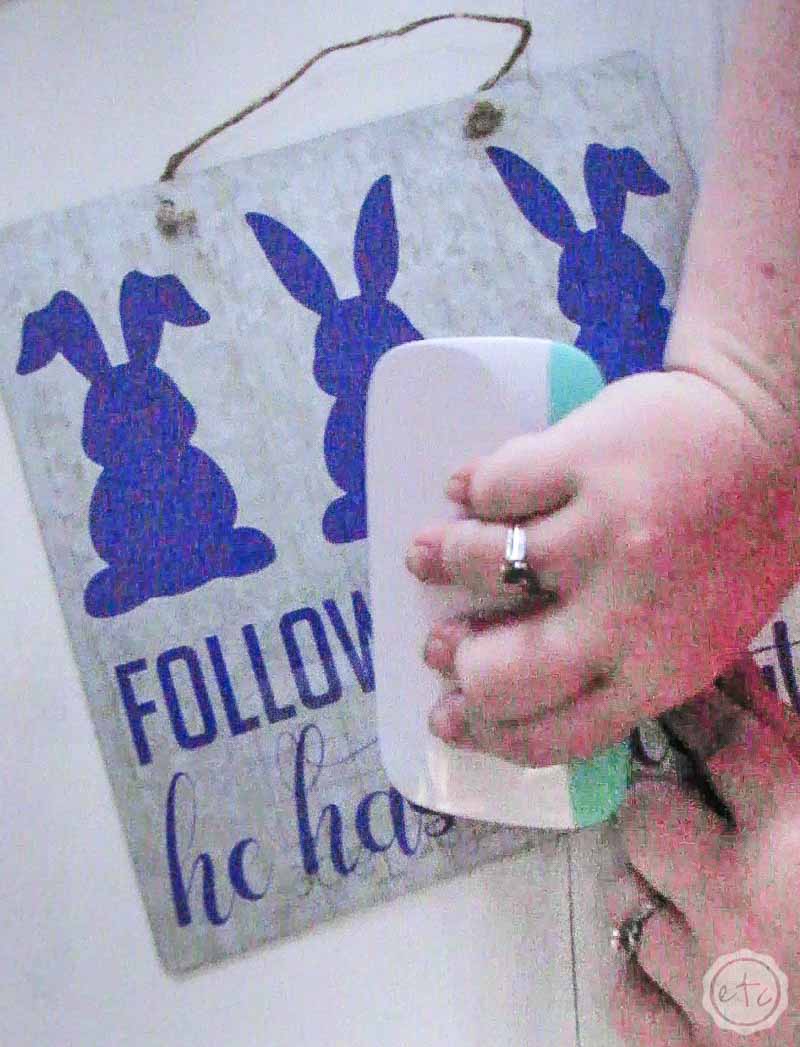
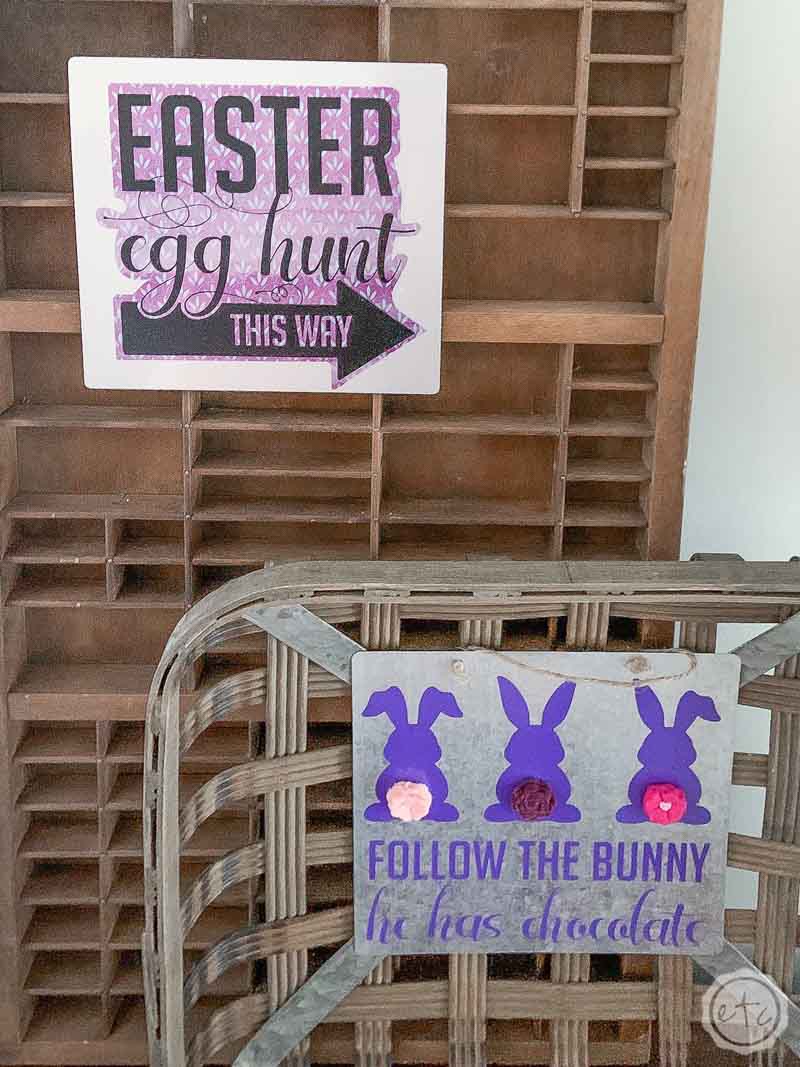
Once you have your entire design weeded and ready to go it’s time to transfer your design onto the sign blank you’ve chosen. In this case I picked a cute little aluminum sign to match the infusible ink blank I used on my other Easter sign… yes I made two of the Easter designs!
Since I had to re-cut “has” I simply left that part out of the original transfer. Instead I smoothed transfer tape onto the rest of the design with my scraper, then I flipped it alllllll over and peeled the backing off the vinyl leaving my design on the transfer tape.
As always make sure that your design is transferring when pulling up the transfer tape and don’t accidentally rip any of the little vinyl pieces.
Once your design is on the transfer tape you can use the grid of the transfer tape to line up the top of the design on the top of your sign blank. Then slowly smooth the design into place with your scraper. I like to start at the top and smooth the entire piece down the middle… then I’ll scrape from the middle out until the entire piece is secure.
Then just scrape scrape scrape until everything is secure! Once it’s alllll pressed down you can remove the transfer tape.

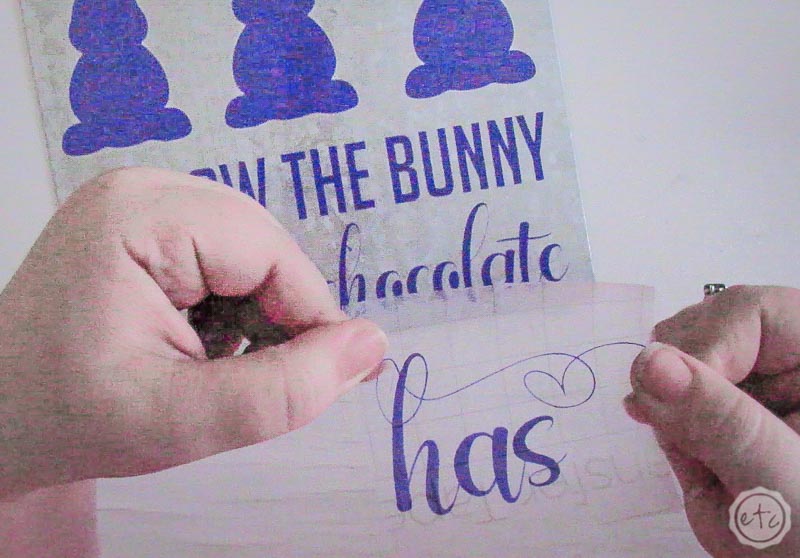
Now for our little broken “has”. I used the same transfer tape to pick this little guy up off it’s backing. Then I carefully aligned it with the rest of the design: making sure the loop on the right and the bottom of the letters were in line with the the other pieces.
Then I simply smoothed it out (from right to left) with my scraper and removed the transfer tape.
Beautiful darling!
Ready for the fluffy tails?

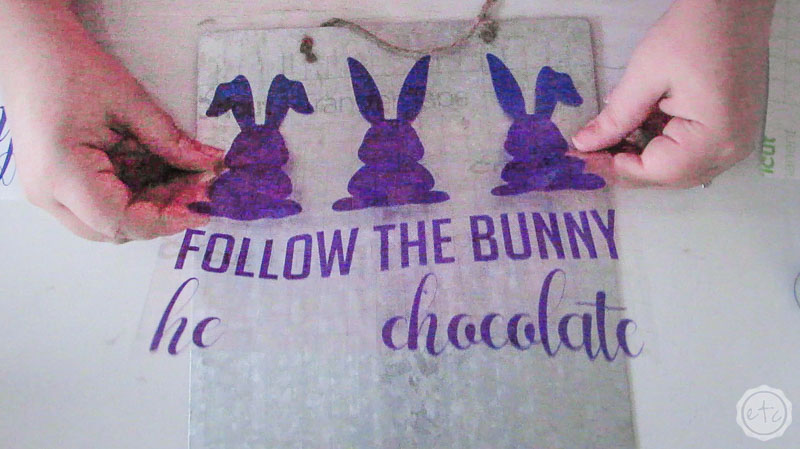
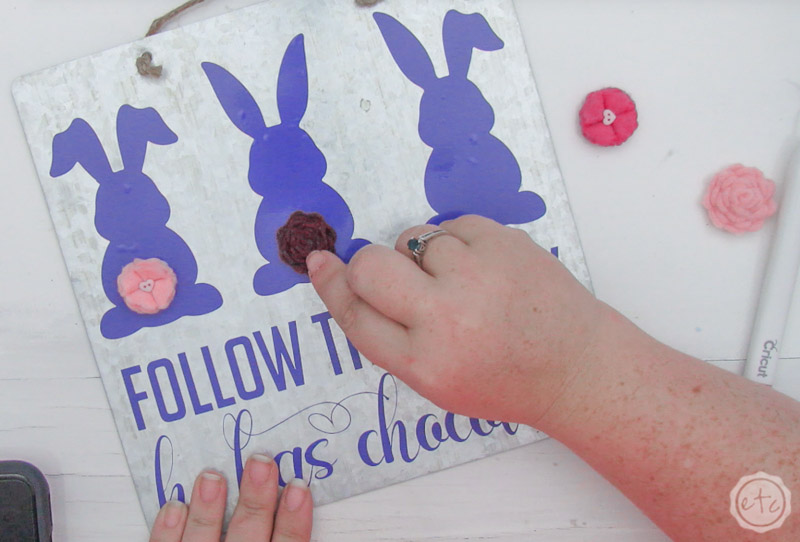
Step 4: Add Fluffy Felt Flower Tails!
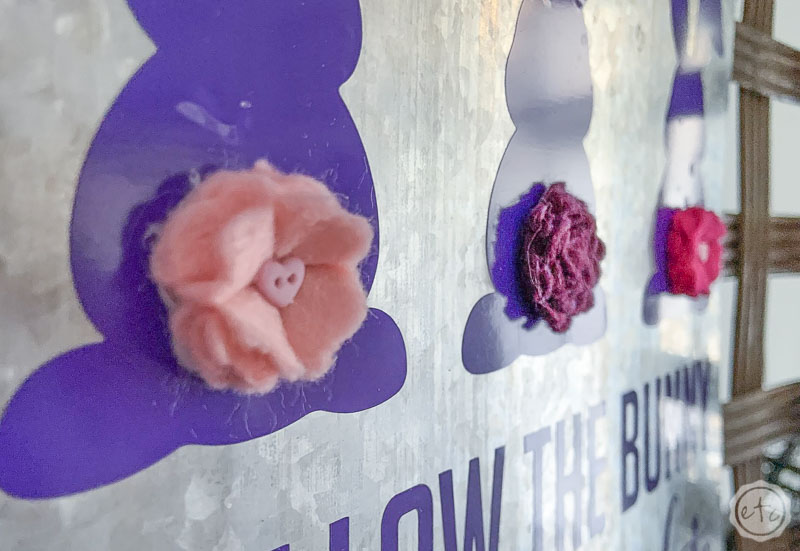
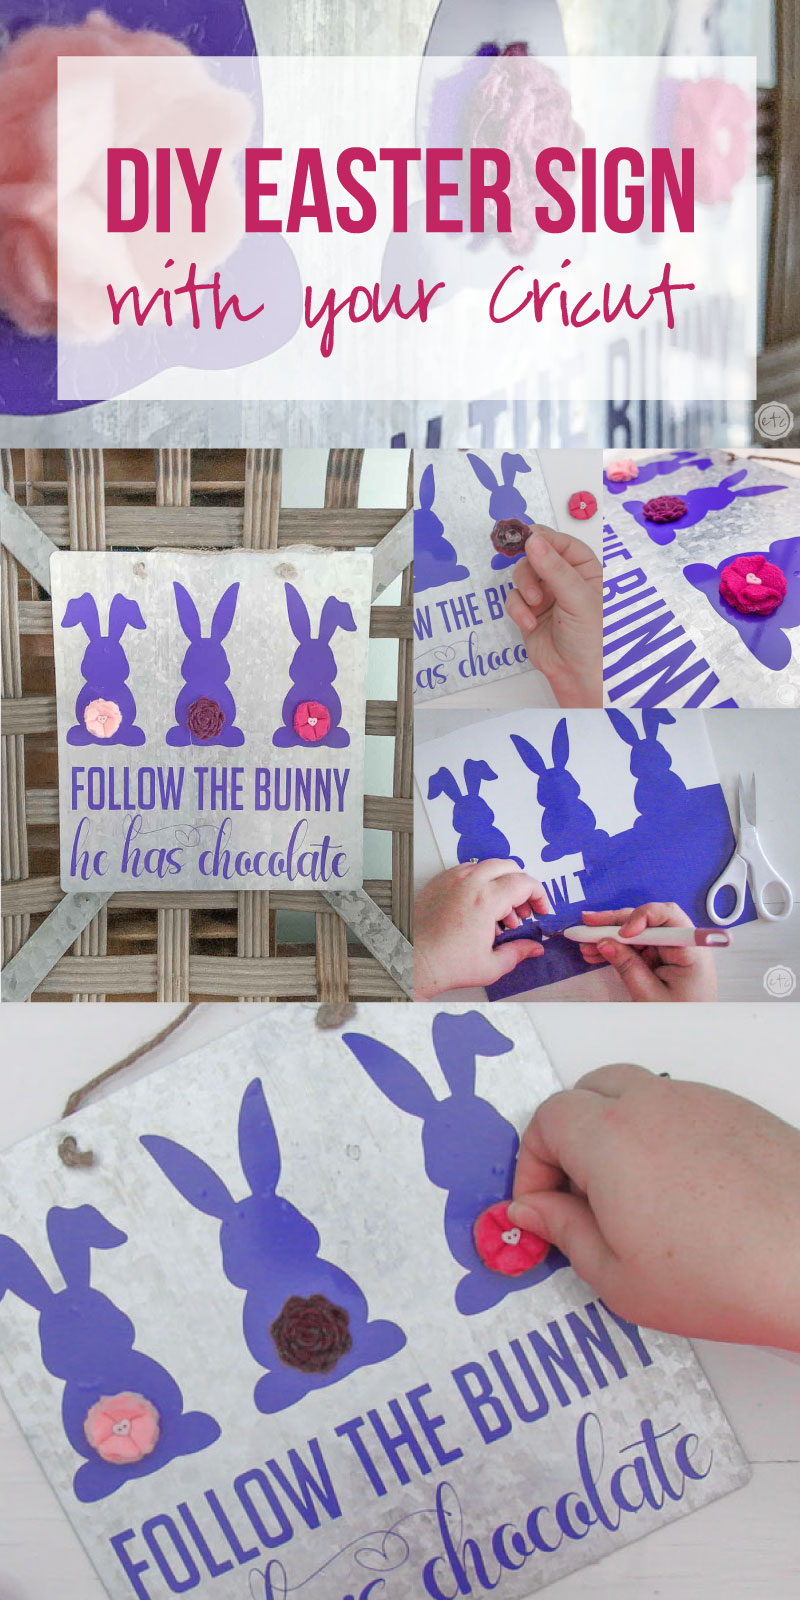
Now that our design is in place you can be finished… but I wanted these bunnies to have adorable little cotton tails!
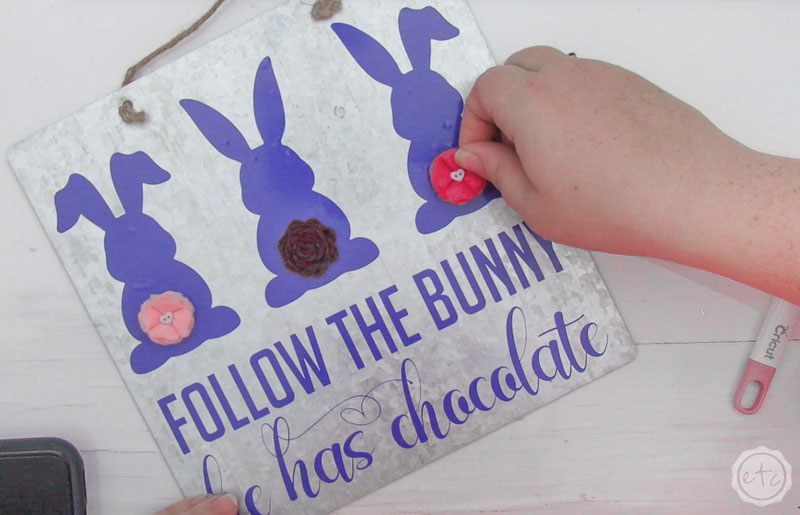
So I grabbed a few felt flowers from my stash (you can follow my felt flower tutorial here) and used hot glue to secure them to the bunnies. And since this is for spring and I’m using purples and pinks for this project I went with flowers in that color family.
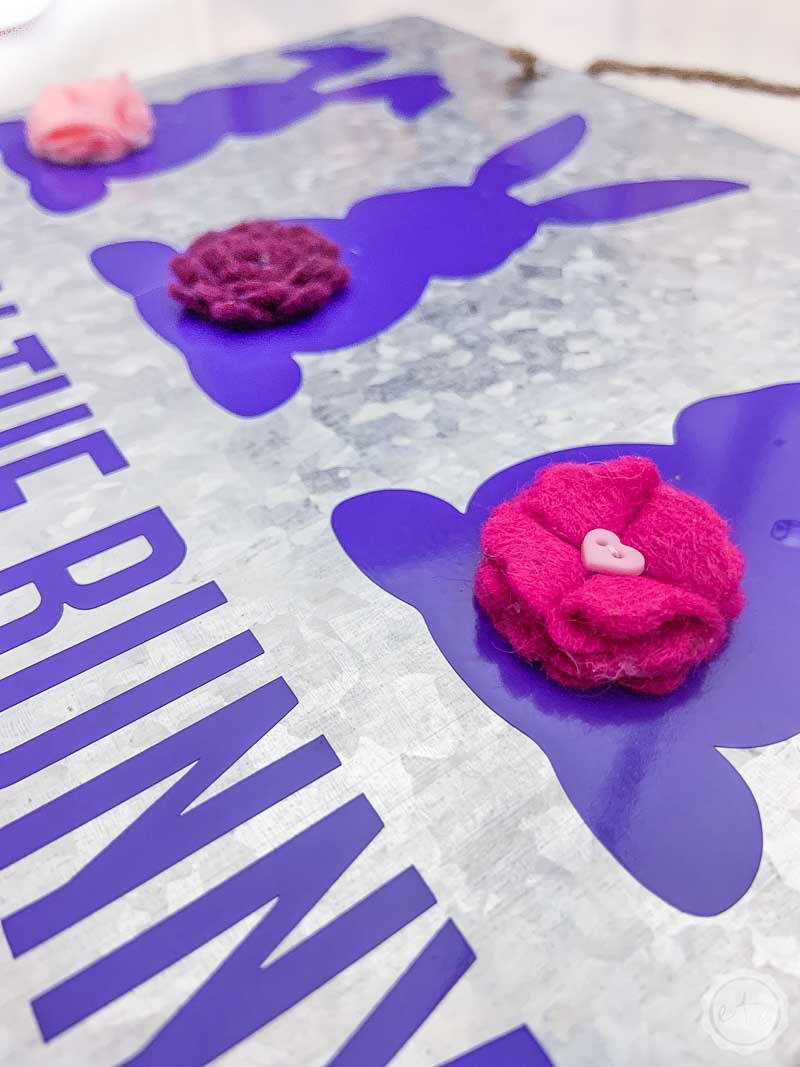
The little heart buttons on the pink flowers are so cute!
Now that your flowers are added you’re all set! I added this little sign to a tobacco basket so that it was a little larger (I love to use aluminum signs but I always feel like they need a back drop!). Ready for the final reveal?
BONUS TIP: Just knowing how to cut flowers isn’t always enough… you need to cut them in the right size! Especially since these little flowers need to fit on our bunnies. If you need help sizing your flowers you can follow my felt flower sizing guide here.


Want More FREE SVG’s? Check out our seasonal collection:


Leave a Reply