

I absolutely love these little resin ring holders… there are so many different silicone molds with different details and you can make them with all. the. colors. All the details (flowers, sand, small figurines… the list is endless!). They’re easy for beginners and so much fun to make!
Mainly I love how you can completely customize them to fit any style. So you can make them for anyone on your gift list.
Ready to get started?
Supplies:
- Total Boat Makerpoxy Epoxy Resin
- Silicone Ring Cone Mold
- Respirator/Mask (resin graded filters)
- Gloves
- Wagner HT400 Heat Gun
- Freezer Paper
- Silicone Mat
- Baking Pan
- Heart Shaped Silicone Mixing Cup
- Small Mixing Cups
- Silicone Measuring Cup/Larger Mixing Cups
- Reusable Silicone Stir Sticks
- Toothpicks
- Paper Towels
- Iridescent Flakes
- Crushed Mirrored Glass
- Black Diamond Mica Powder
Just getting started with resin? Download my free resin supply list and make your first project today!

Step 1: Mix Your Resin
Alright y’all let’s jump right into this little project… while you can pour this ring cone in one fell swoop it’s so much more fun in layers! You can use multiple colors, extra glitters and inclusions. Things like flowers or crushed glass! Of course, whether you do one larger layer or multiple small layers the process is the same. We’ll start by mixing a little resin.
For the top layer (the very tip of the ring cone) you don’t need much resin… only 20 to 30ml total. Since we’re using Makerpoxy that means 10ml of part A and 10ml of part B.
Makerpoxy is a 1:1 ratio resin so we’ll always need equal portions of part A and part B regardless of our project.
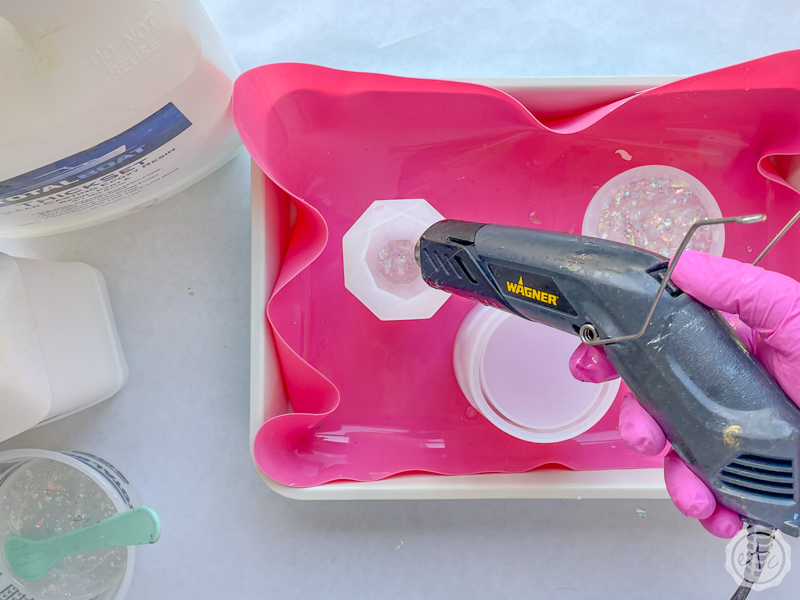
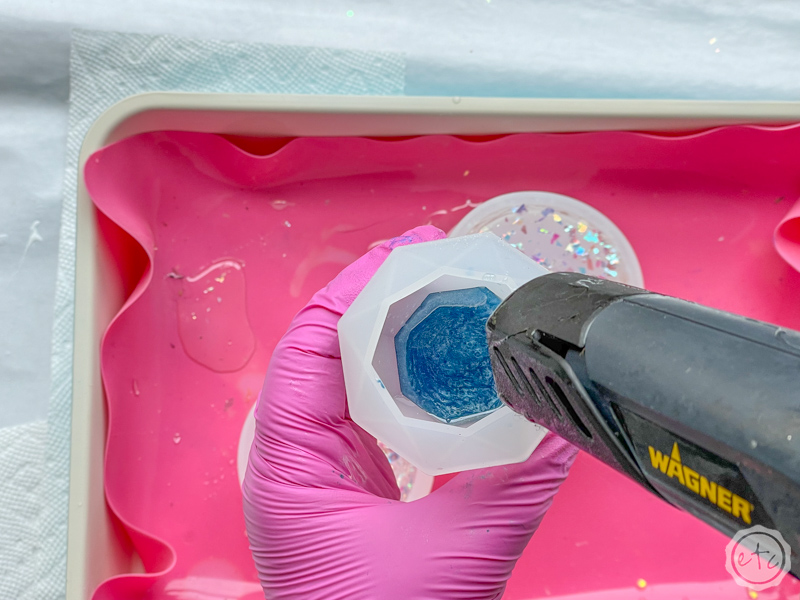
You can use a small measuring cup for this project (or my personal favorite solution… pour a larger project and use the last 20ml for the tip of your ring cone)… measure your resin into a mixing cup and then stir it slowly for 3 minutes. Make sure to scrape the sides and the bottom of your cup to fully incorporate alllll the resin into the mixture. Then let it sit for a minute or two to let any bubbles you’ve created rise to the surface. Now hit it with the heat gun to pop those bubbles and you’re good to go!
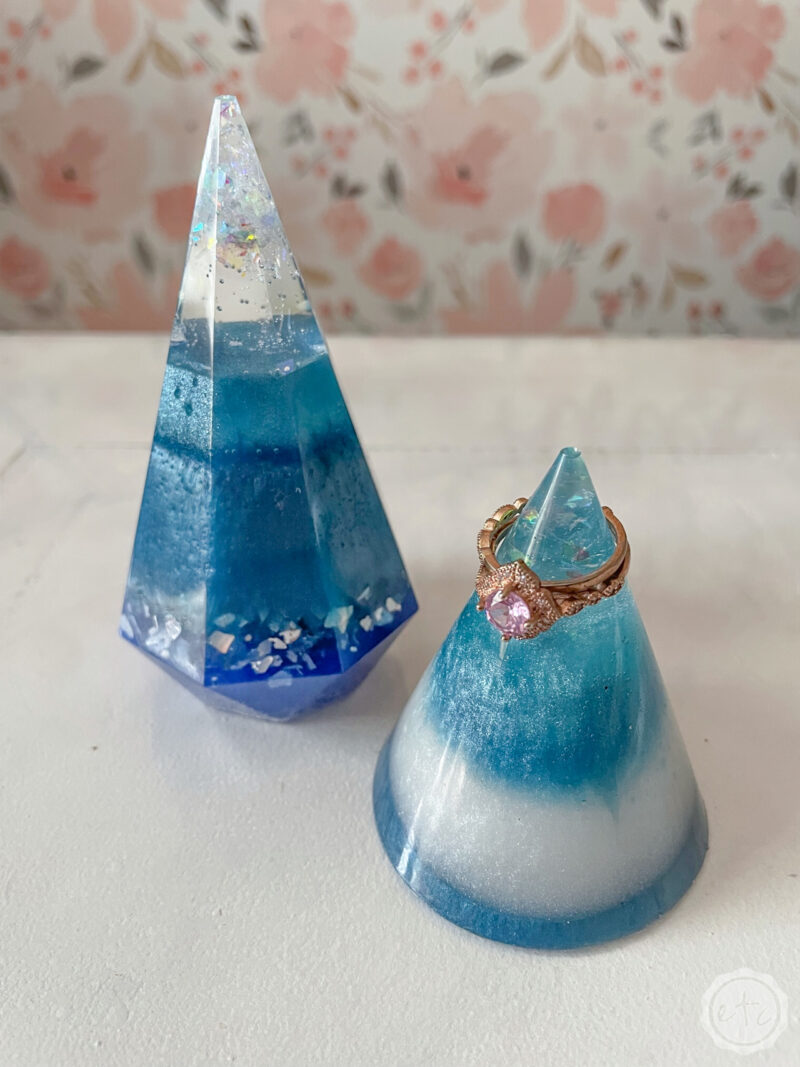
For this top layer I like to add a bit of sparkle… glitter or foil flakes. In this cone I picked clear resin with iridescent flakes to catch the light. Once you have it mixed we’ll move on to the next step.

Bonus Tip: If you’ve never mixed resin before it’s not nearly as intimidating as you’d think! I’ll walk you through all the steps here in my How to Mix Resin for Beginners Tutorial.

Step 2: Pour your Resin
Perfect! Now that we’re ready to roll let’s pour our resin into our mold.
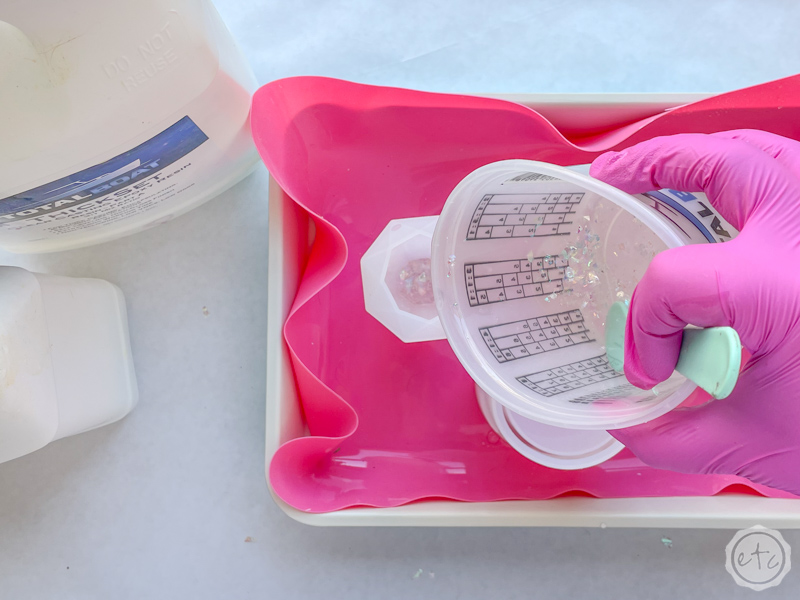
Start by pouring your resin in a thin stream from high up… this will help bubbles from leaving the container and settling into your mold. In this case we’re pouring such small layers that the bubbles will pretty much eliminate themselves… but it doesn’t hurt to give everything a little extra help!
I made the first layer about 1/4 of the mold but you can make it smaller or bigger depending on the look you’re going for. Once the resin is poured go ahead and pop any bubbles that rise to the top with your heat gun. Then leave it to cure!
If you’re looking for a harsh line between layers then set your piece aside for a full 24 hours to cure. If you’re looking for a soft line then you’ll only need to wait 4-6 hours before pouring your next layer. If you pour your next layer in an hour or two the two layers will actually mix together.
Take that into account and then set your piece aside to cure until you’re ready to pour your next layer!

Step 3: Repeat Steps 1-2 Until the Cone is Full
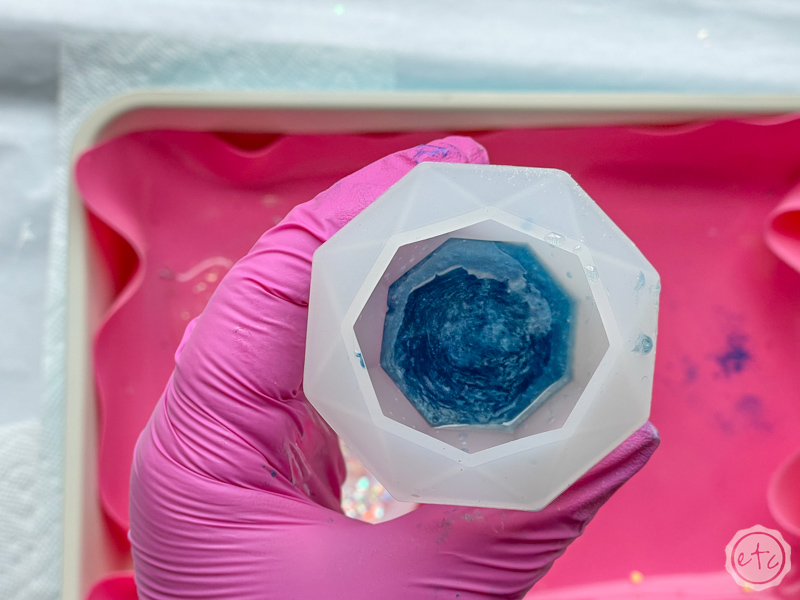
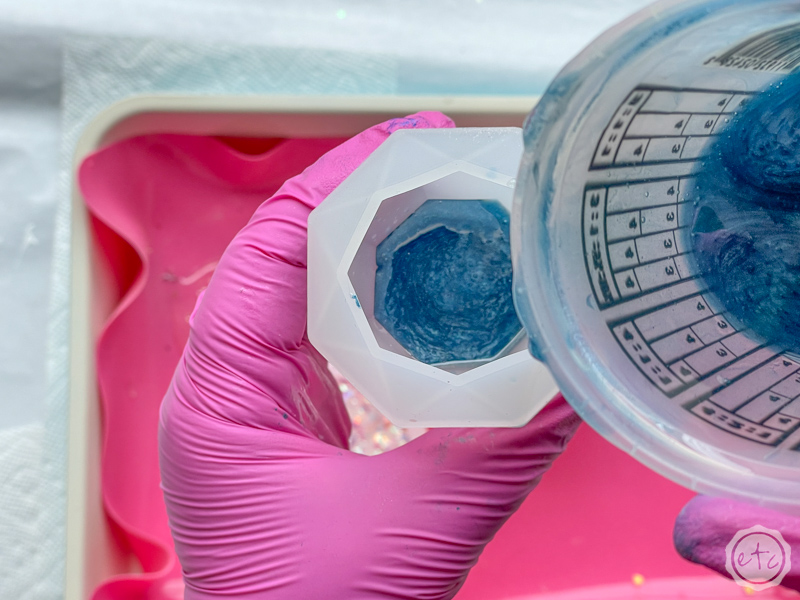
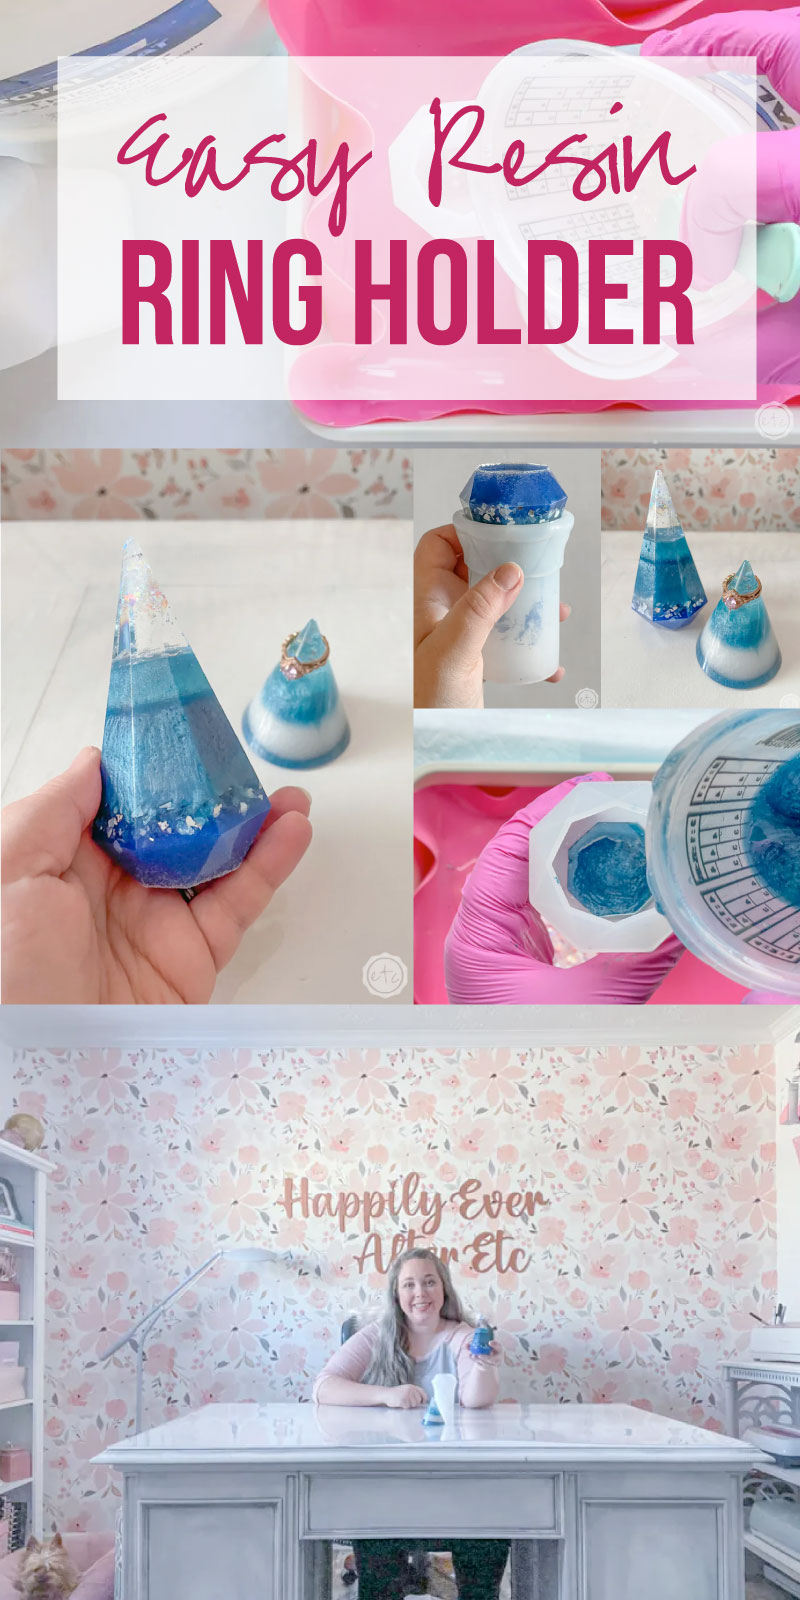
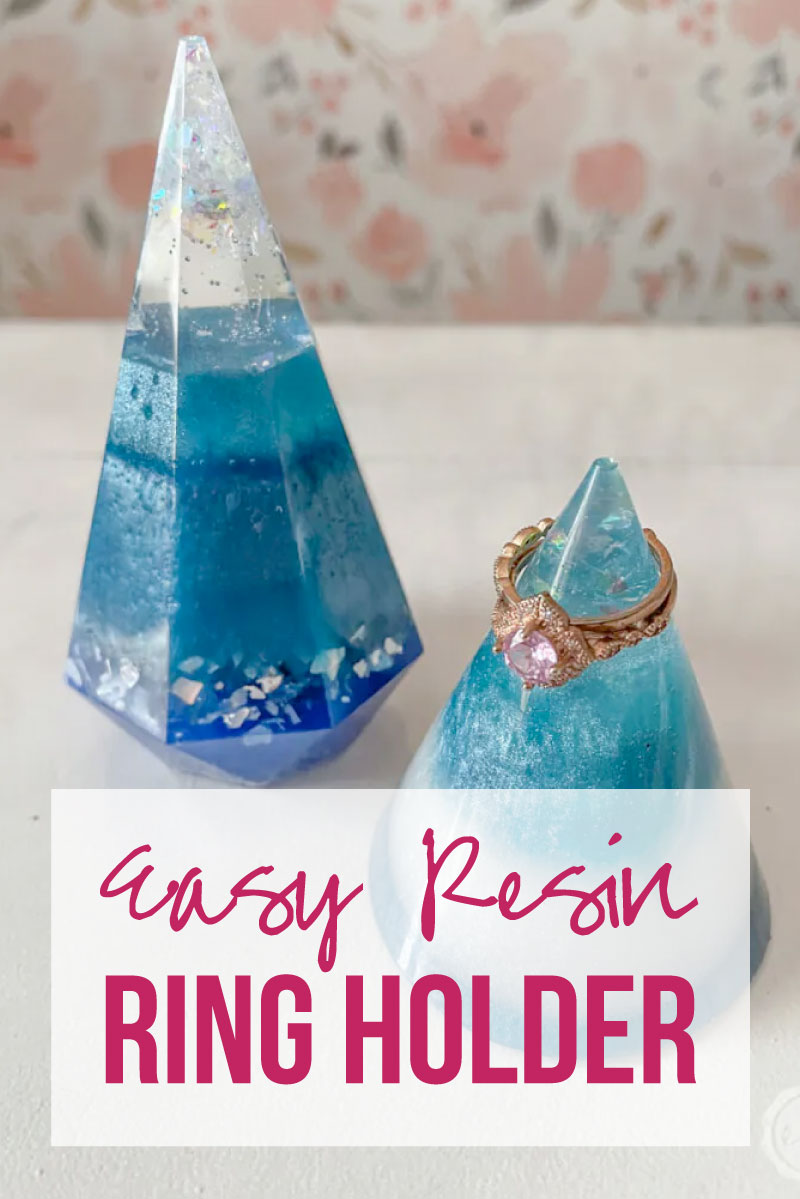
After your first layer is cured you can move onto the 2nd, 3rd and 4th layer. For this piece I did a light seafoam, a dark teal and finished up with a dark navy mixed with crushed glass. The crushed glass will fall towards the bottom of the mold (the top of the finished ring holder) so you’ll need to add quite a bit of glass if you want it to fill the entire layer.
Especially with a dark navy color resin!
If you added the crushed glass in a clear resin… or a transparent navy resin… it would be way more visible!
There’s so many ways you can pour a ring cone!
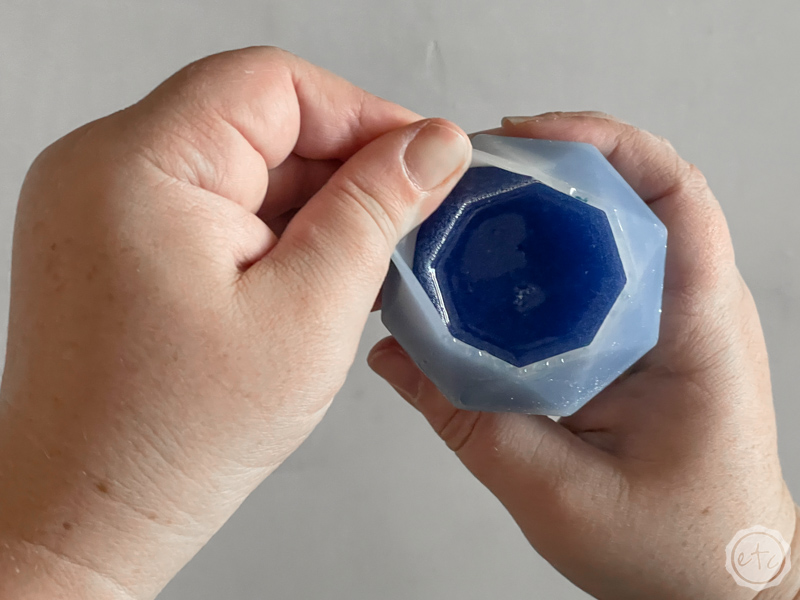
Once you’re finished with your final layer set the entire piece aside for 24 hours to make sure it’s fully cured before you un-mold it.
Step 4: Un-Mold your Resin Pieces
Ready for the fun part? The final reveal!
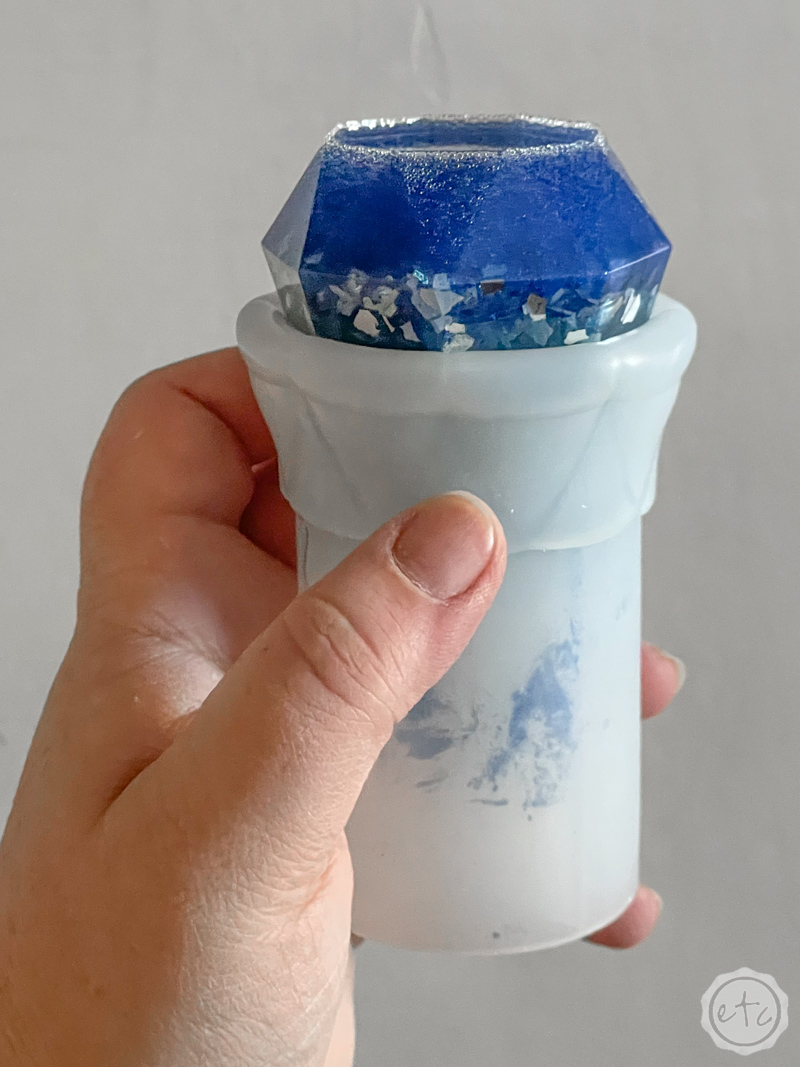
Start by pulling the silicone away from the sides of the resin (introducing as much air to the mold as possible). Then start to roll the silicone away from the edge and down the sides of the piece… until you can pull the silicone away from the resin all together!
Now your piece should be free!
Easy peezy!

Step 5: Enjoy!
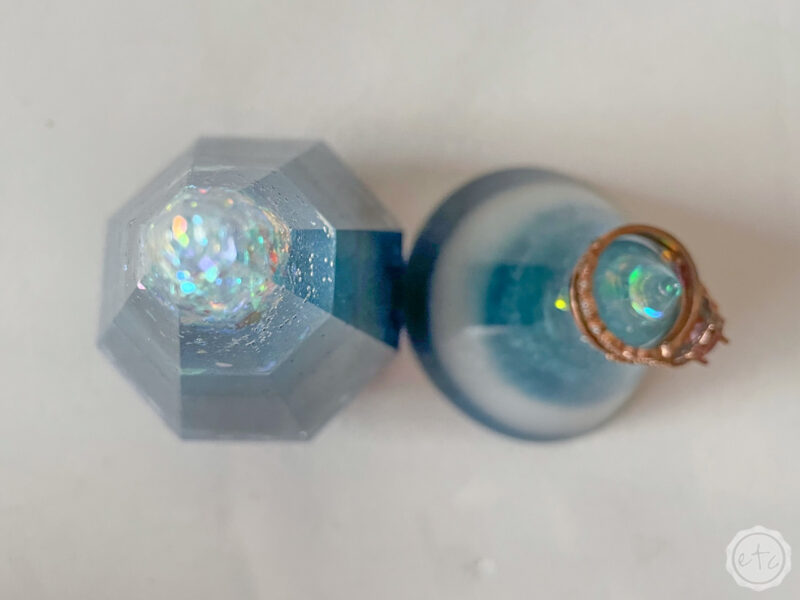
Ready for the fun part? Using your little ring cone to… hold rings!
I know… ground breaking!
I’ve made a few in coordinating colors (with resin left over from my ocean wave sea shells and the antique window that I poured pretty resin waves on!). Having a ring cone nearby to pour left over resin in is my favorite way to never waste resin when I’m working on a project.
Instead of leaving resin to cure in it’s silicone cup it can be another layer in a pretty little ring holder!
They make great presents and they’re fun to have anywhere you might need to take your rings off.
Ready to take a look?


Looking for more resin projects? I’ve got you covered!










Leave a Reply