• House Tour
    • Reveals
  • About
    • Smith Life
    • Disclosure and Privacy Policy
      • Terms and Conditions
      • Store Affiliates
  • Contact Me
    • Want a Button?
  • Shop
    • Floral Printable Planners
    • Paint eBooks and Packages
    • Wedding Binders & Extra Printables!
    • Planner Bundles
    • Planner Accessories
    • Home Decor Printables!
  • Cart
    • Bloglovin
    • Facebook
    • Instagram
    • Pinterest
    • Twitter
    • YouTube

Happily Ever After, Etc.

Creating Our Own Fairytale

  • Happily Ever After, Etc.
  • Home
  • Home Decor
    • My Home
    • Paint
    • Before and After
    • Tablescapes
    • Mood Boards
    • Furniture
  • DIY & Crafts
    • New to Cricut – Start Here
    • Cricut Projects
    • Resin
    • Scrapbooking
  • Organization & Planning
    • Cricut
    • Organization
    • Planner
  • Holidays
    • Christmas
    • Halloween
    • Thanksgiving
    • Easter
  • Wedding
    • Cricut Wedding Projects
    • Free Wedding Binder
    • Bride Bag- The Ultimate Wedding Planner

Easy Peony Flower Valentine’s Day Wreath

Hey y'all,

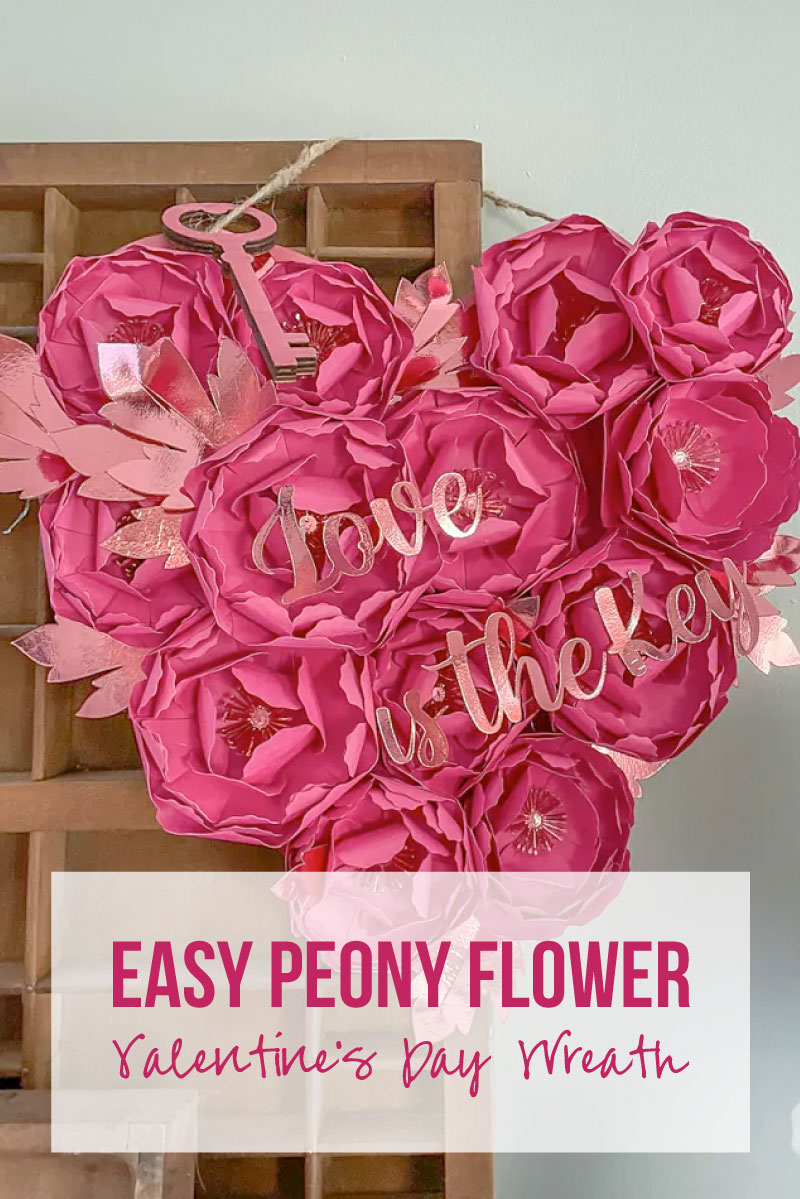
Last week I went crazy and made a BUNCH of paper peonies with my Cricut. I love paper flowers but these in particular turned out soooo pretty! Today we’re going to take alll those pretty pretty paper peonies and add them to a fun Valentine’s Day themed wreath.

Or technically it could be a sign!

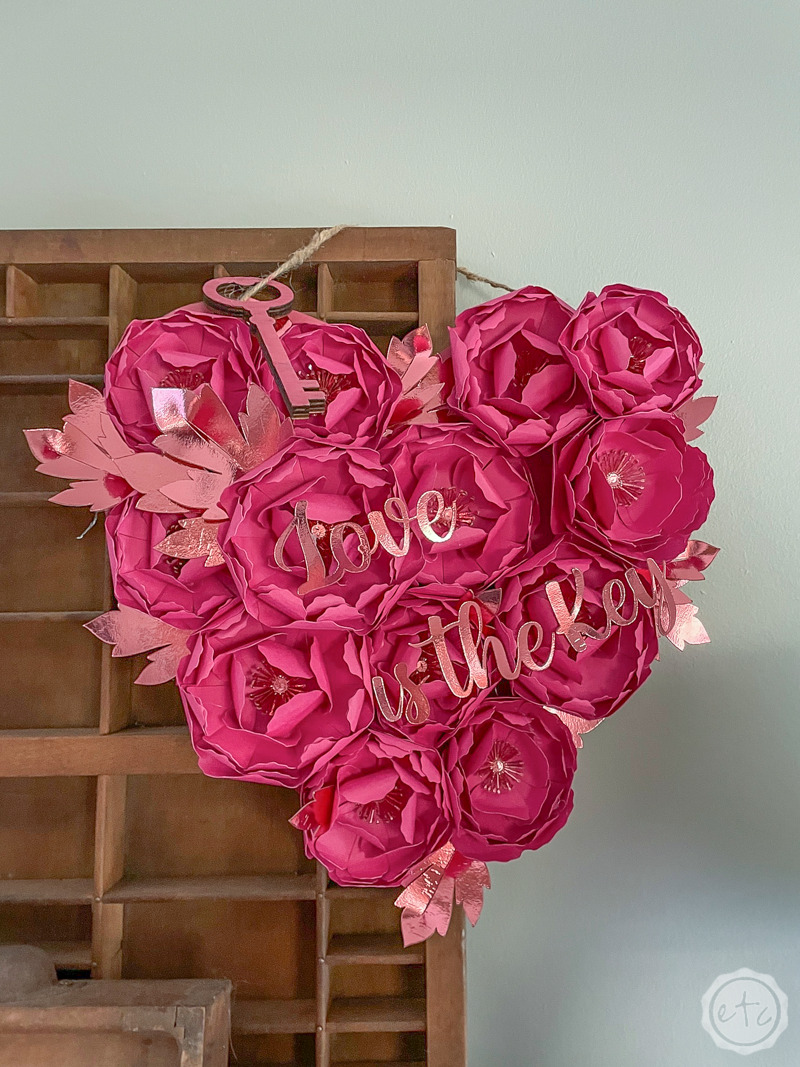
Use it however you like but this little heart shaped, peony inspired, Love is the Key piece is perfect for Valentine’s Day. Let’s get started!

Supplies:

  • Paper Peony’s
  • Heart Shaped Wreath Board
  • Pink Craft Paint
  • Hot Glue Gun & Glue
  • Cricut Maker 3
  • Fine Point Blade
  • Kraft Board: Metallic Rose Gold
  • Light Grip Mat

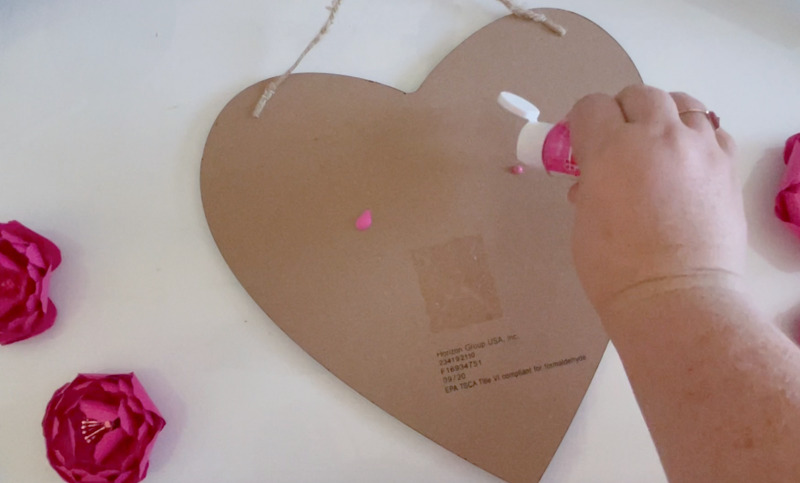
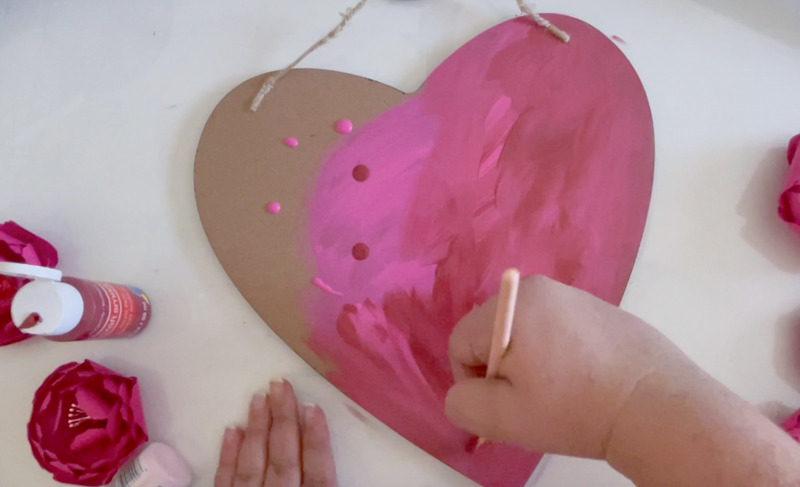
Step 1: Paint your Wooden Heart

Alright y’all… first things first! Our wooden heart is well… wooden. Which means it’s not as pink as our actual peony flowers. Since we’re going to be gluing our flowers in place we don’t want any brown negative spots showing through.

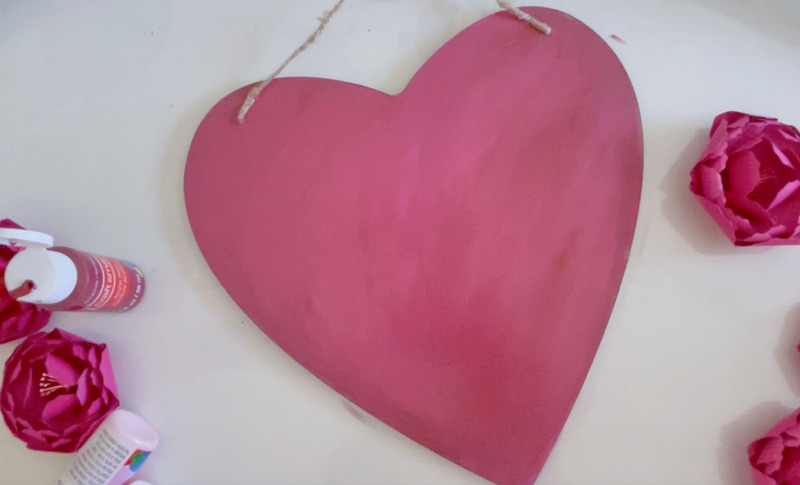
Instead we need to paint a pretty pink background so that any bare spots blend into the rest of our sign.

I didn’t have the perfect pink to match the pink cardstock used for my paper peonies but that’s alright… I simply added several shades of pink acrylic paint to my wooden heart and blended them out. This will give us a mixed pink color that will blend with all the pink and rose gold tones going on top.

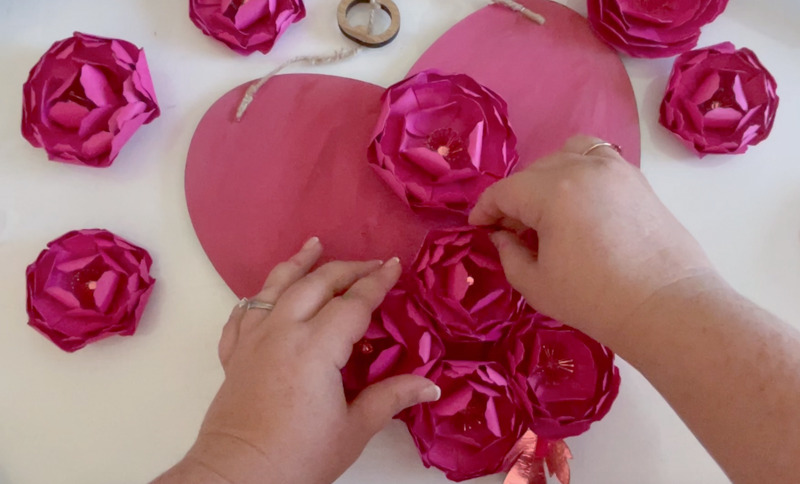
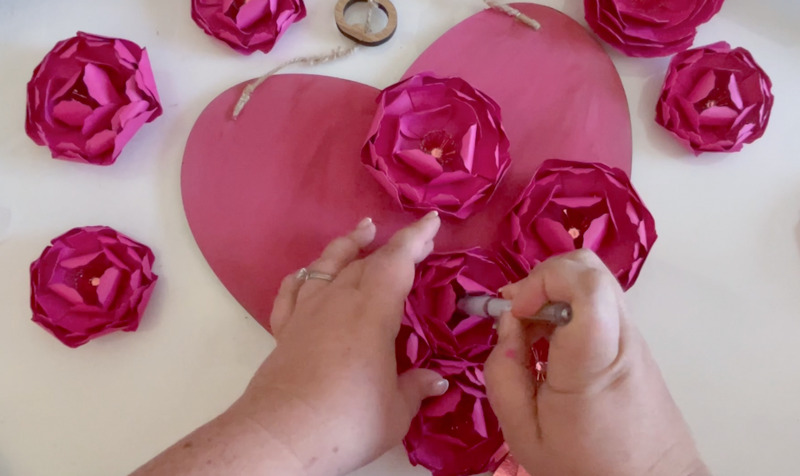
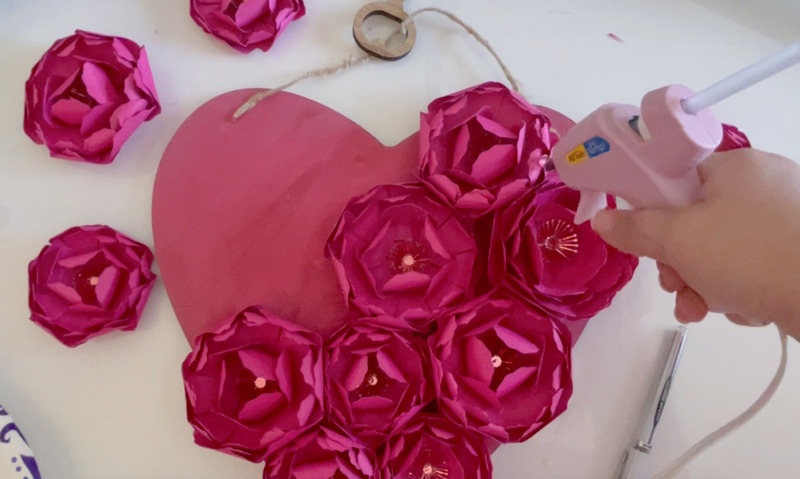
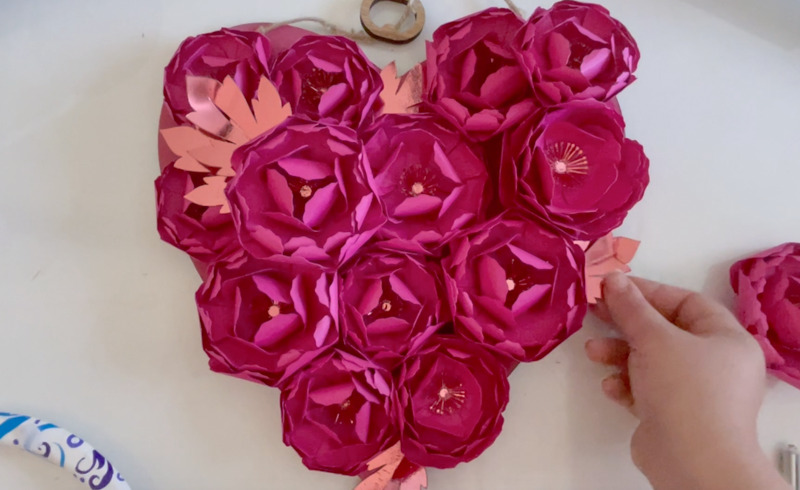
Step 2: Glue your Larger Peonies in Place

Ready to get started? Fire up the glue gun and let’s start putting these babies in their places! I created 2 sizes of paper peonies: large and small. So it was easy enough to start by gluing down a few of the larger peonies.

After a while I realized that these guys have a hexagon shape with their base being 6 sided… so it was easy enough to smoosh them on in a hexagonal pattern.

They don’t need to be lined up but we do want fairly thick coverage of flowers across the entire surface. So keep on gluing until the entire heart is full!

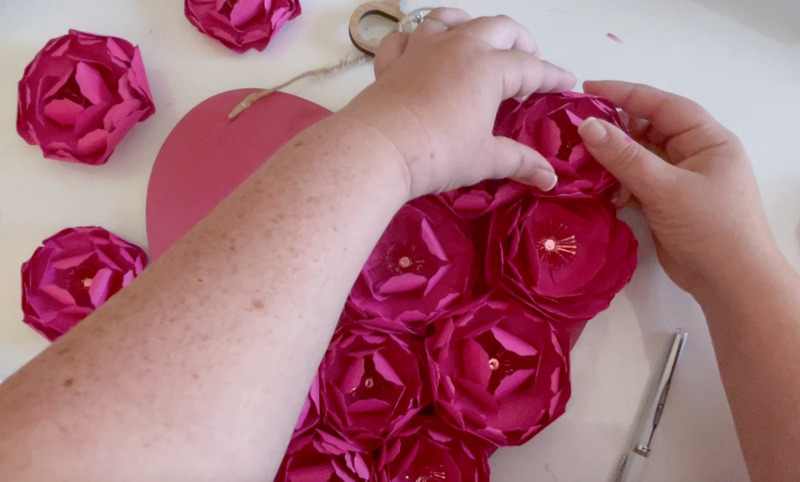
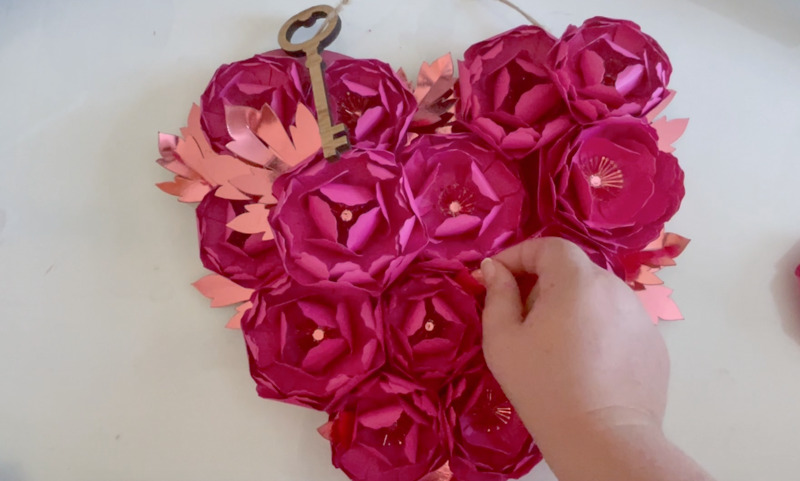
Step 3: Add the Small Paper Peony Flowers

Ready to make this guy pop?! Go ahead and start to add your tiny peonies… I added some to fill in the edges, some to cover blank spots and some in a second layer to add to the 3-dimensional effect.

PLUS the peonies in the second layer will help to hold the lower layer together since you can attach the smaller pieces to several of the lower pieces. Now that’s smart.

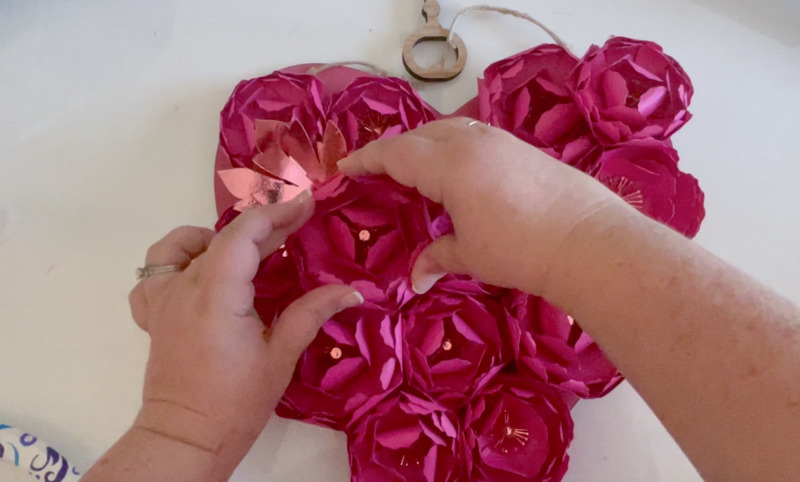
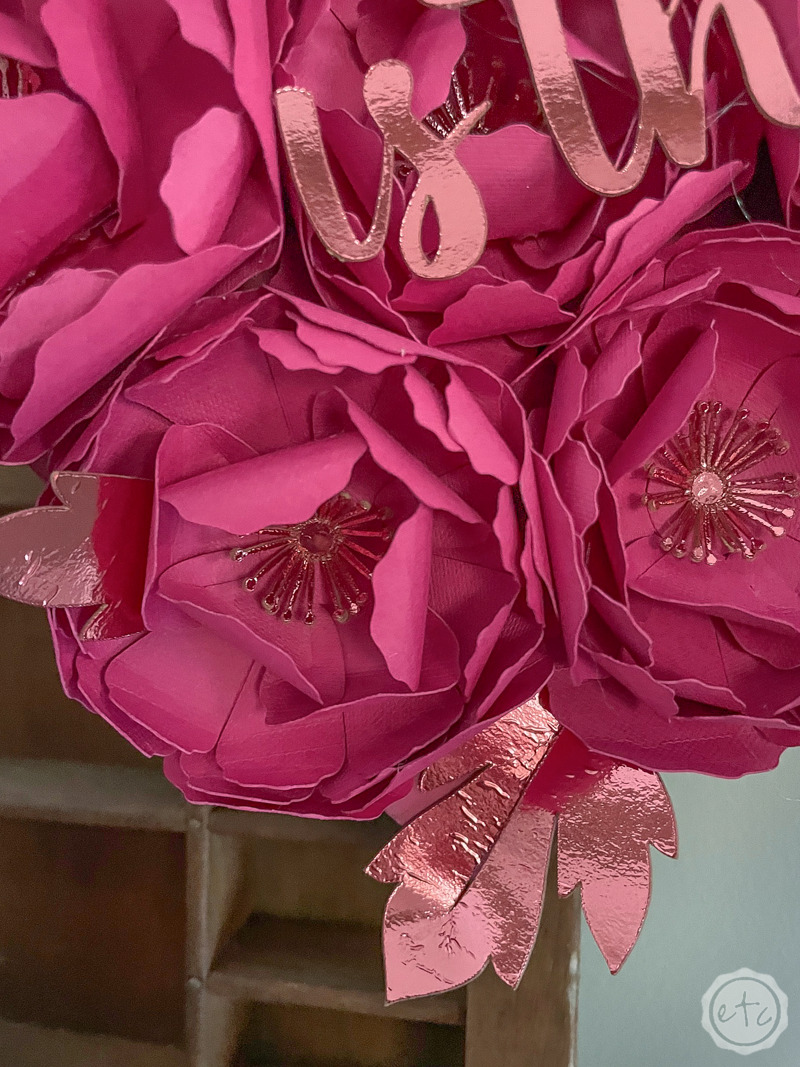
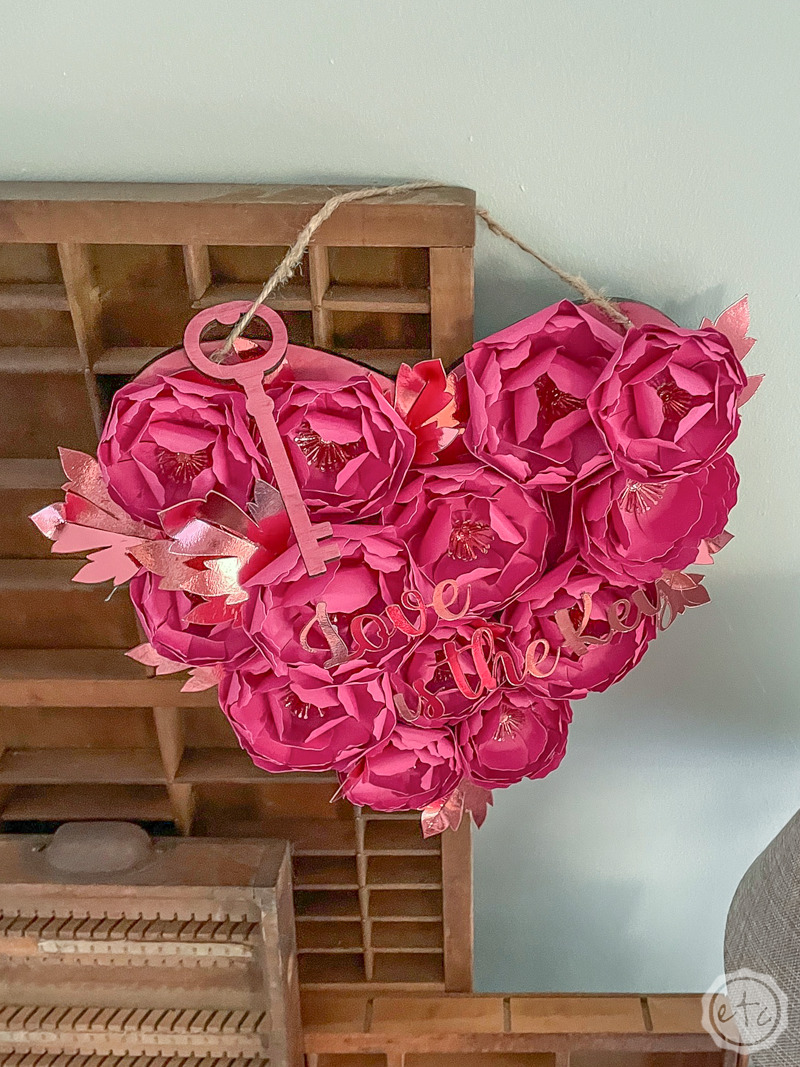
Step 4: Add your Metallic Leaves

Remember the metallic kraft board leaves we cut out our with our paper peonies? It’s time to add those! They come in two sizes (small and large… who knew!). Plus these have a longer stem so it was easy to add a few in strategic places to see if I liked them before actually gluing them down.

And I liked that a leaf at the bottom helped flush out that pointed heart shape.

Score!

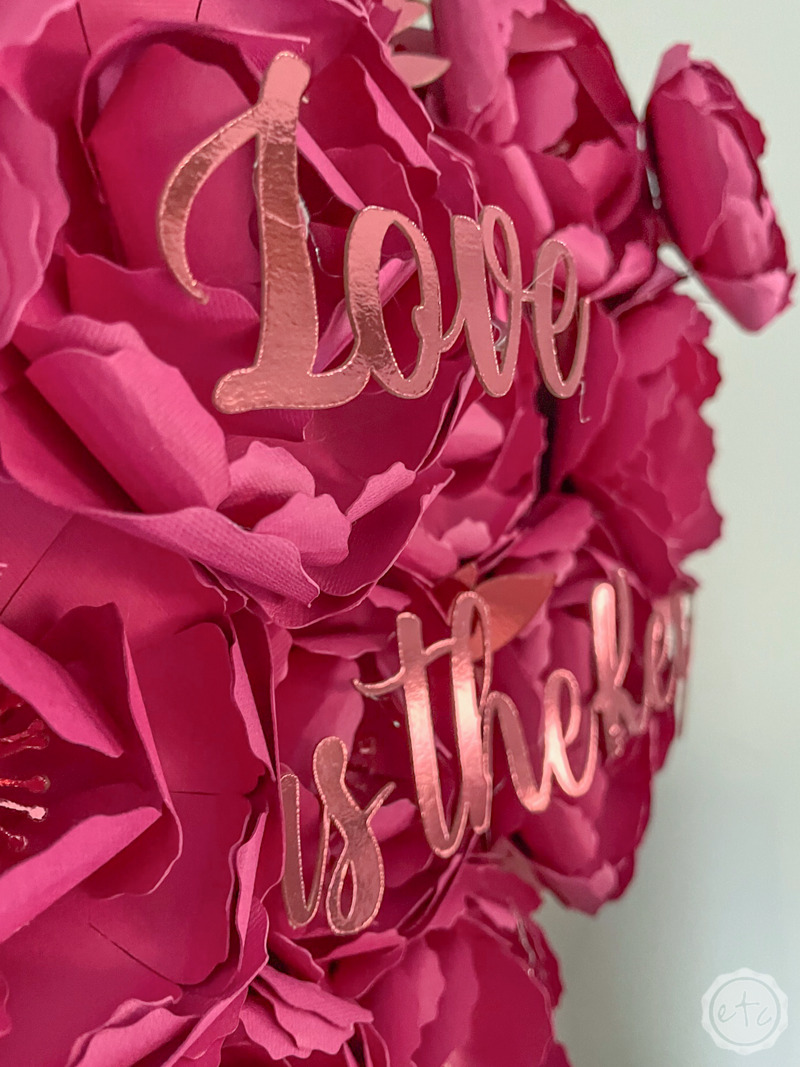
At this point our little paper peony wreath could easily be finished but I wanted a little more pizzaz… so I headed back to cricut design space and cut “Love is the Key” out of the same Metallic kraft board. It’s a sturdy material and holds it’s shape so it was easy to glue across the front of the peonies.

And it’s so pretty!

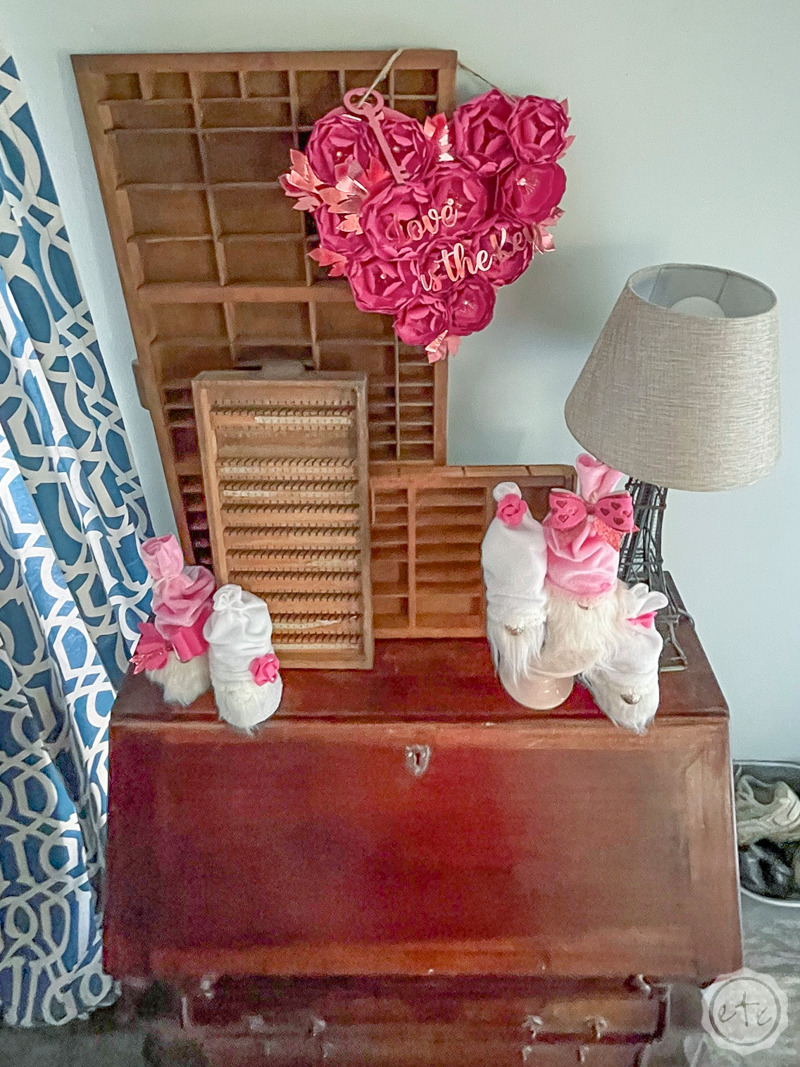
Ready for the pretty finished photos?!

Get Your FREE PDF Guide!

Don't forget to snag your free PDF Guide to buying your first Cricut!

Success! Now check your email to confirm your subscription.

There was an error submitting your subscription. Please try again.

Powered by ConvertKit
You made it through the entire post? That means you're one of my new favorite people! I'd love to be friends and see what else you would like to read about! Leave me a comment and then sign up for your very own FREE paint planner.... so that you can keep track of every single paint color with ease!
Welcome back! I'd love to be friends and see what else you would like to read about! Leave me a comment and then sign up for your very own FREE paint planner.... so that you can keep track of every single paint color with ease!

Show me some LOVE y'all:

  • Facebook
  • Pinterest
  • Twitter
  • Email

Related

«
»

Cricut, Valentine's Day 0

Leave a Reply Cancel reply

Your email address will not be published. Required fields are marked *

sidebar betsy I'm Betsy, Home Decor Enthusiast, Yorkie Mama, Crafter, Blogger, Picky Eater, Chief Mess Maker, Antique Hoarder and Graphic Designer. You can generally find me working on (attacking with a paintbrush) the 3 bed, 2 bath home we are currently renting! Our home might not be perfect but it is ours & if you hang out long enough you'll see that what we lack in know-how we make up for in passion!
Shop My Craft Room

Shop My Home

Featured Articles

15 Fabulous Ideas to Organize your Laundry Room
25 FREE Printables For Your Home!
What to do with EXTRA Paint with Happily Ever After Etc
10 Ways to Make Your Bed EXTRA Comfy with Happily Ever After Etc.
Ready to Pick your Perfect Paint Color? We'll help you with our 6 Day FREE E-Course

Hey y’all,

Profile

I'm Betsy, Home Decor Enthusiast, Yorkie Mama, Picky Eater, Chief Mess Maker, & Graphic Designer...

A Little Note!

Many of the links on Happily Ever After, Etc. are affiliate links. If you purchase a product after clicking an affiliate link, I receive a small percentage of the sale for referring you, at zero cost to you! How awesome is that? Purchasing through affiliate links is an easy, painless way to help out your favorite bloggers. Thank you so much for your continued love and support! Read the full disclosure here!

Instagram

Load More... Follow on Instagram

Copyright © 2023 · Darling theme by Restored 316

Copyright © 2023 · Darling Theme on Genesis Framework · WordPress · Log in · Privacy Policy