


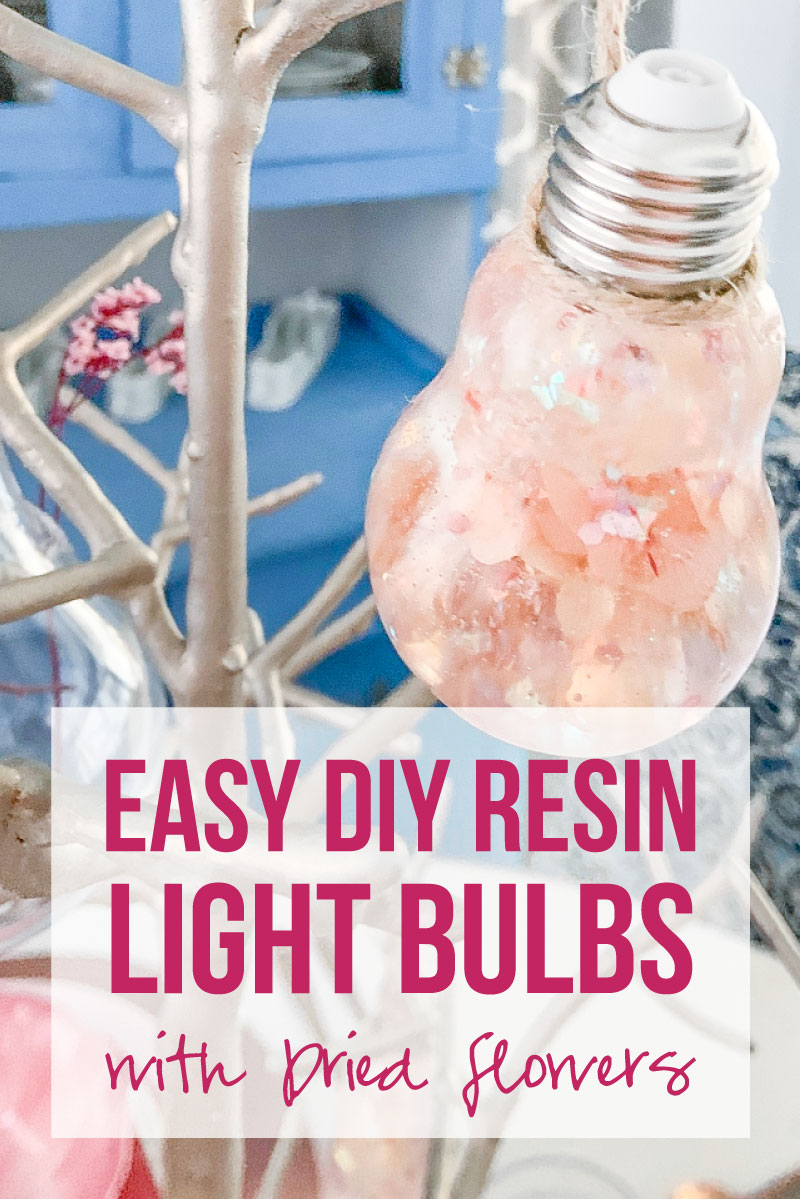
When you start working with resin there is a whole world of possibilities… so many different molds to try, inclusions to work with, projects you could make. It can be a little overwhelming. But when I saw this little light bulb mold I knew I had to make these.
After all who wouldn’t want a resin light bulb?
Luckily this is a pretty easy project and the set comes with two different molds (so you can make two at a time!).
Ready to get started?
Supplies:
- Amazing Clear Cast Resin
- Respirator/Mask (resin graded filters)
- Gloves
- Wagner HT400 Heat Gun
- Freezer Paper
- Silicone Mat
- Baking Pan
- Small Mixing Cups
- Silicone Measuring Cup/Larger Mixing Cups
- Heart Shaped Silicone Cup
- Reusable Silicone Stir Sticks
- Light Bulb Molds
- Dried Flowers
- Rose Gold Glitter
- Mylar Rainbow Foil Confetti
Just getting started with resin? Download my free resin supply list and make your first project today!
Resin Light Bulb Tutorial:
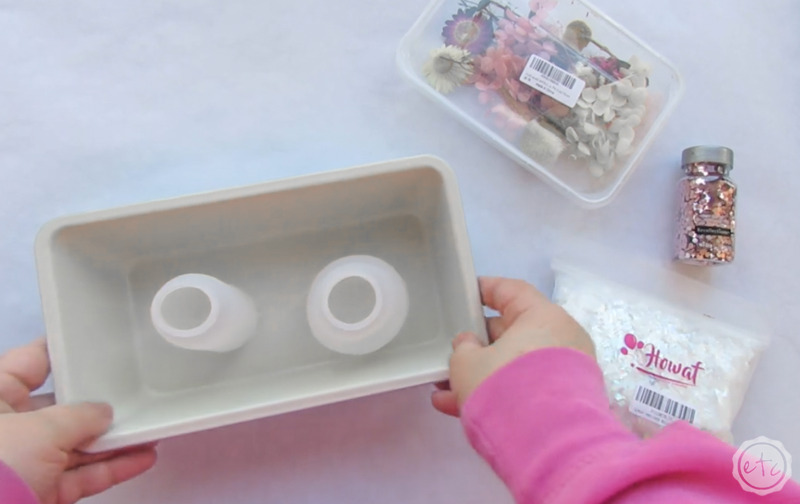
Step 1: Prep your Space & Mix Resin
Ready to jump right in? If you’re using both molds you’ll need space for both but let’s be honest… these are small molds! I placed them in a baking pan and made sure they were level. Typically I’ll place a silicone mat on my baking tray but I don’t have one small enough for this little pan so I didn’t worry about it… it’s nice to have for clean up but not necessary.
Then I took the whole pan to my work table outside. You can arrange them inside but I like to pour on the front porch (to keep the odor and toxins out of my house) so the baking pan makes it easy to move my projects inside to cure.
Once you have your work space set up make sure to gather your supplies… there’s nothing quite like having resin curing in a cup when you realize your glitter is MIA! Once you have everything in one place you can go ahead and start to mix your resin.
We need about 120ml of clear resin for this project and since the entire piece will be one uniform color you can mix it alllll up in one silicone cup! A good portion of this project will be clear so make sure to minimize the bubbles as much as you possibly can. I typically mix for about 2 minutes and then add my glitter.
In this case I used a chunky rose gold glitter and a bit or rainbow foil confetti. This confetti is amazing… it’s iridescent and I learned quickly that the more you add the better it looks. So you’ll want to add a large pinch!
Then slowly mix in the glitter and confetti… making sure to stir from the bottom. After another 2 minutes of mixing you can let it sit in the cup for a few minutes before pouring. This will let as many bubbles as possible rise to the surface. You can use your heat gun to help any bubbles close to the surface pop before you move on to pouring the resin into the mold.

Bonus Tip: If you’ve never mixed resin before it’s not nearly as intimidating as you’d think! I’ll walk you through all the steps here in my How to Mix Resin for Beginners Tutorial.

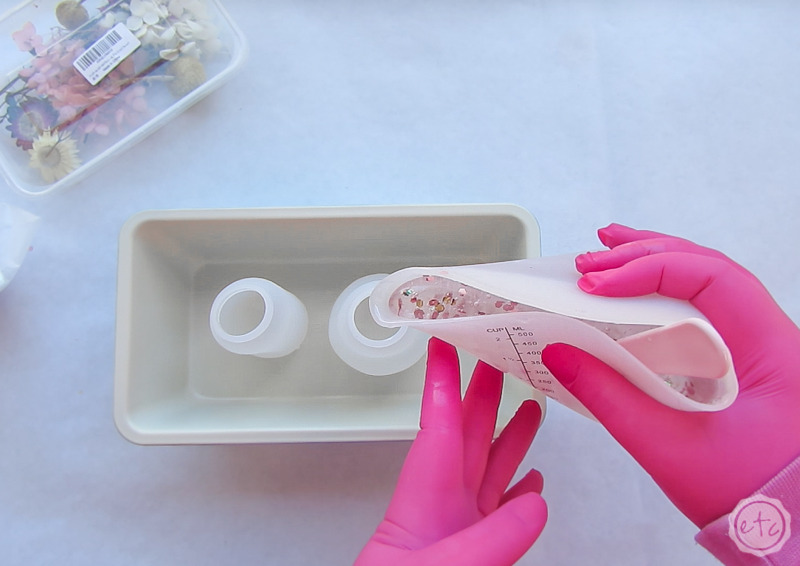
Step 2: Pour Resin
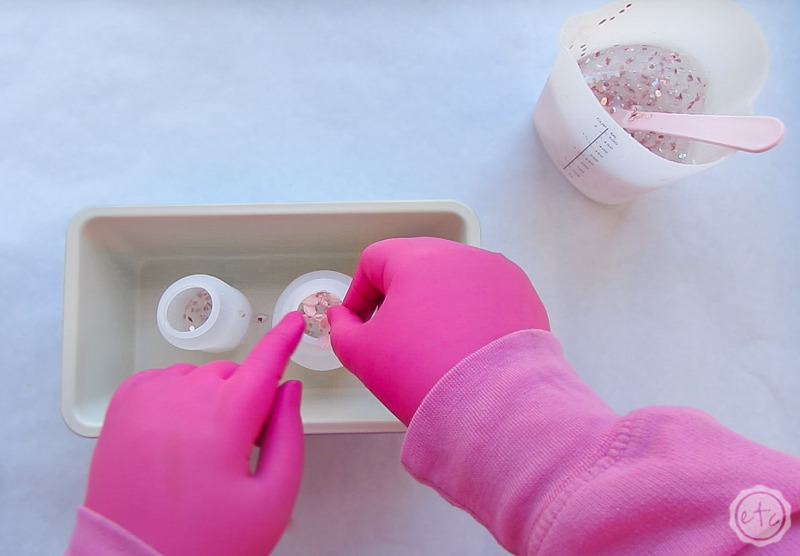
Now it’s time for the fun part… resin!! Since we’re adding flowers throughout this entire piece we’re going to pour this mold in sections. I started by filling each mold about 1/4 of the way with resin.
Make sure to pour in a thin stream from as high up as you can manage. This will help to minimize the amount of bubbles that will make it into your molds… unfortunately unless you’re a master pourer (I am not) it’s difficult to pour from too high up without making a mess or missing the lip of the mold all together. So pour in a thin stream from as high up as you can manage and you’ll be fine.
Then you can either use your heat gun to try and pop some of the bubbles (this is next to impossible in these molds) or just let them sit for a minute to let as many bubbles as possible escape… just don’t wait too long since we don’t want the resin in our mixing cup to start to harden.
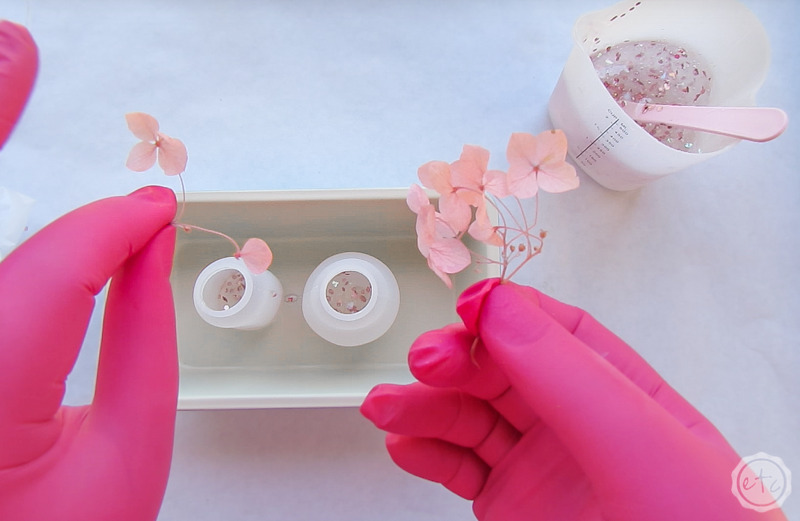
Step 3: Add Dried Flowers
Now it’s time for flowers!
I ordered this dried flower pack off of Amazon but you can always dry flowers from your own garden if you’d rather. Just make sure they’re 100% dry since live flowers don’t do well in resin (too much moisture).
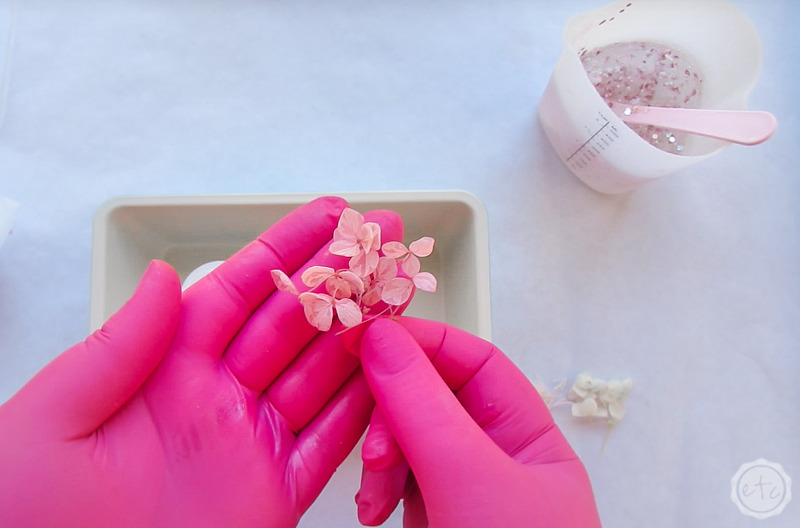
The pack I ordered had several different types of flowers but I picked the pink and white hydrangeas for this project since they’re big and beefy (compared to our mold) and will spread out to take a bunch of room.
Which we need since the resin will weigh down the petals once we pour in the next layer.
Go ahead and clip a small piece of the hydrangeas so that they can fit inside the opening of the mold and then push them (carefully) into the mold. Put a piece into both molds and then we’ll move on.
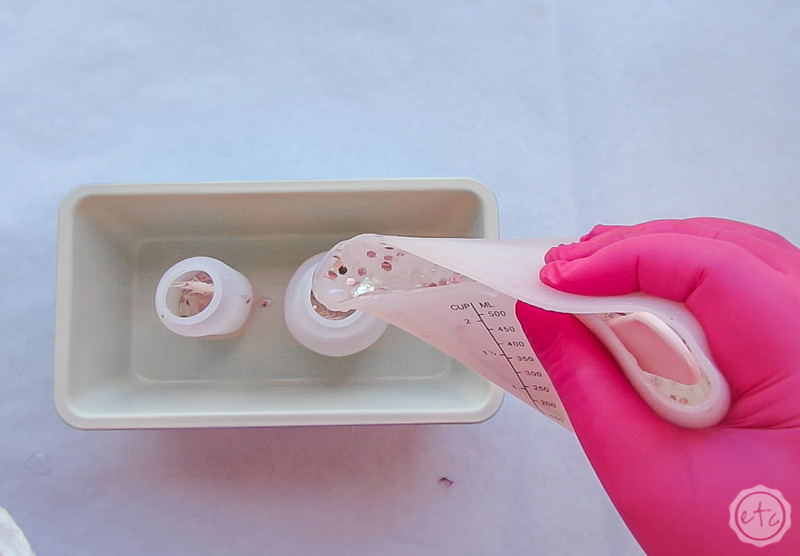
Step 4: Pour More Resin… & Repeat
Okay now we’ve got the plan… we’re just going to keep doing it! After the first bit of hydrangeas I put in another section of resin (about 1/4 of the mold)… then another piece of flower.
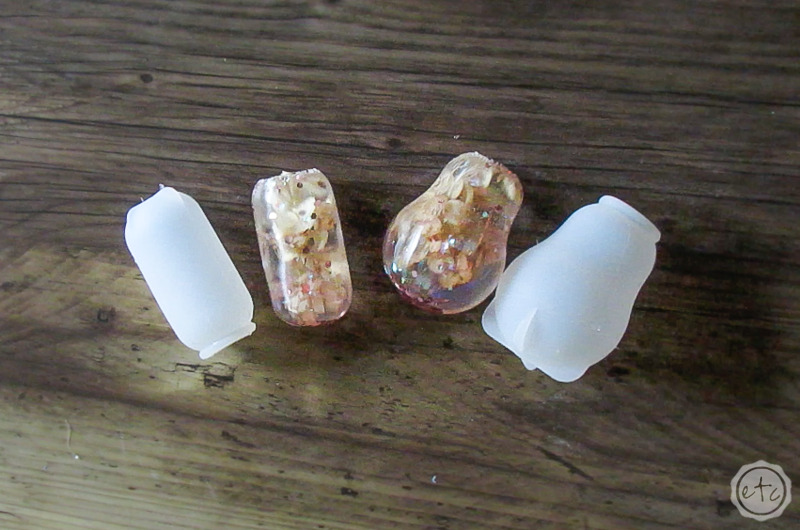
I did one or two more sections in the larger light bulb since it took more resin to complete but overall they were very similar.
I also tried to do one pink piece of hydrangeas and then a white section… rotating them so that they aren’t all the same throughout the piece. I also put in a piece of the white spikey flower at one point… whatever that flower is I liked the texture of it.
The rest of the flowers I left for the other light bulbs in my pretty light bulb centerpiece!
Ready for the last layer?
Step 5: Pop Bubbles
For a deep mold like this popping the top layer of bubbles is a little redundant but it’s better than nothing! Go ahead and pop any bubbles that have risen to the top… with a heat gun since a torch can melt the silicone. Then make sure that your mold is 100% full.
Fill it up to the top!
Now set your molds aside to cure… after a few hours make sure to check in on your molds. If the resin has sunk down below the top of the molds go ahead and add more resin until it’s all the way back up at the top of the mold. You need that lip to add the top of the light bulbs so make sure it doesn’t disappear!
Once your molds are topped up you can set them aside to cure for 24 hours.
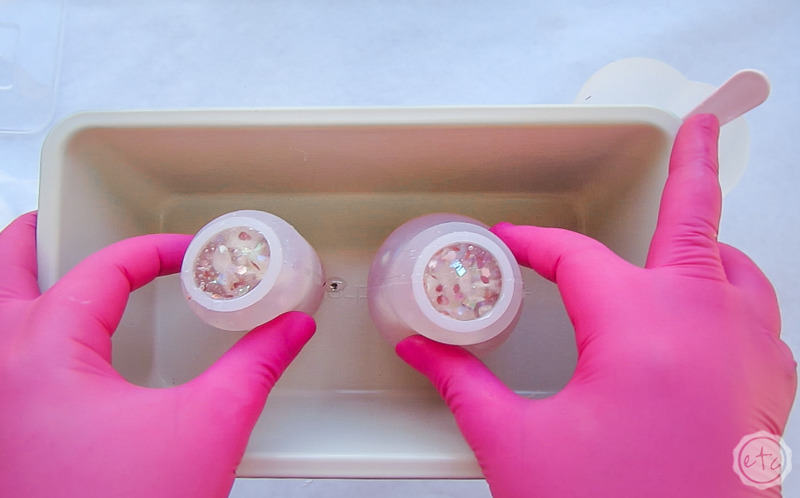
Step 6: De-mold your Light Bulbs
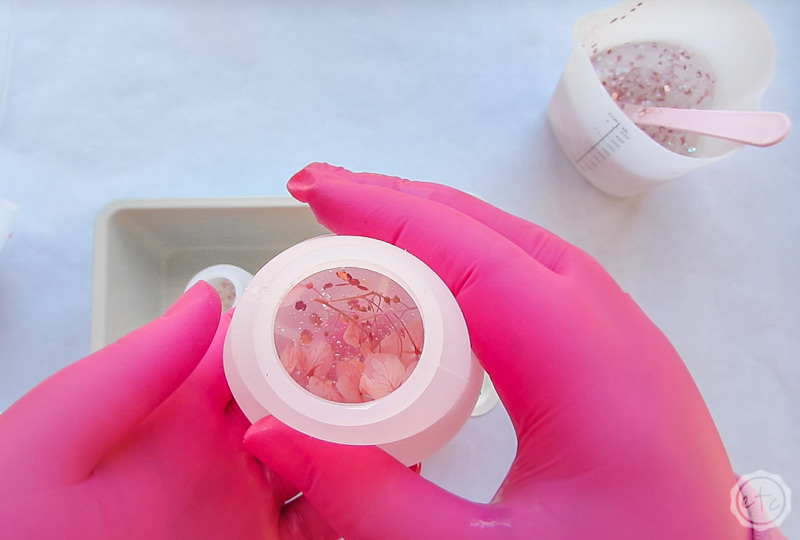
Ready for the fun part? De-molding is always a good time since you finally get to see your finished project!
Of course, these light bulb molds are a little tricky since they literally cover most of the piece. Don’t worry… it’s not as difficult to de-mold these as it looks. The trinket box mold is much harder to de-mold… heck even the little feather dish mold is harder than these light bulbs.
You can do it!
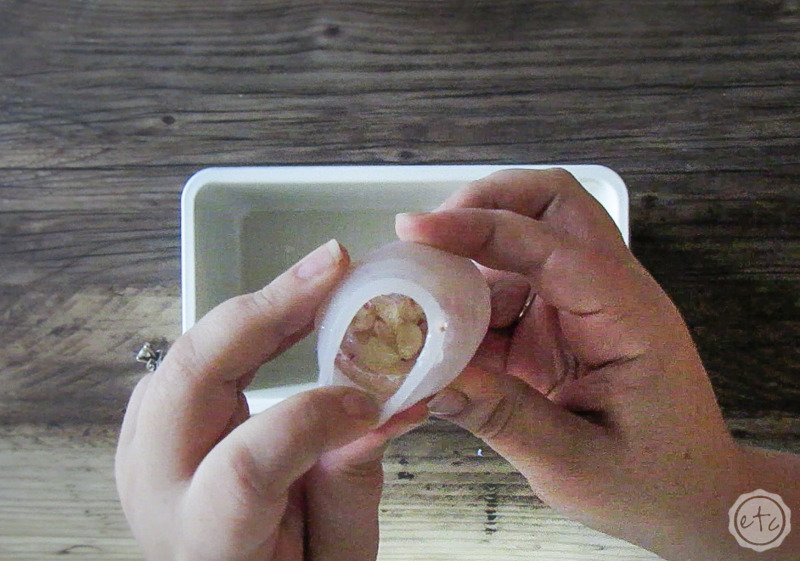
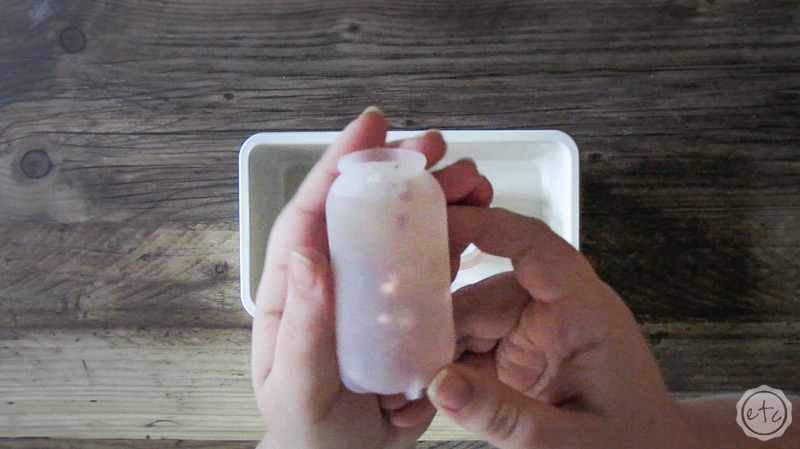
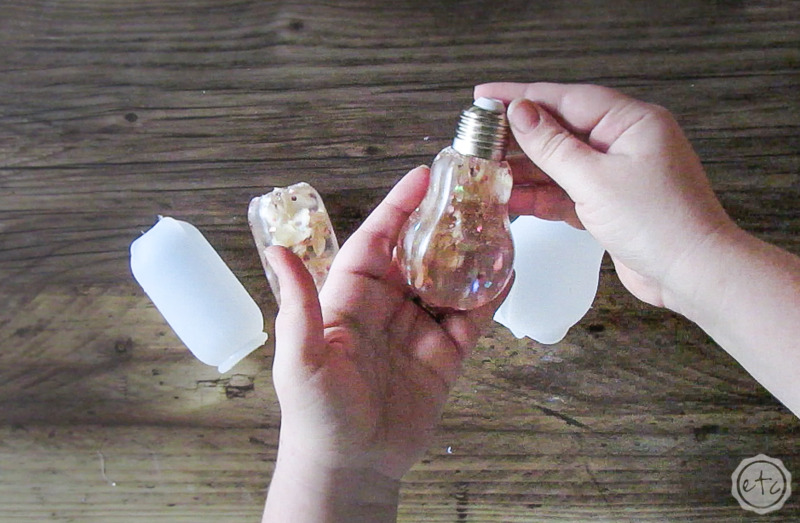
Simply start at the top and pull back the silicone allllll the way around the piece. At this point we’re just introducing air as far down the mold as we can.
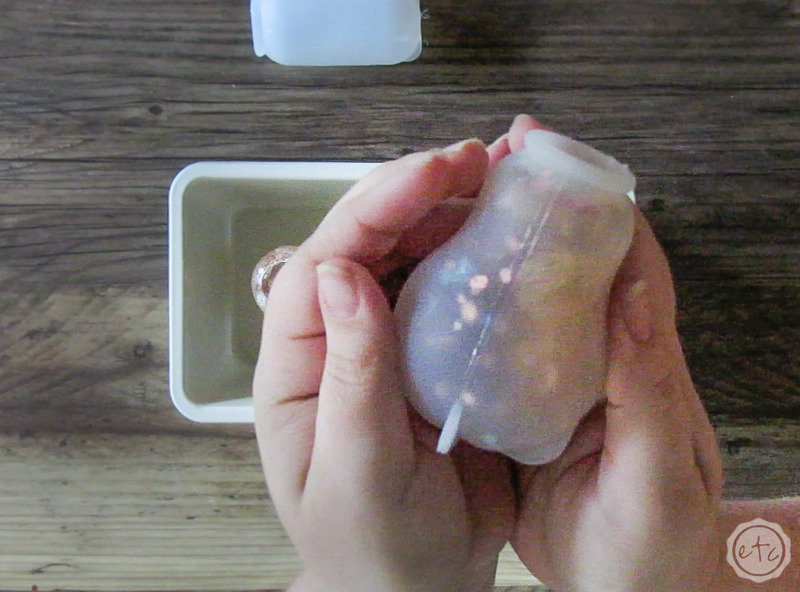
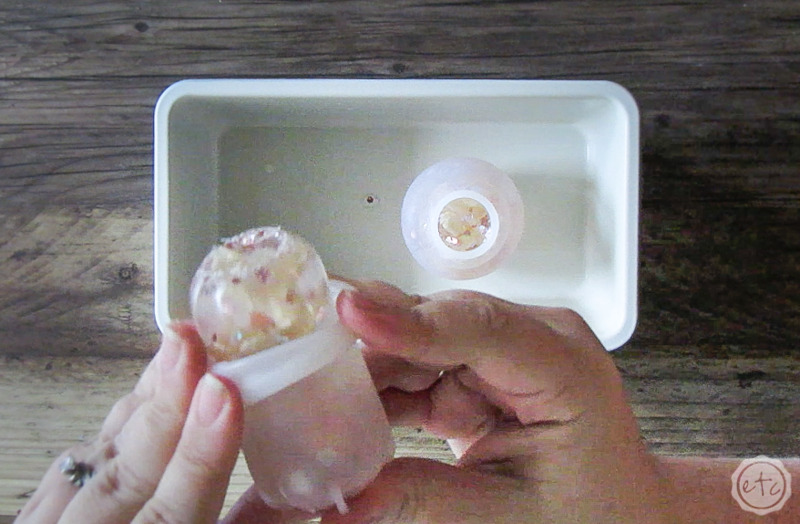
Once we have the top free start to roll the mold down the light bulb… you’ll notice that once you have it started it rolls very easily. In fact if you’re not careful it will roll all the way down and right off the light bulb! Luckily it’s a pretty easy fix.
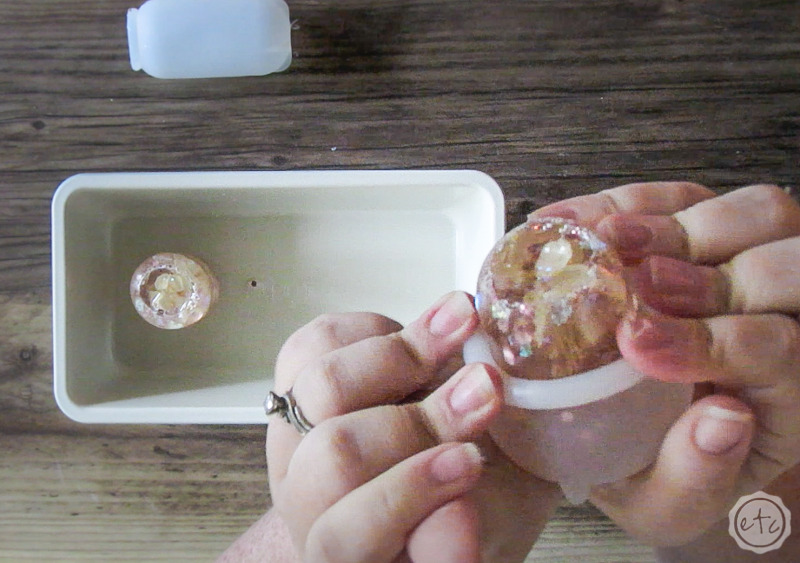
Once the piece is de-molded go ahead and turn your mold right side out.
Beautiful darling!
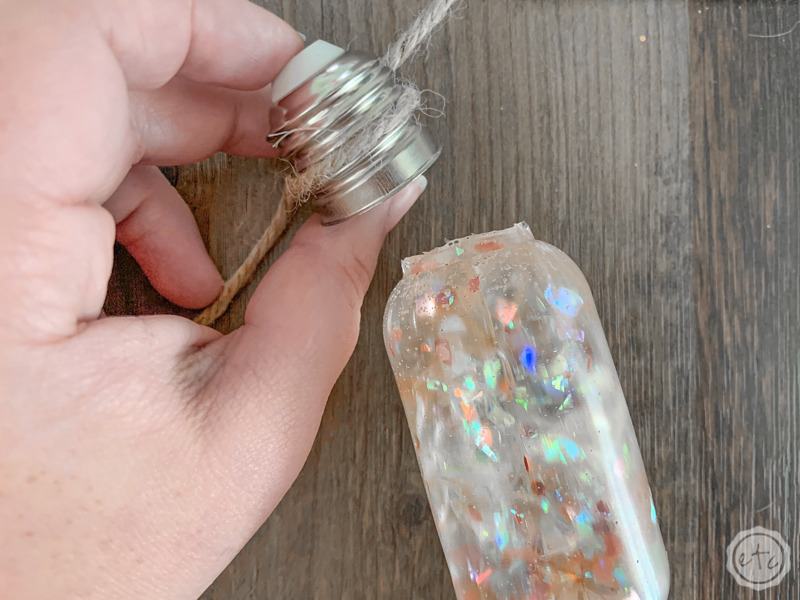
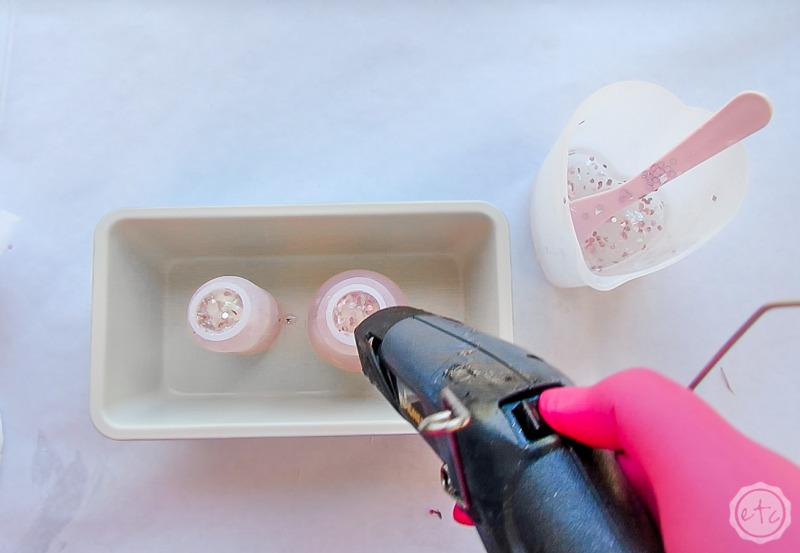
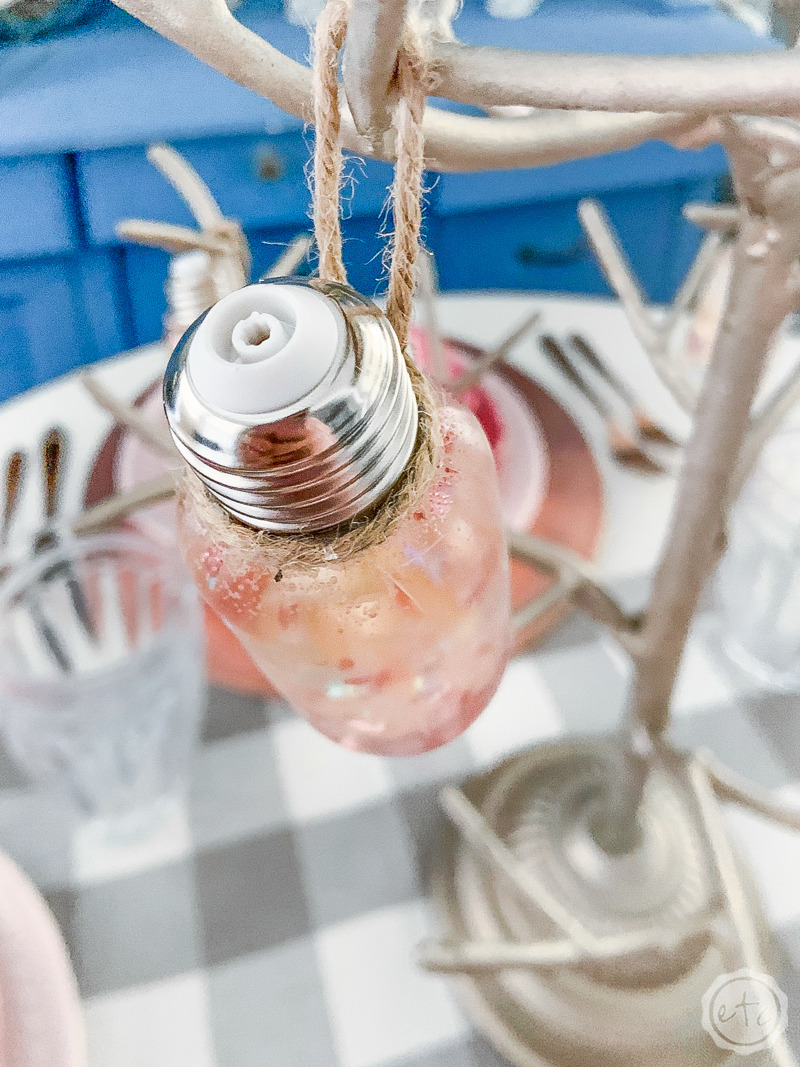
Step 7: Attach your Lids!
On to the last step? Putting the lid on top!
If you topped up your mold and the lip is in tact on your light bulb you can simply screw the lid on top of your light bulb.
If you don’t have quite enough lip on your light bulb you can always hot glue the lid in place… but then you won’t be able to remove the lid in the future. Which is fine unless you put the little light inside and want to replace the battery in the future.
In which case you really need that lip!
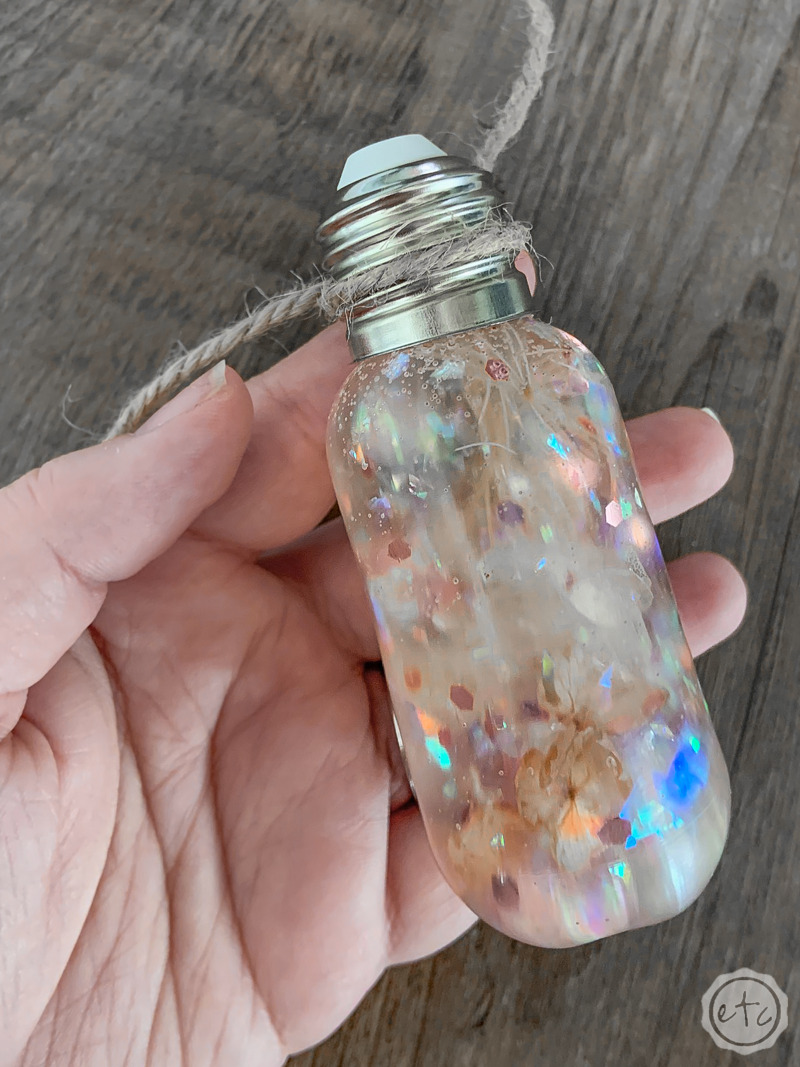
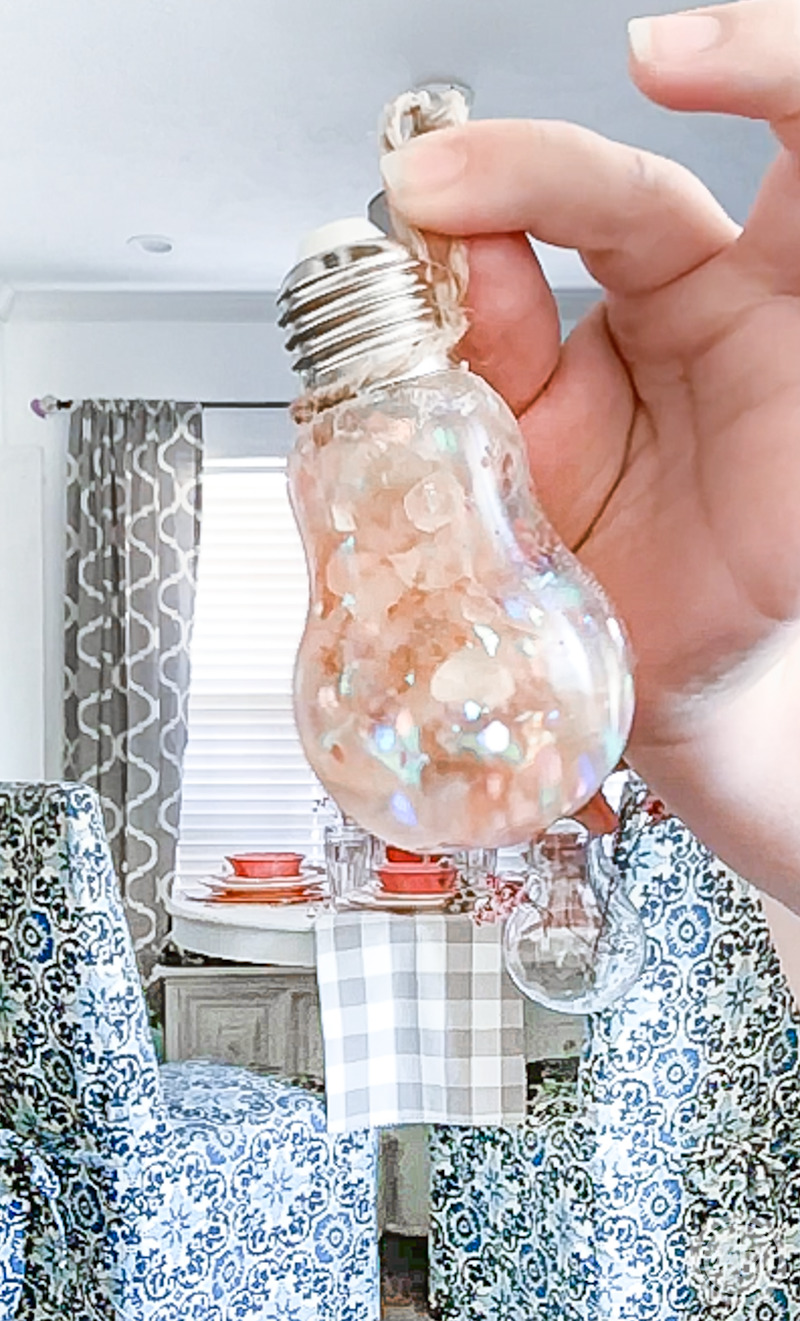
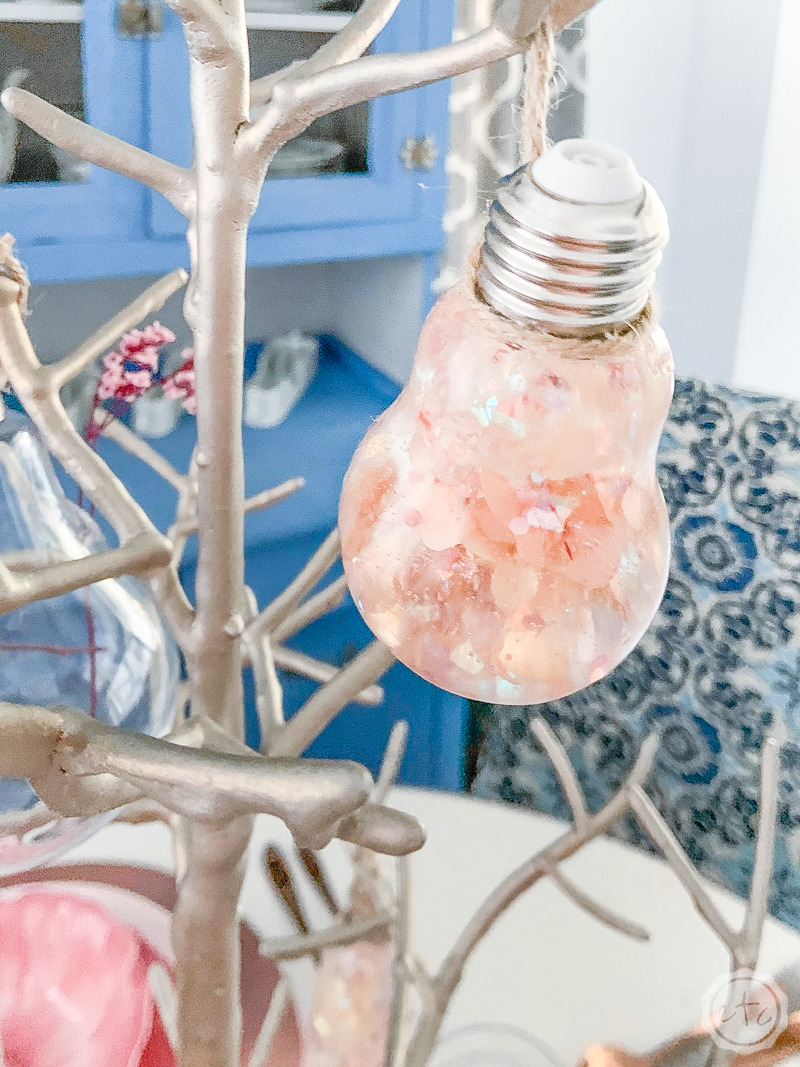
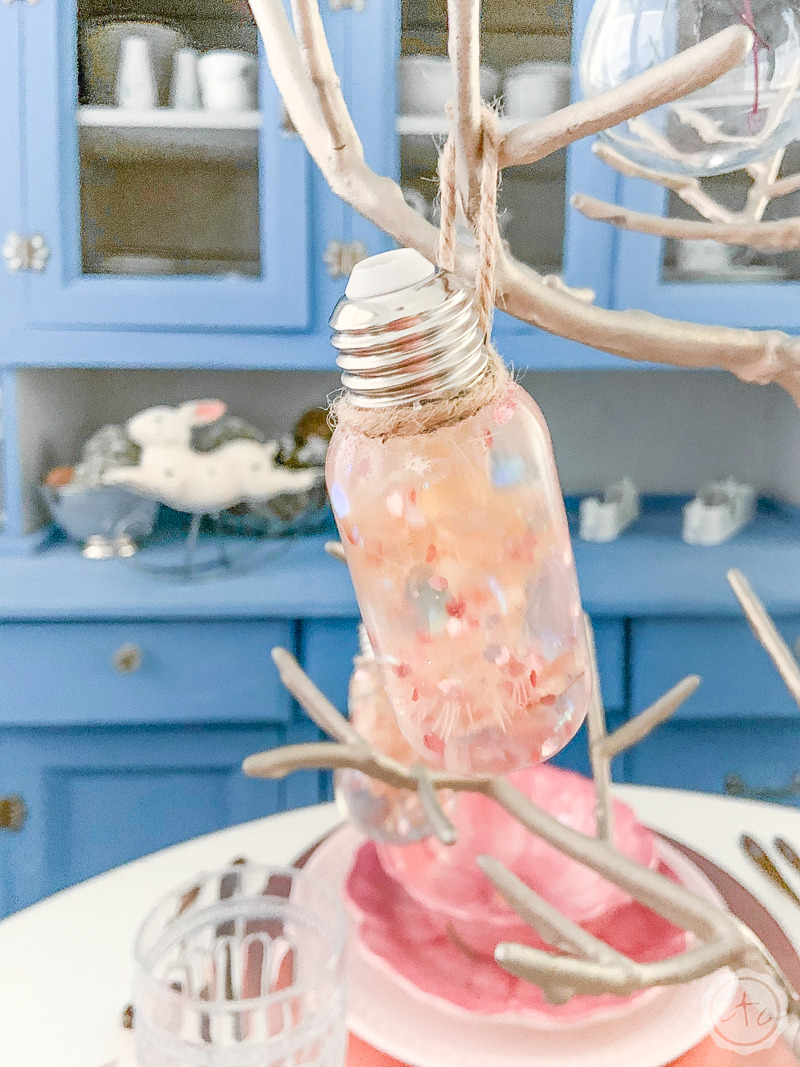
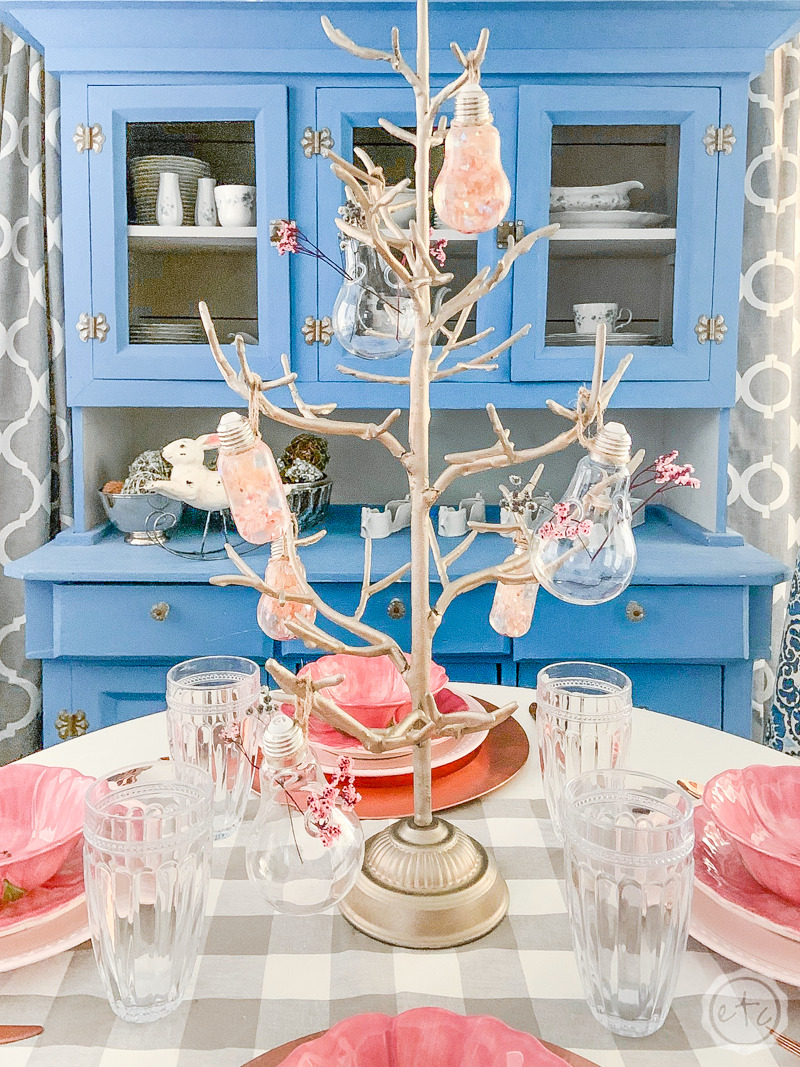
Perfect! Now your little light bulbs are finished! You can display them on a shelf, set them on a light table (these look amazing!) or add them to a project!
I decided to make mine into a centerpiece (you can find the full light bulb centerpiece tutorial here) and then I added that centerpiece to a pretty spring tablescape.
So it was a three part process: first step light bulbs, second step centerpiece, third step tablescape!
Totally worth it… ready for a few close up’s?!
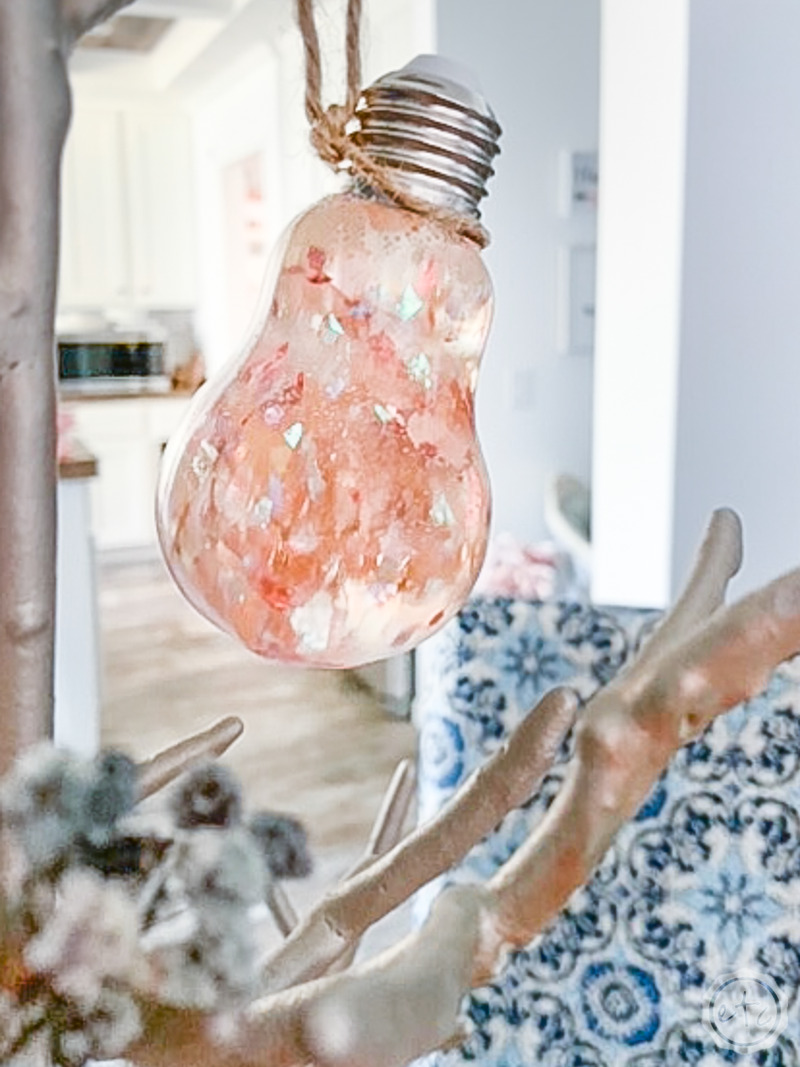

Looking for more resin projects? I’ve got you covered!


Leave a Reply