


Have you ever made a really cute resin project… and then had no idea what to do with it? Me too… but not this week. The second I made these little resin light bulbs I knew they needed to be part of something larger. After all, one light bulb on it’s own is small but a few put together?
Genius.
So after I whipped up 4-5 light bulbs (in both designs), I sat down to design a centerpiece that would show them off. I knew I needed a base and a few more light bulbs to set off the ones I made. So I ordered a few light bulb vases and set about uniting all of the pieces.
Ready to get started?
Supplies:
- Large Copper Tree (Found on Marketplace but here is a similar one)
- Resin Light Bulbs
- Glass Light Bulbs
- Dried Flowers
- Twine
- Hot Glue
- Hot Glue Gun
Step 1: Setup your Base
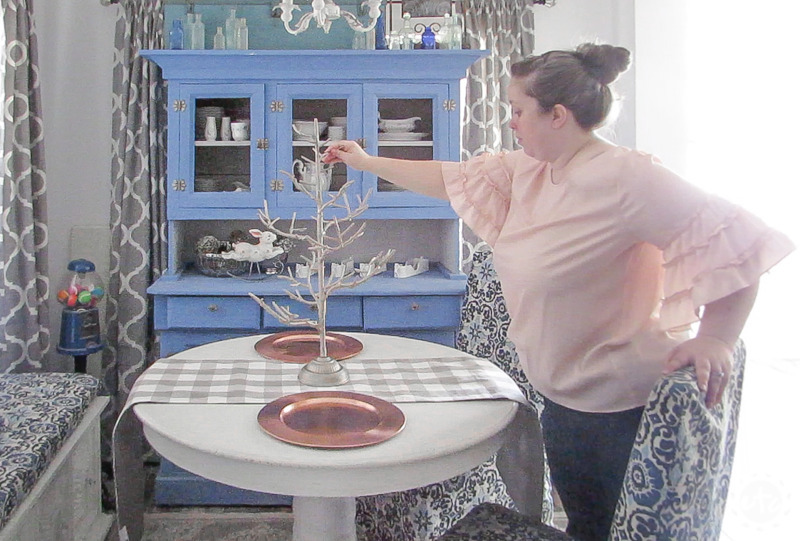
First things first… before we can hang these little light bulbs we need something to hang them on! I decided on this cute little champagne colored tree since it’s the right color scheme and I could easily hang several light bulbs on it without it looking crowded.
Of course, you could use a different object for your base… even a board with holes drilled where you could thread the twine and hang each light bulb would be cute! Not a centerpiece… but really cute!
But for today’s project I put up my champagne tree in the middle of this sweet little spring tablescape.
Then I started on the light bulbs!
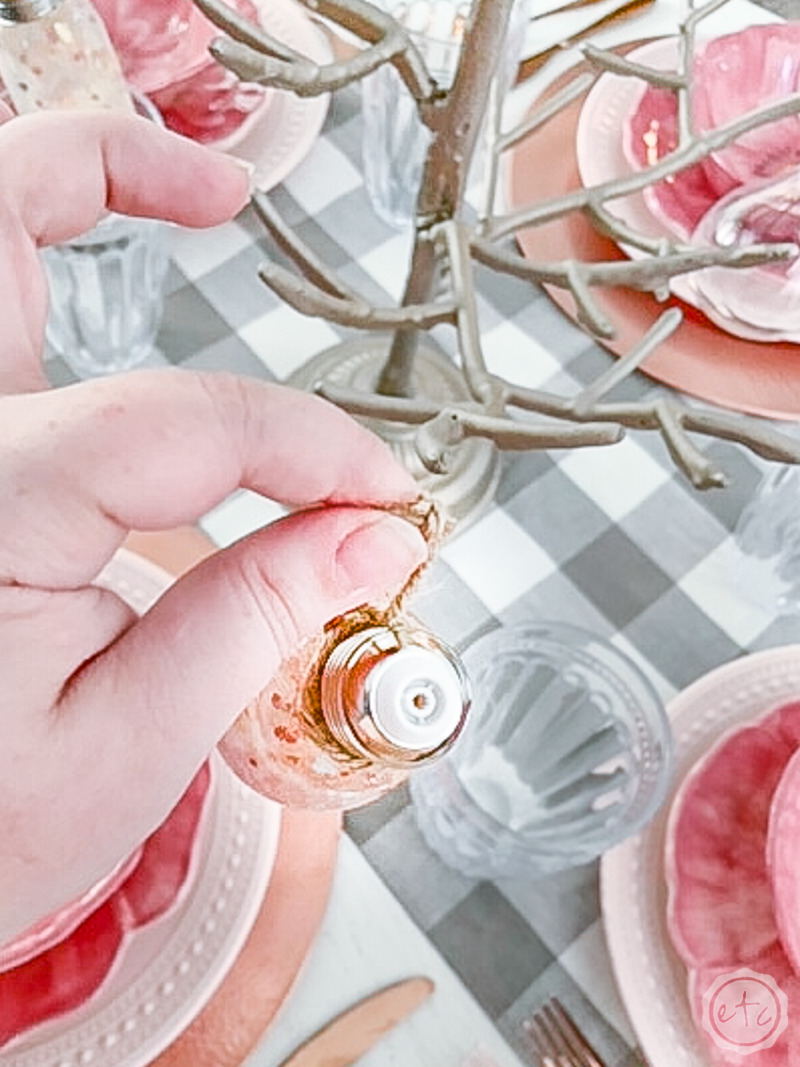
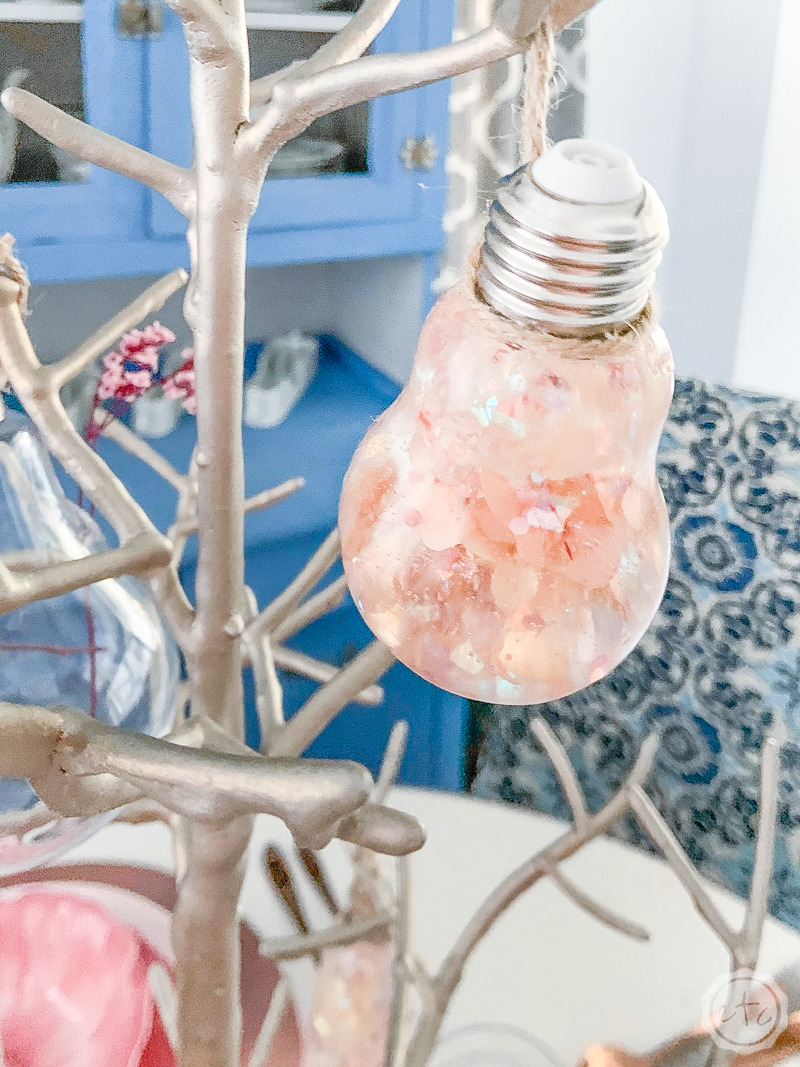
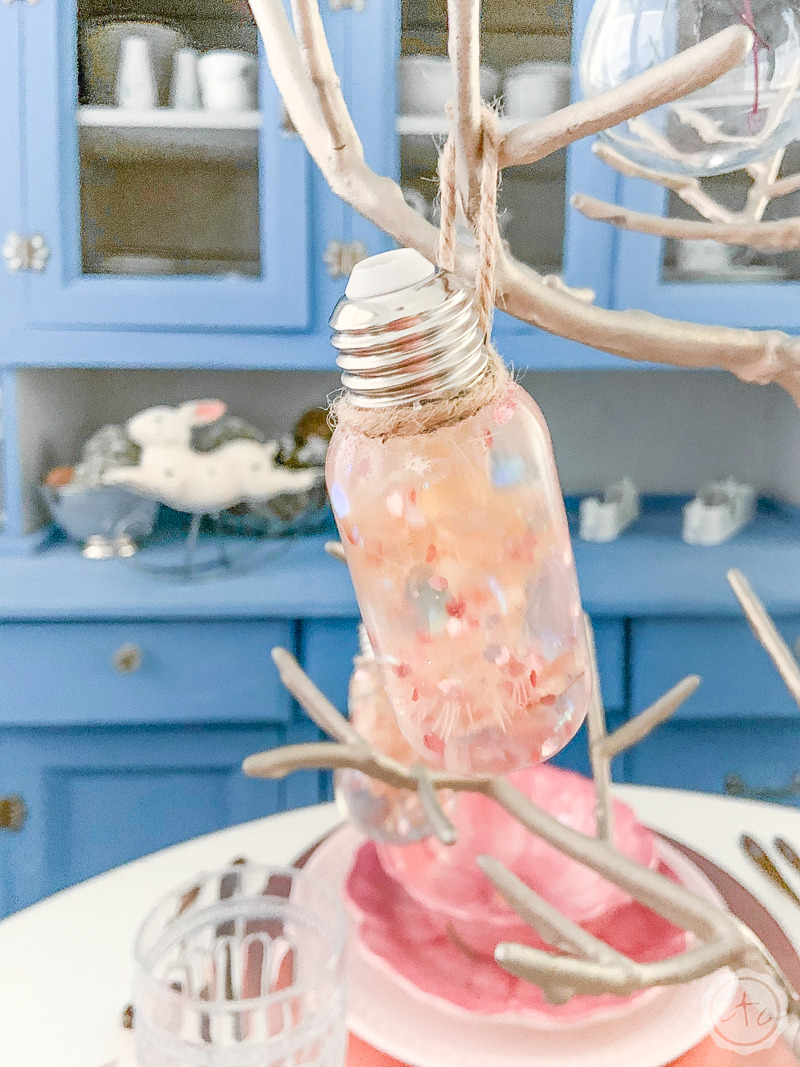
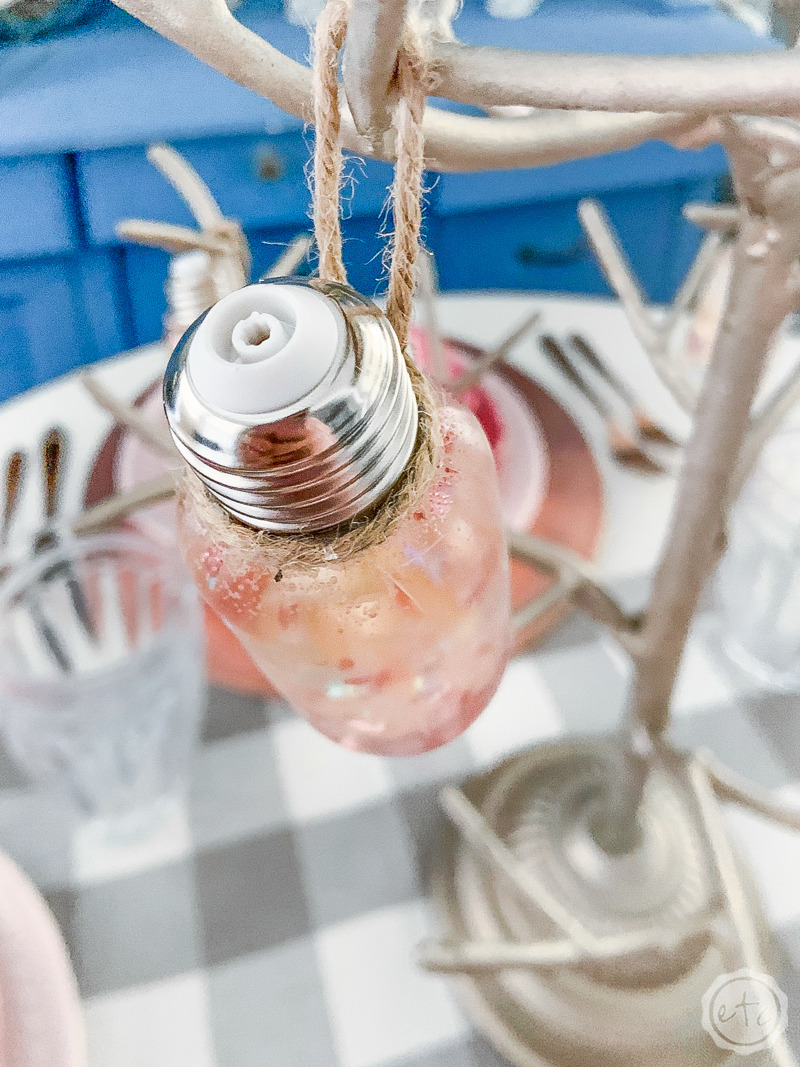
Step 2: Attach Twine
Now it’s time to setup these little light bulbs! In order to hang them we’ll need something to hang them with.
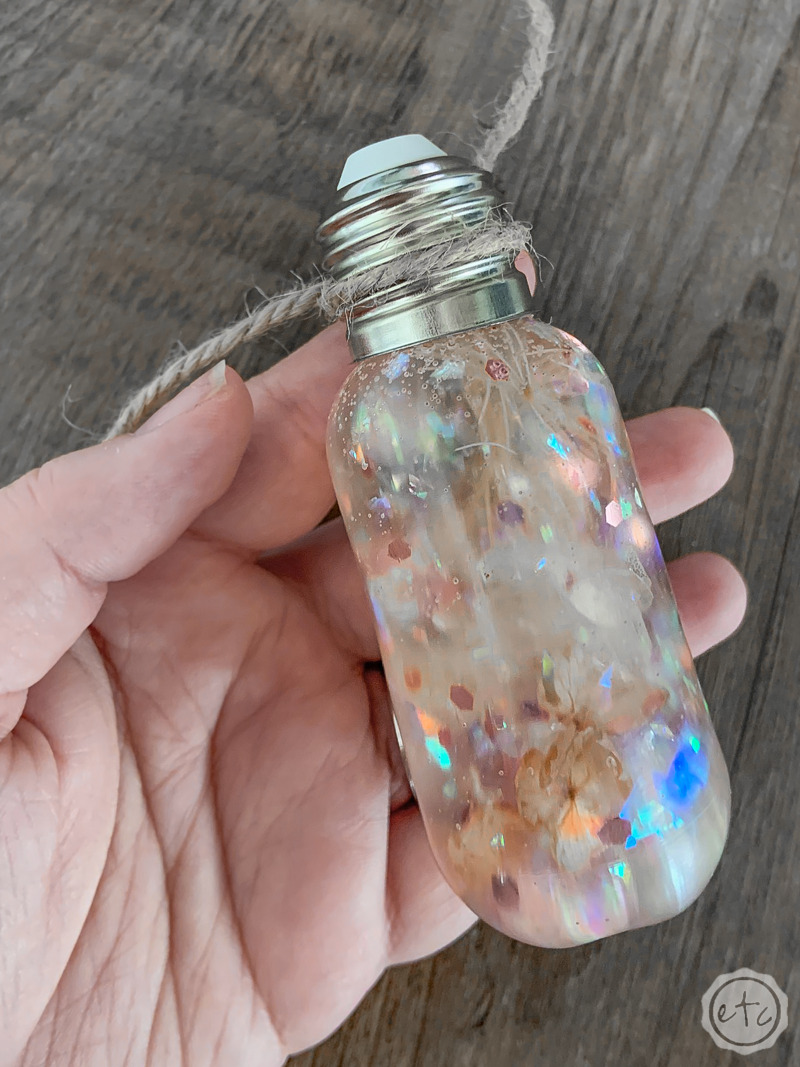
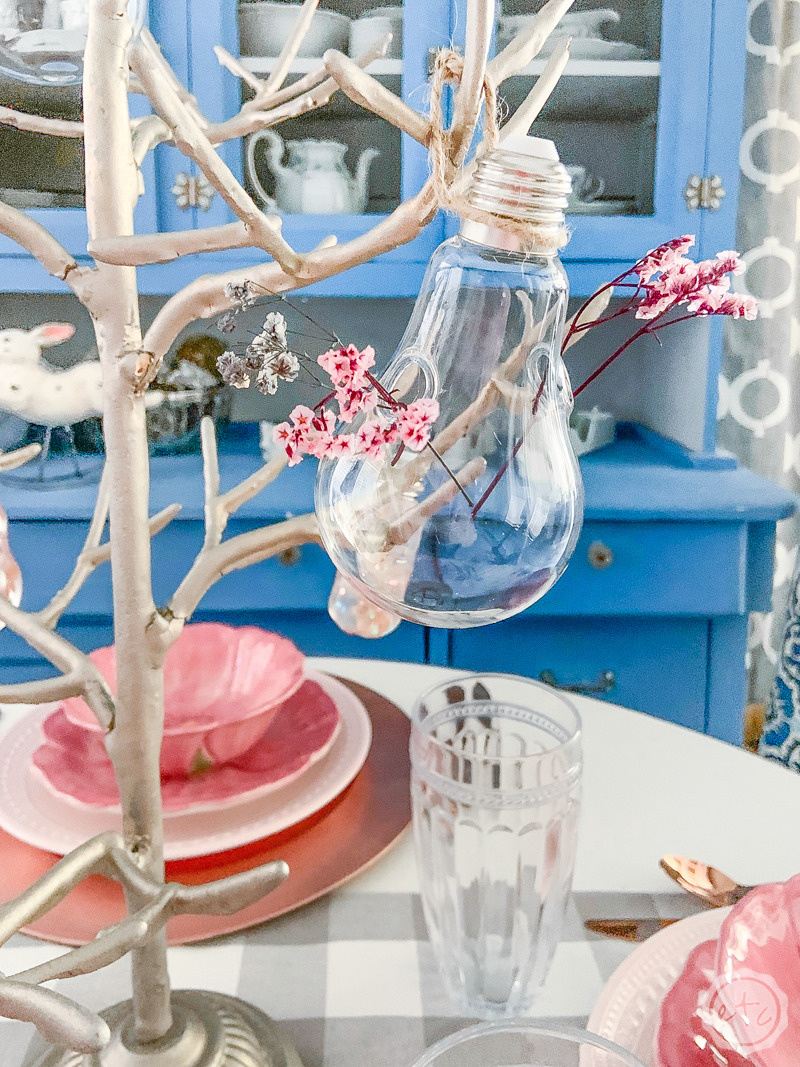
In this case the glass vase light bulbs came with several pieces of twine… so that’s what we went with. I wrapped them around the bases of the light bulbs and tied a tight knot.
Then I went up about an inch and tied another knot. Make sure this one is tight, tight, tight. Extra tight. As tight as physically possible.
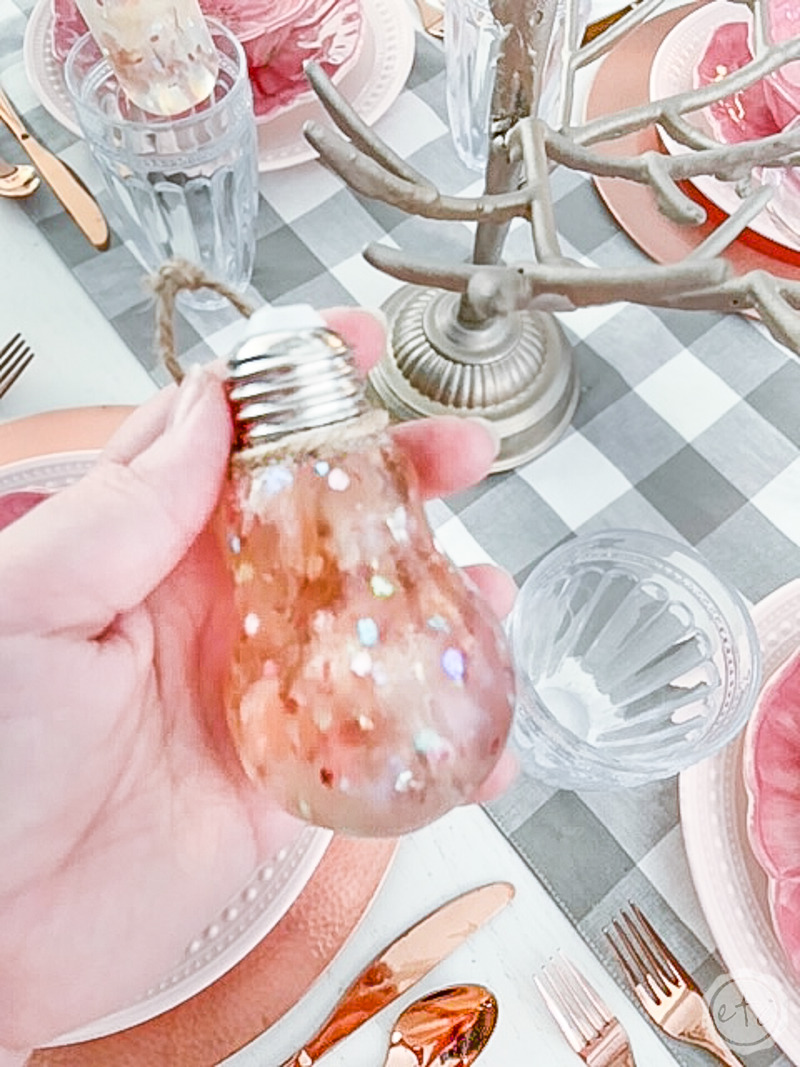
You don’t want that knot to come undone and your light bulb to fall… especially not once you hang it over delicate china. If your knot really won’t hold you can always add a dab of hot glue to the back of the knot to hold it in place (I only had to do this for one of the 7 light bulbs I hung).
Once your knot is secure (really secure!) you can cut off the tails of the twine from the knot.
Perfect.
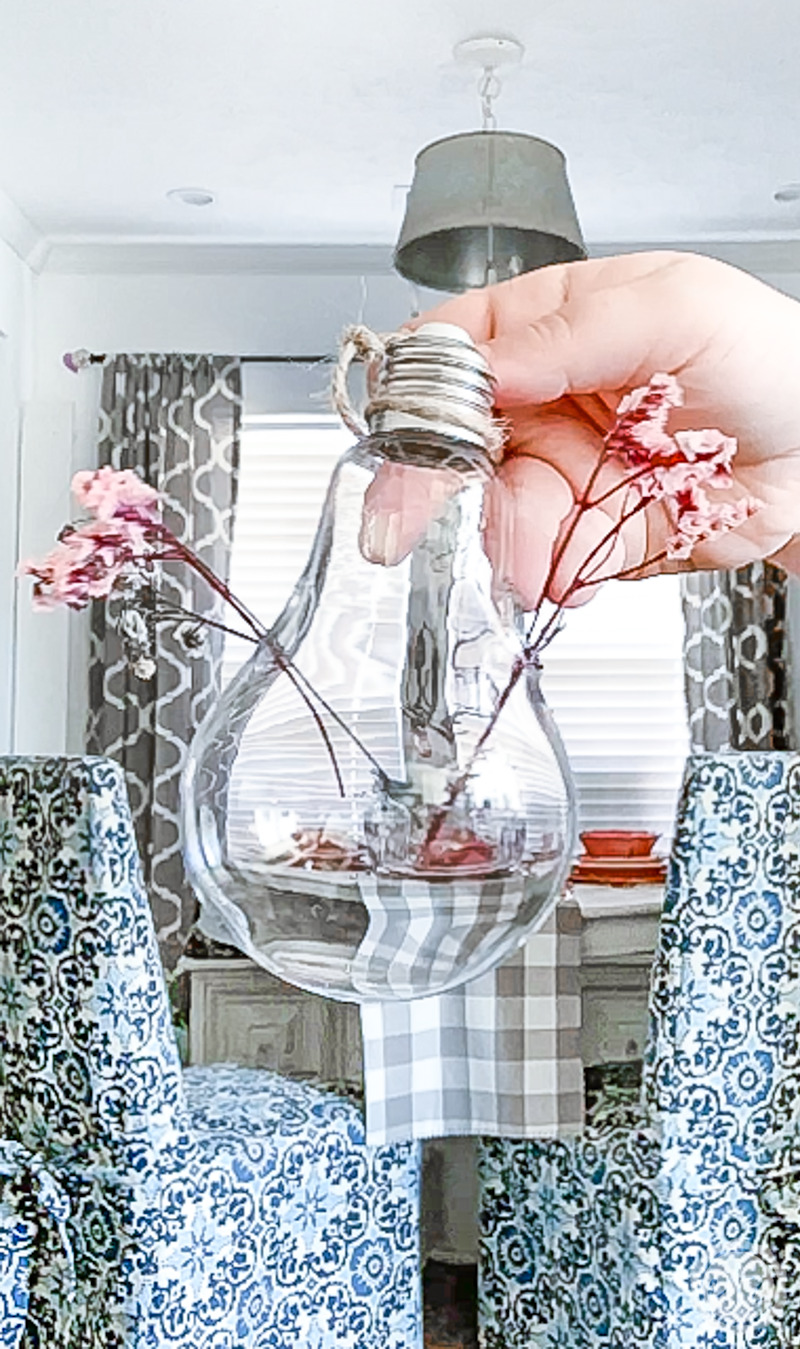
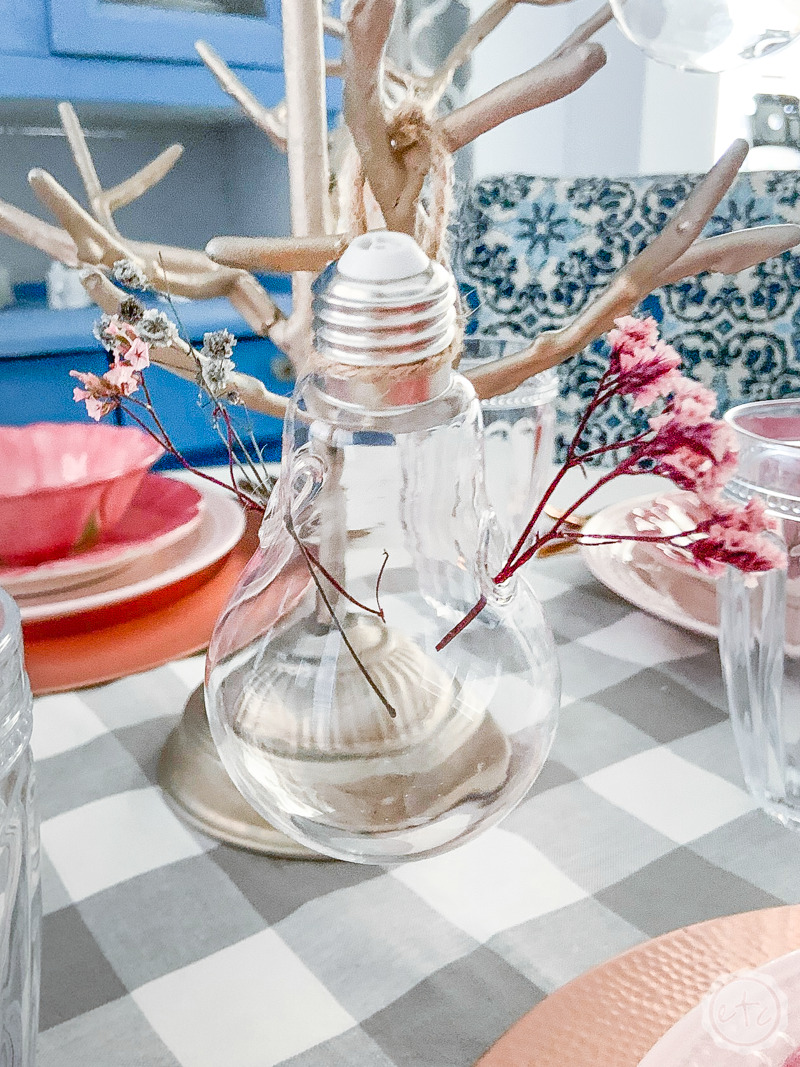
Step 3: Fill Light Bulb Vases with Flowers
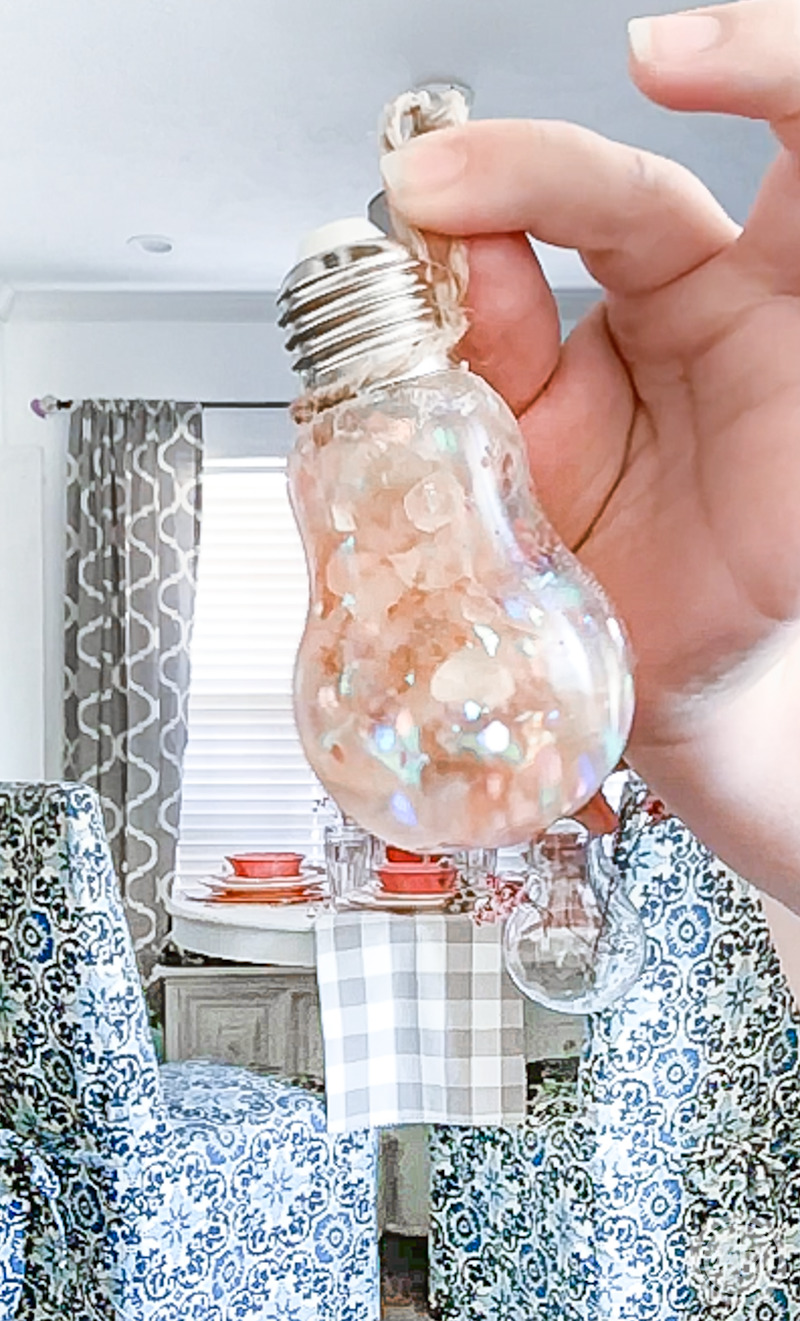
Ready for the glass light bulbs? These little vases are made to be filled with water and stems of flowers threaded through the openings. Unfortunately when I tried to thread the stems of these dried flowers through the openings they just tried to fall over.
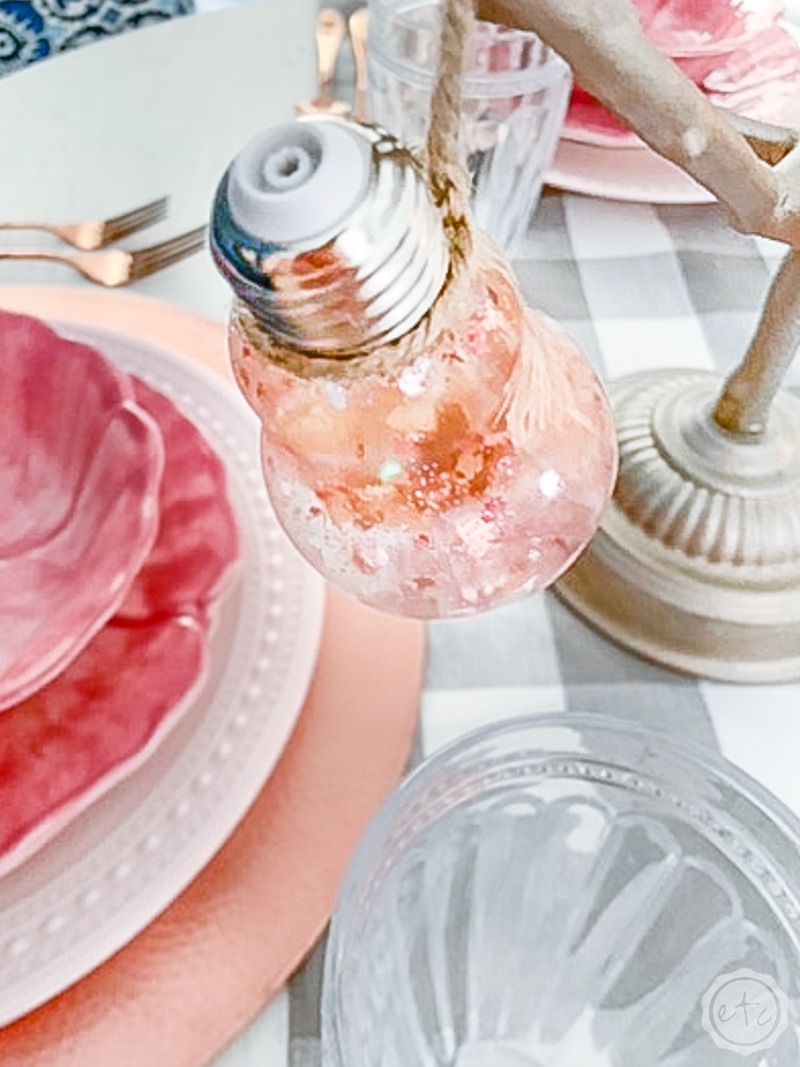
Maybe it’s because they’re dried flowers or maybe it’s because there isn’t any water but either way they did not want to stay upright. So I went to the next best solution. A teeny, tiny, little dab of hot glue on the side of the floral stem that I pushed onto the lip of the opening.
That hot glue will hold the flowers in place but it can also be removed with a bit so scraping (since hot glue doesn’t truly bond to glass). I love how it turned out!
I especially love tying the whole thing together by using the same flowers in the resin light bulbs and the glass light bulbs! Of course, they look completely different since the resin ones are in cased in… resin… but the overall tie is there!

Step 4: Hang Light Bulbs!
Now that all of our light bulbs are good to go we can hang them on our tree! I tried to hang them so that they were scattered around the tree and absolutely love how it turned out!
As it is I had 3 glass light bulbs, 2 straight sided resin light bulbs and 2 regular shaped resin light bulbs. If I were doing this again I would make one more regular shaped resin light bulb… things in odd numbers seem to balance better.
But since we don’t have an odd number I simply hung them the best I could. Keep in mind that the twine holds the light bulbs fairly straight but if your light bulb just won’t hang straight you can try to turn it around and see if the twine will straighten out.
Sometimes it works.
Take a look!
Ready for the final reveal?
I am IN LOVE with this entire tree… I’m not 100% sure I want to put it together when spring is over.
Flowers are appropriate for summer too… maybe we’ll rock the light bulb tree all summer long!


Leave a Reply