

The year I was married I learned a very valuable lesson… weddings take a lot of planning and therefore you always have a lot of stuff to carry around with you. I think I took my wedding planner everywhere I went. So did my maid of honor… which means it was a very bridal year.
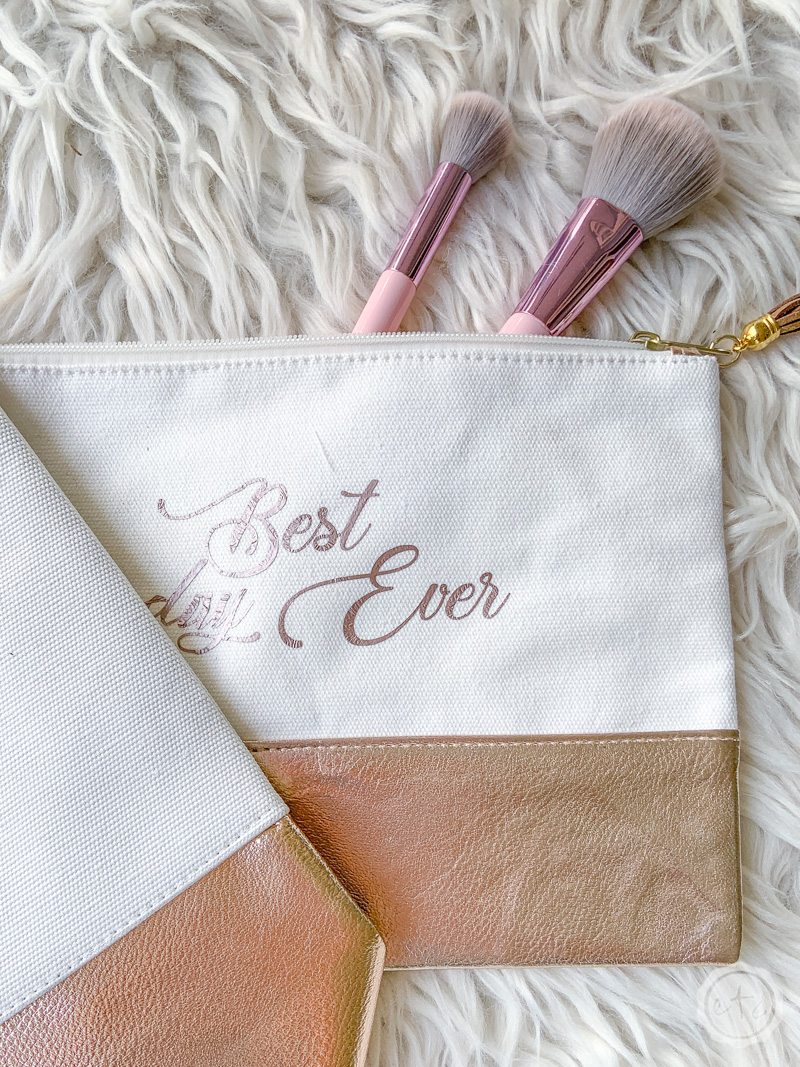
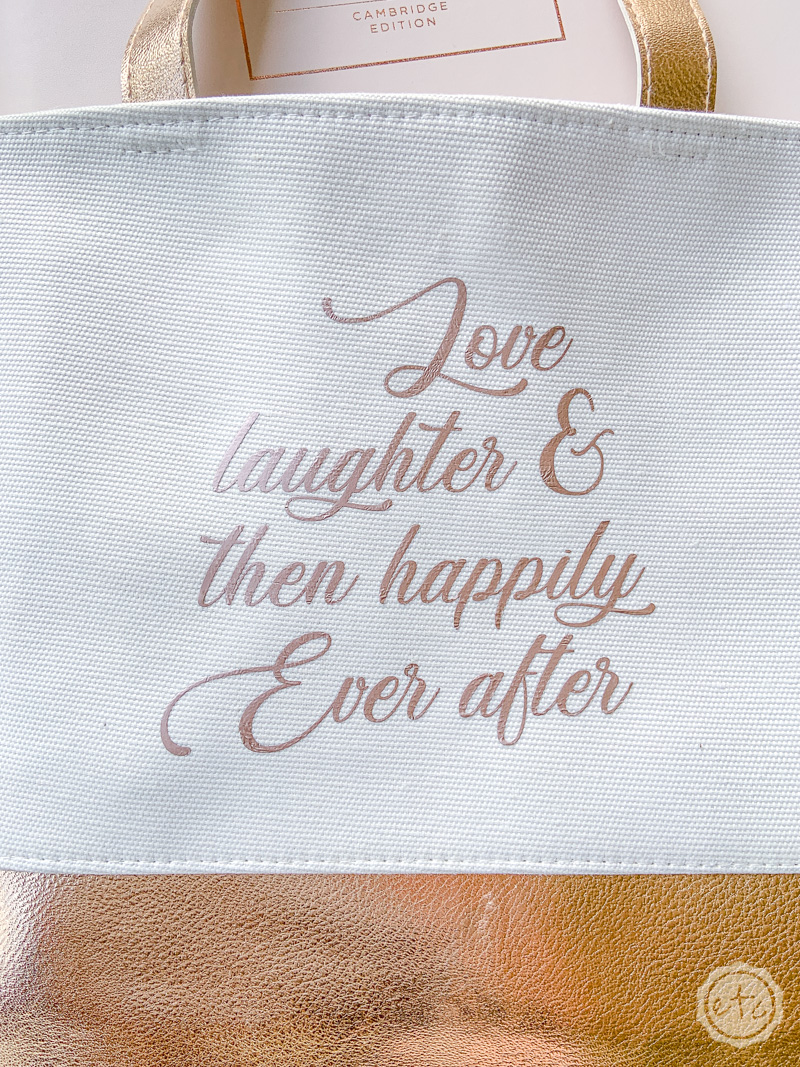
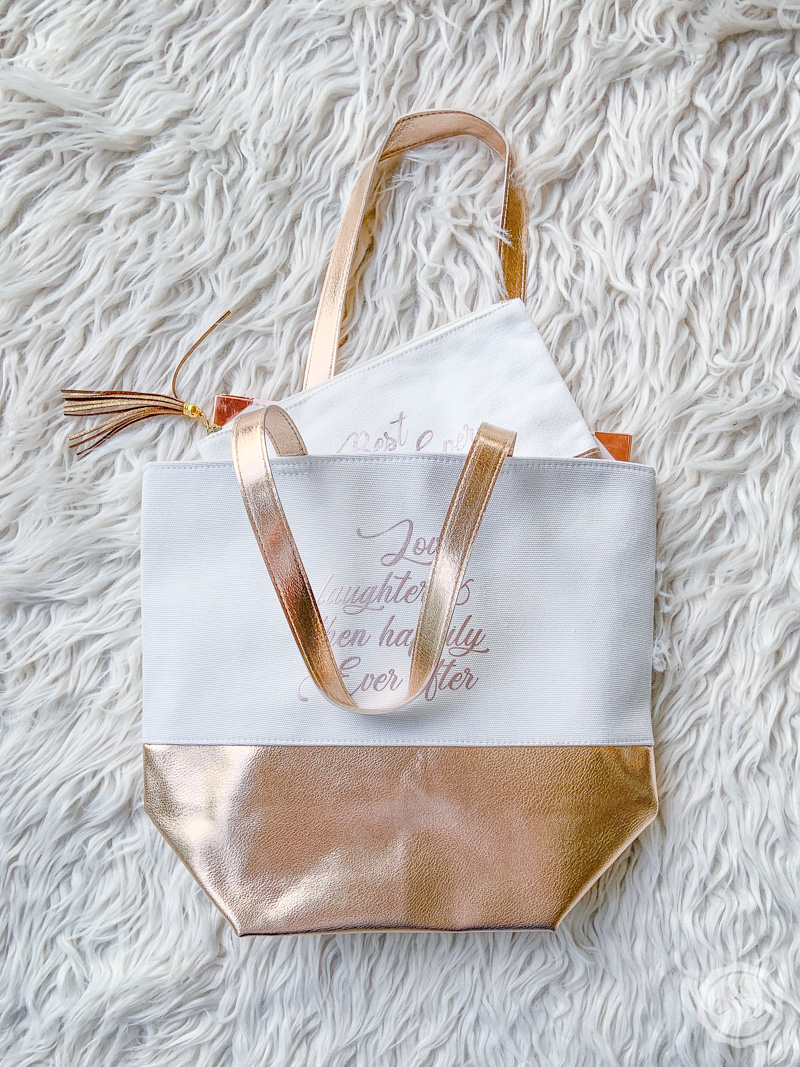
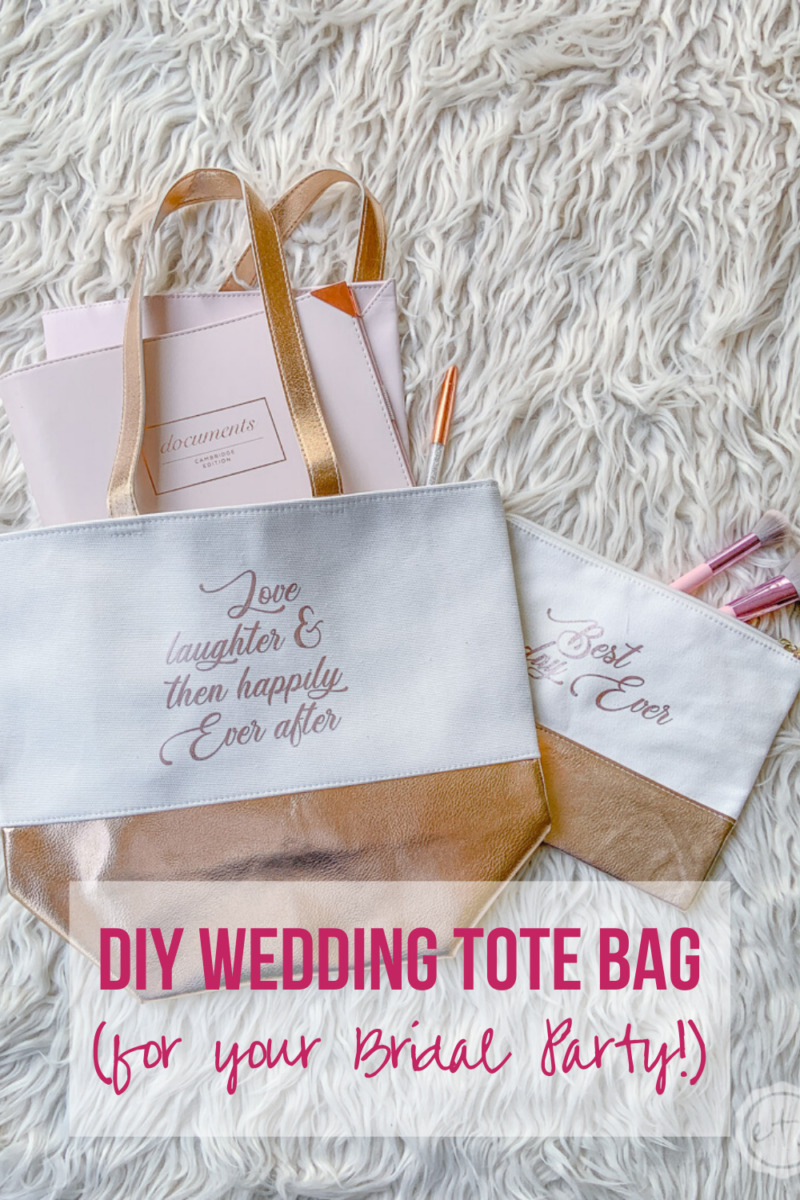
Of course, there’s nothing wrong with that but why not take it a step further? Why not carry all of your wedding gear around in a custom made wedding tote? These are great for every day carry or a bachlorette party and since they’re customizable you can make one special for each of your girls.
They can carry supplies to the beach or everything you need to get ready on the big day (emergency wedding kit anyone?).
Best of all they’re pretty quick and easy to make.
Let’s get started.
Supplies:
- Cricut Maker
- Fine-Point Cutting Blade
- Cricut Standard Grip Mat (that’s the green one!)
- Cricut Easy Press 9 x 9
- Easy Press Mat
- Cricut SVG Files
- Rose Gold Sports Flex Iron-On
- Tote Bag
- Make-Up Bag
- Weeding Tool

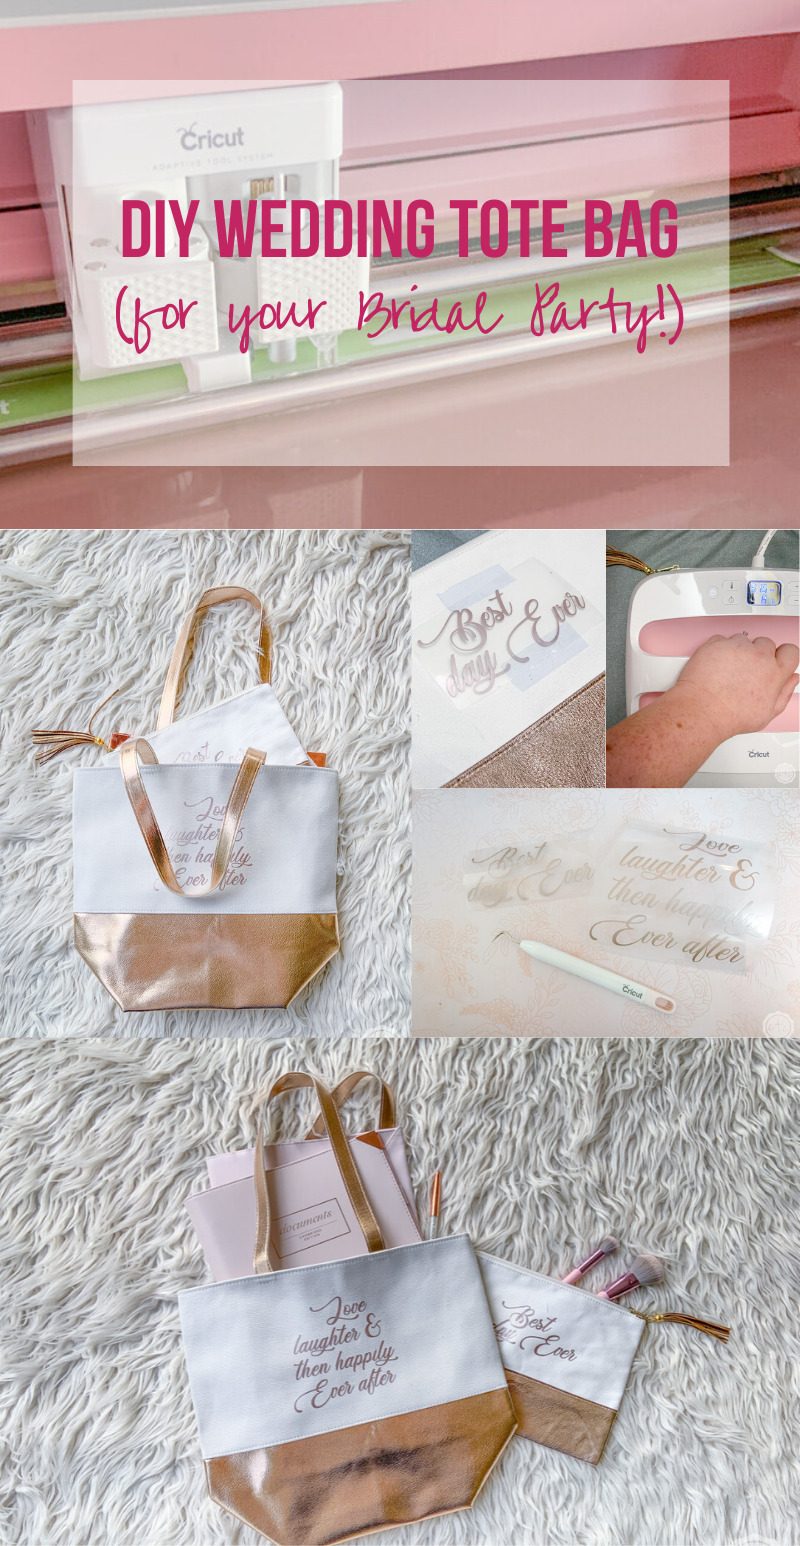
Step 1: Upload and Cut your SVG
Alright y’all let’s jump right in! Start by downloading your free cut files and uploading them to Cricut Design Space. (If you’ve never used an SVG before don’t worry I’ll show you the quick and easy way to upload an SVG to Design Space right HERE).
Once you have everything loaded into design space go ahead and size your cut files according to what bag you’re using. If you’re using a large tote bag your files should be sized a bit bigger than the decal needed for a make-up bag.
Just measure your bag and then use the ruler in Design Space to make your SVG the right size… then hit cut!
Sports flex iron-on cuts smoothly so you won’t need to wait long and your cut files will be ready! Just make sure that you mirror your design and load the material onto the mat with the shiny, clear carrier sheet down against the cutting mat.
You want the SVG to cut into the iron-on not into the clear plastic.
Score!
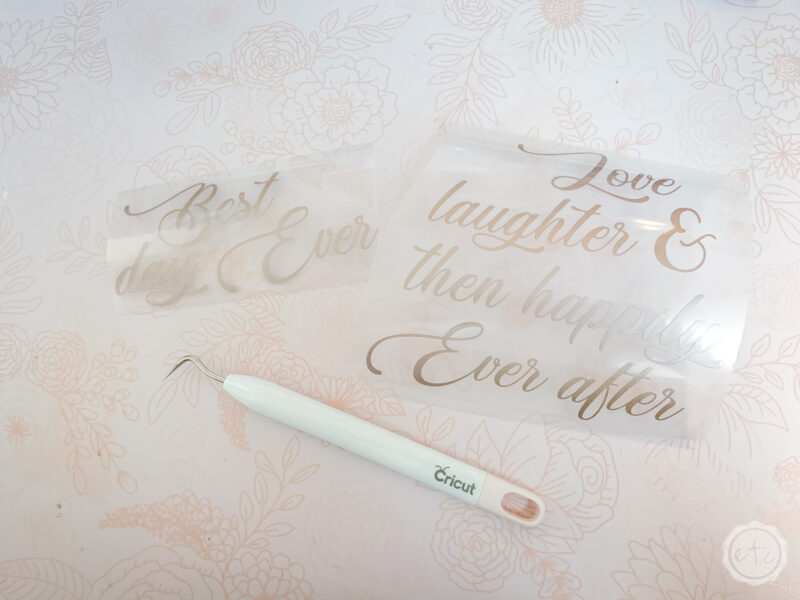
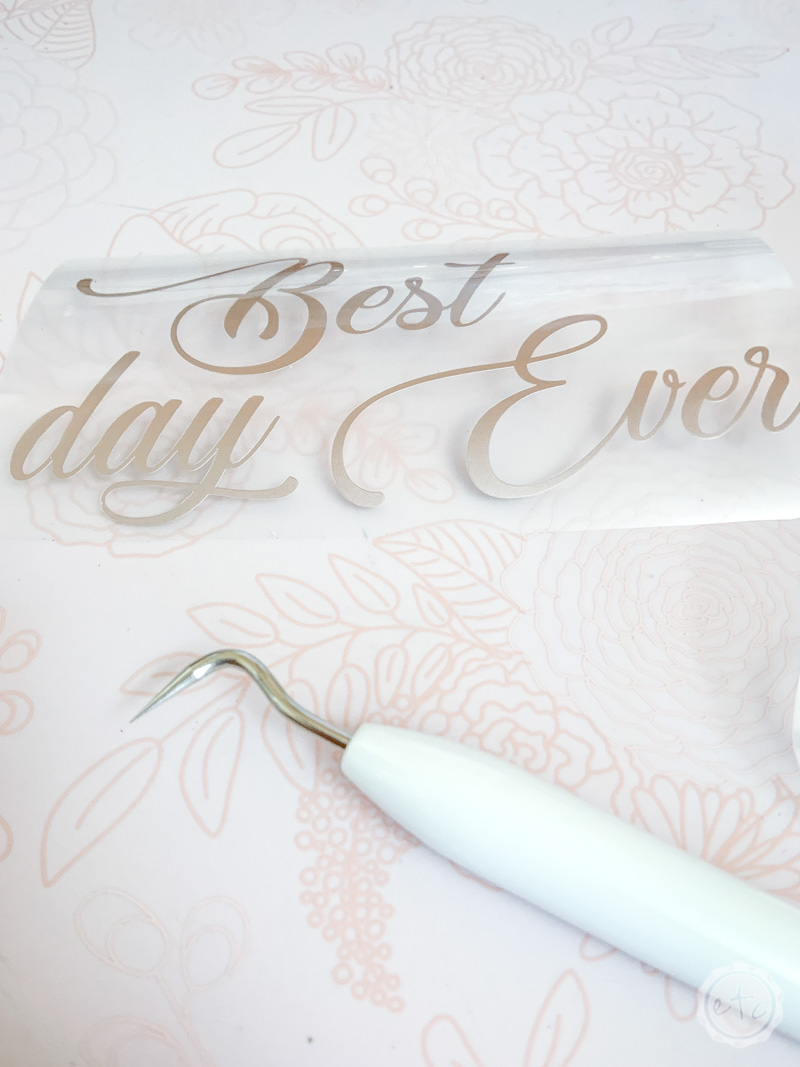
Step 2: Weed Your Decal
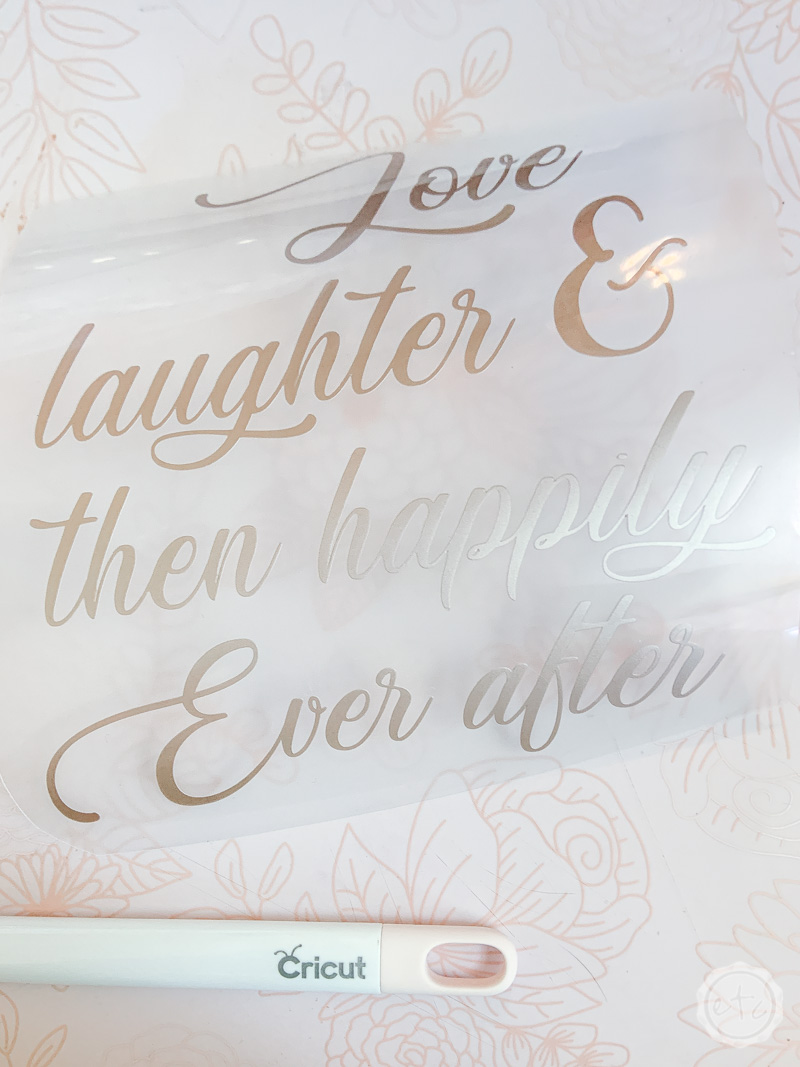
Ready to weed? Grab your pointiest weeding tool and get started removing any negative space from your vinyl. I’m talking the inside of the o’s, the tiny part of the g… all the space around the outside of the letters.
It all has to go!
Just make sure you watch as you go and don’t accidentally rip or tear anything you want to keep… and don’t forget to watch those pesky little i’s.
The dot’s above the i’s are always trying to run off.
I’m not sure what their agenda is but it seems shady.
Step 3: Apply Iron-On to Bag!
Ready for the good stuff? Fire up your easy press because it’s time to get lit.
Yup. I went there.
Sorry.
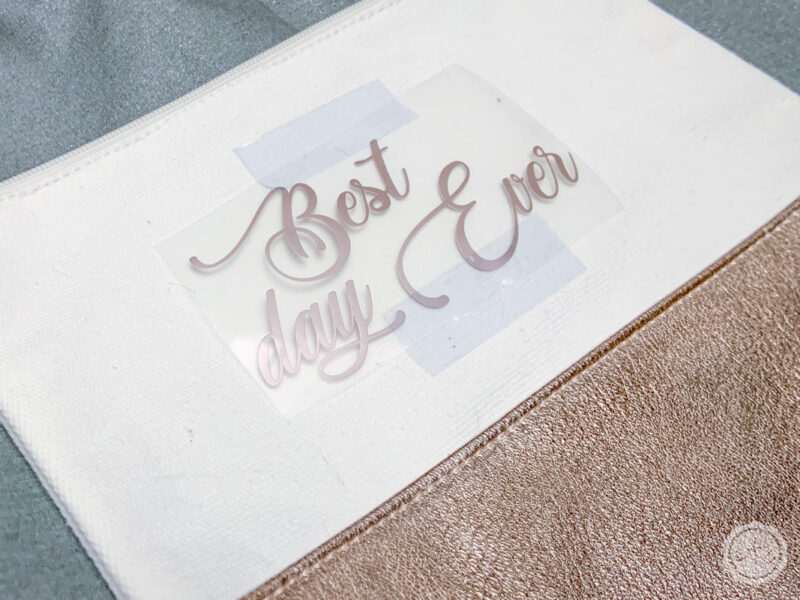
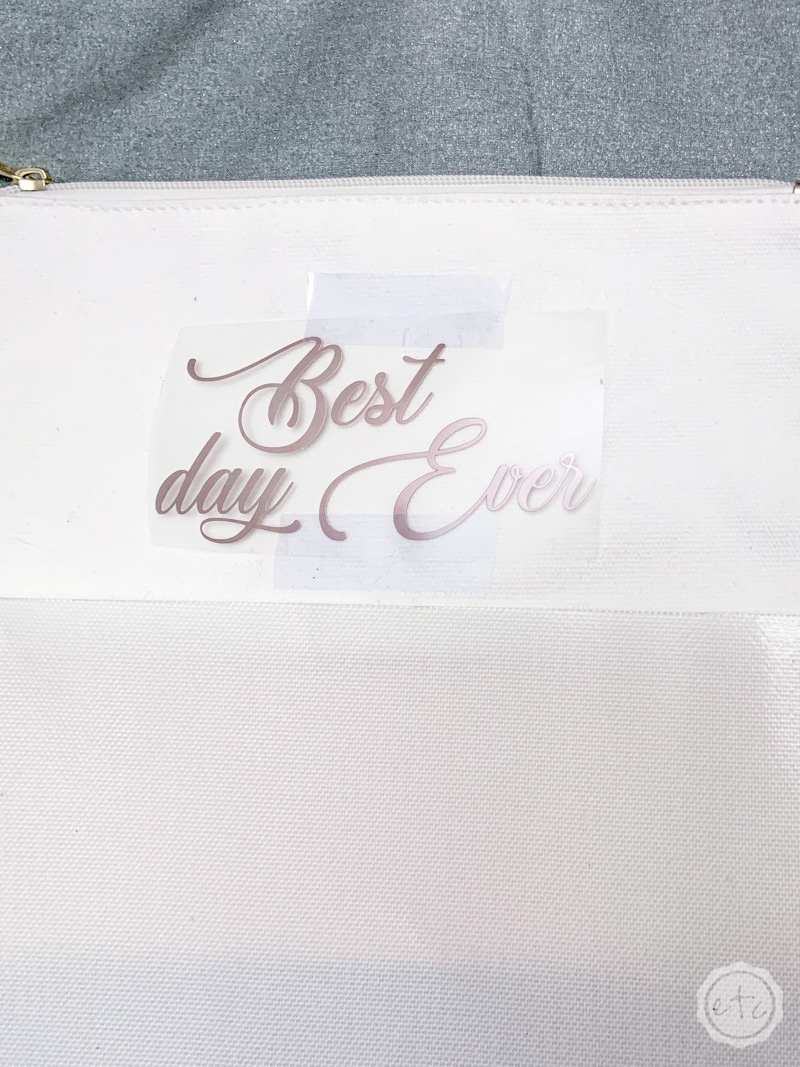
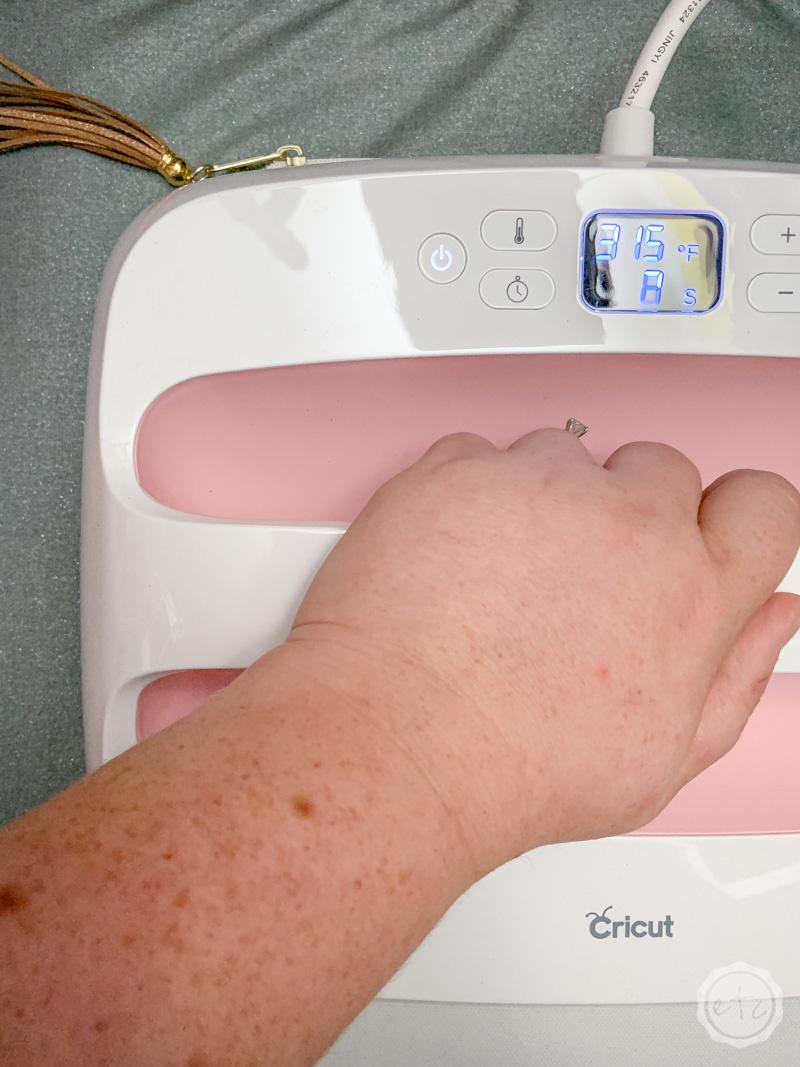
Go ahead and set your easy press to 315 and 20 seconds. Then while the machine heats up go ahead and set your design on your bag. The carrier sheet is sticky so it will stick in place pretty well but I found these bags to need a little extra help… so I grabbed my heat resistant washi tape and secured each design.
Once the easy press was ready I placed it down on my bag (make sure the easy press mat is underneath the bag to protect your work surface and to help set the iron-on. It reflects heat back up to the easy press to make a heated iron-on sandwich) then click the cricut button, let it run for 20 seconds and then lift the easy press off.
Make sure to wait a minute or two until the iron-on has cooled down before peeling off the carrier sheet. Another tip? I always use my fingers to push down along allllll the letters in the design before I pull the carrier sheet off. I find better results when I do that although it seems to be completely unnecessary.
Step 4: Enjoy your Tote!
Now you’re done!
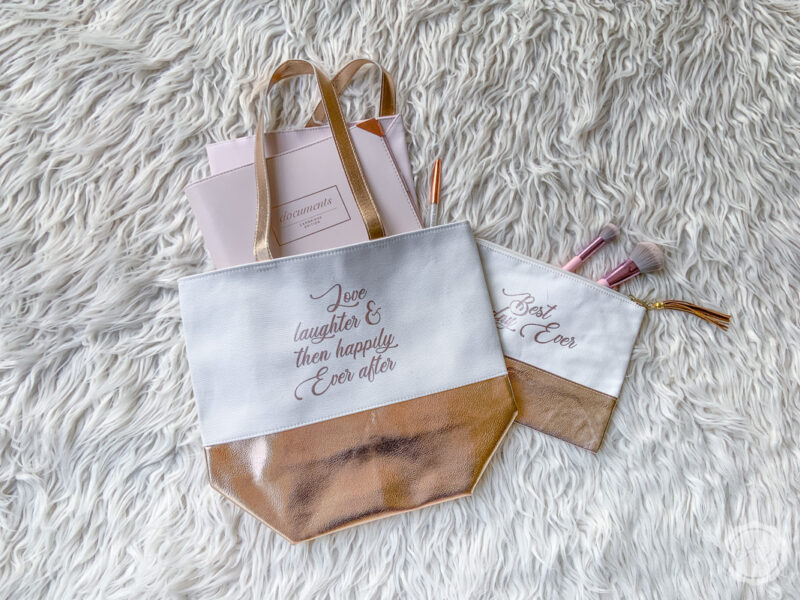
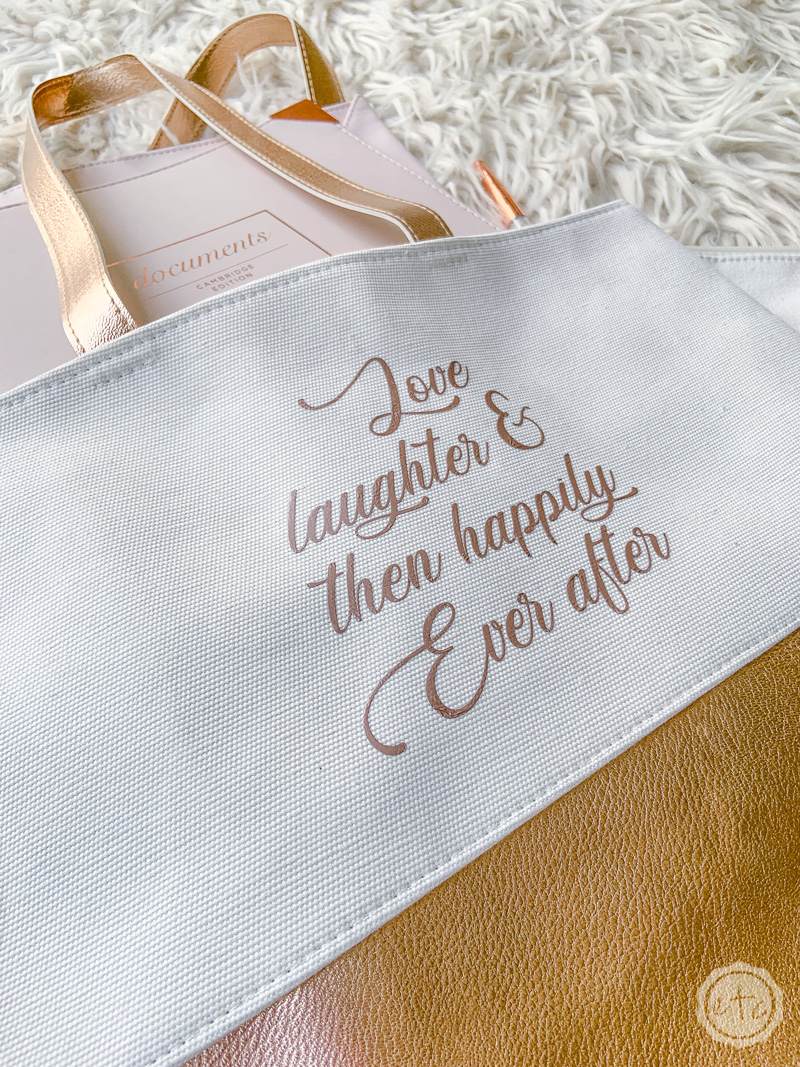
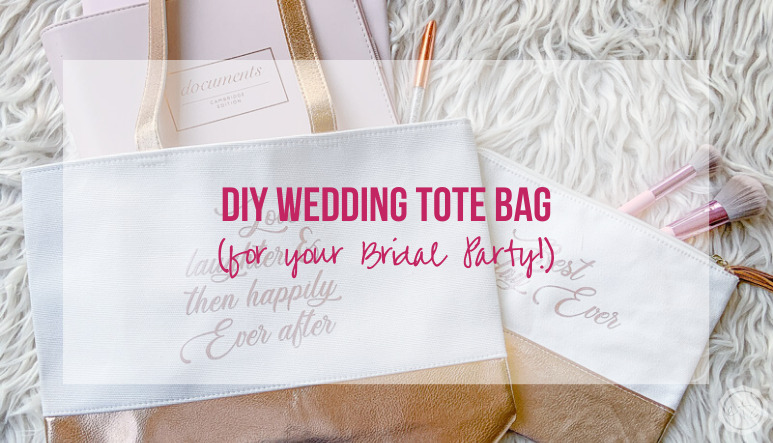
I told you that would be quick and easy! I absolutely love how this project turned out and the best part is that this little rose gold and cream bag goes perfectly with my Ultimate Bride Planner.
Which is available here if you’d like to buy a pretty blush and rose gold planner packed with every single tip and trick you’ll ever need to plan your wedding the easy (stress free!) way.
Of course, this little tote goes with well with plenty of other pieces so I’m sure you’ll find plenty to use it for.
Enjoy!

Not ready for the ultimate bride bag? Don’t worry! You can download my free 42 page wedding binder right here… enjoy!
Looking for More Projects? I’ve got you Covered! Check out all of my quick and easy Wedding Projects:






Leave a Reply