


With the ever-growing search engine and wedding inspiration spot that is Pinterest there is an ever growing abundence of ideas when it comes to your big day. Which is a long winded way of saying that Pinterest has given us soooooo may wedding ideas it’s hard to know which way is up sometimes! Back many moons ago (yes… many moons… almost 7 years) Pinterest wasn’t really a thing yet… it had just hit the internet and was in it’s baby stages of taking over the world.
So when I told everyone I was going to have a globe guest book at my wedding every single person stared at me with this deer in the head lights look like “what is this girl talking about”. But y’all it was amazing! I don’t remember where I saw the idea (maybe it was Pinterest! Who knows!) but there were no instructions, no tutorials… and I had no idea what I was doing.
I ended up with a large globe (that I love) but was way to big… I painted it and bought sharpies for my guests to use and called it a day. These days I know a bit more (unless you have a million guests less is more… I had over a hundred guests and my globe is sparse) about wedding globes so I thought I’d try my hand at another one.
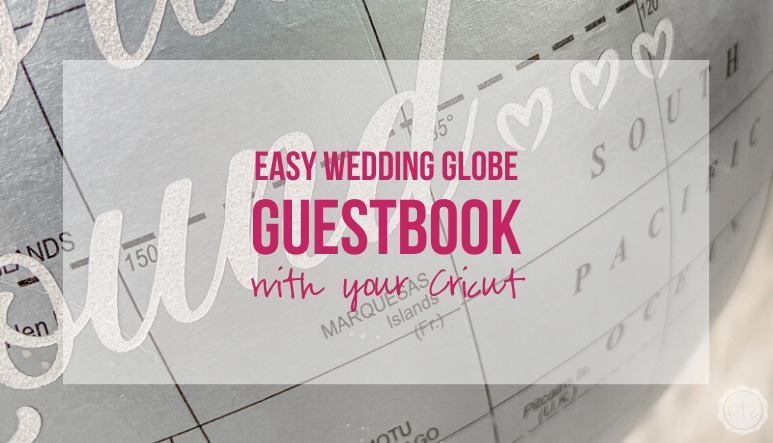
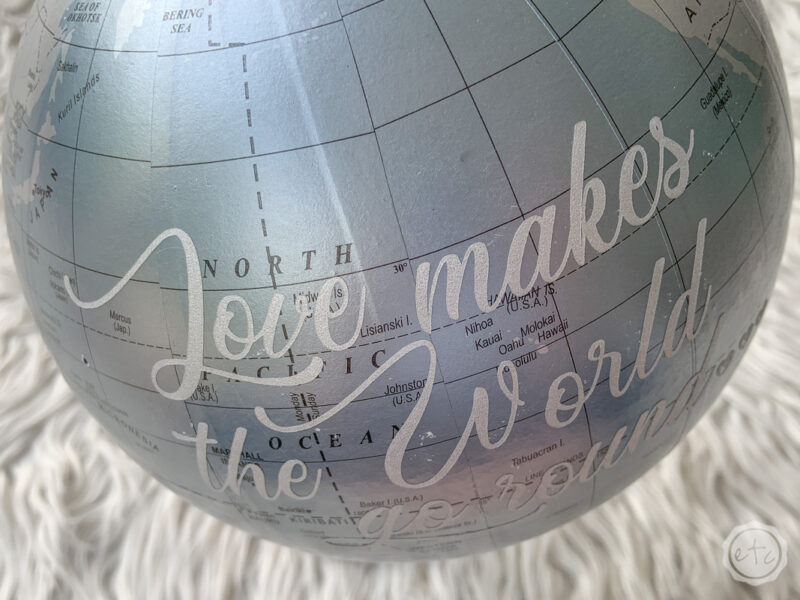
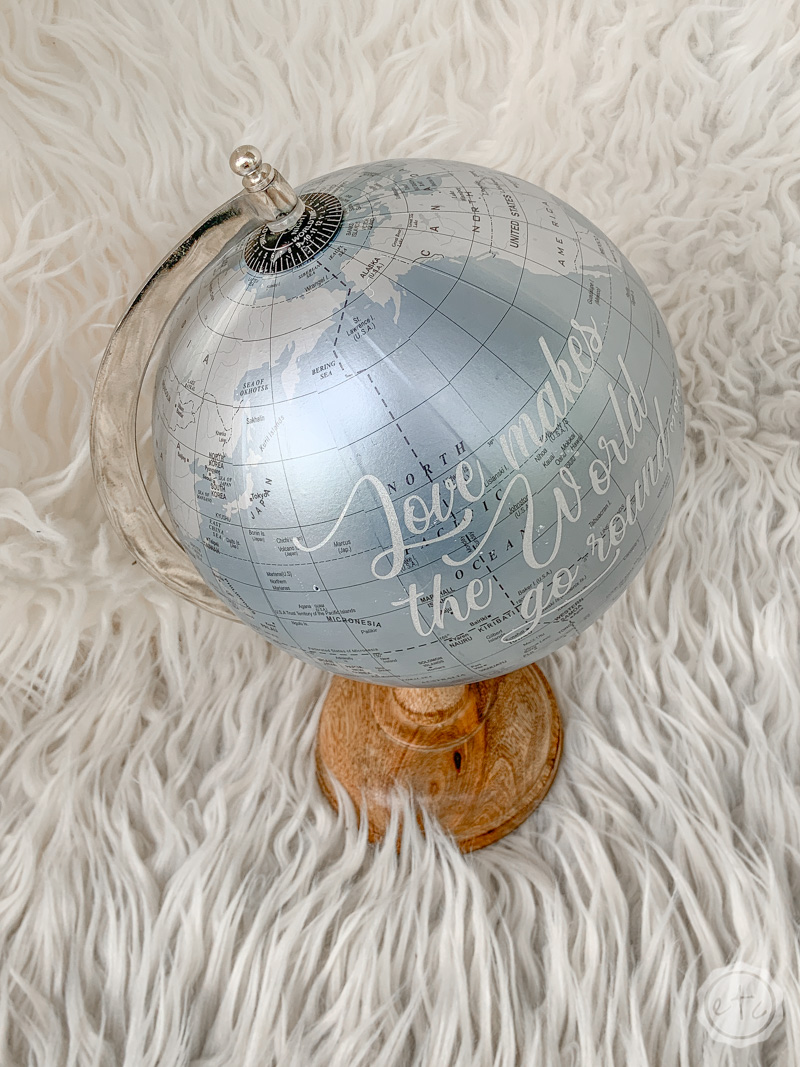
This one is tiny and cute and has a sweet little Cricut cut saying on the front… which I am absolutely in love with. You can display this globe in your home but it won’t take up a giant amount of space.
Which is perfect.
Supplies:
- Cricut Maker
- Fine-Point Cutting Blade
- Standard Cutting Mat (that’s the green one!)
- Permanent Silver Vinyl
- Cricut SVG Files (FREE down below)
- Weeding Tool
- XL Scraper Tool
- Transfer Tape
- Silver Globe
We’re going to jump right in but first… a quick glimpse of my original wedding globe that is still sitting in my living room. I use it as decor (and even thought it’s huge!) I still really do love it!
If you’d like more info on this particular globe I wrote a post on the process I originally used for the globe I actually used at my wedding. Just remember that this is a very old, very loved post that I wrote as a baby blogger… hi 6 years ago Betsy!

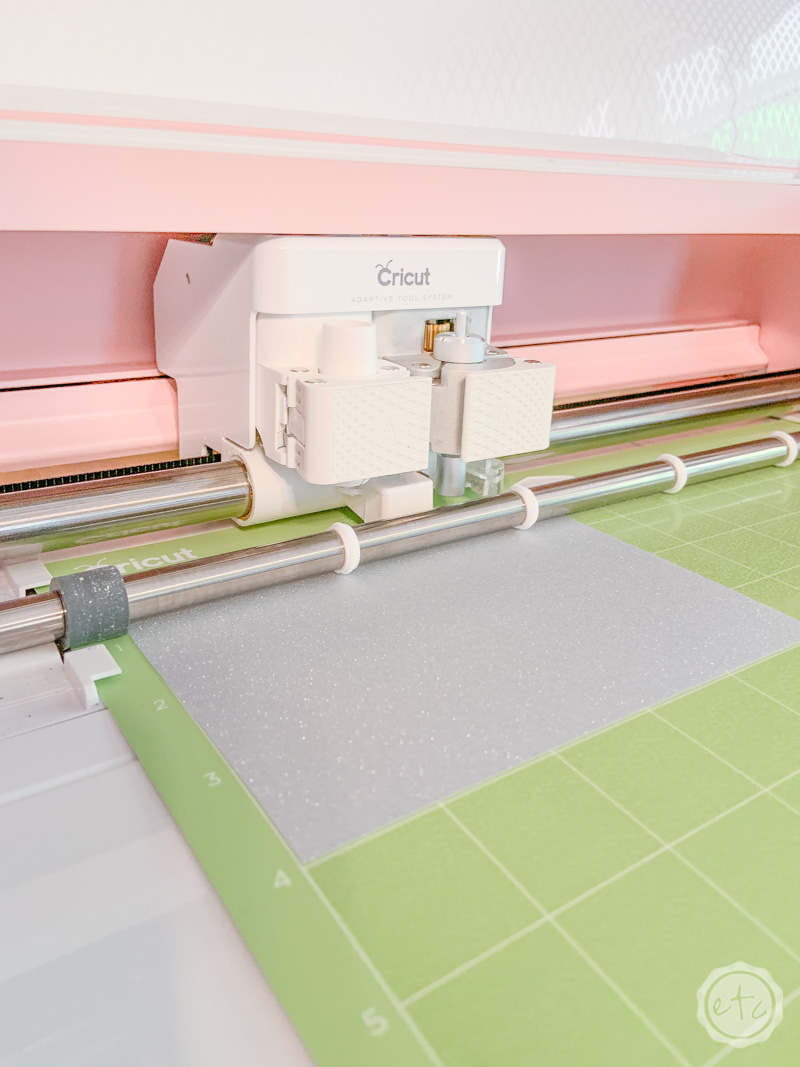
Step 1: Upload & Cut your SVG
Ready to jump right in? Go ahead and download your little SVG and then upload it to Cricut Design Space. If you’ve never uploaded an SVG to design space don’t worry… it’s really easy and my step by step tutorial will show you exactly how it’s done.
Once you have your SVG uploaded and sized for your specific globe (this one is tiny so I made my decal 4 by 5 inches to span the front side) then you can click make it.
Permanent vinyl cuts quickly and the fine-point blade makes smooth cuts so you won’t have to wait long for your SVG to be finished… a decal like this should only take a few minutes!
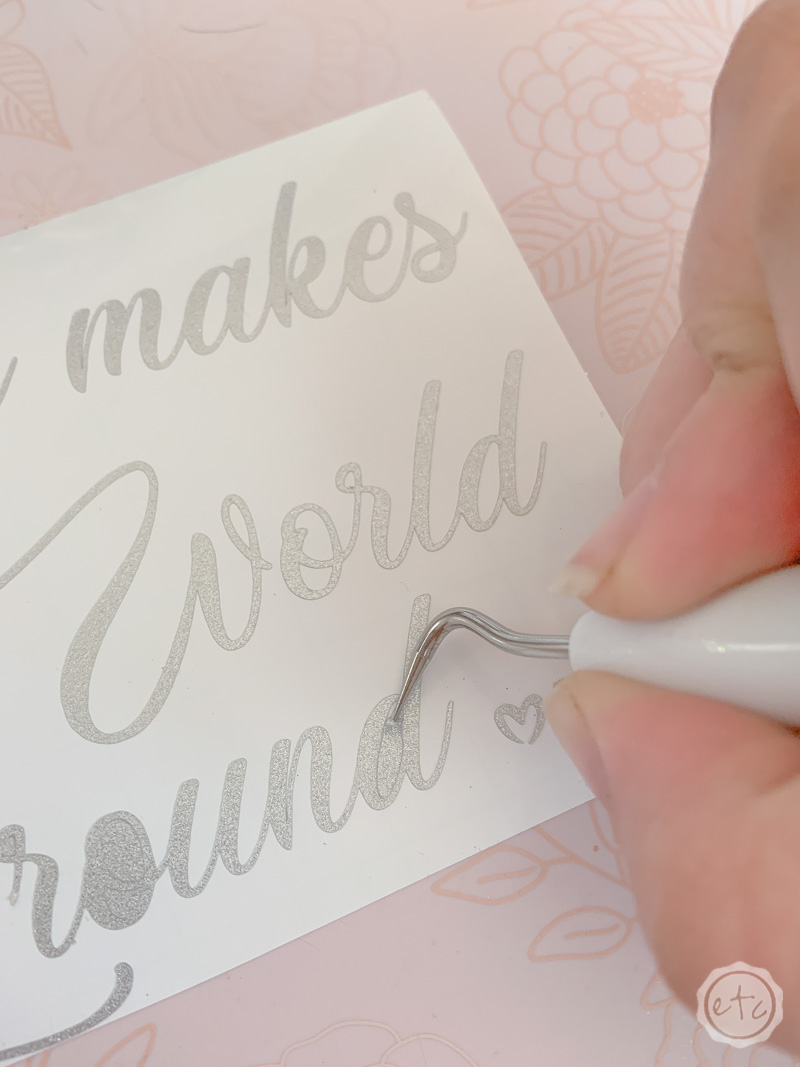
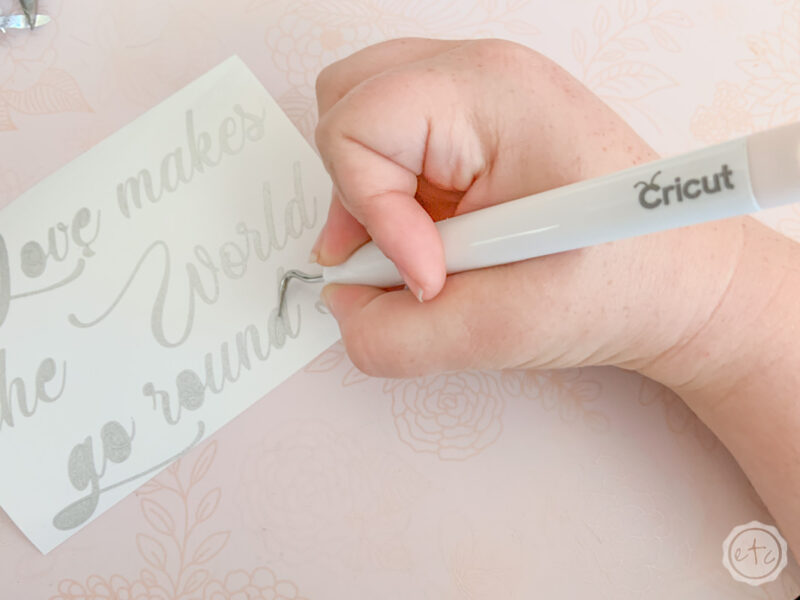
Step 2: Weed your Vinyl
Once your decal is finished cutting you can click the button to expel it from the machine. Then it’s time for weeding!
Weeding is simply taking all the extra bits and pieces off your design with a sharp, pointy weeding tool. Start by careful pulling the outside vinyl away from the piece (start at the corner and make sure that you don’t pull too hard and rip a letter as the extra vinyl comes free) and double check that any dot’s over the i’s stay on the carrier sheet as well!
Once you’ve pulled the background off it’s time for the fun part. Grab your weeding tools and take all the center’s out. The center of the o, the space inside the e, even the teeny tiny space inside the k.
Anything that doesn’t need to be there… take it out!

Step 3: Apply your Decal to your Globe
Once your decal is weeded there’s only one thing left to do… grab a bit of transfer tape and apply your design to your globe!
You know the first time I made a design I didn’t know about transfer tape and I carefully letter by letter transferred the entire design while wondering why people thought this was awesome.
No… transfer tape is definitely the way to go.
Cut a piece of transfer tape that will fit over your decal and use a smoothing tool to firmly press it down over your letters. Then peel up the transfer tape and the letters should come up on the transfer tape leaving the white carrier sheet behind.
Now line up your decal on your globe and carefully smooth it into place! Of course, if your globe is very curvy you may want to take a pair of scissors and create slits in your transfer tape all the way around… this will help your design smooth over the curves better.
Once you have your design in place and smoothed onto the surface of your globe peel up the transfer tape and your vinyl decal should have… transferred. The transfer tape should be clear and the decal should be on the globe!
Beautiful darling!


Step 4: Enjoy!
Now you’re finished! You can proudly display your globe and have your guests sign it… there should be plenty of space!
Just make sure to pick up a few permanent markers.
Enjoy!

Getting Married? Congratulations! Organize your entire wedding the stress free way with my FREE 67 page printable Wedding Binder.
Looking for More Projects? I’ve got you Covered! Check out all of my quick and easy Wedding Projects:


Leave a Reply