


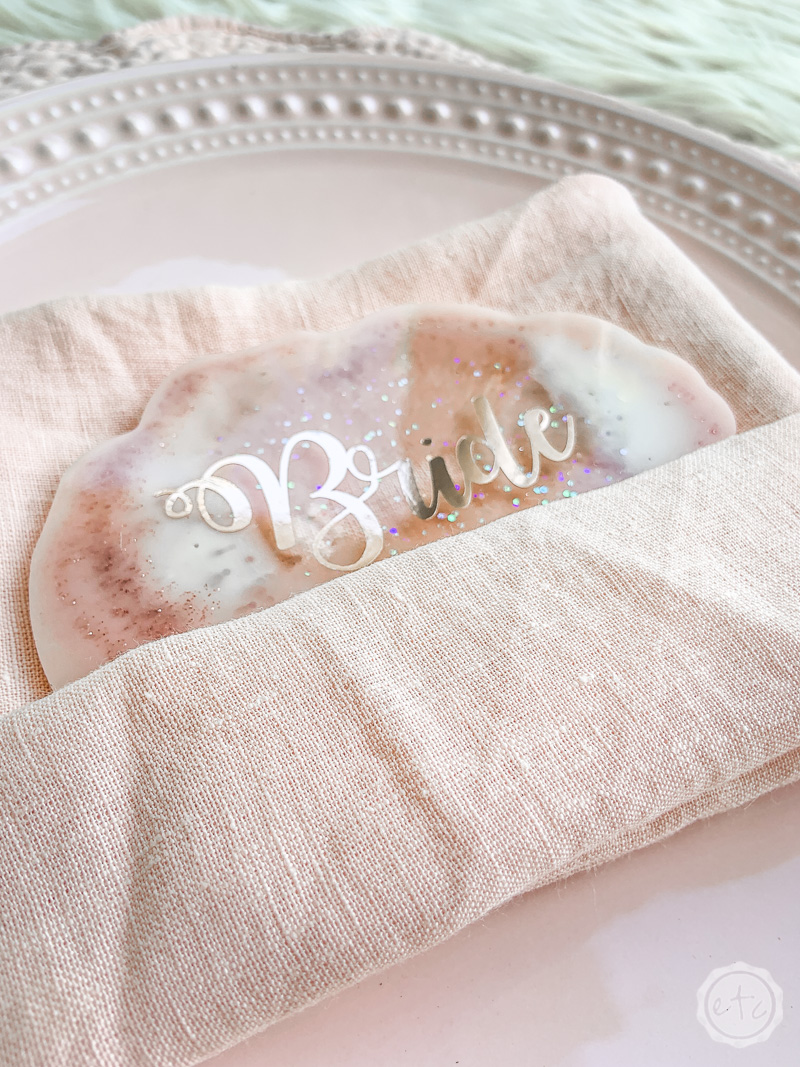
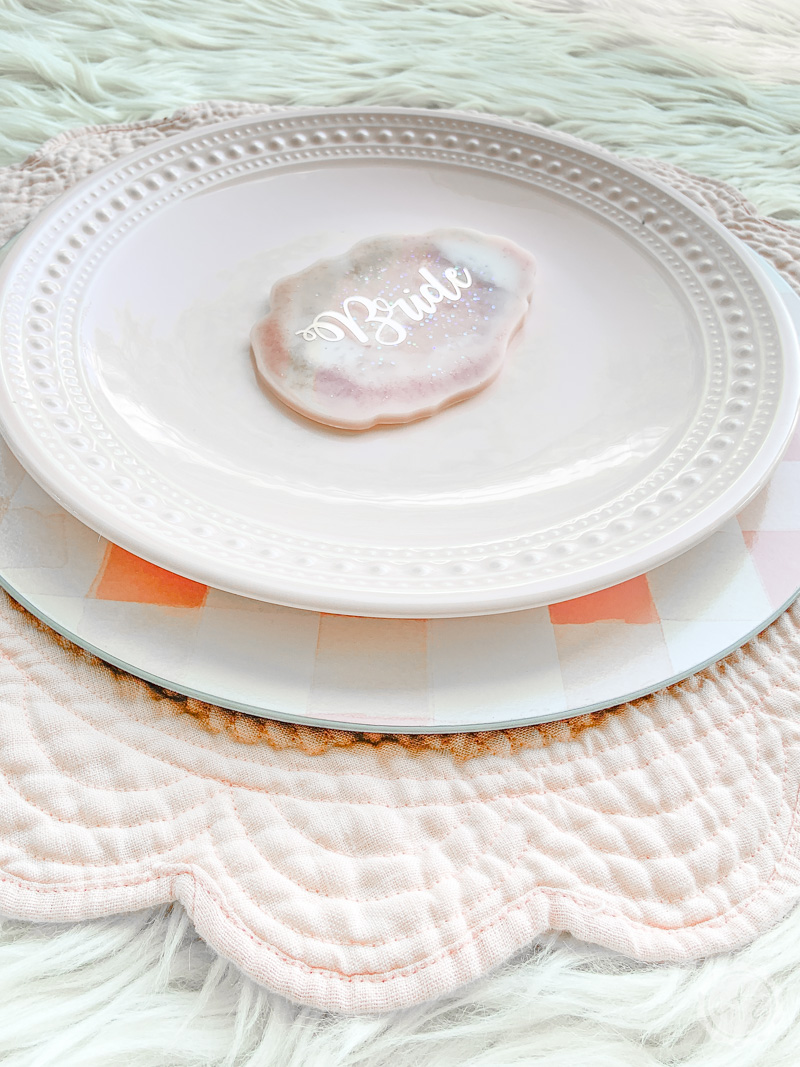
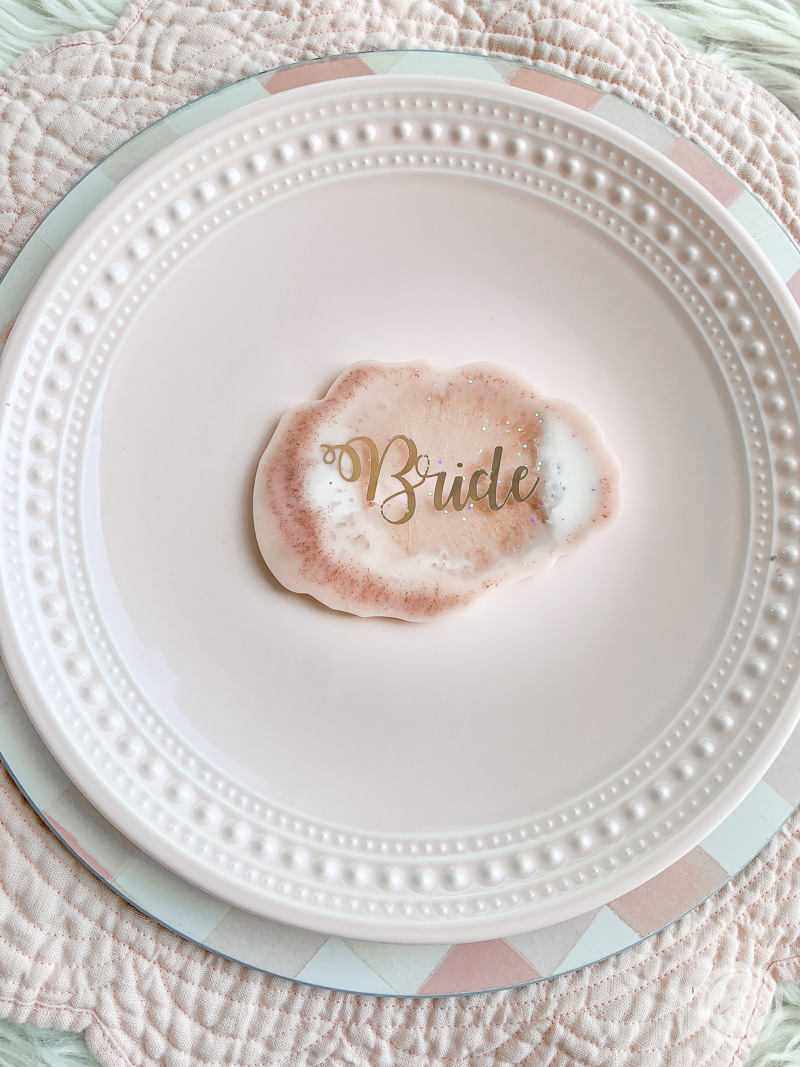
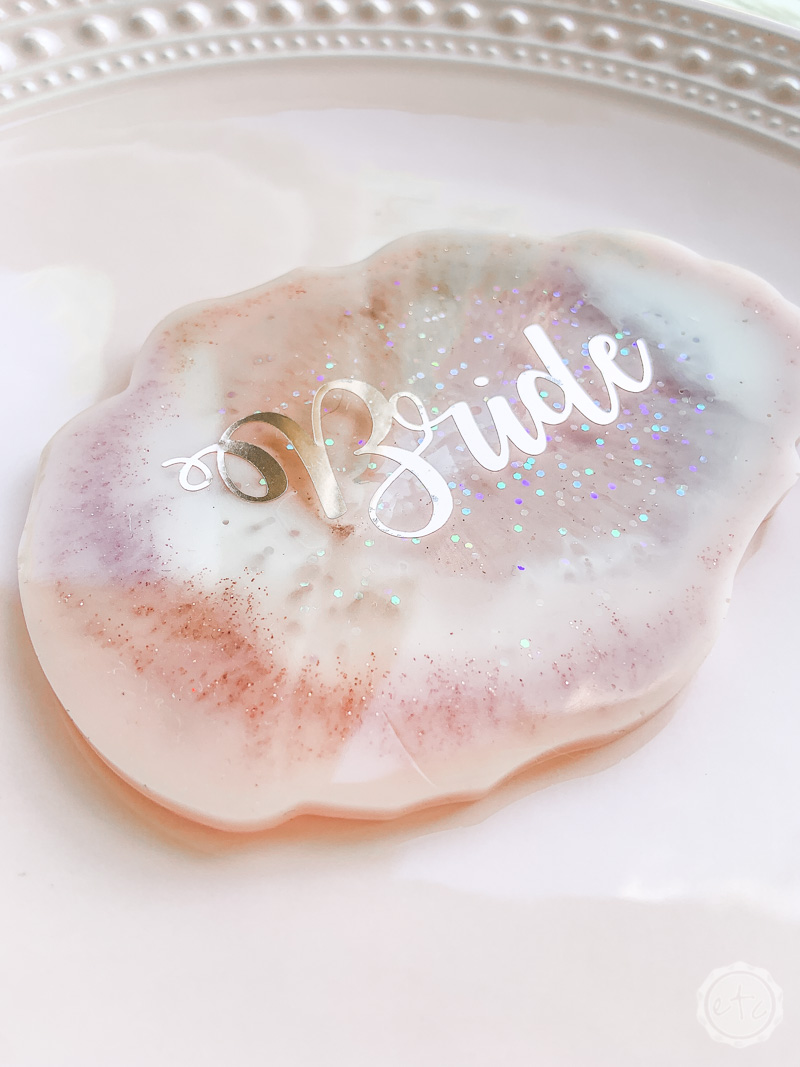
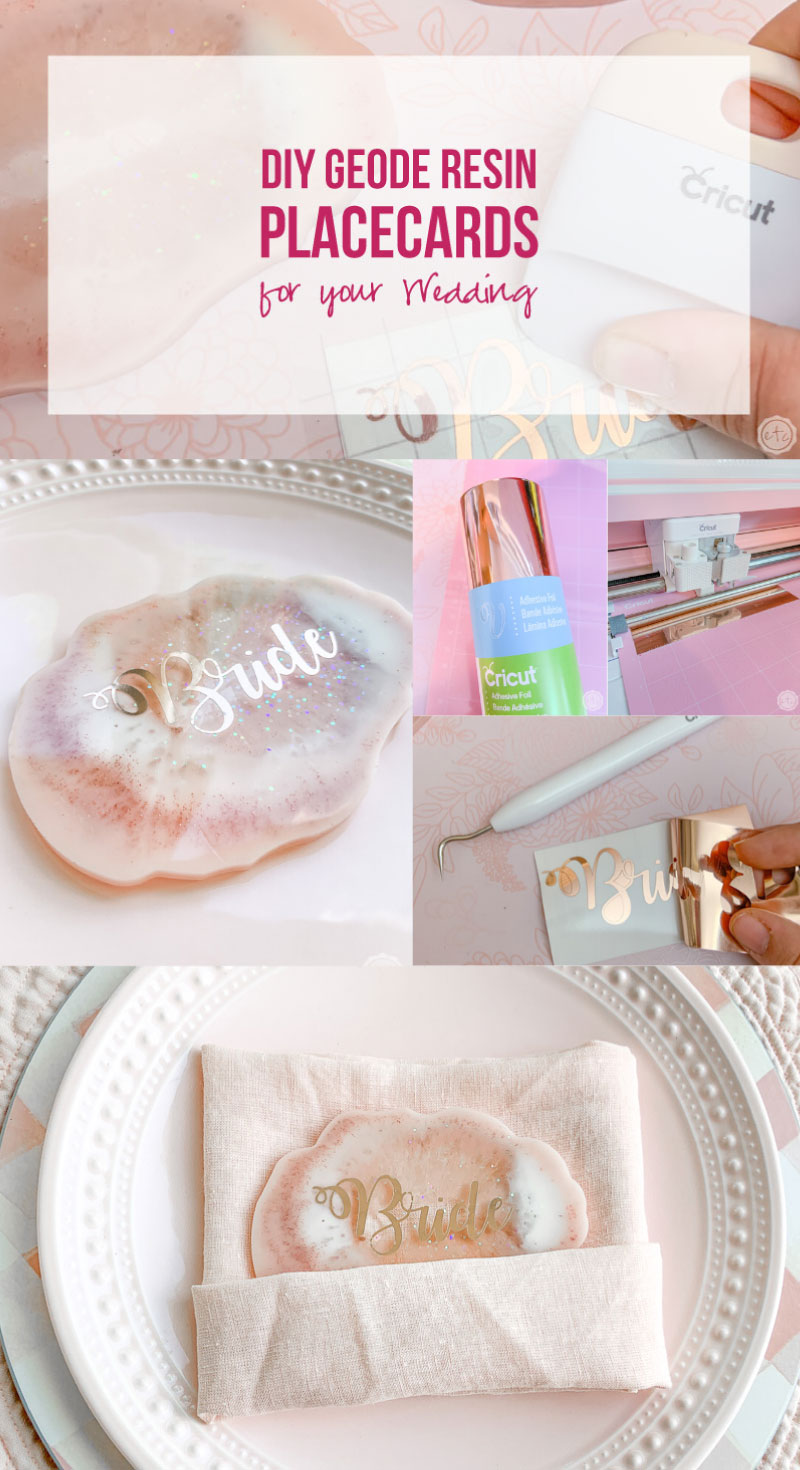
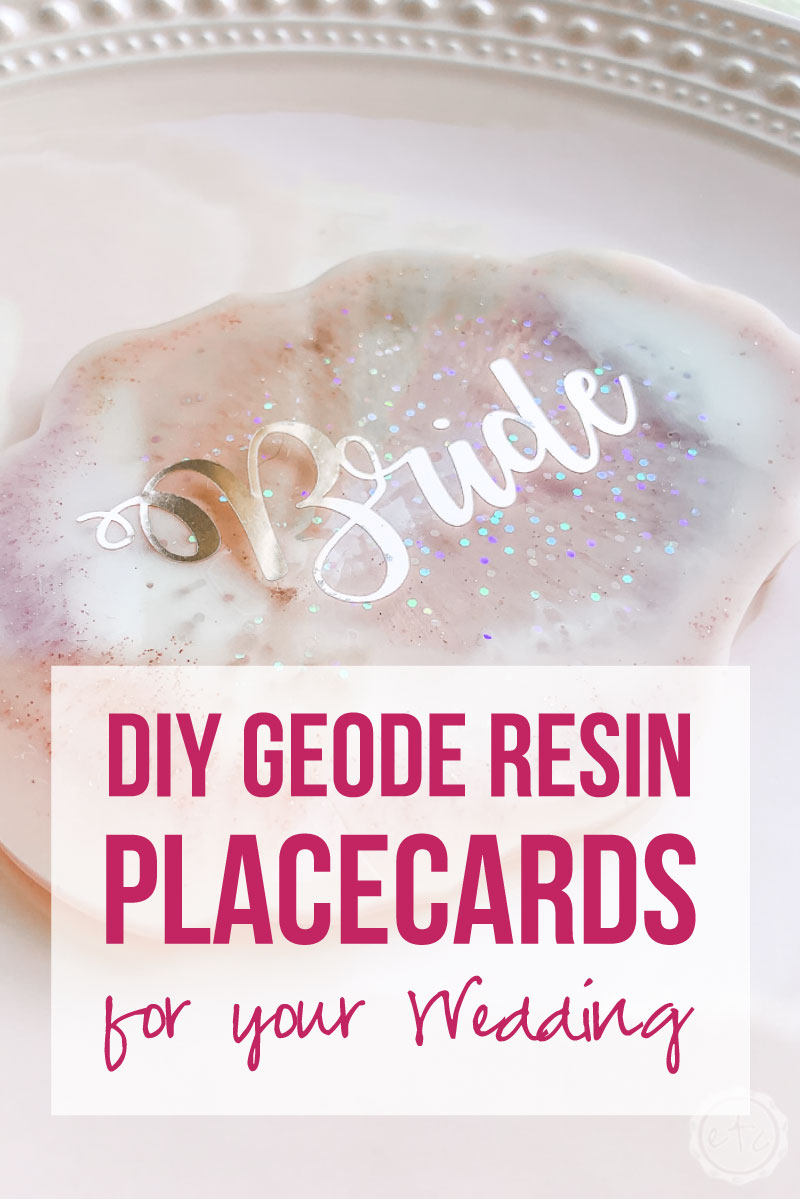
It’s time for another fun (and easy!) Cricut project you can make for your wedding! In this case a few pretty place cards for your reception. These little geode inspired place cards are actually resin coasters… so they double as an adorable wedding favor!
You can make them for the head table or all of your guests… depending on how many place cards you want to make!
Let’s get started!
Supplies:
- Cricut Maker
- Fine-Point Cutting Blade
- Standard Cutting Mat (that’s the green one! Although I used a fabric mat since it was on hand!)
- Rose Gold Adhesive Foil
- Transfer Tape
- Rose Gold & Blush Coasters (Follow this Tutorial)
- Weeding Tool
- XL Scraper Tool
Ready to take the leap but not sure which machine is right for you? Check out my Explore Air 2 and Maker comparison before pulling the trigger. I go over the pro’s and con’s of each machine and even have an easy to read check list of each machine’s features so you can decided which cutting machine is perfect for you.
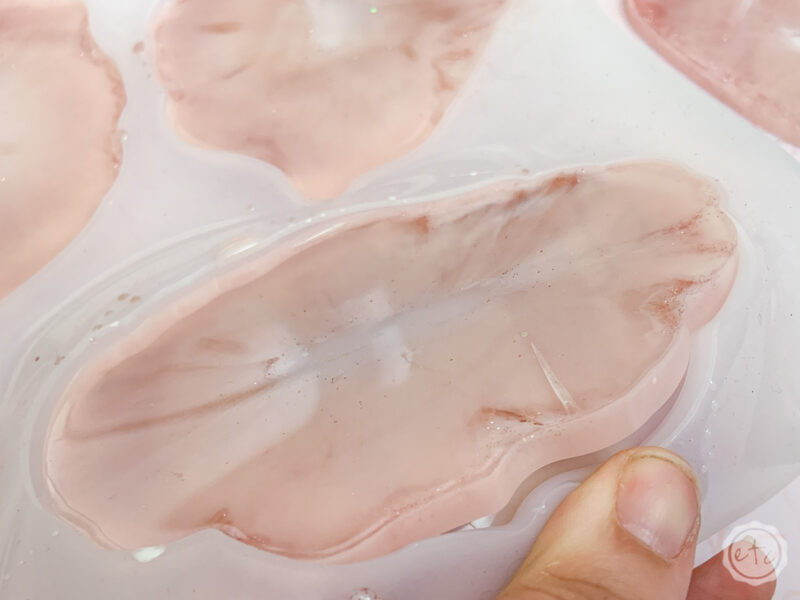
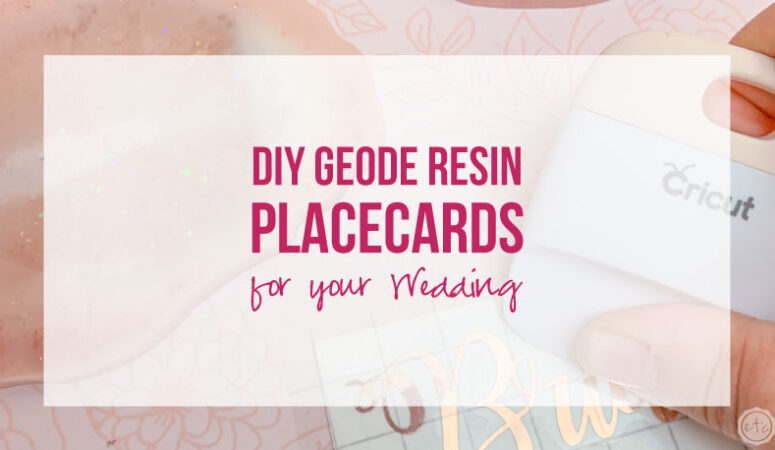
Step 1: Make your Resin Coasters!
It’s coaster time! If you’ve never worked with resin before it’s super easy. A little intimidating sure but once you get into it super easy! And addicting… but that’s a problem for another day.
If you’d rather buy your coasters then make them here are a few options you might like! Then you can use your Cricut to turn them into personalized place cards with the rest of this tutorial! Of course, the actual resin coaster mold has room to make 5 coasters in one go… and you don’t need much resin! So if you want to try making these little guys yourself you can make a few at once!
For this little tutorial we’re going to work off the basis that our coasters *ahem* place cards are already finished (follow this tutorial to make your very own geode inspired resin coasters) and we’re ready to personalize them to use on our tables!
Step 2: Design your Cut Files
Here we go!
In order to use our Cricut to cut names for our place cards we need cut files! You can do this one of two ways: use design software like adobe illustrator to type out your names, make them a png and then upload them to Cricut Design Space.
OR
You can design your names directly in Cricut Design Space. That’s probably easiest for this project!
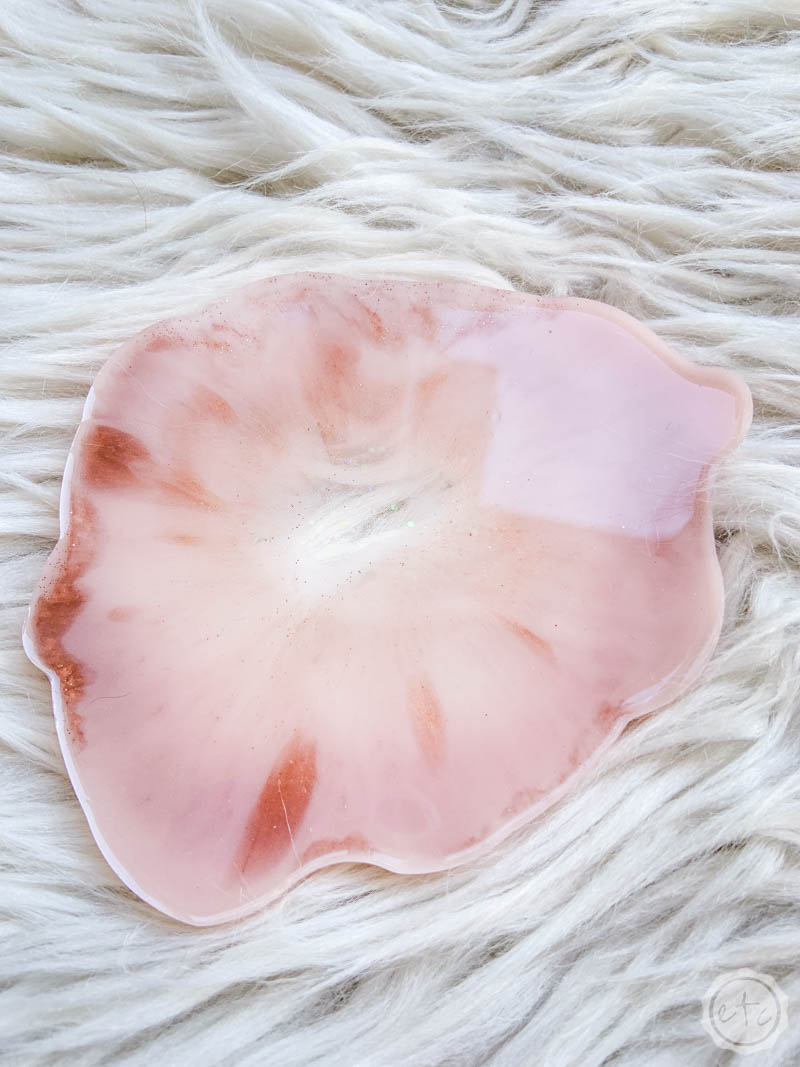
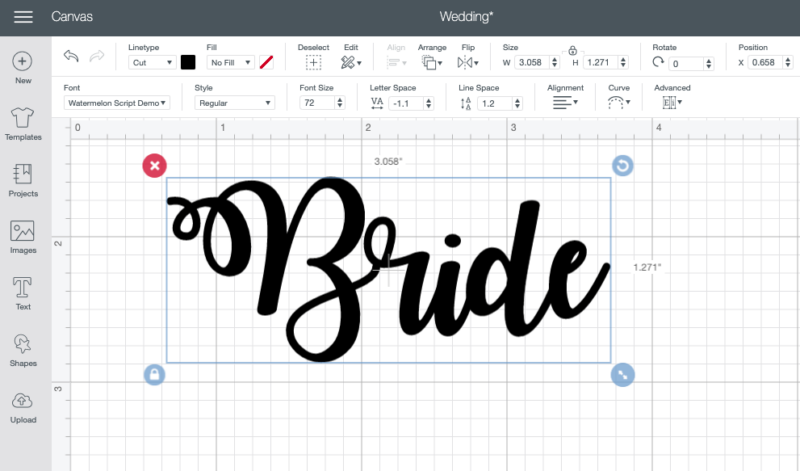
Simply open Cricut Design Space and start a new project. Then click the text option in the left hand menu… and type your names! In this case we’re going to go with the best, most important place card for the whole wedding: the Bride’s.
Type Bride in the box (or your entire list of names!) and select your font. In this case I used Watermolon Script which is a free font as long as you’re using it for personal reasons (creating your own place cards totally counts).
Next I adjusted the letter spacing to -1.2 (that little box is in the upper menu right by the font choice!). Adjusting the letter spacing will push those letters back together since Cricut imports them as separately letters… and we want them all connected properly!
Once your letters are connected and the word/name looks good go ahead and weld all the letters for the name together. Now your word is all one piece and you can re-size it! For this project I made the names about 3 inches wide which will fit perfectly on your place cards.
Once you’ve re-sized your word you’re done… now you’re ready to cut!
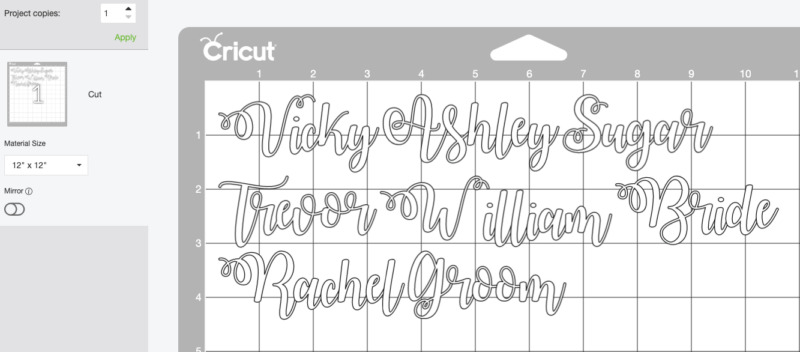

Step 2: Cut your Foil
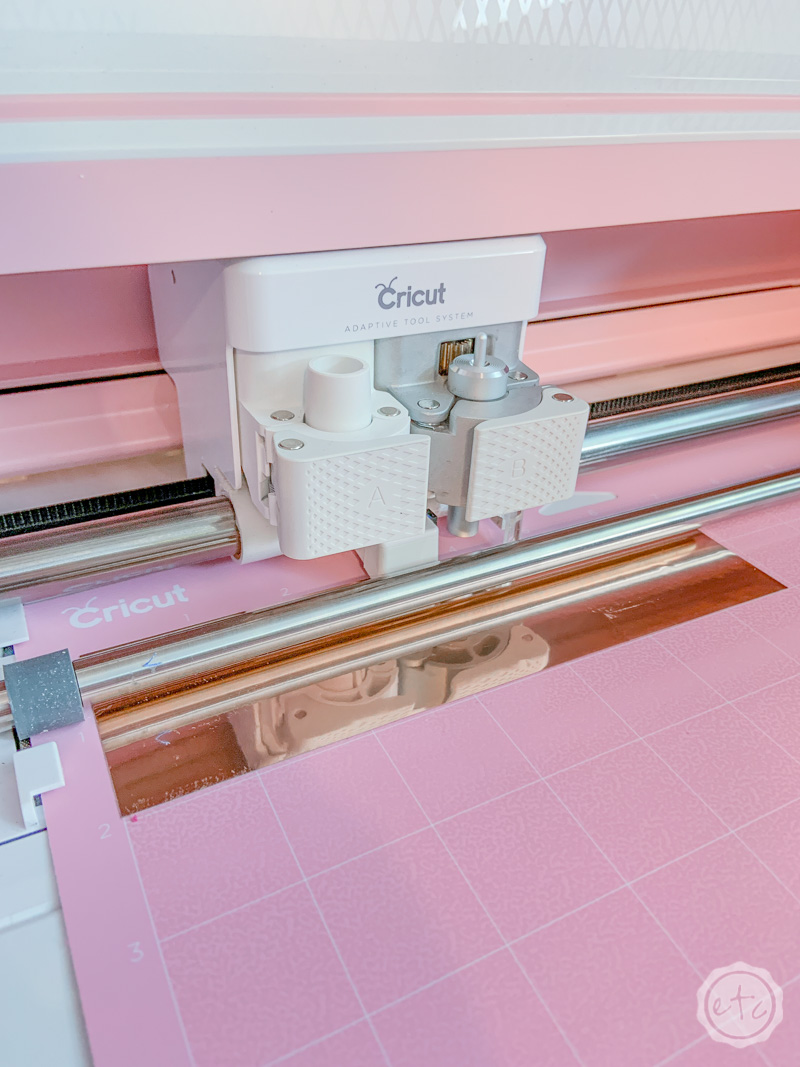
Adhesive foil… my absolute favorite thing to cut. It’s shiny and beautiful and I’m like a little squirrel… I like shiny things! Go ahead and put your adhesive foil on a cutting mat and load it into your Cricut.
In this case I only loaded enough foil to cut out my specific word ( Bride! ) but if you’re doing a bunch of words for your place cards I would weld each word individually and then hit cut… Cricut Design Space will then automatically figure out how best to fit all the words onto one (or multiple) cutting sheets!
Once your adhesive foil is on a cutting sheet and loaded into your machine you can pop in a fine point blade and hit cut… adhesive foil is easy to cut so this baby should only take a few seconds to slice through your names!
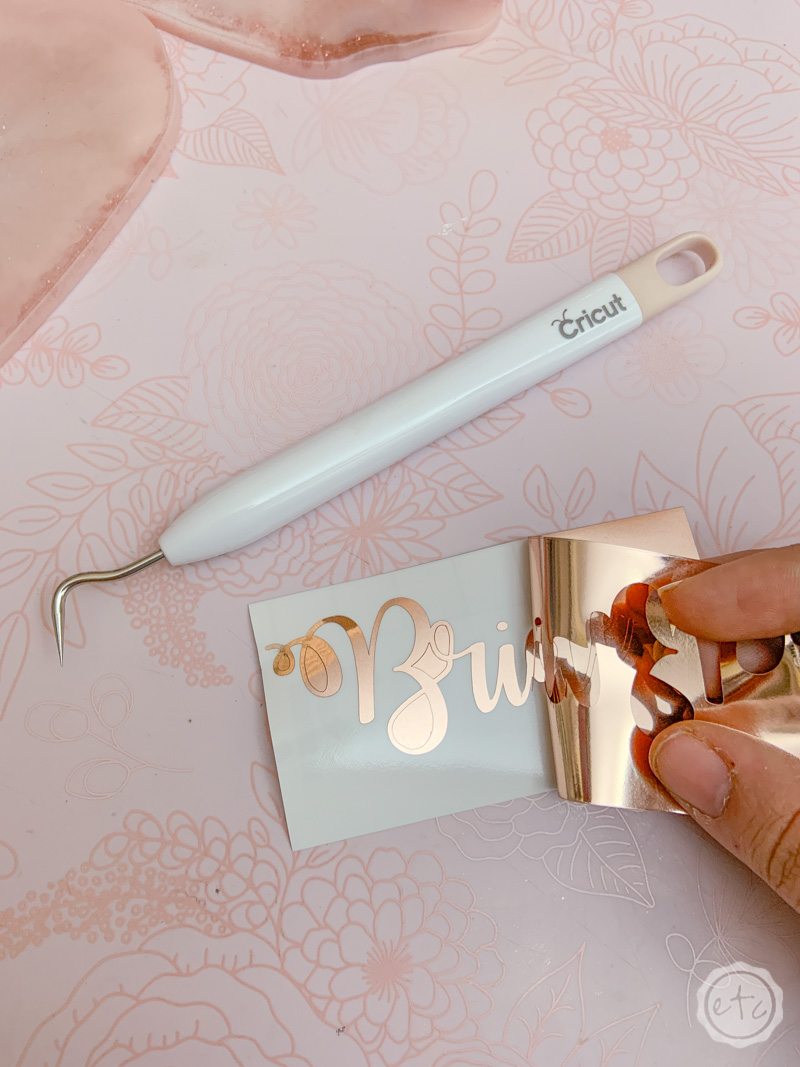
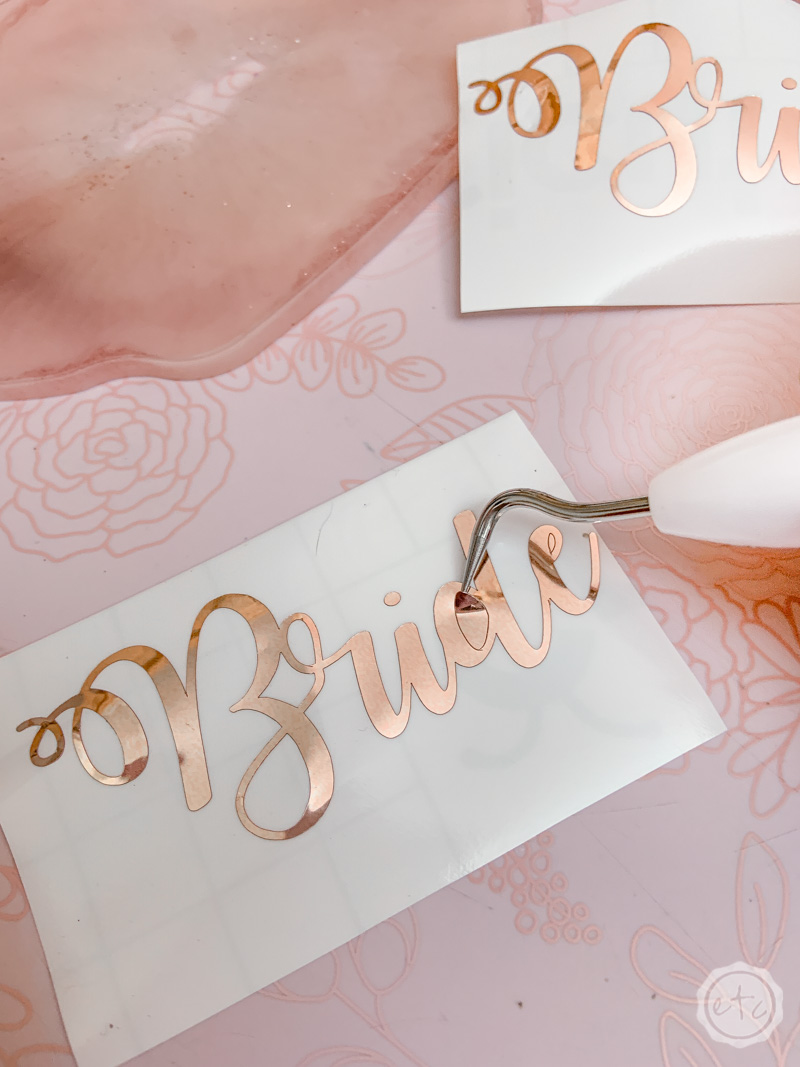
Step 4: Weed your Names
Ready for the fun part? Weeding!
Making a hundred or even two hundred coasters wouldn’t be too hard… and the cricut would cut out the names easily enough… but weeding 200 names?
This will be the tedious part. Not hard, y’all… just tedious.
Pick a good movie, grab your weeding tool (and a light pad if you’re working with a light colored foil/vinyl) and get started! You’ll want to pull all the negative areas out of your foil and leave the names behind… make sure to leave the dots on those little i’s!
Once you’re done it’s on to the next step!
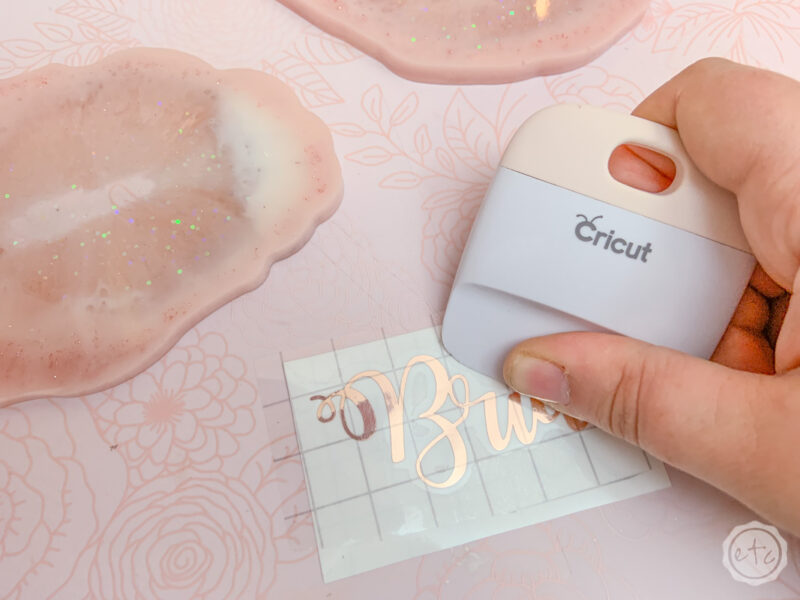
Step 5: Transfer Tape
Go ahead and cut a piece of transfer tape that will go over your name… and then use a smoothing tool to firmly attach the transfer tape over your foiled letters.
Then peel up the transfer tape (and the letters!) leaving the white backing behind. Now you can easily line up the grid on the transfer tape with your coaster so that your names will read straight across the place card. Once you have everything lined up go ahead and smooth the vinyl and transfer tape down onto their new place card.
Then peel up the transfer tape!

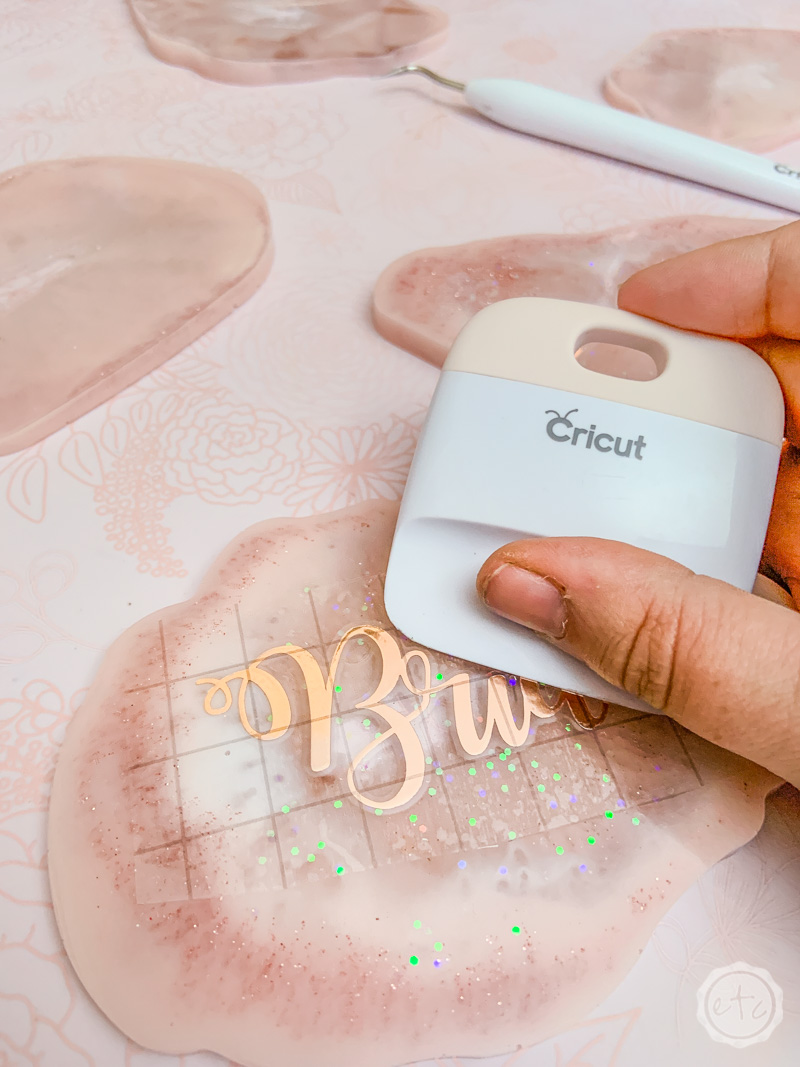
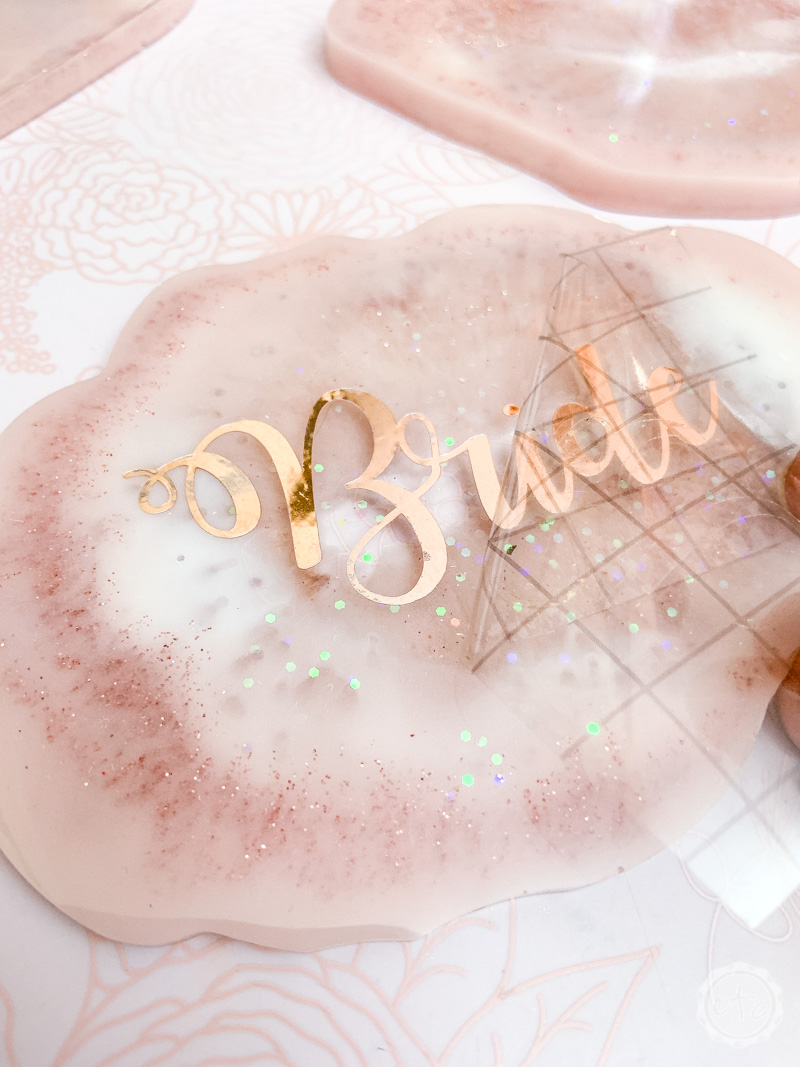
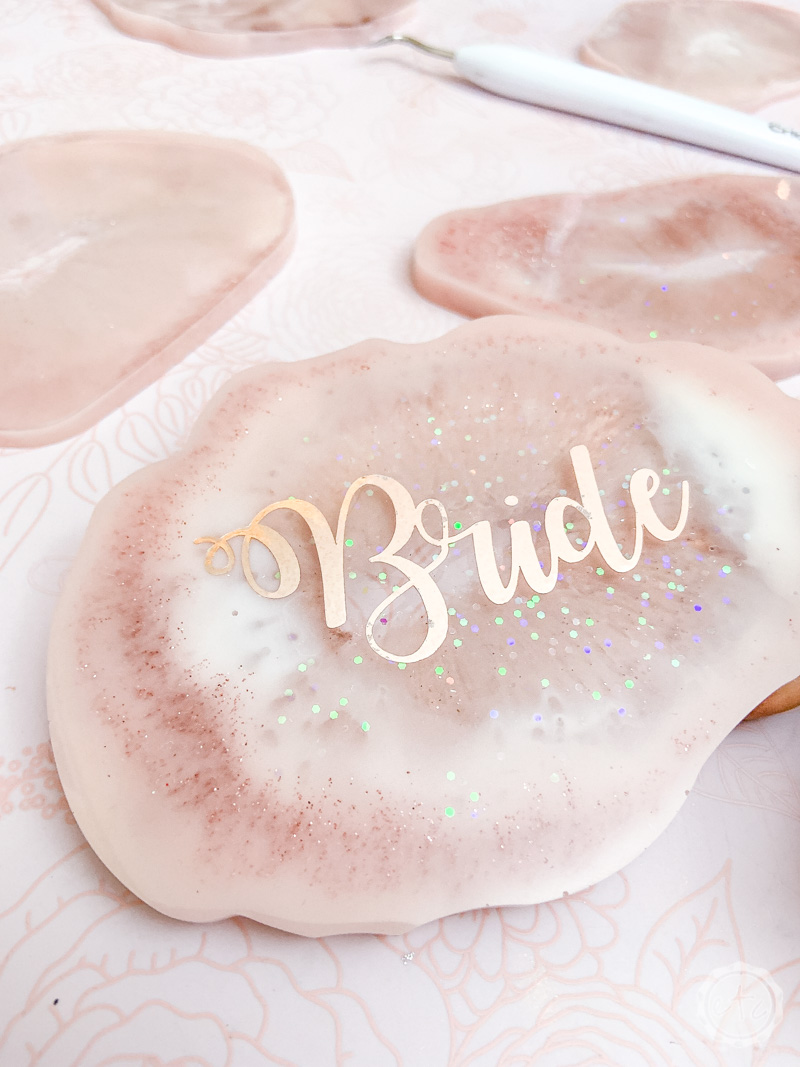
Beautiful darling! Now you can move onto the next one!
Of course, if you’re giving these away as favors you have two options: leave the little place cards exactly as they are so that guests have the option to remove the names in the future (the adhesive foil is sturdy and will stay in place for a very long time but if guests take these home and use them as coasters the foil will eventually come off!).
OR
You can pour a topcoat layer of resin over the adhesive foil. This will seal the names in so that your guests can use these babies as coasters for years to come with no issues.
Choice is yours!
Either way you’re done personalizing your little place cards… and don’t they look cute!


Looking for more resin projects? I’ve got you covered!


How did you get the glitter in there?
It’s all in the tutorial for the resin placecards but essentially I mixed 3-5 resin colors to pour… and I put glitter in one of the mixing cups. Go ahead and check it out for the full walk through!