

I have a fun flower themed project for you today! A sweet little flower bouquet that you can use at your wedding rehearsal… or as a mother’s day gift! Or as a fun centerpiece… this baby is super cute and ready to rock.
PLUS it’s easy to do and cheap to make. Yup I said it. This baby is cheap… I made mine for under six dollars! Ready to get started?
Supplies:
- Cricut Maker
- Cricut Access File: Rehearsal Bouquet
- Cricut Light Grip Mat (that’s the blue one!)
- Cardstock (8 Sheets Hot Pink, 10 Sheets Light Pink and 5 Sheets Green)
- True Control Knife
- Hole Punch
- Hot Glue Gun & Hot Glue
- Floral Tape
- Floral Wire (Heavy Duty)
- Pearl Beads (2 Medium and 1 Small per flower)
- Jewelry Wire Pliers
- Green Ribbon for Stem
Getting Married? Congratulations! Organize your entire wedding the stress free way with my FREE 67 page printable Wedding Binder.
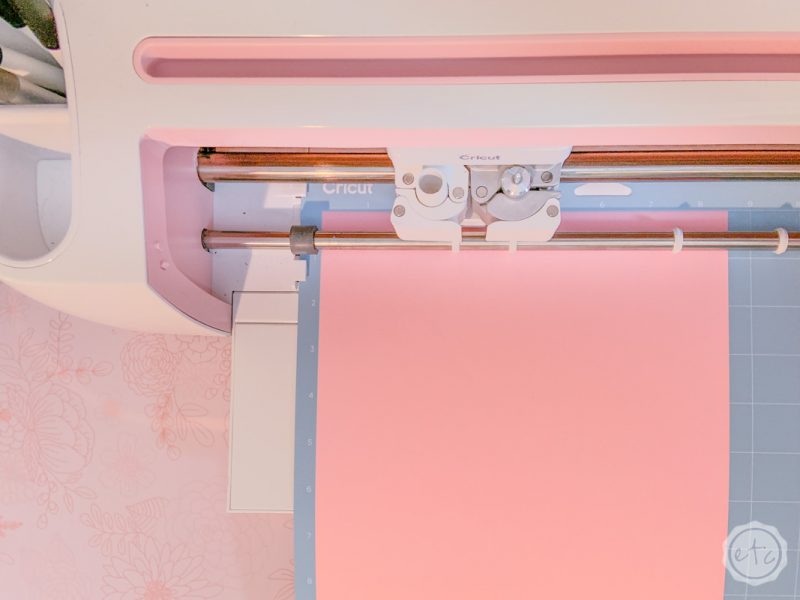

Step 1: Cut Your Flowers!
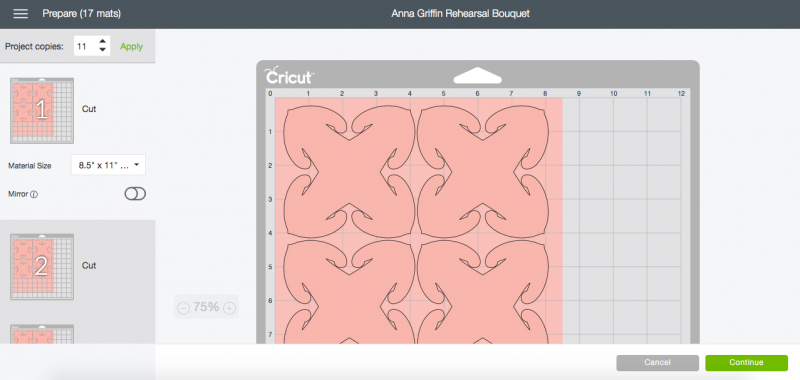
Alright y’all are you ready to party? Since this is a Cricut Access project you can just click “make it” and go! The design file is set up to make one flower so depending on how many flowers you want for your bouquet you’ll adjust the project copies on the “make it” screen. Change the “project copies” from 1 to 11 and hit apply.
The project copies section is in the top left corner of the screen… I made 11 flowers for my bouquet and it seemed to be a good number. Not too many, not too few! Of course, once you hit apply the project copies will populate and you’ll be set… unless you need to change the paper dimensions.
Typically with Cricut I’m using 12 x 12 materials so I forget the material size is even an option but right under the first little cut mat on the left is a drop down box for material size… if you’re using an 8.5 x 11 paper for this project don’t forget to change the size! The size will populate through alllllll the mats of the same color.
So you’ll have to set the size for the light pink mats, the green and the hot pink. Then you can click continue!
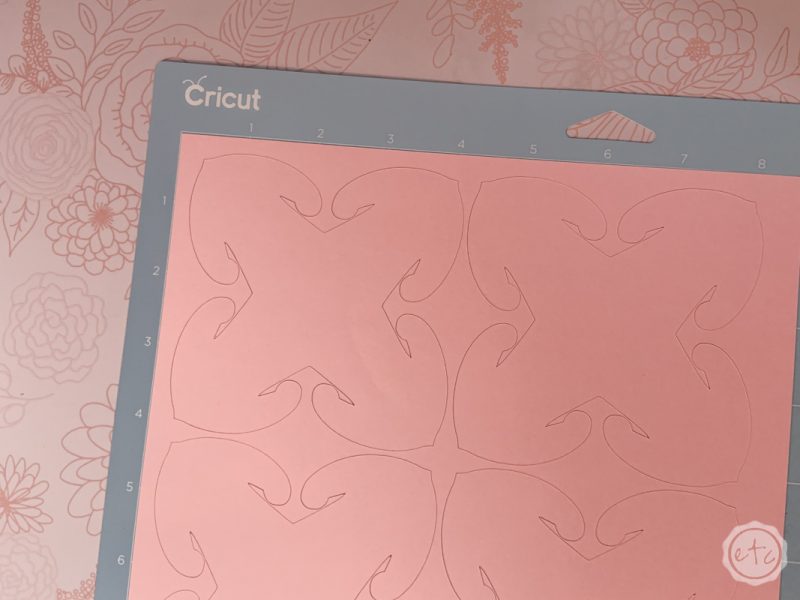
Cutting all 23 mats will take a minute! Typically I like to use two mats so that while I’m weeding one mat the other one can be in the machine cutting.
As each mat comes out of the machine go ahead and weed the negative material… the blade should cut through your cardstock cleanly but I did need my weeding tool for a couple of the smaller leaf portions.

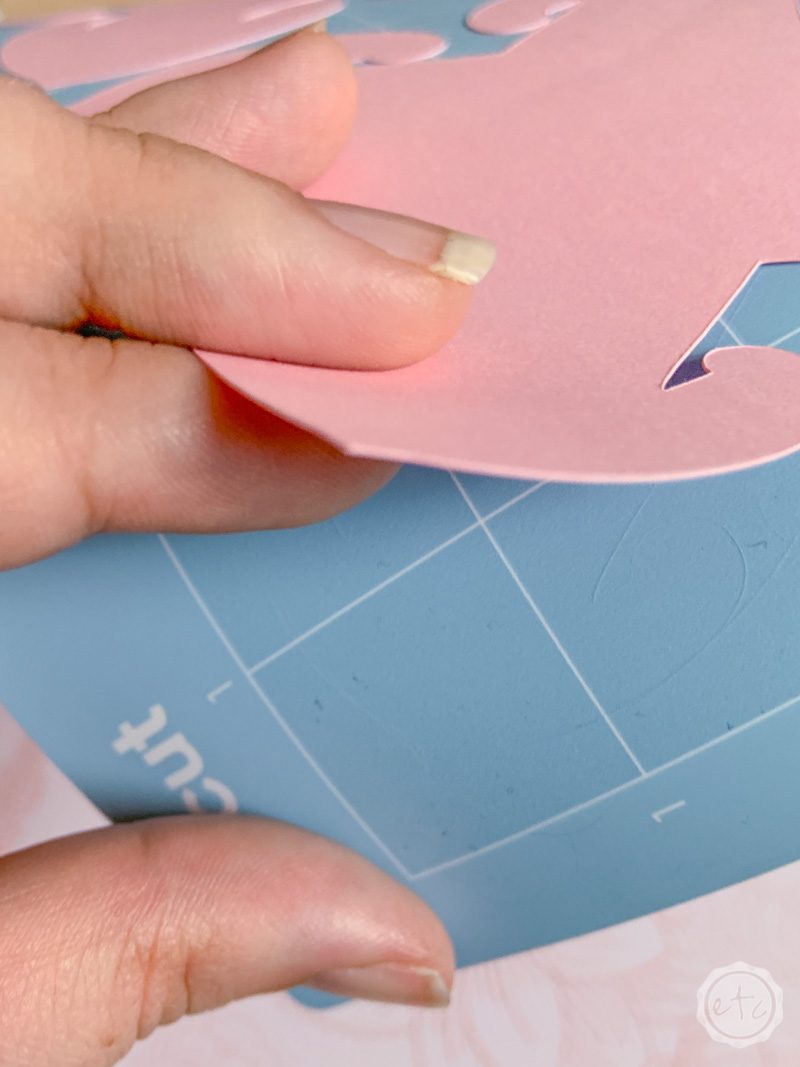
Once you’re done weeding (aka pulling off the extra cardstock like batman… does this step make anyone else feel like a superhero? Can I say pulling off the extra cardstock like captain america? He’s my favorite!) go ahead and remove all of your flower pieces from the mats.
The easiest way to take paper off the mat is to curl the mat away from your paper while you’re taking the paper off. That way it comes off cleanly and doesn’t curl towards the adhesive mat… which is way too easy.
So not something Captain America would do… have curly cardstock.
Step 2: Curl Your Petals
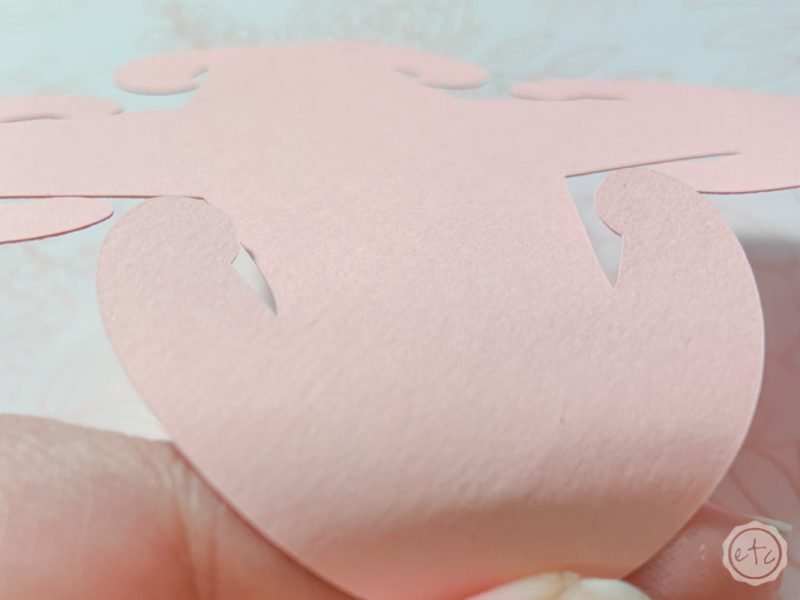
Alright y’all when it comes to these petals we have some serious curling to do! Each flower has 8 layers of cardstock (2 small hot pink layers, 2 medium hot pink layers, 2 medium light pink layers and 2 large light pink layers) Put aside 11 of the smallest hot pink layer (we’ll curl those a little differently) the rest of the petals will allllllll get curled just like this.
Start with one petal and slowly curl the petal all the way around your finger until you reach the base of the petal. Each little “petal” has two small tabs on either side… don’t worry about curling those simply curl the petal and let the tabs do what they will.
Once you curl the first petal work your way around the layer to do all four petals… then move on to the next layer! You’ll do each and every petal layer like this except for the 11 small hot pink petal layers we set aside. We’ll get to those in a minute!
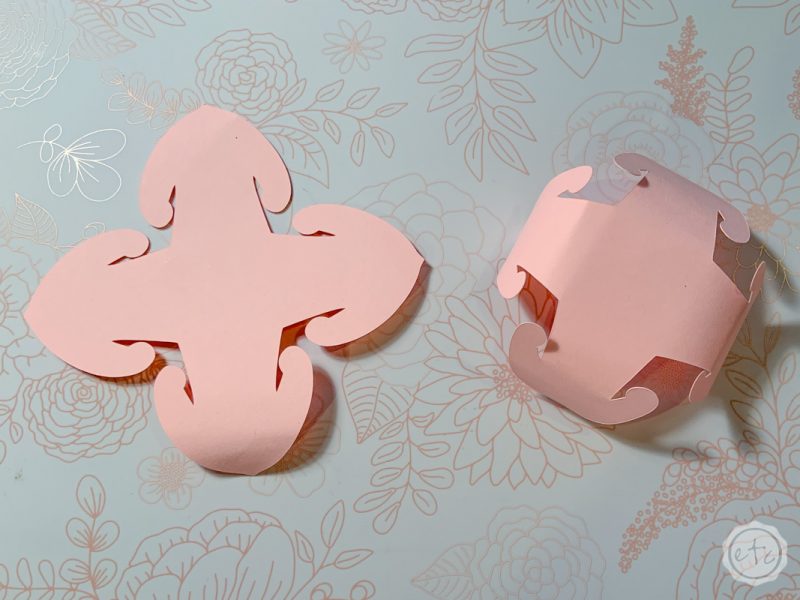
Step 3: Glue Petals Together
Ready for the fun part? Go ahead and fire up the hot glue. We’ll need it to form the 11 hot pink inner layers for the center of our flowers.
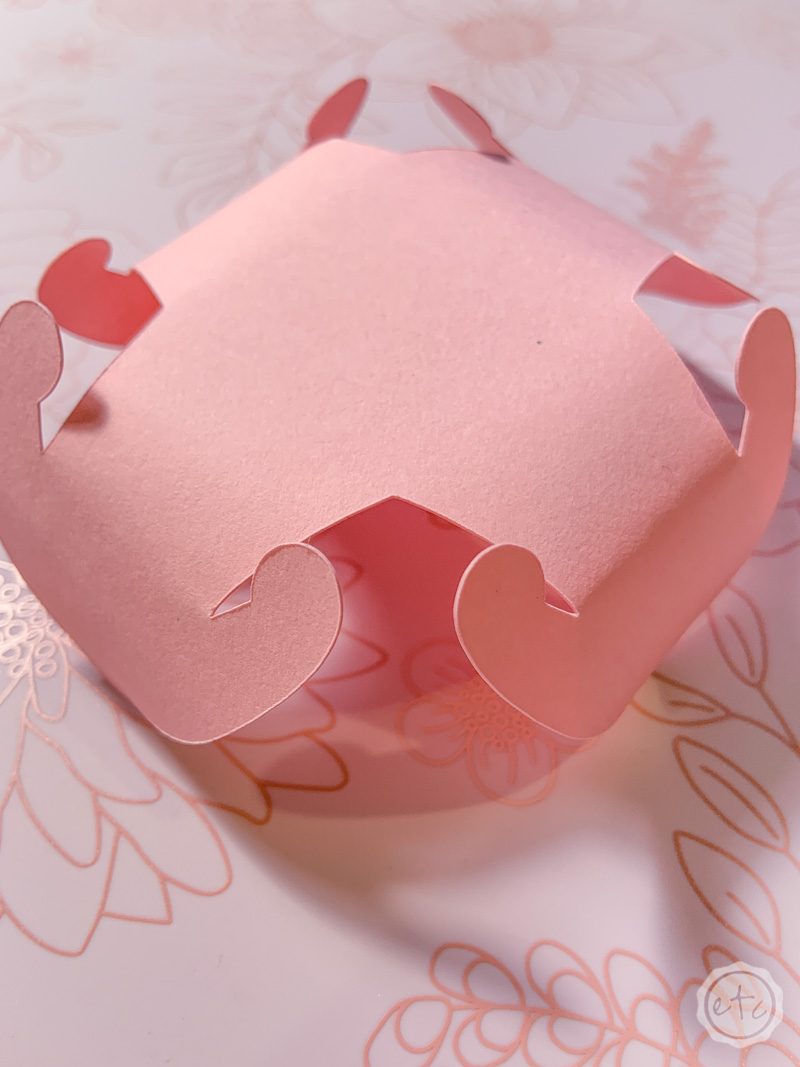
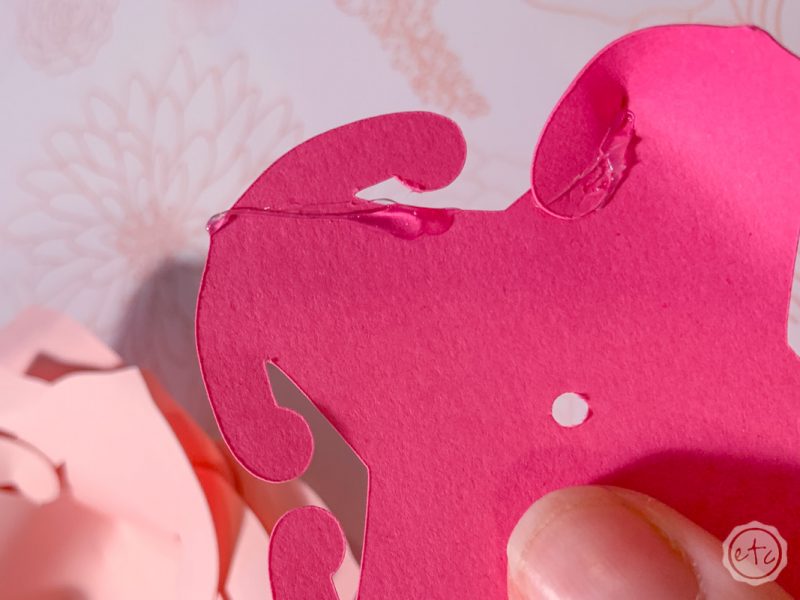
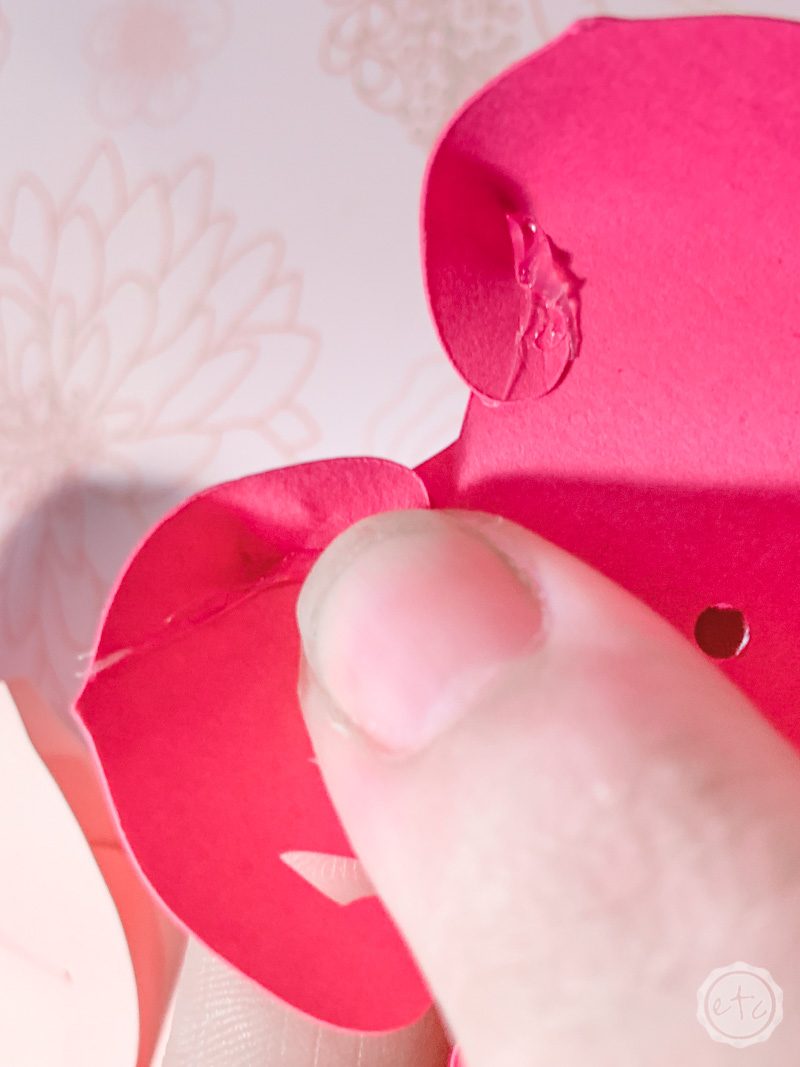
Once it’s heated up go ahead and put just a little bit of hot glue on the inside part of the petal… just to the inside of the tab. Like in the picture above. Then pull the tab over and glue it to the inside part of the petal keeping the seem fairly straight.
This will give the petal just a bit of curl once the glue dries. Easy peezy! Lemon squeezy! Work your way around the petal layer gluing each tab to the side of the petal as you go.
Once you’ve done each of these little hot pink petal layers we’ll move on to the next step… gluing the rest of the layers!

Alright… ready to glue a bijillion flowers together?! This part took me an entire Ant-Man and the Wasp, Captain America Civil War (Cap! my favorite!) and an episode of the 100 Baby Challenge on YouTube… is anyone else watching Kelsey? She’s hilarious!!
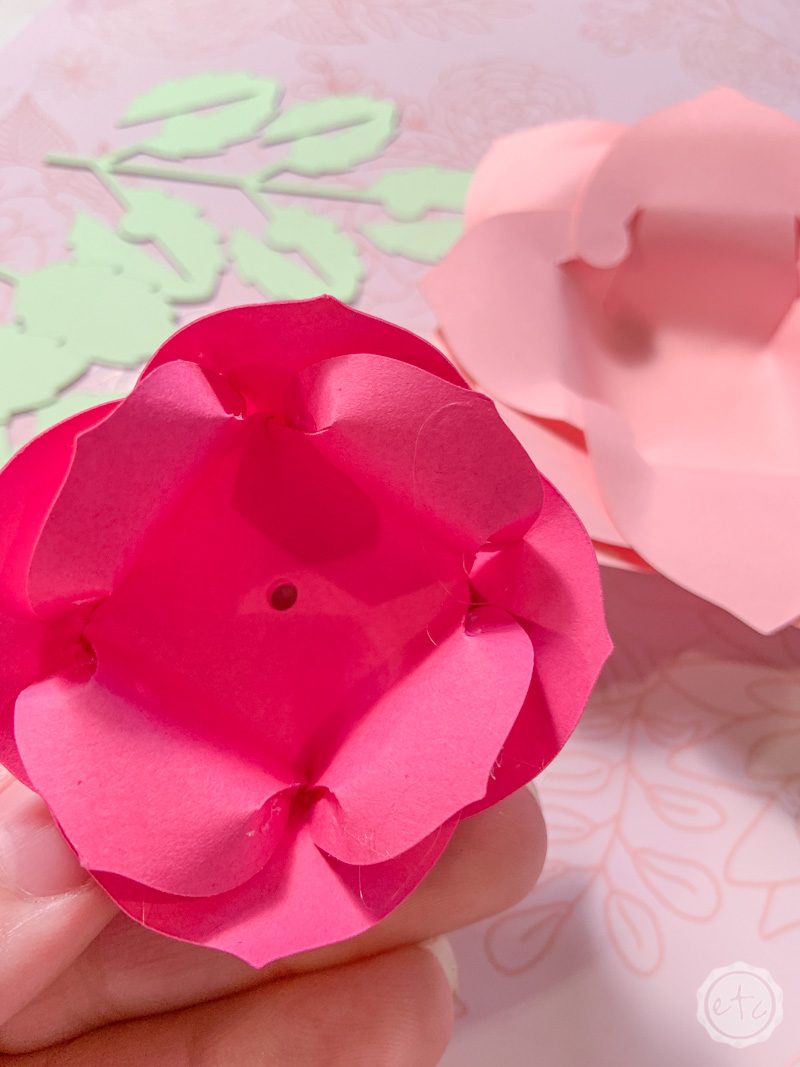
For the rest of your petal layers you’ll add a drop of hot glue to the top of one flower tab and then cover it with the flower tab directly next to it. Hold them together for about 5 seconds so that the hot glue can set… and make sure you don’t put your fingers in the hot glue because it burns! (Duh… it’s hot glue).
Trust me, do as I say not as I do.
Once you’ve glued one flower tab it’s on to the next one… do all four in the same way and then move on to the next one. 2.5 movies later and you’ll be ready for the next step! Of course, this step probably goes faster if you’re less distracted… I definitely have sparkly shiny syndrome.
Step 4: Fit All Your Petal Layers Together
Now is the fun part… putting allllllll the puzzle pieces together! Start in the center of the flower and fit your smallest hot pink layer (that we glued differently) into the 2nd hot pink layer (that we glued the same as the rest). You want the petals to alternate so that you can see both layers… this is where you can see the benefit of that different layer being glued backwards so that it covers the weird tabs of the other layers.
Once these two are fitted together go ahead and keep going. Add the two medium hot pink layers… then the medium light pink layers… then the large light pink layers! They all fit together pretty easily but sometimes you’ll have one glued a little funny that needs a bit of maneuvering (or squishing).
The tabs keep them together pretty tightly but if one layer wants to pop out once you fit them together just add a dab of hot glue to keep the layers together. Just make sure not to put the hot glue directly in the center since that’s where the flower stem will be.


Step 5: Form the Flower Center
Ready for a little bit of bead work? Go ahead and grab your floral wire, wire cutters and pearl beads. I tried to measure out about 2 feet of floral wire for each flower (we can always trim it later and it tends to shrink to different lengths as you twist it!).
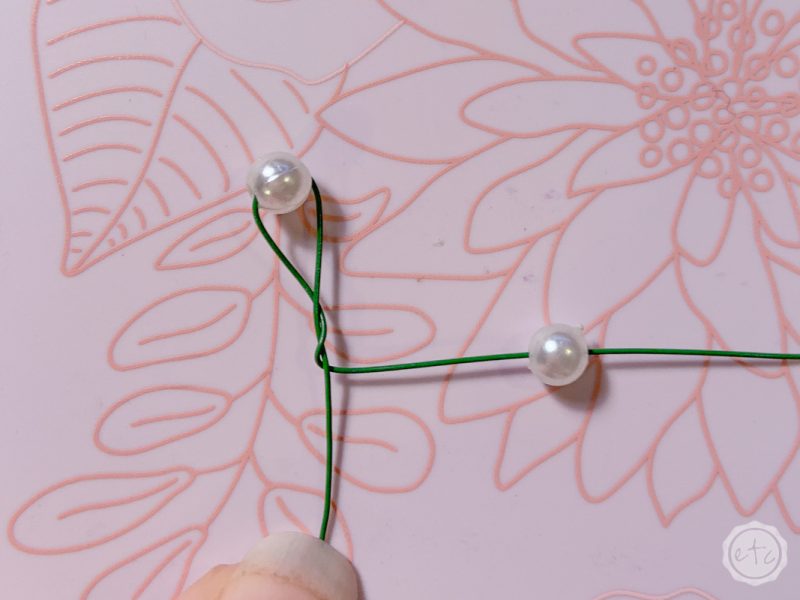
Start by folding your floral wire in half and adding a pearl bead to the middle. Twist your floral wire about a centimeter in from the pearl bead so that your floral wire looks like the picture above.
Now you have a pearl bead, a twist and two pieces of floral wire coming out of that twist. We’ll call them floral wire end A and floral wire end B. Take floral wire end A and add the second bead…
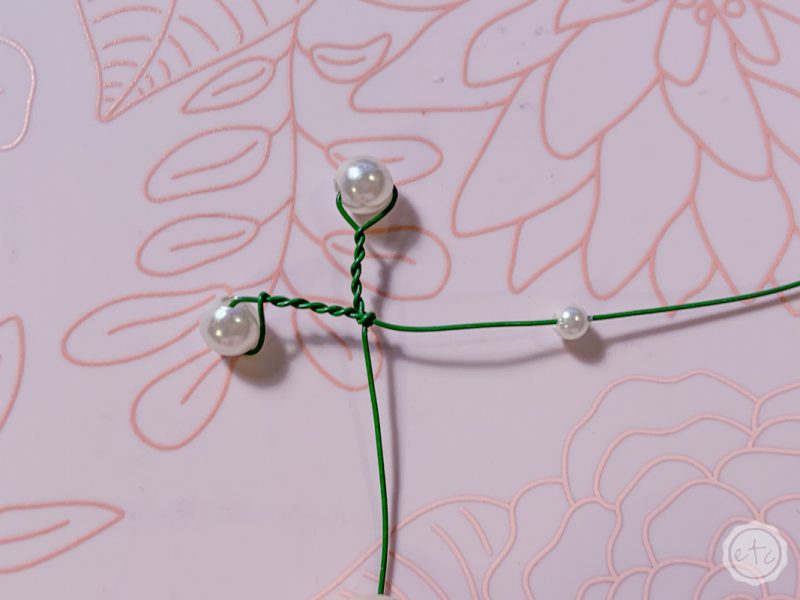
Fold over your little piece of floral wire at about a centimeter in and then twist the little centimeter for the top bead and the bead you just added. So now you should have a little bead, a centimeter of twist and an intersection with another twist/bead combo.
Ready for the third bead?
Take floral wire end B and do the exact same thing… add your third bead about a centimeter in and then twist the whole thing so that you have a weird twisty cross with pearl beads on the end.
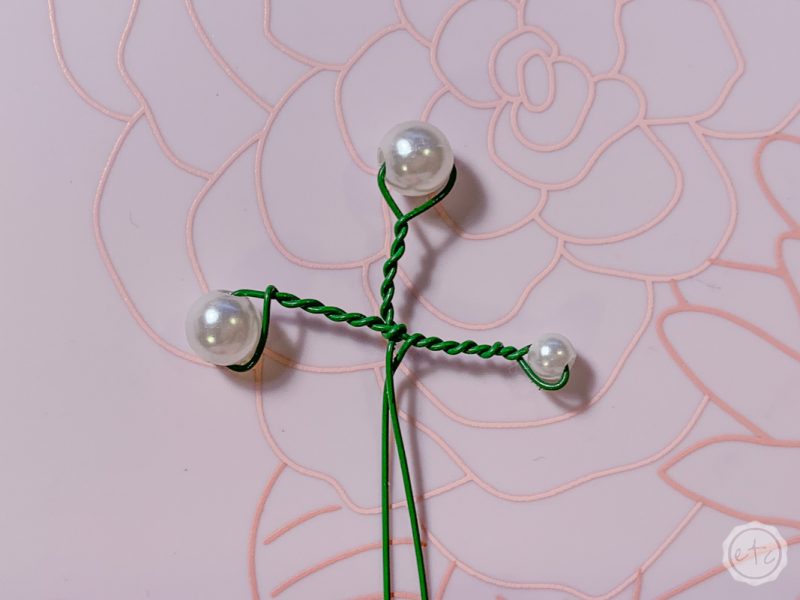
Beautiful!
Ready for the finale? Go ahead and braid these 3 little arms so that the 3 beads are all together and the twisty arms are tight together. If your braid isn’t super tight you can use your jewelry pliers to pinch them together… this twisty part will have to go through your flower center so you want it to be super tight.
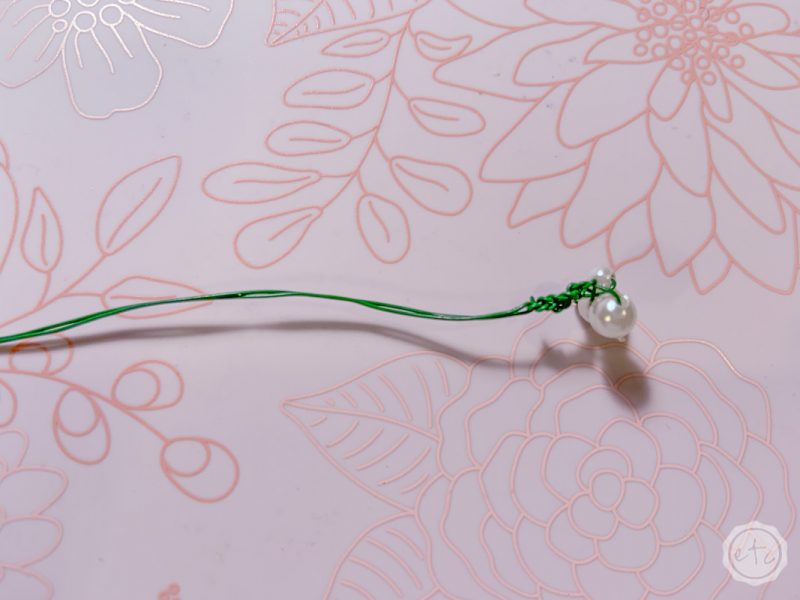

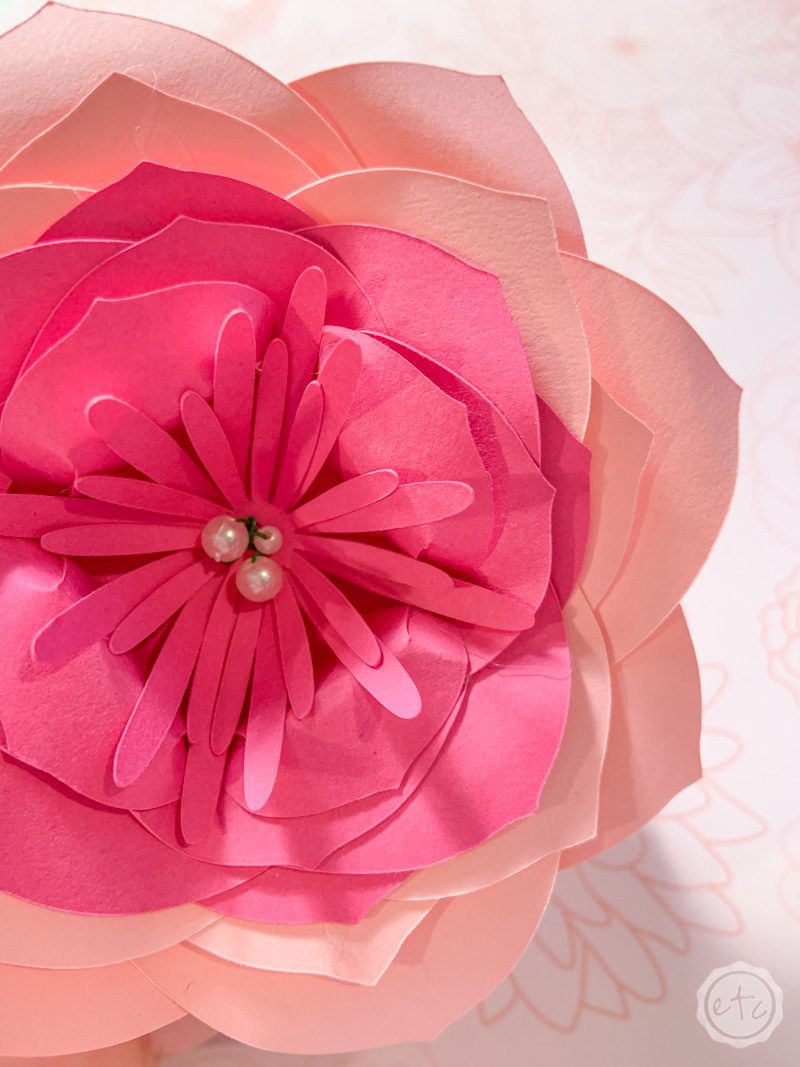
Now’s the fun part! Go ahead and take your two inside flower pieces that the cricut cut out and you had no idea what to do with until this point. Punch a small hole in each and then put them on your floral wire with the smallest one directly behind the beads and the larger one behind the smaller one.
Makes sense!

Now you’ll take your true control knife and make a hole in the middle of your flower creation large enough to put your floral wire through. The original instructions say to punch a hole in the middle of each petal layer but I find that they don’t always line up and this is much faster than punching alllllllll those holes.
Once you have the hole cut go ahead and push your floral wire through and pull it tight so that the center of your flower fits snugly in the … center of your flower.
Mic drop
Step 6: Form the Stem
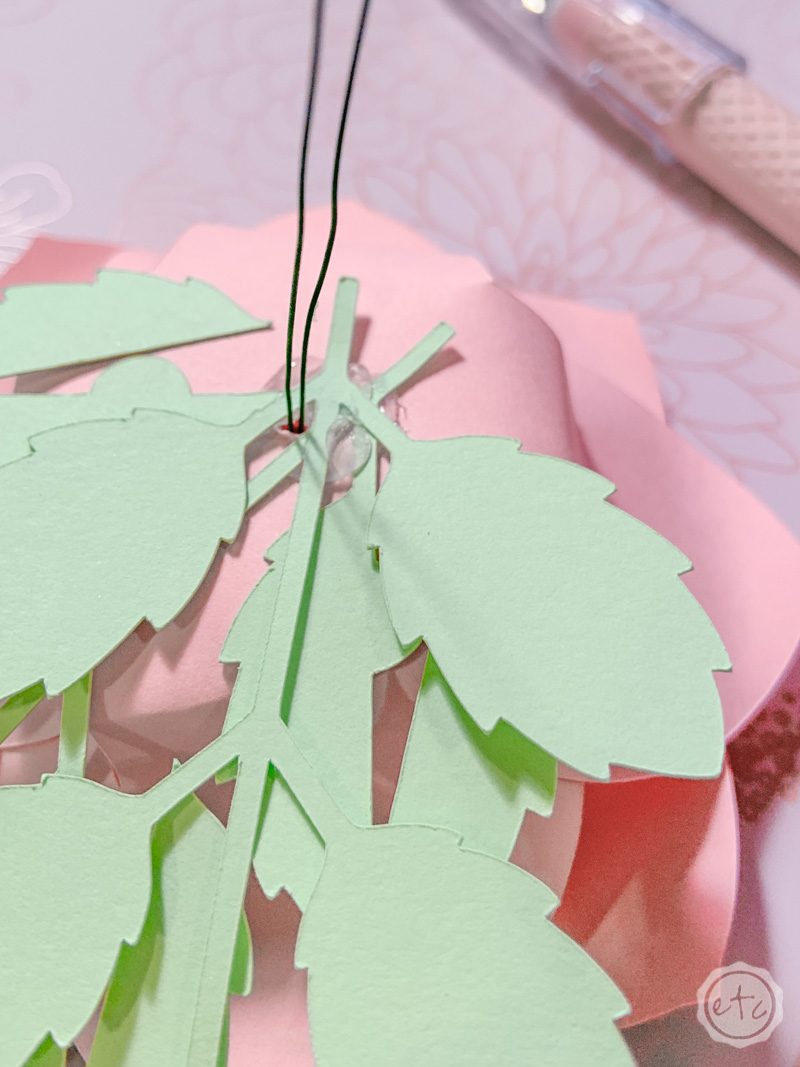
We’re ready for the green stuff! Go ahead and turn your flower over… then add a bit of hot glue to the base of the flower. This will hold your floral wire in place so that your flower stays tight… plus it’s the perfect place to hot glue your leaves!
Before the hot glue dries I simply added both leaves to the floral wire at the base of my flower and pressed it all together. Then for an added bit of security I added a bit more hot glue on top of the leaves and topped it all off with an extra pearl bead.
This little pearl is completely unnecessary… but a it’s a pretty little detail to an otherwise messy pile of hot glue.
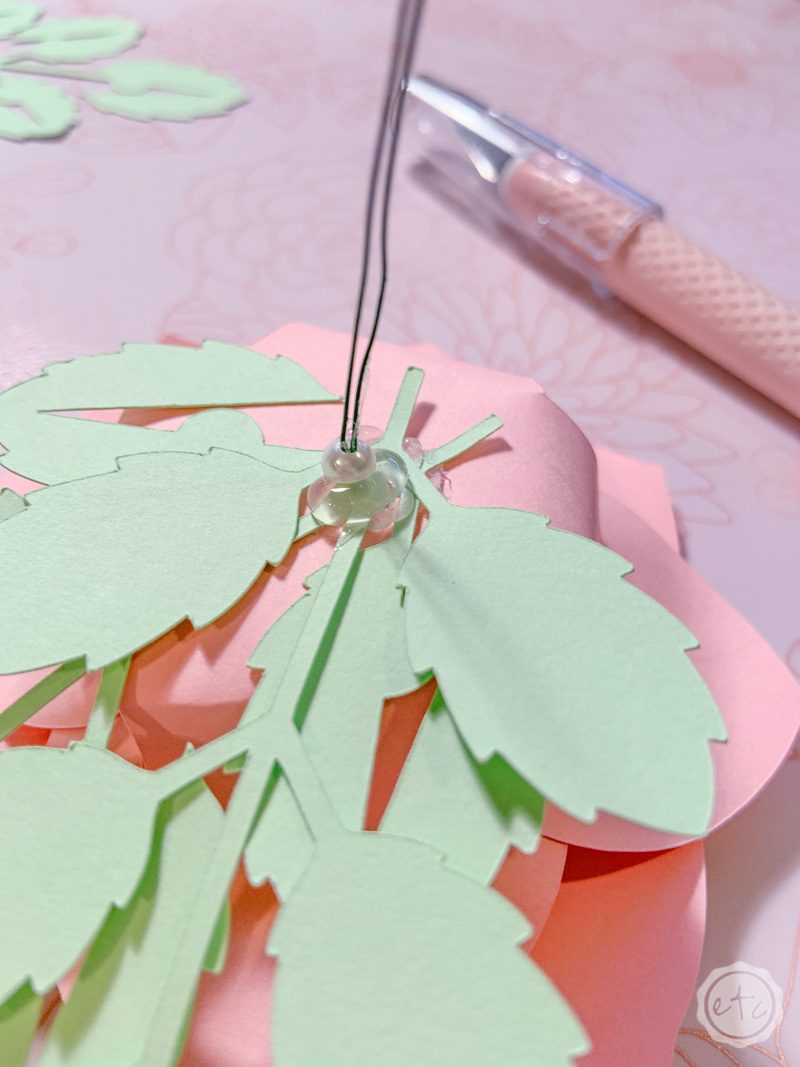
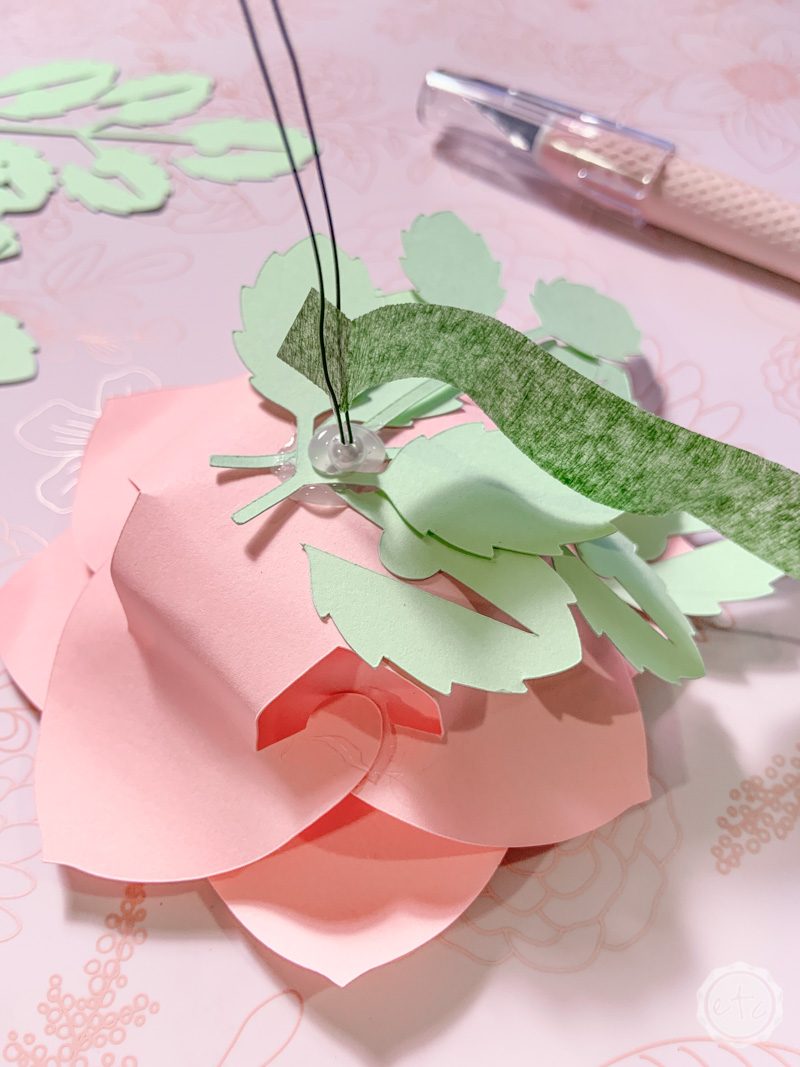
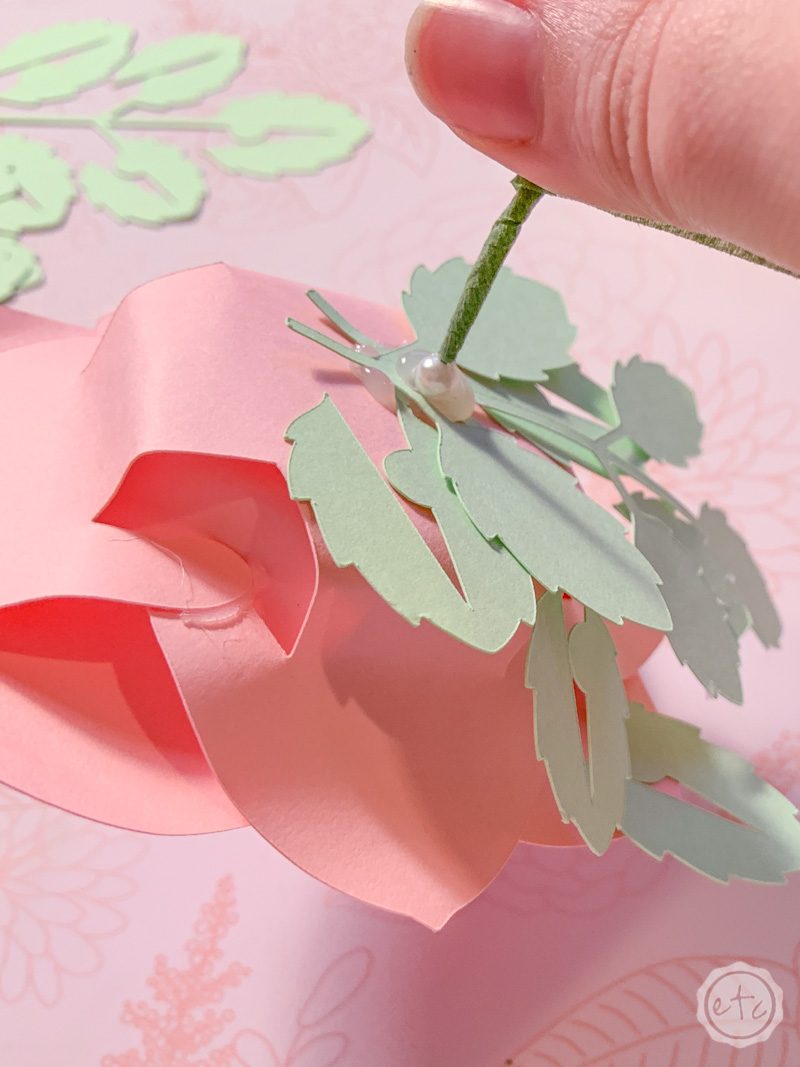
Now we can add the floral tape! I like to start the tape off with a piece in between the two pieces of floral wire so that it’s sandwiched in nice and tight. Then it’s just a matter of twisting your floral tape allllllll the way down your stem to the end of the wire.
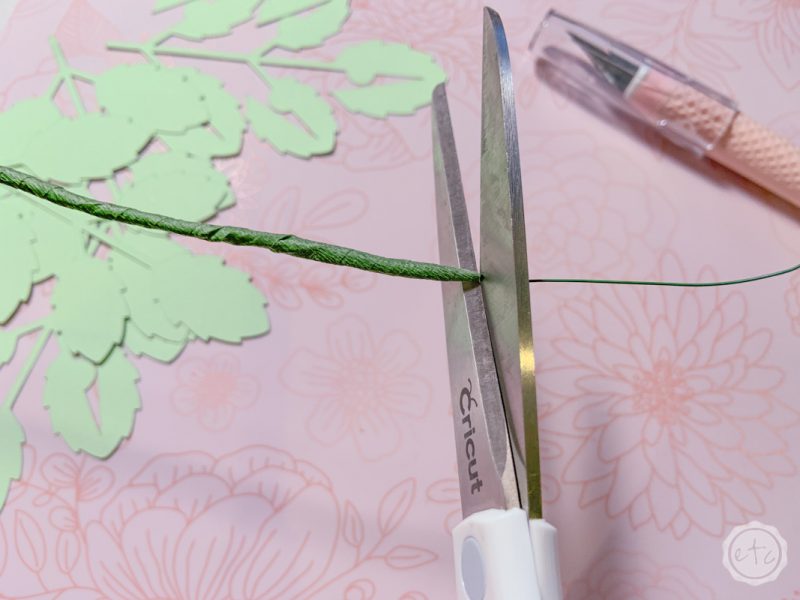
In some cases your floral wire may be flush but if your two pieces of floral wire are different lengths just twist up until the shorter piece and then cut them flush.
Tip: The floral tape is what makes your step sturdy enough to hold up your flower so more is definitely more. If your flower doesn’t seem sturdy enough add another layer of floral wire!
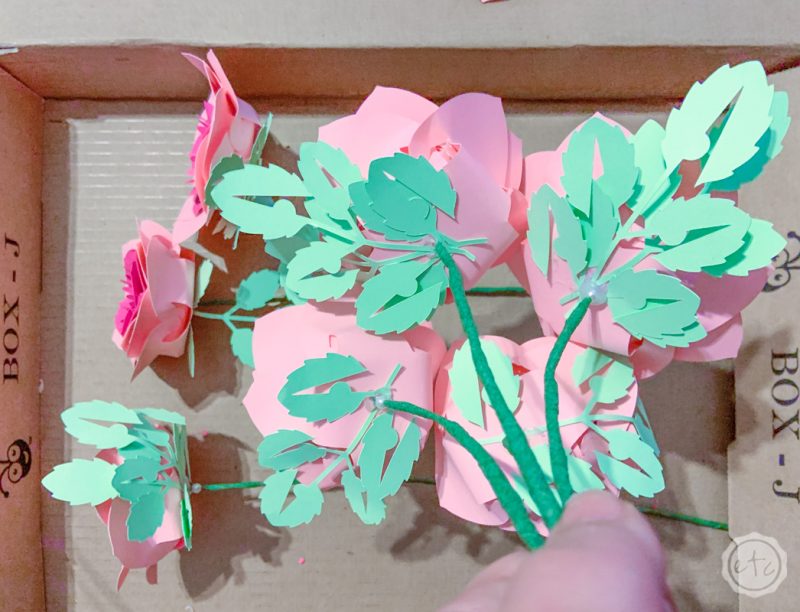
Step 7: Form the Bouquet!
Ready for the big finish? Now that all of your flowers are done you can put them all together in a fun flower bouquet.
I find it easiest to arrange these bad boys upside down (go figure). I started with one and then kept adding flowers until they were all in the bouquet… just keep going around in a circle.
Once you have all 11 flowers gathered you can flip the whole thing over and adjust the flowers so that they’re absolutely perfect. A little scooch here and there and we’re ready to tie the whole thing together


Once you have this baby set up go over all the stepms with your floral tape. I like to start about half way up and then work my way up up up up up the bouquet until all of the flowers are held tightly in place by the floral tape. This way they won’t budge!
Then it’s just a matter of twisting the floral tape alllll the way down the step until the entire stem is covered. At this point you can add a pretty ribbon to cover the sticky floral tape and you’ll be all set!
Ready to see your finished rehearsal bouquet?

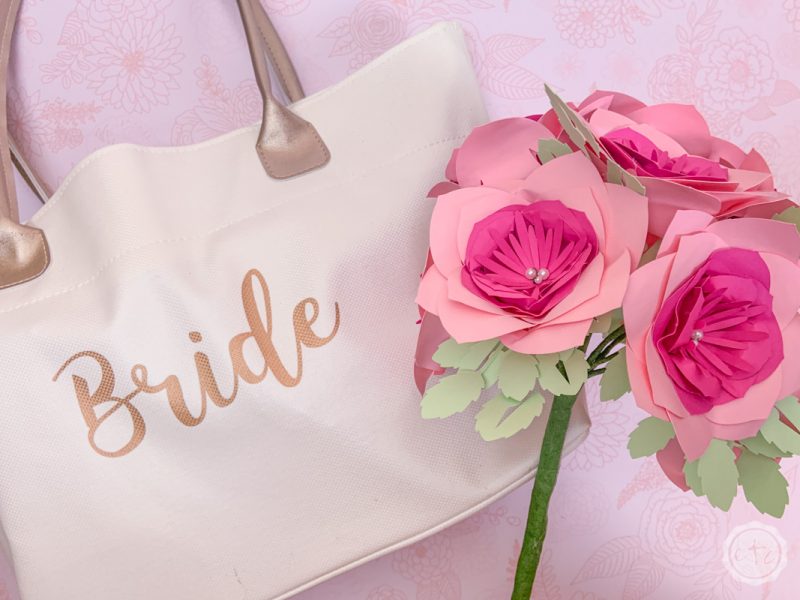
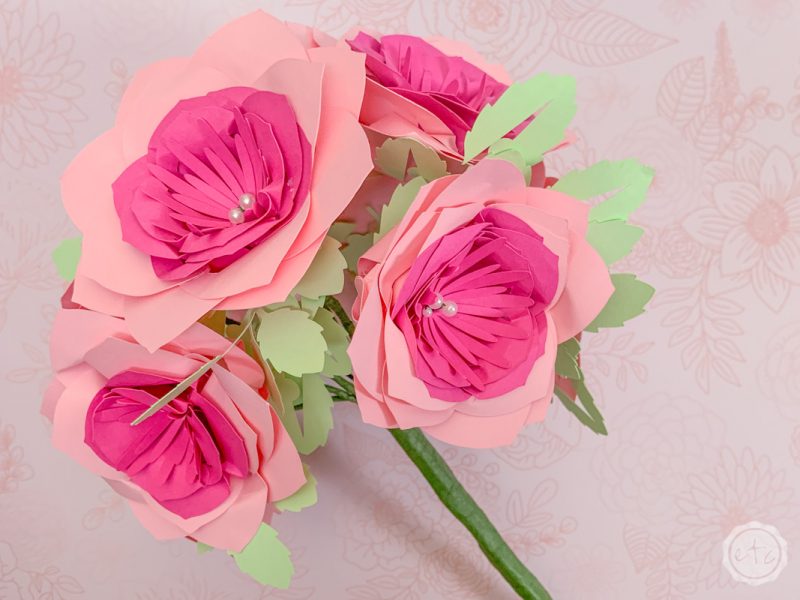
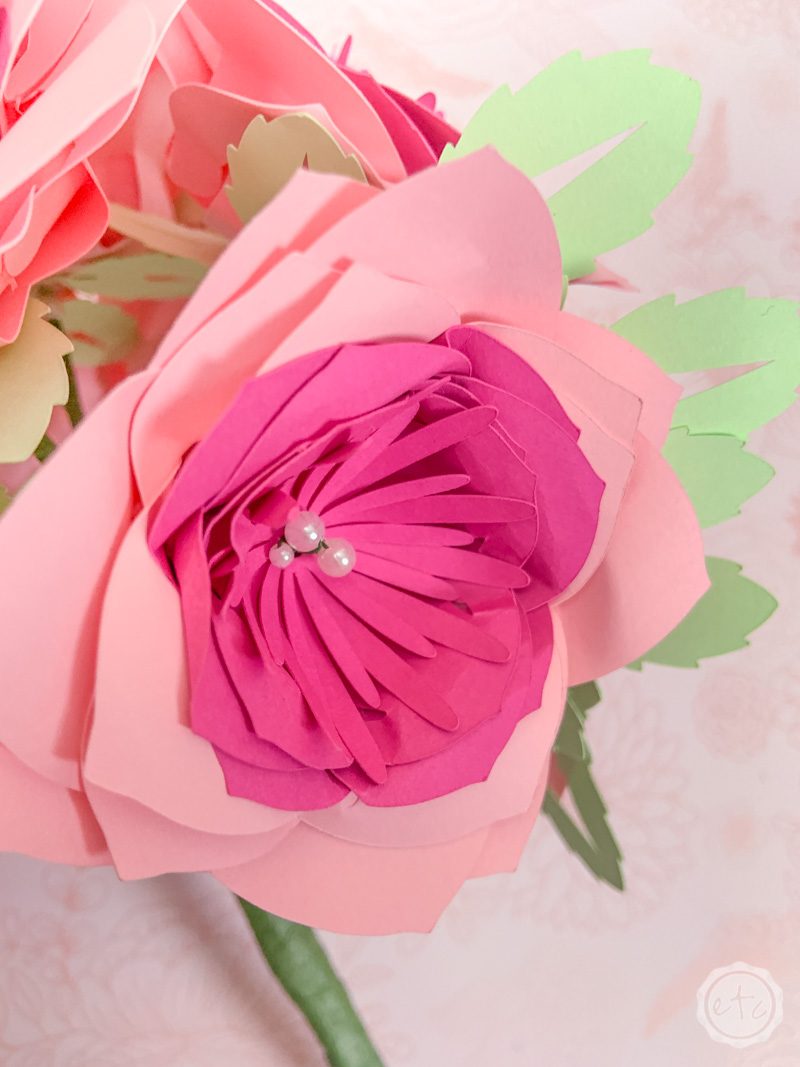
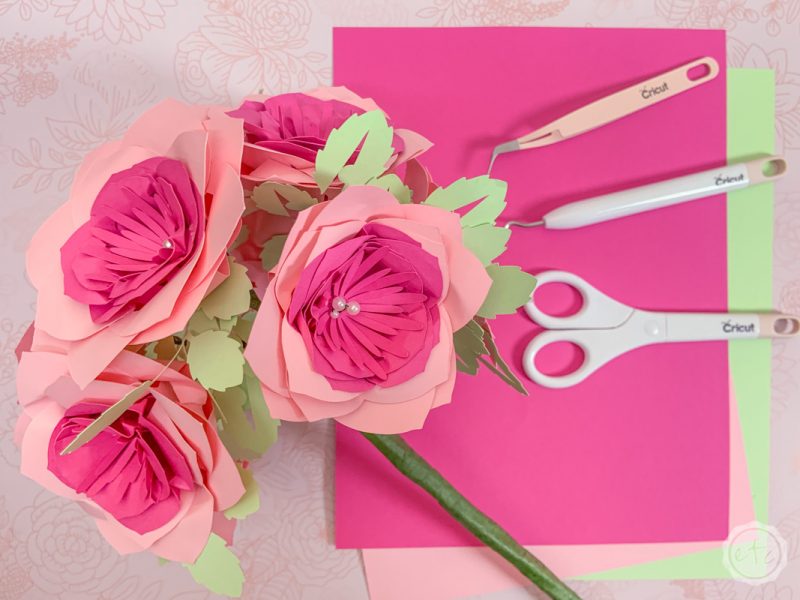

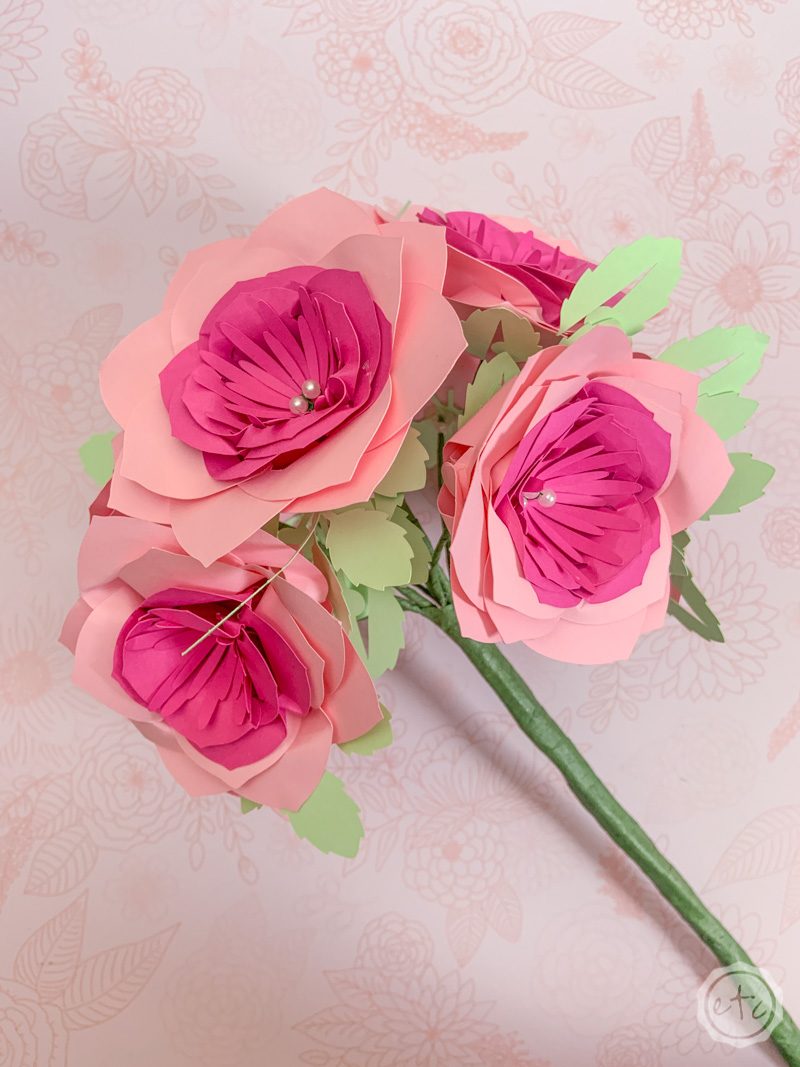
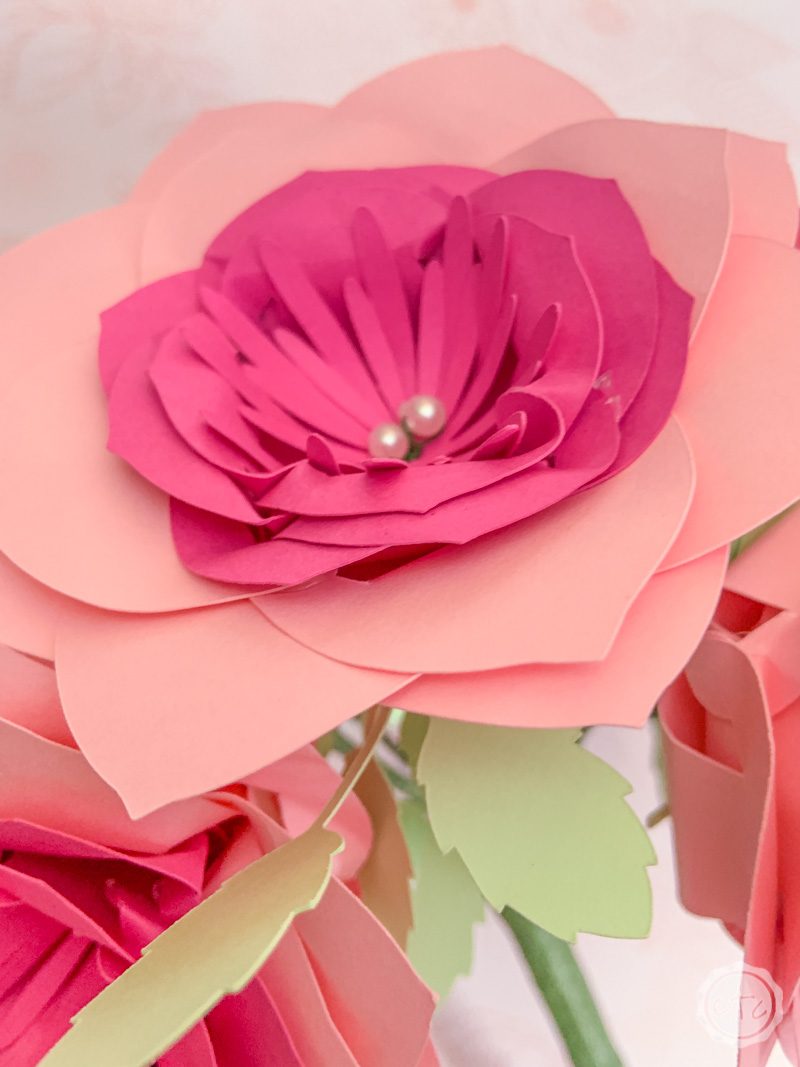
I’m in LOVE! I cannot believe how beautifully these little paper flowers turned out. This would be a great bouquet to make for a friend’s rehearsal… you have to get use to carrying that bouquet after all!
Looking for even more Wedding Projects you can make with you Cricut? Check out the gallery!
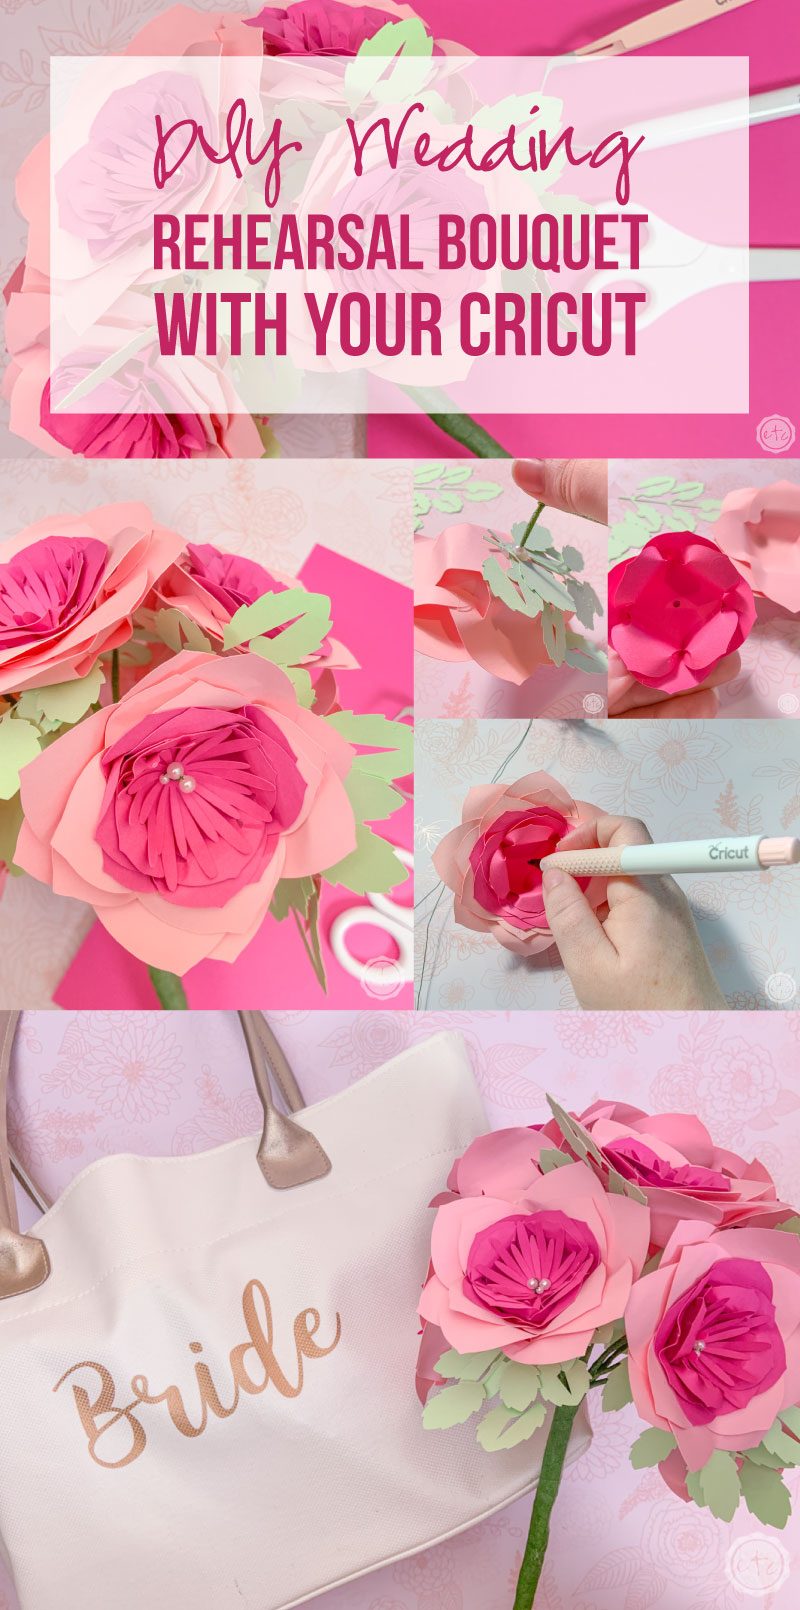







Wowzers! This is so intricate and beautiful. What a lovely keepsake it will make.
Ah! Thank you so much for this tutorial! I just got my cricut and decided on this project since I had some pink cardstock. But I couldn’t, for the life of me, figure out how the flowers went together!