

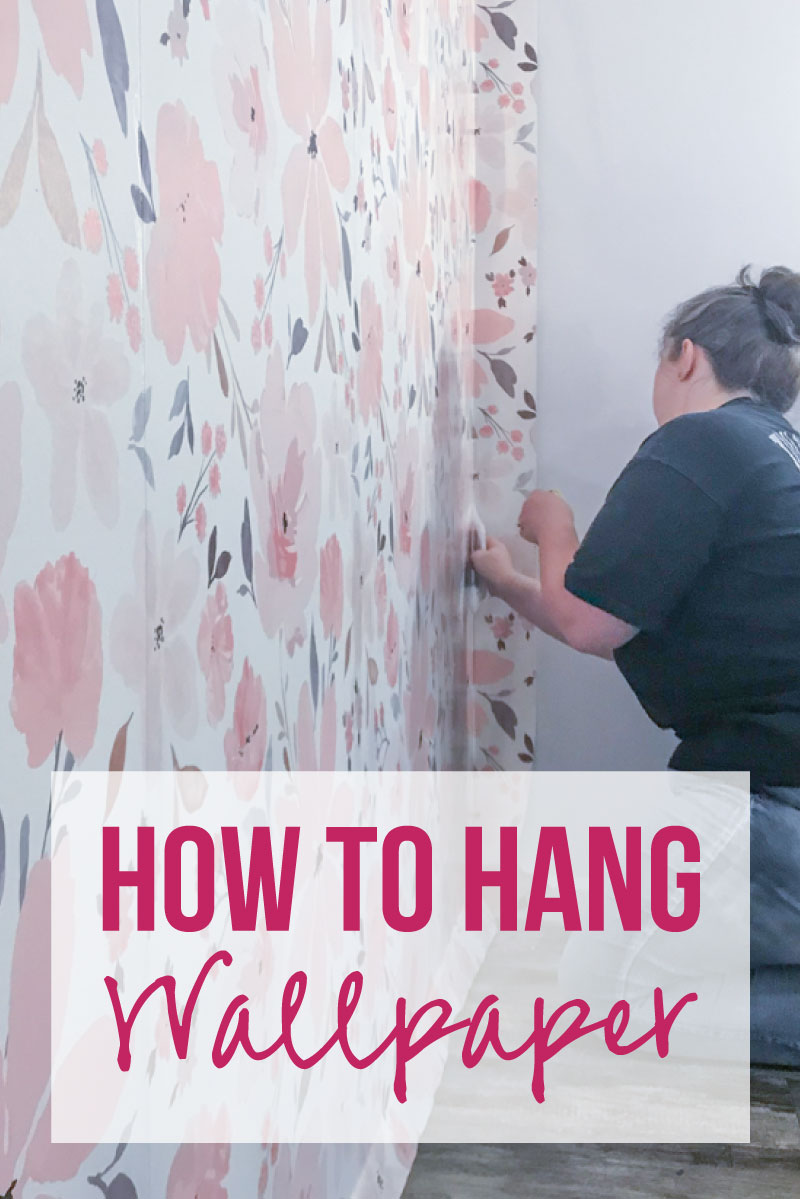
When I bought my new house I knew right away that I wanted an awesome focal wall in the office. So I started to research how to hang wallpaper! I wanted something pink and feminine that would read mostly solid on camera while still having movement. And I found the perfect print over on Spoonflower.
Of course, when I set about this crazy plan I only knew that wallpaper is notoriously difficult but looks absolutely amazing when it’s finished. I’ve never put up wallpaper myself though (I have taken it down!!) so I called in the experts… aka my Mom and bestie.
Mom has put up wallpaper before and she walked us through all the steps. Good news: she said “this new pre-pasted wallpaper is so much easier than it use to be.”
Ready to jump in? Let’s get started!
Just a side note: this is a brand new house but if you’re wallpapering in a house that’s been around for a minute you might need to do some prep work first. Remove any electric outlet covers, make sure the wall is clean, dry and dust free… then we’re good to go!
Supplies:
- Wallpaper (Gracie Grace Golden Jumbo Pattern)
- Smoothing Tool
- Sponge
- Step Ladder
- True Control Knife
- Water (in the tub or a wallpaper bucket)
Full Tutorial: How to Hang Wallpaper from Spoonflower
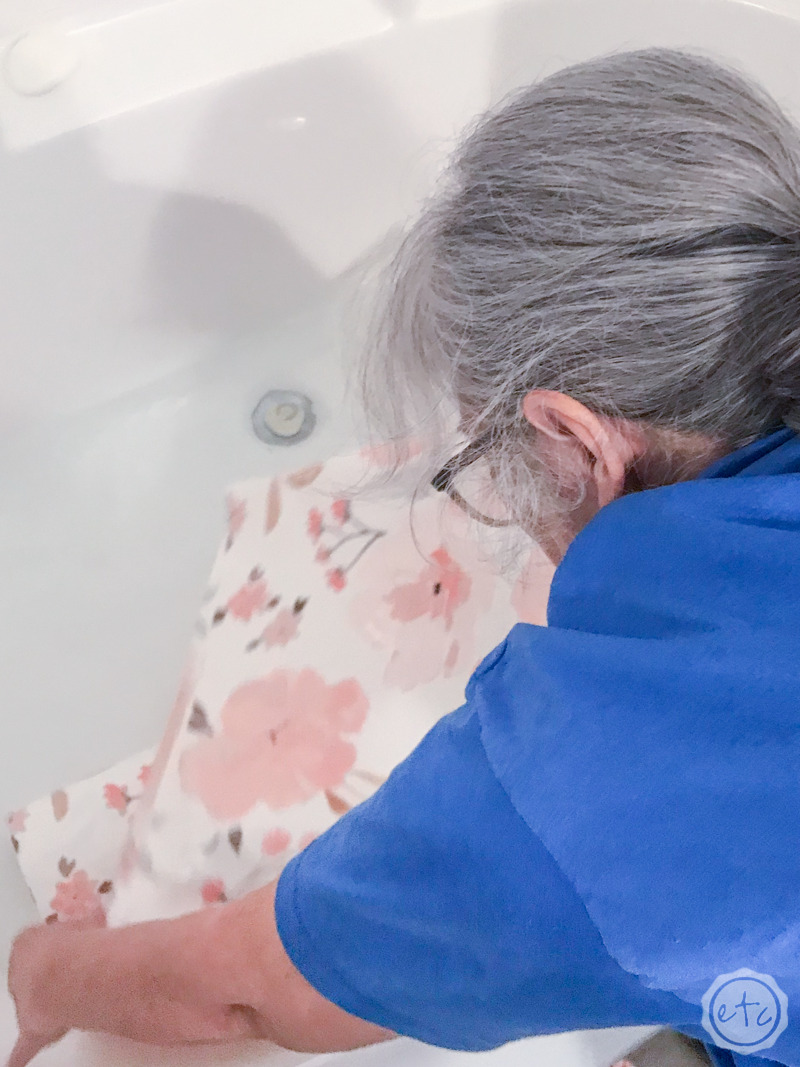
Step 1: Book your Wallpaper
Alright y’all since our paper is pre-pasted we don’t have to add glue… we do have to activate the glue. So we’re going to start in the bathtub. Go ahead and put a few inches of water in the bottom of the bathtub (or in your wallpaper pan if you don’t have a bathtub (but a bathtub is soooo much easier).
Then take your first roll of wall paper and un-roll it into the tub. The goal here is to get all of the wallpaper wet or more specifically the back of the wallpaper where the pre-pasted glue is.
Once it’s wet you’ll start to pull it out of the bathtub and fold the back (or the glue side against each other). This is an important step called booking that lets the glue activate.

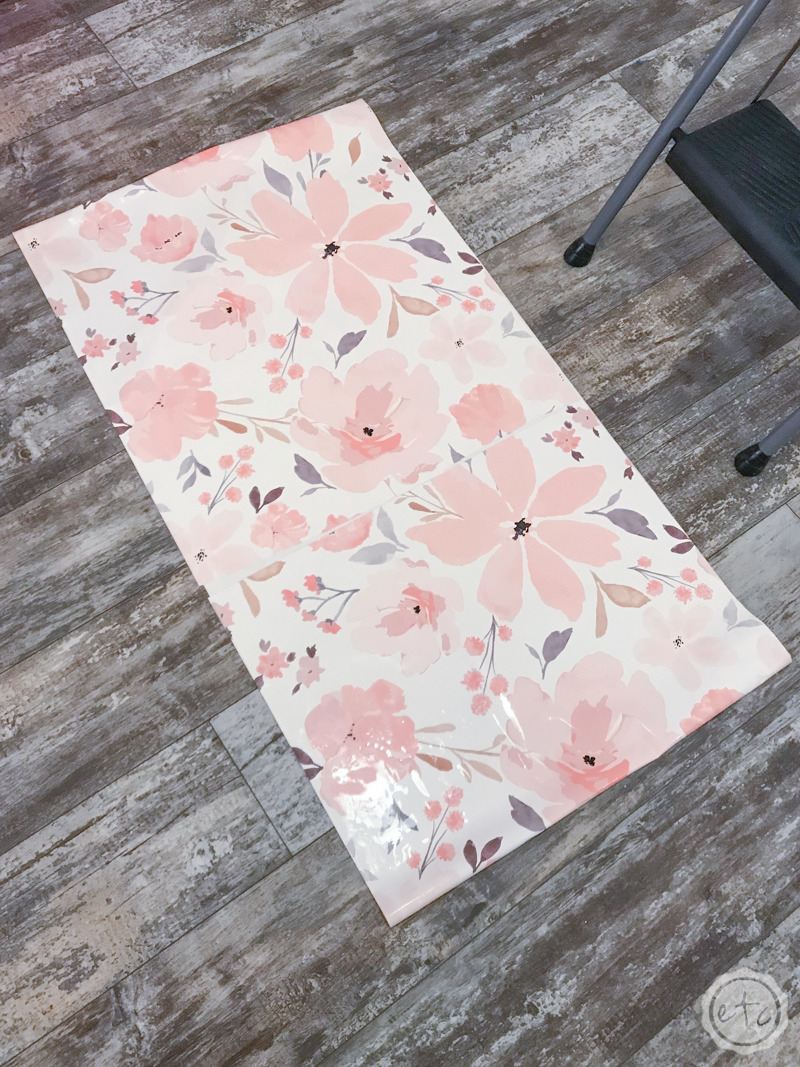
Once you have the entire roll together go ahead and lay out the paper for about 10-15 minutes (making sure that all of the glue is touching another glue section).
If you’re worried about your floor (or you have carpets) then you may want to put down a plastic dropcloth first… we weren’t super worried since this laminate seems pretty easy to clean and the room was basically empty.
Score!
Once your paper has been booked for 15 minutes we’ll move on to the next step: hanging the wallpaper.

Step 2: Hang the First Strip of Wallpaper
Ready? Start by placing the first strip flush against the wall and the ceiling on the left hand side of the room.
If you’re use to previous versions of wallpaper this might feel weird… Mom wanted to hang the wallpaper several inches higher than the corner and then cut it flush.
But the way these rolls were made you hang directly at the ceiling so that the pattern (or the repeat) from roll to roll (or strip to strip) will match up.
So top left hand corner it is!

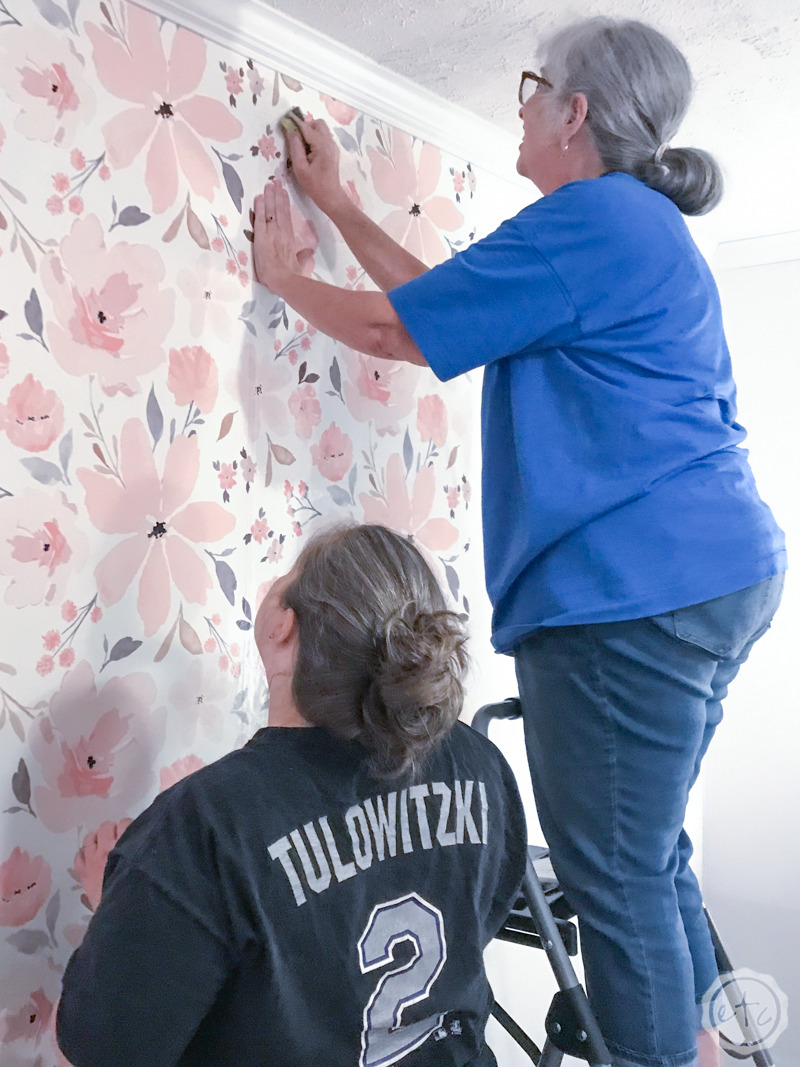
Once it’s up grab your smoothing tool and start at the top. You want to squeege out the glue and any bubbles from underneath the paper. Start in the middle and work your way out… as you smooth you’ll see all the air bubbles work their way out from under the paper.
Which is pretty cool!
Then work your way alllll the way down the roll smoothing and squeeging out the bubbles from every inch of the wallpaper. Once you’ve finished smoothing everything out you’ll come back with a sponge and clean all the glue reside off the wall and the paper.
Or if you’re working as a team one person can squeege while the other person comes behind with the sponge.
Perfect!
On to the next one.
Also note: we decided we were too cool to buy the large wallpapering sponge the guy at the store recommended. We grabbed an old kitchen sponge (and it worked ok-ish) but halfway through the project we really wish we’d bought the bigger sponge. It could have covered the area much faster… and not tried to die halfway through like this little sponge.

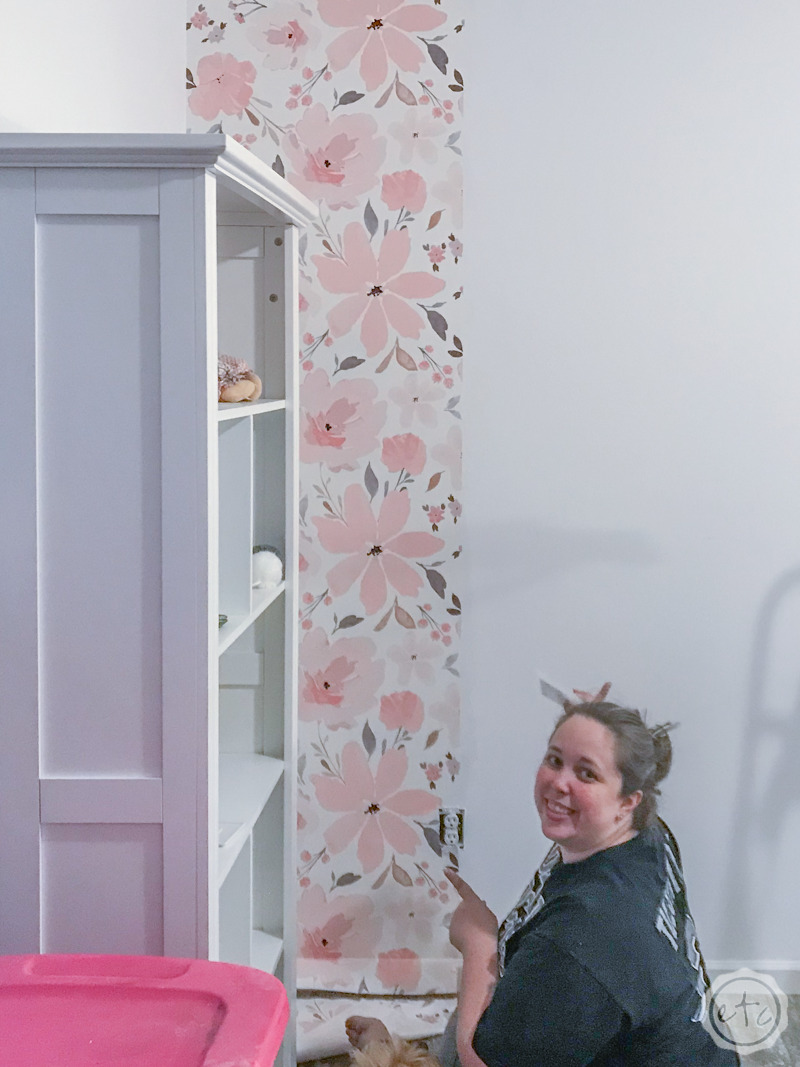
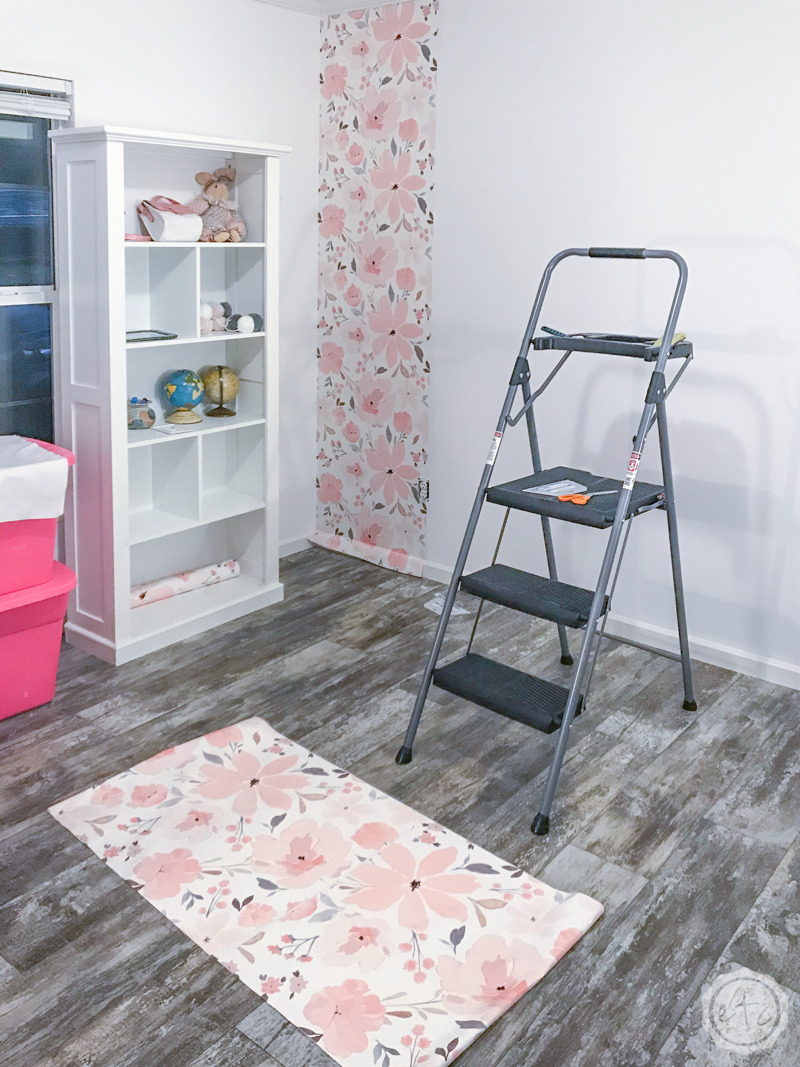
Step 3: Start the Second Strip
Ready to move on to strip two?
It’s very very similar to strip one (with only one major difference). Start by booking your strip in the bathtub same as the first step. Leave this bad boy to activate for about 10-15 minutes and then we’ll start to hang it up!
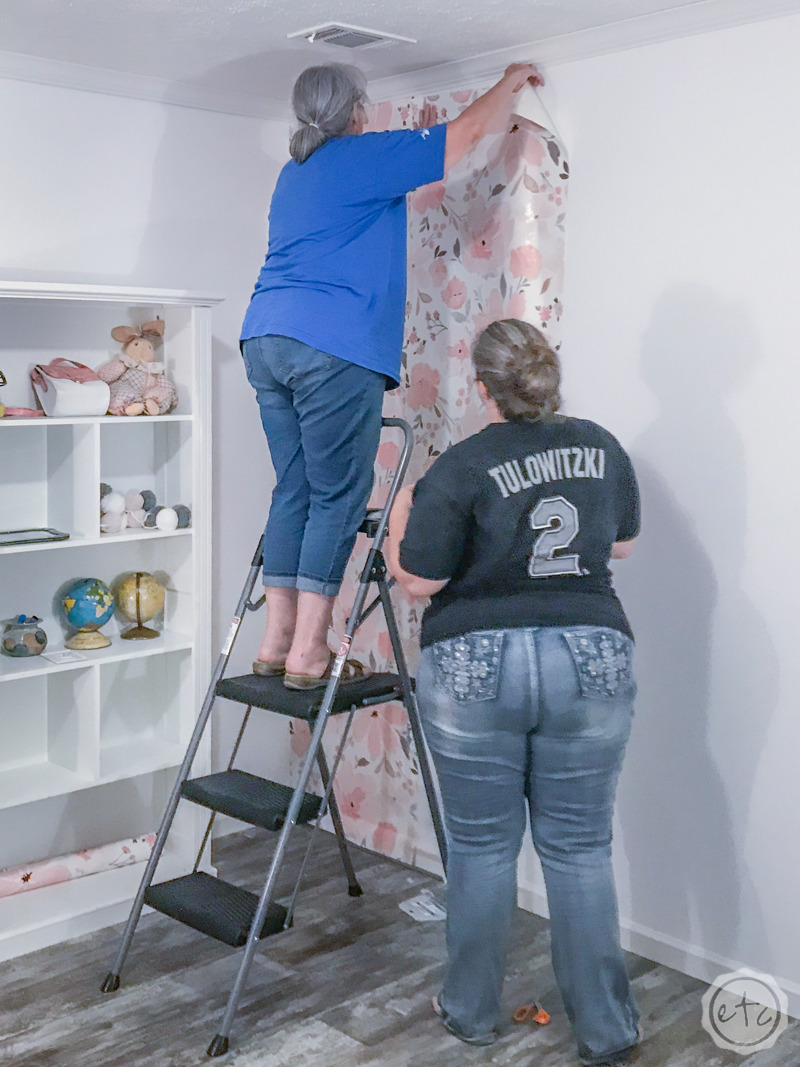

Here comes the major difference.
For the first strip we just had to line everything up with the ceiling and then move on to squeege town. For strip two we have to match up the second strip with the first strip.
Like I said before these rolls are meant to work together: so the pattern will automatically match up when you open a new roll and place it against another roll on the wall.
The problem is if you hang the strip a bit crooked at the top the bottom will be way crooked. So tag team your partner in… one of you can line the second strip up at the ceiling and the top left side while the second one can line everything up down the wall.
Make sure that the pattern matches all the way to the floor and you’re good to go!
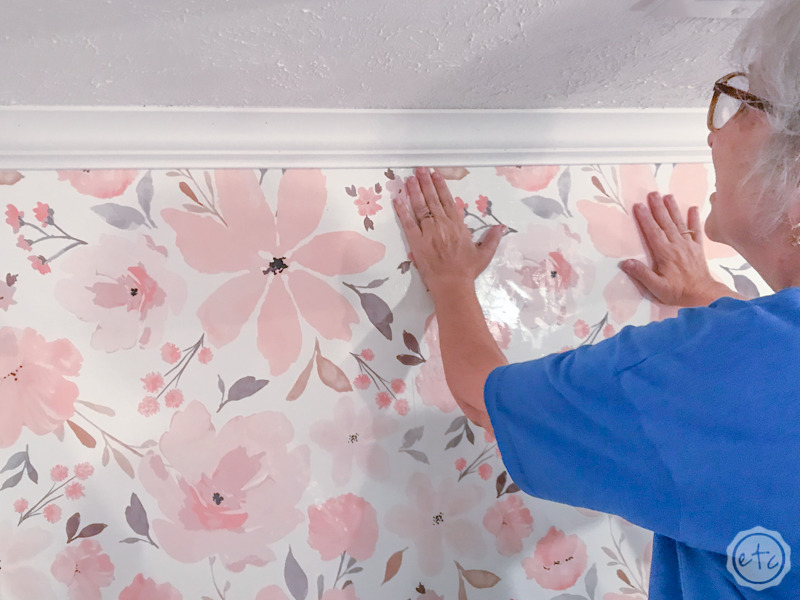
Of course, the key point here is that the wallpaper strips are made to match up… which means you have to order the right strip. They come in 2×9 long strips or 2×12. If your walls are under 9 foot high then you want to go for the 2×9 rolls. Then you’ll just have to cut off the excess at the bottom of each strip as you go. (The 2×12 would work but you would have a lot of waste!)
This whole system keeps you from having to match the repeat as you go from one strip to the next like with the super long strips of the past.
Just a tip? We booked the entire roll on the first strip and then cut off the bottom of the gooey/glue activated/wet strip. Which is fine… you can do that all the way across the wall. But what we did was take the bottom of the first strip and measured the bottom of the remaining strips so that we could cut the excess off before we wetted and booked the strips.
This way the bottoms are alllllll dry and can be saved to use on another project.
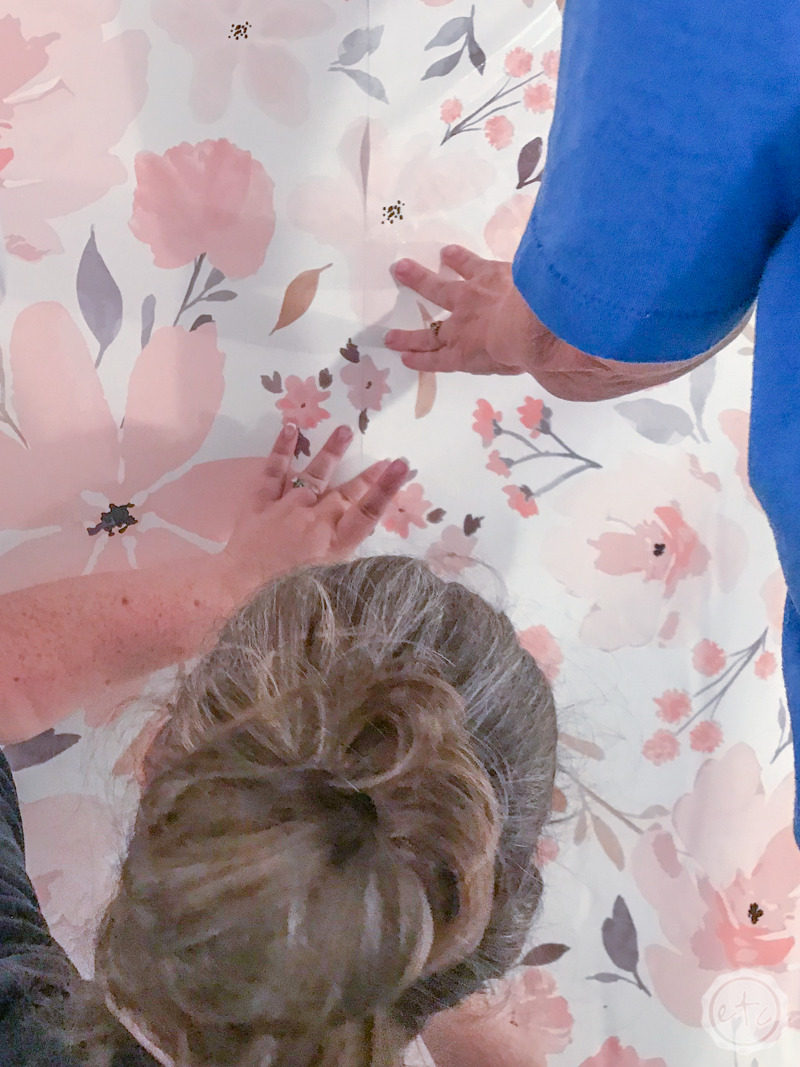
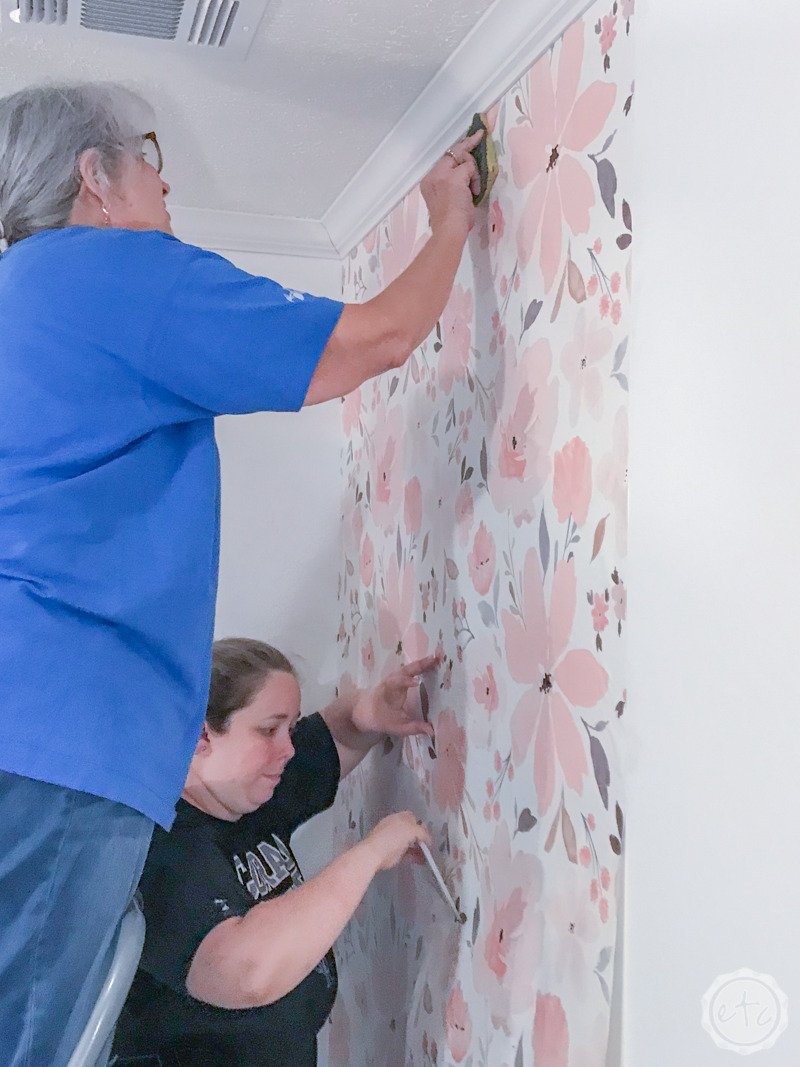
Once you’ve cut off the bottom, booked the strip and lined up strip number two with strip number one (all the way from ceiling to floor!) it’s just like the first strip. Just use the squeege to smooth all the glue and bubbles out then use a sponge to clean all the glue away.
ta-da! Two strips down.

Step 3: Hang Wallpaper Strips 3-5
Keep working your way across the wall. for this space we used 6 strips of paper. The calculator on spoonflower said we would need 7 so I actually have one strip left over… which is better than not having enough but still… they don’t allow returns so now I’m stuck with it.
Of course, Amazon offers the same print and allows returns but when I checked (for this post) the rolls on Amazon were listed for $204 a roll (which is crazy). When I looked a few months ago they were listed at $72 which is only a bit more than the $54 per roll I paid from Spoonflower.
Spoonflower is now listed at $72… so the main thing I’m saying here is calculate how many rolls you need and then do your research… you might find it cheaper somewhere else.
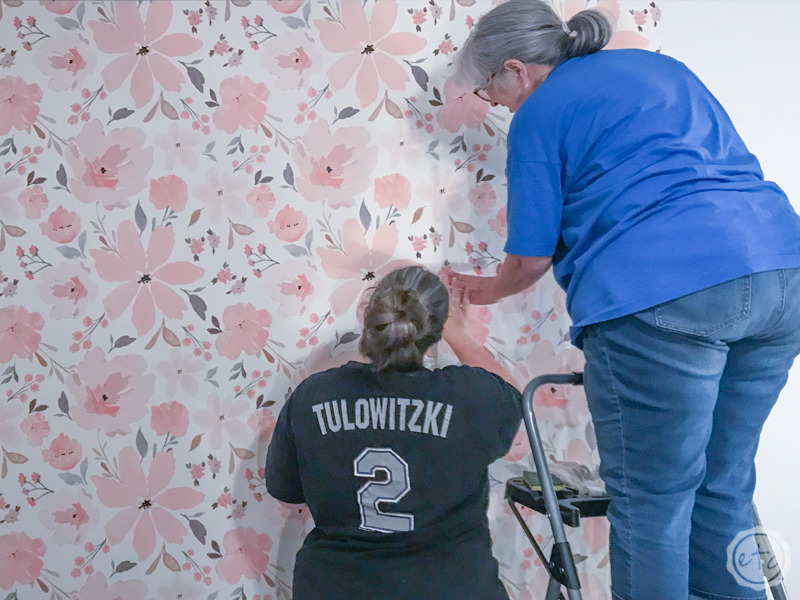
The number one thing I learned about wallpapering is that you could actually do this by yourself if you had to but it’s much easier with at least two people. This way mom could hang the paper and squeege the top… then I would start to squeege the top while she wiped the top off.
When she was done wiping the top off she would go book the next strip of paper while I wiped the bottom of the paper off… and we would repeat the process all over again on the next piece of wall paper.
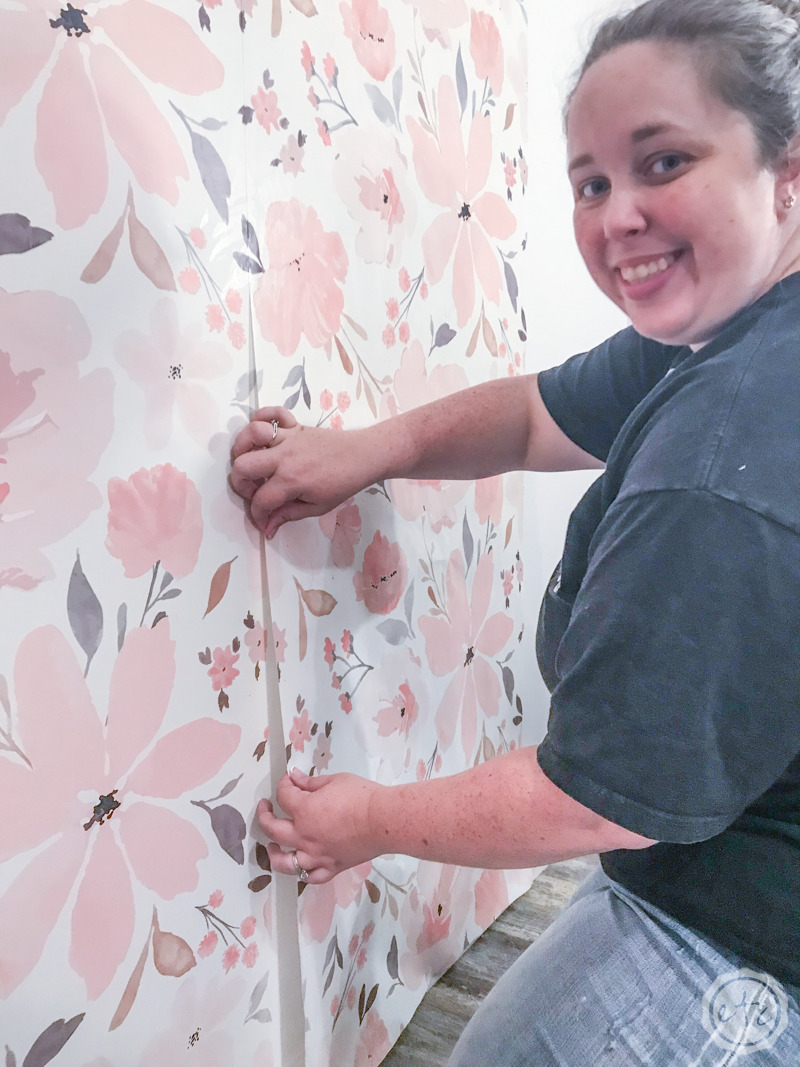

Just a note… since we are hanging our wallpaper flush with the top of the wall the pieces will only line up properly if our wall is 100% straight and level. Which mine is not…
Luckily this wallpaper worked great… a few times we had to peel the strip up and re-line it up with the previous strip and the glue let us pull it back up and adjust before starting over. Obviously you want to work quickly (don’t try to pull it back up 4 hours later) but as long as the glue is still wet you’re good to go.
Which is my long winded way of saying make sure the strip lines up at the top of the wall… and the bottom of the wall.

Step 4: Hanging the Final Strip
Okay y’all by the time you get to the last strip you’ll be a wallpapering pro… hang, squeege, sponge repeat! But unless your wall is the perfect wallpaper dimensions you’ll have a bit of wallpaper on the last roll of the wall that you don’t need.
If you’re doing the entire room then you’ll want to squeege and sponge this section of wallpaper down to the next wall same as any other roll… but since we’re only doing the one wall we don’t necessarily want it to stick.
So instead we’re just going to ignore it… for now.
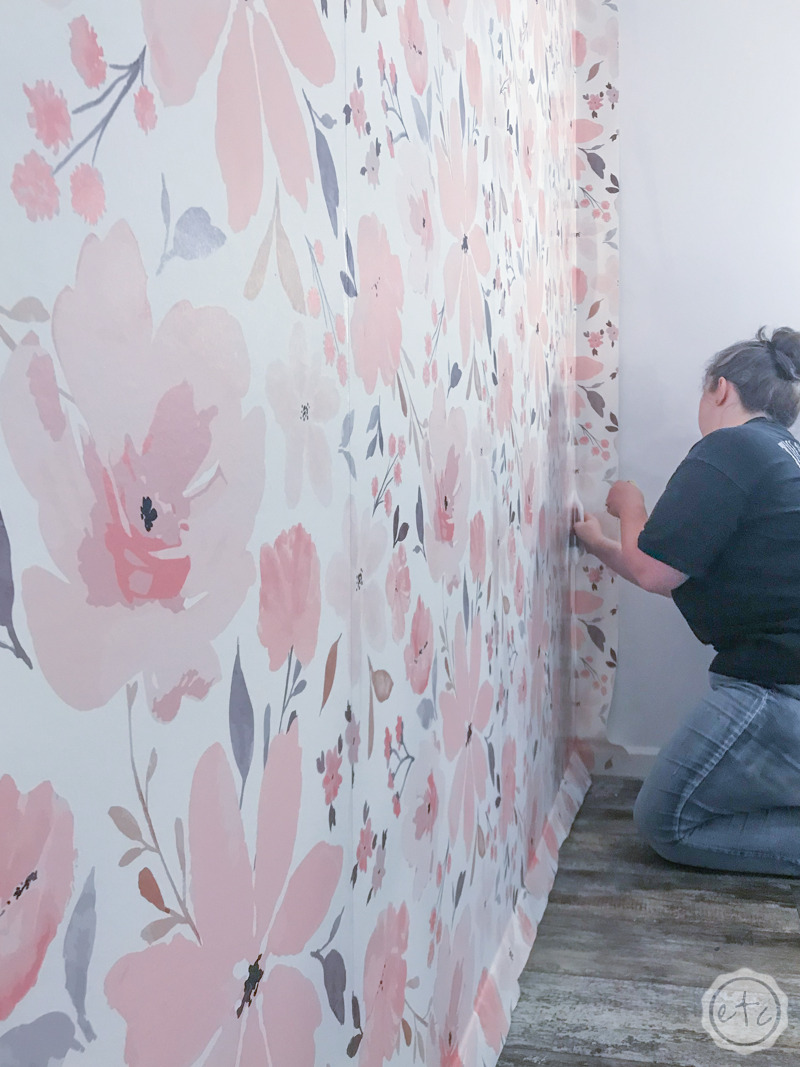
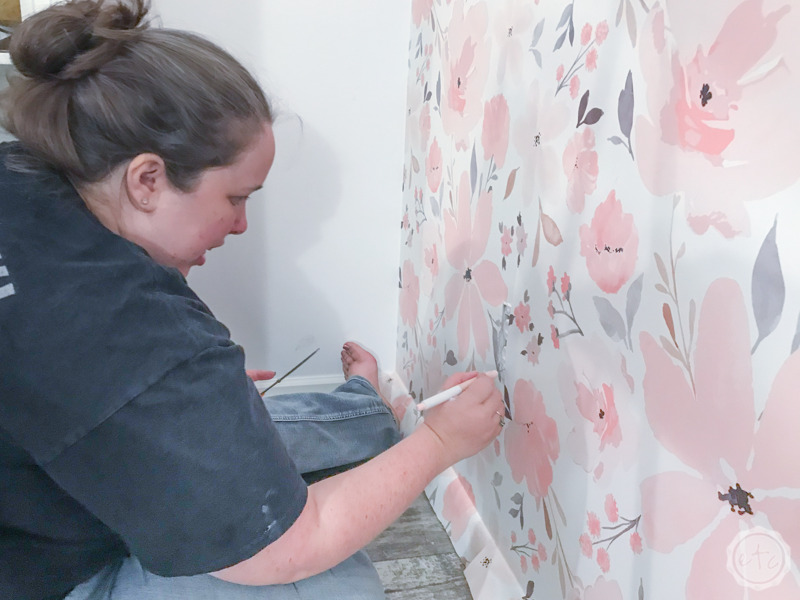
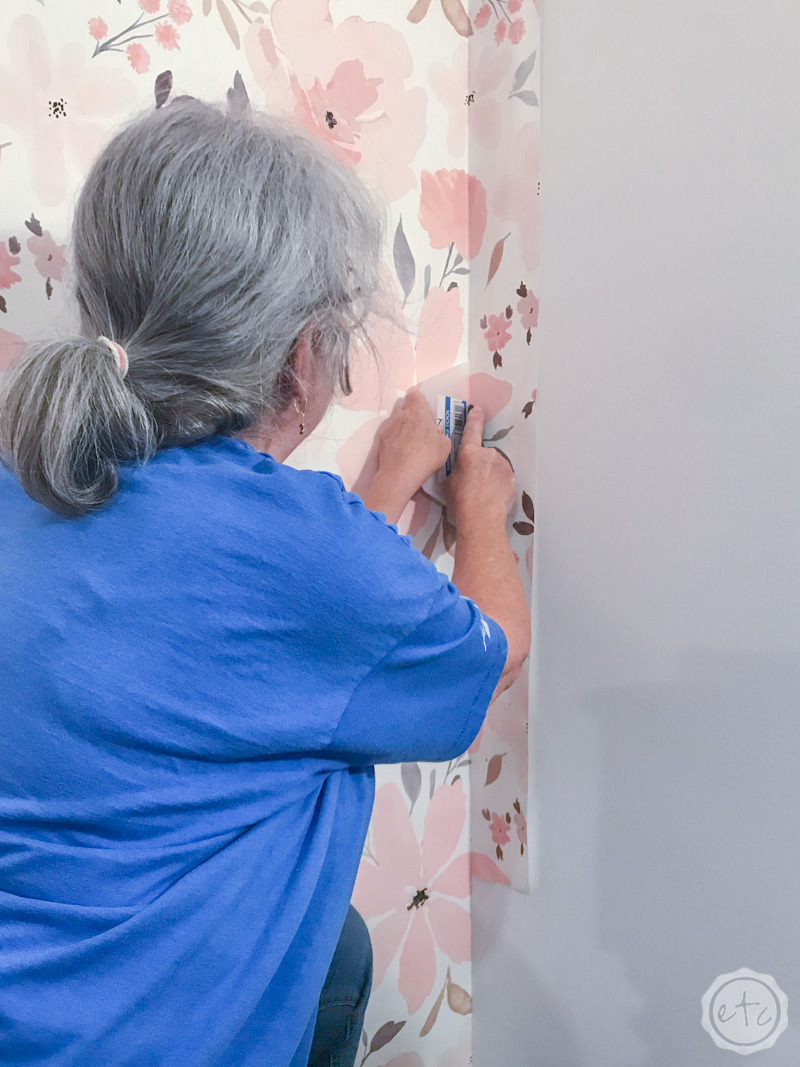
Go ahead and apply the last strip the same as normal with one major difference. Take your scraper and really push that wallpaper into the corner. Make sure that the edge is crisp and score it all the way down. This way when we come back to cut it off there will all ready be a natural edge.
Perfect!
Also can we take a second to appreciate the wallpaper itself… I LOVE THIS PRINT!

Step 5: Cut Spaces for your Electric Plug Covers
Okay y’all we’re almost ready for a dinner break (or lunch… if you’re doing this during the day and not at 8pm like us). First we want to fix the electric plug spots!
I mean when this is all said and done we want to be able to use our electric outlets!
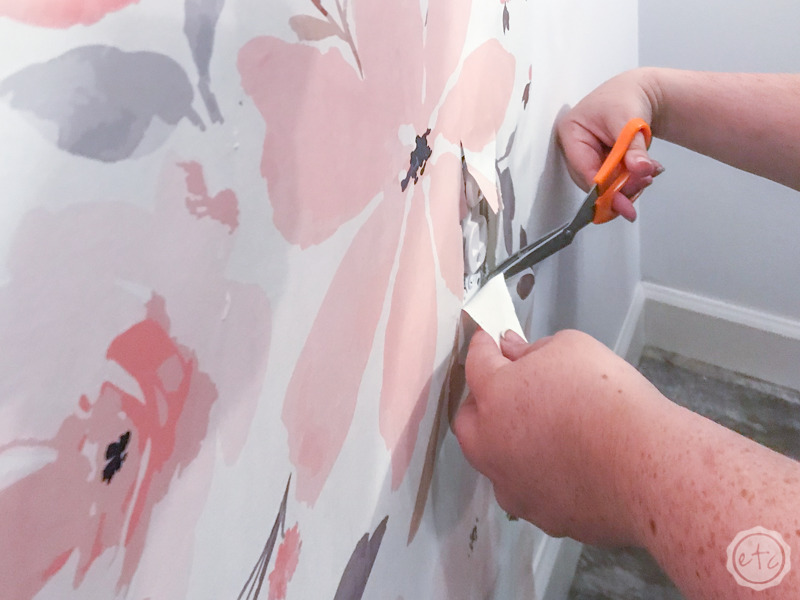
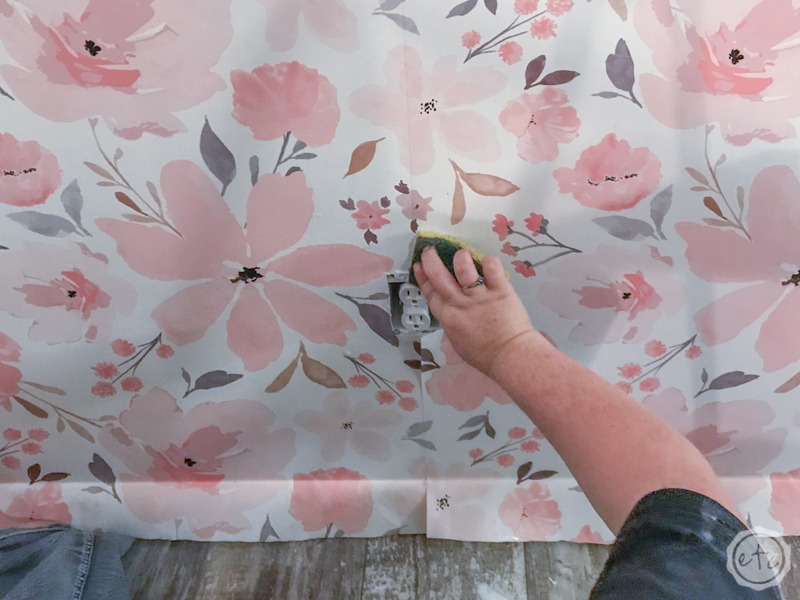
So while the paper is still wet go in with your exacto knife and cut the paper away from the outlets. I like to use my exacto knife to cut an x across the space (all the way to all four corners) and then use my scissors to cut straight across from corner to corner.
The electric outlet cover will go over this so it doesn’t need to be perfect but we don’t want to accidentally rip the paper past where the cover will be… so go slow and use a staedy hand.
Once you’ve cut the excess away you can use your sponge to smooth the paper back into place. Perfect!
Now we’re ready for pizza… you’ll want to give the glue at least a few hours to dry before you cut the edges straight on the bottom and right side of the wall. So take a 2-3 hour break… or if you have time call it a night and come back in the morning.
Step 6: Remove Excess Wallpaper
Ready for the last step?
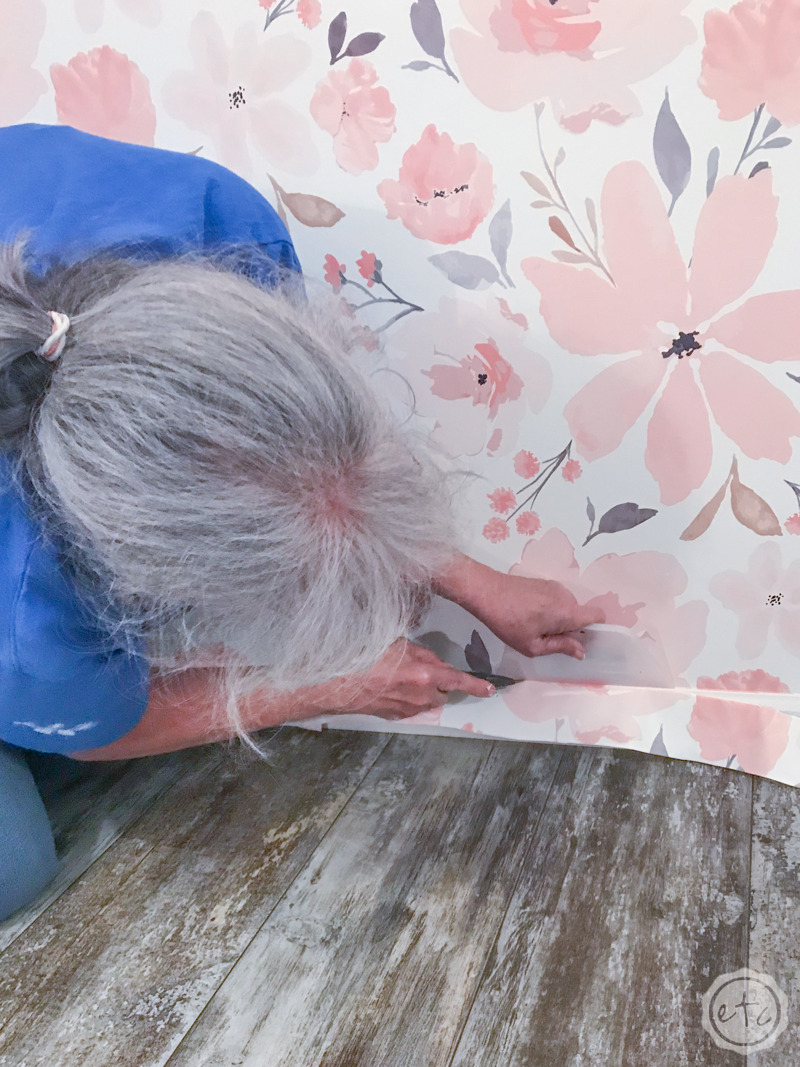
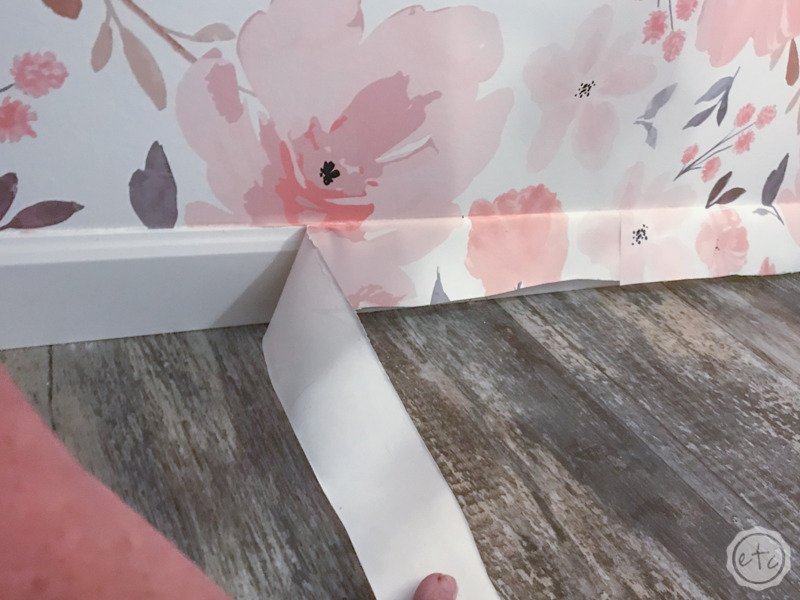
There isn’t much overhang here but we want to show that molding on the bottom of the wall… so we grabbed the scraping tool and the exacto knife and set to work.
We found it best to really score the edge first (make sure that crease is really in the paper) and then to cut straight along the smoothing tool… using it as a straight edge.
Once you’ve cut all the way through you can pull the excess paper away! Volia!
Keep in mind that we need to do this on the bottom and the right side of the wall… and once the excess is removed you can go back with a damp rag or sponge and smooth the edges down if they need a little help re-sticking to the wall.


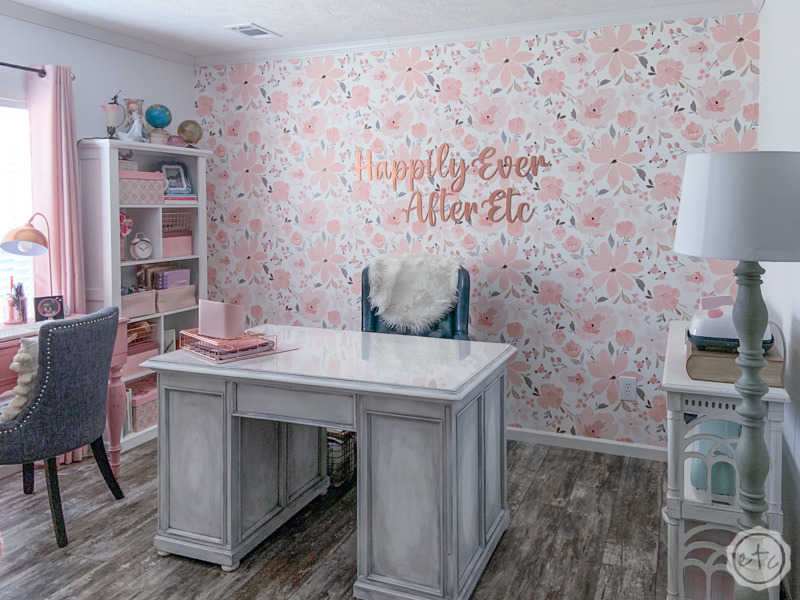
Okay… so I may or may not be obsessed with how this pattern turned out!
I’m super excited… even if I was exhausted in this photo! It turned out better than I ever dreamed!
Of course, I have plenty of plans for this room but in the meantime I’ll give you a little sneak peek from my one month update video. See how beautifully the wallpaper works with the beginnings of my office/craft room?
I can’t wait to finish getting this room set up!
Pssst… it’s Betsy from the future! I’m still hard at work on the office but in the meantime you can check out a few more details! Like my pretty custom logo sign (that I made with my Cricut!), my pink large framed pegboard or my cricut storage shelf.

Want to follow my journey to purchase my new home? Check out every post from the beginning:
Get Your FREE New Home Checklist

Moving into a new home?
Here's 22 FREE printables to help you get organized!





Leave a Reply