

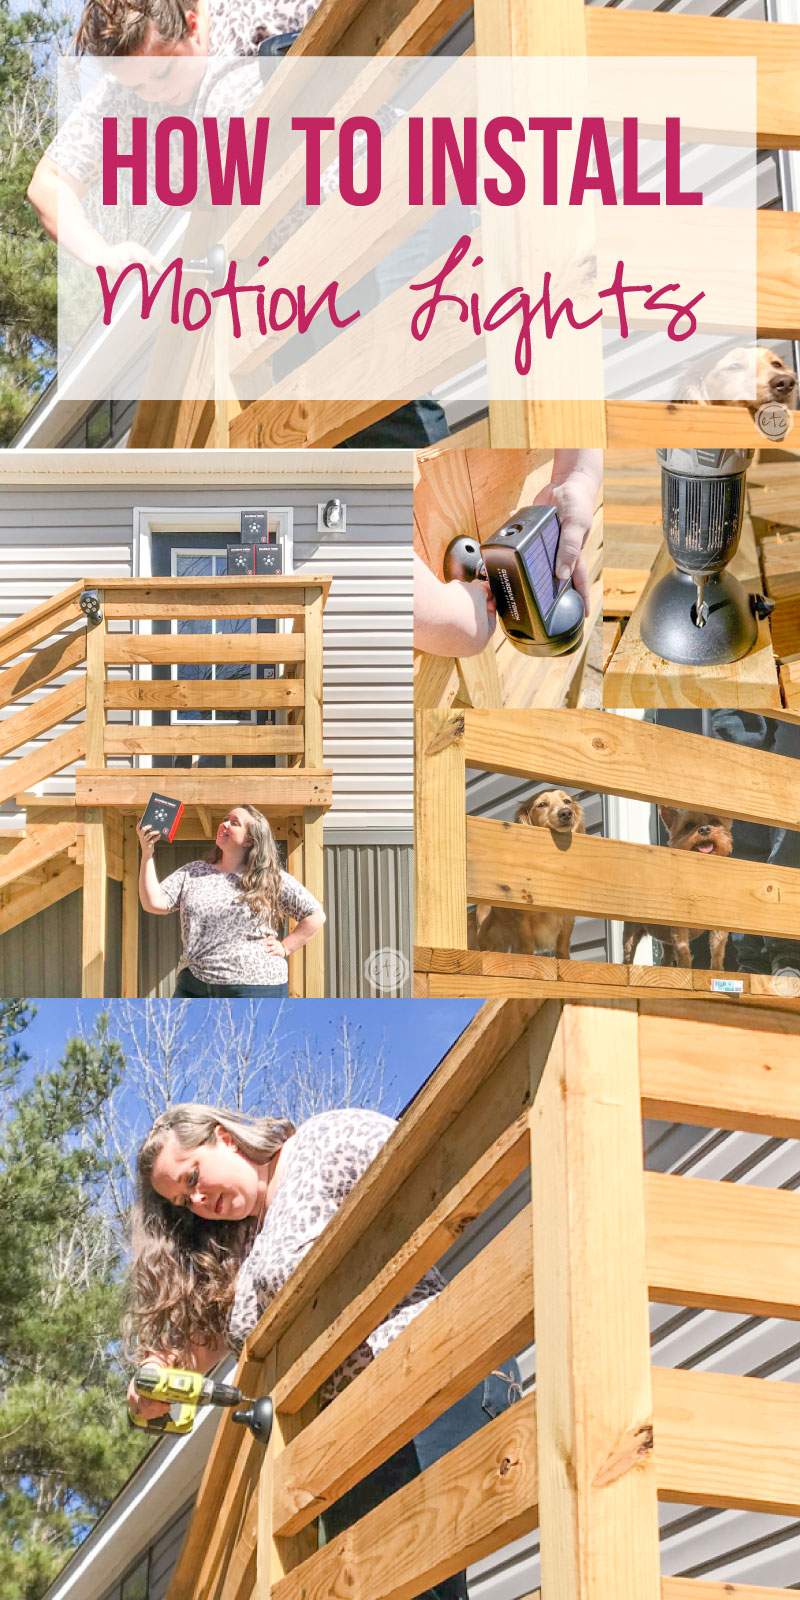
This post is sponsored by Brightology but all opinions are 100% my own. #ad

I don’t know about y’all but the best part of living in the woods is the peace and quiet… the worst part are all the sounds that go bump in the night. I’m fairly convinced that each and every noise is actually some kind of master villain coming to get me.
So when I moved into my new home one of the first things I wanted were motion lights. It is dark out here and I want to be able to see anyone or anything that’s walking around my house at night… plus the lights are super helpful when I forget to pull my trash can to the curb until 11pm.
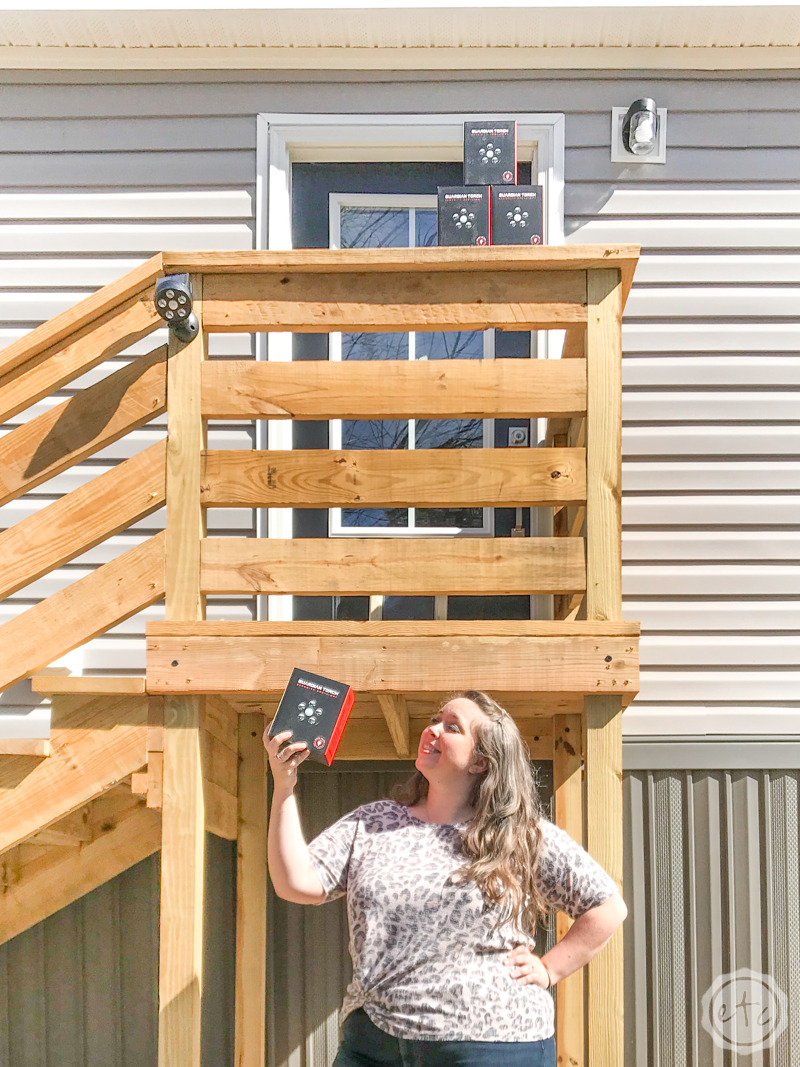
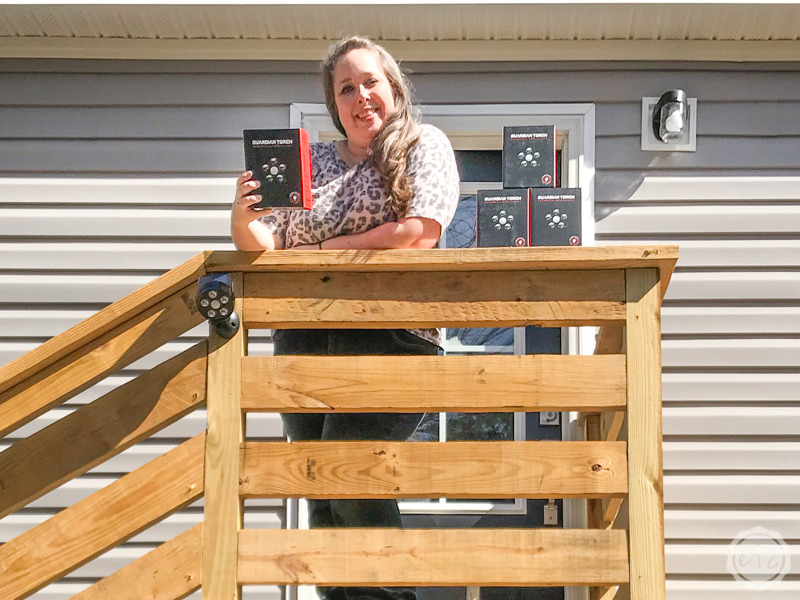
I wanted lights that were easy to install, affordable, solar powered (no replacing batteries!), weather resistant (it rains a lot in Alabama) and super bright. These Guardian Torches from Brightology are perfect!
(Click on the link above or use Code: Betsy15 for 15% off)
They install with 3 screws and are completely adjustable. They have a full solar panel on top and are pretty darn bright once they’re charged. I grabbed 5 of these babies so that I’m covered on all sides: I put one on each side of my house and 3 in the back to light up the back yard while my dogs are behind the house.
Ready to get started?
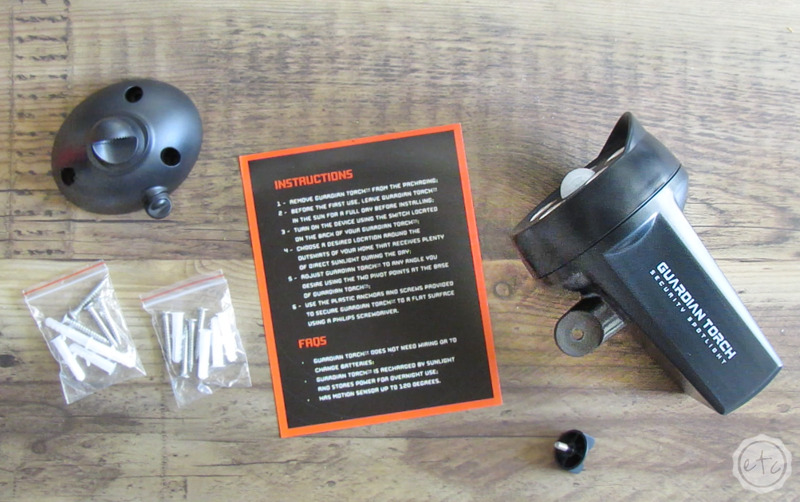
First things first: take the lights out of their box! You’ll notice the full kit has the light and 4 screws/anchors as well as instructions… and the instructions say to leave your lights out in the sun for a full day before installing them.
This way they’ll be charged and ready to go!
Perfect!
Check out the full video tutorial below:
Step 1: Dismantle your Torch
Let’s jump right in!
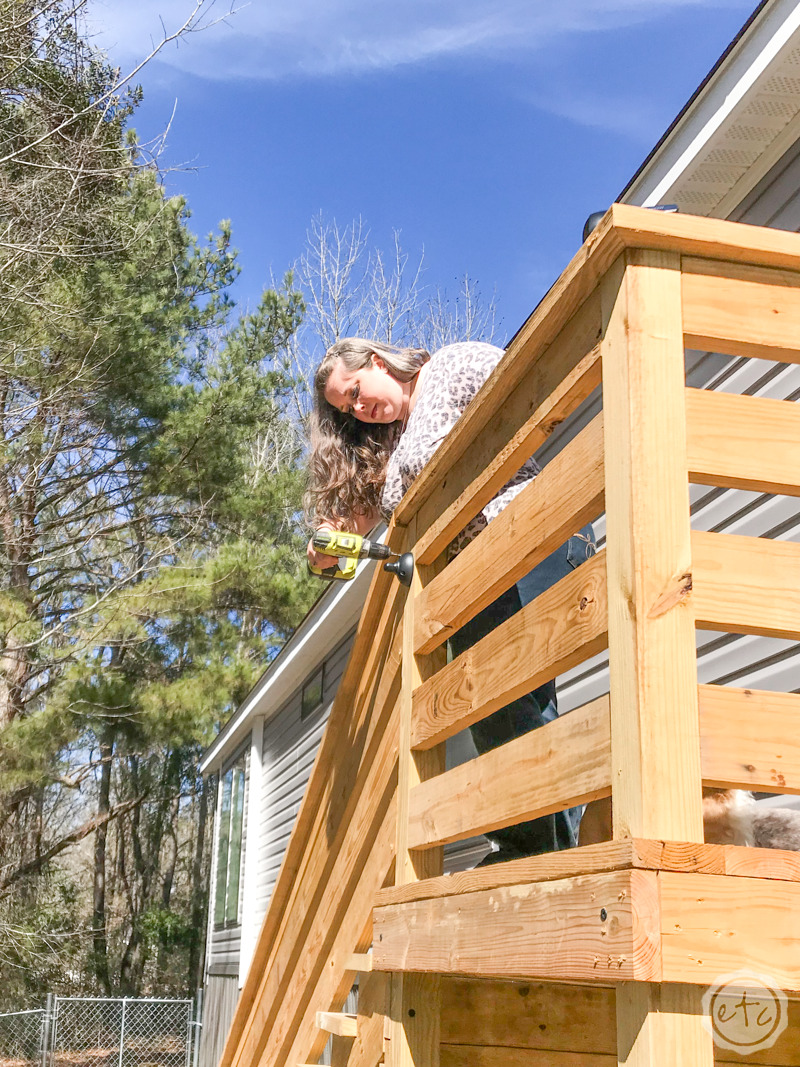
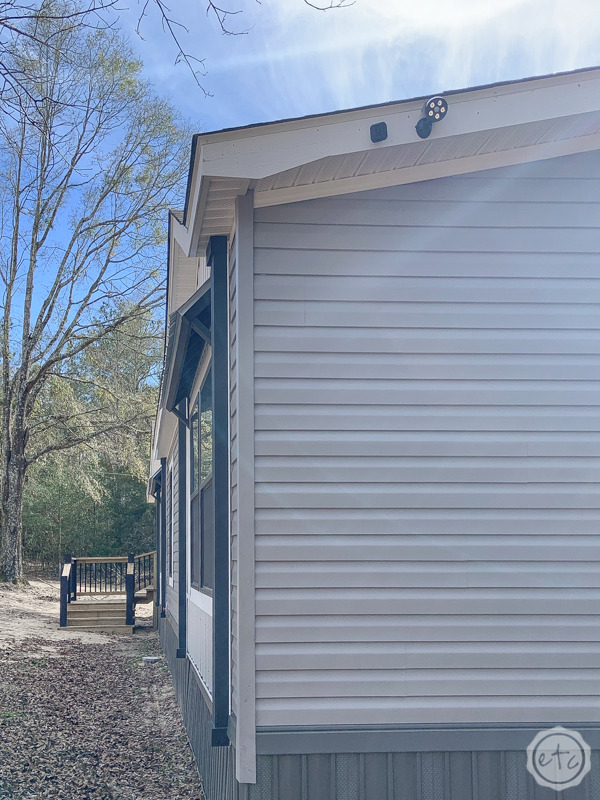
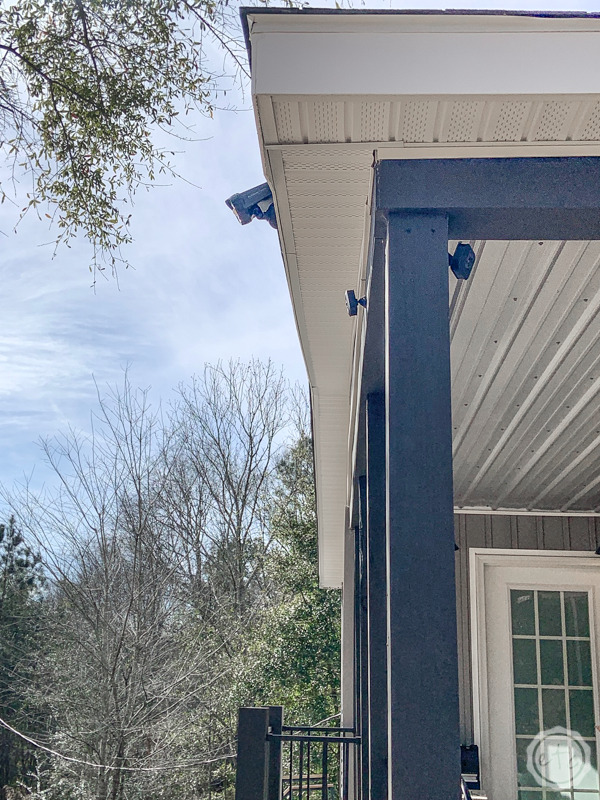
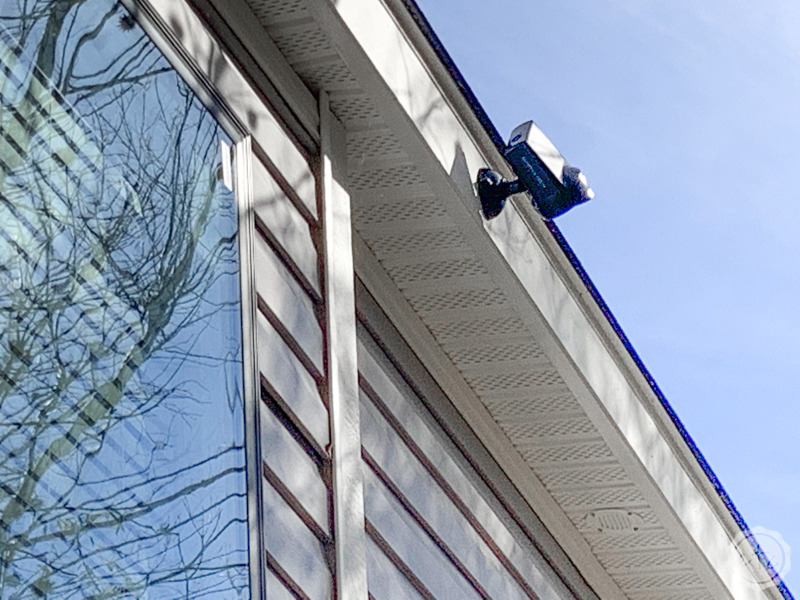
I installed these little lights all around my home: on the eves, on a power pole behind my house and on the back steps.
Since they install with screws you can really put them wherever you need a light… you aren’t restricted with mounting brackets.
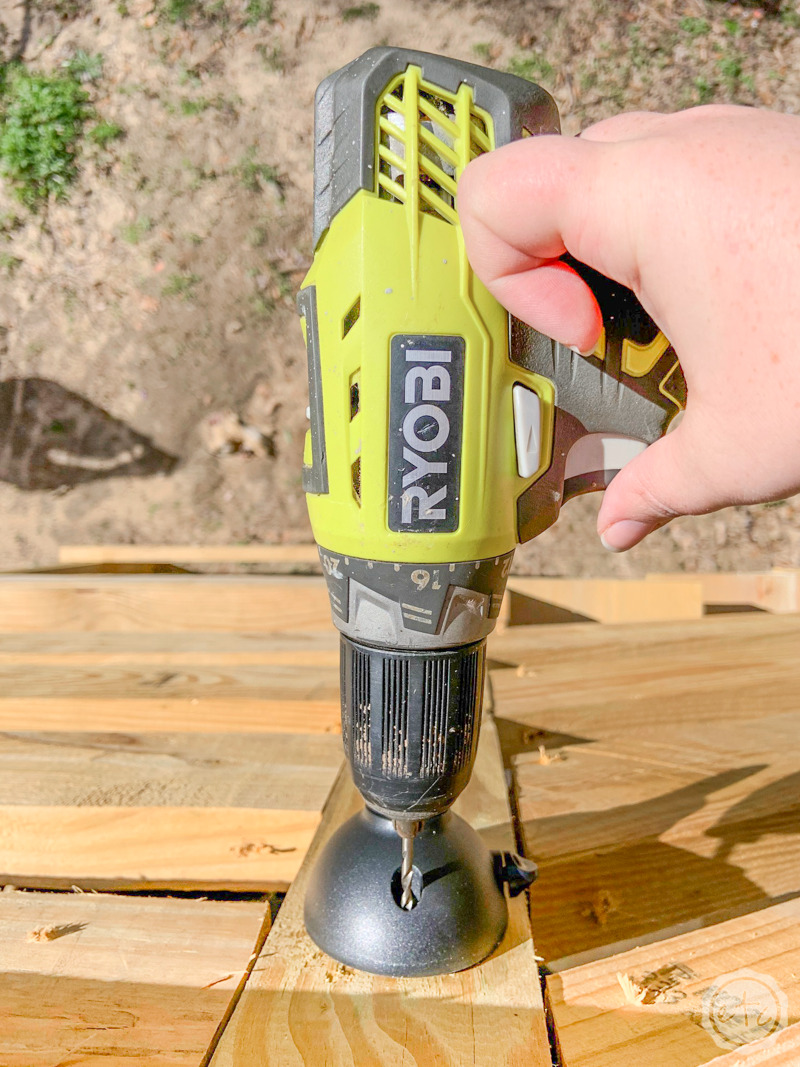
In order to make this quick and easy I grabbed a power drill to pre-drill holes for my mount. In this case I dismantled the torch so that the mount was separated from the light.
This made it easy to pre-drill all 3 screw holes though the mount.
Simply hold the drill steady and drill straight through all 3 screw holes. As long as you’re steady you won’t damage the mount and adding your screws will be much easier.

BONUS TIP: The only reason we’re dismantling our light is so that we can use our power drill. Without dismantling the light our drill is to big and bulky to reach right up to the mount! But once the light is dismantled the mount is easy to hold and the power-drill will fit directly up to the mount. Perfect.
Step 2: Attach your Mount
Now it’s time to break out the screws! Your kit will come with four screws instead of 3 (which is great when you’re on top of a ladder and drop a screw… or if you accidentally break one!) Let’s face it: extra screws are always a plus.
There are also drywall anchors in case you need them for the walls you’re mounting into. In my case I’m drilling directly into wood on my stairs, the power pole and the eves of my house… so I don’t need the anchors.
Instead I’ll use my screwdriver to add all 3 screws directly into the holes I pre-drilled in the last step.
If you have an extra long drill bit you can use your power drill for this bit but I couldn’t find mine… so a good old fashioned screw driver did the trick.
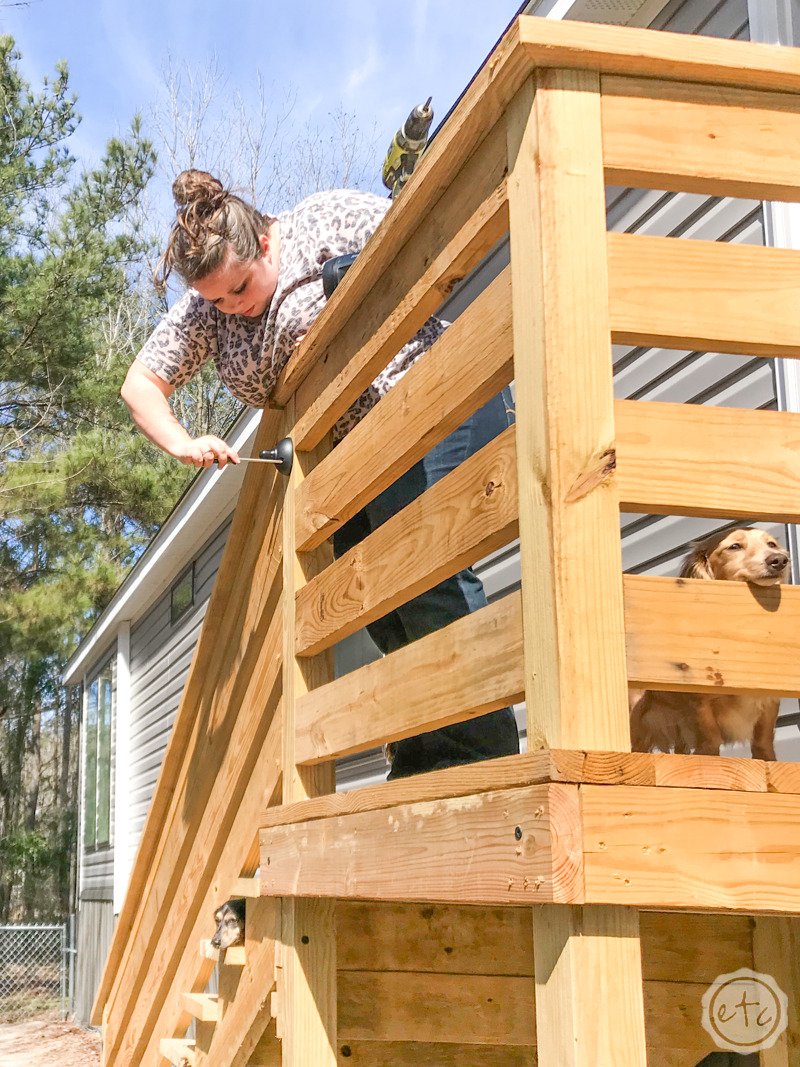
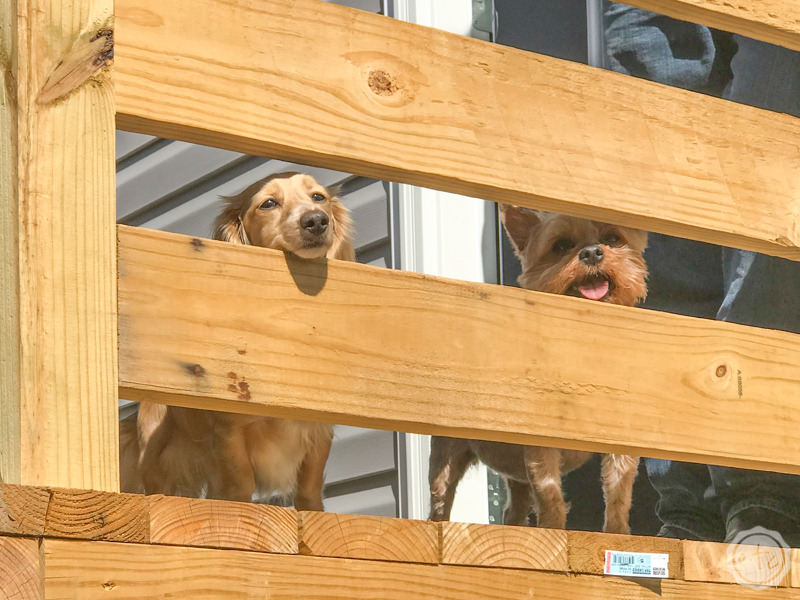
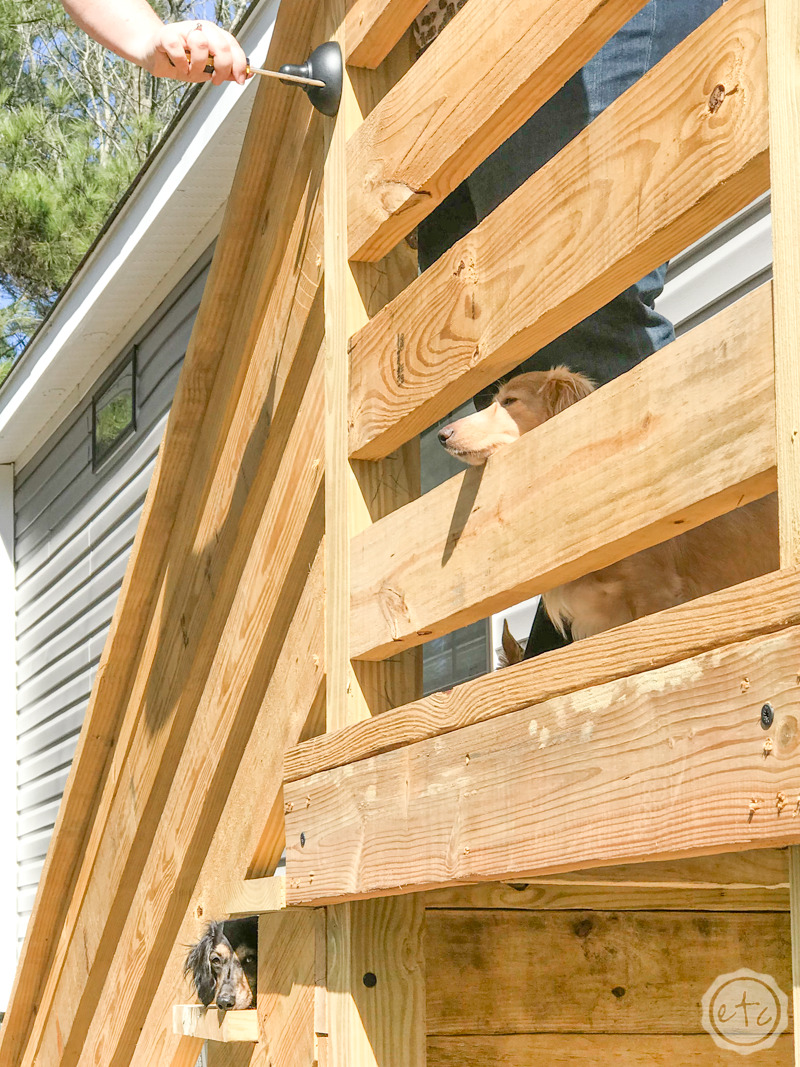
Bonus points if you have adorable four legged help!

Step 3: Re-Attach the Light
Now that your mount is tightened and in place it’s time to re-attach the light. Luckily this is an easy step… you simply have to place the light back on it’s axis and tighten the bolt.
Keep in mind when you’re doing this exactly where you want the light to actually shine.
Between the bolt and the full axis around which the light spins you can pretty much angle these bad boys any-which direction you like. It will be easier if you angle the light first and then tighten the bolt… then you won’t have to do it multiple times!
And that’s it!
Make sure that your light is switched to on… you wouldn’t want to climb back up that ladder later on if you install all of your lights turned off. Luckily there’s a button on the back and if your lights are fully charged they should come on when the button is pressed to on… if they’re not charged the lights will at least flash.
Now you’re done! Sit back and wait for nightfall to see how these bad boys work.
Look how snazzy they are! Honestly I don’t know why I waited so long… this project completely intimidated me and it was so quick and easy to do.
The entire process took 2 hours and that included mounting all 5 lights, 5 cameras AND filming the entire process.
Now tell me that wasn’t an afternoon well spent!
Ready to see them in action?
These little torches are super bright at night… they really light up the entire area they’re pointed at. Of course, they are torches so they won’t light up an area from corner to corner.
Instead they’re going to light up a large area of what they’re directly pointed at. Check it out:

Want another view?
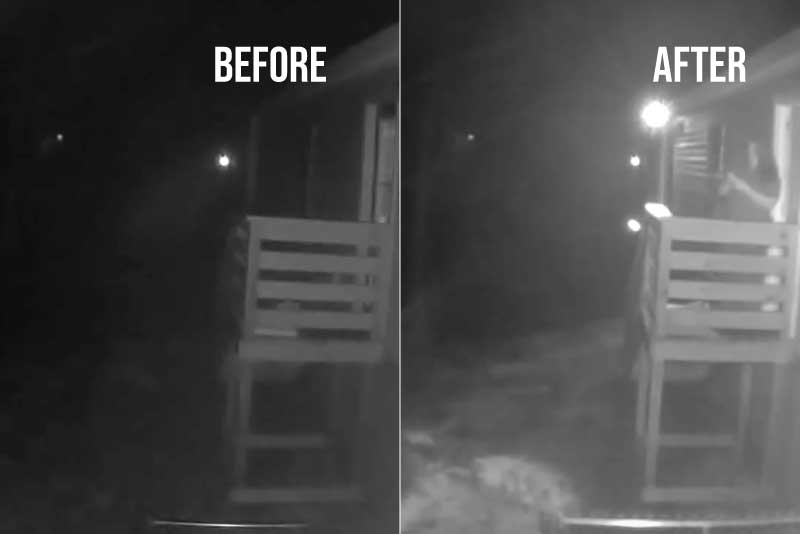
Above is the view from my security cameras in the back yard. The left side is the camera with night turned on… you can see the stairs but the entire yard is dark. I don’t think I could see a person in this space let alone my tiny dogs.
On the other hand the right side of the photo is with the guardian torches activated. Since they’re motion activated I walked outside and they automatically light up the space… not only can I see myself (hi me!) but I can see all 3 of my little dogs when they’re outside in the evening.
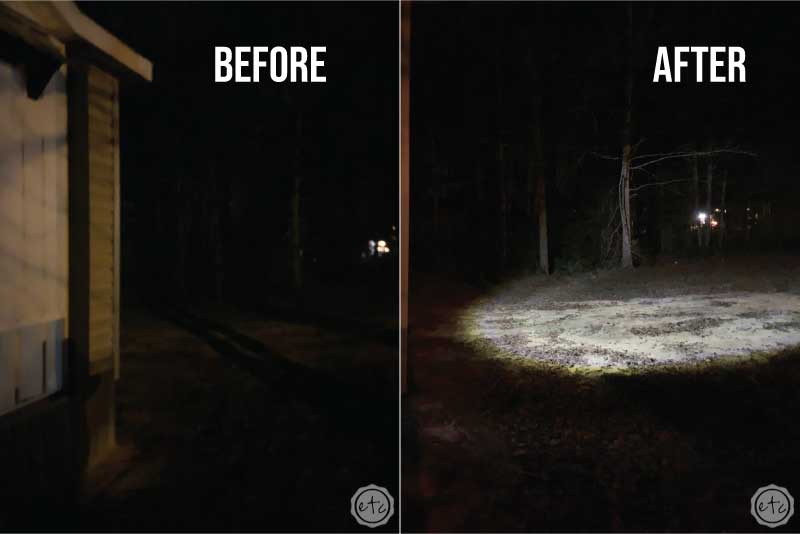
Of course, not everyone has night vision cameras installed. Here’s the left side of my house… in the left hand photo you can see part of the house but the entire side yard is dark. There could be a person 10 yards into this photo and I wouldn’t know.
But with the light activated I can see almost the entire area… and since these lights can sense up to 120 degrees around them they light up even if you’re not in the effected areas.
I know because I may or may not have tried creeping around the yard from all the different angles (including directly under the light by the house where it’s still dark)… the light still senses me and turned on.
Which is pretty cool.
All in all I’m pretty happy with how these babies work… and even more than that I like that I can see my babies when they’re in my yard.
Grab your Guardian Torch HERE.
You can use the link above or the Code: Betsy15 for 15% off guardian torches for your home!
Don’t forget to pin for later!


Leave a Reply