• House Tour
    • Reveals
  • About
    • Smith Life
    • Disclosure and Privacy Policy
      • Terms and Conditions
      • Store Affiliates
  • Contact Me
    • Want a Button?
  • Shop
    • Floral Printable Planners
    • Paint eBooks and Packages
    • Wedding Binders & Extra Printables!
    • Planner Bundles
    • Planner Accessories
    • Home Decor Printables!
  • Cart
    • Bloglovin
    • Facebook
    • Instagram
    • Pinterest
    • Twitter
    • YouTube

Happily Ever After, Etc.

Creating Our Own Fairytale

  • Happily Ever After, Etc.
  • Home
  • Home Decor
    • My Home
    • Paint
    • Before and After
    • Tablescapes
    • Mood Boards
    • Furniture
  • DIY & Crafts
    • New to Cricut – Start Here
    • Cricut
    • Resin
    • Scrapbooking
  • Organization & Planning
    • Organization
    • Planner
  • Holidays
    • Christmas
    • Halloween
    • Thanksgiving
    • Easter
  • Wedding
    • Cricut Wedding Projects
    • Free Wedding Binder
    • Bride Bag- The Ultimate Wedding Planner

DIY Snow Globes with Resin Christmas Trees

Hey y'all,

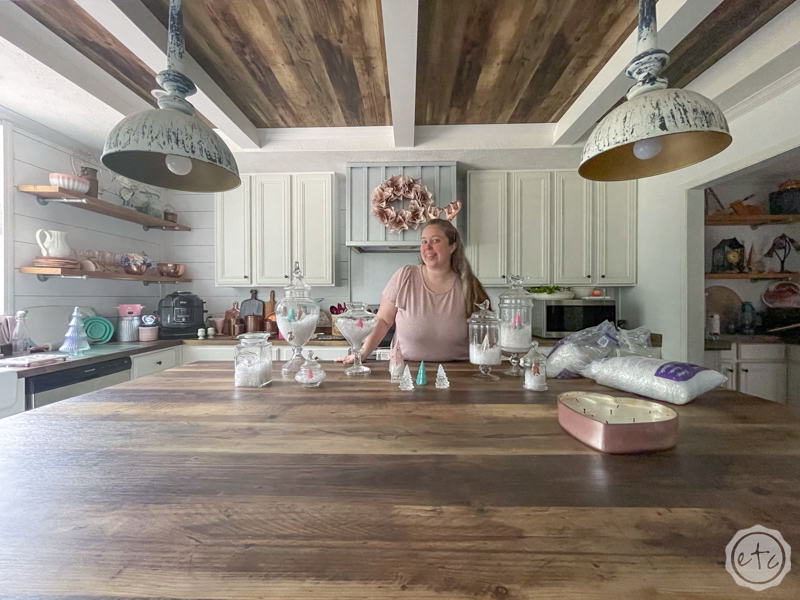
Ready for a quick, fun, almost tutorial free project? These little snow globes are so cute but they don’t take too much effort… 5 minute craft anyone?

We’ll start by making a few resin Christmas trees (that is not a 5 minute craft… although it really doesn’t take that long if you’re only pouring a single color) or you can grab a few mini Christmas trees here if you’d rather not make your own.

Then we’ll start on the snow globe portion!

Let’s do this!

Supplies:

  • Resin Christmas Trees
  • Glass Cloche
  • Fake Snow

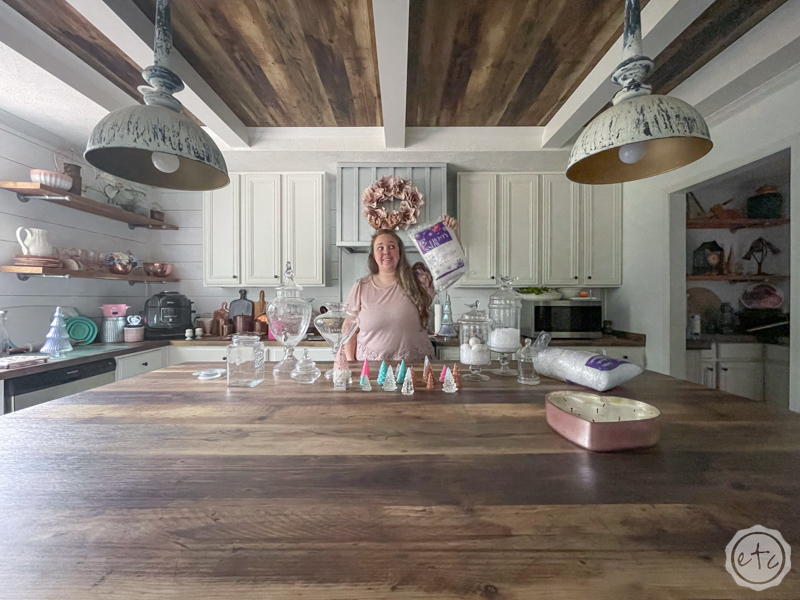
Just getting started with resin? Download my free resin supply list and make your first project today!

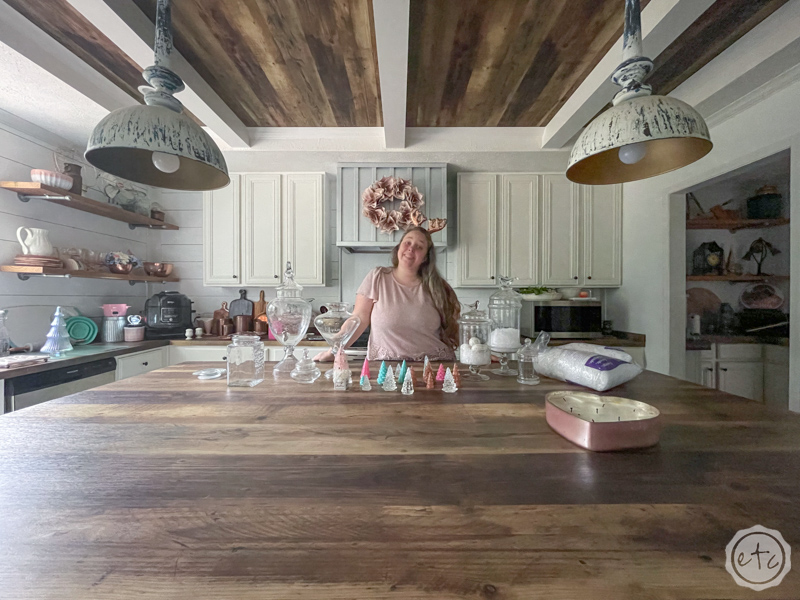
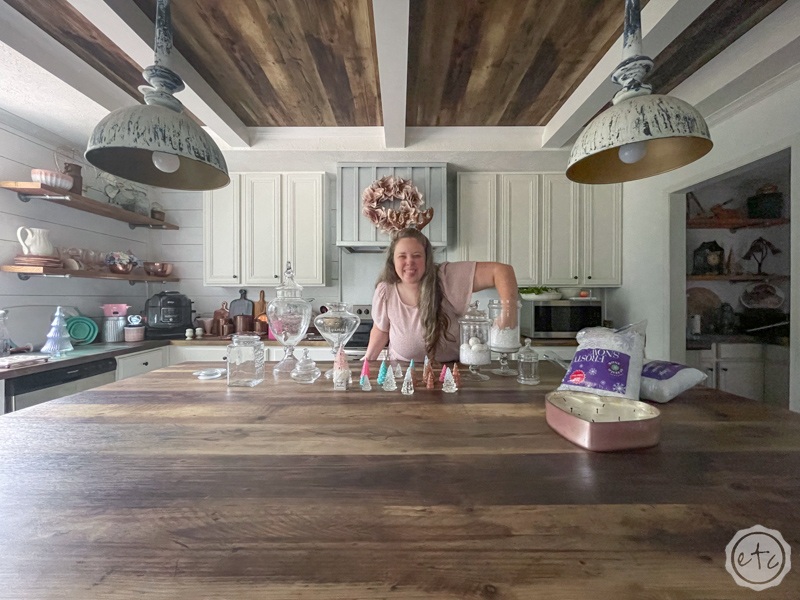
Step 1: Gather your Supplies

Half of this project is just gathering everything into one place! You’ll need your little trees, a few glass containers and fake snow.

A bit of glitter would be great too but you know… glitter makes the biggest mess! So use with caution!

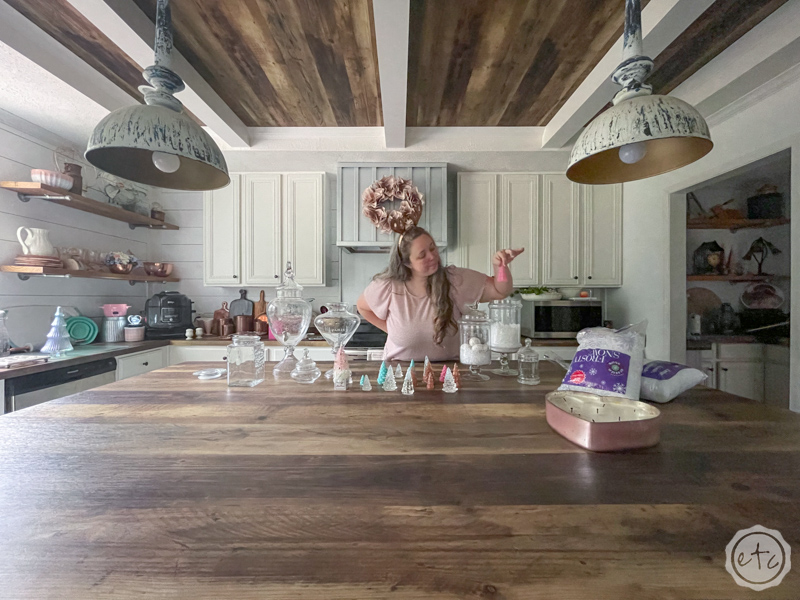
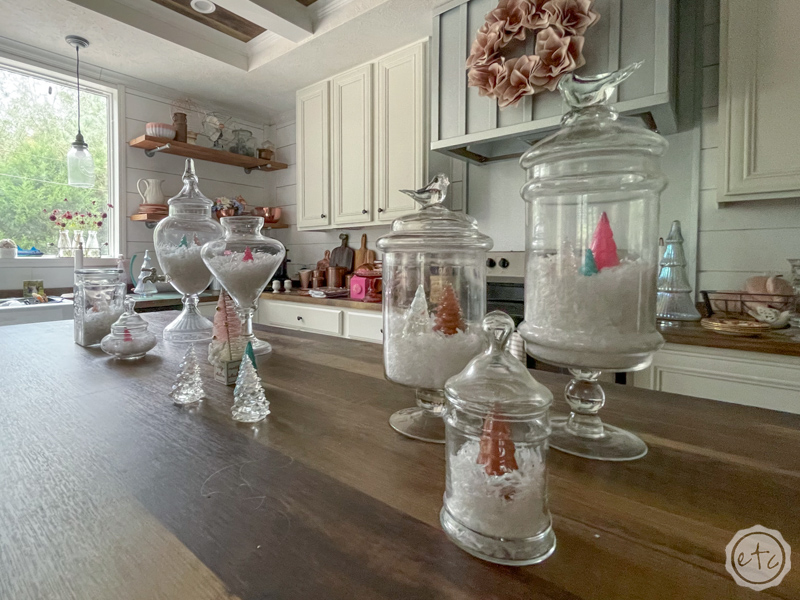
Either way we’ll get started… you can use mason jars, vases or glass cloches for your snow globes. I used a combination of glass pieces I already owned but if you’re starting from scratch you’ll want to use a few different heights and shapes to keep things interesting.

Once you have all of your supplies we’ll move on to assembling them!

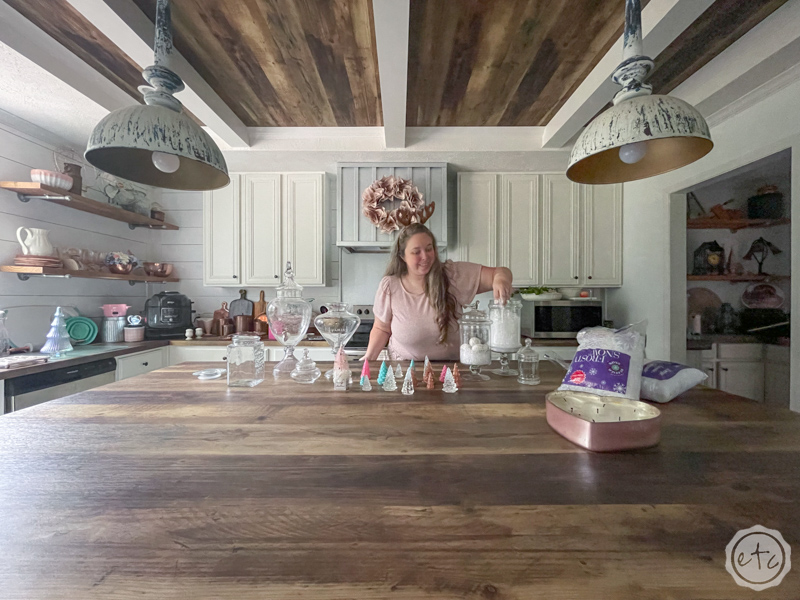
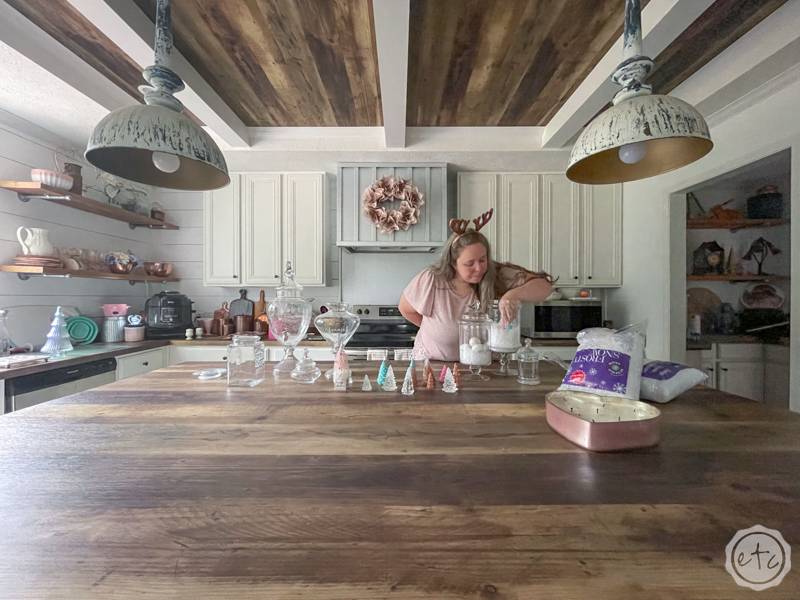
Step 2: Add your Fake Snow

Fake snow time! This stuff is almost as bad as glitter… but let’s face it glitter gets everywhere and fake snow only gets most places.

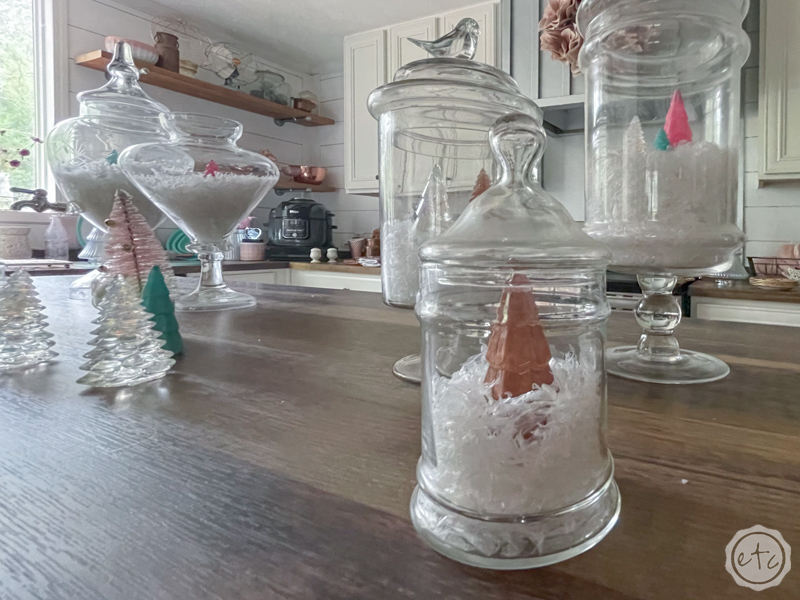
Go ahead and fill all of your containers 3/4 of the way full and then push it down so that it’s a compressed to about half way. If you just fill it half way the weight of your trees will push it down further leaving only the top of your trees showing.

Which is not the goal!

We want our trees to sit on top of the snow as much as possible… so fill those babies up!

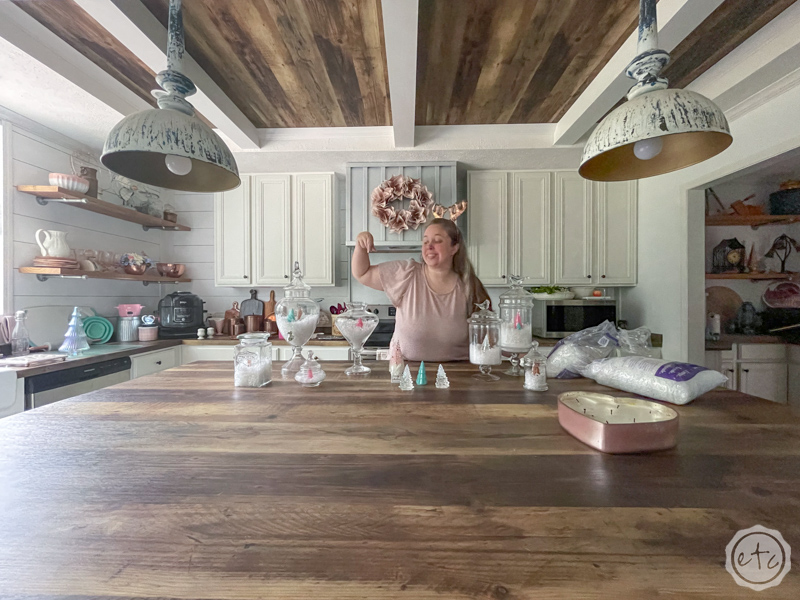
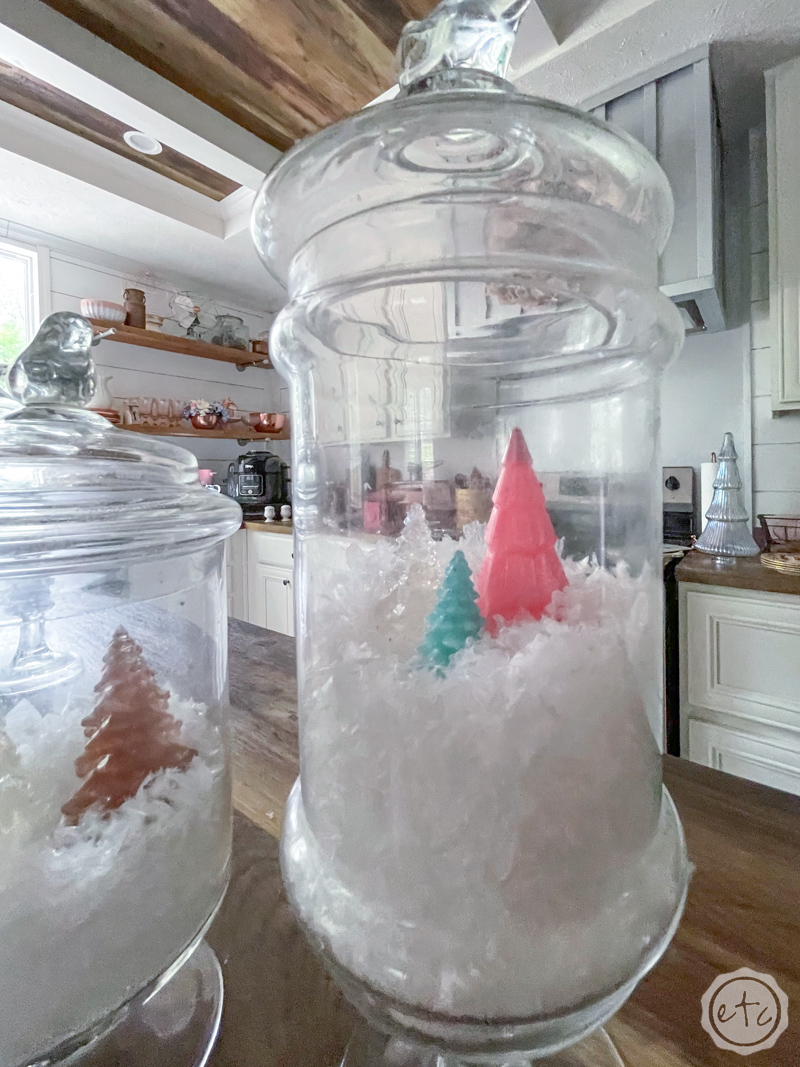
Step 3: Add your Resin Christmas Trees

Now it’s time to add our tiny resin Christmas trees!

As long as you pushed the fake snow down a bit the trees should sit mostly on top of the snow. You can arrange the trees in your containers and then fluff the top of snow up just a bit so that the trees are sitting in a snowy wonderland.

Sooo cute!

Step 4: Enjoy!

And that’s it! Container, SNOW, Trees… repeat!

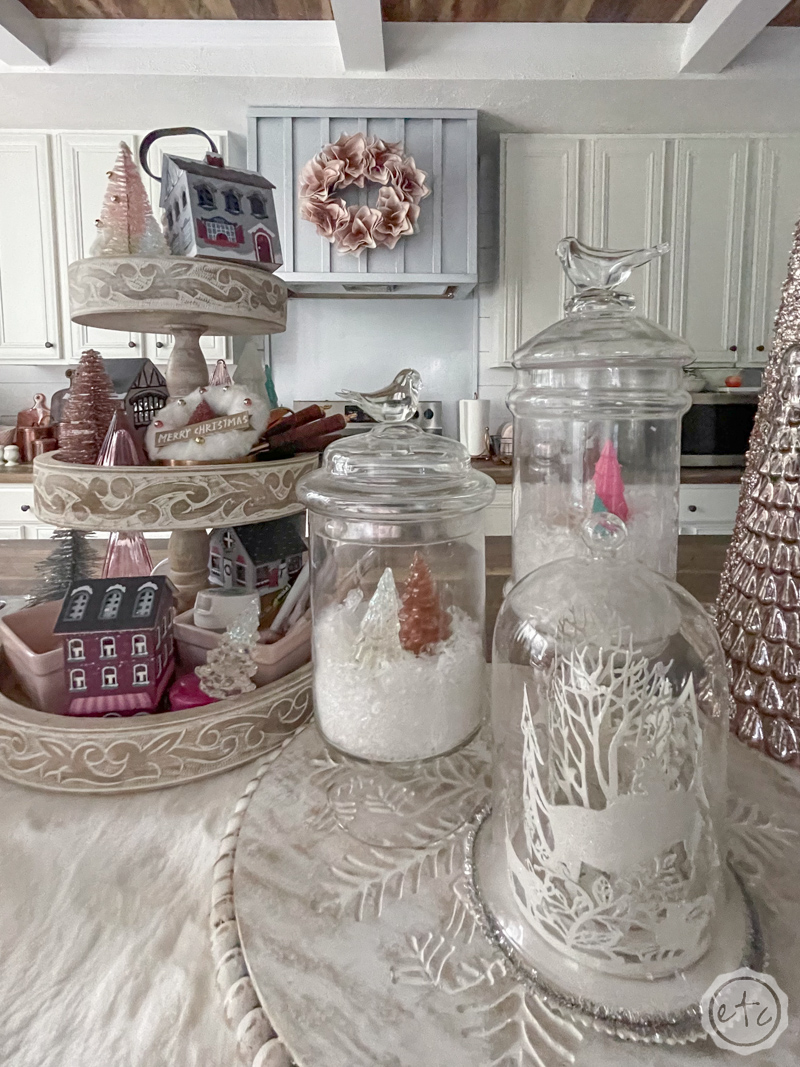
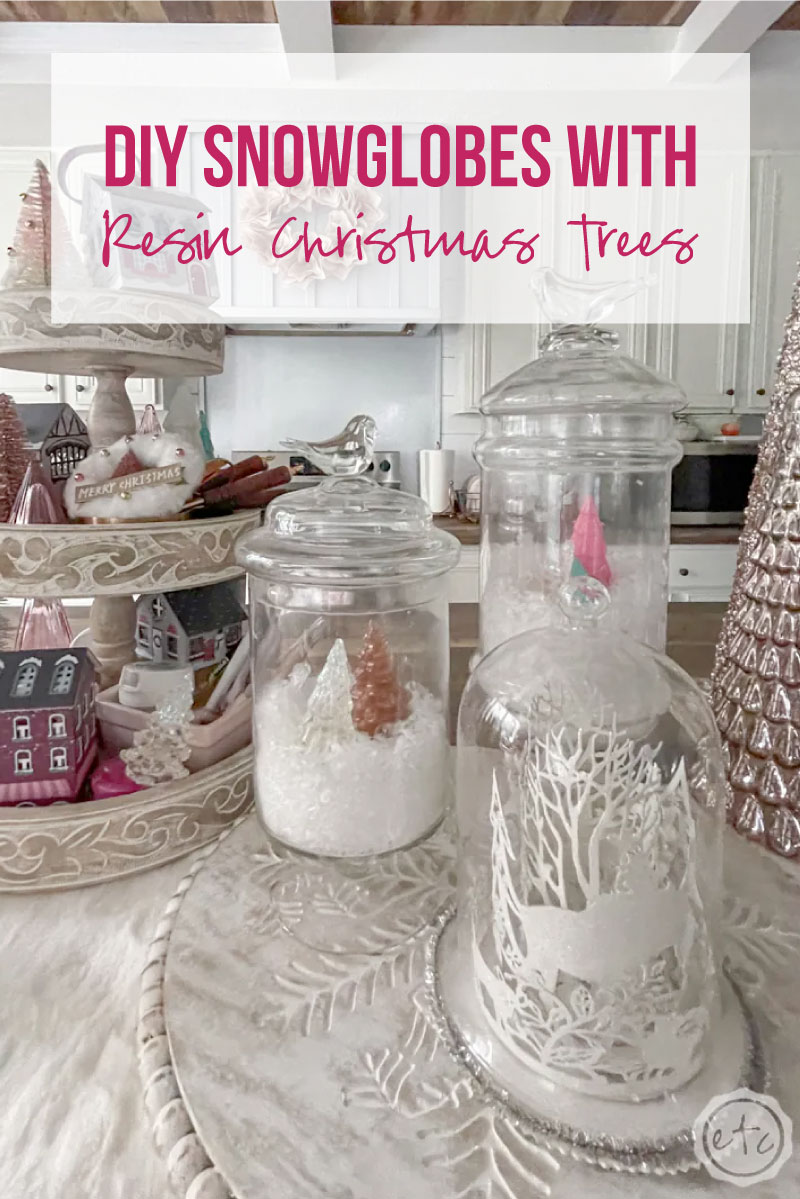
They turned out soooo cute! I especially love the little trees in the drink dispenser! After the holiday season I’ll clean these babies out and they’ll go back into service holding drinks, bath bombs in my bathroom, craft supplies in my office and even soap by the kitchen sink.

Until then they’re adorable snow globes for Christmas!

Plus they go perfectly with my little winter wonderland glass cloche! The cut files for that Cricut project are a beast!

Looking for more resin projects? I’ve got you covered!

You made it through the entire post? That means you're one of my new favorite people! I'd love to be friends and see what else you would like to read about! Leave me a comment and then sign up for your very own FREE paint planner.... so that you can keep track of every single paint color with ease!
Welcome back! I'd love to be friends and see what else you would like to read about! Leave me a comment and then sign up for your very own FREE paint planner.... so that you can keep track of every single paint color with ease!

Show me some LOVE y'all:

  • Click to share on Facebook (Opens in new window) Facebook
  • Click to share on Pinterest (Opens in new window) Pinterest
  • Click to share on X (Opens in new window) X
  • Click to email a link to a friend (Opens in new window) Email

Related

«
»

Resin 0

Leave a Reply Cancel reply

Your email address will not be published. Required fields are marked *

sidebar betsy I'm Betsy, Home Decor Enthusiast, Yorkie Mama, Crafter, Blogger, Picky Eater, Chief Mess Maker, Antique Hoarder and Graphic Designer. You can generally find me working on (attacking with a paintbrush) the 3 bed, 2 bath home we are currently renting! Our home might not be perfect but it is ours & if you hang out long enough you'll see that what we lack in know-how we make up for in passion!
Shop My Craft Room

Shop My Home

Featured Articles

15 Fabulous Ideas to Organize your Laundry Room
25 FREE Printables For Your Home!
What to do with EXTRA Paint with Happily Ever After Etc
10 Ways to Make Your Bed EXTRA Comfy with Happily Ever After Etc.
Ready to Pick your Perfect Paint Color? We'll help you with our 6 Day FREE E-Course

Hey y’all,

Profile

I'm Betsy, Home Decor Enthusiast, Yorkie Mama, Picky Eater, Chief Mess Maker, & Graphic Designer...

A Little Note!

Many of the links on Happily Ever After, Etc. are affiliate links. If you purchase a product after clicking an affiliate link, I receive a small percentage of the sale for referring you, at zero cost to you! How awesome is that? Purchasing through affiliate links is an easy, painless way to help out your favorite bloggers. Thank you so much for your continued love and support! Read the full disclosure here!

Instagram

Follow on Instagram

Copyright © 2025 · Darling theme by Restored 316

Copyright © 2025 · Darling Theme on Genesis Framework · WordPress · Log in · Privacy Policy