


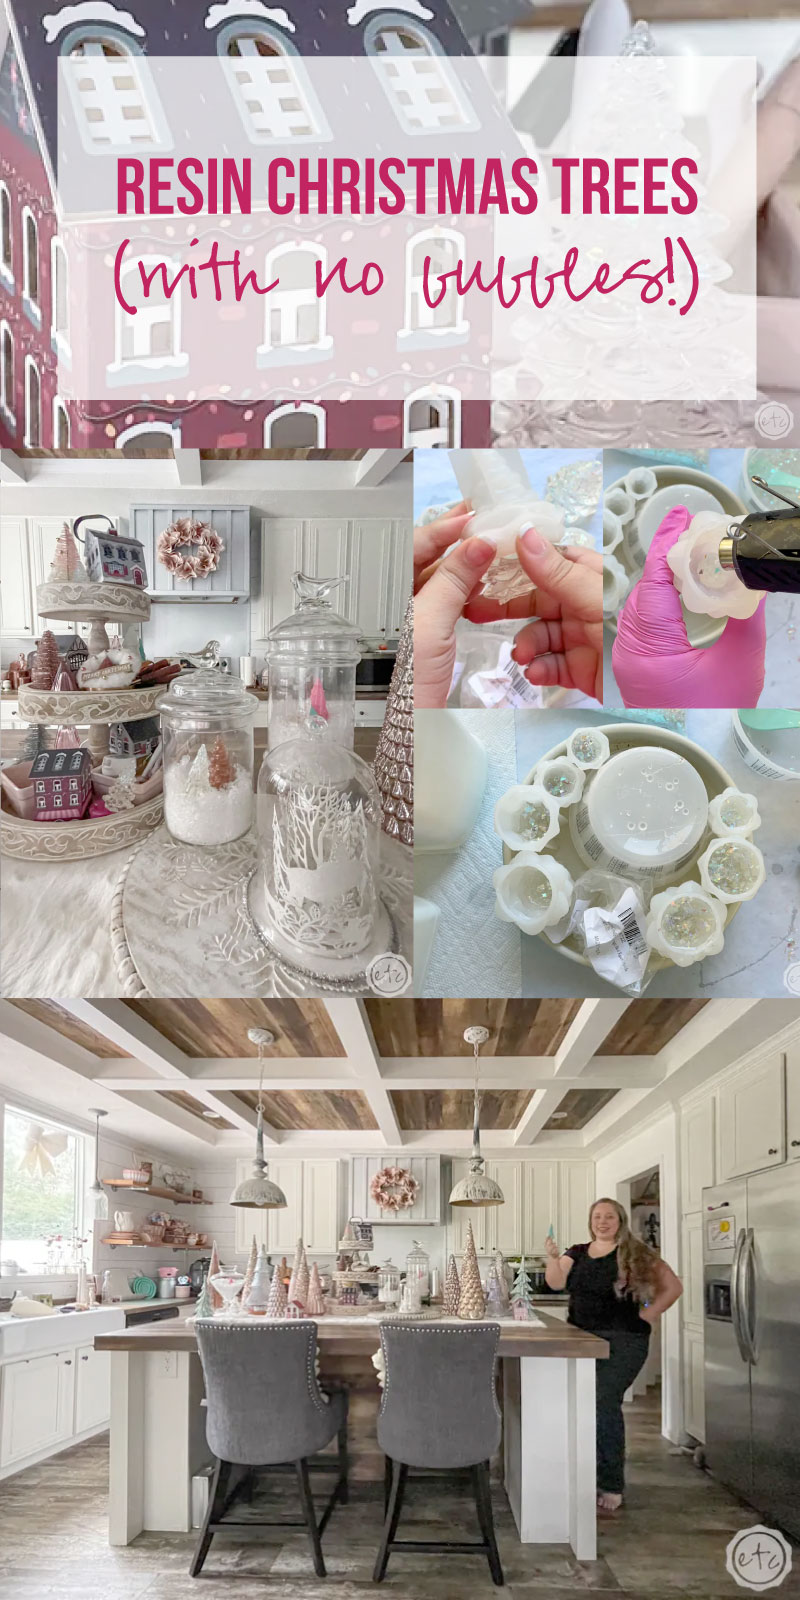
Ready for a fun Christmas project? TINY, RESIN, CHRISTMAS TREES!!! They’re so sweet and I love that you can make them in so many colors… they would look adorable with lights embedded in them. Maybe a resin Christmas tree garland?!
I’m getting ahead of myself though… today we’re going to make a few resin trees in different colors to go inside the pretty glass cloche Christmas snow globes on my kitchen island. Because nothing is more magical than a Christmas tree!
Okay maybe that’s a little far but you get the idea… let’s get started!
Supplies:
- Thickset Deep Pour Epoxy
- Silicone Christmas Tree Mold
- Respirator/Mask (resin graded filters)
- Gloves
- Wagner HT400 Heat Gun
- Freezer Paper
- Silicone Mat
- Baking Pan
- Heart Shaped Silicone Mixing Cup
- Small Mixing Cups
- Silicone Measuring Cup/Larger Mixing Cups
- Reusable Silicone Stir Sticks
- Toothpicks
- Paper Towels
Just getting started with resin? Download my free resin supply list and make your first project today!
SO here’s the thing… I’ve done this project before. I’ve written a post all about making adorable Christmas trees out of resin… I believe I even filmed a video about it. And those trees did turn out super cute… I still use them every year in different ways (like mixed in with the mercury glass trees on my dining room table).
BUT while some of those trees turned out great the silicone mold for this project came with two trees… a straight sided tree and one with curved branches. And only the straight sided tree turned out fabulous with the normal 1:1 ratio resin I typically use. All of the curved trees had horrid bubbles turned holes in the tips of their branches.
I mean… the photos speak for themselves!
Ideally you would use a pressure pot (or chamber) to expel all of the bubbles from the resin for a smooth pour on a small project with cavities like this one. But I don’t have one of those… so instead we’re going to pour today’s trees with a thickset resin that cures slower and helps to release bubbles… and see if that works!
A little experiment if you will… let’s get started.


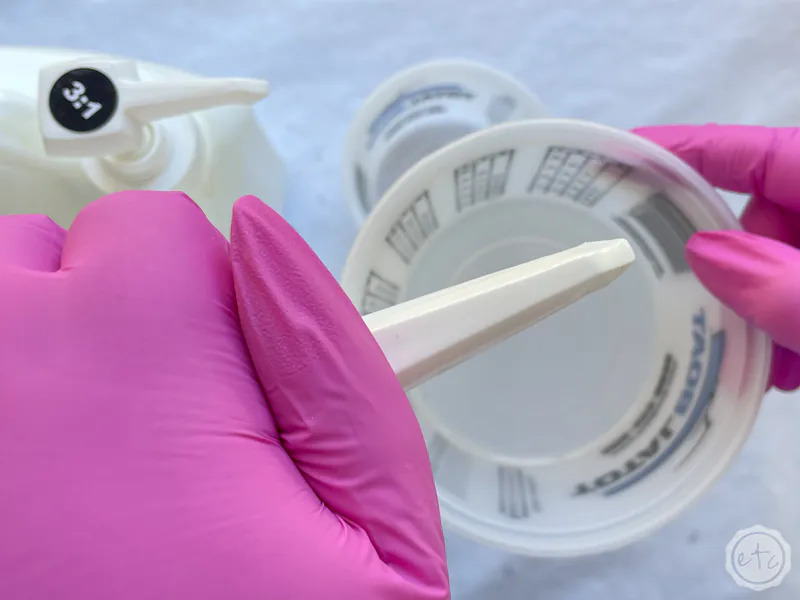
Step 1: Mix Your Resin
Ready to roll? We won’t need toooo much resin for this project (the trees themselves are pretty little) but our thickset epoxy does have slightly different proportions than our normal 1:1 MakerPoxy. In fact this resin is a 3:1 ratio. Which means we need 3 parts of A for every 1 of part B. These are equal parts so 3 ml of part A for every 1 ml of part B.
So if we need 400 ml we’ll pour 300 part A and 100 part B.
Luckily the math is not that hard… but if you want to simplify it you can use pumps like I do. They’re already set for the 3:1 ratio so instead of 3 pumps of A for every one pump of B you’ll pump A once and B once… the pumps themselves will measure everything equally. Which is killer.
So for this project I made 4 big trees and 3 little trees at a time… and used about 500ml for this. For 2 big trees and 2 little trees (which is what the mold set comes with) I would start with 300ml. Those big trees take more than you think!
From here it’s just a mixing game… pump your resin into a mixing cup until you have 500ml and then use a silicone stir stick to mix everything for 3 minutes. Then transfer the entire mixture to a new cup and mix for an additional 3 minutes. The Thickset epoxy will give you these directions right on the side of the bottle so if you’re ever confused on what to do for a new type of resin don’t worry… the instructions are right there.

Bonus Tip: If you’ve never mixed resin before it’s not nearly as intimidating as you’d think! I’ll walk you through all the steps here in my How to Mix Resin for Beginners Tutorial.
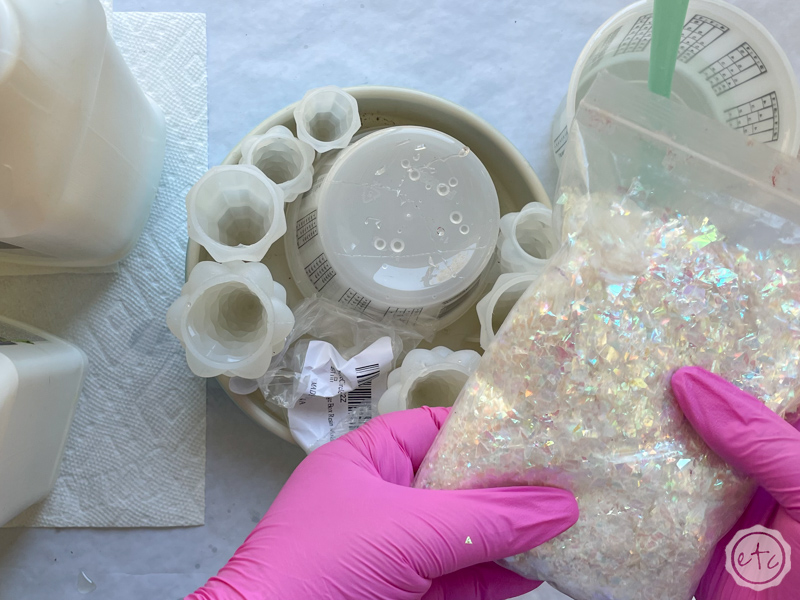

Step 2: Pour your Resin into your Silicone Mold
Once everything was mixed I added a few iridescent flakes to keep things interesting and then started to pour my resin into each mold.
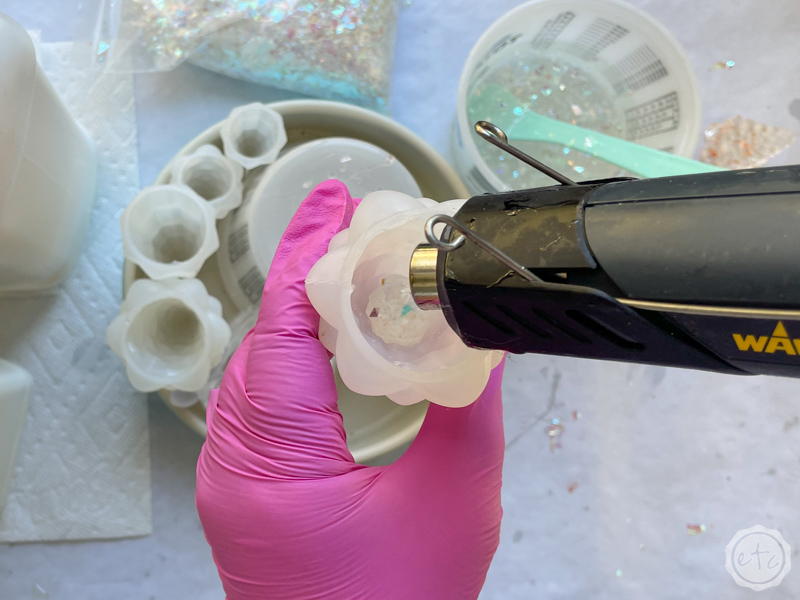
You’ll want to pour from a high distance in a thin stream (to help minimize bubbles entering the molds) pour slowly and let the resin carefully fill each branch.
After the first tree is filled about 1/3 of the way I move on to the next tree… filling each tree and then waiting a few minutes for as many bubbles to come to the surface as possible. Hit those bubbles with your heat gun and then pour another 1/3 layer… copy, repeat until all of the trees are full!
Then it’s just a matter of setting these babies aside to cure for 24 hours.
NOTE: You may notice that while each tree can stand individually I placed them all in a baking tray with a mixing cup to help them stand up… that’s because while they can stand they’re not very good at standing. And since I need to pick these babies up and take them inside to cure they need to be mobile… this works best for me. If you’re able to pour and then leave your pieces in one spot it may not be necessary… but whatever works!


Step 3: Un-Mold your Piece
Ready for the magic?
Once everything has cured we can go ahead and start releasing the trees! Which is the most epic sentence ever!
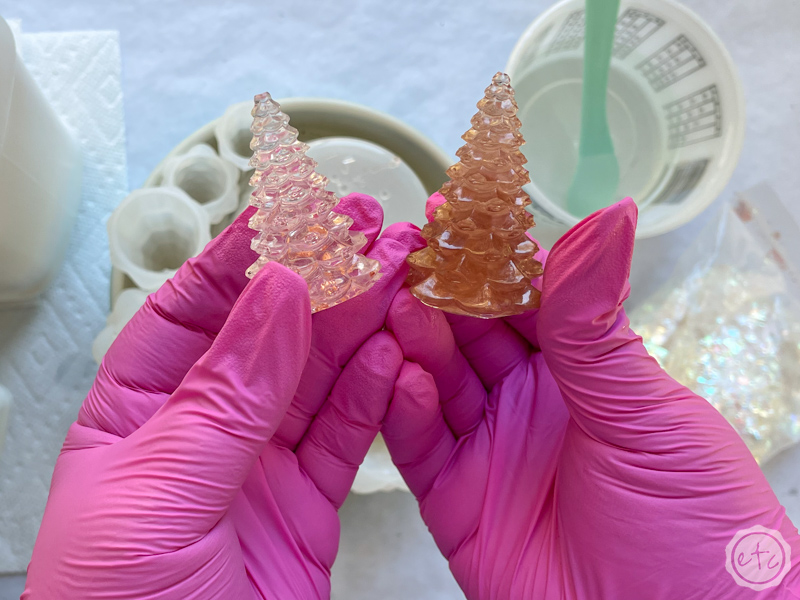
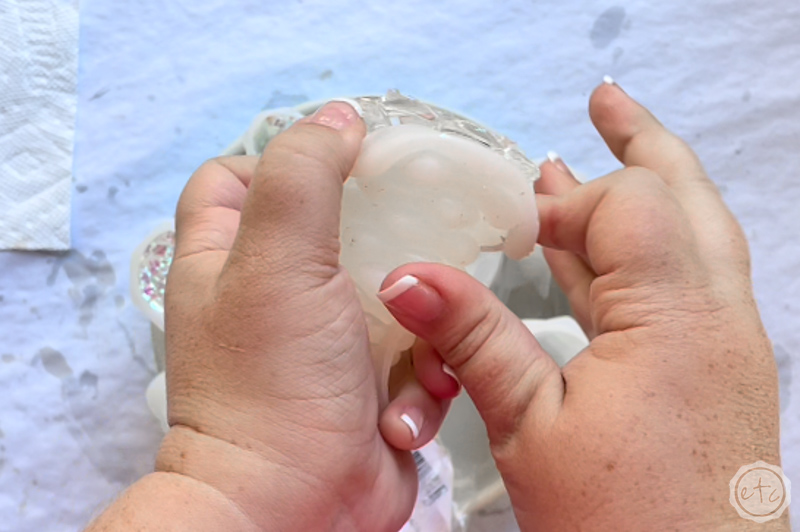
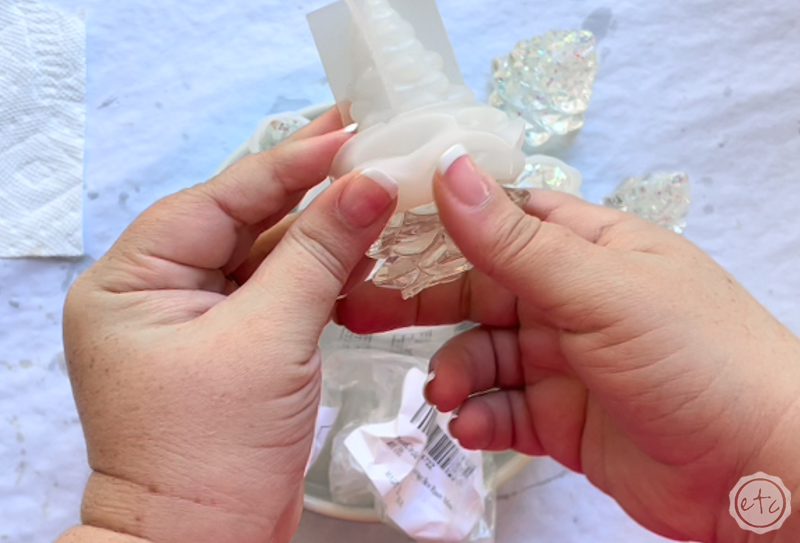
These little trees aren’t super difficult to un-mold but they’re definitely not easy. Start by peeling back the silicone and if possible rolling it away from the resin. Once you can get it started rolling it’s easy enough to roll it all the way down and off your tree.
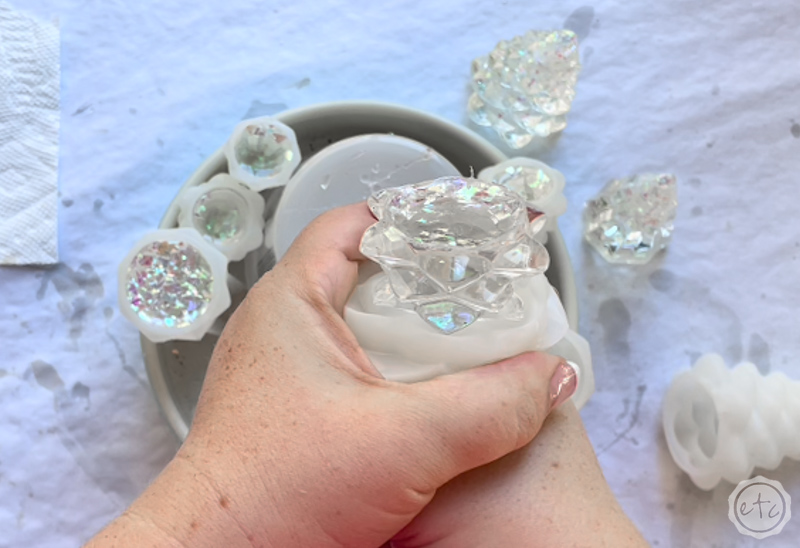
PLUS at this point you can see that it worked and our little curvy tree branches have EDGES! Not broken air pockets!
WHICH WAS THE WHOLE GOAL! I’m so excited!
It wasn’t 100% perfect but of the 7 trees I made only 2-3 branches (branches… not trees) had broken tips. Which is way better than the original trees where 90% of the branches on each tree were broken.
I’d say that’s a win!

Step 4: Enjoy!
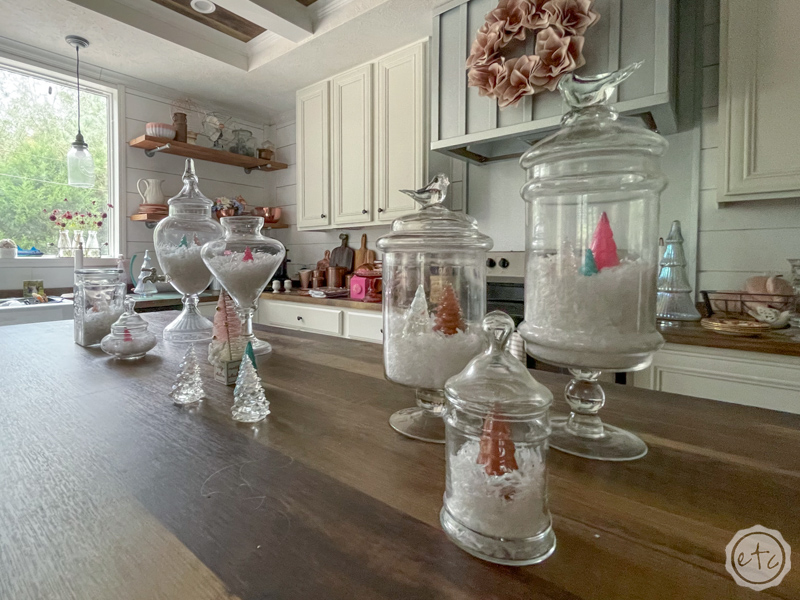
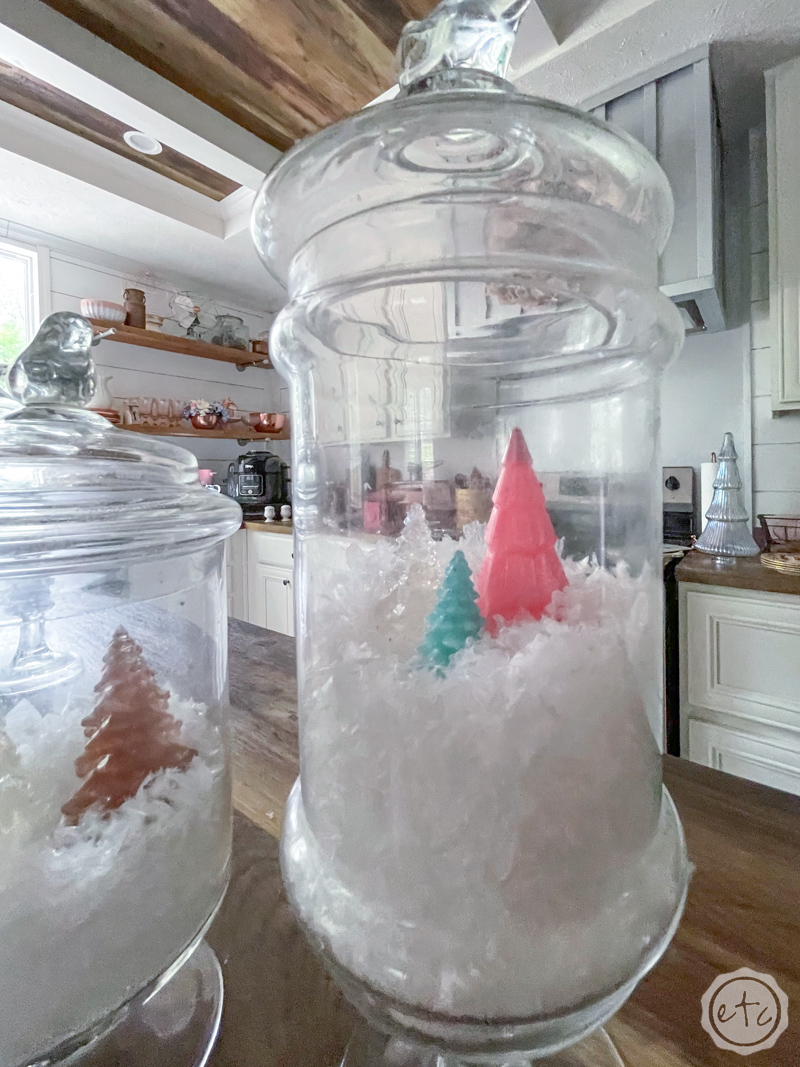
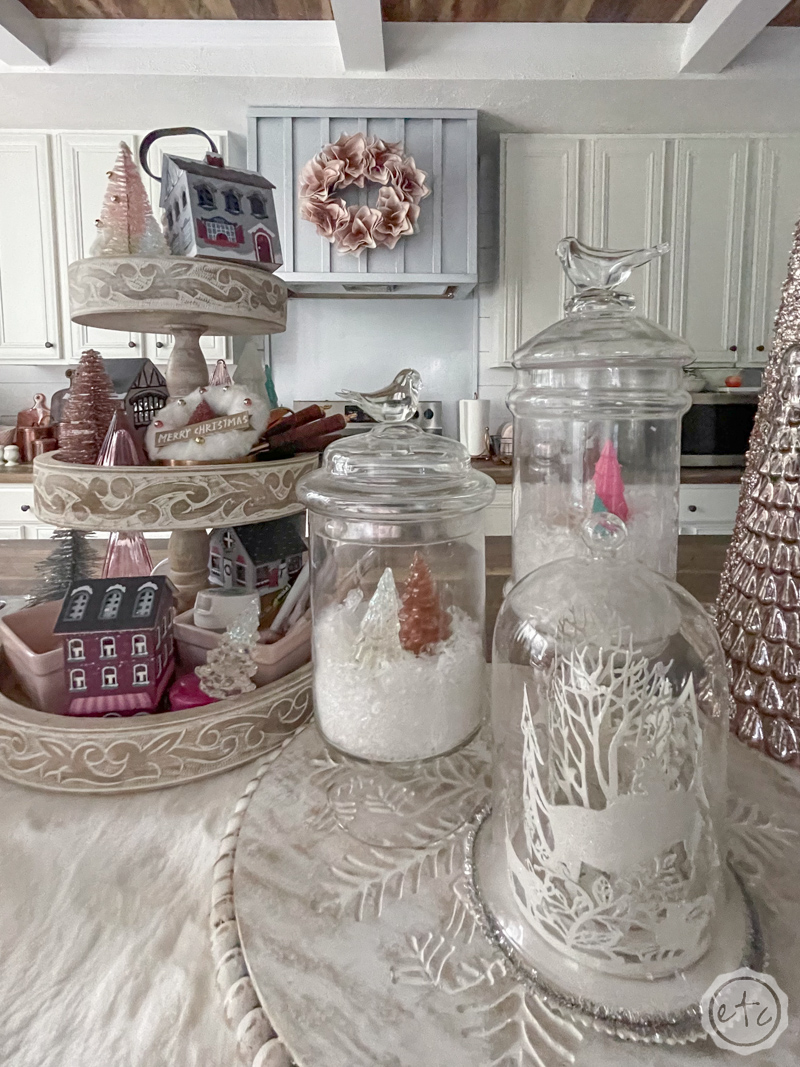
At this point I added a few to my 3-tiered tray and a bunch to my glass cloche snow globes!
They look soooo festive!
You can see that I went on to make a few pink trees and seafoam trees to go along with my iridescent trees… rounding everything off with a few pretty copper trees from the first batch.
I’m so happy with how these turned out. Just take a look at the photos!


Looking for more resin projects? I’ve got you covered!


Leave a Reply