


It’s no secret that I LOVE resin… I’ve made countless resin projects at this point! Most of the time I lean more towards pretty pieces (like the Merry Christmas sign/wreath I made for my front door) or pretty and functional pieces (like this resin serving tray) and while either of these would be a great Christmas present for someone who loves to decorate I wanted to make a few resin gifts for the other gals in my friend group. Those who appreciate something they could wear, more than something they can display.
So I grabbed a few silicone molds and started to make Christmas gifts! This is a simple project that you can make (even if you’ve never mixed resin before) and it’s so easy you’ll be able to make multiple gifts in one go… 5 minutes for 6 resin presents? Yes, please!
Let’s get started!
Supplies:
- Total Boat Makerpoxy Epoxy Resin
- 1ml Plastic Syringe
- Bracelet with Links Silicone Mold
- Earring Silicone Mold (comes with earring hooks)
- Copper Testers Brand Paint
- Rose Gold Foil Flakes
- Respirator/Mask (resin graded filters)
- Gloves
- Wagner HT400 Heat Gun
- Freezer Paper
- Silicone Mat
- Baking Pan
- Heart Shaped Silicone Mixing Cup
- Small Mixing Cups
- Silicone Measuring Cup/Larger Mixing Cups
- Reusable Silicone Stir Sticks
- Toothpicks
- Paper Towels
Just getting started with resin? Download my free resin supply list and make your first project today!
Step 1: Mix Your Resin
First things first… before we start mixing we need to prep our work station. That means freezer paper for our workbench, gloves for our hands and a respirator for our face! Seriously y’all… I know this is a small project but put a respirator on your face.
I work outside (since you need a well ventilated space for resin and this is my easiest solution!) so I grab a baking pan and silicone sheet so that I don’t have to carry tiny earring molds full of resin inside to cure once we’re done. Until it’s cured liquid resin spills easily so if you’re moving it from point a to point b…. a baking pan with edges is your friend here.
It can’t stay on the front porch to cure or things might get wonky (both temperature and dust wise… have you ever found a fly in your cured resin? I have!)
Once you have on your safety gear and are in your well ventilated space we’ll start mixing!
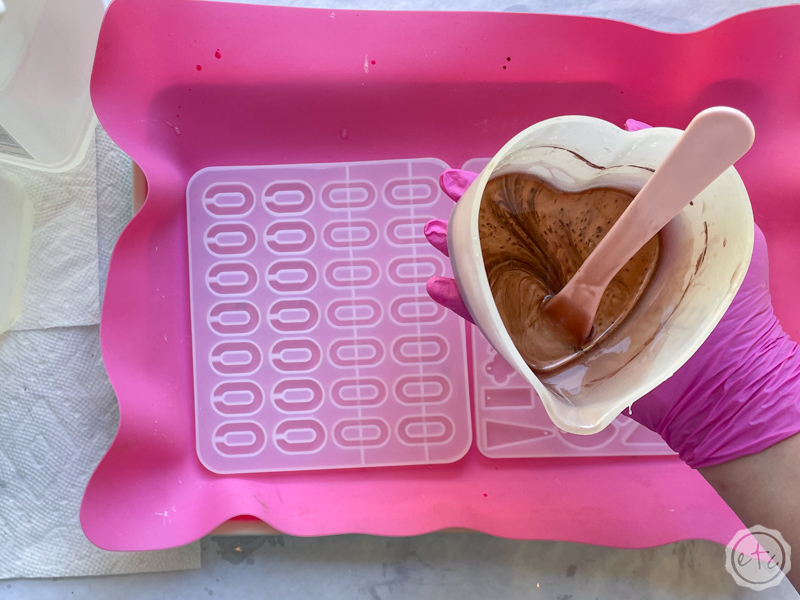
You don’t need much resin here… about 50 ml of resin for 2 bracelets and 3-4 sets of earrings. If you want to make more you’ll need more… but 100ml should easily fill both molds with a little left over if you just want to go for broke. MakerPoxy is a 1:1 ratio so you’ll need equal parts of a and b. Add both to your mixing cup and then mix those together slowly and thoroughly for 3 minutes, pop any bubbles that have come to the top and we’re good to go!
Quick reminder… once you’ve mixed your resin for the initial 3 minutes you can add your colorant. You can make your pieces whatever color you like… add gold leaf flakes, go for clear resin with flowers BUT I decided to make it easy on myself and make everything copper. That way I know it will all coordinate together. I added a few drops (10% colorant to 90% resin) of copper paint to my resin and stirred until it looked consistent.
Perfect, darling!

Bonus Tip: If you’ve never mixed resin before it’s not nearly as intimidating as you’d think! I’ll walk you through all the steps here in my How to Mix Resin for Beginners Tutorial.
Step 2: Pour your Resin into your Silicone Mold
Are you ready to pour?!?! Now that our resin is ready to go we need to pour it into our mold before it cures… we probably have about an hour of work time… although with these small molds you want to use it sooner rather than later. Tacky resin is hard to pour!
Luckily it won’t take us nearly an hour to pour these molds so we’re good to go.
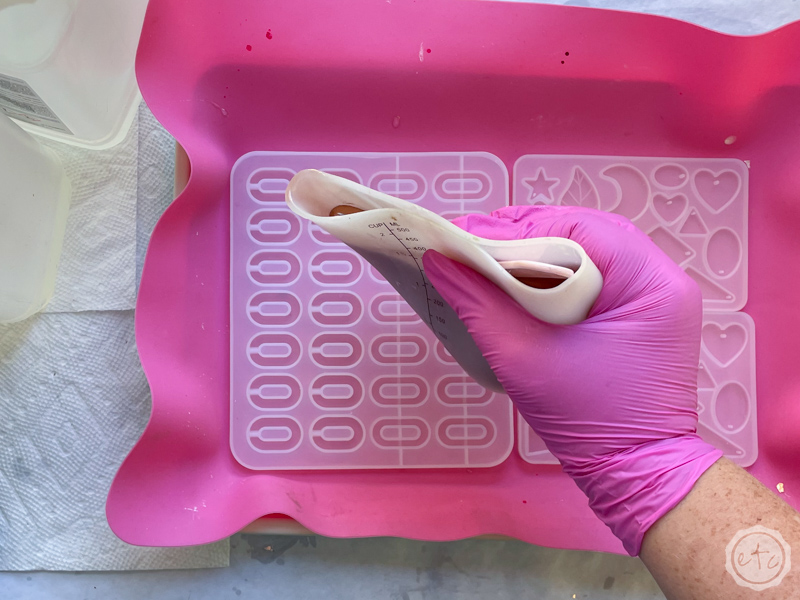
If you’re using a smaller cup you may be able to pour your resin directly into the silicone mold… I was also using this copper resin for a cute little mushroom jar for fall so I had quite a bit in my cup.
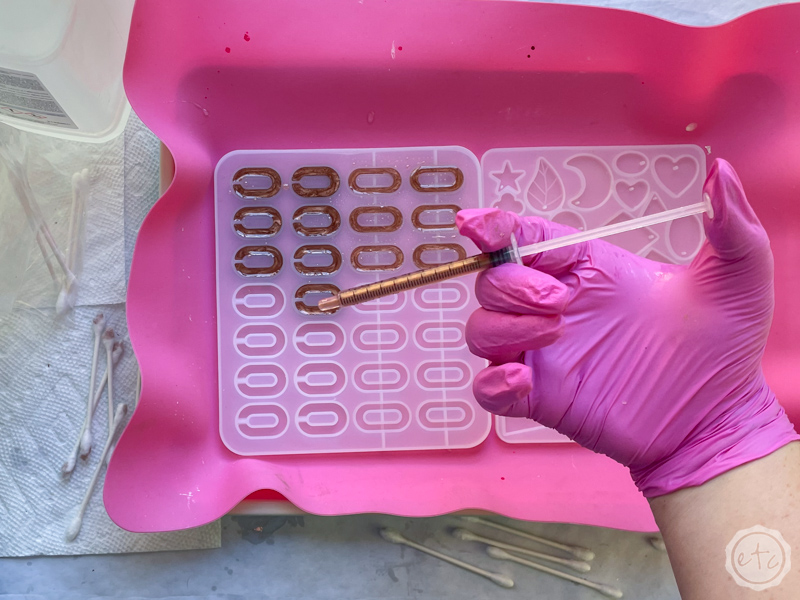
I found pouring it into the tiny cavities from the larger silicone cup to be difficult. So instead of cleaning up spilled resin every five seconds I grabbed a syringe and it worked perfectly. This is a 1ml syringe and I found 1ml to be the perfect amount for each chain link… so I filled the syringe and then pressed the tip down into the mold. I released resin until the entire side of the mold was full and then moved my syringe to the other side to repeat the process.
Perfect!
Keep working your way around the mold (making sure to wipe down your syringe each time you fill it… trust me, this helps) and once you’ve filled as many molds as you’d like we’ll set the entire tray aside to cure for 24 hours.
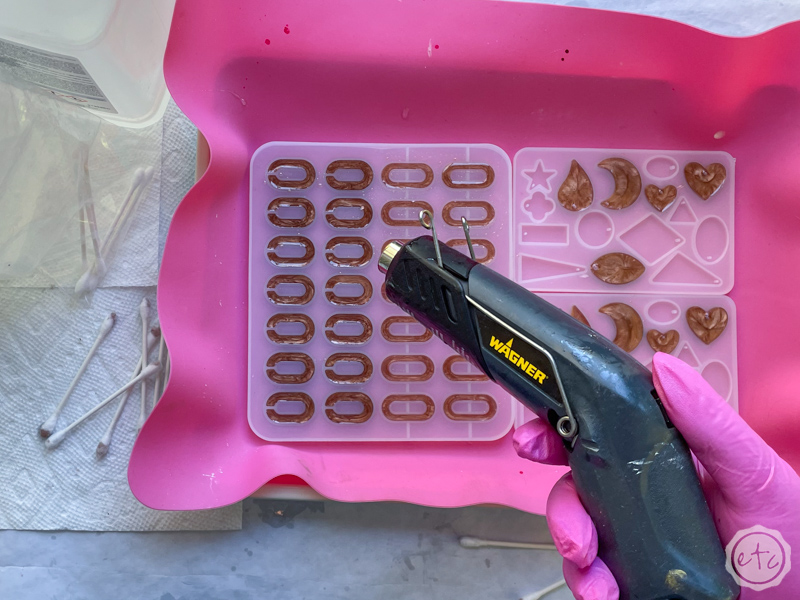
One last thing… these molds are pretty tiny so before you set it aside make sure to hit everything with your heat gun to pop the bubbles. Tiny bubbles can leave big holes in pieces this size so you definitely want each piece to be bubble free! If a bubble is hiding down under the surface of the resin (where the heat gun can’t pop it) you can use a toothpick (or the tip of your syringe) to bring it to the surface where the heat gun can pop it!

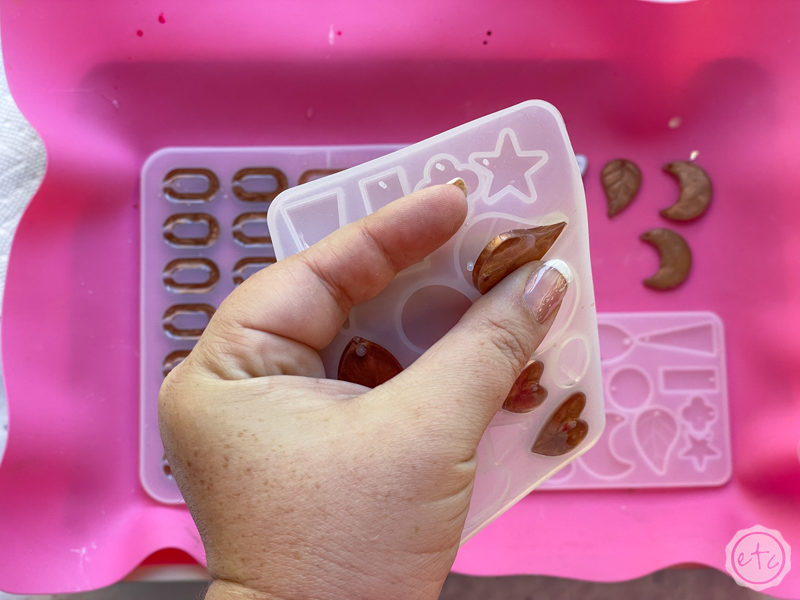
Step 3: Un-Mold your Piece
There is something strangely satisfying about popping resin out of a silicone mold. It’s just fun!
And these pieces are soooo small that they don’t require any extra help… just pull back the silicone mold and they pop right out! Pop, pop, pop!
Go ahead and un-mold all of your pieces and then we’ll move on to assembly.

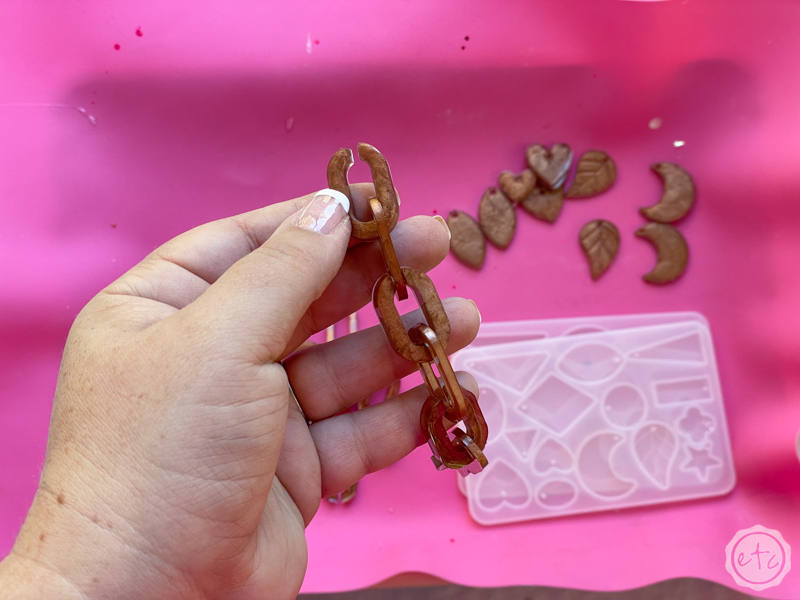
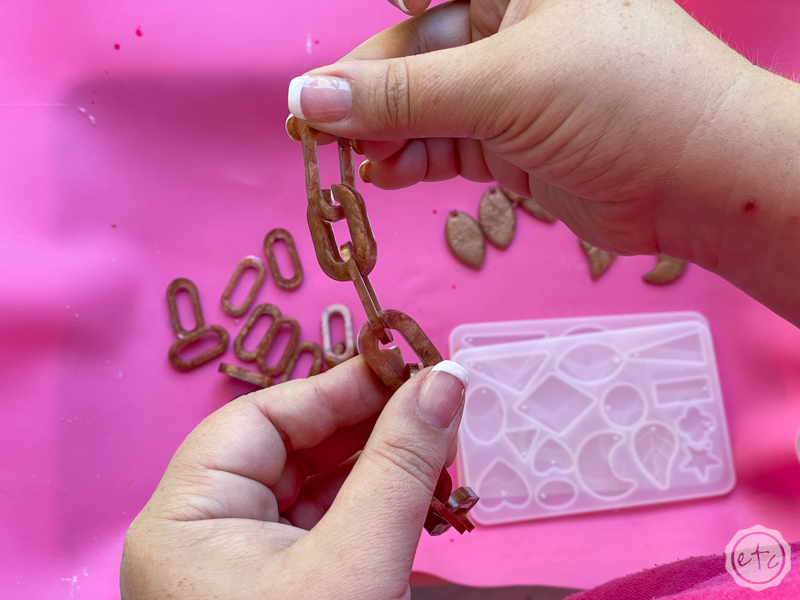
Step 4: Put your Bracelet Together
Can I be honest? This was the part I was worried about… I had no clue how hard these links would be to put together.
Luckily they were so easy… you could even say they were a snap.
Sorry had to do it!
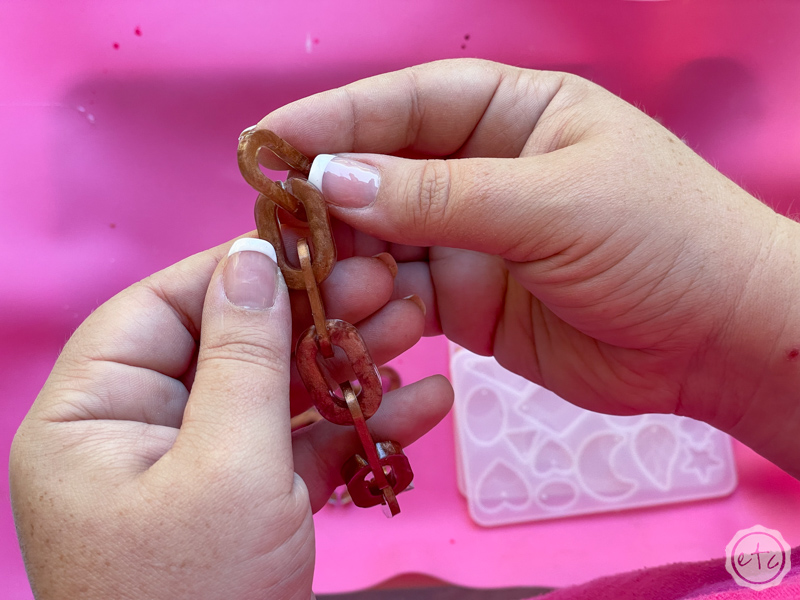
All jokes aside the solid links slide easily into the v opening of the open links, keep alternating (solid link, open link, solid link, open link… you get it) until you have an entire length of chain long enough for a bracelet (or necklace). I found that 13 links was a great length for me… but I have tiny wrists so you may need more.
With 13 links I was able to make 2 bracelets and have 4-5 lengths left over… so you could definitely do 2 15 length bracelets with this mold.
Just depends on who’s going to wear it!
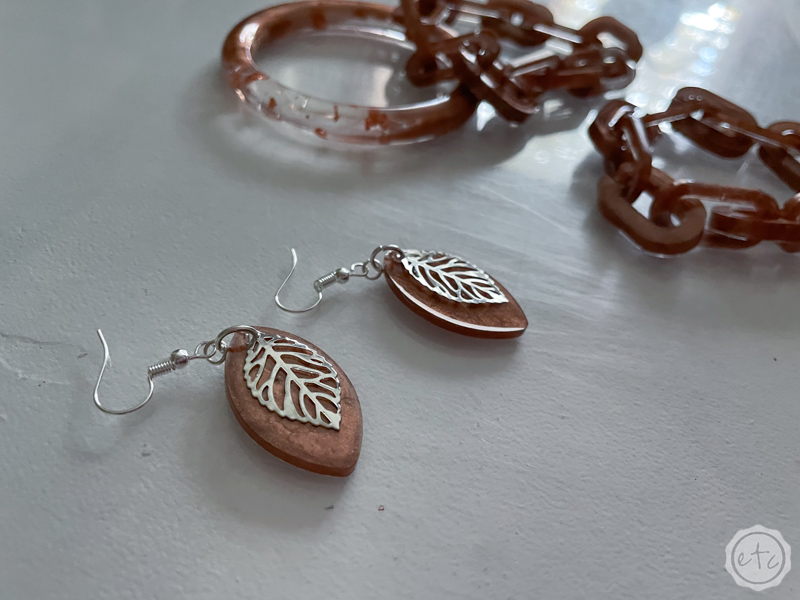
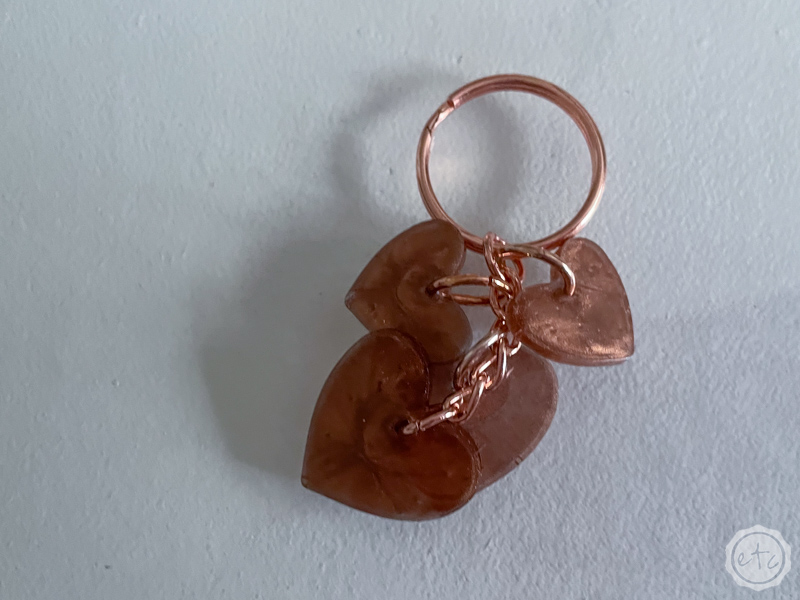
From here I grabbed my jewelry pliers and added earring hooks to all of my earrings. Plus I made a few of the hearts into a keychain!
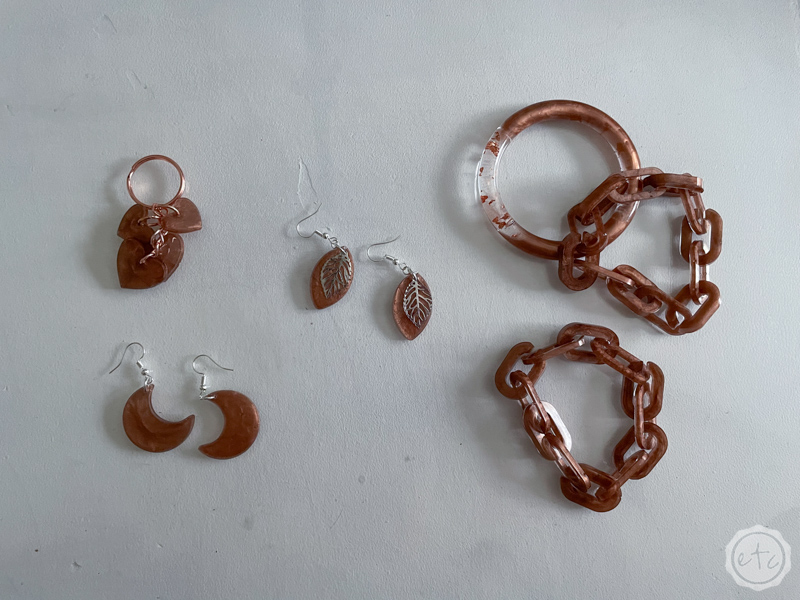
Step 5: Enjoy!
Volia! All done! I love how these turned out… the copper metallic paint gives everything a slight color shift so it’s pretty without being overwhelming. I decided to pair a set of earrings with a bracelet to make these 6 pieces into 3 gifts… I can’t wait to give them out on Christmas morning! I think they’ll be perfect for quite a few of my friends and family.
Or they’d make great stocking stuffers!
Just remember that they are resin… we literally just poured them out of resin. So if you’re gifting these to children those children have to be old enough NOT to put these in their mouths. They may be little and cute but resin is toxic. So if your 5 year old niece likes to chew on things she may not be the right recipient.
Just saying.
Anyone old enough to not chew resin is fair game though… happy gifting!


Looking for more resin projects? I’ve got you covered!


Leave a Reply