


Do you need to add a tag to your newest Christmas ornament? If you’re anything like me you might have picked up an ornament on a recent trip… but it isn’t labeled with the city. Or you’ve grabbed an ornament with names of loved ones but not the year! Either way I’m going to show you how to engrave a little silver tag with your Cricut Maker so that you never have to think “was this 2022 or 2021?” “did we pick this up in Spain or Portugal?” EVER again.
Of course, you can engrave your metal tags with anything (animals names, dates, cities… the possibilities are endless!) but for today I’ll be engraving 5 different tags with city and countries for ornaments my Mom and I picked up on our last European cruise (check out all of our cruise videos from that trip here!). I’ll walk you through the entire process so you can engrave your tags for whatever you need them to say and not what I need mine to say.
Ready?
Supplies:
Engraving an Ornament Tag with my Cricut Maker
Step 1: Prep the Files in Cricut Design Space
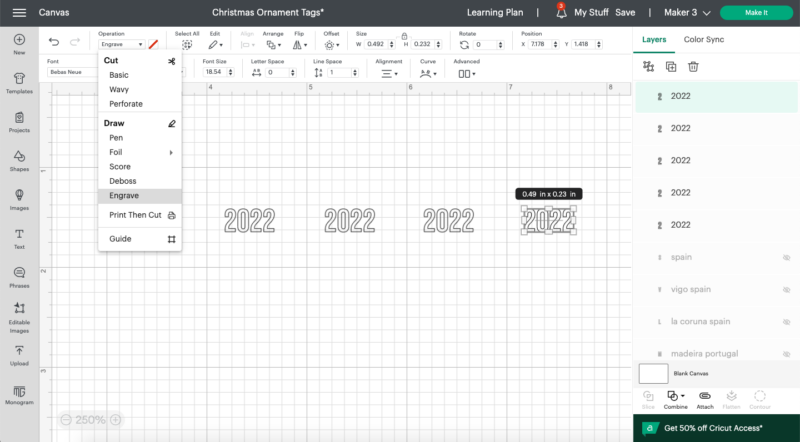
Alright… before we start to engrave our ornament tags we need to prep the files in Cricut Design Space. In this case we don’t have an SVG or a fancy design file. Instead we’re going to use the text option to write out files. I needed to engrave 5 tags and I want each of them to say 2022 on the back and the city, country on the front.
So I started by writing out the 2022 and copy/pasting it 5 times.
Then we’ll select a font (I grabbed Bebas Neue which is my go to engraving font since it’s straight and blocky… straight lines are easy to read when engraved). You can select any font you like that can be engraved and if you’re looking for a similar one to Bebas Neue but don’t want to download it Helvetica Bold is similar.
Then change the line type from cut to engrave and make sure that everything is the right size for your ornament tags. In this case the sterling silver tags have multiple sizes so simply measure to make sure that your word will fit on the tag you choose. I was working with the second largest tag in the package so my words needed to be less than half an inch long and a quarter of an inch tall. These measurements will remain even when we’re working with multiple words on the front for the city, country.
From here you can hit go… and then you’ll be directed to the cutting mat screen. Now this is important… if you skip this screen Design Space will line your words up in a neat row on the top left corner. We need them to be in specific places so that we can coordinate their location with our physical ornament tags for engraving.
I find the easiest way to do this is with a battleship strategy. I place my words centered on the 2 inch across line and the 2 inch down line. Once the first one is centered I move over and center the next word on the 4 inch across, 2 inch down line. You get the idea.
This way as long as my words are centered on the crosshairs in Design Space and my tags are centered on the cutting mat in real life everything will work perfectly!
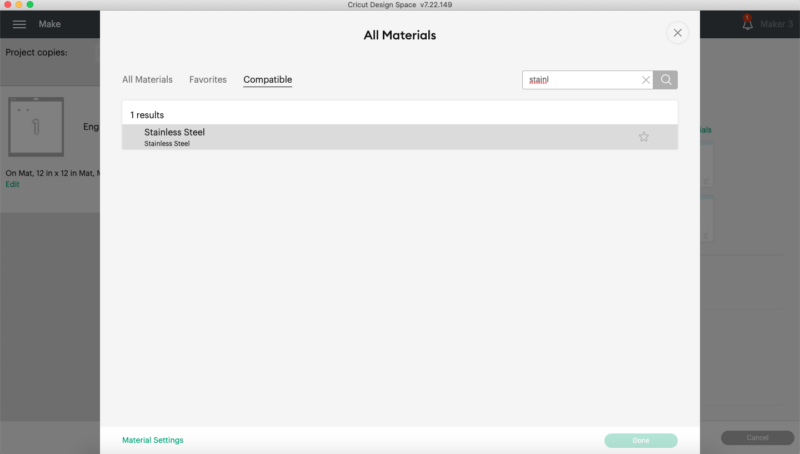
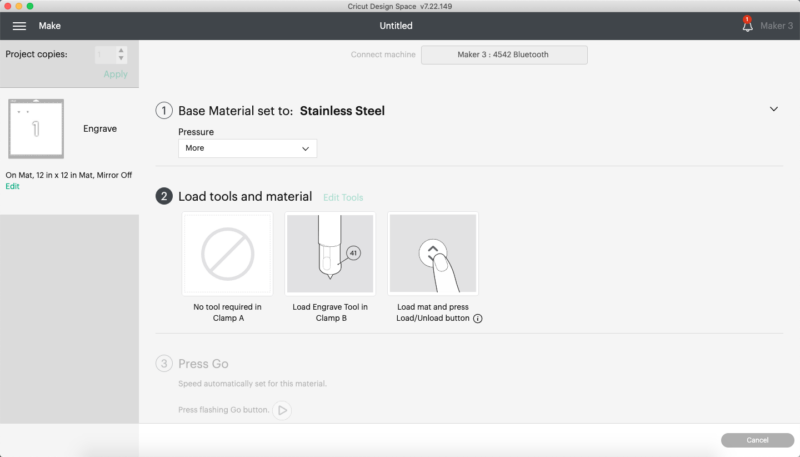
From here we can hit go, select stainless steel for our material, more for the pressure and we’re good to go! Let’s move on to the physical mat.

Step 2: Place your Tags on your Cutting Mat
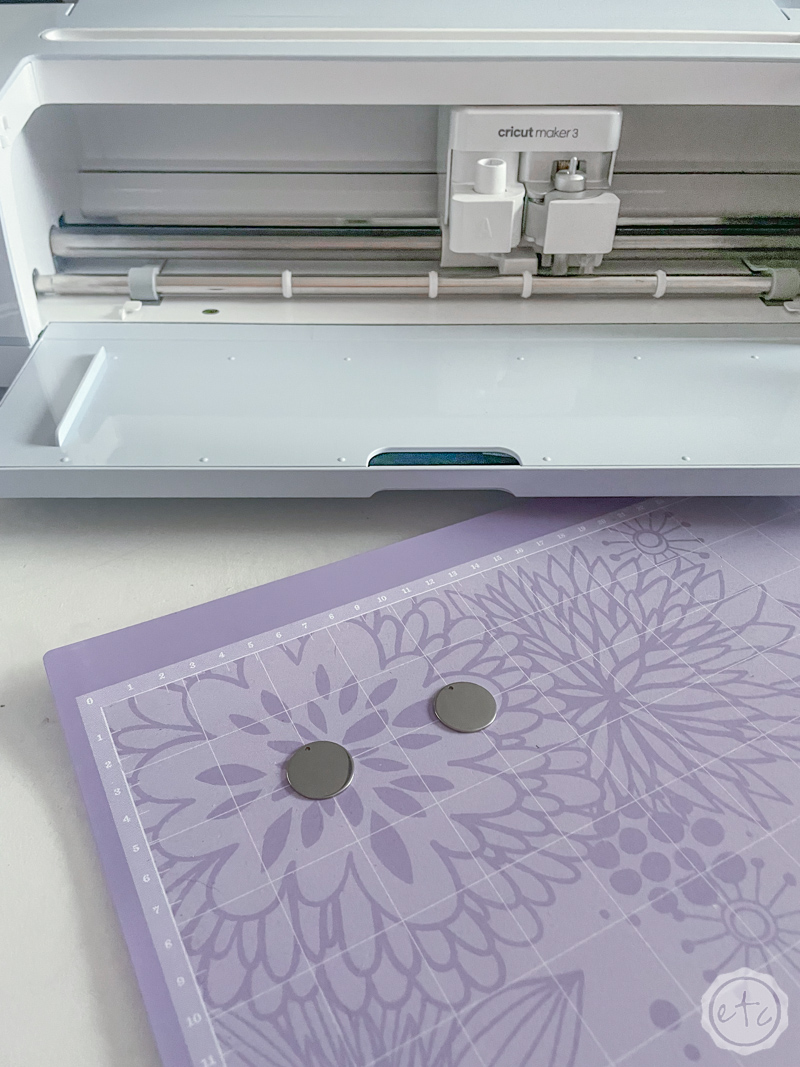
Ready for the second half of battlefield? Once your design files are ready to go let’s start working on those ornament tags. Grab a strong grip cutting mat (you need a reallllllly sticky one so that the tags don’t move when the engraving blade gets started).
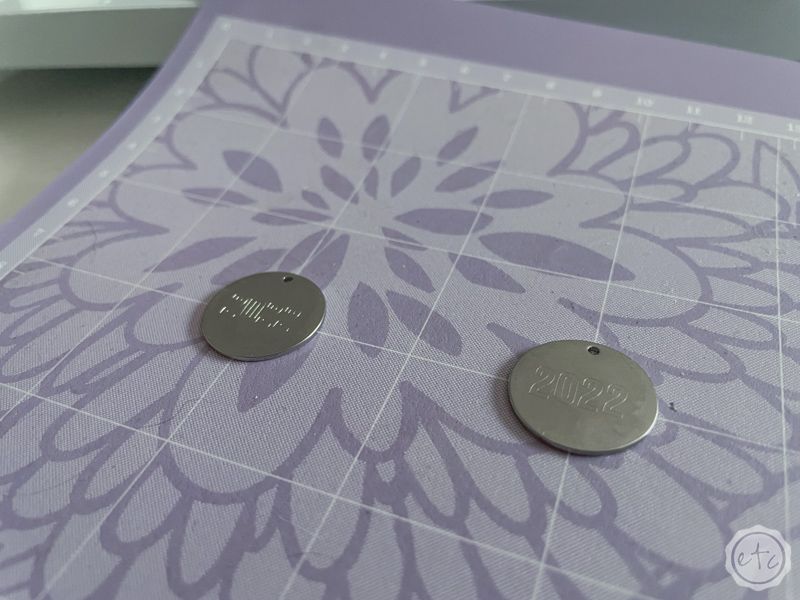
Then place your first tag. Make sure it’s clean and dry and center it as good as you can on the crosshairs at 2 inches across and 2 inches down. It has to be in the same spot as the virtual words in Design Space otherwise it won’t be engraved properly.
I also like to make sure the little opening is at the top so that the words will be right side up when they’re hanging with my ornament.
Once everything is pushed down reallllllly well you’re good to go!
Ready to engrave!

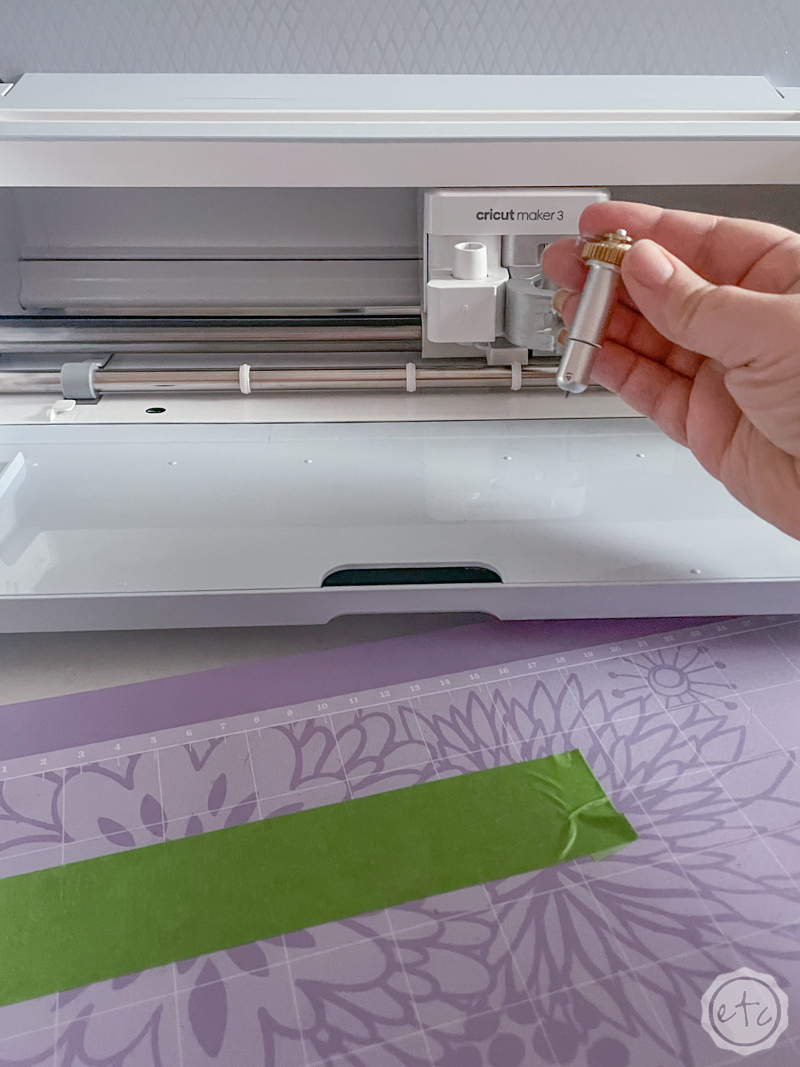
Step 3: Engrave your Ornament Tags
At this point there’s nothing left but to add your engraving tool into clamp B and hit go! It’s a fairly quick process but it’s still fun to watch… the little engraving tool does a great job of etching onto the stainless steel!
Just make sure that the star wheels are either out of the way or all the way to the side… I just made sure they could roll in between my tags. You don’t want them getting caught on the tags themselves.
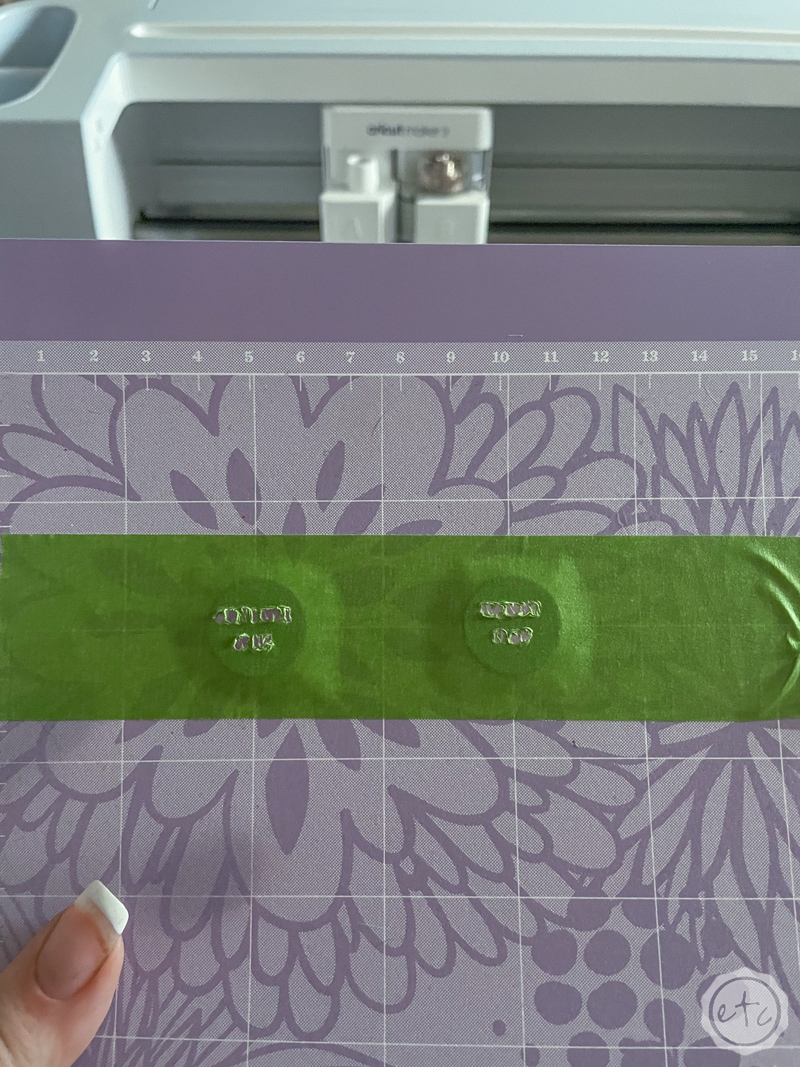
SIDE NOTE: I tried these little tags a few different ways… starting with covered by painters tape. This is a technique that has worked well for me when engraving in the past. It helps the pieces not to move so that they’re legible afterwards. I was afraid that the little tags would be too small to stay held down on their own and with the small surface area I didn’t want to try taping the edges.
I decided to tape straight across both but this didn’t leave very legible engraving. I tried again with no tape… just the cutting mat and it worked perfectly. The tags didn’t move at all and the etching was much easier to read.
You may have different luck depending on the stickiness of your cutting mat but no tape worked best for me.

Step 4: Engrave the Other Side!
Since I wanted these little tags to be double sided once I was finished with one side I simply turned the tags over and engraved the other side!
Nothing crazy here… just write out your new words, select engraving, line everything up and go!
Works perfectly… just make sure that all the sticky is off the exposed side before you engrave it!


Step 5: Enjoy!
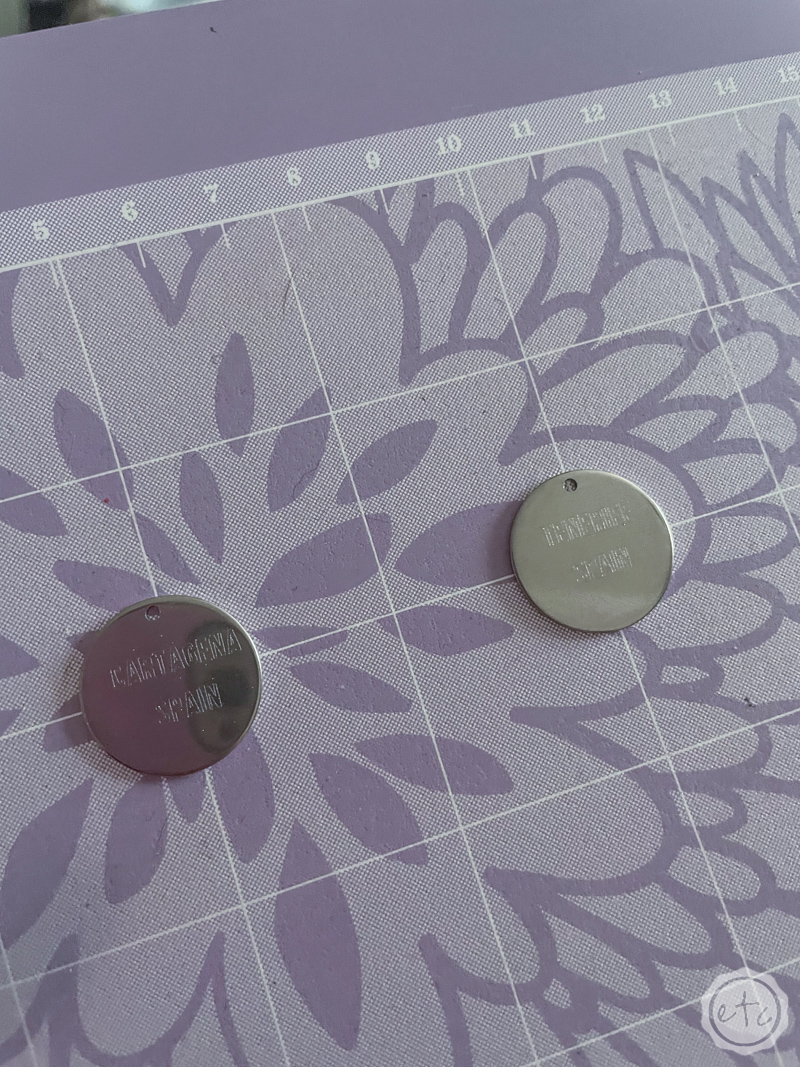
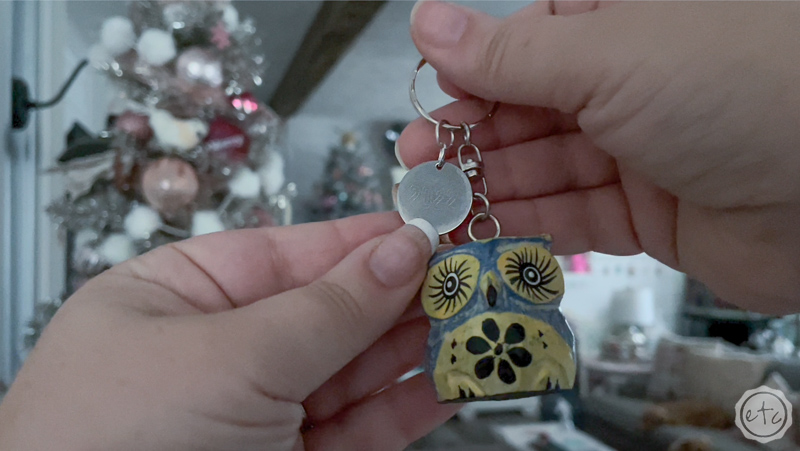
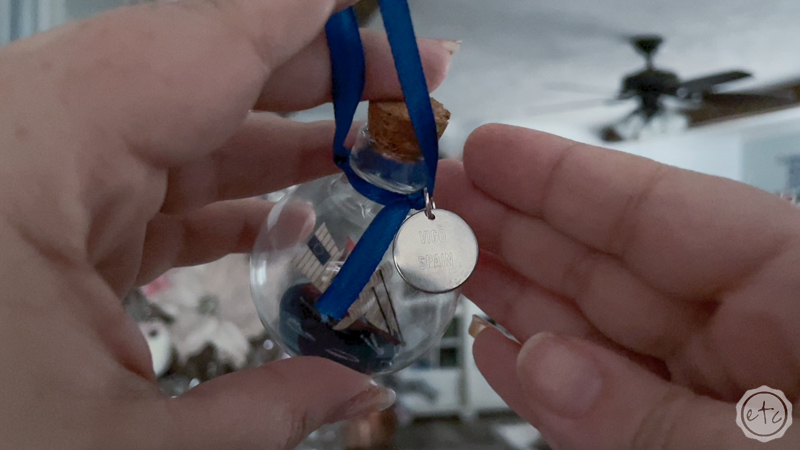
I love how these turned out! Honestly they could be a smidge easier to read but I’m still thrilled with these metal, durable, engraved ornament tags over the alternative (vinyl on the ornament, sharpie marking the date, or a breakable tag made out of cardboard).
They look professional and I definitely won’t forget where these babies are from now! Good thing I bought a big bag of tags!
I have a feeling there are more personalized Christmas ornaments in my future.


Leave a Reply