


Are you ready for a new and exciting Cricut project for your wedding? These little table numbers are absolutely adorable… and just different enough to stand out!
I started by picking up a few acrylic 4×6 blanks from my local crafting store… originally I was going to paint the back of these boys for table numbers. Which is a trendy little project that’s super easy to do and making the rounds on pinterest.
But when it came time to paint these babies I had an epiphany… I could use the same technique as the lids on these little storage containers to make these acrylics into geode inspired resin table numbers!
It was so easy!
I used about 10ml of pink, 10ml of rose gold, 10ml of white, 10ml of clear and rose gold flakes and 10ml of rose gold glitter resin to do 4 separate acrylic rectangles… and they turned out amazing!
Since the resin technique for these little acrylic pieces and the storage containers is exactly the same I’m going to skip explaining the entire process (but if you’d like a tutorial specifically for these acrylic rectangles with this technique let me know! Update… y’all wanted a tutorial specifically for these acrylic rectangles!! Here it is!).
Instead I’m going to skip right into the process of adding the adhesive foil table numbers to the front. Let’s get started!
Supplies:
- Cricut Maker
- Fine-Point Cutting Blade
- Standard Cutting Mat (that’s the green one! I use the pink mat in this post though 🙂 )
- Rose Gold Adhesive Foil
- Transfer Tape
- 4 x 6 Acrylic Sheet with resin overlay
- Weeding Tool
- XL Scraper Tool
- SVG’s (Free at the Bottom of this post)
Ready to take the leap but not sure which machine is right for you? Check out my Explore Air 2 and Maker comparison before pulling the trigger. I go over the pro’s and con’s of each machine and even have an easy to read check list of each machine’s features so you can decided which cutting machine is perfect for you.
Step 1: Cut your SVG’s
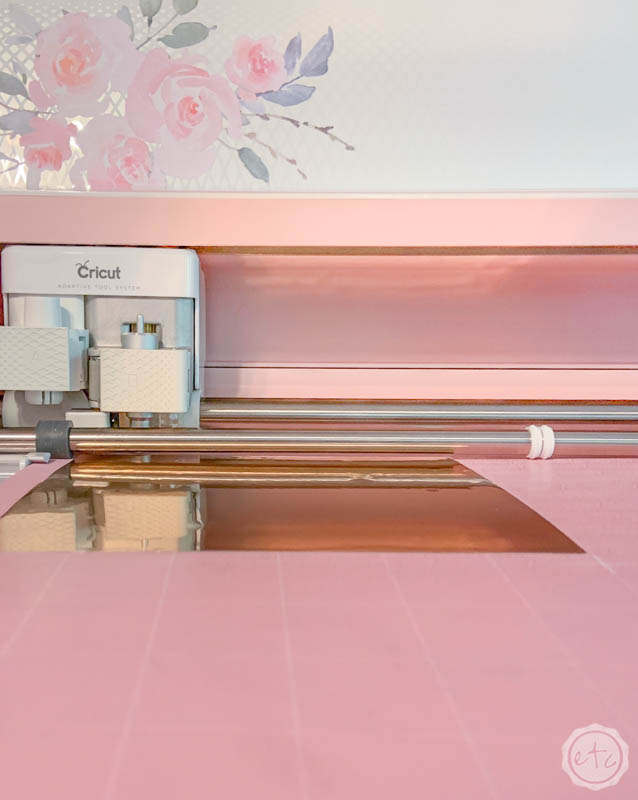
Ready to get started? Once you’ve downloaded your SVG’s and uploaded them to Cricut Design Space (you can follow this tutorial if you’re not sure how) it’s time to cut your vinyl… or should I say adhesive foil?
I absolutely love this adhesive foil… it’s easy to cut like vinyl but it’s shiny like only a true mirror finish can be. The perfect combination! Of course, if you’re working with different wedding colors you can grab a different adhesive foil or vinyl for the same effect.
Go ahead and load your adhesive foil onto a cutting mat and carefully smooth it down so that the foil has a smooth bond with the mat. If you’ve loaded the SVG into Cricut Design Space make sure that all of the individual table numbers are welded and then hit make it!
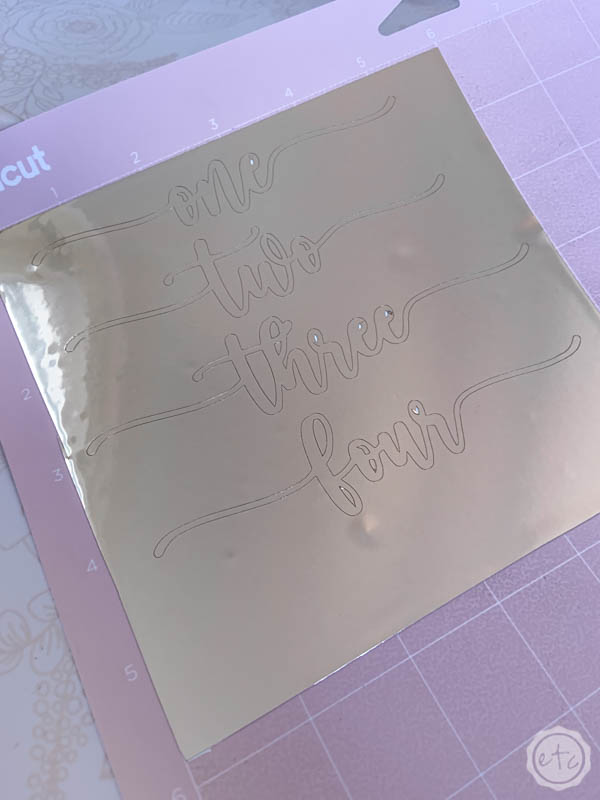
You’ll need a fine point blade loaded into this machine and the mirror function turned off. Then you can hit go and watch this baby work!

Step 2: Weed your Vinyl
These little numbers should be finished cutting fairly quickly so stay close to your machine and watch it work. Once you’re finished you can remove the foil from the cutting mat (make sure to curl the mat away from the foil so that the foil doesn’t curl!) and you’re ready for the next step.
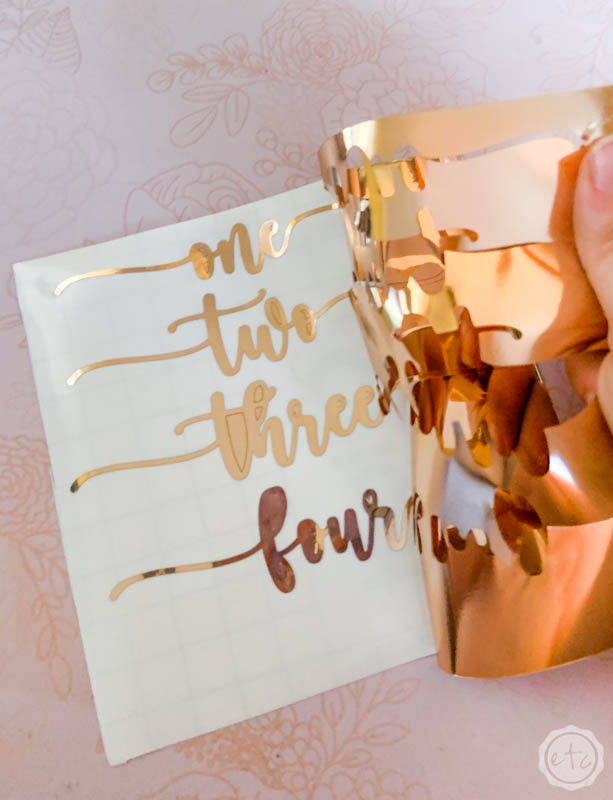
Weeding!
If you’re new to Cricut weeding is what we call removing all the little negative bits and bobs between the letters… the inside of the o, the space inside the e. Any foil that you don’t need.


You can start by removing the main part of the foil from around the words… peel up the extra foil carefully and it should leave your words behind. Just be extra cautious not to peel up the tiny dots on the i’s or the crosses on the t’s.
Those tiny pieces can be extra vulnerable!
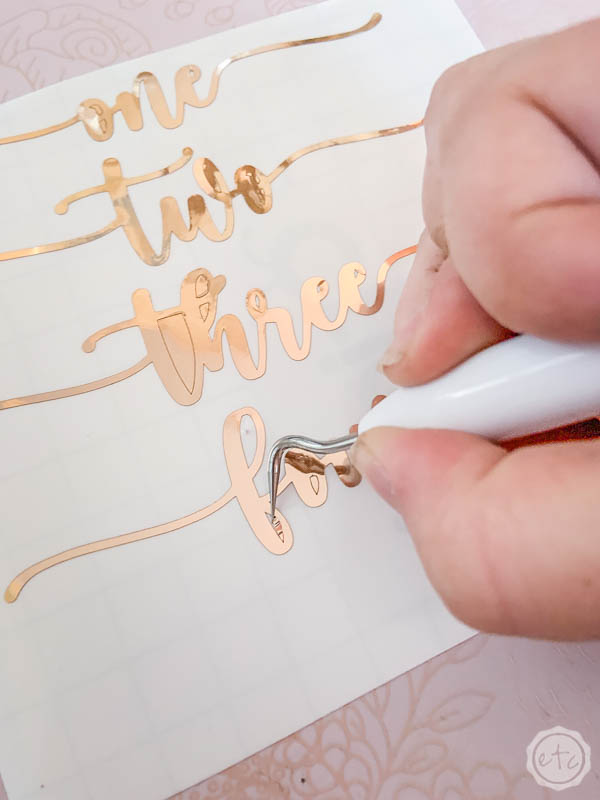
Now grab your weeding tool and get started on all those inside pieces. It’s pretty easy… that sharp little weeding tool will lift these extra foil pieces right out.


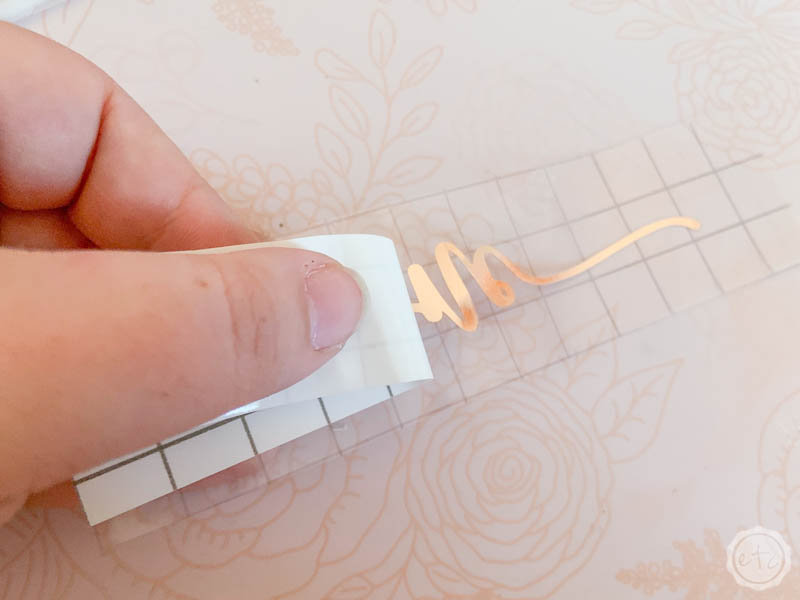
Step 3: Transfer your Design
Go ahead and cut a piece of transfer tape to cover your first table number… and then use a smoothing tool to firmly attach the transfer tape over your foiled design.
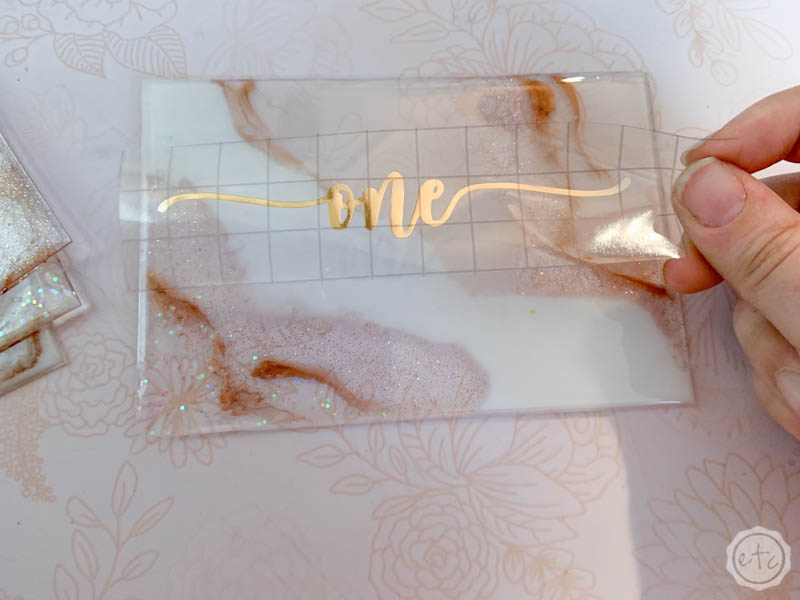
Then peel up the transfer tape (and the design!) leaving the white backing behind. Now you can carefully place your table number down in the middle of your first acrylic rectangle (using the grid on the transfer tape to make sure it’s straight) and smooth the design into place.
Just a quick tip: while you want your table number to be centered pay attention to the resin backdrop of you little table numbers. If the adhesive foil would be easier to read a little bit further down or over then go with that… otherwise stick with the middle!


Once you have everything lined up and in place you can use your smoothing tool to press the entire design down firmly. Now you’re done! You can go ahead and peel up the transfer tape leaving the foil behind! Isn’t it lovely?
Go ahead and repeat the process for each additional table number marker that you may need. Good luck… here’s to hoping you don’t have dozens of tables!
Little tip of the trade… you don’t have to cut new transfer tape each time but can use the same transfer tape a few times before you need to get rid of it. Just make sure to watch the surface of your adhesive to make sure it doesn’t get dirty.
Saving a few bucks baby!

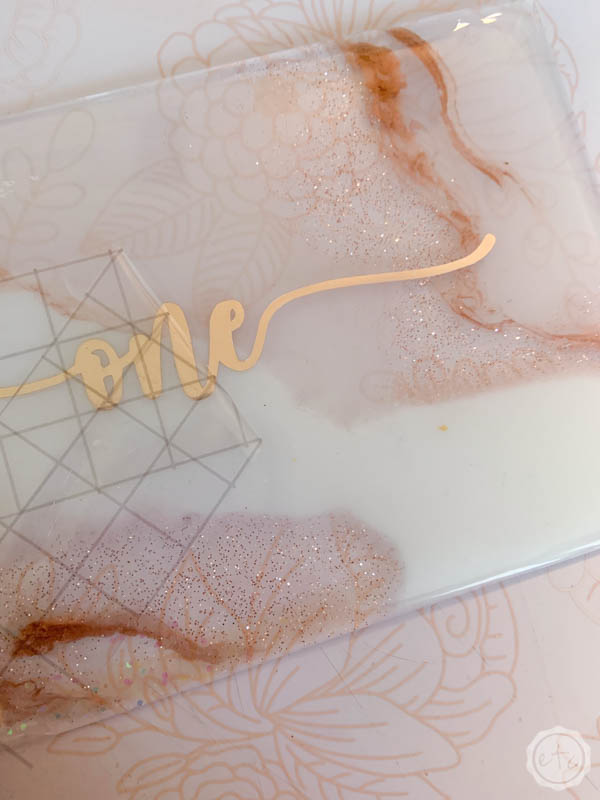
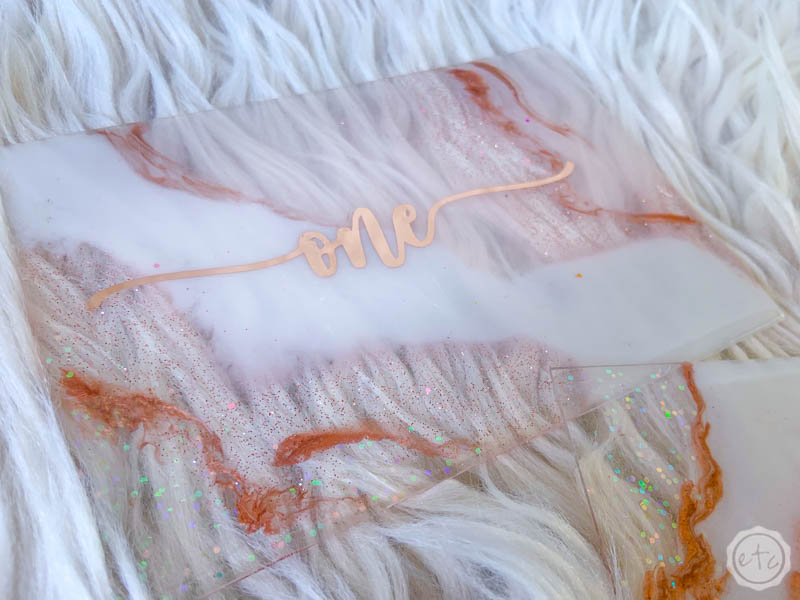
Don’t you love how they turned out!!
I am obsessed with the resin! It’s just such a pretty (yet transparent) look… and overall a very easy project to complete. Which is always nice.
Enjoy!


Looking for more resin projects? I’ve got you covered!


Leave a Reply