


Ready for a fun resin background idea? I’ve used this particular technique to add a background to table numbers for a wedding but you can use it on just about any flat surface… and the best part is it’s pretty quick and easy!
I’ve even made a similar background for a large antique window… just in case you want to scale this baby up a bit.
In the meantime let’s get started on these tiny acrylic pieces.
Supplies:
- Amazing Clear Cast Resin
- Respirator/Mask (resin graded filters)
- Gloves
- Wagner HT400 Heat Gun
- Freezer Paper
- Baking Pan
- Silicone Mat
- Silicone Mixing Stick
- Small Mixing Cups
- Silicone Measuring Cup/Larger Mixing Cups
- Reusable Silicone Stir Sticks
- Pink Pearl Craft Paint
- White Alcohol Ink & Pearl Alcohol Ink
- Rose Gold Glitter
- Copper Oil Based Paint
- Rose Gold Flakes
- 4×6 Acrylic Sheet
- 4 small containers/lids/silicone cups
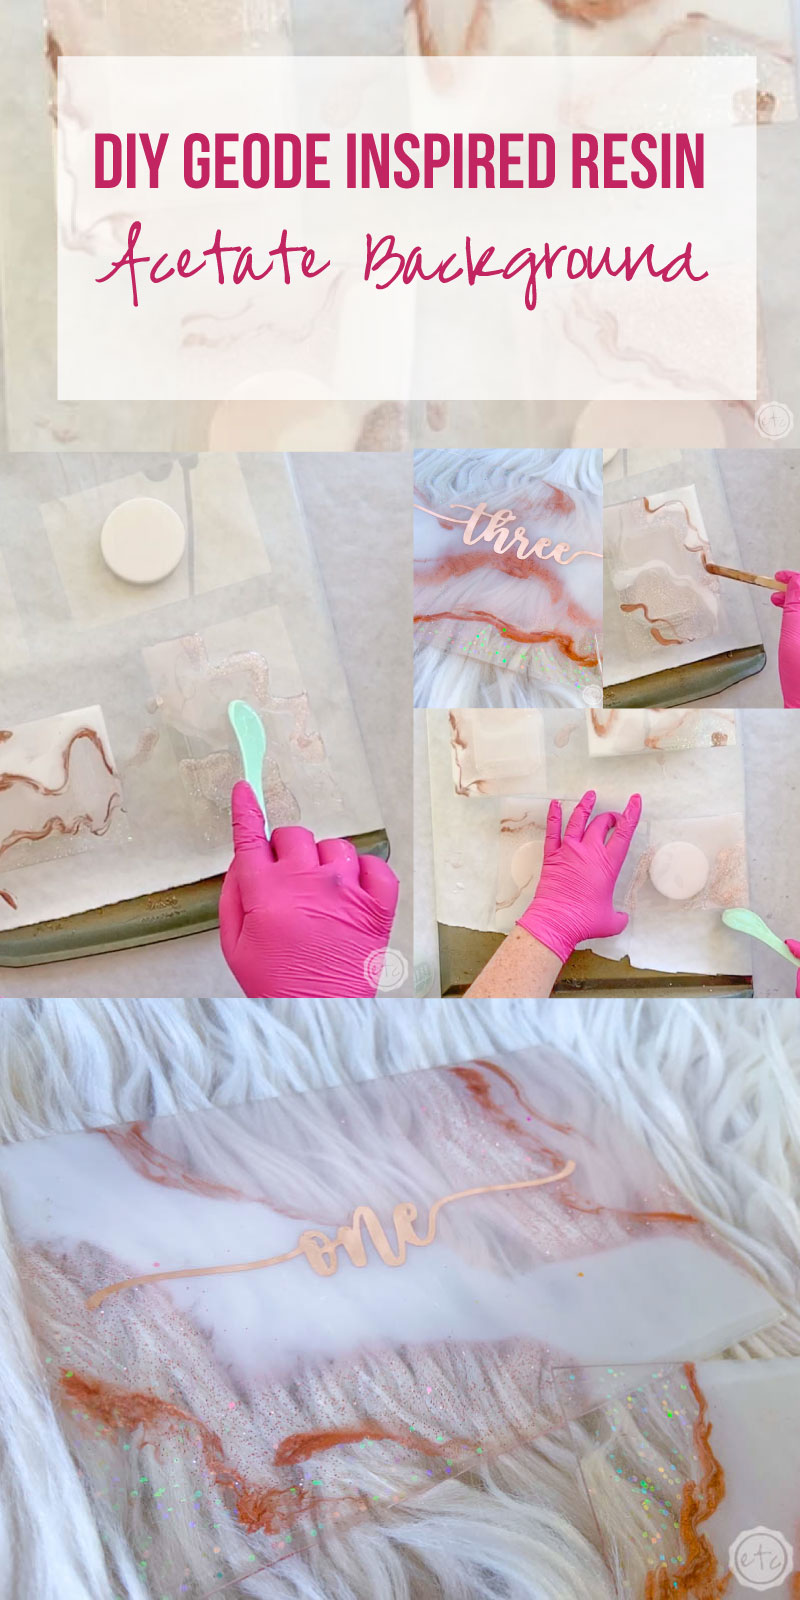
DIY Geode Inspired Resin Background on Acetate

Step 1: Prep your Pieces
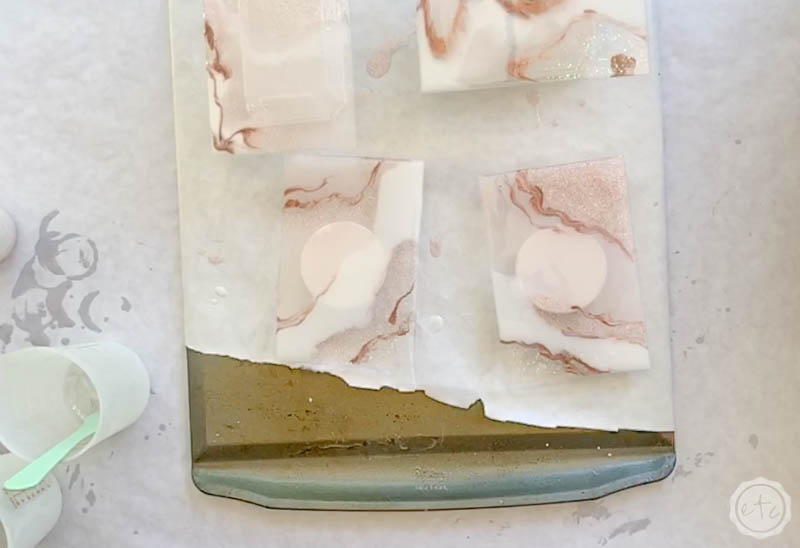
Sine we’re adding resin to the fronts of these little guys we want to make sure that the sides and back will be clean… and the easiest way to do that is to put them up on little pedestals.
You can use silicone cups for this but I just grabbed lids from nearby containers instead… worked like a charm! Go ahead and place your pieces on a silicone mat on a baking tray… that way you can easily move them around if need be.
Then you can start to mix your resin! I’ll be honest I planned to do this specific project on the same day as these storage container lids… so that I could use the left over resin on these little acetate rectangles.
Because that’s how little resin you need!
All in all, I had 5 colors of resin and I probably used about 20-30ml of each color. You can use more but then the resin will drip off the sides of your acetate squares leaving you with more clean up… so in this case the less resin the better.
Once you’ve mixed your resin (you can follow this tutorial on how to mix resin if you’ve never done it before) you’re good to go… let’s start spreading our resin.

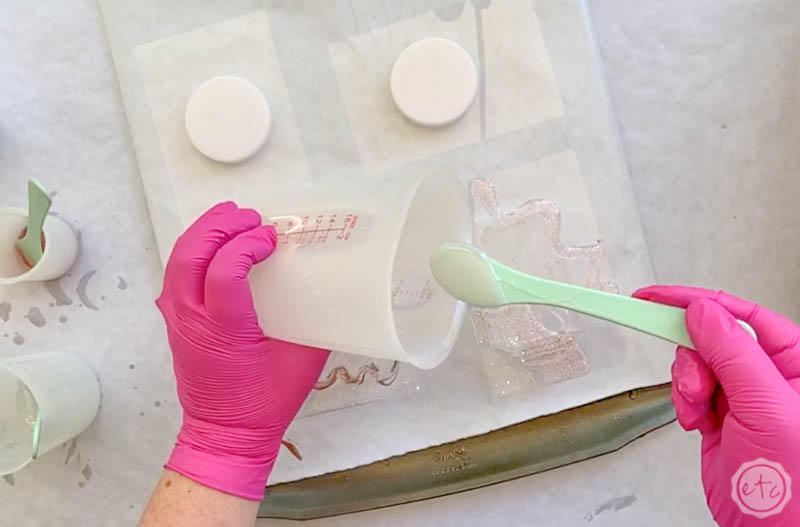
Step 2: Spread your Resin
In this case I’m saying spread your resin… and not pour your resin because you want to use as little resin as possible. Instead of pouring you’ll use a stir stick to carefully add resin to your pieces and spread the resin out until it fills the entire area you’re using.
Start with your white, clear (with rose gold flakes!) and carefully spread it across your acetate rectangle. I like to add one solid color to the middle area (so that your words are easily visible) then add the other colors around the middle section.

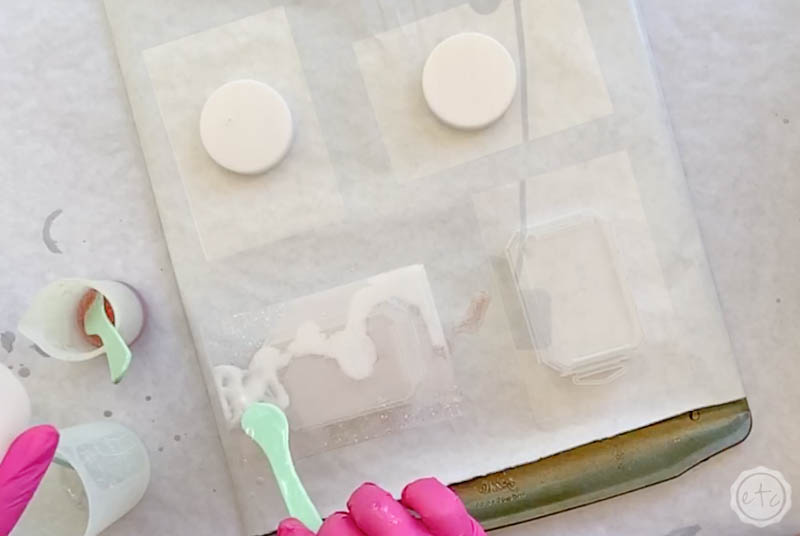
Once you’ve spread out the resin across the entire surface you can grab your heat gun… and pop any bubbles!
The heat gun will also warm up the resin and help it to spread out and blend together. Which is perfect… just make sure not to over do it or it will start to drip off the sides!

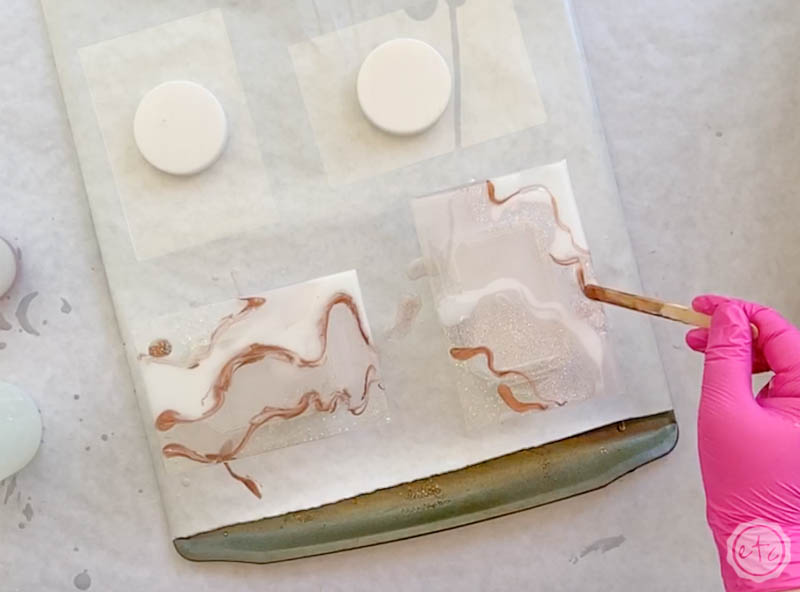
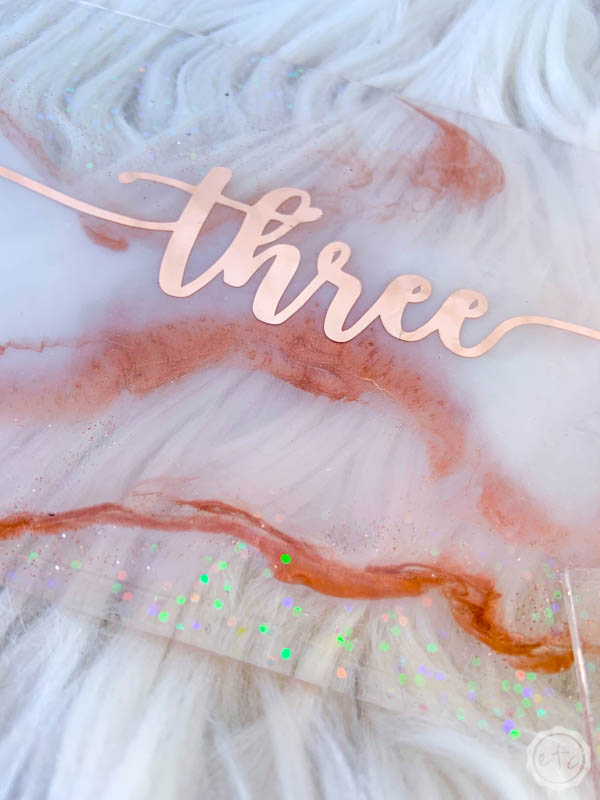
Step 3: Add the Darker Colors
Now that we have the base done it’s time to add the oomph, the pizzaz, the wow factor!
Okay okay so we’re going to add the darker colors.
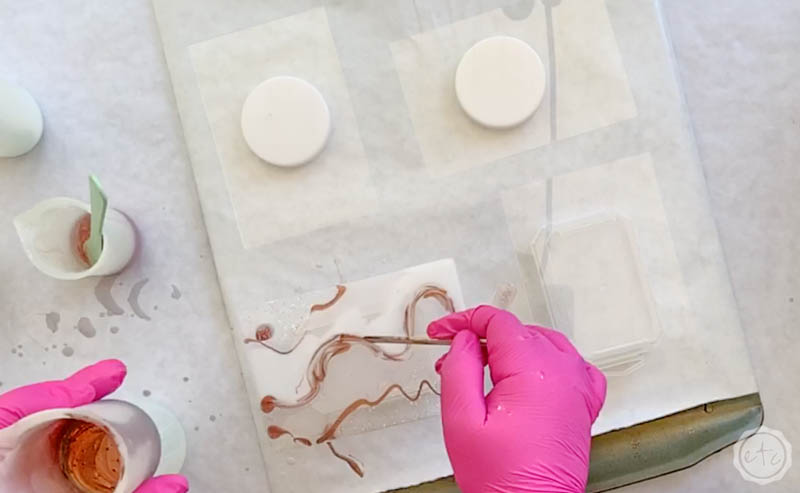
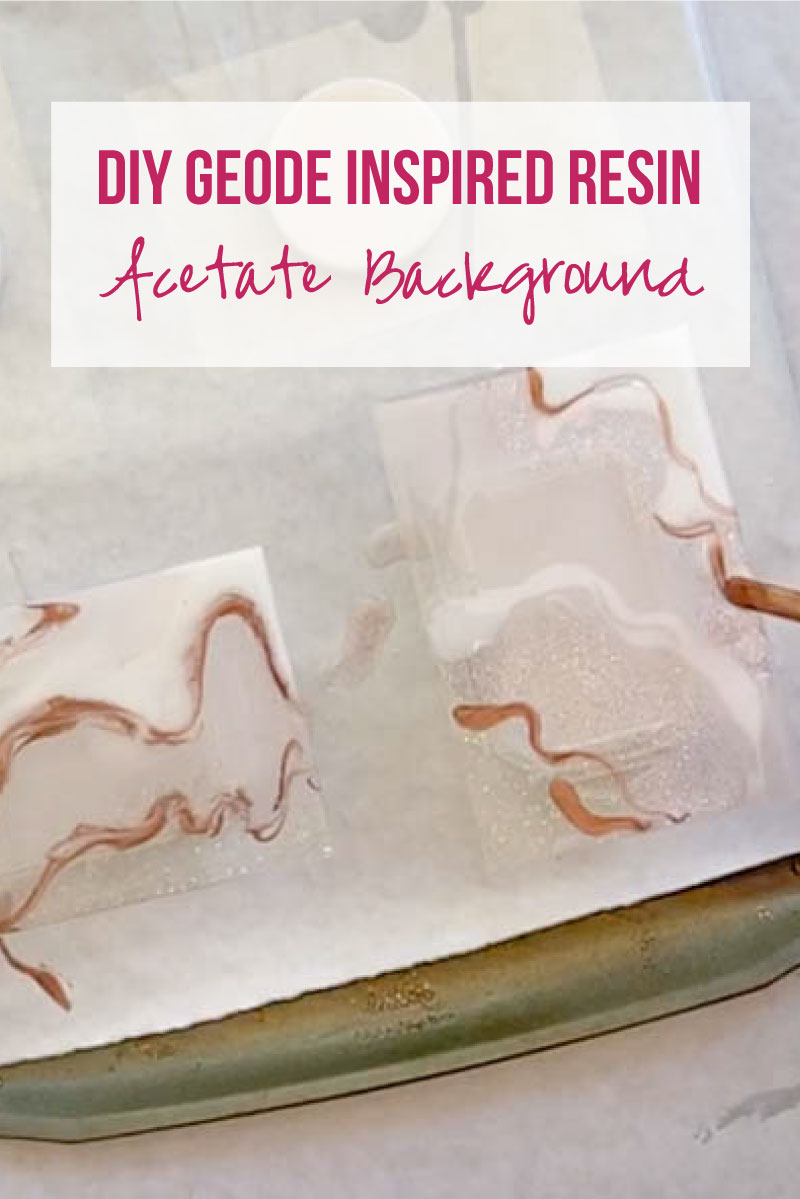
For this we’re going to grab a smaller stir stick (I picked a small Popsicle stick since all my reusable sticks are larger) and carefully add our copper and rose gold glitter resins to the piece.
Try to add them in thin lines along the edges of the color… and don’t glob it on! Yup I accidentally globbed a few drops on this one… do as I say not as I do!
Once you have it on you can use a clean popsicle stick to spread it out a bit… then hit it with your heat gun to pop any bubbles!

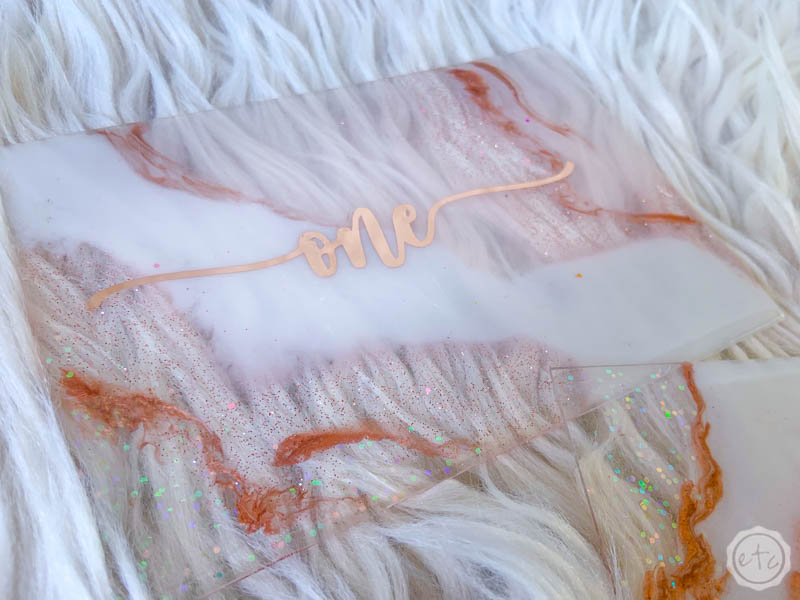
And we’re done! Take your baking tray and put it in a clean dry room (with something over it to keep the dust and yuck out of the curing resin) then leave these babies to cure for at least 24 hours. Then you’re good to go!
At this point you could use these little acrylic rectangles for a number of fun projects… but I used this tutorial to turn these bad boys into fun wedding table numbers.
Just think how pretty and elegant these would be for a wedding!


Looking for more resin projects? I’ve got you covered!


Leave a Reply