


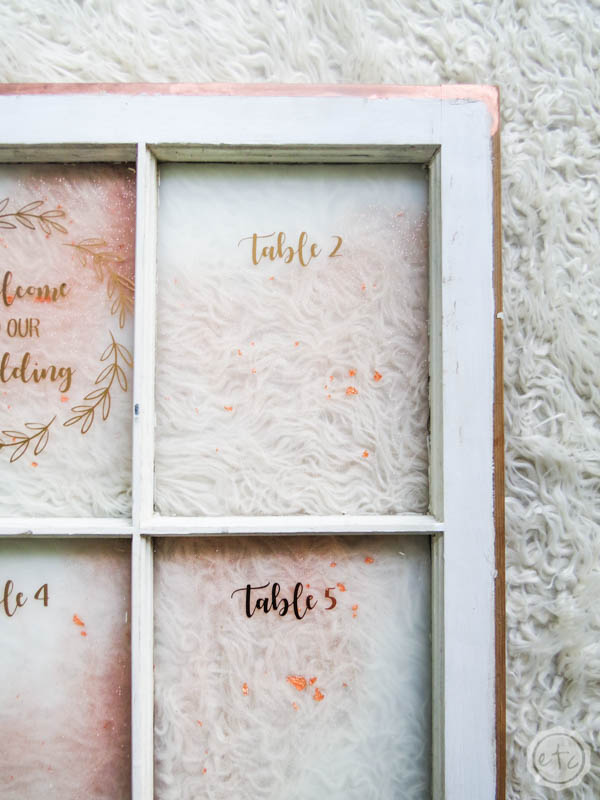
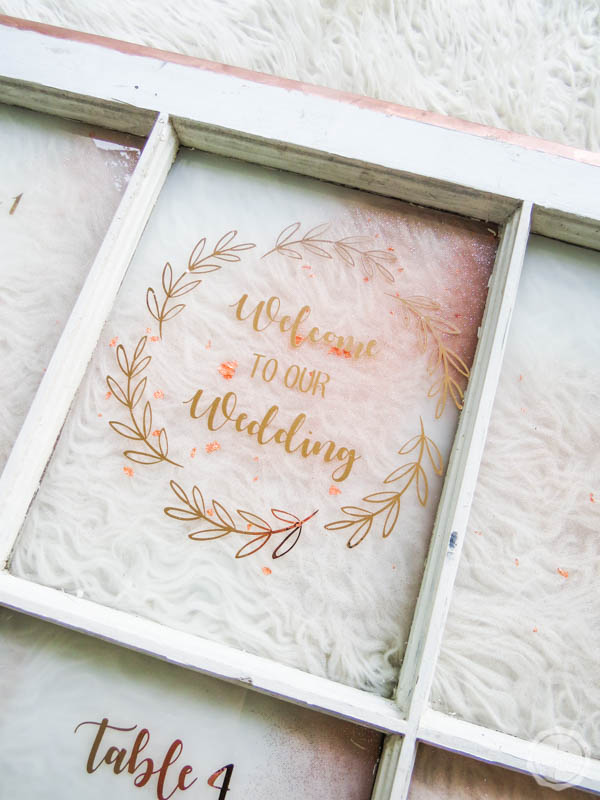
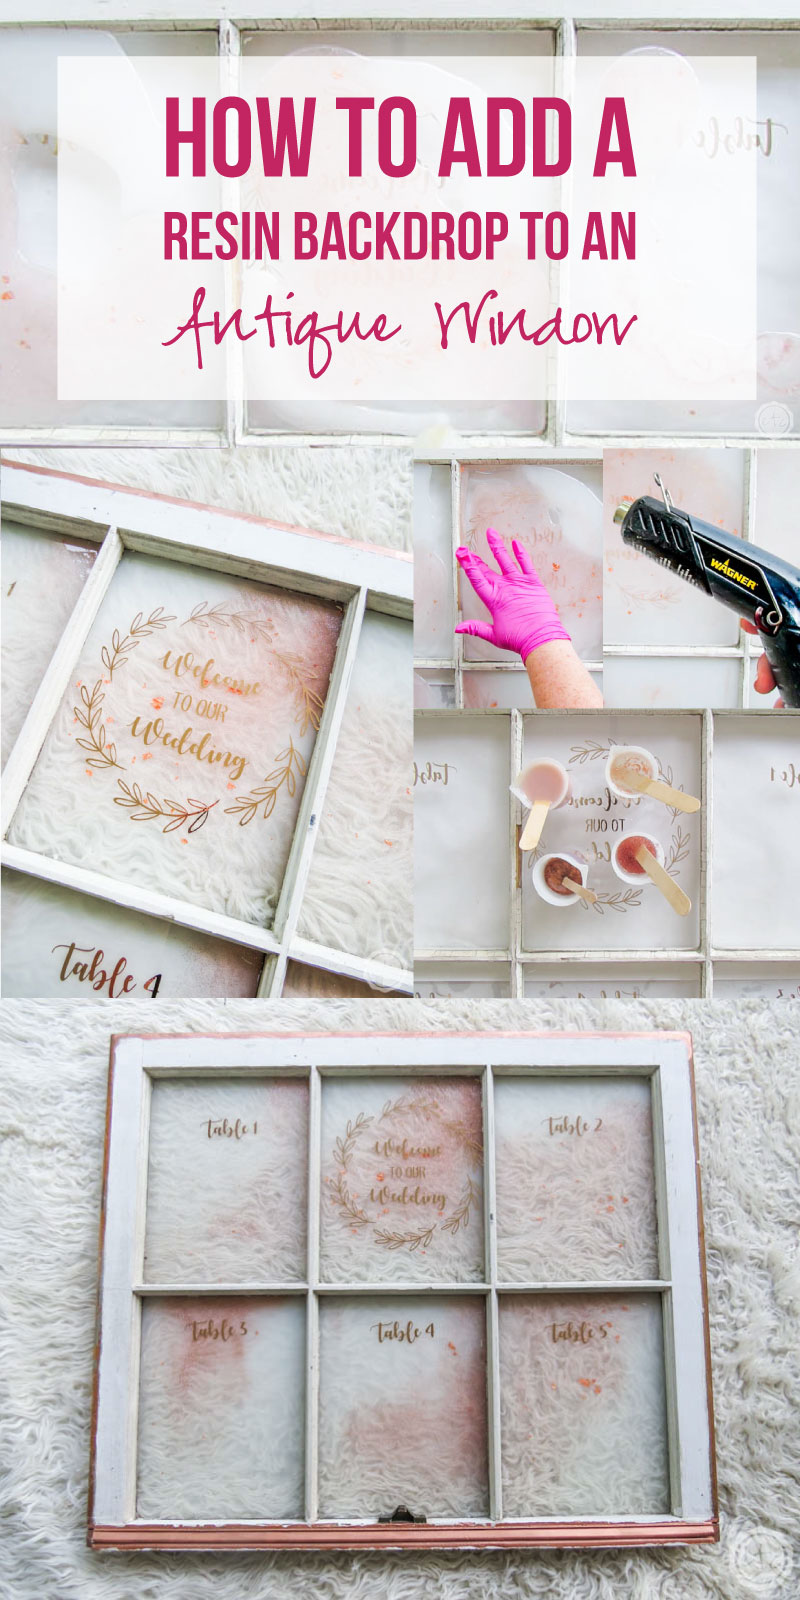
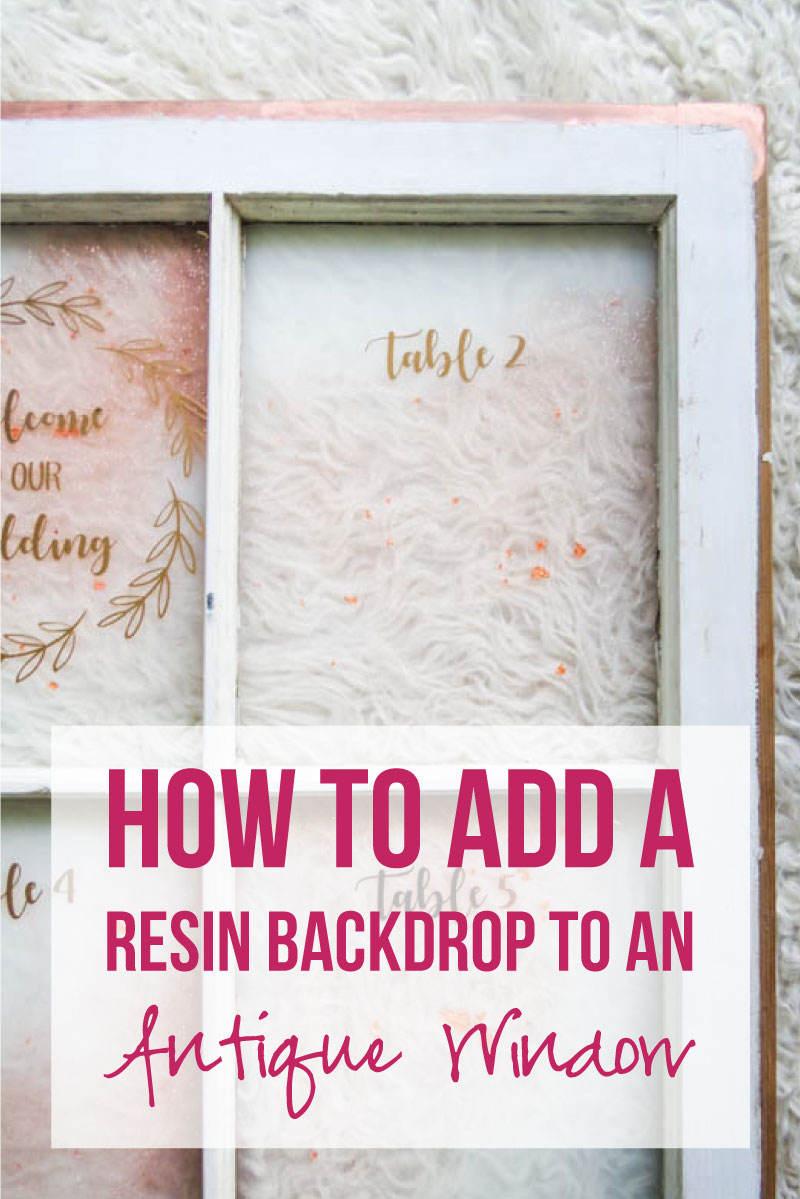
This may be the easiest resin project you have EVER done… but it also has a huge impact. Which is kind of my favorite combination! You can use this technique to add a pretty resin backdrop to any glass or acrylic (just think of all the antique window projects you could make… command center anyone?) but in today’s project we’re going to add a little oomph to our Wedding Seating Chart Window!
I cannot wait for y’all to see how this project turned out… let’s jump right in!
Supplies:
- Amazing Clear Cast Resin
- Respirator/Mask (resin graded filters)
- Gloves
- Wagner HT400 Heat Gun
- Freezer Paper
- Baking Pan
- Silicone Mat
- Silicone Mixing Stick
- Small Mixing Cups
- Silicone Measuring Cup/Larger Mixing Cups
- Reusable Silicone Stir Sticks
- Pink Pearl Craft Paint
- White Alcohol Ink & Pearl Alcohol Ink
- Rose Gold Glitter
- Copper Oil Based Paint
- Rose Gold Flakes
- Antique Window

Step 1: Mix your Resin
Okay so let’s start mixing… we’re going to need about 500ml of resin for this project (it’s a big window y’all!). Luckily we won’t need to pour each of those colors individually.
Instead mix all 500ml of resin in a large mixing cup (you can follow my how to mix resin for beginners tutorial here if you need a little help) then separate out each color individually. You’ll need about 100ml of blush and clear with rose gold flakes as well as 50ml of copper and rose gold glitter… that should leave about 200ml of clear left in your large mixing cup that you can add your white and pearl alcohol inks to!
Ready for the magic?
Grab a large mixing cup and pour each of your colors into the large cup. NOT THE WHITE, we’ll keep the white separate… but everything else goes in the cup.
It’s not a science really just pour one color and then the next until they’re all in the cup!
Now we have to work fast to pour all of our resin since we’re working with large amounts… we don’t want them to cure in the cups!
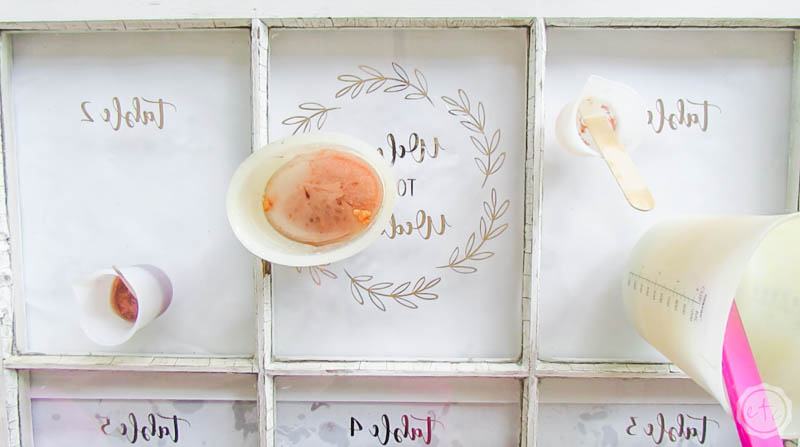

Step 2: Pour your Resin
Let it go… let it go… sorry I couldn’t resist!
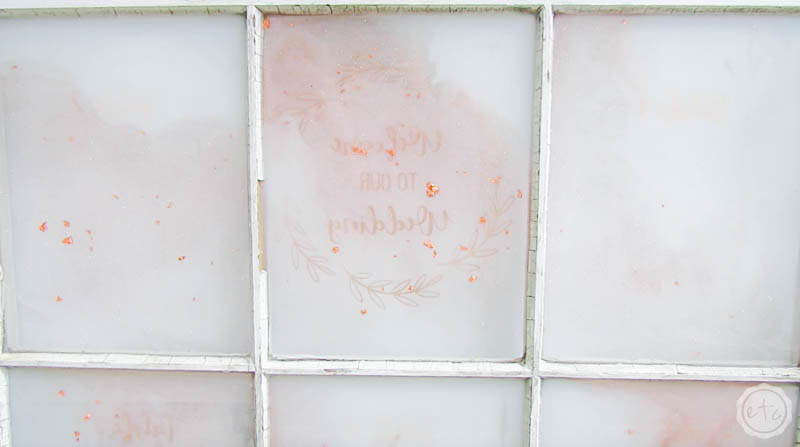
Go ahead and pour your resin. There isn’t a right way or a wrong way to do this I simply poured about 1/6th of my resin onto each of my 6 window panes making sure that no two were the same and that I left room for my white resin as well.
Speaking of… once you’ve poured all of your colored resin you can go ahead and pour your white resin into the negative areas!
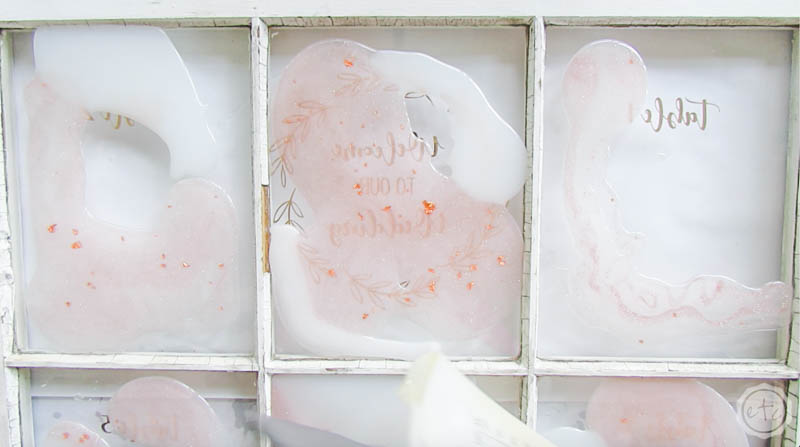

Step 3: Spread your Resin
Now that our resin is onto our window and no longer in danger of curing in the cups we’re going to do the fun part… spreading the resin around onto each of the panes!
Make sure you’re wearing gloves and carefully push the resin into each and every corner of the frame. You don’t want to leave any stone left unturned! Any corner left unoccupied!
It will probably feel a little strange but that’s okay it’s not forever.
Another fun thing to note is that (at times) the resin will seem pretty thin… and that’s ok! we’re doing a thin layer of resin across the glass for two reasons.
The first one being it’s a wedding piece and a bit of transparency is beautiful… especially since this is a window! The second reason is that the thicker the resin the hotter it gets when it cures and we don’t want the resin to get too hot and crack the glass. So thinner is better!
Don’t worry… as long as you’ve spread the resin out from corner to corner it will level itself out and fill in the gaps.
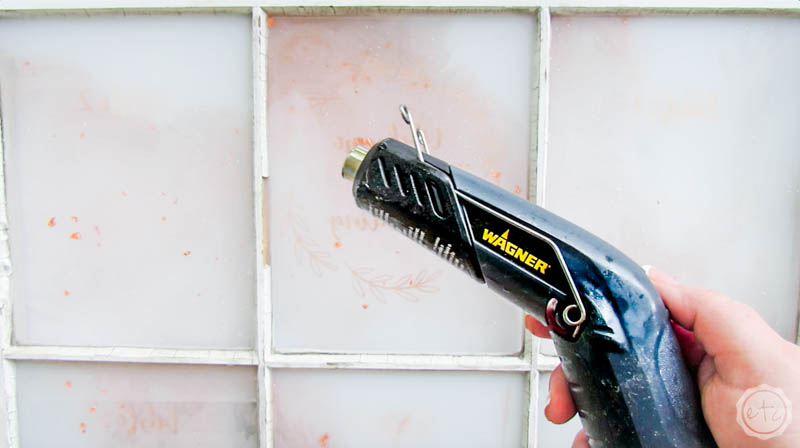
Once you’re done you can take your heat gun and pop any micro-bubbles on the surface of the resin… and then cover this baby with cardboard and wait for it to cure!
24 hours later and you should be good to go! Ready for the final reveal?


Looking for more resin projects? I’ve got you covered!


Leave a Reply