If you have a travelers notebook you know how customizable they are… I love how you can take a TN cover, add your own inserts and make it completely your own. Even if 20 people have the same cover they can each have different inserts, vellum, dashboards… each and every one of those 20 planners can be completely unique.
Of course, the best part about printable planner inserts for your travelers notebook is that you can easily change them out to fit the seasons, a different theme, a different need… for minimum monies. It’s such a quick and easy way to make your TN new again!
The best part? I’m sharing the files to print your very own ocean themed TN Notes Insert at the bottom of this post! Grab the files and make an insert for your TN as you go through the post… easy, peezy, lemon squeezy.
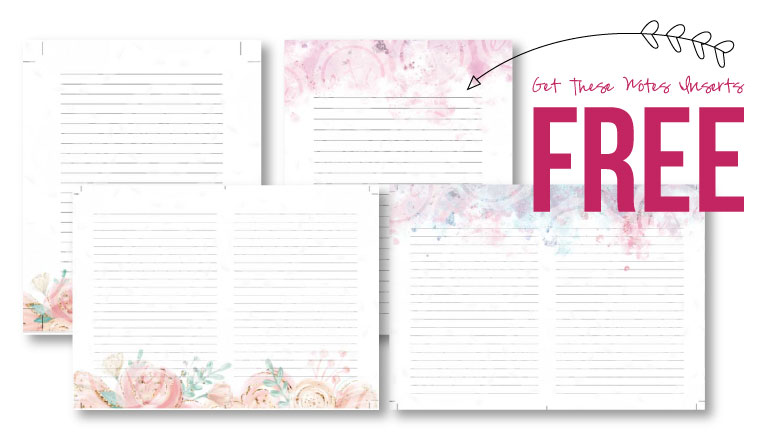
BONUS: Since you asked so nicely I decide to include AN EXTRA SET OF FLORAL NOTE PAGES IN THE FREEBIE FILE. So you can create your very own notes insert for your travelers notebook or happy planner in either fun watercolor ocean hues or floral images. You’re choice! Scroll down and grab your freebie to get started!
Supplies:
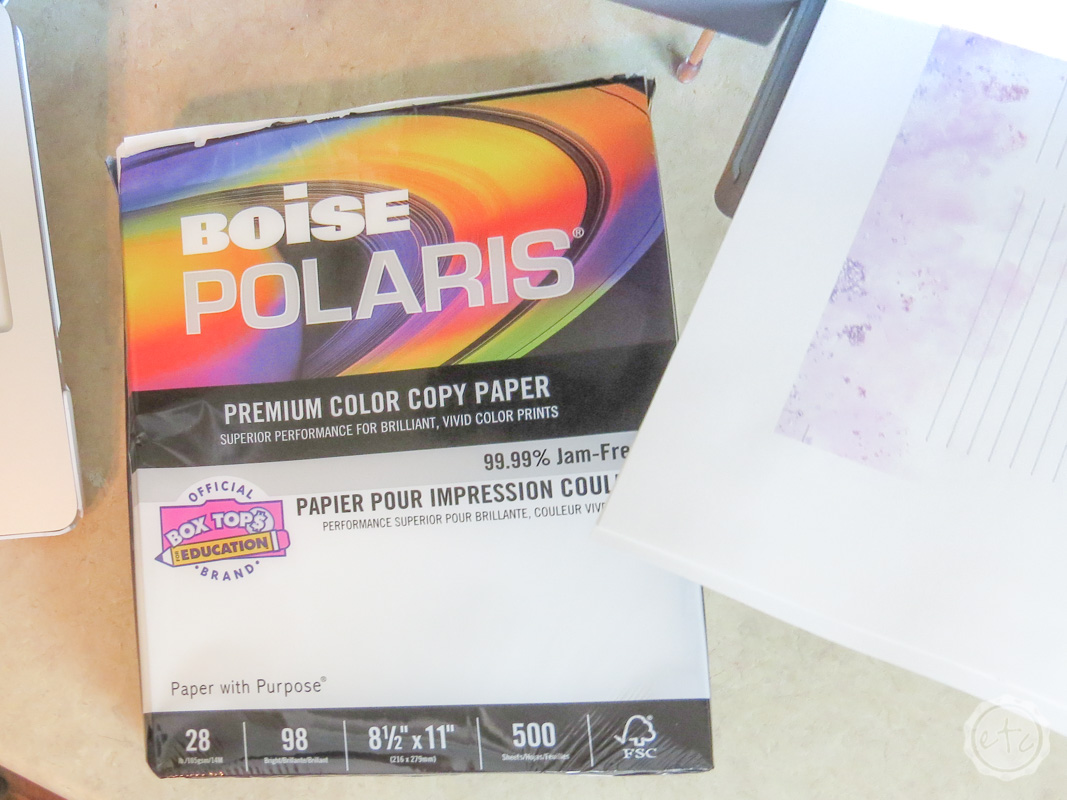
- 28 lb paper
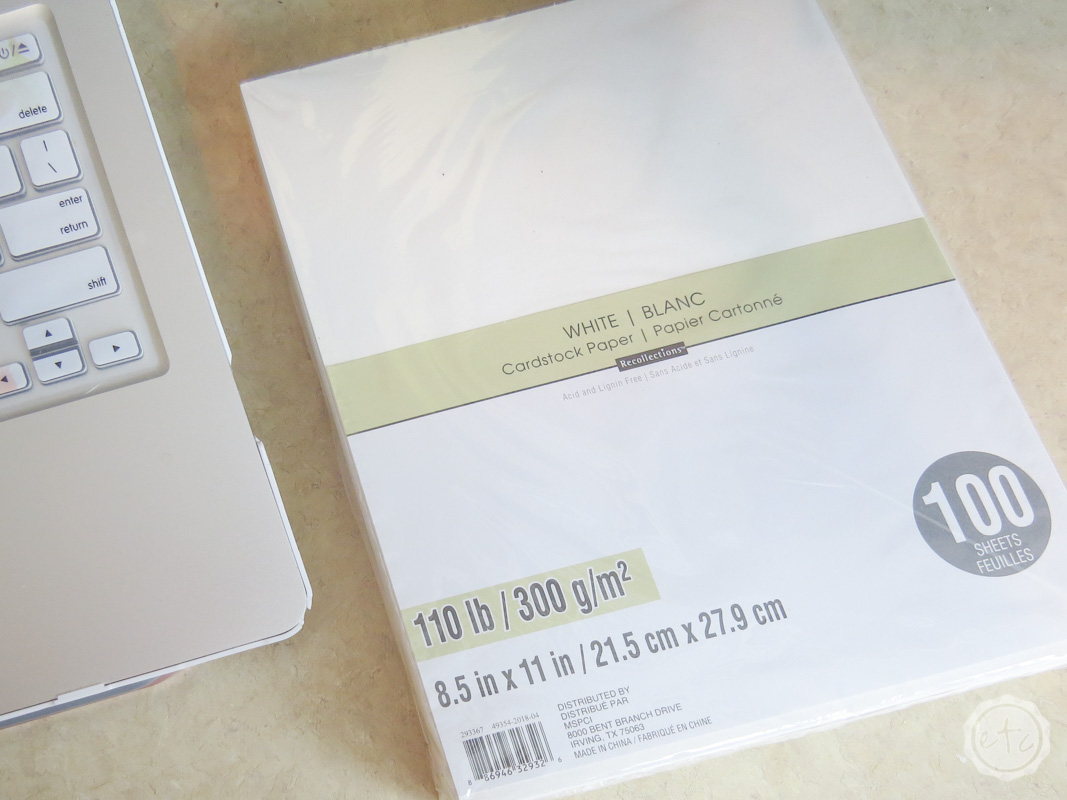
- 110 lb paper
- Printer!
- Long arm stapler
- Paper Cutter
Alright let’s get started!
Print the Pages!
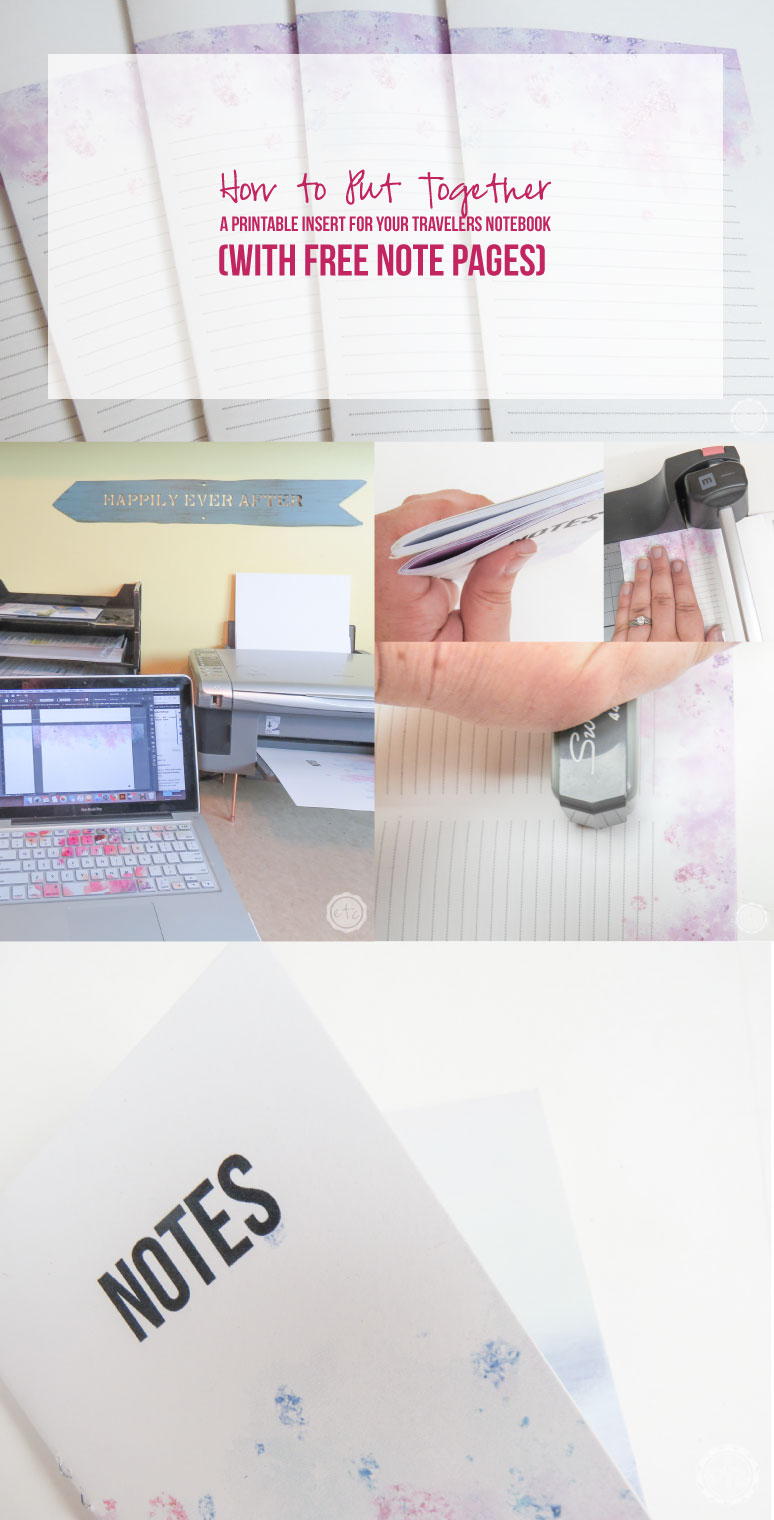
The very first step to making a printable insert is to print the pages! I like to use a 28lb paper so that it’s thick enough to handle stickers or drawing (washi tape, watercolor markers… you know the drill!) but light enough that it’s not going to bleed through from side to side.
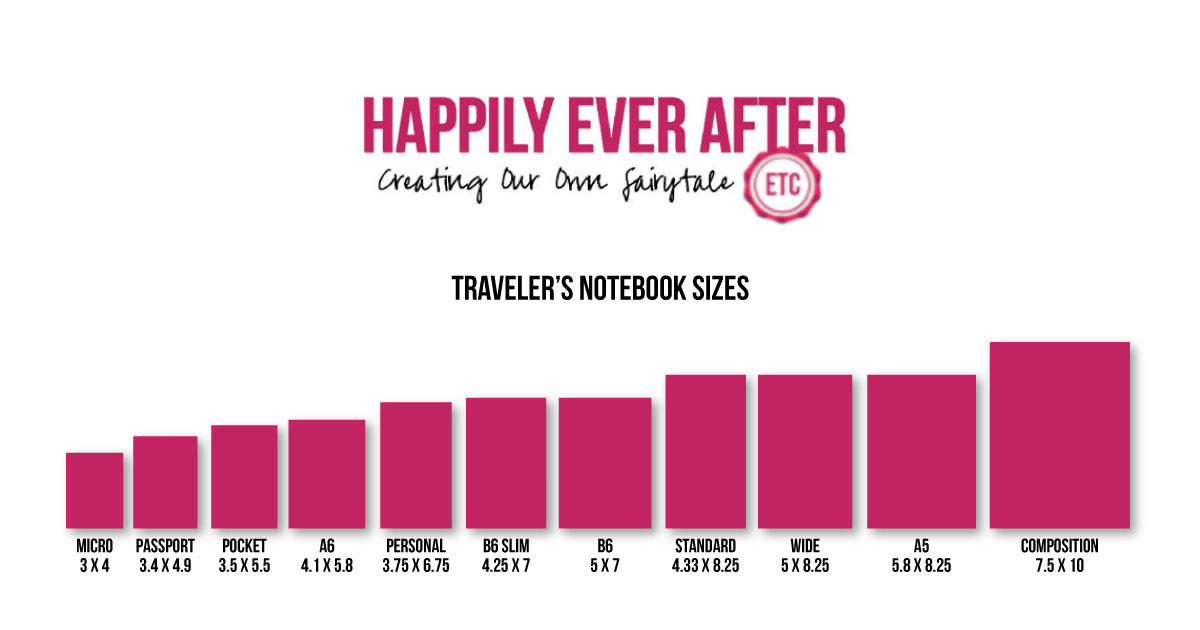
I am going to be putting together a pocket sized insert for this little tutorial so keep that in mind when looking at the sizes and pages. I prefer to put between 8-12 pages in my inserts… since you fold the pages over 1 sheet of letter sized paper is actually 4 pages in an insert so 8 pages is 32 insert pages.
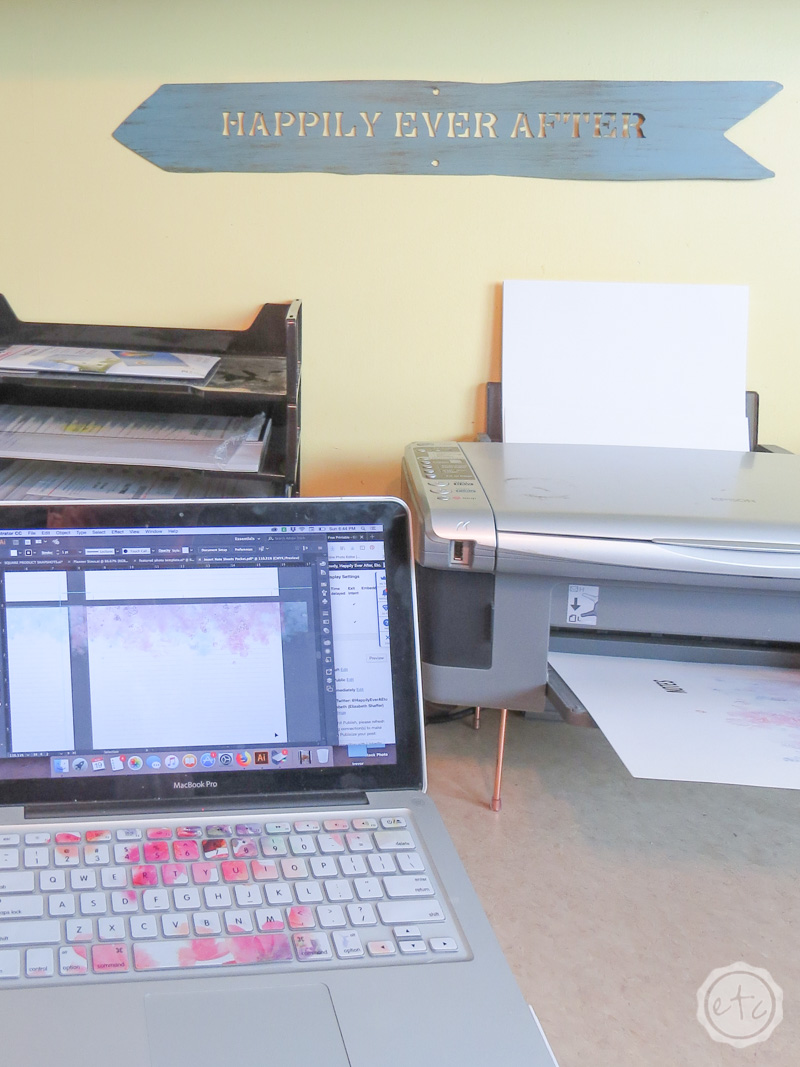
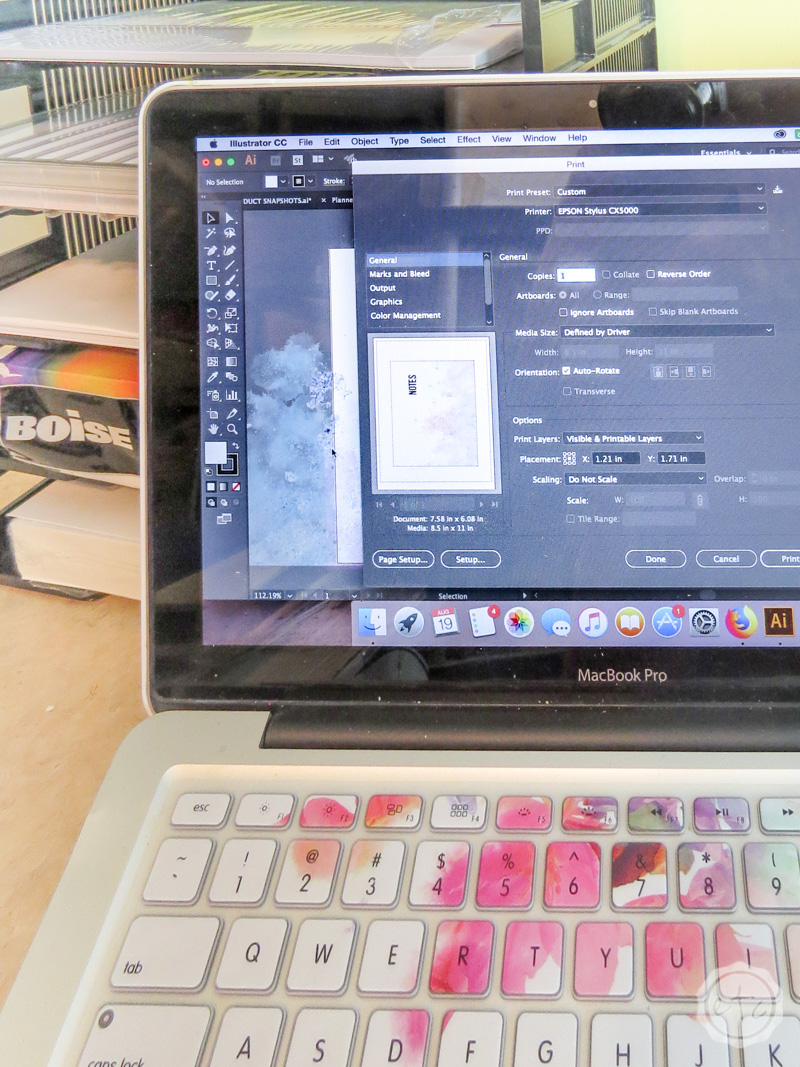
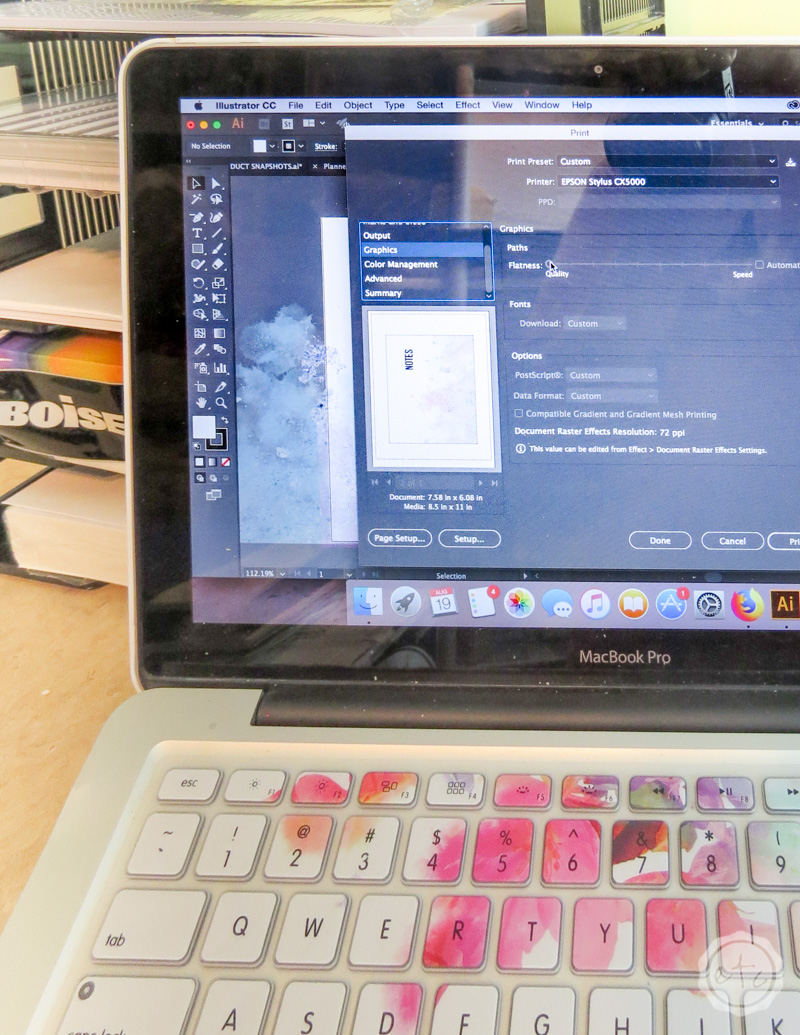
If you have a duplex printer simply print 8 pages front and back but if you have a normal printer (like I do!) print 8 pages, turn the whole group over and print 8 pages on the back. Make sure your printer is set to the proper settings so you don’t have problems down the road!
Printer Settings:
- Do NOT Scale
- Quantity: 8
- Quality: Best
Once you’ve printed all of the pages pull out the 110 llb paper and print your cover. You’ll use the same printer settings as the inside pages but since the paper is thicker you may have to guide it through the printer just a little bit.
My printer likes to give me trouble so I really have to watch it with the thicker paper.
Just a heads up!
Okay that was A LOT of paper information… trust me it’s all for the best! I’ve printed quite a few inserts on regular printer quality paper while testing the dimensions and it’s just not quite the same.
Fold your Pages
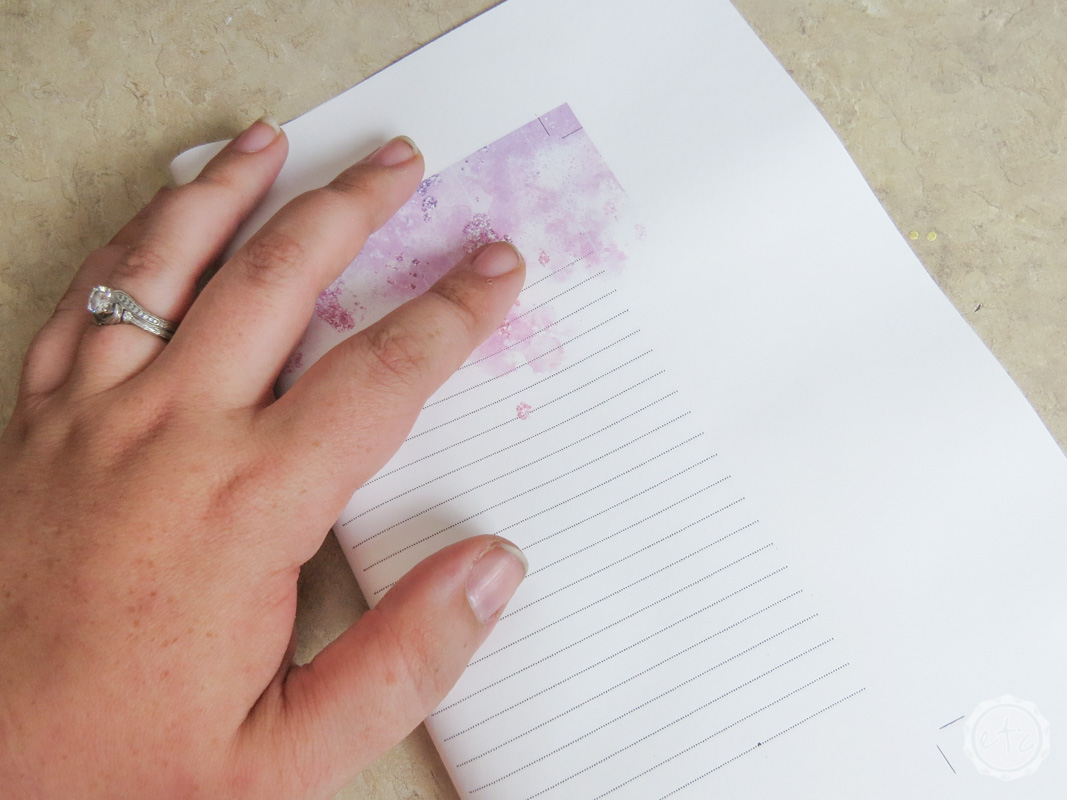
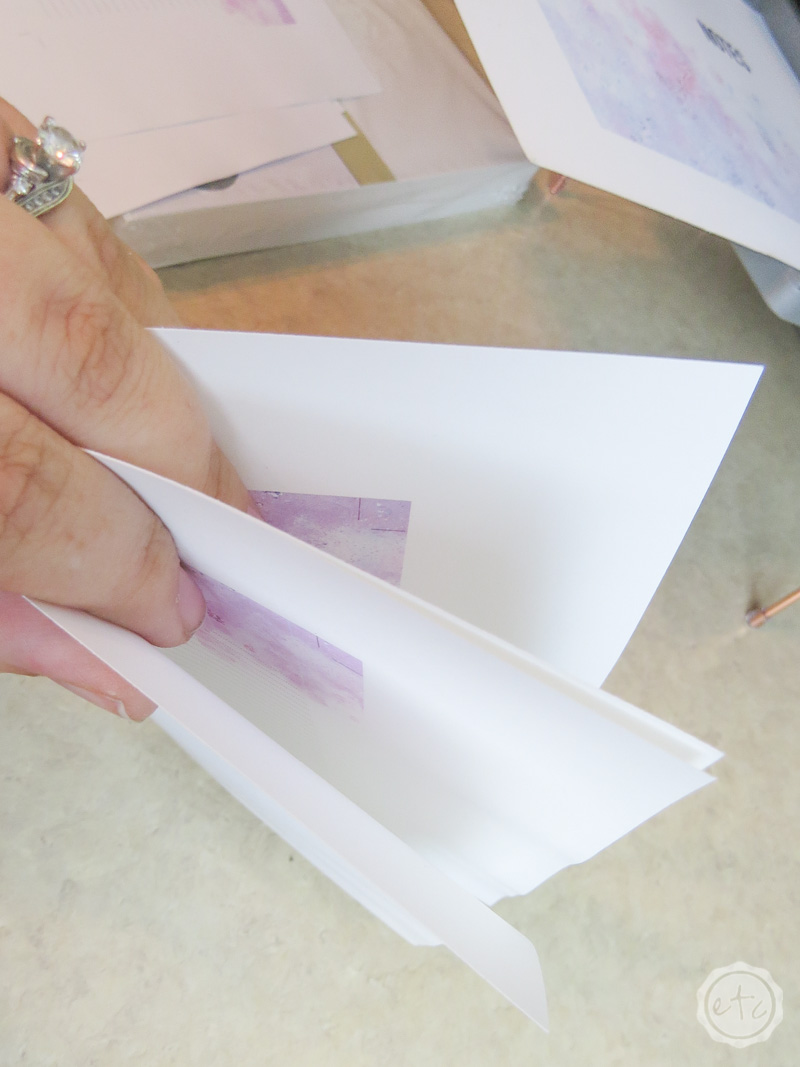
The next step is to fold each of the pages… make sure to follow the printed guides on the page so that your inserts will turn out perfectly. Most of them will fold right down the center but not always so it’s worth double checking when folding the first one.
Once you fold the page in half you can use your fingers to smooth out the fold or you can use a bone knife to really make the crease solid. It’s really a personal preference and I find that a bone knife is nice but not really necessary… if you really want a tool to smooth out the edges I find the handle of a pair of scissors usually works wonderfully.
Cut Your Inserts!
Unless you have a crazy industrial strength cutter I find it’s best to cut the inside pages in sets of two. That gives you enough weight that your pages cut beautifully but not so much that they get stuck in the cutter.
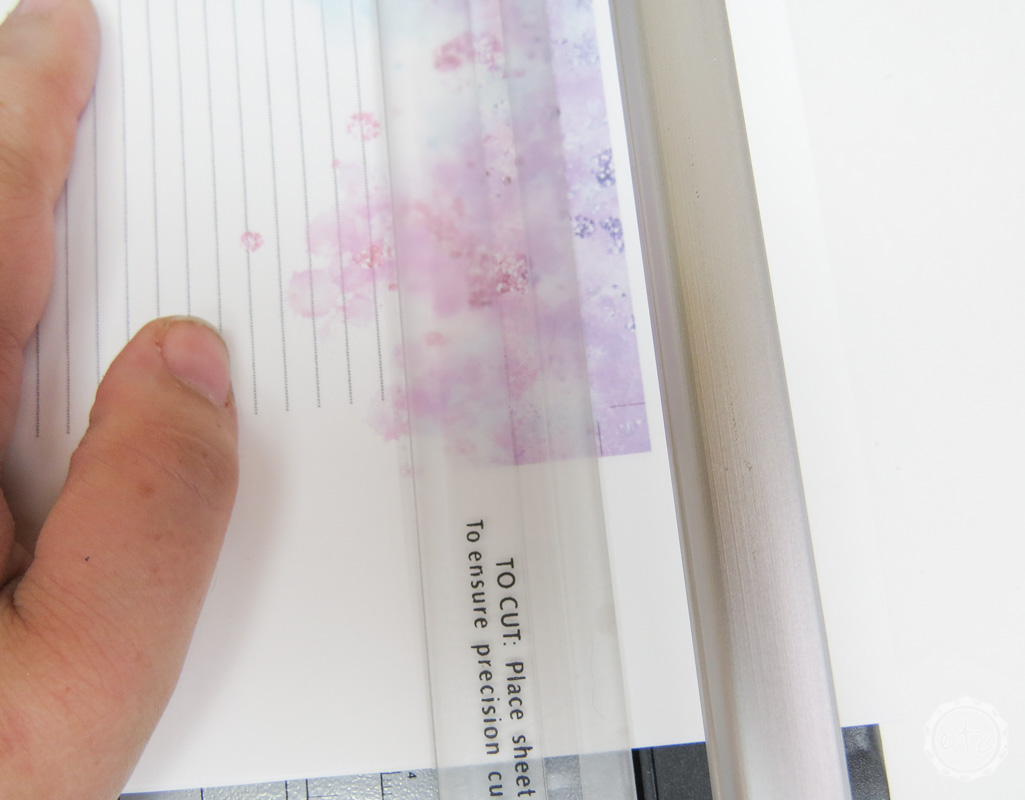
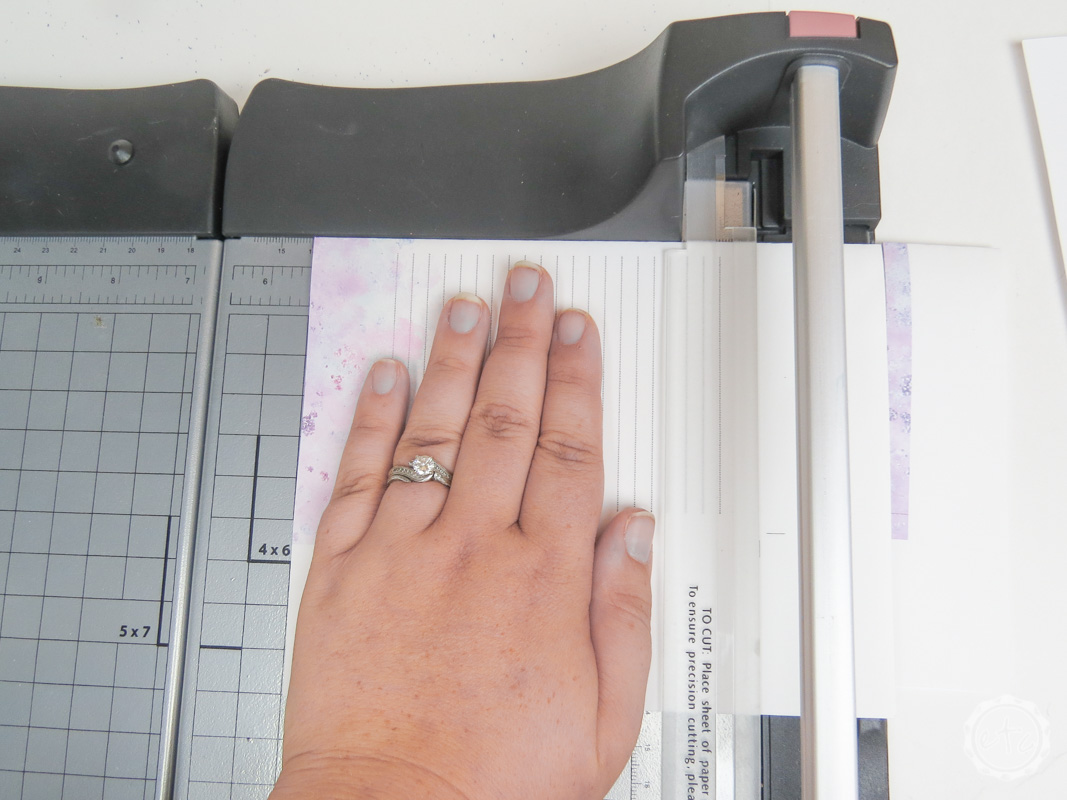
Take your set of two pages and place the folded portion against the cutter and slice off the top of the page using the guide! If you want to keep the guide lines for the sides don’t cut allllll the way down the page… I simply cut my inserts to the size using the guides on the cutter so I slice straight through. Just keep in mind that if you cut the entire length of the paper the secondary guide lines will be cut off.
Once you’ve cut the top flip the pages around (still with the folded portion tight against the top of the cutter) and use the guides to trim the excess off the bottom of the pages.
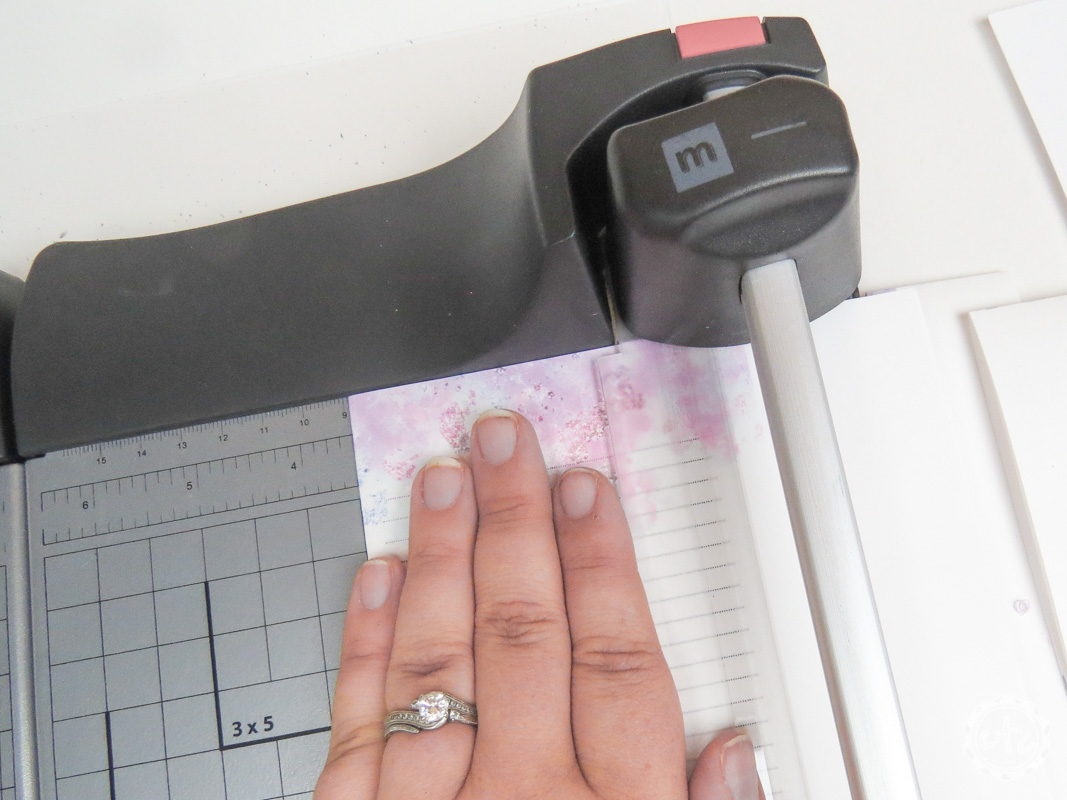
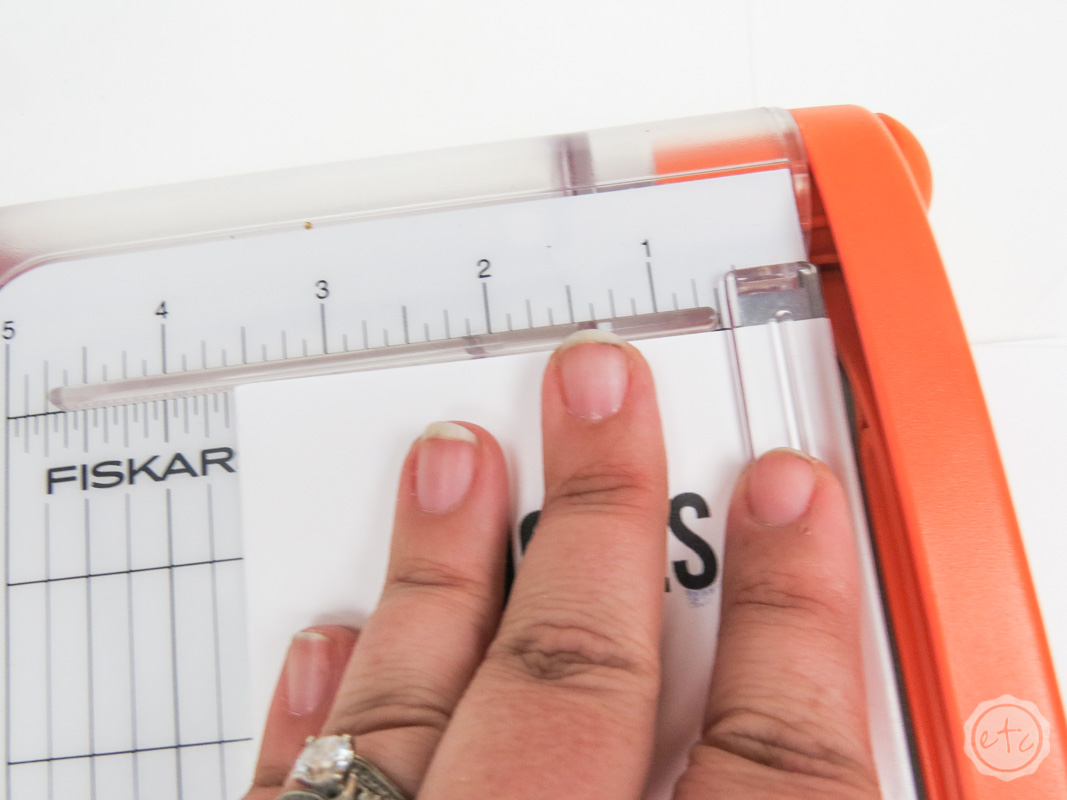
Now it’s time to trim the sides off the pages. Since our page is folded in half you’ll want to place the top of the page tight against the top of the paper trimmer… the folded portion should be to the left and the portion to cut off should be on the right ready to trim.
If you have the guidelines make sure to trim them on the right… either way make sure the folded seam is on the left and falls at the proper length for your size insert. Since I’m making an insert for my pocket TN the folded portion should be right at 3.5 inches.
Now it’s time for the Cover!
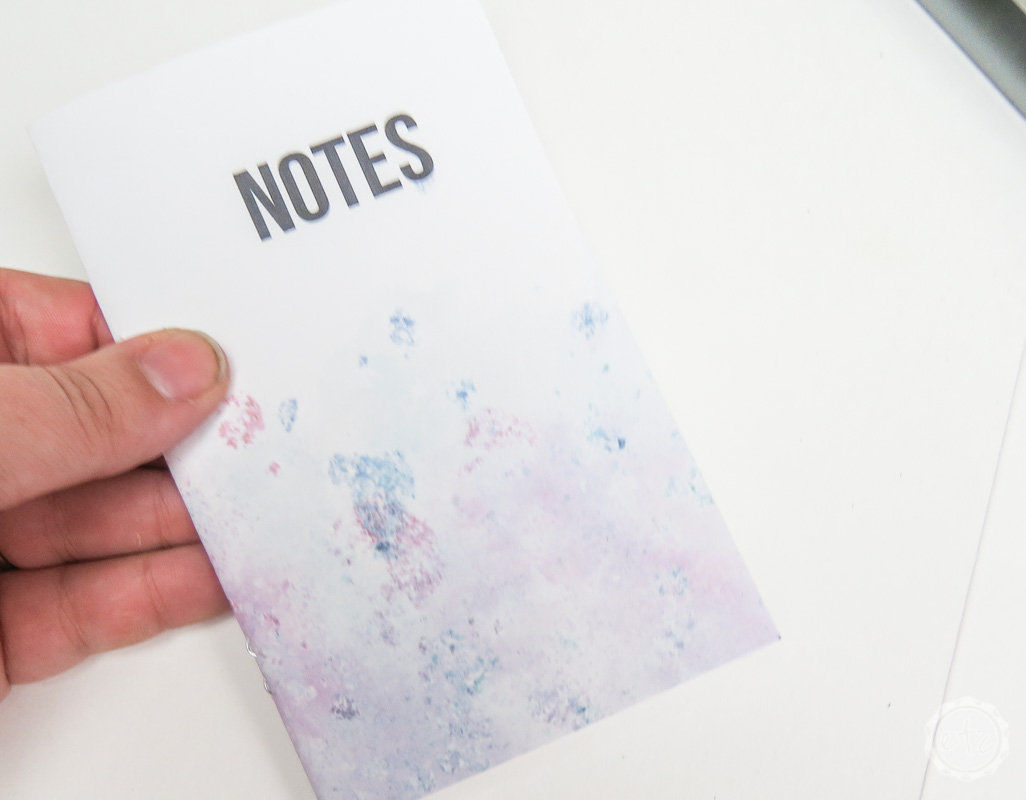
When it comes time for the cover I like to wrap start by folding the cover in half and timing off the top and bottom… same as with the pages. But before I trim the sides I like to wrap the cover around the pages and make sure that cutting the cover at the guides (or 3.5 inches for a pocket sized insert!) will cover the insert pages properly.
There’s nothing worse then getting allllll the way to the end of an insert and cutting the cover shorter than the pages. When in doubt I like to cut the outside cover a bit longer on the side and then slowly trim it down until it’s at the perfect length.
Better safe than sorry!
Staple the Insert!
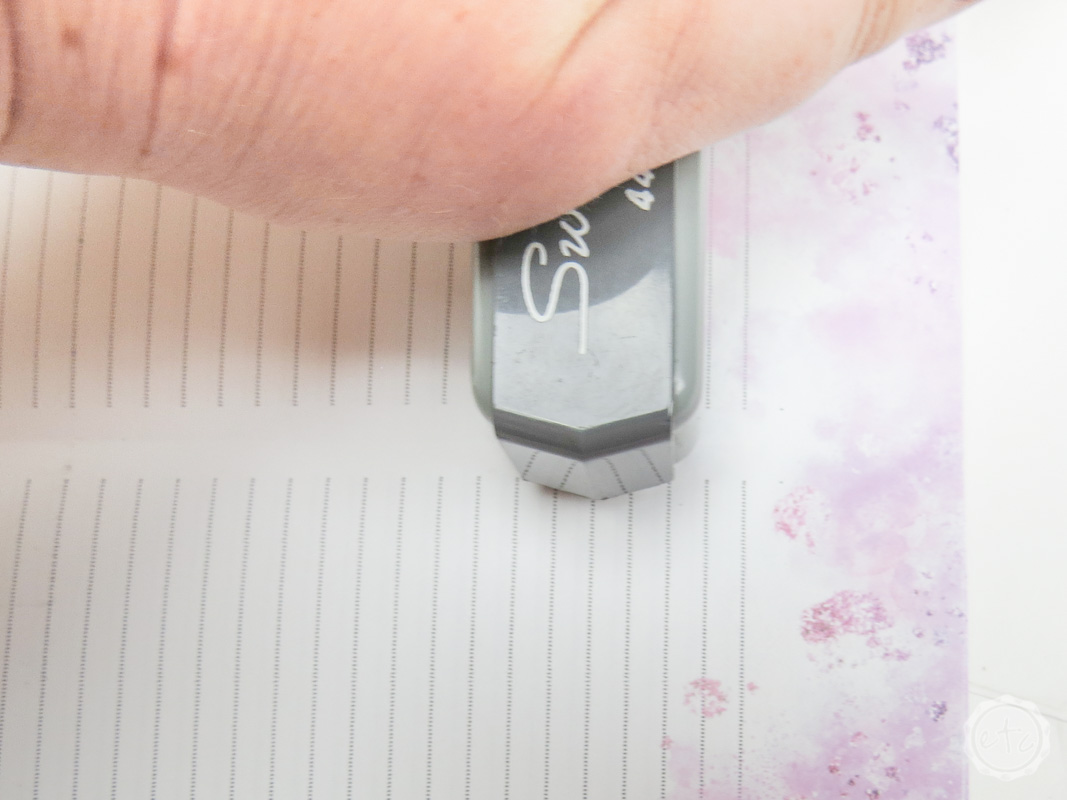
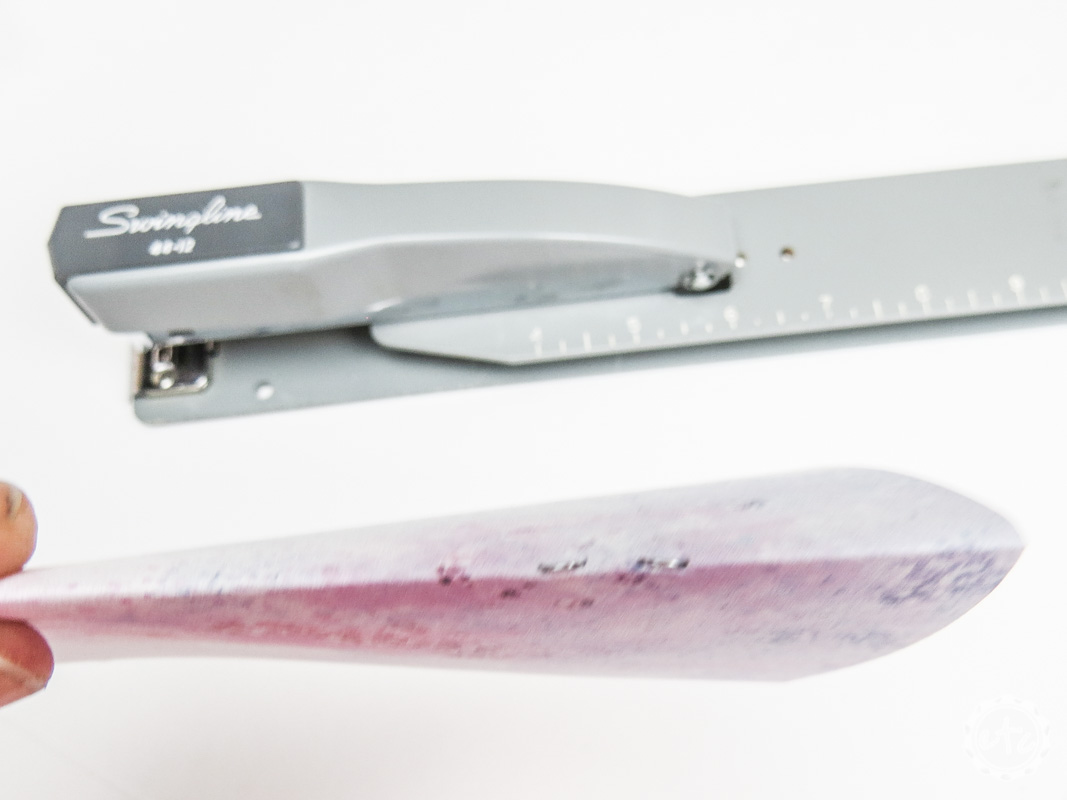
Now that all the pages and the cover is ready to go it’s time to staple everything together! Of course, you’ll need a long arm stapler… I simply took this stapler that my Mom found at a garage sale back when I was a little girl but it doesn’t have guides so placing the stapler directly on the seam can be a little tricky.
Make sure to line it up perfectly so that you don’t accidentally staple directly through the front or back of the cover… it’ll make you want to pull your hair out.
I may or may not know from experience.
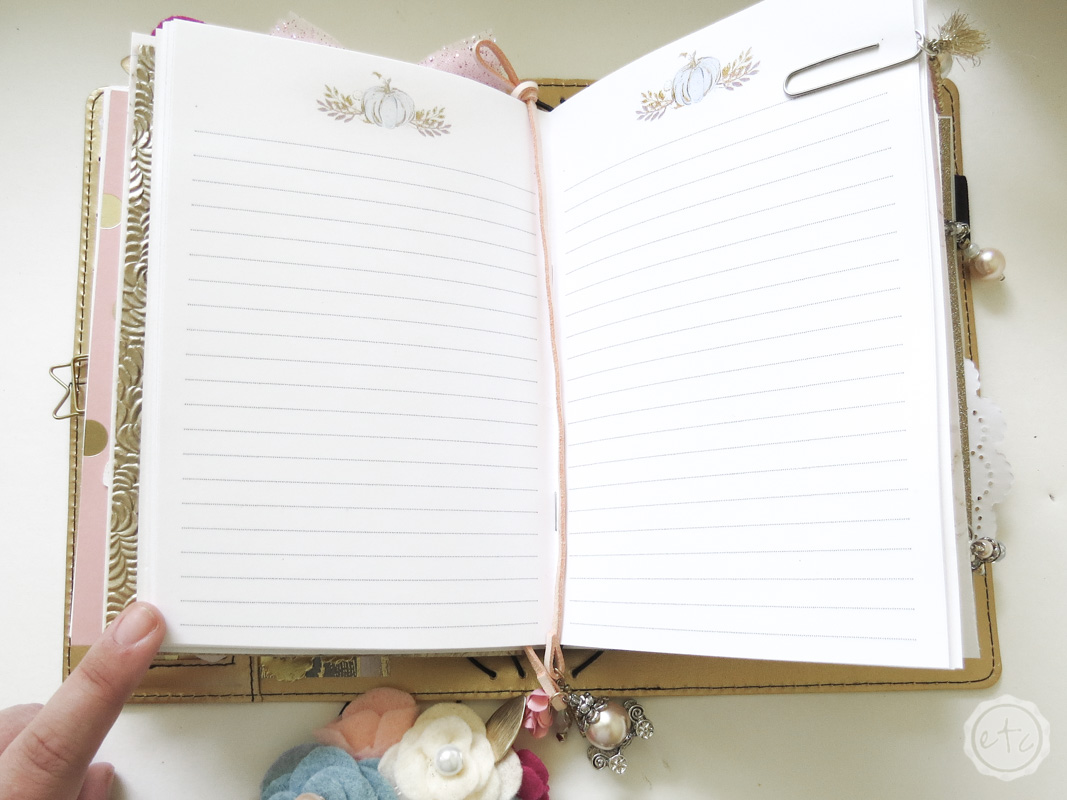
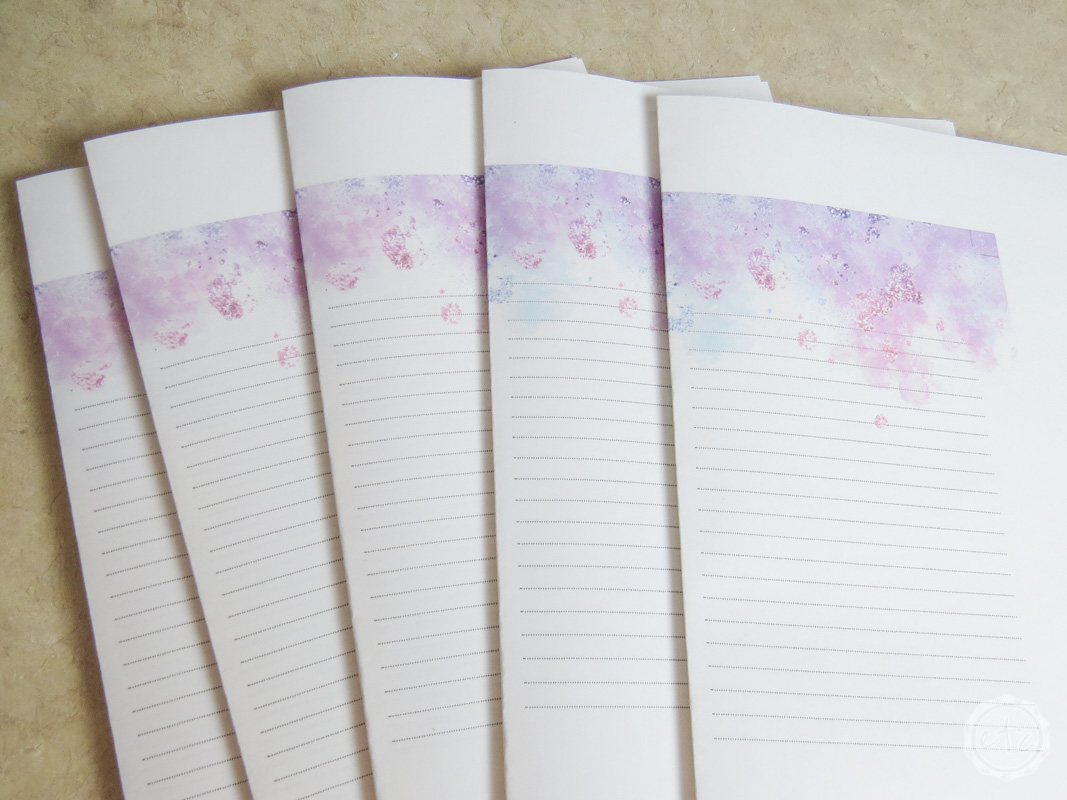
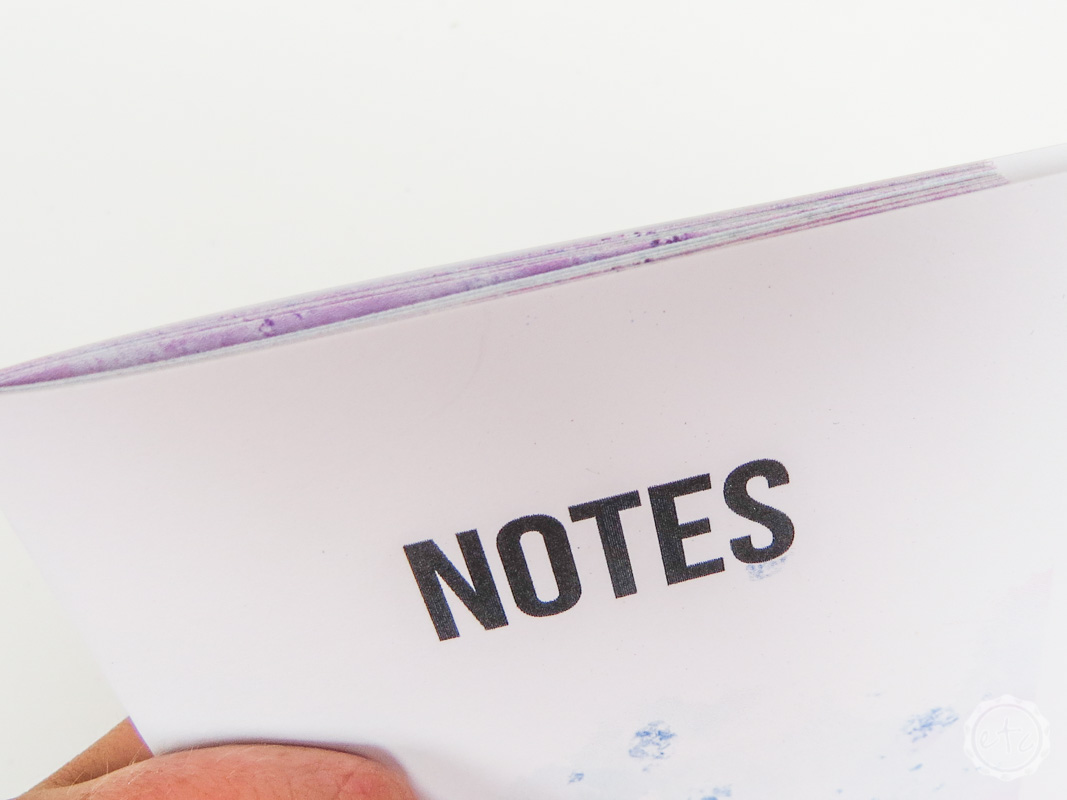
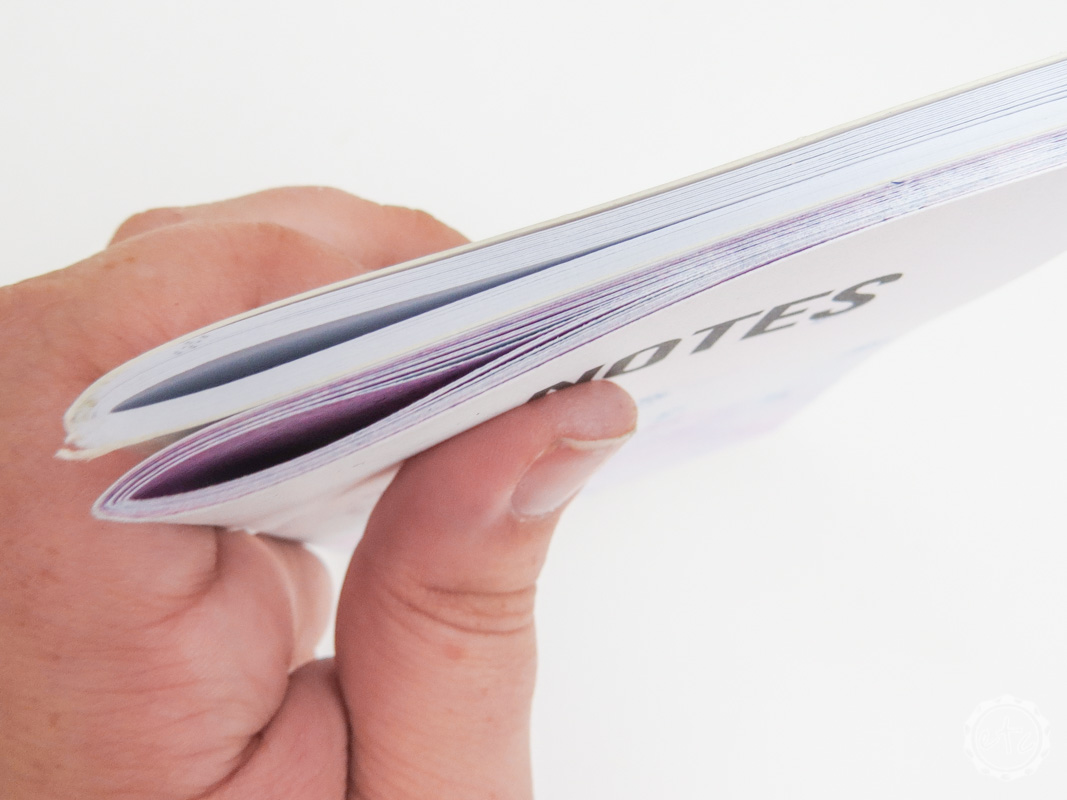
Now your insert is ready to use!! Just take a look at how it turned out next to a small pocket sized insert from Michaels.
Pretty darn good, if I do say so myself!
Plus with printable inserts you can really customize your entire travelers notebook with the exact inserts you’re looking for. Going on a cruise? Maybe you want a cruise insert to record your trip. Starting a new school year? Make sure your planner is fully loaded with a calendar insert, notes insert, budget insert and meal planner. There’s a million ways to make your planner perfect for you but we can get started with this little free notes insert!
Enjoy!
Looking for an insert and can’t find it in the shop? Shoot me an email at Betsy {at} Happilyeverafteretc {dot} com I love to create custom inserts!
In the meantime don’t forget to download your FREE Notes Insert below! Don’t forget that for a limited time the boho floral notes inserts are included in this freebie as well! Happy planning!
Get Your FREE Notes Printable

Grab your FREE Notes Printable for your Planner! I've included files for your travelers notebook or happy planner!







can you print theese double sided?
Of course! That is all up to your printer settings.