


I am so excited to have a flocked tree this year… and you know what that means. It’s all about the rose gold baby! I’ve been having an absolute BLAST putting together the rose gold and blush Christmas tree of my dreams (I mean y’all have literally watched me drool over these trees for the last couple years… just check out this rose gold Christmas round up!).
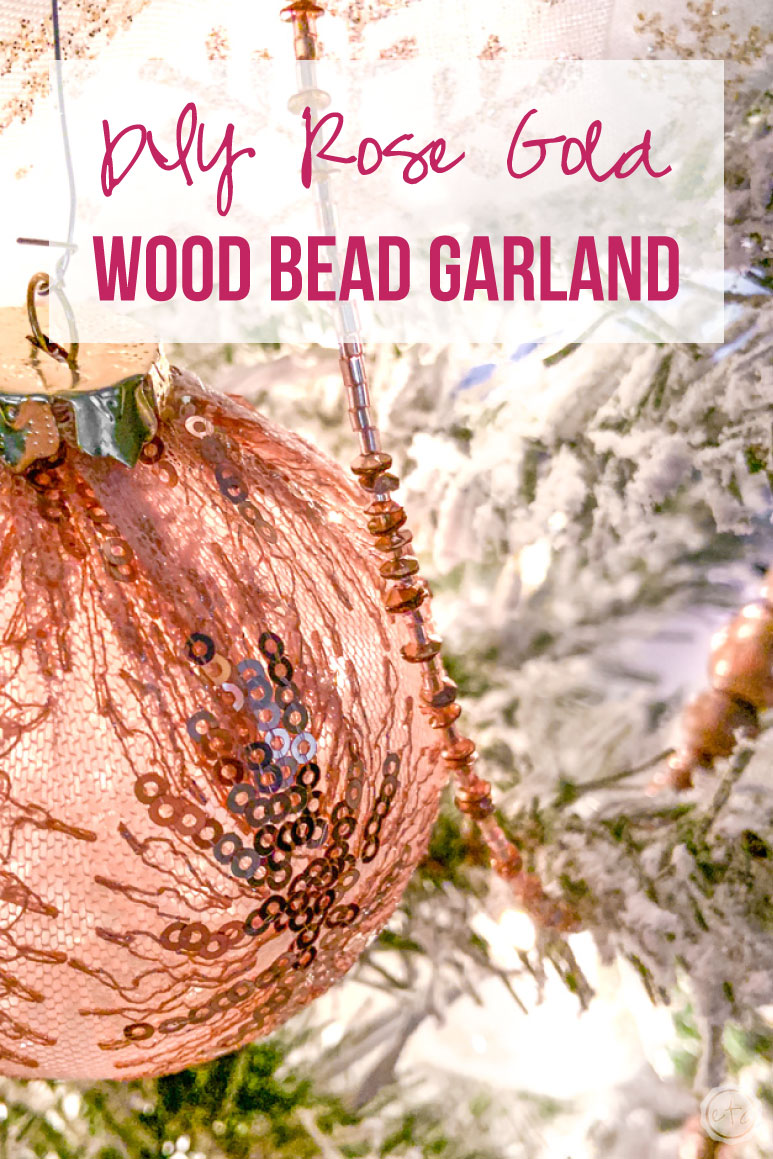
Of course, with a new Christmas tree you need new garland… in this case something sparkly and shiny to coordinate with the rest of the rose gold on the tree. I have found several rose gold garlands I absolutely love in stores but at about $20 a strand they were way out of my price range… so I decided to DIY this little wood bead garland.
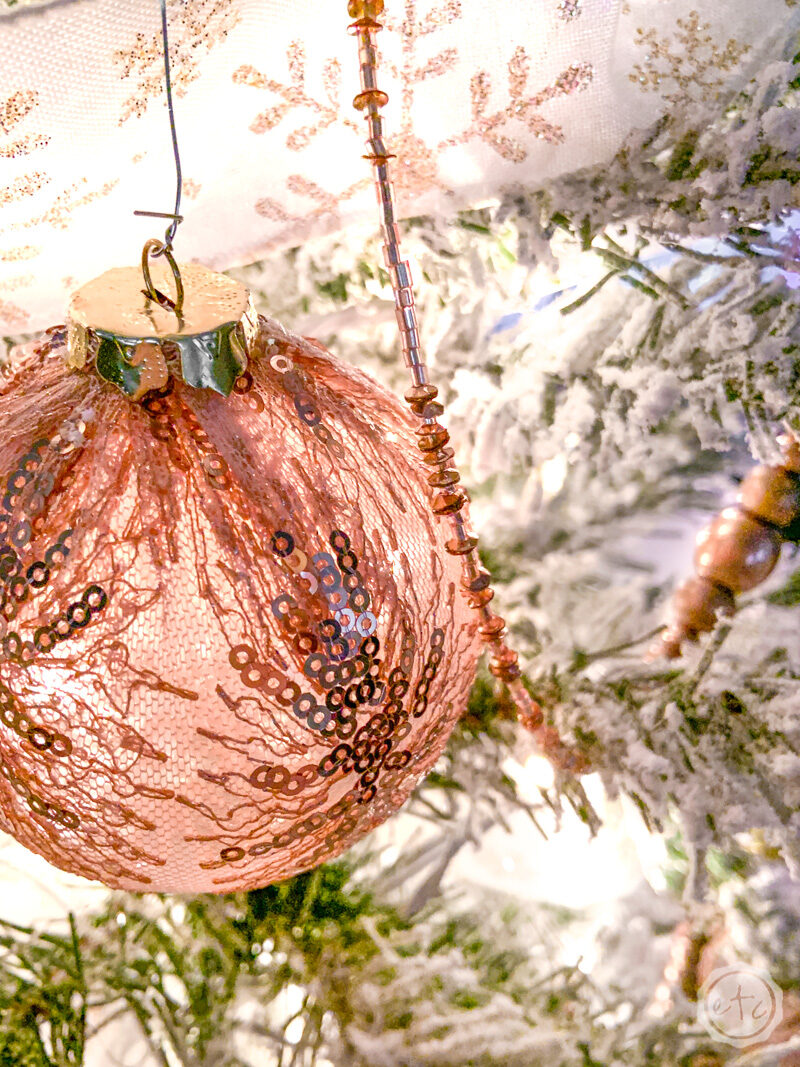
At the end of the day this garland really needed to be 3 things: budget friendly, rose gold and easy to put together. I also wanted it to coordinate with the rose gold flower picks that I already bought (since they’re kind of show stoppers).
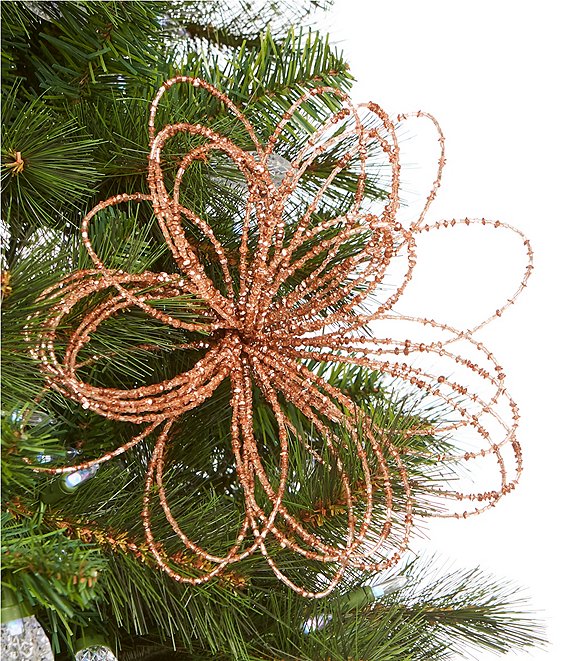
So I decided to grab one of the flower picks and take it apart… that’s right from flower pick to 8 foot string of garland. The wire from the flower petals will give the garland structure and since save me tons of time… since I won’t have to sit here and individually string 8 feet of seed beads.
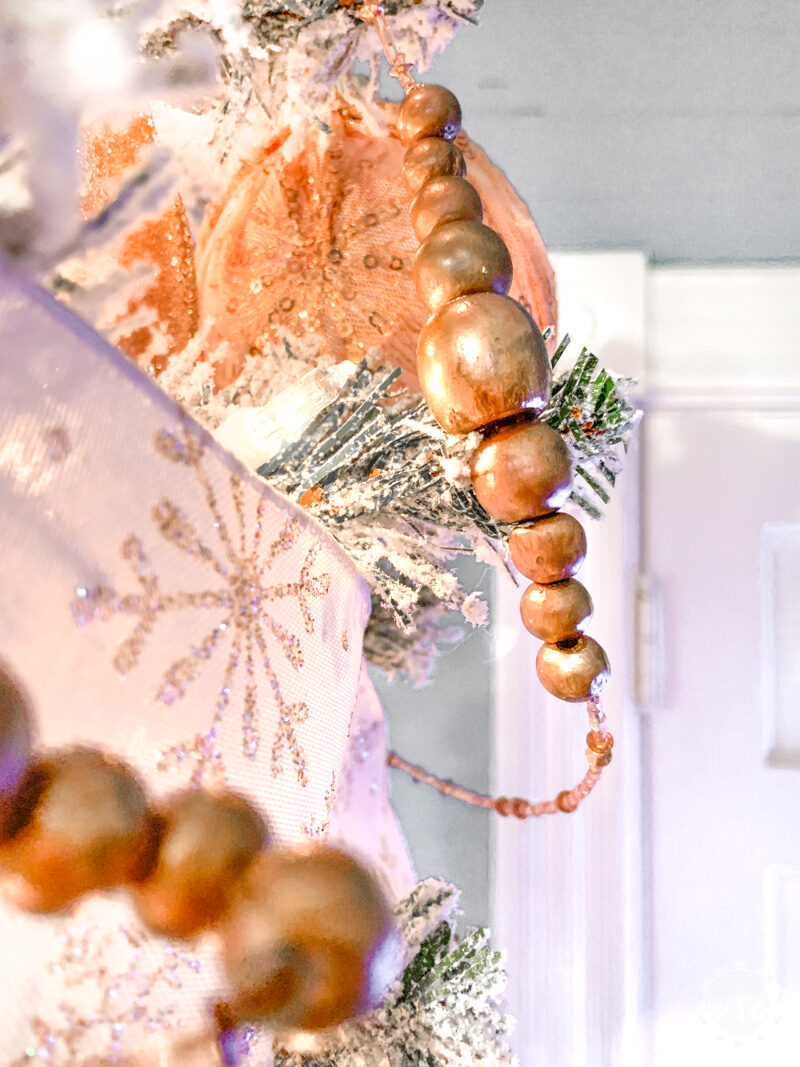
I decided to add in a few larger wood beads in a copper color so that my shorter seed bead sections would make sense and so that I the garland and flower picks wouldn’t be too matchy matchy.
Ready to get started?
Psst… looking for a few more easy to put together projects? Scroll to the bottom of the post to check out a few more projects from my friends in blog land… that can all be done in under 2 hours.
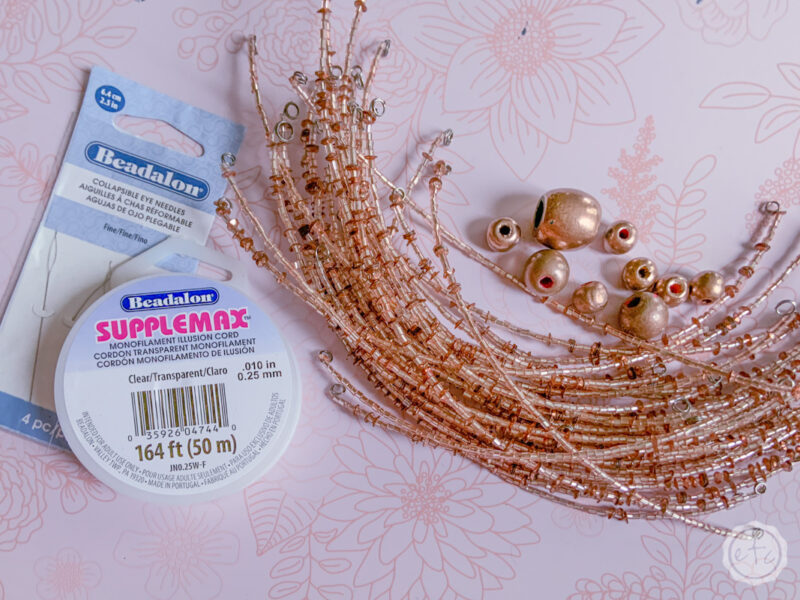
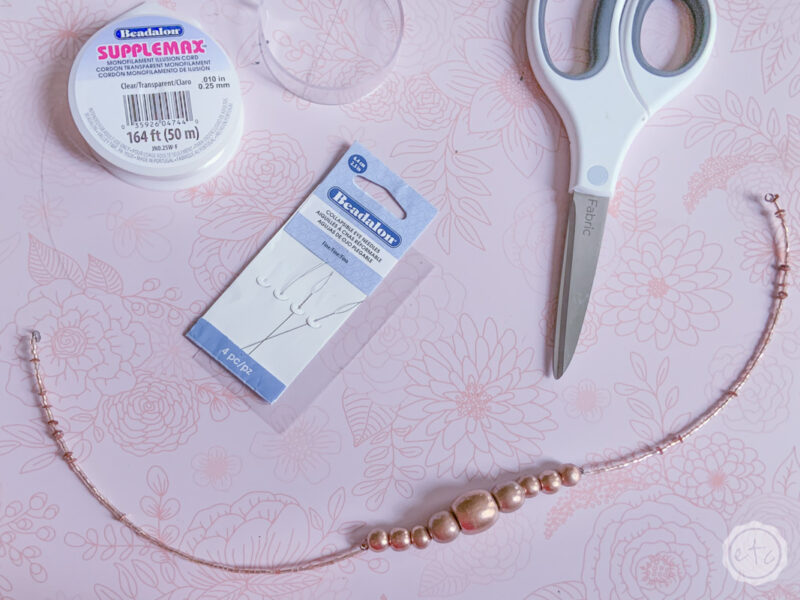
Supplies:
- 1 Floral Beading Pick in Rose Gold
- 9 Large (20mm) Rose Gold Beads per 8ft strand
- 18 Medium (12mm) Rose Gold Beads per 8ft strand
- 54 Small (8mm) Rose Gold Beads per 8ft strand
- Collapsible Eye Beading Needles
- Clear Beading Cord
- Scissors
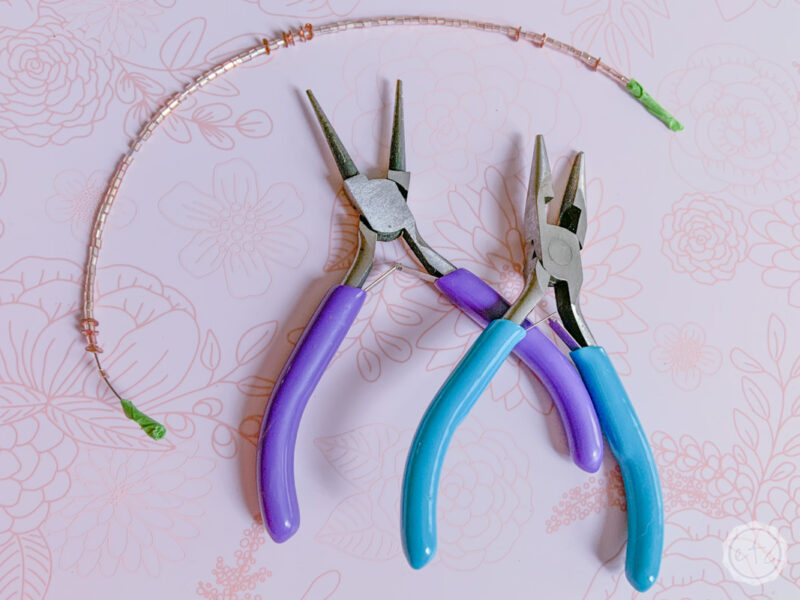
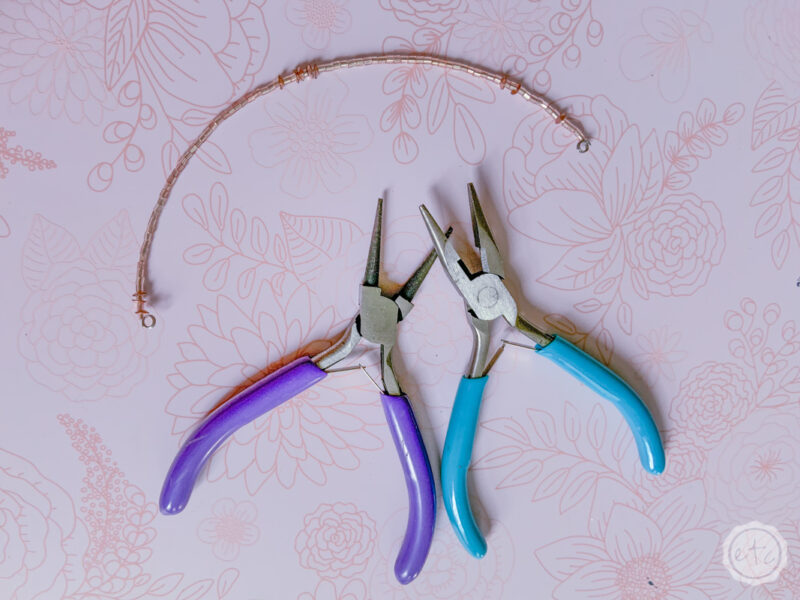
- Wire Cutters/Round Nose Pliers
Step 1: Deconstruct your Floral Picks
The very first step is to take apart your flower picks! Start by cutting off the floral tape along the stem and removing the petals from the flower. Then it’s as easy as cutting the petals in half.
Once you have your petals go ahead and cut each petal in half with your wire cutters. Each petal has about 15 inches of beads so that will make each of your bead sections about 7.5 inches long (so I rounded down to 7 for human error and the fact that they won’t all be identical).
Once I cut my petals in half I put a bit of tape on each end to make sure all of the beads didn’t come flying off the ends while I was working.
That would completely defeat the point.

Step 2: Twist your Ends to Keep the Beads on
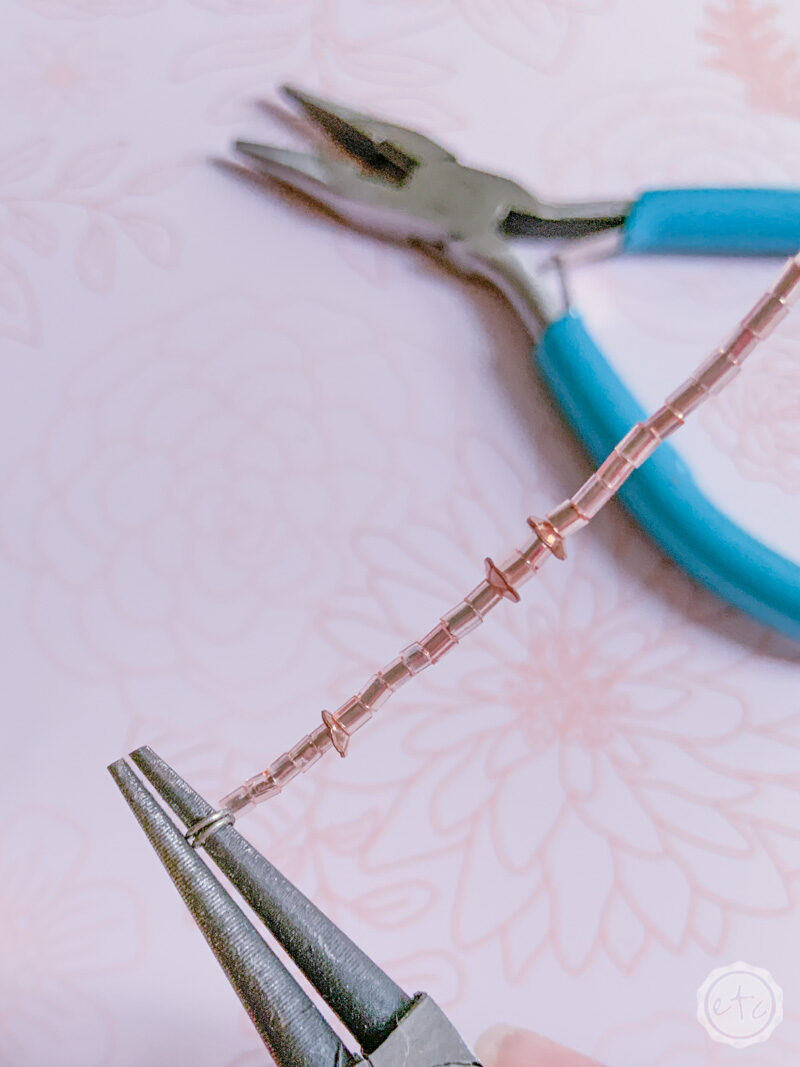
Alright y’all, now we need to take those wires and twist them around our round nose pliers. We don’t want the beads to fall off… now or when it’s on our tree!
Simply take the end of your wire and twist it around your round nose pliers until you’ve made two loops. That way you know your beads are nice and secure.
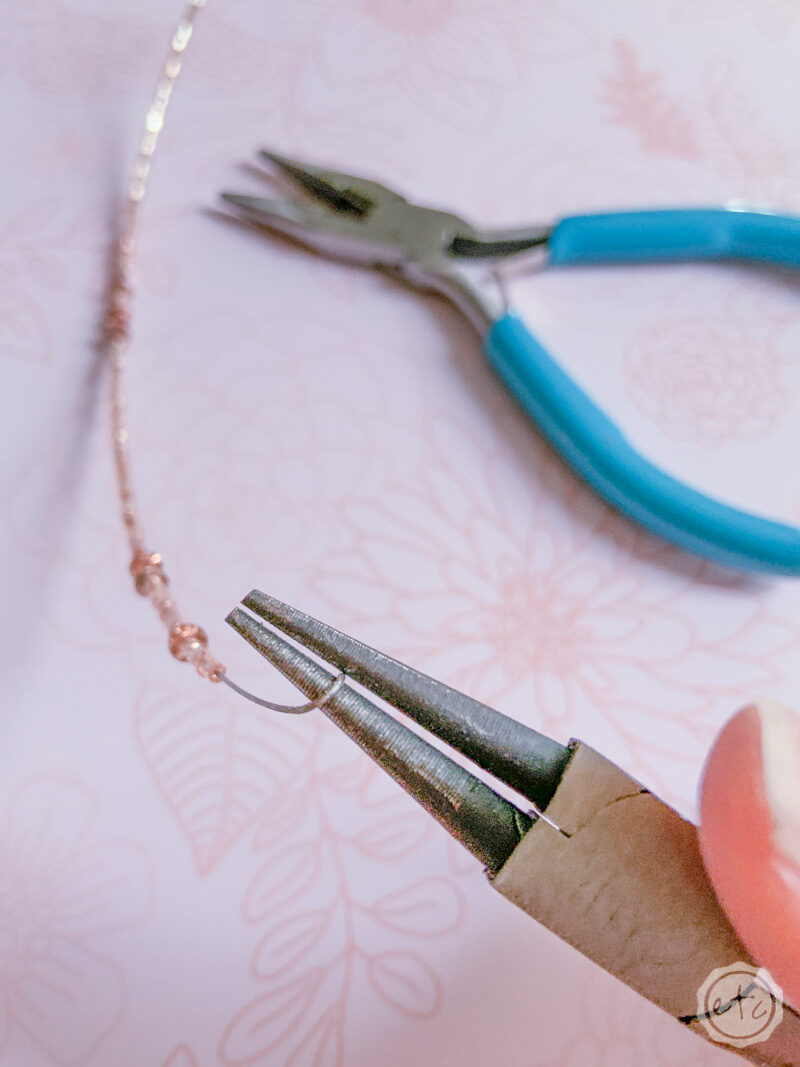
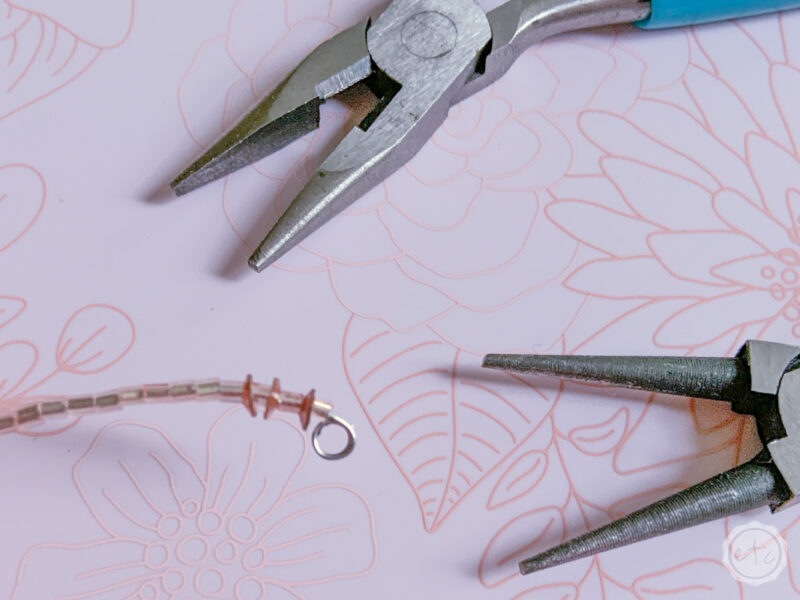
Once you’ve done one side you can turn the beads over, take the tape off and twist the other side. When you’re doing the second side make sure to twist your wire right up to the end of the beads so that they’re tight on your wire.
That way they won’t shift around when the garland gets moved!
Volia!
Once you’ve done one 7.5 inch section repeat the process until you have enough for an entire 8 foot garland… which is 10 times. If you want to use the entire flower pick for garland the 30 flower petals on the floral pick will make six 8 foot garland strands (which was the perfect amount for my 6 foot tree!).
That’s a lot of math!
If you’re only making 1 or 2 garlands I’ll show you (next week!) how to make smaller flower picks out of the left over petals.
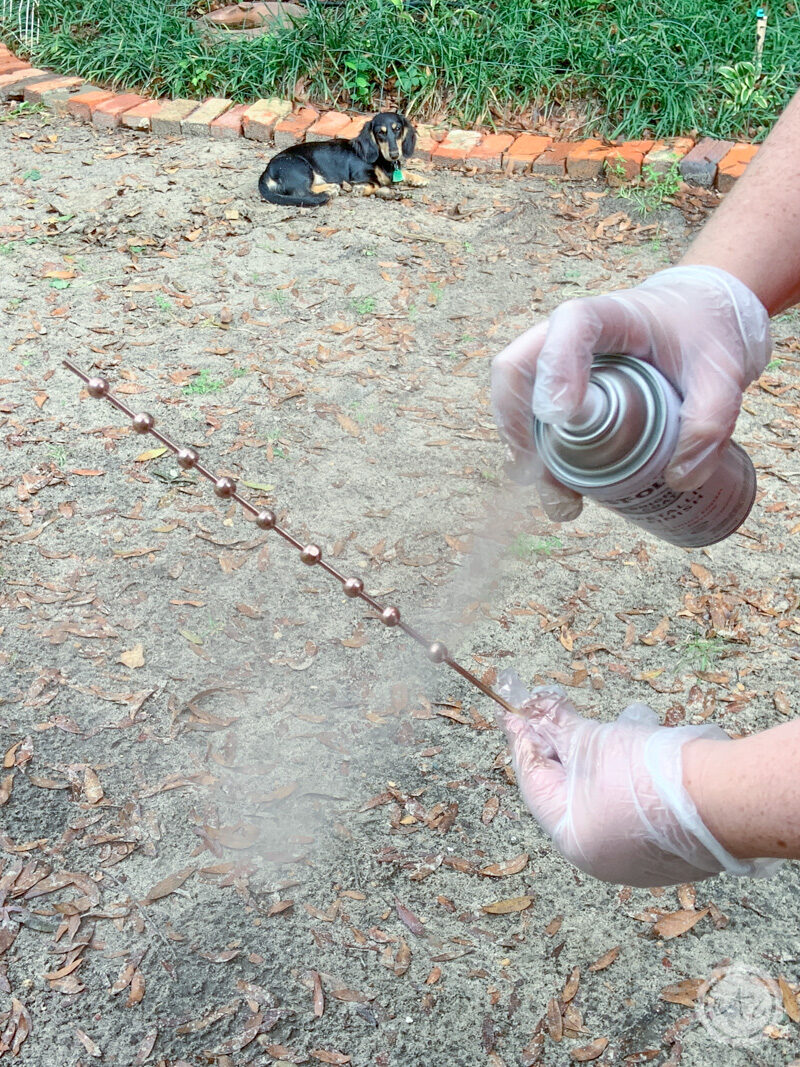
Step 3: Spray Paint Your Wood Beads (Optional)
Let’s add some big wooden beads! Now that we have all of our tiny seed bead sections it’s time to join them together with a few larger wooden beads. I had a large box of natural wood beads that I spray painted rose gold (like a crazy person) but if you’d rather order your beads you can get them here.
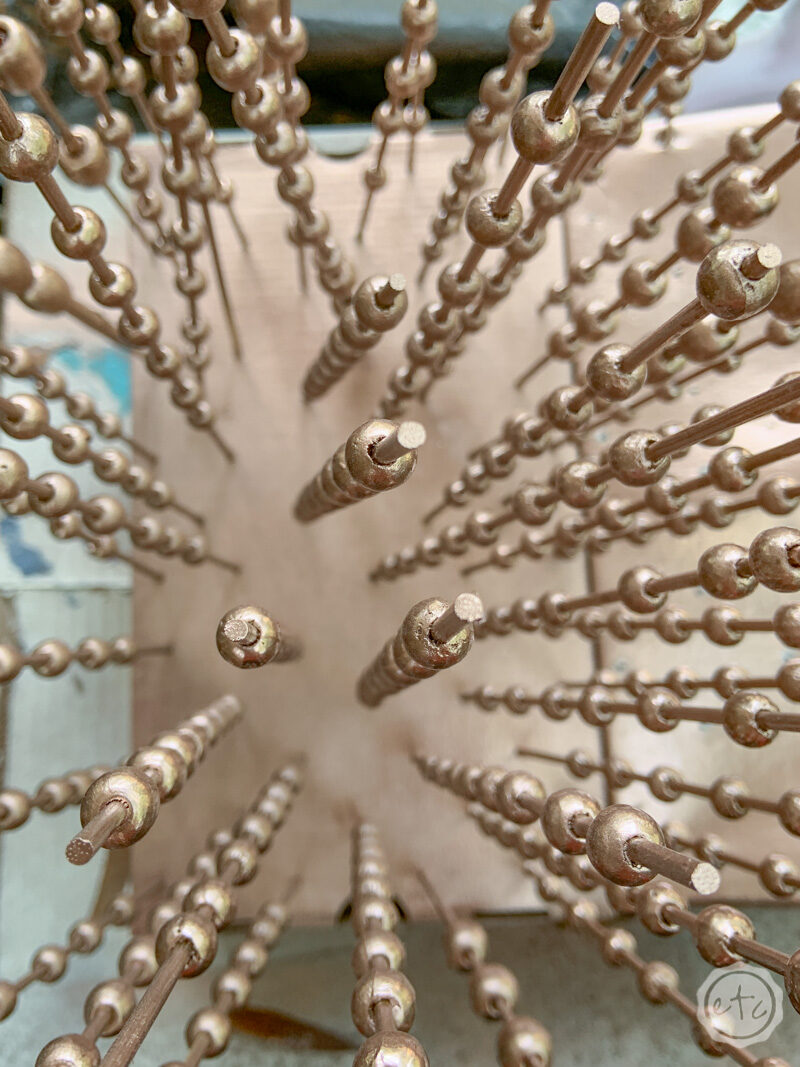
If you’d like to spray paint your own beads I recommend placing them onto bamboo skewers so that you can spray paint 6 or 7 at once. Then you can poke lots of little holes into a shoe box so that you have a place to rest your fifty million skewers as they dry!
The smaller beads fit snuggly onto the wooden skewers but I’ll be honest… the larger holes in the larger beads were a pain in the rear. I had to put a bit of painters tape under each of the larger beads so that I could paint them without them falling into each other.
Once you’ve painted these little guys let them dry for 24 hours so that they’re cured before taking them off the skewers. Otherwise you may or may not get rose gold finger prints all over your wood beads.
Step 4: Join your Seed Beads and Wood Beads
Let’s break out the clear cording y’all it’s time to put this garland together. If you’re making one garland and you ordered your beads already painted getting to this step has probably taken you about 10 minutes… but I made 6 garlands and spray painted my beads so getting to this step took me *ahem* many light years.
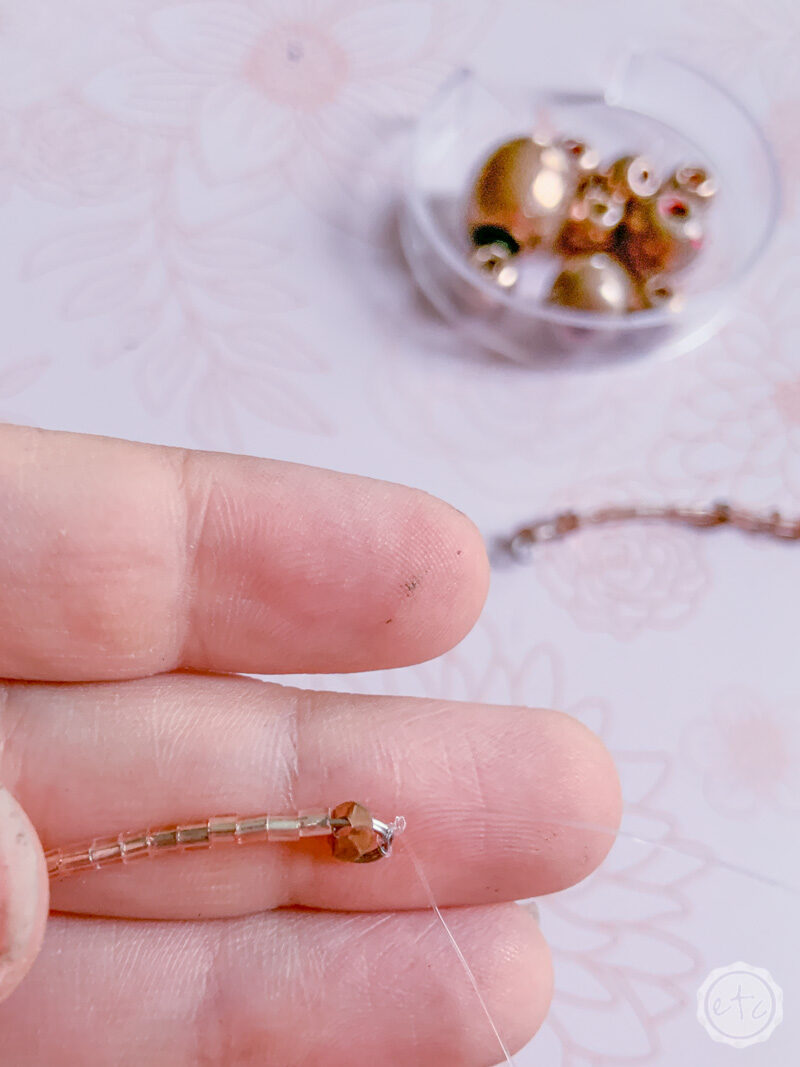
Start by cutting your clear cording at about 12 inches. That’s more than you’ll need but it’s way easier to tie the knots if you have enough string to work with. Go ahead and double over your string and tie it to the end of one of your beading sections.
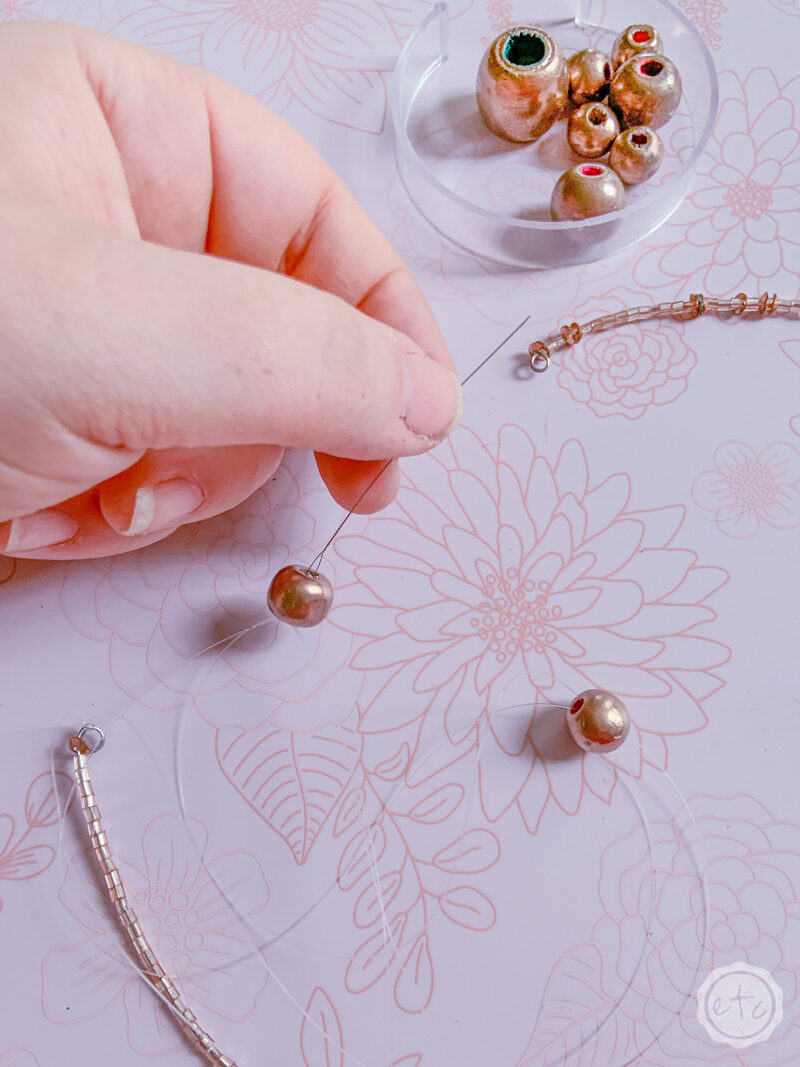
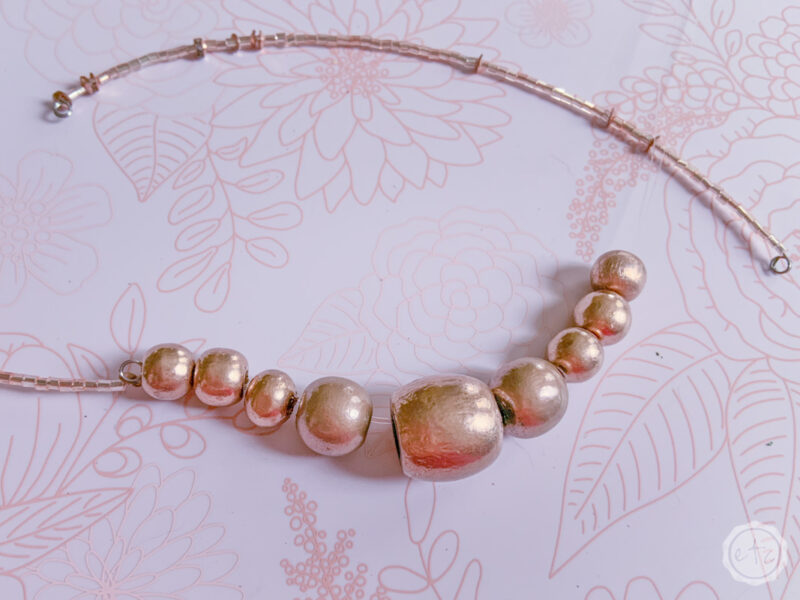
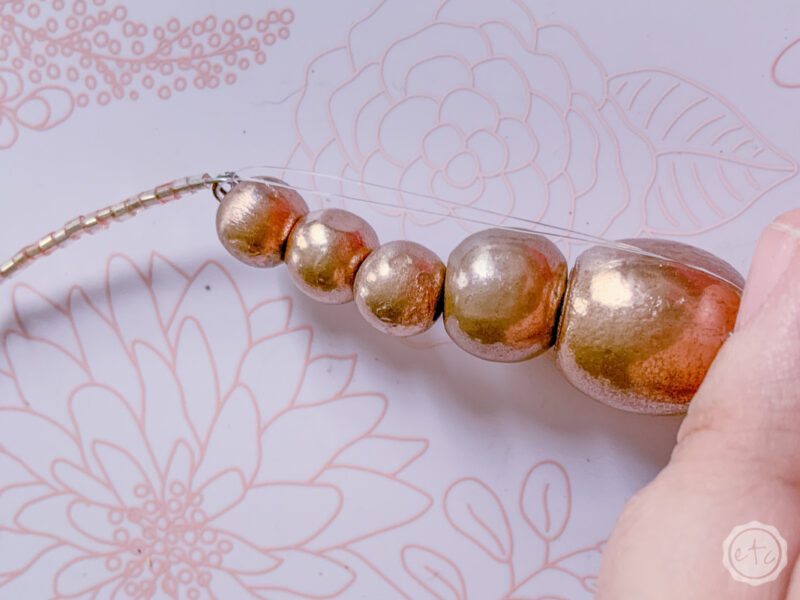
Now go ahead and string your wooden beads onto the cord using one of your collapsible eye needles. I went with an arrangement of 3 small beads, one medium bead, one large wood bead, one medium bead and 3 small beads.
I love how it makes the garland look like it’s wearing a little necklace of wooden beads!
Plus the graduated bead sizes are very symmetrical which makes my heart happy. Is that just me?
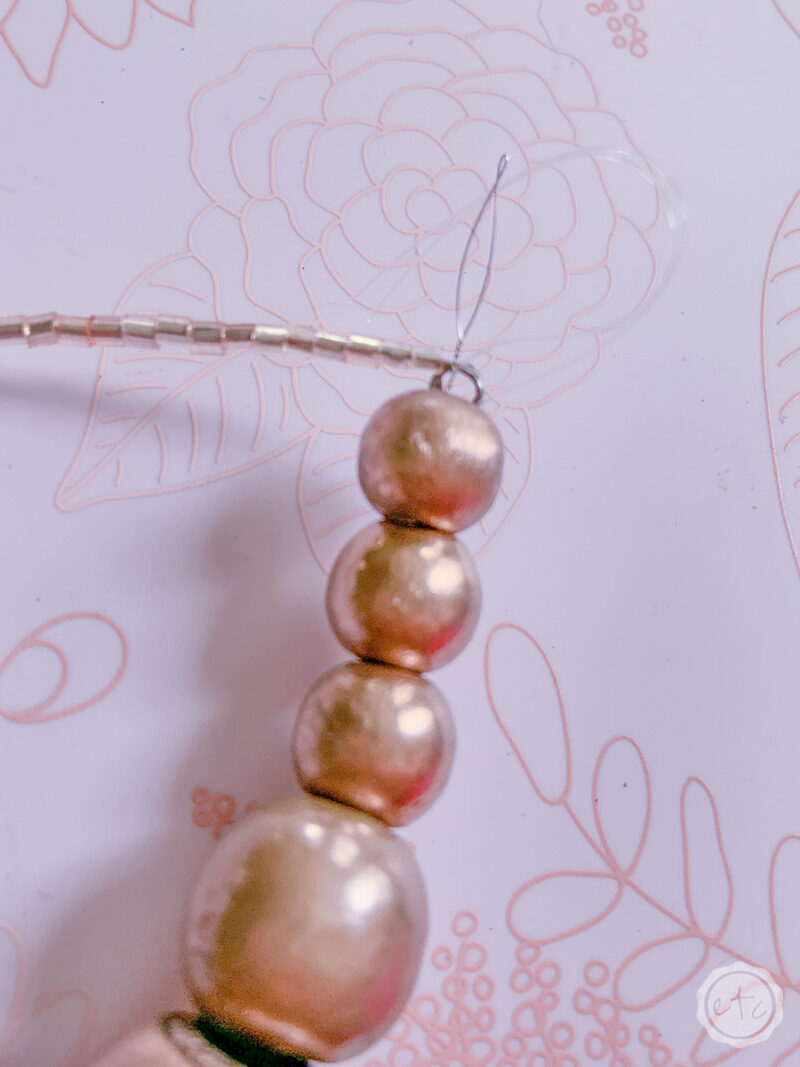
Now go ahead and tie the end of your string off by tying a knot around the metal loops of your next seed bead garland. I like to tie about 3 strong knots making sure to pull the string tight enough that the seed bead metal loop fits snuggly into the end of the wooden beads BUT loose enough that the wooden beads can still move a bit.
Basically pull your cord tight and then let it out just enough that the wooden beads aren’t strangled between the two seed bead sections. That’ll do it.
Once you’ve tied your three knots go ahead and cut your string down to about 1.5 inches. Then use your collapsible needle to thread the end of the string back through the wooden beads so that it’s not visible.
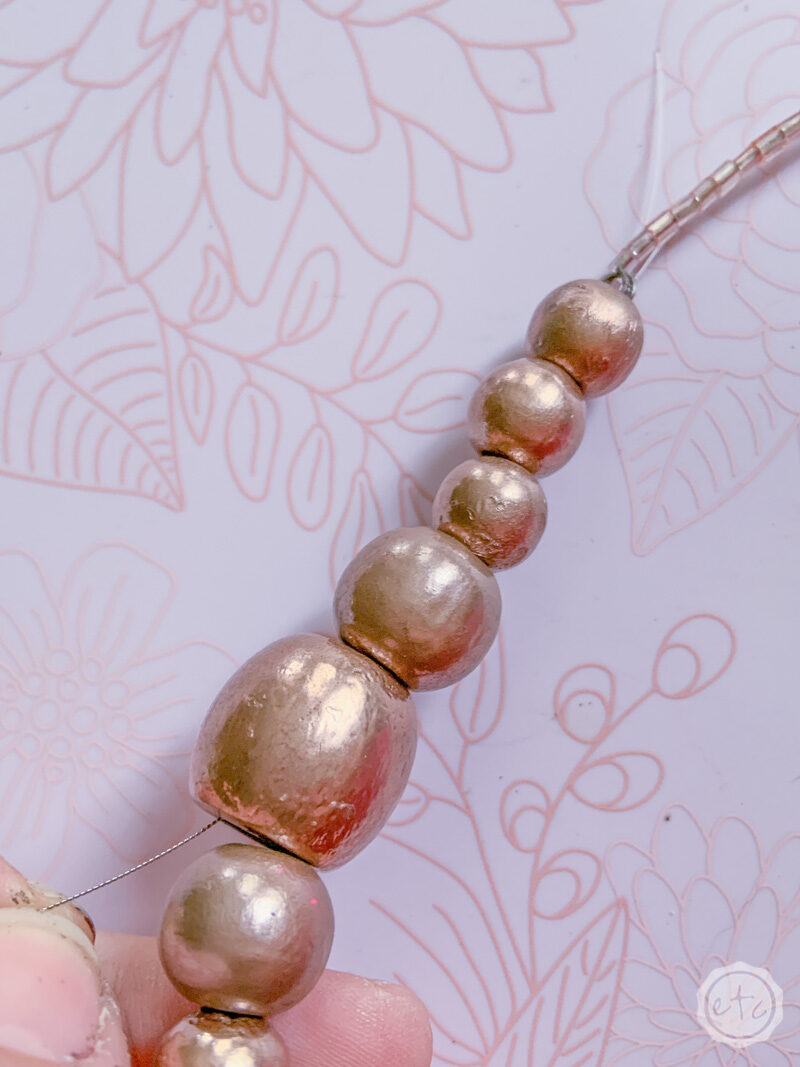
I tried to make the end of my clear string long enough that it would stop about the middle of my largest wooden bead. I figured that way no little clear cord ends would be poking out of the middle of my wooden bead sections. Plus the hole in the middle of the larger bead was big enough I could fit my round nose pliers inside to grab the needle when it wasn’t quite poking out enough.
Now you’re done! Go ahead and add wooden beads in between all 10 sections of seed beads to form your 8 foot garland. Once all of your seed bead sections are twisted and ready to go it took about 30 minutes to string the wooden beads between them.
Meaning this 2 hour project took about 1 hour per garland! Now if you want a billion garlands you’ll need a couple more minutes… for 6 garlands I sat down and watched an episode of Grey’s Anatomy, This is Us, SVU and Bull. So about 4 hours total for 6 strands of garland.
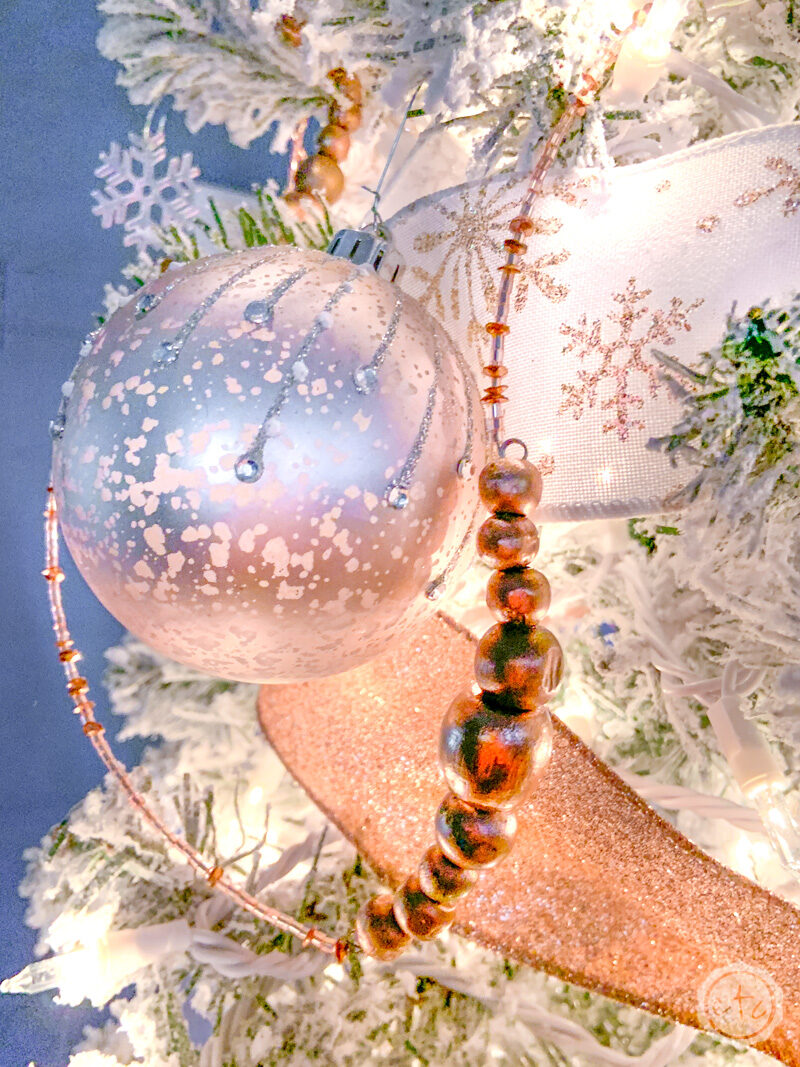
And just take a look at how it turned out! I absolutely love how it looks on my tree!!!
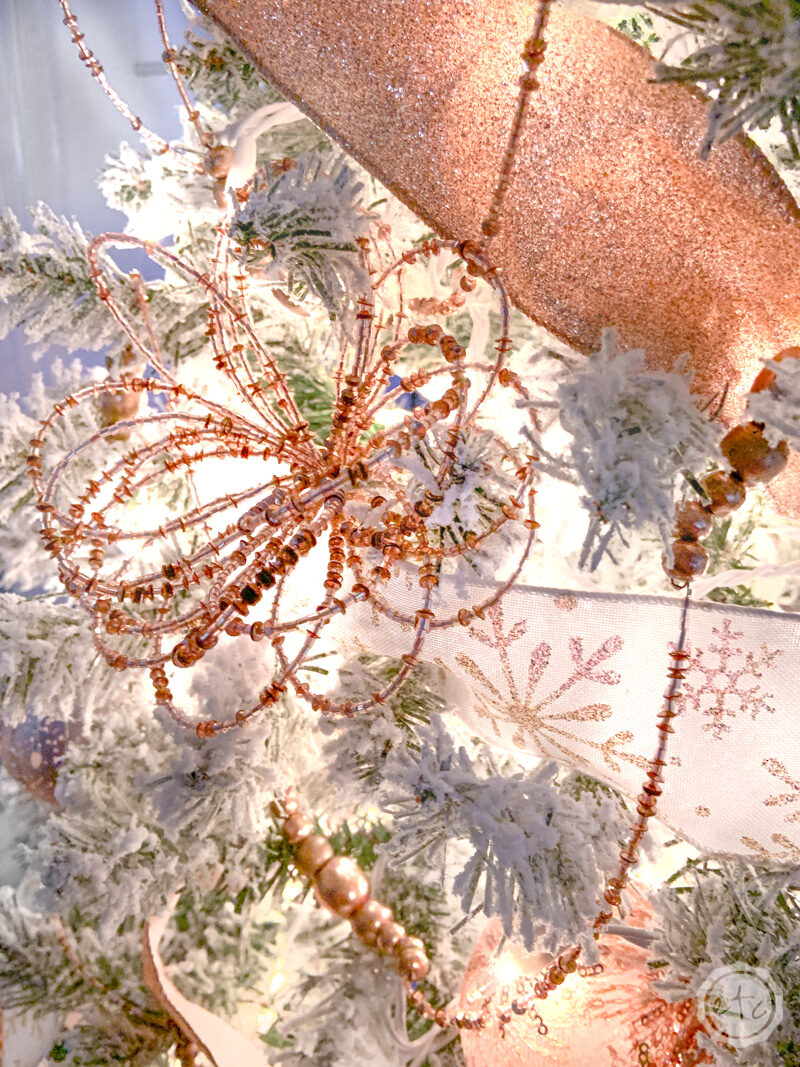
Plus if you look at the photos you may just catch a sneak peek of the smaller rose gold flower picks I made out of the larger floral picks. (I made 3 small flowers out of one large flower… so they fit perfectly on my smaller tree!). I can’t wait to share that project with you next week.
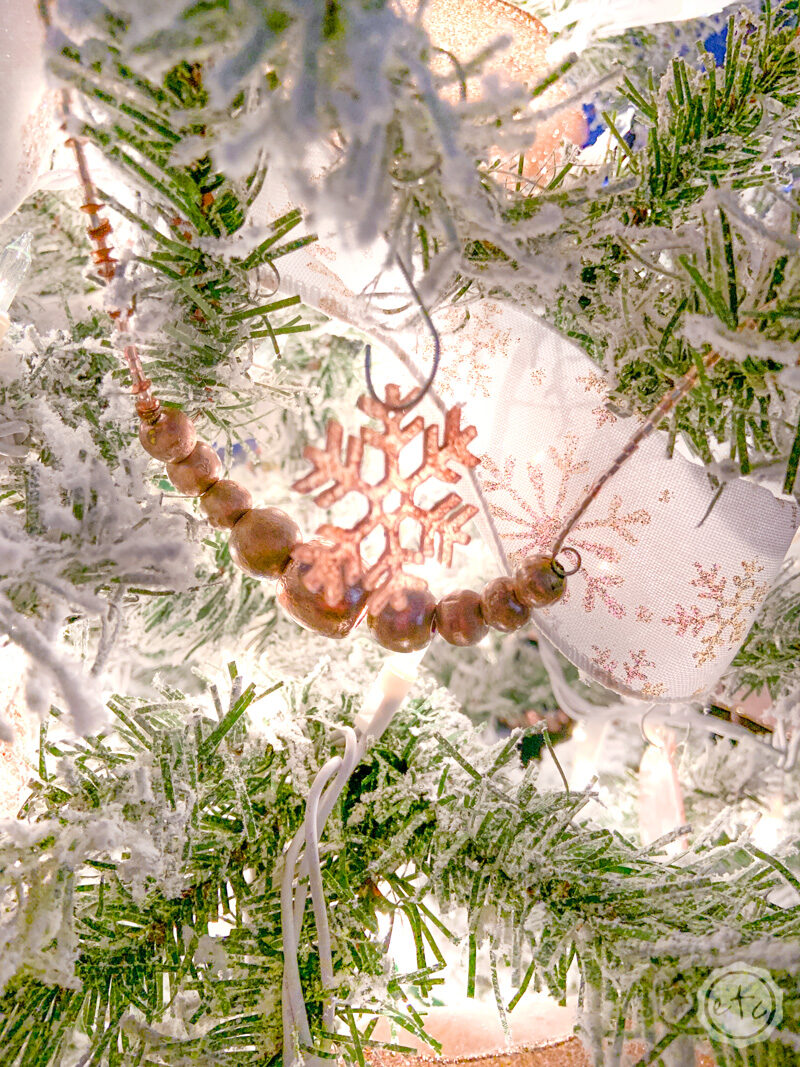

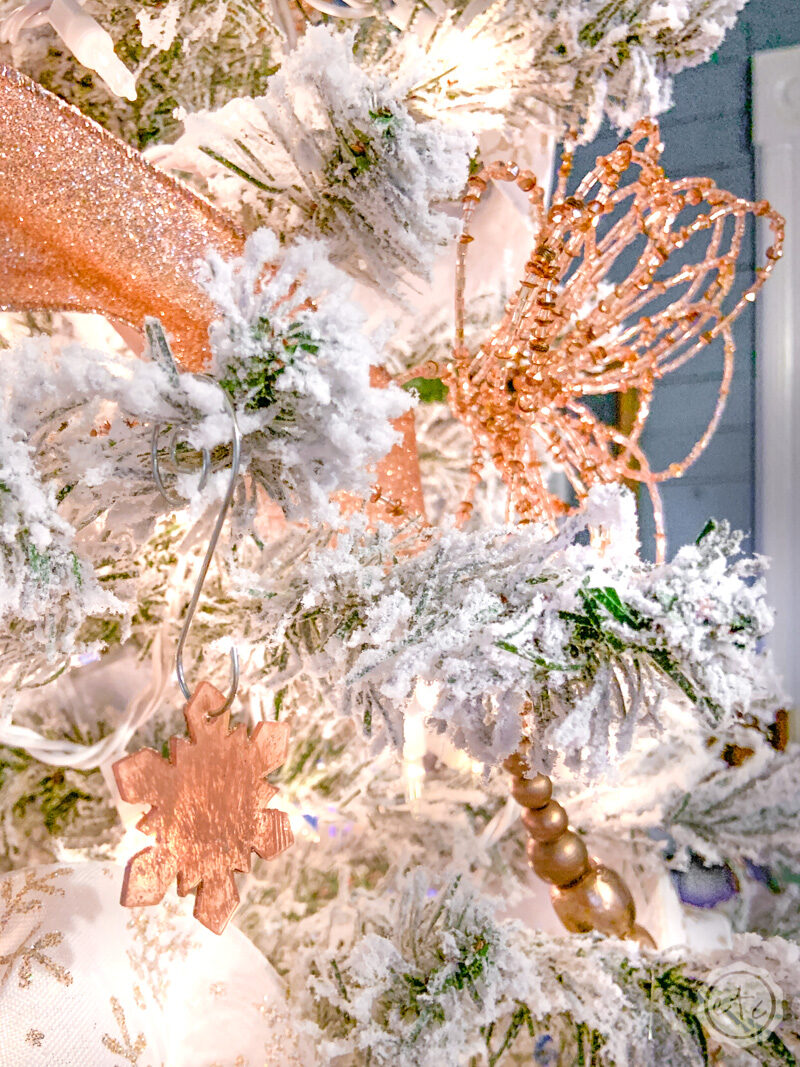

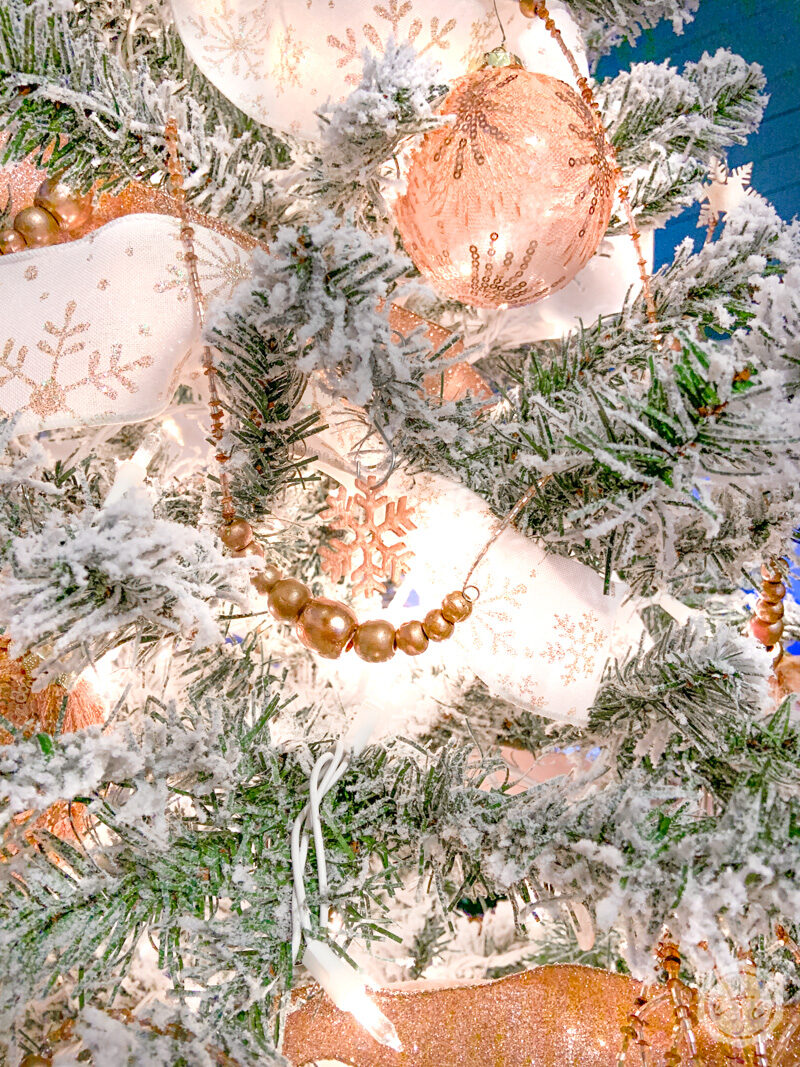
Like the little snowflake ornaments? They’re shrink plastic ornaments I cut out with my Cricut and shrunk with my heat gun! You can catch the full tutorial here.
Ready for a few more quick and easy projects? I’ve teamed up with a few of my favorite bloggers to bring you new and exciting holiday content all season long… and this is week 2 of our holiday extravaganza! This week we’re all sharing our favorite 2 hour holiday project. Check out all the fun below:


Looking for more rose gold holiday goodness? These posts are for you!


Love the detail in your photos! Love the rose gold garland!
The rose gold garland looks so pretty. I need new garland for my tree this year and this is a good idea. It looks amazing.
Stunning garland!! Absolutely beautiful!! Love all the details.
This is so pretty Betsy, I’m all about the warm tones this season! Love this!