
Window film has come along way since it first hit the market… it’s solid enough to block peeping eyeballs but sheer enough to let in light… and it’s even removable! Or so the package says.
But plenty of my readers have been messaging me about the transparent window film on my front doors asking just how removable it is. Can it work for rentals? Does it damage the glass? Can you re-use the film?
Soooo I did a little test.
Okay I did a big test.
I removed the film from one of my front doors (and then bought a new roll and replaced it.) So there’s your answer… yes it’s removable, no it does not damage the glass and no you cannot re-use the film.
Luckily taking the film down was fairly painless… and I’m going to show you how I did it so that you can feel 100% confident putting this film up in your rental and then taking it down in a few years.
Let’s get started.
Supplies:
- Furno Heat Gun
- Goo Be Gone
- Scraper (I used the one from the film application kit)
- Window Cleaner
- Paper Towels
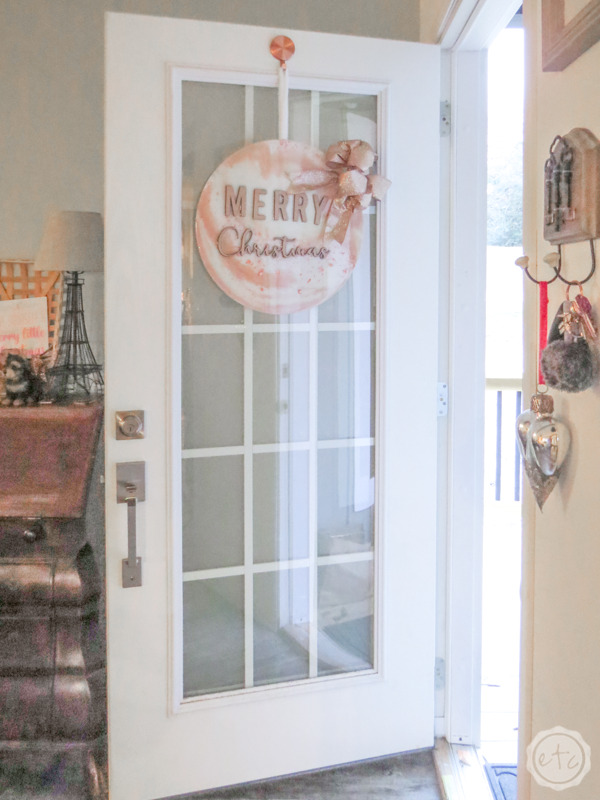

Step 1: Grab a Corner
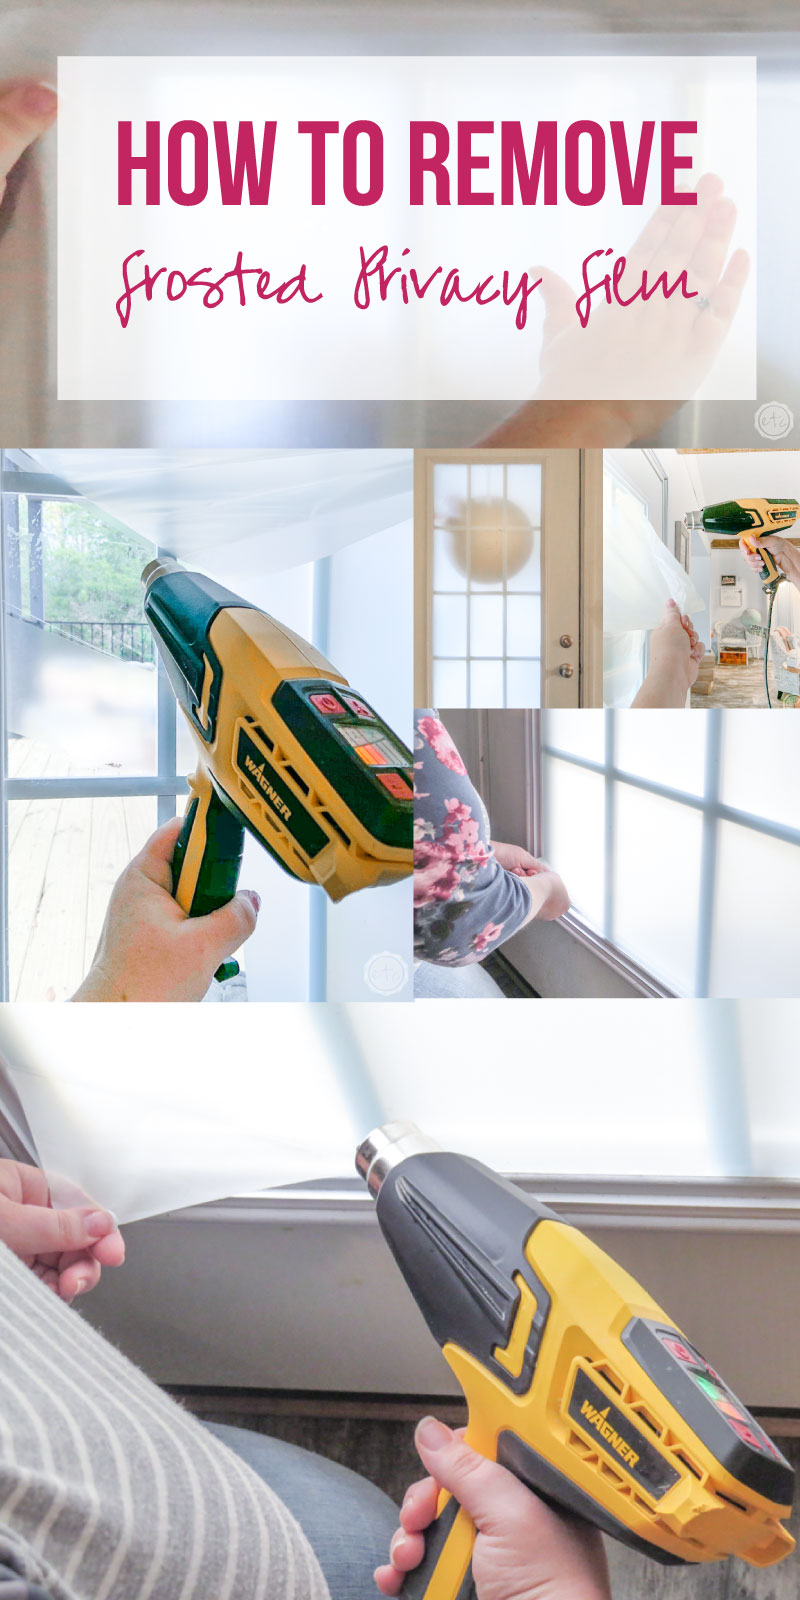
Before we get started I thought I would show you exactly what the film looks like. It’s a subtle frosting that blocks people from looking in my window while I’m watching tv on my couch… which is exactly what I needed it for.
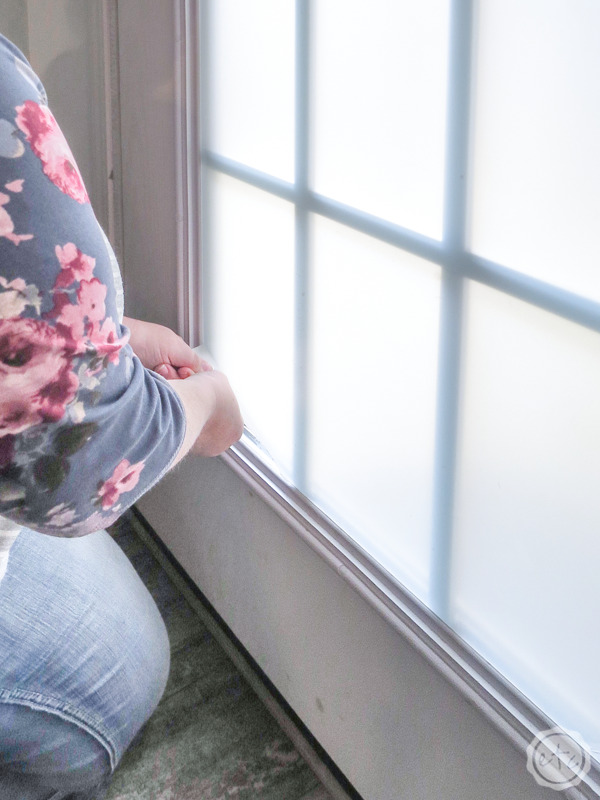
To remove the film I started by trying to peel back a corner and get a good grip on the film.
That failed when I could. not. get. a grip. on. the. film.
So I broke out the big guns.


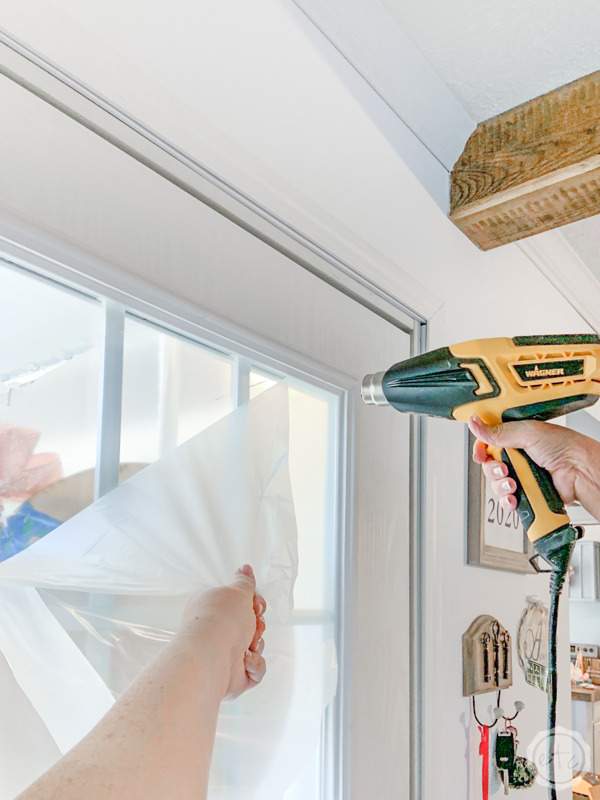
Literally I grabbed my big heat gun.
I figured if this guy is great at removing stickers from glass (or paint, or caulk!) then surely it can remove this film.
After a few passes of the heat gun over the window the corner was able to be grabbed and peeled! Success!

Bonus Tip: Make sure to use indirect heat and not blast the window with your heat gun. You don’t want to crack the glass… that can be dangerous (and expensive). Instead use slow, circular motions and angle the heat gun so that it’s going over the top of the film and not directly at the window.

Now all you need to do is slowly peel back the film as you heat the adhesive.
I found that once you have part of the film up heating the film from the underside (where the adhesive is) worked much better than heating the top of the film.
Once I hit mid way I stood up and worked my way from the top of the window down until the entire window was bare.

Step 2: Clean the Door
That’s it! As you can see the heat gun really helped the adhesive come off the door! Any spots of adhesive that the heat gun didn’t knock out I sprayed with a bit of goo be gone and let sit for about 2 minutes… then I simply scraped the adhesive off the window.
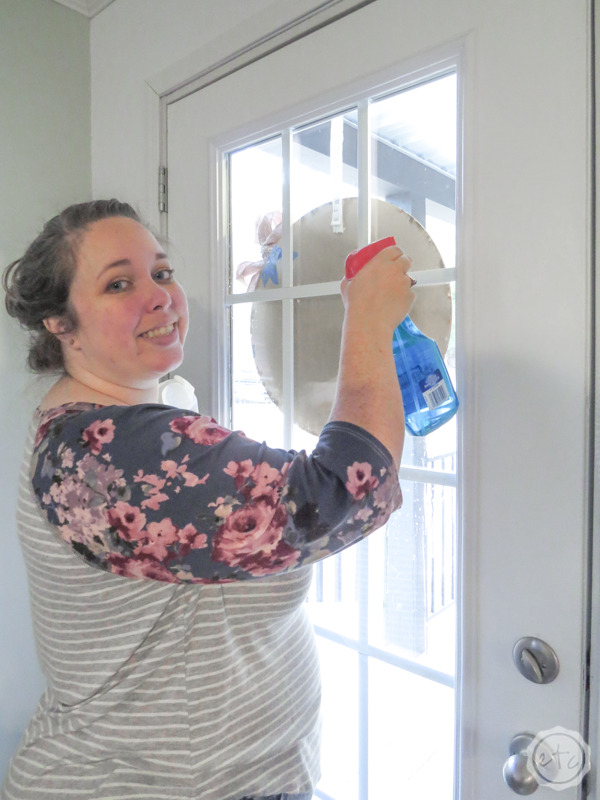
Once the entire window was completely finished I grabbed a bottle of glass cleaner and cleaned the entire door. Beautiful!
Sparkling glass… just what I wanted.
Now you’re ready for the next project!
