



I don’t know about y’all but one of my absolute FAVORITE pieces of Christmas decor is a fun front door wreath! Maybe because it’s the welcoming bit of cheer that greets our guests when the come for a visit?
I’m not sure! All I know is that I have a really fun tutorial for y’all today… to make this adorable DIY Christmas Gift Tag! It’s the next best thing to a fun wreath… a fun wreath with glitter! Although I’m not sure if we can really call it a wreath if it’s not round? It has greenery! It goes on the front door!
It’s door decor y’all.
Door decor! The best part about this little bit of door decor is that it’s not alone… I’m teaming up with 26 other bloggers to bring you fun holiday decor for the next 5 weeks. Week one is door decor which means if you scroll all the way to the bottom of this post you’ll find 25 MORE DOOR DECOR ideas! While I’m a little partial to my own *cough cough* there are a bunch of really cute projects for all types of styles. Enjoy!
In the mean time let’s get started on these little gift tags… shall we?
Supplies:
- Cricut Explore Air 2
- Fine-Point Cutting Blade
- Standard Cutting Mat (that’s the green one!)
- Cricut Cut File
- Cricut Easy Press 12 x 10
- Cricut Easy Press Mat
- Blue Glitter Iron-On
- Weeding Tool
- Transfer Tape
- XL Scraper
- Plywood
- Dremel Saw Max
- Sanding Block
- Paint and Paint Brush
- Wide Ribbon
- Flowers and Greenery
- Floral Wire
- Ryobi Power Drill
Wide drill bit and small drill bit
Duct Tape!
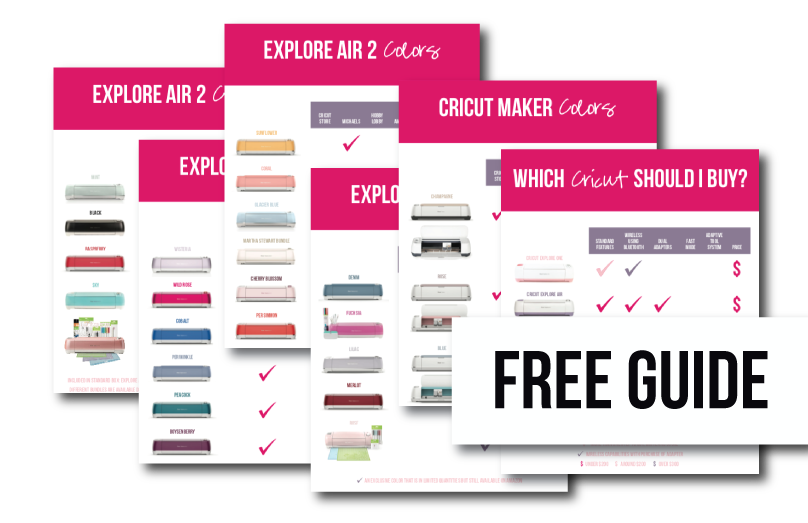
Need help picking your perfect machine? I’ve got you covered!
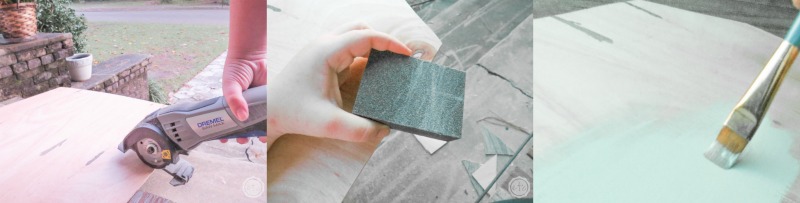
Step 1: Prep Your Gift Tag!
Alright y’all the very first step is to make your giant gift tag! I went ahead and condensed into one step because it makes the post seem soooo drawn out when step 1 is to cut and step 2 is to sand and step 3 is to paint… you get the idea!
So in my case I decided to use a bit of leftover plywood to make my gift tags… you can use any material you like but remember that it’s going to be outside so you’ll want it to be able to withstand the elements to a certain degree. I mean no wreath is going to be 100% weather proof so don’t leave this baby outside in a hurricane but if you make your gift tags out of poster board the first good rain could destroy them. Plywood will hold up to a certain amount of elements so I picked a good size piece and cut out two gift tags with my little dremel saw max.
Then it’s the easy parts… sand the rough edges and paint the front!
The last part of the prep work is to drill a hole in the top center of the gift tag for your “cord” or ribbon to run through. Just like this was an actual gift tag!
Step 2: Add the Heat Transfer Vinyl
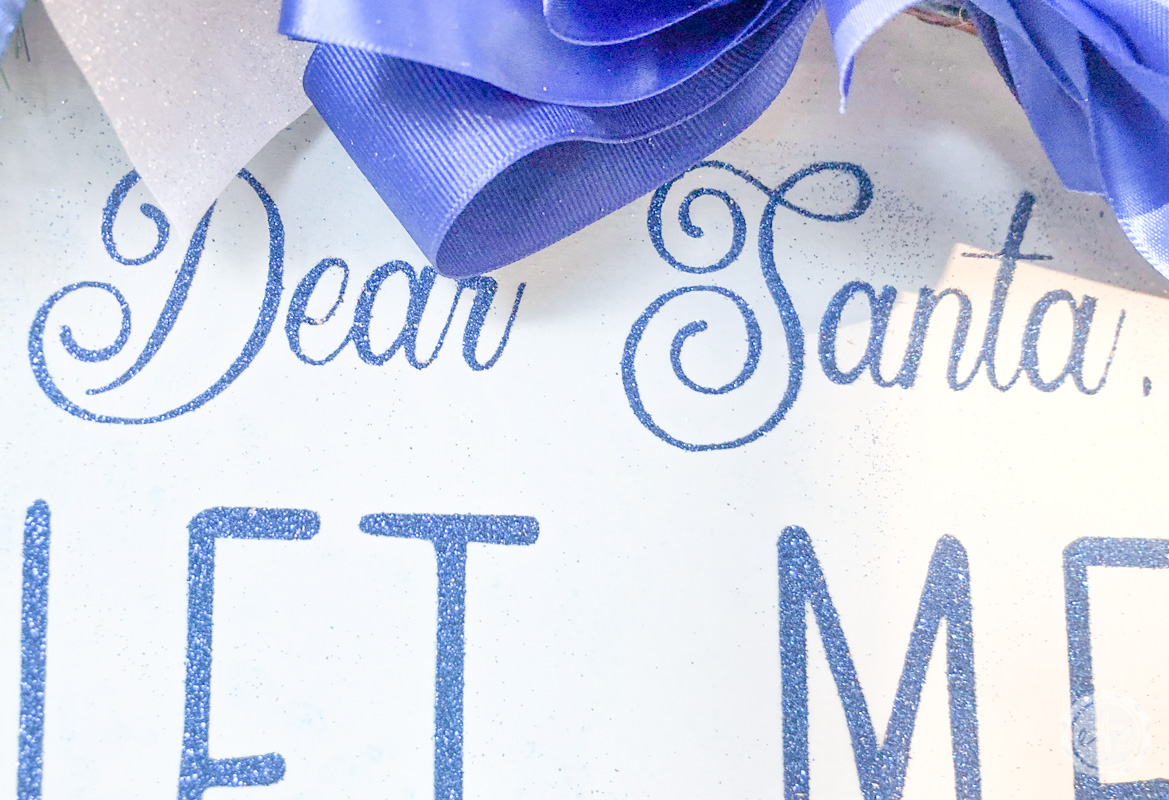
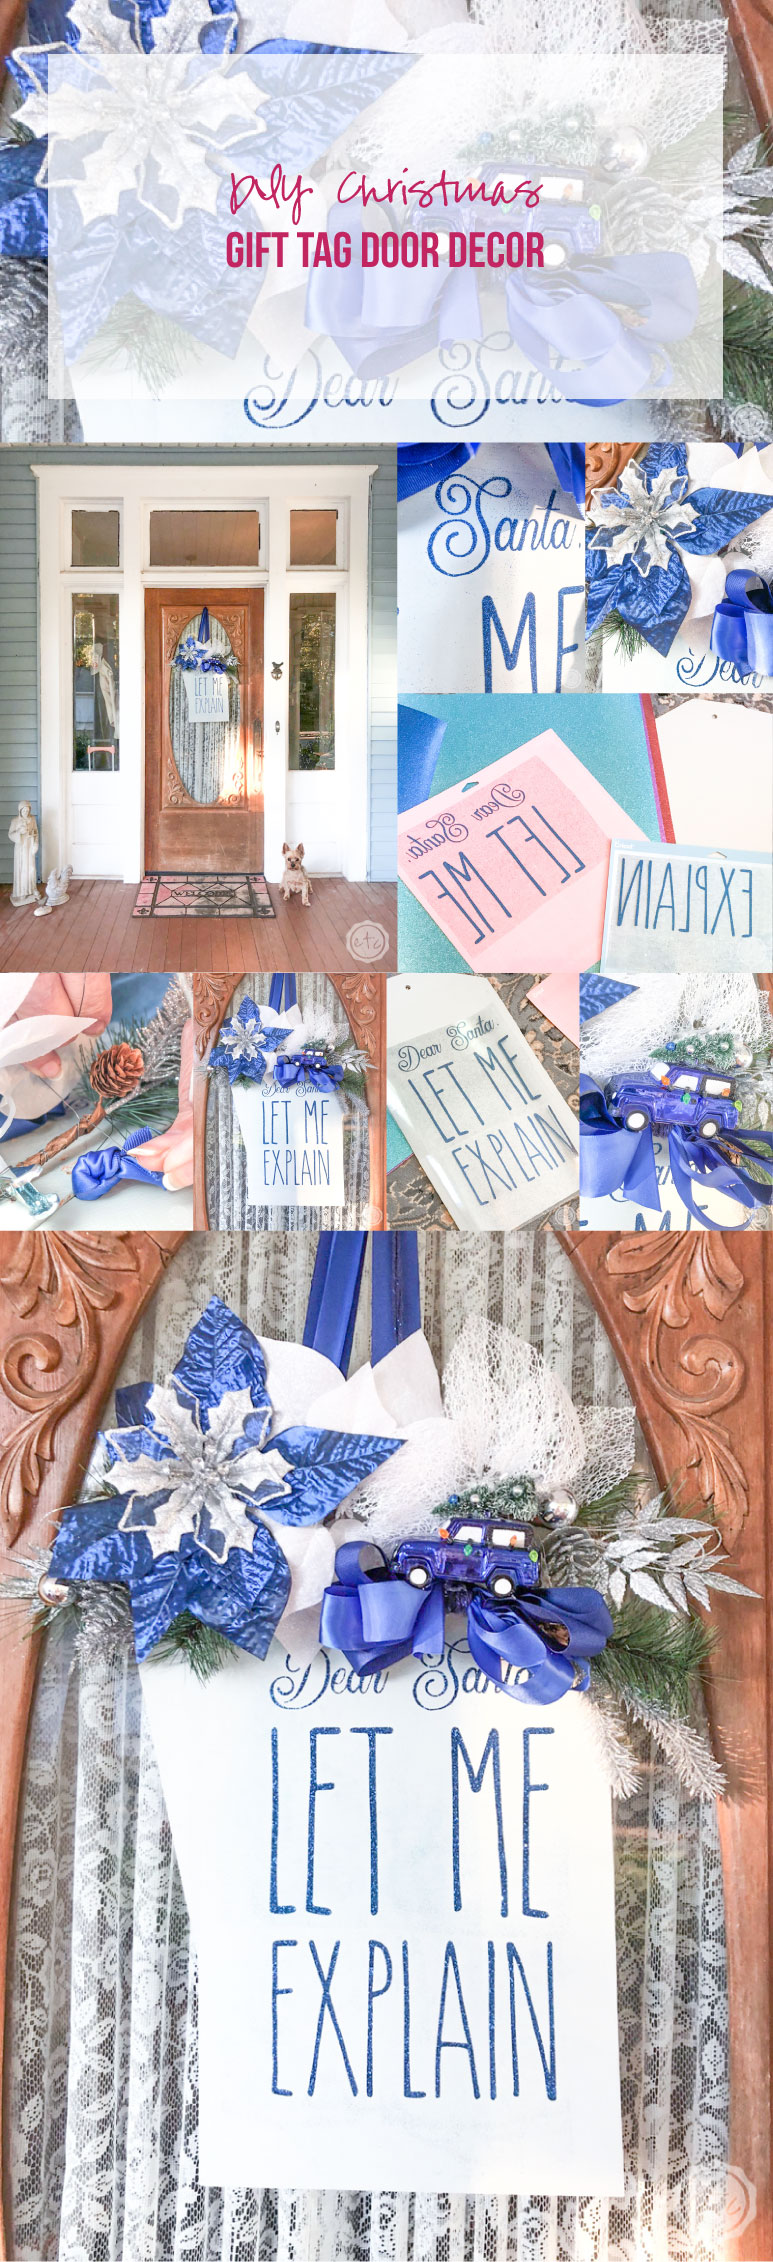
Now that we have our gift tag ready it’s time to add our quote! I thought long and hard about what I wanted my little gift tags to say and while “Merry Christmas” was at the top of my radar I finally decided on “Dear Santa, Let Me Explain…”
It’s just so CUTE!!
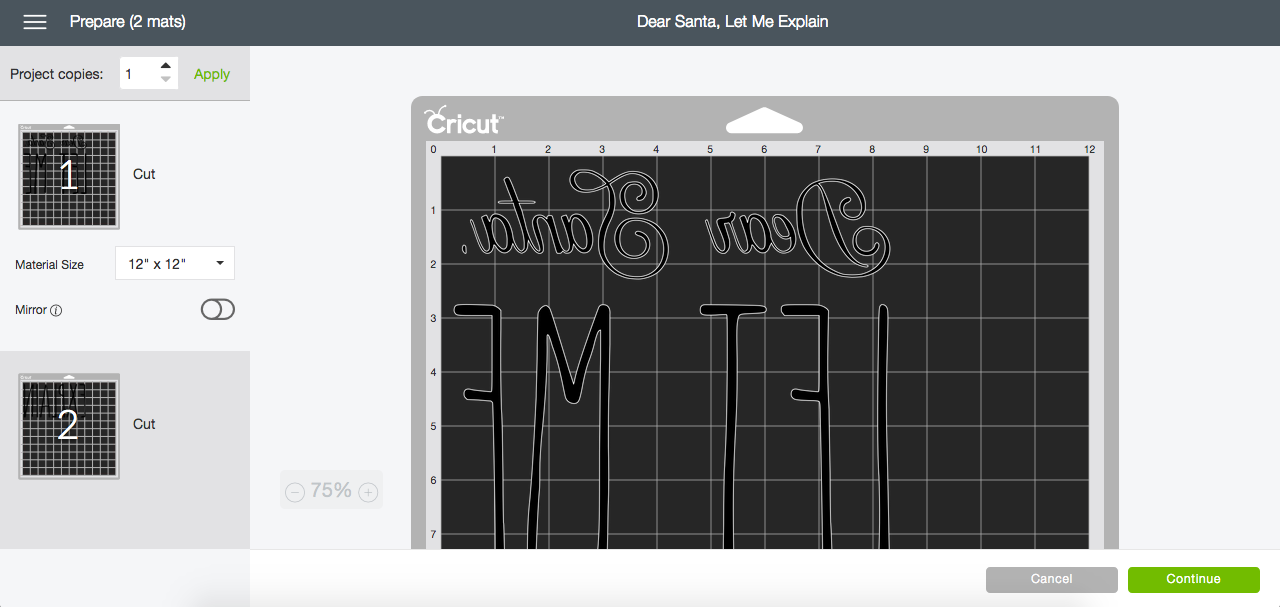
So I designed my quote in Cricut Design Space and then cut the design out of a bit of blue glitter HTV… easy peezy lemon squeezy! Don’t forget to grab the cricut cut files before you get started.
If you haven’t used a Cricut to cut glitter vinyl (or any vinyl!) before here’s a quick tutorial on this step.
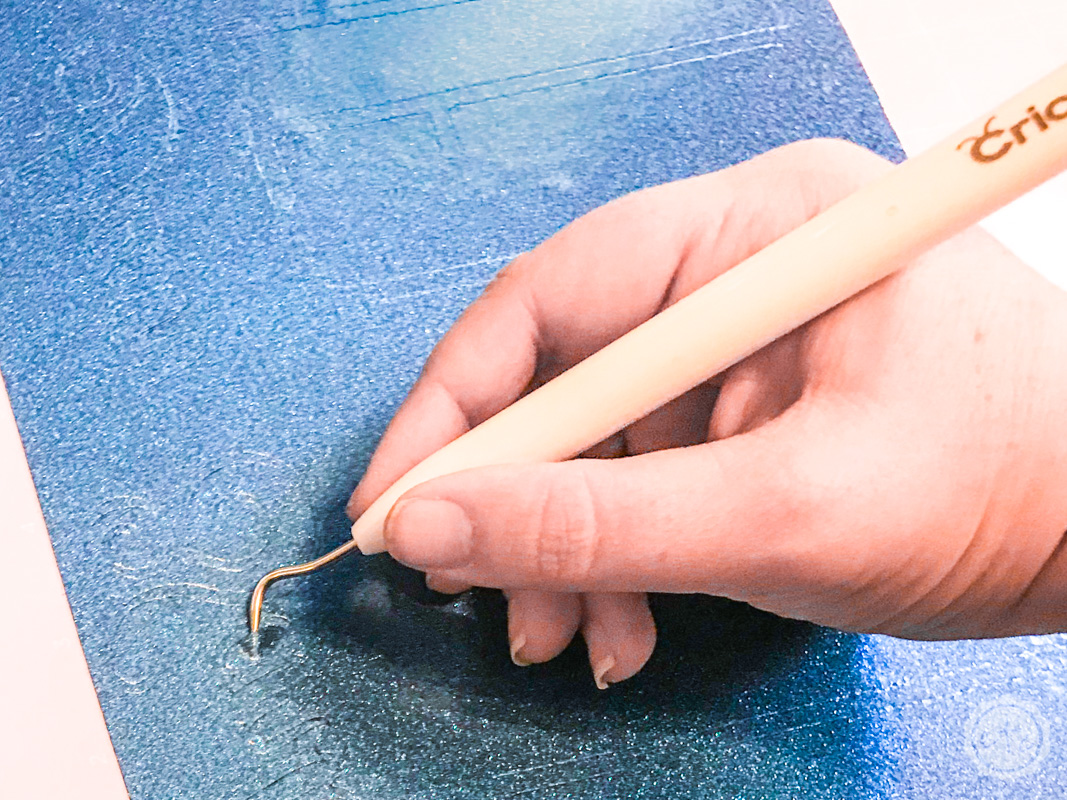
Once your design is cut out you can go ahead and remove the excess HTV with a weeding tool leaving only your design on top of the clear plastic backing.
Typically with HTV that clear plastic like backing is sticky which makes it super easy to place your design directly on top of your surface (or giant gift tag in this case!) but I’ve found with glitter HTV that the glitter leaves the sticky backing not so sticky.
It’s not a huge problem but it is something to be aware of since it means your design can shift from the time you place it down to the time you finish ironing it on your surface!
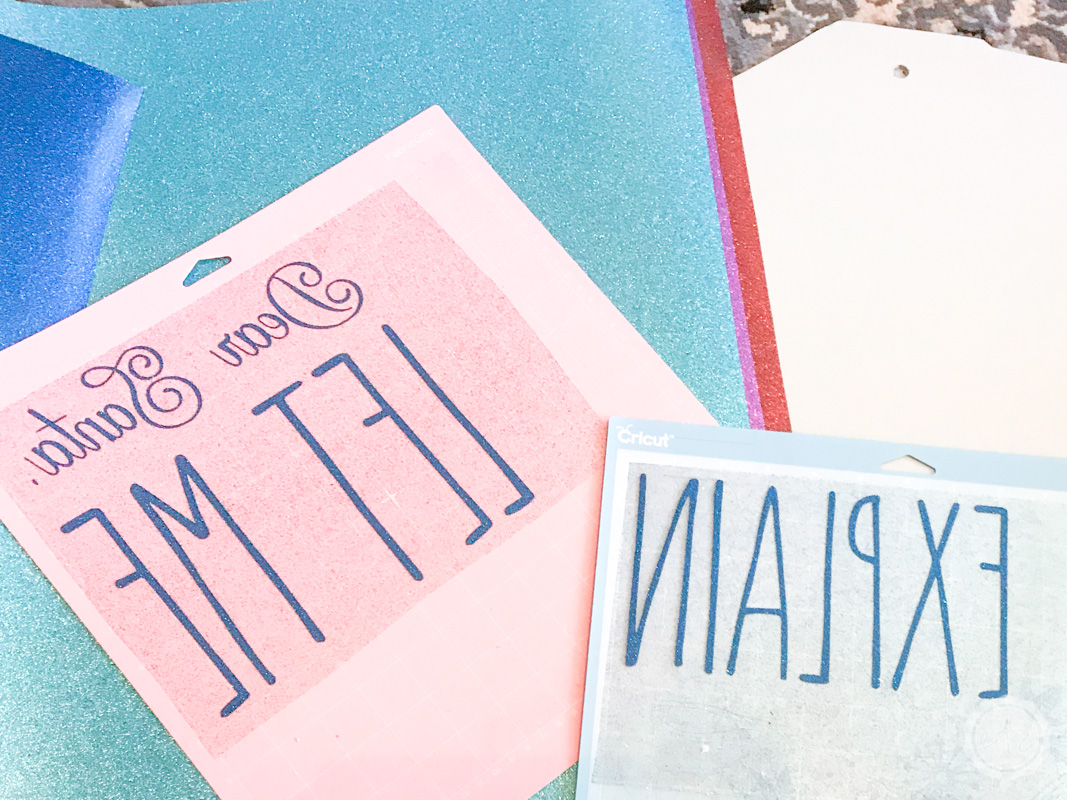
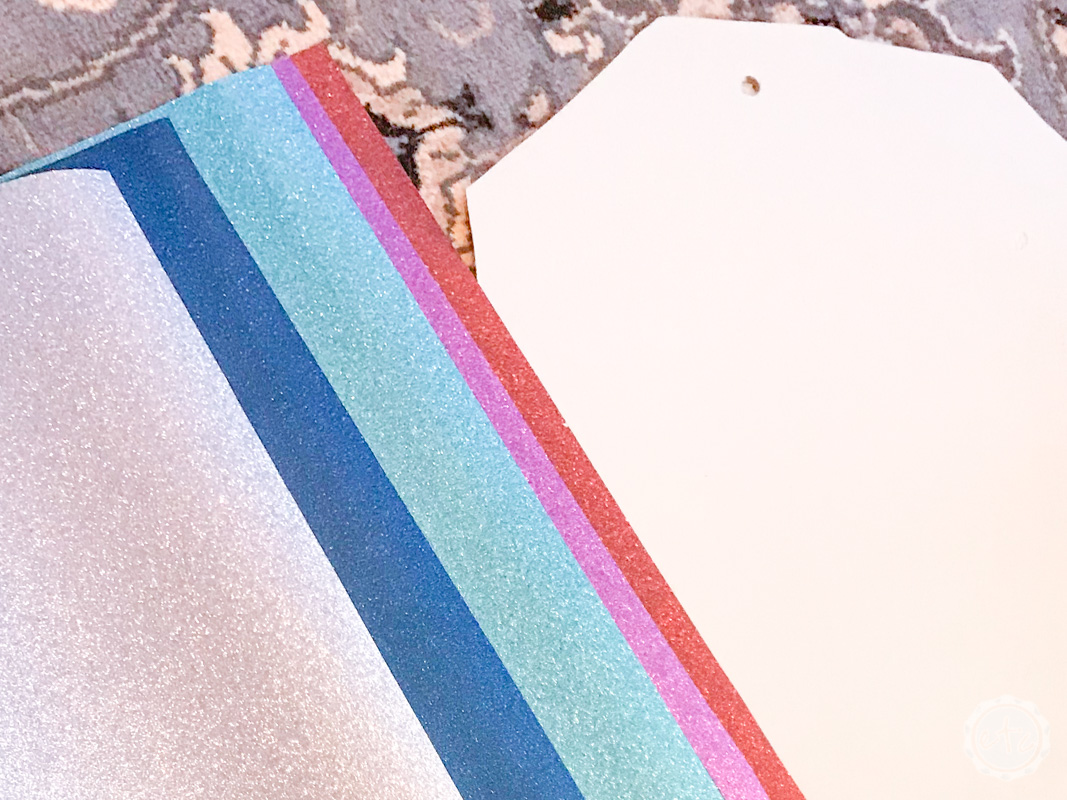
Anywho… once you’ve finished weeding you should have two mats worth of pretty blue glitter HTV writing on a clear plastic sheet just like the picture above… and since we’re working with quotes all of our letters will be backwards! That way when we peel that clear plastic backing off the cricut mat and place it on our surface the letters will show up properly.
Otherwise they would be backwards on the final project!
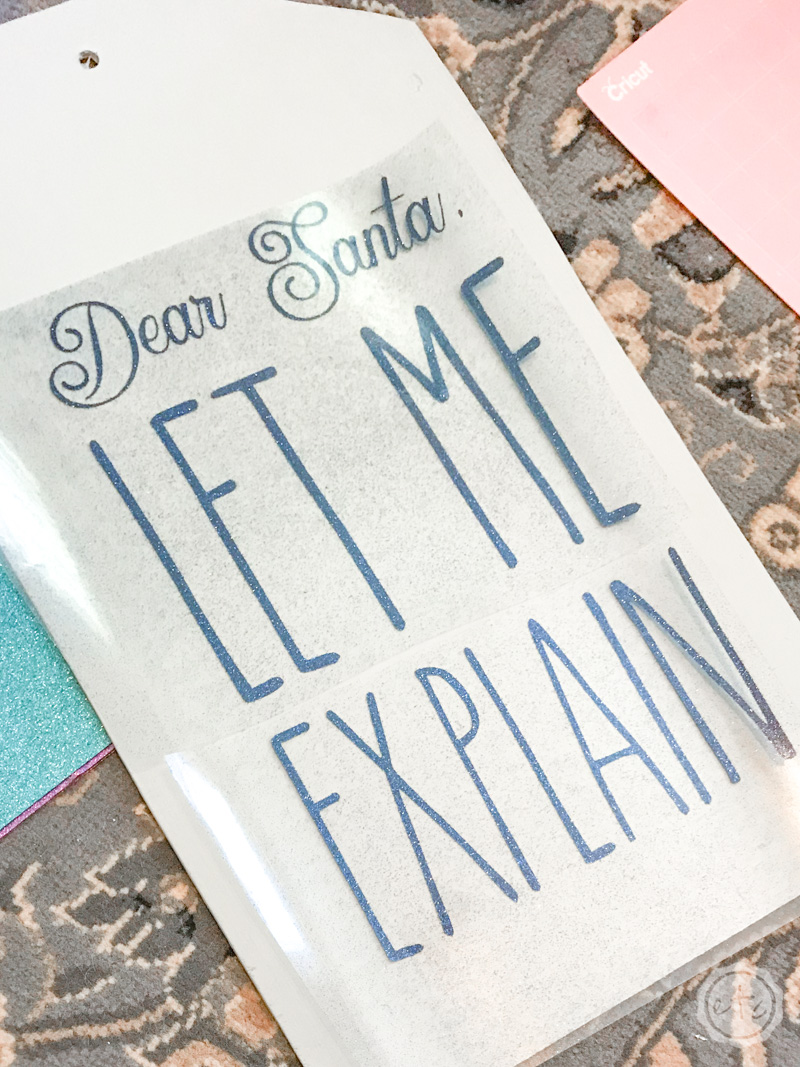
Almost done!! Go ahead and lay out your design on your surface… since we had two mats our quote will be in two separate pieces. Just make sure they are lined up straight to the edges of the project and straight to each other before sticking them down.
Next step? IRON IRON IRON!
When I looked up “can HTV stick to wood?” I found several answers: Yes! It can! It even lays a bit flatter than traditional adhesive vinyl giving you a more painted on feel which is wonderful. However it does take a bit longer to adhere since the HTV doesn’t like to bond to wood as easily as fabric.
EVEN that didn’t prepared me for how long I would have to iron for these letters to bond! Typically bonding HTV to fabric takes about 5-10 minutes based on the design and surface area (and if you have a cricut easy press… which I do not). Bonding HTV to my wooden plywood took about 30-40 minutes!
I simply turned the tv on and moved my iron around every 15 seconds or so but man did it seem like eternity!
It was worth it though… the letters look painted on and definitely won’t come off!
UPDATE: I’ve done countless Iron-On or HTV projects on wood since writing this post and an easy press is so. much. quicker. Just an FYI!
Step 3: Add your Ribbon
Okay this is a quick step! I picked a few spools of wide ribbon (think 1.5 to 2 inches wide) in coordinating navy colors to hang my “giant gift tags”. In order to hang the gift tags I measured about two feet of ribbon… placed the ribbon through the tiny hole on either gift tag and tied a knot.
The greenery will cover up these knots so it doesn’t matter so much how they look… just that they hold everything together!
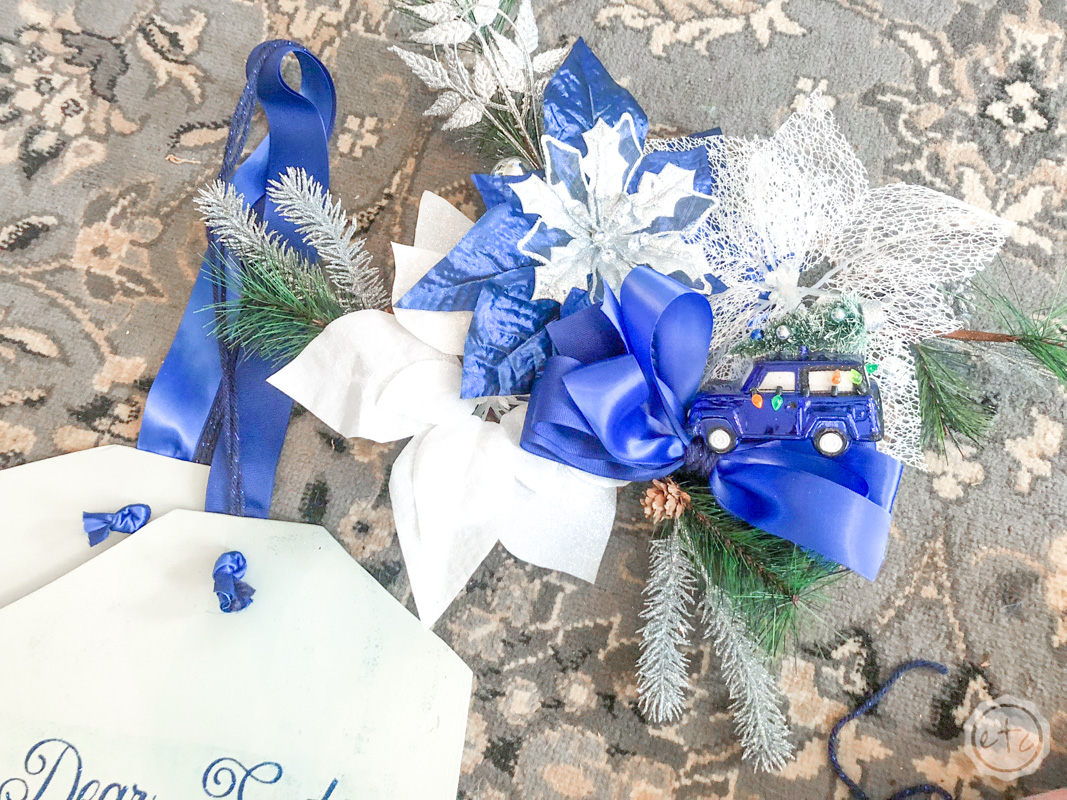
My next step was to make a giant bow out of the same ribbon and arrange it with my flowers and greenery to decide exactly how I would place the arrangement on my board. It’s much easier to move things around before they’re attached to make sure they’re exactly how you want them!
Once you have the perfect arrangement it’s time to secure the whole thing onto your gift tags!

Step 4: Add your Greenery!
As a crafty person you think I would have put greenery on a wreath before but I never have… luckily I knew just who to ask.
My Mama!
She busted out the floral wire and the power drill to teach me a thing or two about adding greenery to a giant gift tag. She even sat on the floor to do it… which is kind of a big deal around here.
We used the floral wire to secure the different elements together… like the cute little blue car to our big floppy bow.

Of course, you’ll want to attach your wire in a way that it doesn’t show from the front… which was very easy on everything but the car. Luckily we were able to run the wire around the top of the car and the little Christmas tree in order to attach the car and the bow.
When looking at our little arrangement on the floor we decided to attach everything in 4 sections: the car and bow, the blue poinsettia and a bit of greenery, the white poinsettia and a bit of greenery, and the white lace poinsettia and a bit of greenery. See the pattern?

Then we secured each of the 4 sections to the board in the same way… starting with the car since it was the lowest.
We placed the bow on the gift tag making sure that it didn’t cover the words as much as possible… we didn’t want poor Santa to be covered up! Then it was as easy as drilling a hole into the board on either side of the bow and poking our wire through the holes.
Then pull the wire tight, twist to secure and tape the whole bit of wire down on the back! Easy peezy!

Technically adding the duct tape to hold the wire down on the back was a bit of extra work since it’s the back… but I didn’t want the wire scratching anyone (or my door!). So duct tape it was.
Drilling the holes and wiring the greenery to the gift tags had the added effect of securely attaching both of our boards together. We were very careful to arrange the two gift tags exactly how we wanted them when drilling the first set of holes… but then we forgot all about it. SO at the end of the project our second tag was kind of hiding behind the first tag.
It’s still cute but I wish that second tag was peeking out just a bit more… make sure to watch that pesky little second tag if you decide to attempt this project yourself!
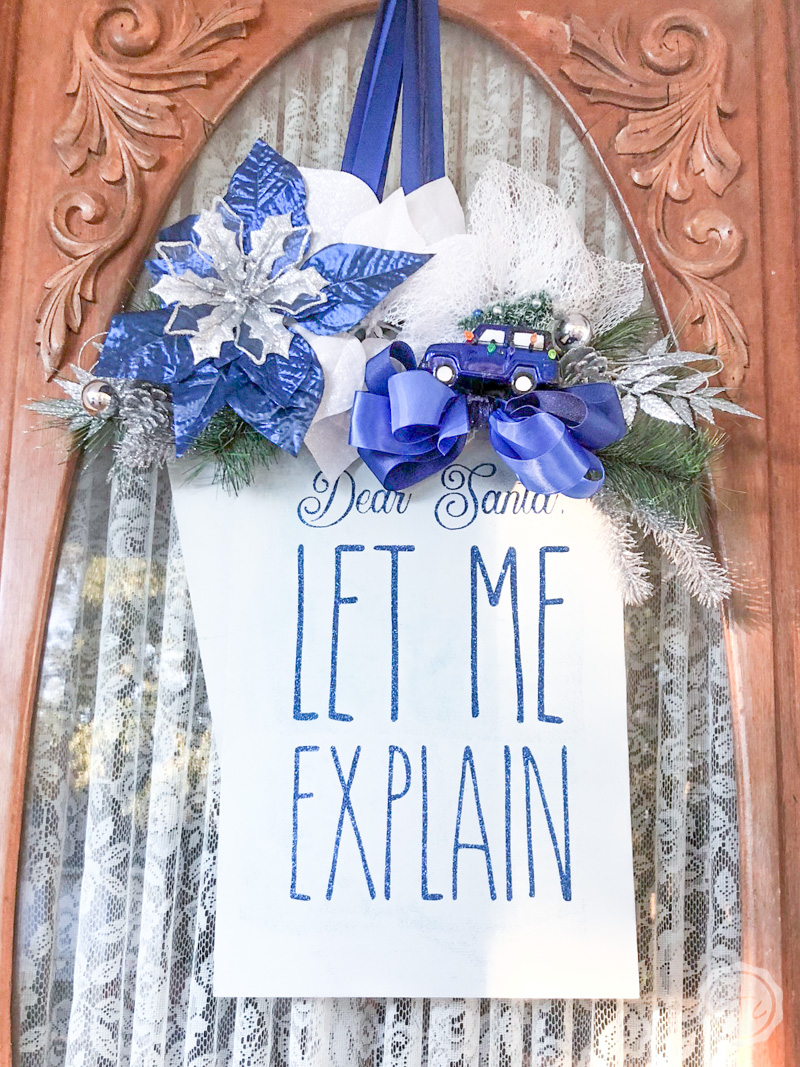
Without further ado… here’s the finished project!!
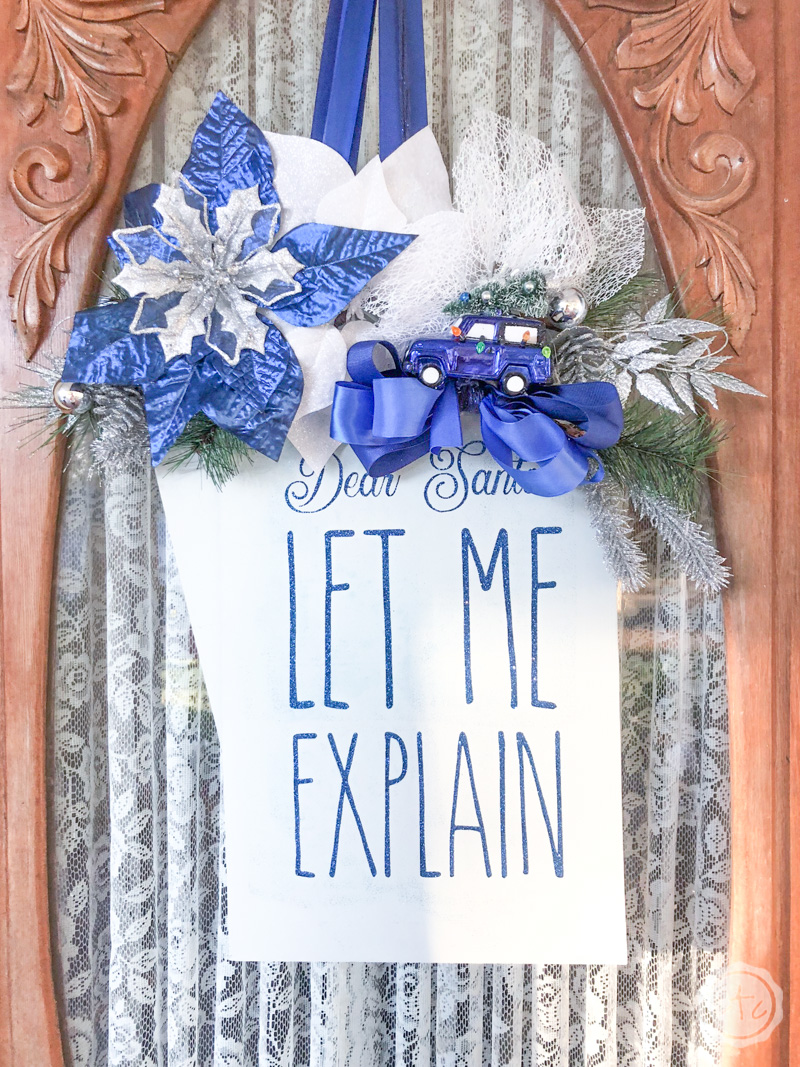
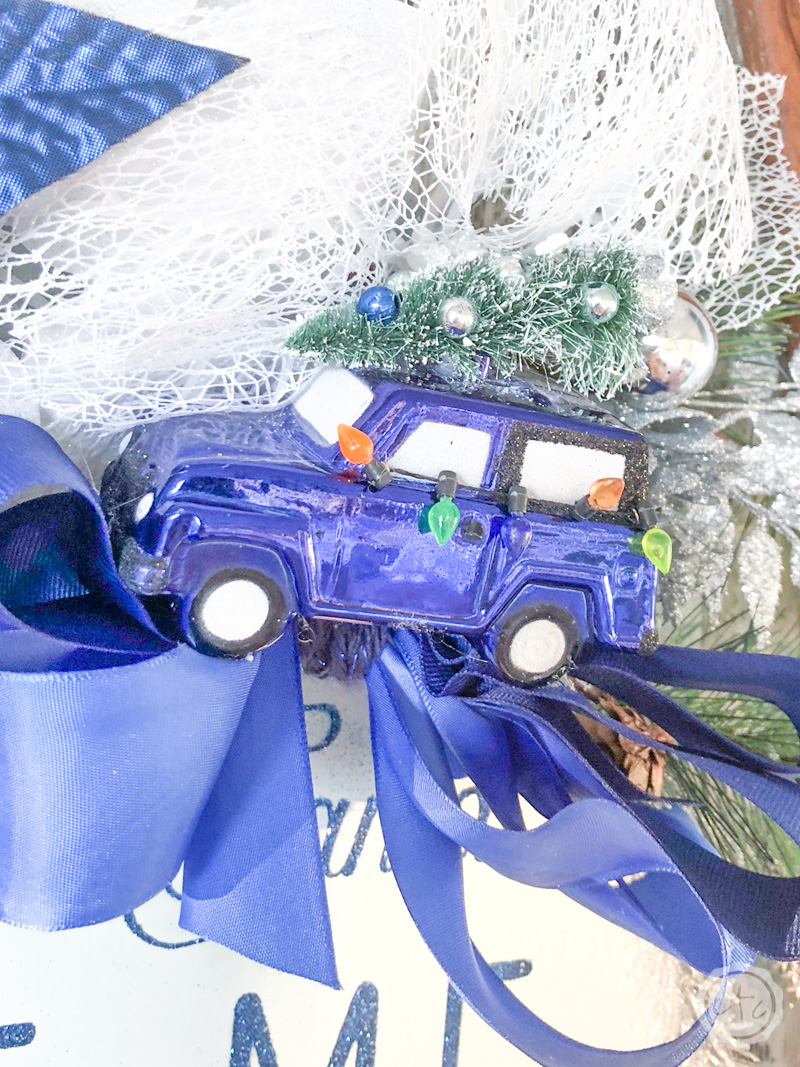
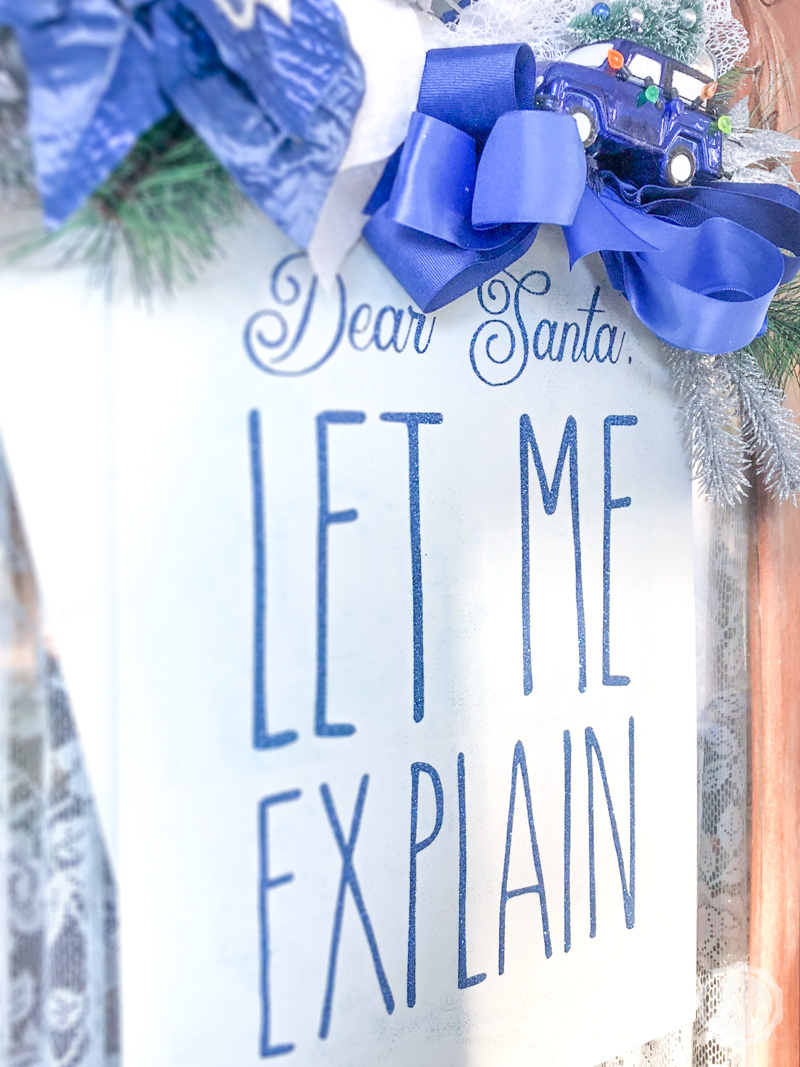
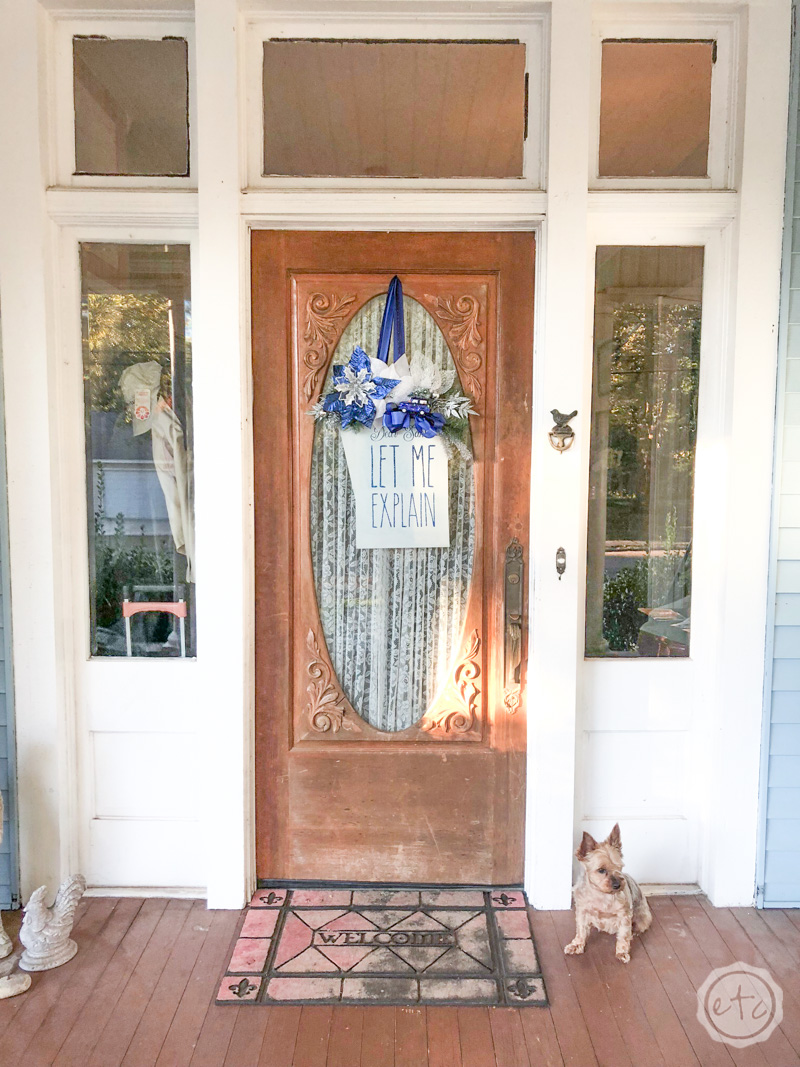

I absolutely love how it turned out!
It might just be one of my favorite Christmas projects to date!
Looking for more rose gold holiday goodness? These posts are for you!




I always hear about HTV sticking to wood but I never think to try it. Love how it came out!!
I’ve never really thought about it before but I’m so happy it worked! I really wanted that painted on glitter look and it’s perfect!! I just need an easy press thing or maybe multiple irons…
Oh my gosh this is so adorable, what a great idea. Yes, we’ll call it a wreath, because it hangs on your door. The little car is just the cutest, and of course the saying is perfect.
Ok- this made me laugh out loud! Dear Santa, let me explain- HA! Precious door decor. I love all the little details and thank you for the giggle. 🙂
I love this and the fact that you went with a non-traditional colors for it too!
How cute is your door decor?!! And I need to let Santa know that as well for me 😉 I’m loving your use of blue as well – one of my fave colors!!!
Cute! I especially love the littlc car!
I love this sign! The colors and the “let me explain”, so cute. If I won a vinyl prize pack and I would make all the signs, they never get old and its my favorite way to decorate.
I love the Non-traditional blue color! Great job!
Good to know that HTV adheres to wood! Your tags are adorable, I especially love that little car!
Your wreath is adorable! Love the blue!
Betsy this is ADORABLE! Great job lady!!
Thanks Brooke!
This is absolutely adorable! I love the saying, and I love the little car that you put on it. I don’t think I would have thought to do that! Also, I’m not sure I would have had the patience to iron for 30-40 minutes. Totally worth it though!
This is so cute! I LOVE that little blue truck!
LOVE the wording!! Fits my house completely, lol.
Haha, that is too cute! Love the blue, too!