

When I moved into my new home there was quite a lot to do… unpacking, decorating, working on each room one at a time (the bedrooms, living room, kitchen… you know the drill). But as a creative person who works from home finally having a dedicated office or craft room space to run my business out of was the absolute best.
Don’t get me wrong I’ve had craft rooms before (check out my craft room at my last house) but it was a cobbled together conglomeration of hand-me-downs and I can make this work pieces in a very small space. Which is so. much. better. than no space at all. But to have the opportunity to design a space to act as an office (for computer work), a craft room (for my projects) and a film studio (for my videos) was the dream I had been waiting for.
Which is why I literally started hanging wallpaper in this room before my brother/cousins/friends even started carrying boxes inside. As soon as we had power my Mom, bestie and I were in this space hanging wall paper.
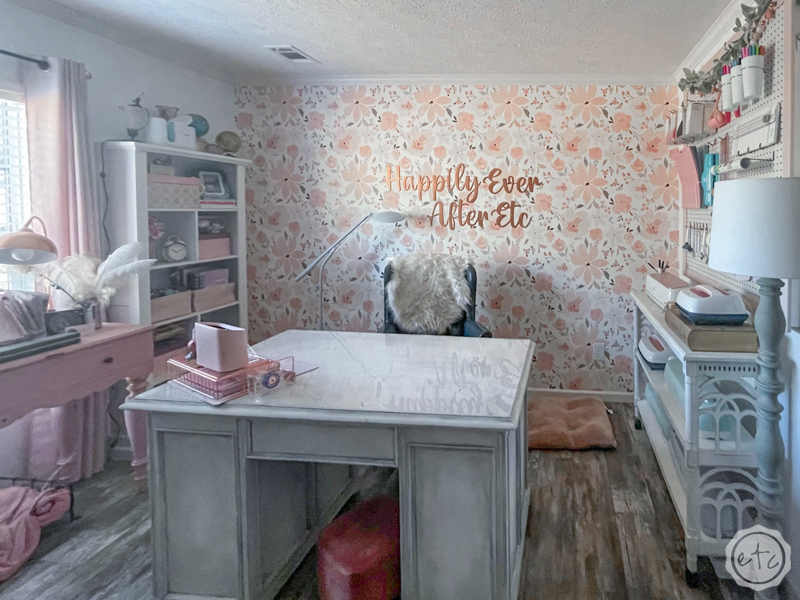
Of course, a space is never finished so don’t think this room is 100% perfect but it’s so close I can taste it… and the finishing touches are going to have to wait until my workshop is finished. So in the meantime here it is… the craft room reveal!
Enjoy!

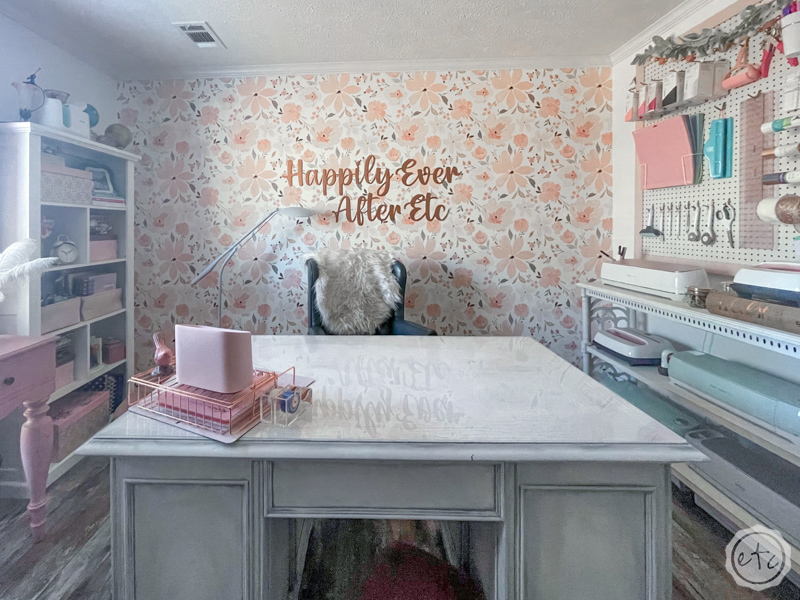
Floral Wallpaper
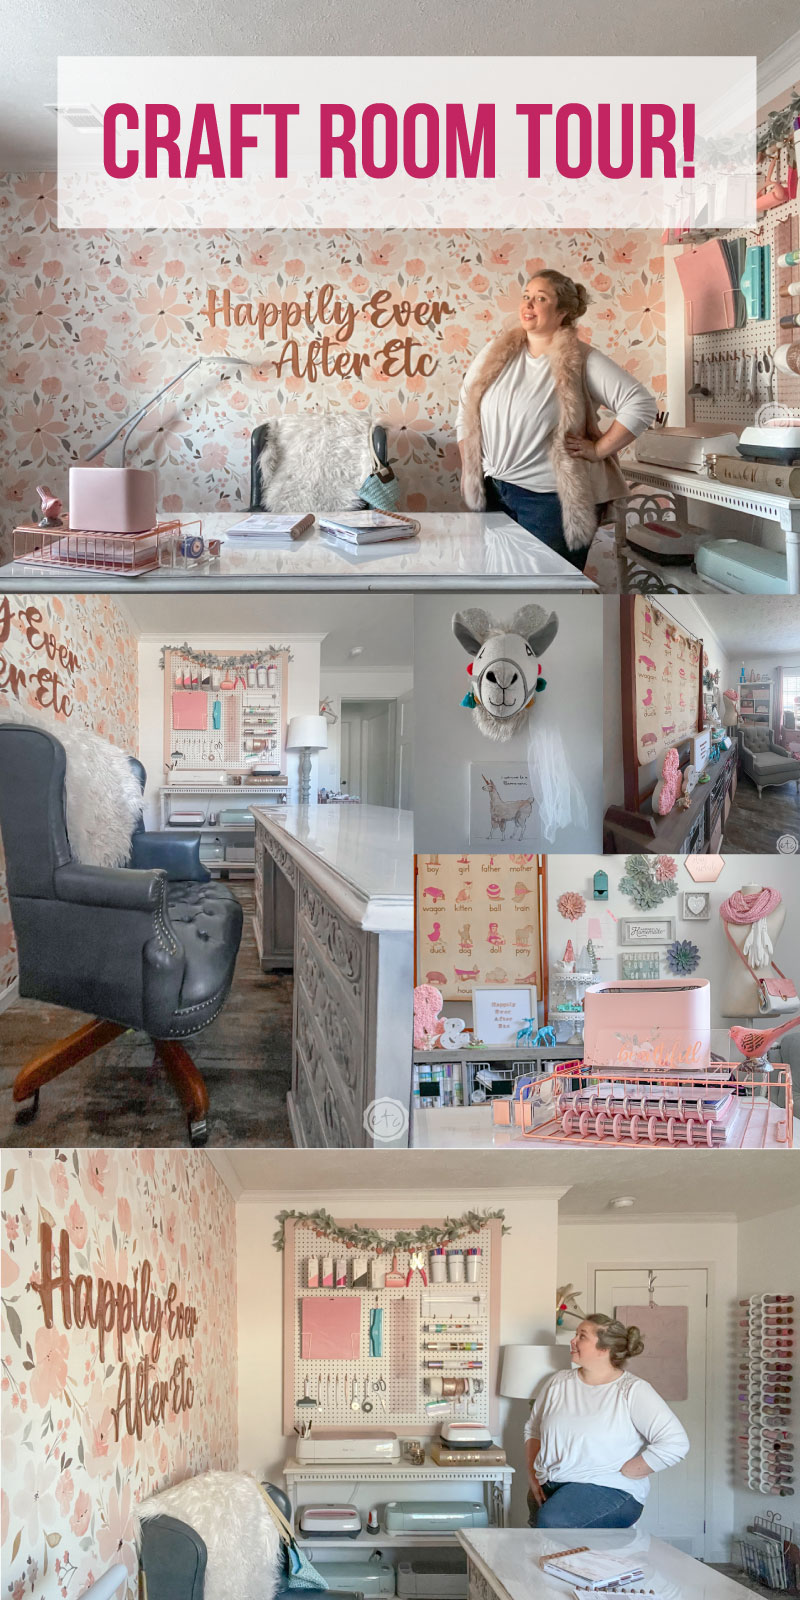
First things first… the wallpaper. I looked at soooo many patterns before deciding on the perfect one and let me be the first to say I LOVE LOVE LOVE IT! I wanted something soft and feminine that wouldn’t be too distracting on camera… these muted pastels were the perfect solution!
The wallpaper itself was pre-pasted so it went on like a dream… this was my first time hanging wallpaper and y’all I was scared. But it was so much easier than I thought it would be! Which is great because I’ve already been through the fun process of removing wallpaper at our last house.
You can check out the entire How to Hang Wallpaper Tutorial HERE.
Or skip to the good part and order the wallpaper for your space HERE.
DIY Large Wooden Logo
After the wallpaper was finished I knew the next project was a large logo for my wall… I needed a proper place to sit down and film YouTube videos after all!
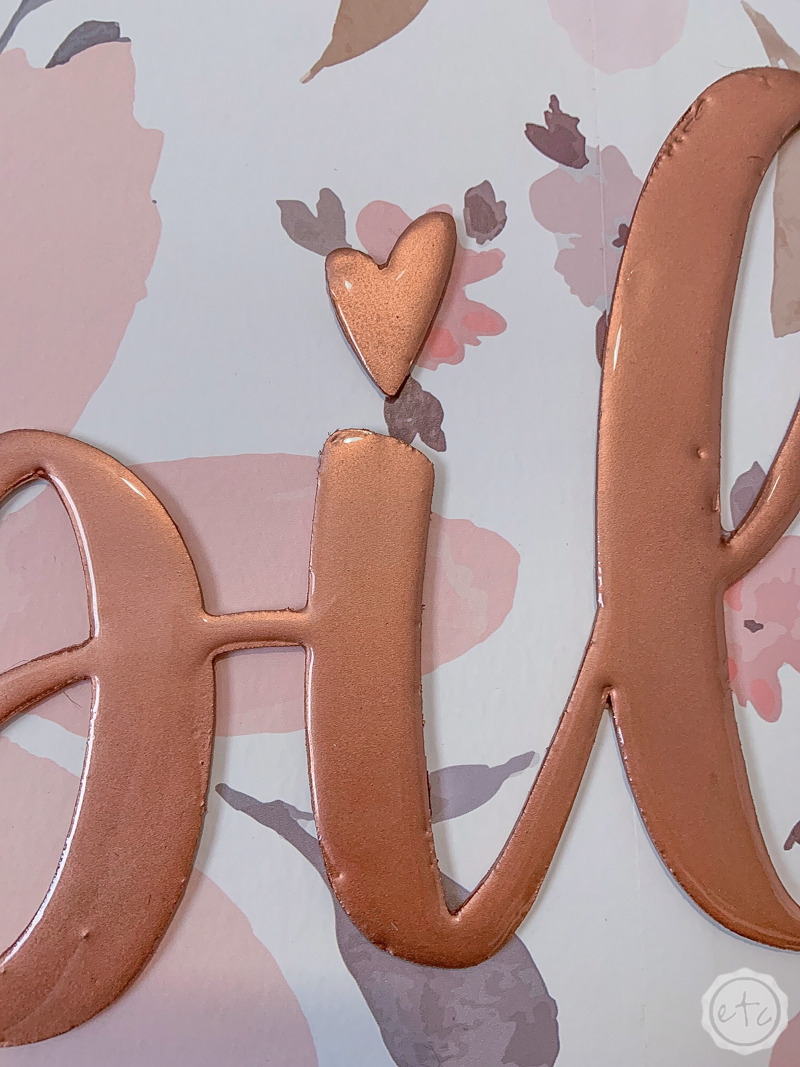
I thought about buying a large logo but they’re not exactly inexpensive… so I decided to make one instead. I was able to cut multiple sheets of basswood with my Cricut Maker and then join them together and seal the top with resin.
I wanted the entire logo to have a copper mirror like finish after all… so resin was the perfect solution!
I’ve made a similar large wooden name for a friend’s new baby nursery so I knew the project was possible… although it does take a minute!
Follow the Cricut Tutorial for Cutting (and Painting) a Large Wooden Logo.
Check out the Tutorial for Adding a Resin Topcoat to your Large Wooden Logo.

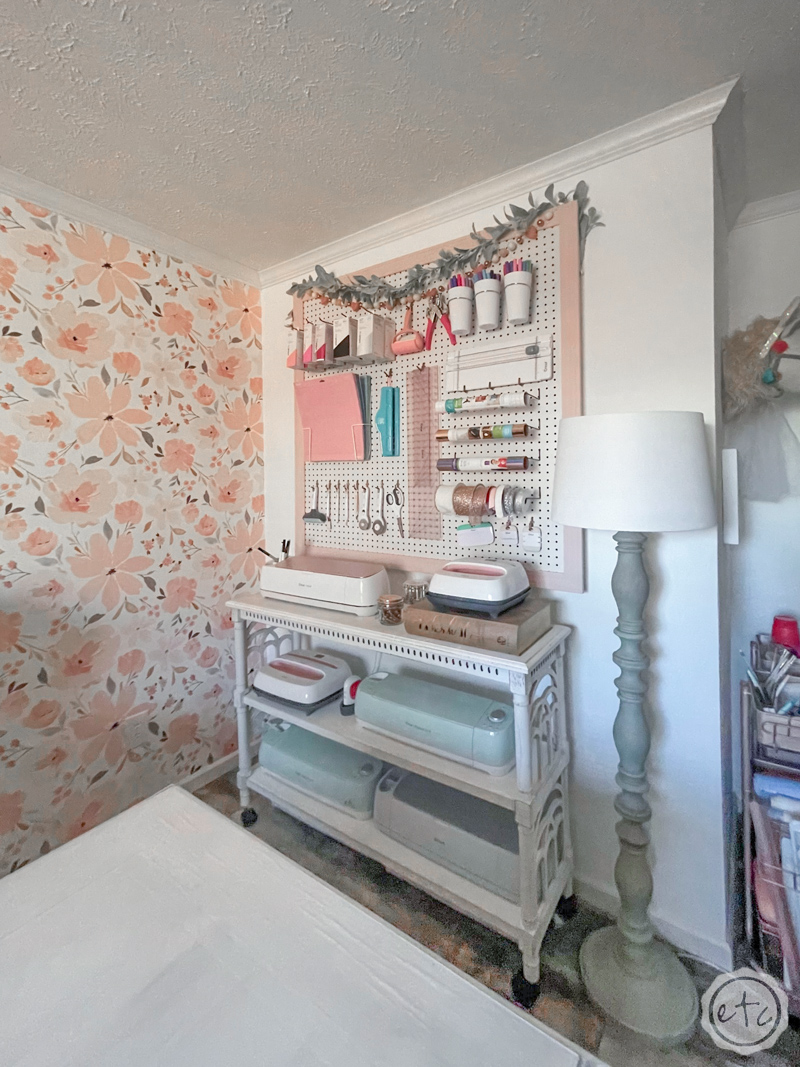
Rolling Cricut Storage Shelf
My Cricut machine is one of the most used tools in my craft room… and between my Maker, Maker 3, Explore Air 2, Joy and the Easy Presses I have a few of them. I use most of them on a regular basis and have learned (from past experience) that it’s a pain in the rear to have to pull a machine down from a shelf, set it up, then put it back… for every single project.
Don’t get me wrong it’s not difficult.. and it’s way easier than cutting a project by hand… but when you’re doing multiple projects a week it’s so much nicer to have your Cricut in a place where it can function without being moved.
Which is why this little rolling storage shelf was the perfect solution. There are smaller carts if you only have one machine (and they provide you with great storage) but I wanted to be able to house all my machines together. I also needed 10 inches of space in front and behind each machine (this is required space for the cutting machine when in use). A rolling cart means that all my machines can be placed on the storage shelf and then the entire shelf rolls out 10 inches from the wall when I need to use a machine.
It’s the perfect solution! It houses all my machines, I never have to move a machine and it looks fabulous since it’s an actual piece of furniture I added wheels to.
Add wheels to your own Cricut Storage Shelf by following this Tutorial.
Framed Pegboard
Once the main wall was finished it was time to move on to the pieces in the room. A few of the pieces (like the 2 tall bookshelves) were easy choices… I already had them from my husbands office at the last house and they provide great storage.
But my floor to ceiling pegboard from the last house would not fit in this space.
At least not without giving up bookshelf or wallpaper space. Which I didn’t want to do. I also wanted my pegboard to be conveniently located near my Cricut shelf so that I could grab a weeding tool when I needed it.
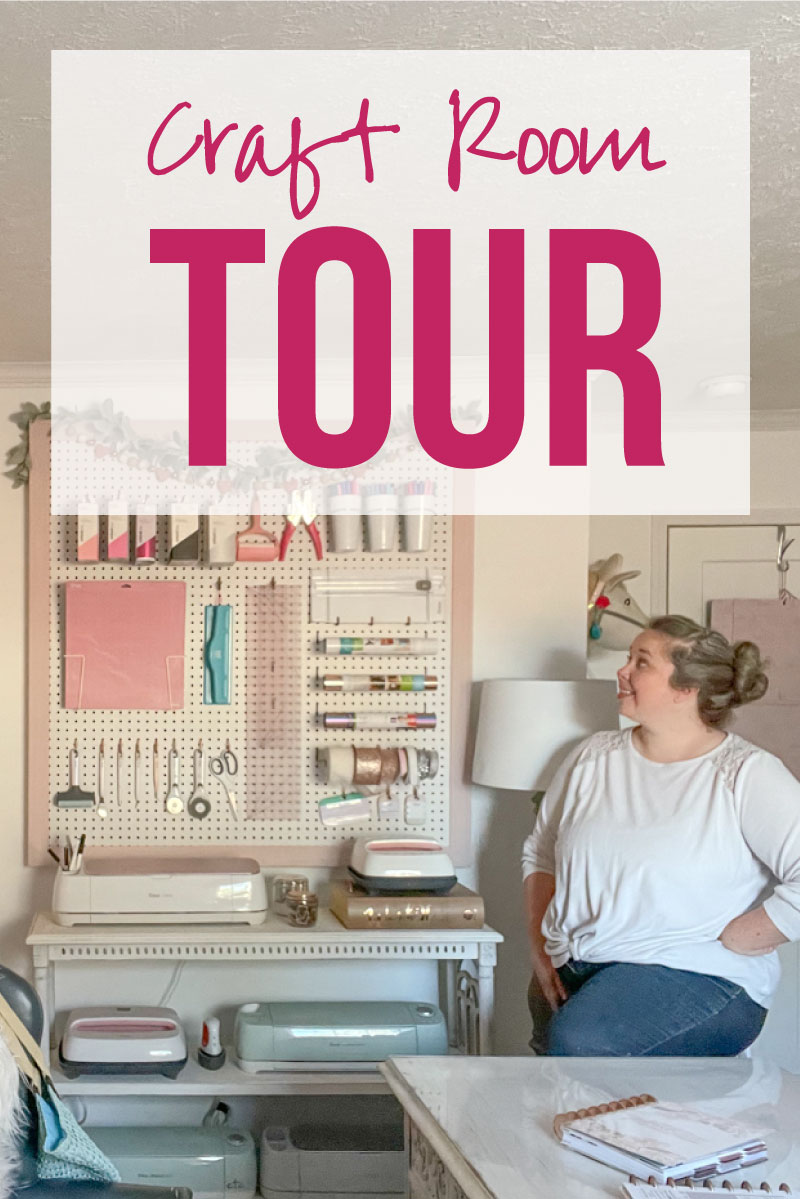
So I cut the pegboard in half and added a pretty frame. Not only does the frame look amazing it helps to hide the necessary space behind the pegboard that’s required for the pegs to function.
Build your own Framed Pegboard with the steps in this Tutorial.


Vinyl Storage
Remember how I said my Cricut machines are my most used tool in my craft room? Well that means I have *ahem* quite a few Cricut materials. Mainly rolls of vinyl…
So I needed ways to store all that vinyl!
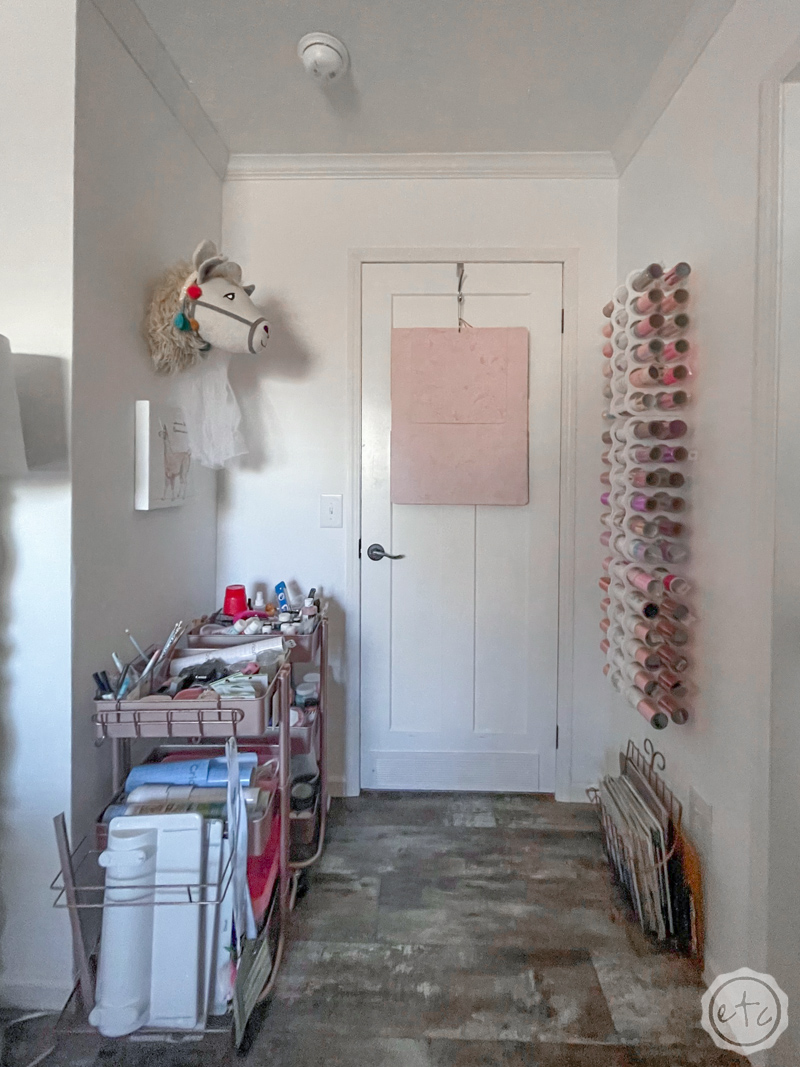
I started by hanging 3 Wall Holders behind the door to utilize a bit of wasted space. I placed my most used vinyl here: iron-on, permanent and removable vinyl in different shades of pink and rose gold. This way I can easily grab whichever shade I need without having to rummage through the storage bins.
Speaking of storage bins… the cubed baskets on my cubed bookshelf are the perfect size for vinyl rolls. And while I don’t like having to rummage through them looking for the perfect material for a project I do like being able to organize them according to material.
I have one for permanent vinyl’s, one for removable, one for iron-on, one for cardstock, chipboard and basswood, one for all my Cricut Joy supplies, one for felts and fabric… you get the idea. I love that all my supplies fit in one place and I have space for new rolls whenever they find their way into my collection. After all… storage isn’t super helpful when it’s full!
Portable Work Carts
Last but not least I have 2 portable work carts… these babies are great for organizing supplies when you need them in multiple places! I grabbed the first one when I needed to wheel Cricut supplies from my small office to my larger Kitchen table for filming.
The second one I grabbed to organize Resin supplies… as Resin is highly toxic I still do all my resin projects outside where the fumes won’t be inside my work space. That means my tools need to go back and forth… I can’t exactly leave them on my front porch year round!
Of course, now that I’m working on my new workshop I’ll have a permanent home for all of my DIY tools and my Resin Supplies. Likewise the Cricut tools no longer need to be mobile… which means these work carts are going to be re-designed to hold tools (in the workshop!) and I’ll be adding a permanent fixture here to hold my larger printer.
Mobile and versatile… I love that these little carts are super easy to adapt to any situation!
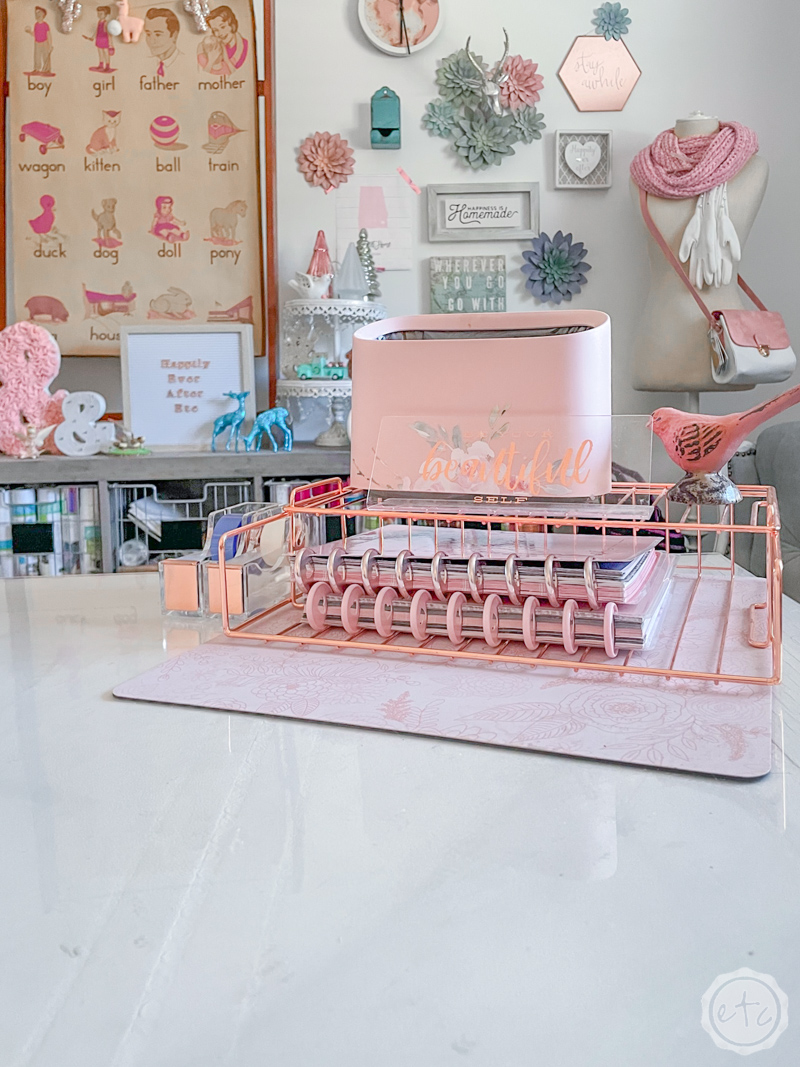
Beautiful (and Functional!) Work Surface
This one is kind of amazing… if you watched the video above you already heard the story but I love it so much I’ll tell you again.
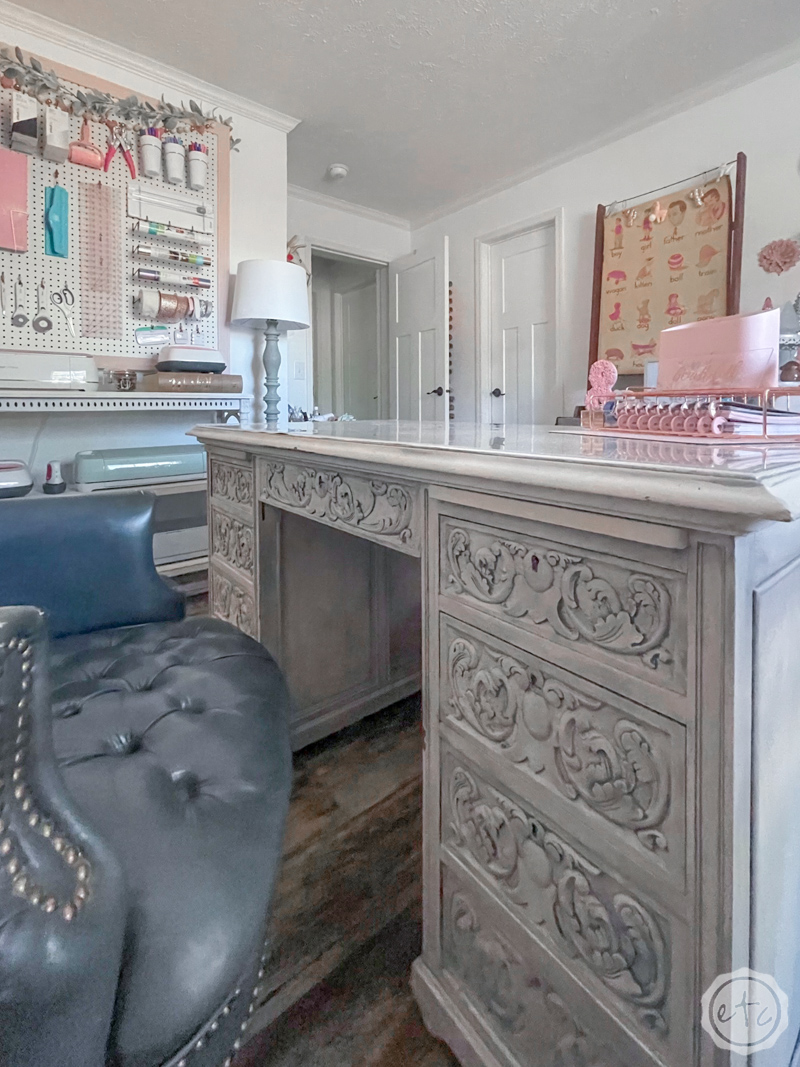
With all of my existing furniture the Cricut Storage Shelf and a large work surface were the only pieces I needed to buy when putting together this room. My previous desk was standard size and had 0 drawers… so it wasn’t great for storage.
In order to be a large work surface for future projects (and filming) I wanted a large desk… I also wanted it to have plenty of storage as that was problematic in my last space. If possible I also wanted a piece with a little character as pre-fab furniture isn’t my first choice (but can be fabulous… I mean the Cricut storage shelf is pre-fab and it has plenty of details).
I started searching but everything I could find was *ahem* well out of my price range. Then Mom found this desk on Facebook Marketplace for $70.
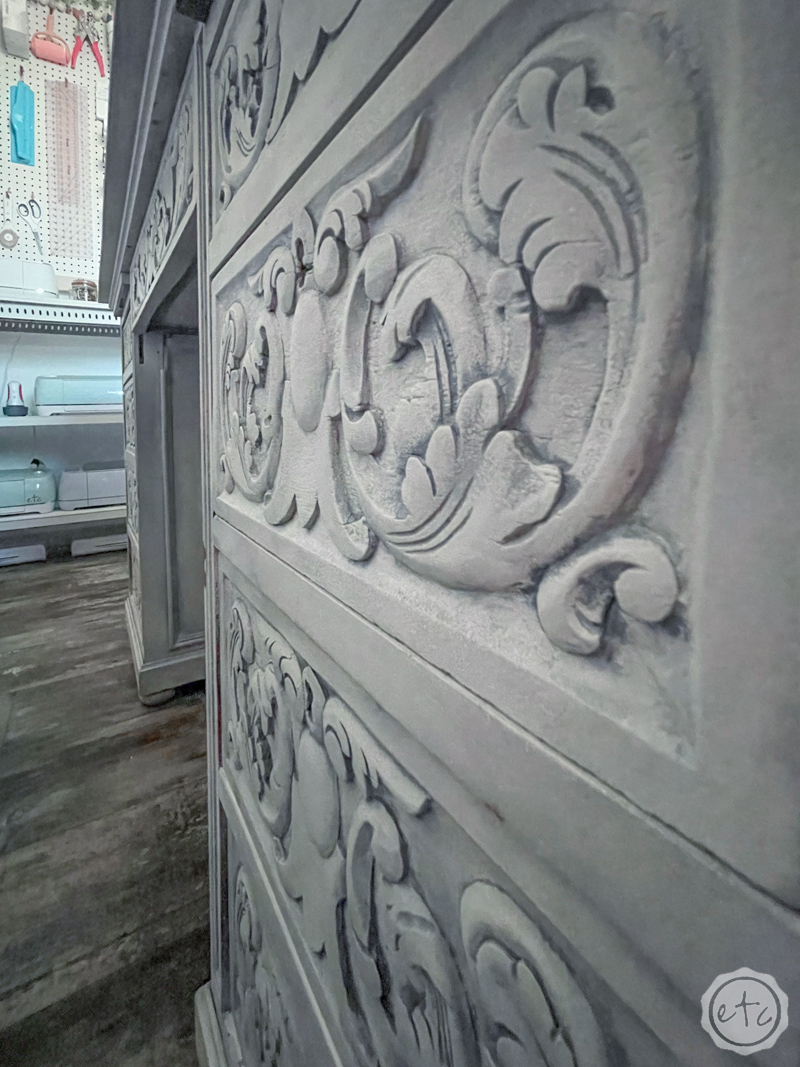
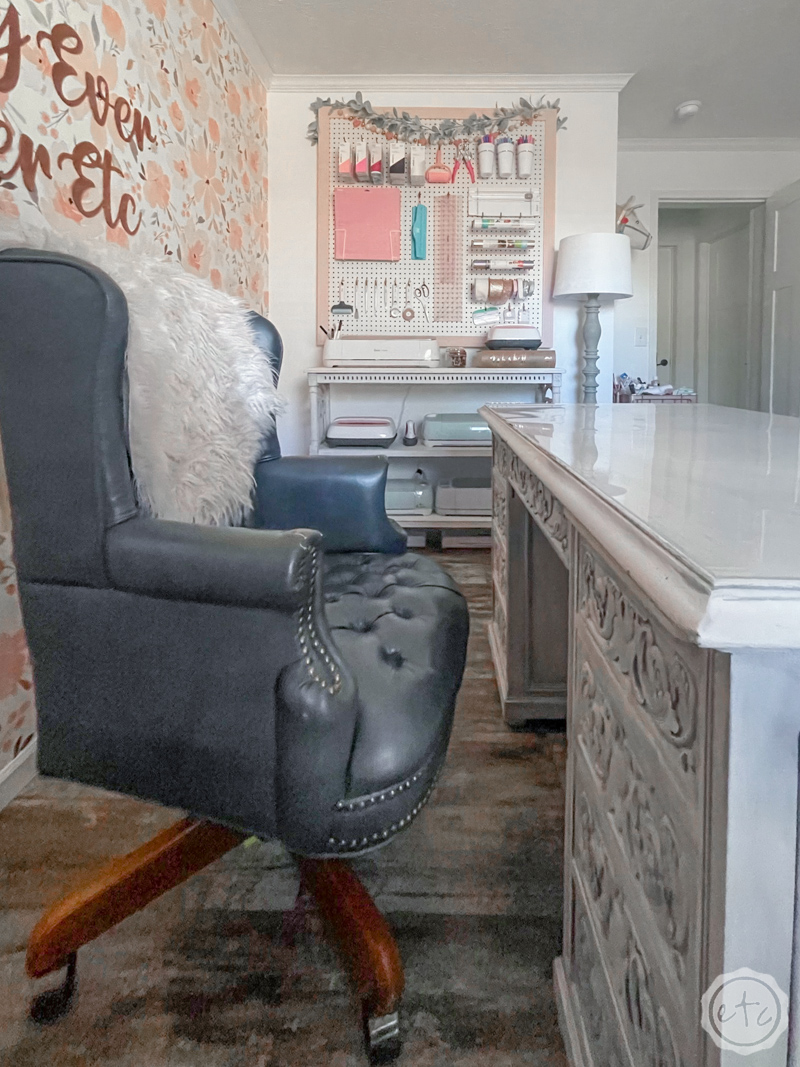
It’s huge, has 8 deep drawers and was hand carved in Spain many years ago.
Which is amazing enough (I MEAN JUST LOOK AT THOSE HAND CARVED DRAWER FRONTS!) but when we went to pick it up we found out that my Grandfather (my Mom’s Dad) and the lady I purchased it from’s Father were stationed in Spain at the same time… this lady and my Mom were 5ish years apart at school in Spain!
How crazy is that?!
Her Dad brought the desk back from Spain and then passed it on to her… she was going to live with her son and downsizing so she sold it to me. It needed a lot of love so I fixed it up and gave it new life.
It’s definitely the most interesting piece in my new office… and you can’t even see the details from the front!
Storage for Small Supplies
Last but not least are the little baskets, bins, boxes and small storage pieces to hold my numerous small crafting supplies.
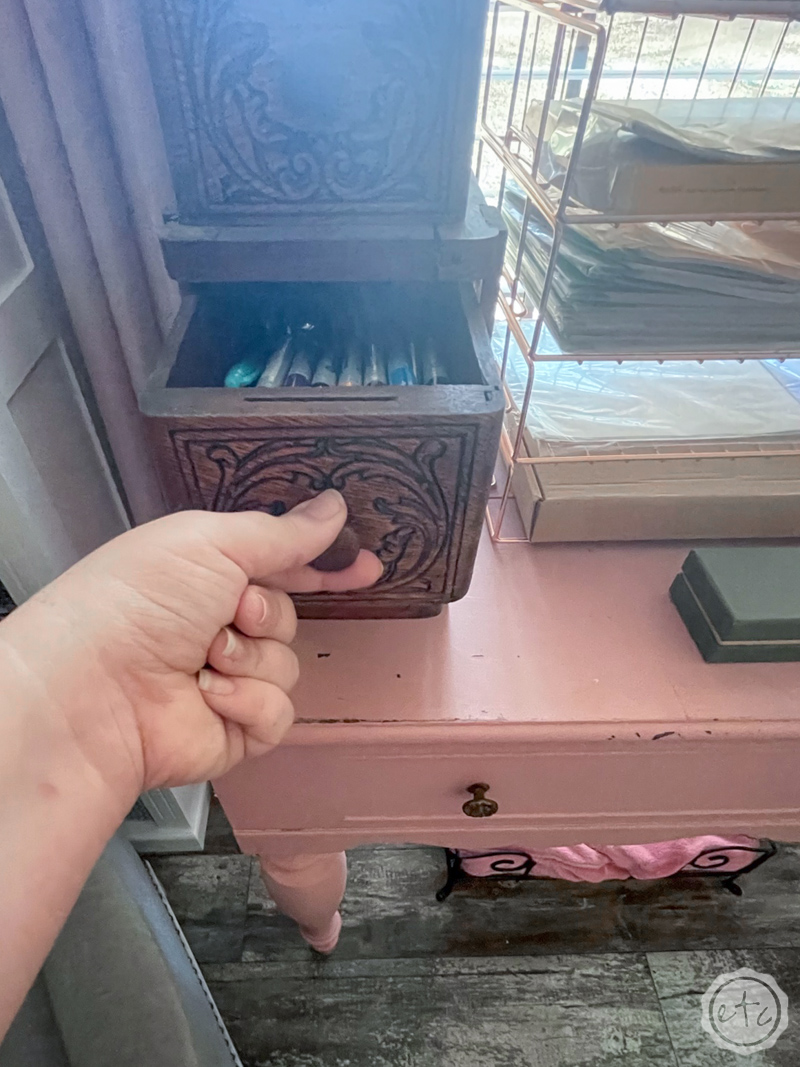
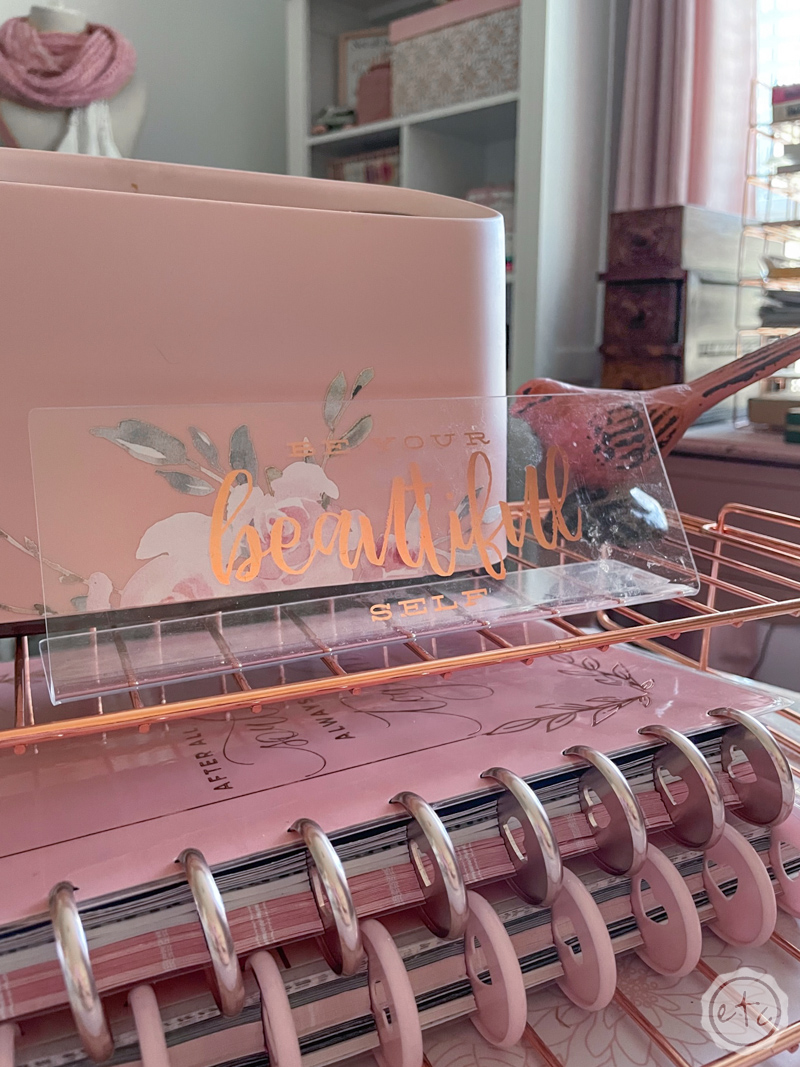
Watercolor pens, washi tape, paper flowers, glue… it all needs to live somewhere! Larger decorative boxes on the bookshelves are great but closed storage isn’t perfect. These little antique sewing drawers are amazing storage for my pen collection… and the set of wire shelves next to it holds alll my papers and planners.
Whether it’s an antique piece you use as storage or a metal storage piece specifically designed for a purpose the point is to have a place for everything.
That way you know what supplies you have… and don’t end up buying 12 million hot pink sharpies because you don’t know where you put the last one!
Enjoy!
There are still a few finishing touches I’d like for this room (like removing the gray chair that’s only stuck in here to make room for my Christmas tree…) but overall I’m very happy with how this space turned out!
It’s beautiful yet completely functional. I know where all of my supplies are which means I can start a project without searching for hours… which is kind of amazing.
Best of all, I love being in this space… which is great since this is my main workspace! Let me know what you think down below.






Leave a Reply