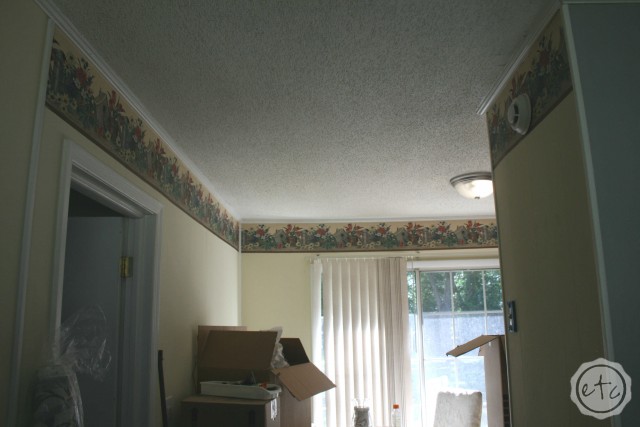
So if you follow me on instagram you already know that we’ve been busy removing wallpaper over here! With a new house comes new projects… and with every action comes an equal (or even more annoying) reaction. Case in point: deciding to paint caused the removal of the ugly wallpaper border. It’s horribly hideous so I’m glad that we’ve decided to kill it… but all the horror stories you hear about how to remove wallpaper? They’re all true. Every single one of them.
However after a while of struggling I finally stumbled upon a recipe that works. Yes it’s still hard to hold your arms up that high (if only I had a taller ladder) but at least the paper is coming down with the least amount of effort possible! Hoorah!
Here’s what you’ll need:
1) Windex: if you can find the clinging foam kind I hear it rocks but we weren’t able to locate it… we went with regular old Windex.
2) A scraper! We tried several different versions before deciding a regular firm putty knife worked best.
3) An old rag… if you have the foaming windex try a sponge but for the spray Windex an old rag works great to catch all the drips. 4) A stepladder or stool if you aren’t tall enough to reach!
That’s it!
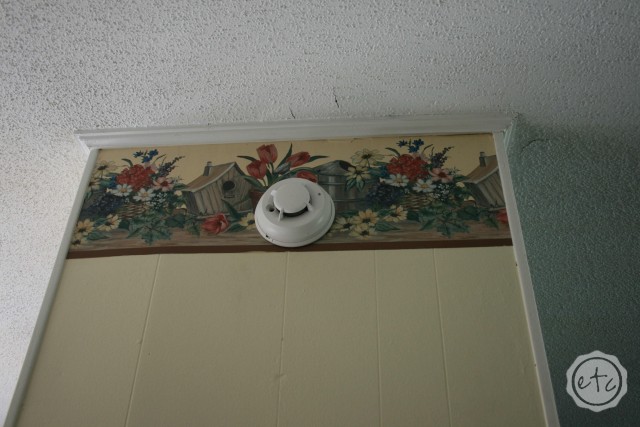
Isn’t it gorgeous? The birdhouses? The flowers? The color combination? Really this is everything you could ever want in a disgusting old wallpaper! I am so glad it was left here! Actually I’m very glad it’s GONE!
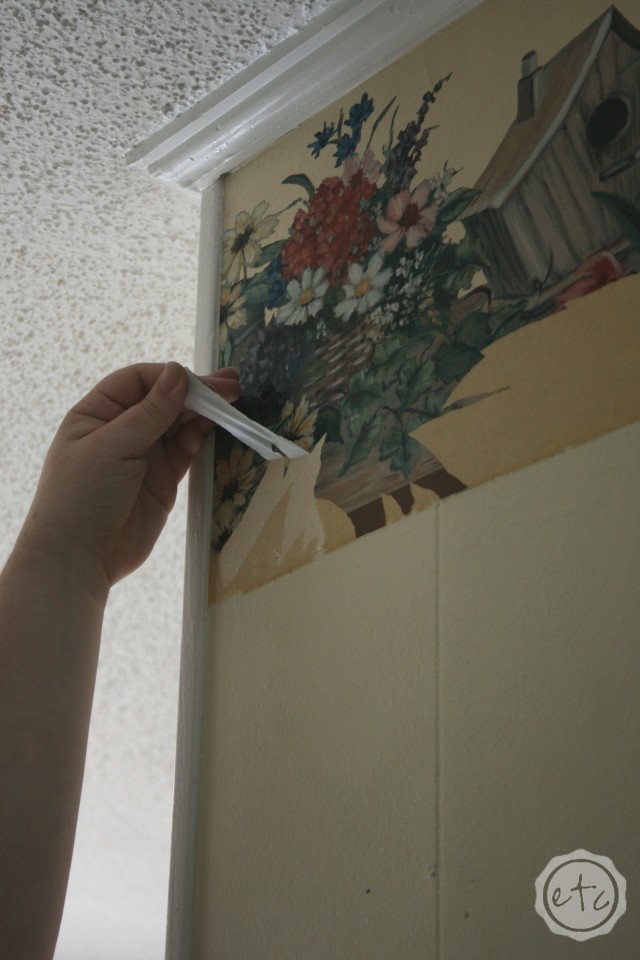
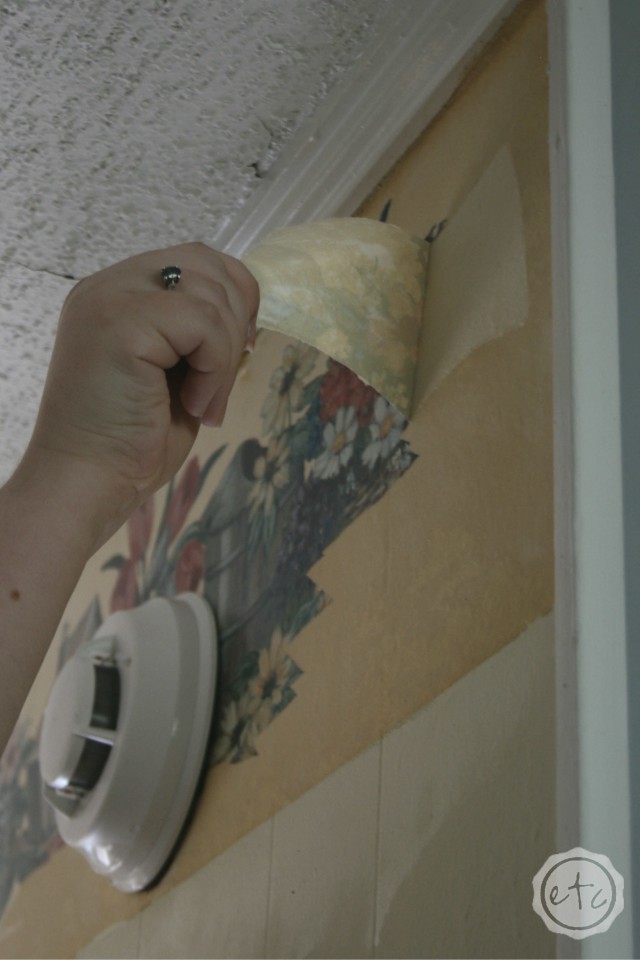
Step 1: Start at a corner and PEEL! Get as large of a piece as you possible can and tear that sucker off! Sometimes you will get a really big piece and feel like you’re on top of the world… sometimes you can only get a small piece and that’s ok… just keep going.
Once you’ve peeled as much as you can from all four corners pick up your Windex… it’s time for Step 2! By now you’ve noticed that wallpaper is composed of two layers… the top section (which as far as I can tell is composed of some sort of water proof, windex proof material that can only be removed by the aforementioned peeling… no windex will penetrate it’s shell) and the bottom section or glue which can be doused with Windex and easily scraped off.
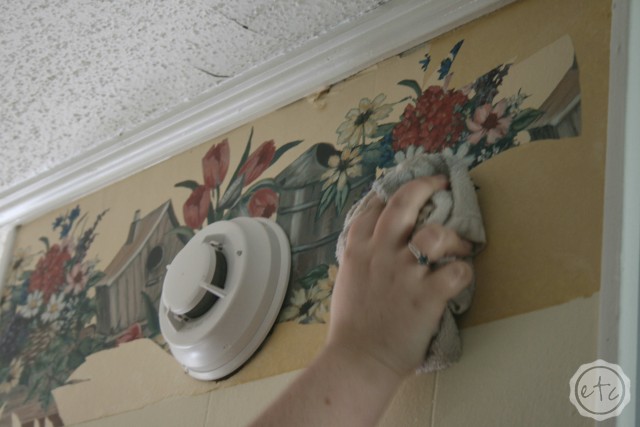
You can see where I’m going with this can’t you? Step 2 is to douse every single bit of showing glue with Windex! Use your rag to make sure it doesn’t drip down the wall and soak your counters (guilty!)… once the glue is soaked use your rag to really pat down the Windex. A through soaking will re-activate the glue and allow you to easily scrape it from the wall… after at least ten minutes.
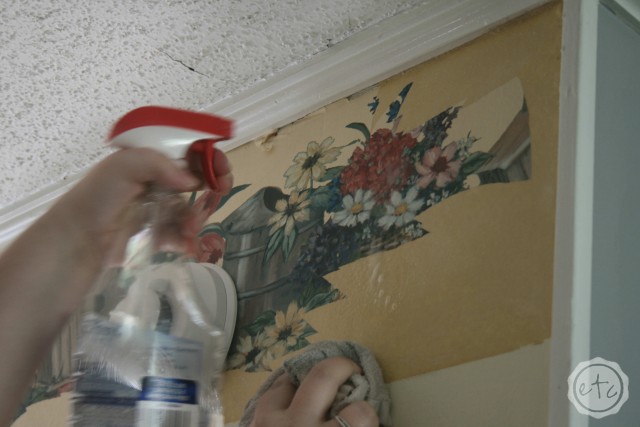
A through drenching will also soften up the edges of your top layer… so that while you’re waiting to scrape the glue off the wall you can peel more of the top layer! That’s right: peel, douse repeat. Depending on the size of your peeled pieces this process might take a while. That’s ok… just make sure that the glue stays wet the entire time you’re working. By the time you’re peeling the entire top layer your glue will be ready to scrape.
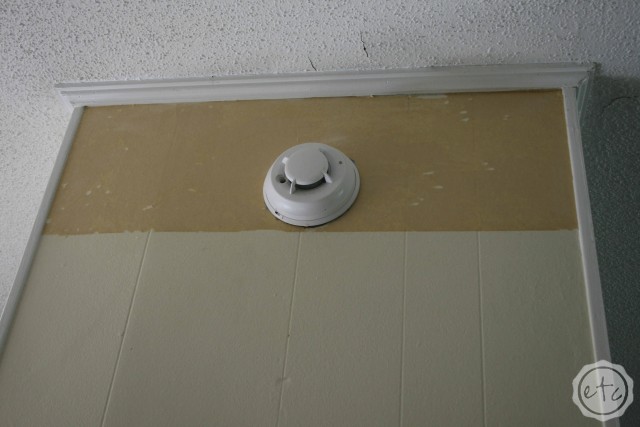
See? The birdhouses are gone! Once all the top layer is gone make sure to soak every single bit of glue… then after about 10 minutes you’ll be ready for the fun part. Scraping.
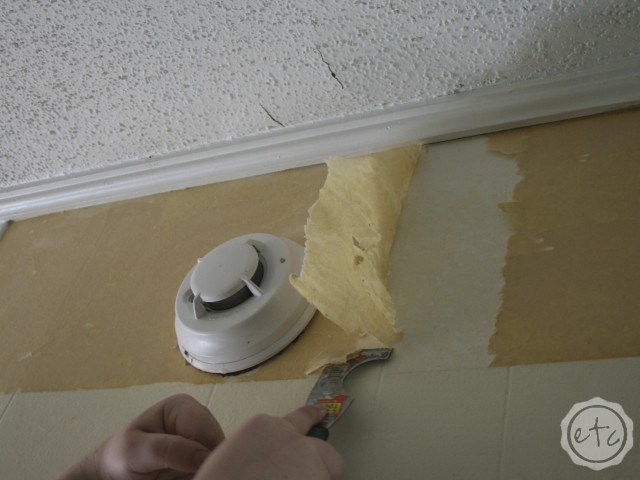
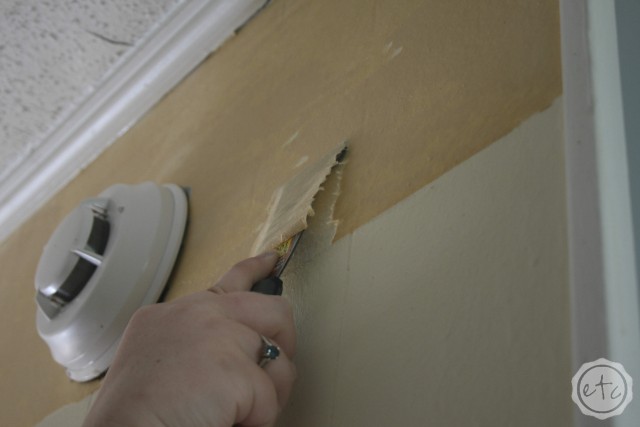
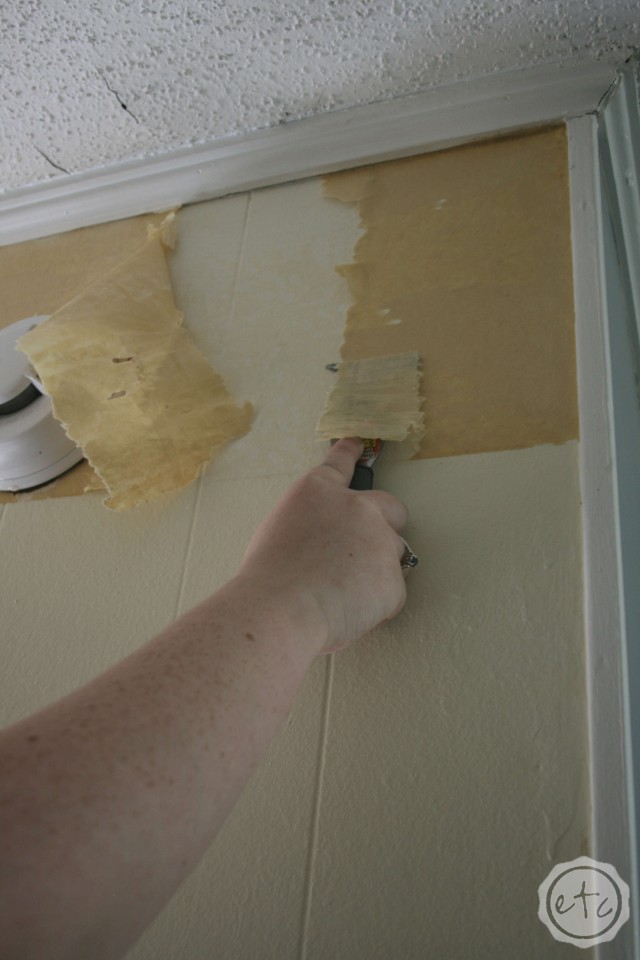
Scraping the dratted glue (Step 3) is so satisfying… the putty knife slices through the drenched glue like butter! And then finally… blank wall!
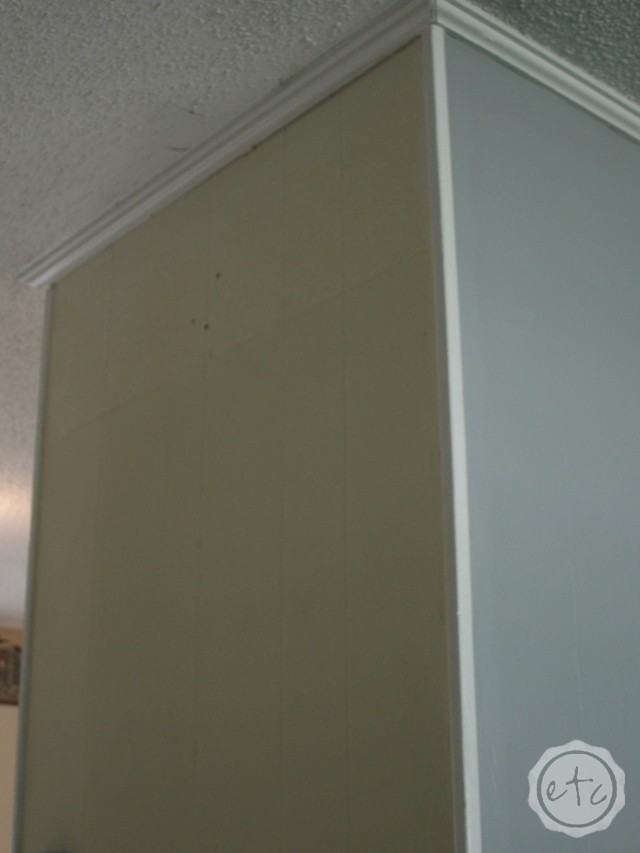
Look how much taller the ceilings are?! It’s amazing! Plus you get a sneak preview of how the online color looks on the wall! Don’t you love the gray against the white? I can’t wait to show you the whole room! But first I have half a kitchen left to scrape.
Have you ever removed wallpaper before? How did it go? I heard from a gal on Instagram that a wallpaper steamer makes large spaces much easier… sounds amazing!





I had a horror experience in my last apartment trying to remove wallpaper and decals. Wish I had this post sooner! Thanks for sharing 🙂
Yuck! Every time someone mentions removing wallpaper I shutter! Hopefully this will help you the next time you come across the dreaded beast!
Wow Betsy, your pictures and step by step directions make this look so doable. I will remember this is here in case we need it in our next place.
Love the new grey color !! Can’t wait to see more!
I removed wallpaper once and I never want to do it ever, ever again. I loved the end result but the process was not pleasant. Wish I would have had this when I was removing mine. Haha!
I’ve heard wall paper horror stories! This looks like a really good & easy method. I’ve heard that steaming is best, but I have no idea how I would steam it off? Maybe with my iron? hahaha!
I have heard there are special steamers for steaming wallpaper and that they are magic. Haha!
I am so thrilled I found this! I have a kitchen with 10′ ceilings and calico flower print on all walls all the way up! I will start this project after the holidays! Thank you!
Hi Betsy, OMG your tip saved me so much time and effort! I was trying to remove a wall paper border that the previous owners had installed using the fabric softener trick. It was taking forever! I went to Hometalk in search of something else to try and found your tip. I was amazed that it worked almost immediately!
Thank you!
I’m glad it worked for you! As someone who has removed her fair share of wallpaper I completely understand what it’s like to be having a frustrating experience taking it off… do you just want to punch a hole in the wall! Good luck with the rest of your makeover… I’d love to see pictures!
So glad I found this post! I still have plenty of wallpaper border to remove in my kitchen. Thanks for sharing.