


When you’re organizing a lot of supplies (tools, craft supplies, kitchen utensils!) a pegboard is always the right answer! A nicely organized pegboard can hold so much stuff while still looking beautiful. Just check out the metal wall control pegboards (that I put on drawer slides!) in my laundry room cabinet… they hold all. my. tools.
So when it came time to organize the craft room I knew I wanted another large pegboard. I used one in the craft room of my last house (the hubby helped me install a simple one with washers that went from the floor to the ceiling… it was glorious). BUT my new space didn’t have room for a floor to ceiling option. I have a rolling cricut storage shelf for my machines and I wanted a big pretty pegboard over the cricut shelf that could hold all my craft supplies.
I measured the cricut shelf and it is almost exactly 4 feet wide… which is perfect because pegboard comes in 4 x 4 sections or 4 x 8 sections. Sure enough a 4 x 4 piece of pegboard would fill my space perfectly… which made that an easy decision. From there I just had to decide what I wanted the finished pegboard to look like!
My original craftroom pegboard was unfinished and had washers behind it to allow my pretty rose gold hooks clearance. My laundry room pegboards are smooth shiny metal… which is glorious in it’s own way but not right for the craft room. I’m going for a more refined, elegant kind of look in here!
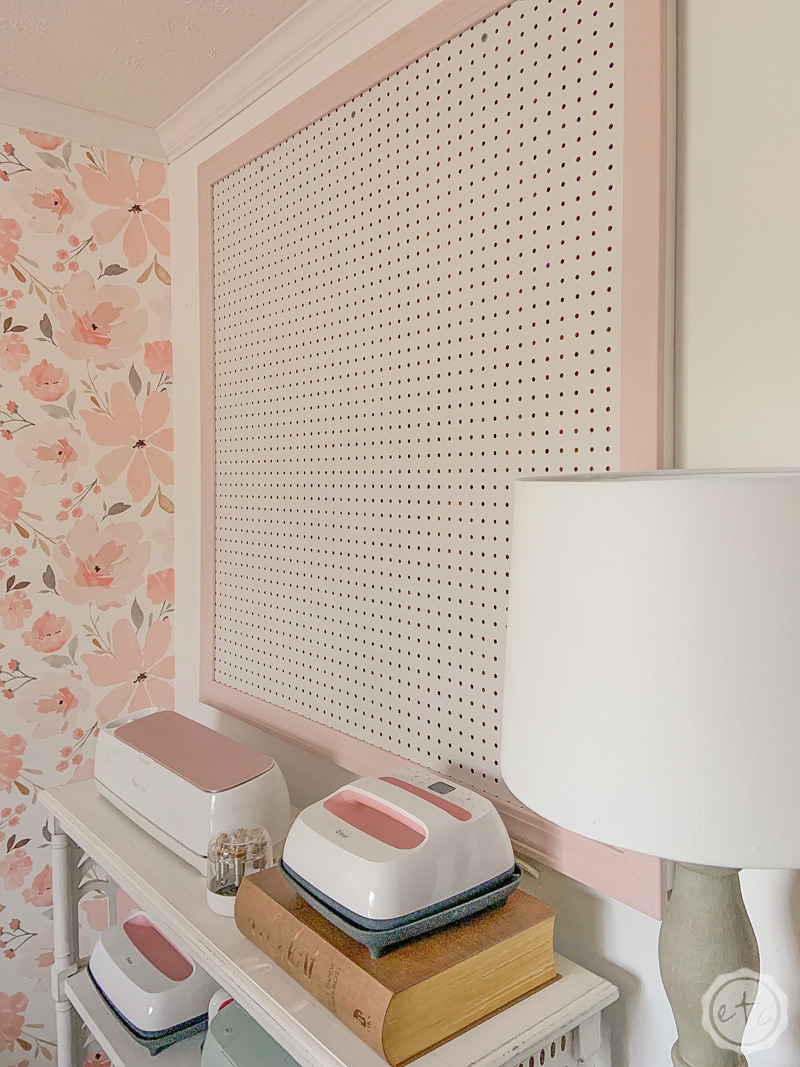
So we’re going with a frame! A pretty pegboard with a pretty pink frame!
Of course, the best part about building your own pegboard is that you can customize it to your specific room. So mine is going to be pink and elegant but you do you.
Ready to get started?
Supplies:
- Pegboard
- Primed Molding
- 1×2 Primed Trim Board
- Miter Saw
- Brad Nailer
- Brad Nails
- Wood Glue
- Spackle
- Blush Pink Chalk Paint
- 2×4 Board
- Stud Finder
- Level
- 3″ Construction Screws
- Washers
- Power Drill
Step 1: Cut your Molding & Base Board
Okay so we have two things to cut here… the actual molding that we’re going to use to make our frame and the 1×2 “base boards” that will go behind the pegboard (allowing the hooks clearance to work while hiding them from view… classy!).
Let’s start with the easy cuts… go ahead and cut two of the base boards to 4 feet and two of them to 3 feet 11¼ inches. These are just simple straight cuts but I used my miter saw to make the cuts.
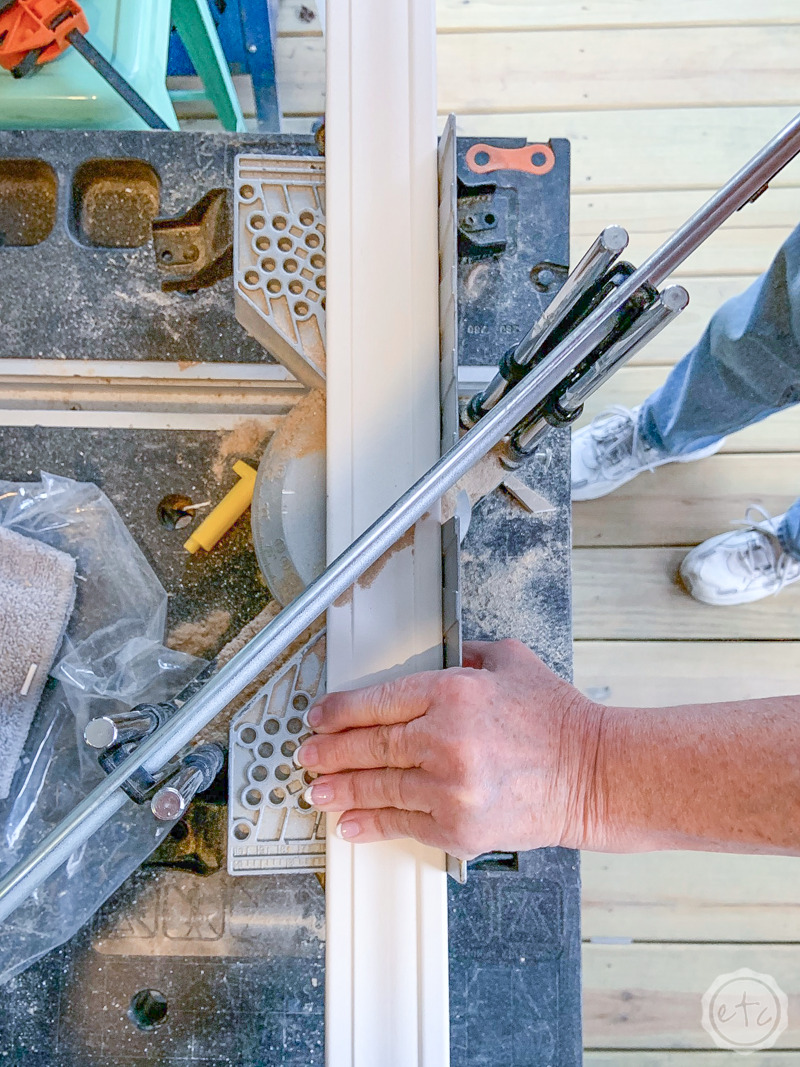
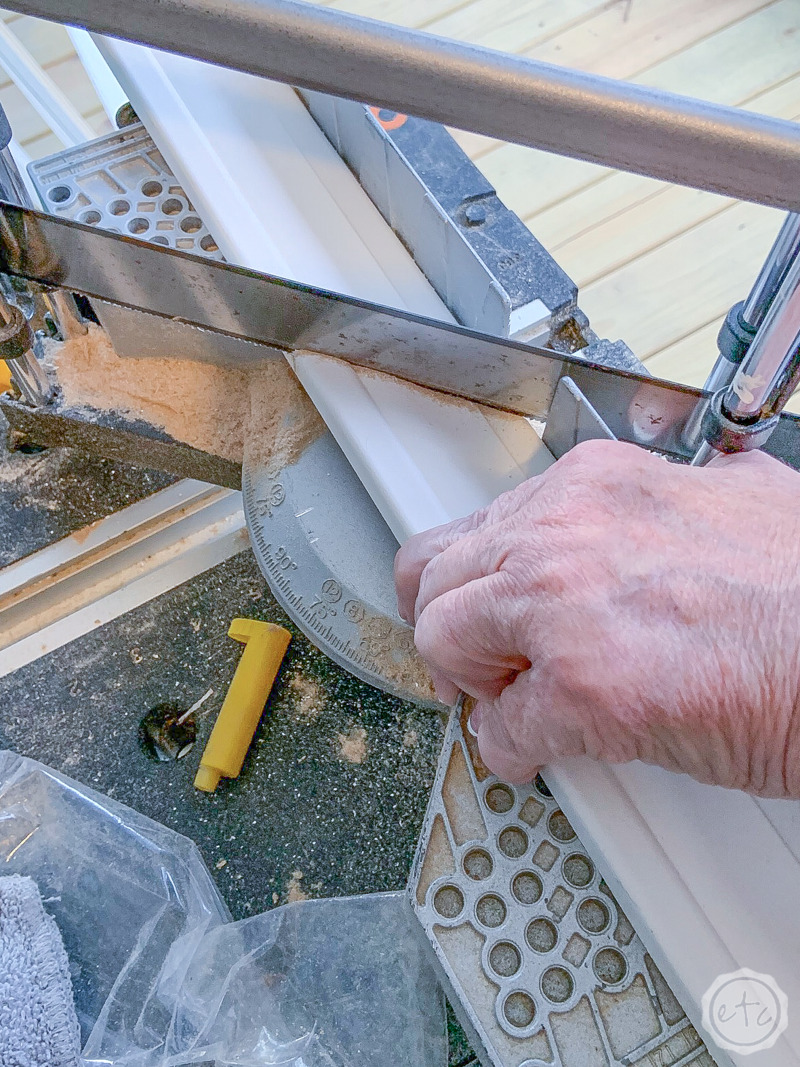
Once the baseboards are cut we’ll move onto cutting the actual molding! We’ll use a miter saw to cut these at 45 degrees… but we need them to be a little bigger than our frame so instead of cutting each molding piece corner to corner at 4 feet long (which is the exact length of our pegboard) I cut each one a litttttle longer than 4 feet.
I know… that’s a scientific measurement.
Basically I wanted the frame to extend just a bit past the edge of the frame so I placed the molding on the frame and marked where I wanted it to end. It was roughly half an inch past the edge of the frame… so from top outside corner to outside corner these molding pieces are 49 inches long.
Once they were cut I went ahead and painted them a pretty shade of pink! We’ll have to do a bit of touch up later but they’ll be so much easier to paint now then once they’re on the pegboard.


Step 2: Attach your Base Boards
Now that everything’s cut let’s start putting it all together! First we’ll attach the baseboards that way when we put the frame on top all of the brad nails from the base boards will be hidden.
One less thing to spackle and paint!
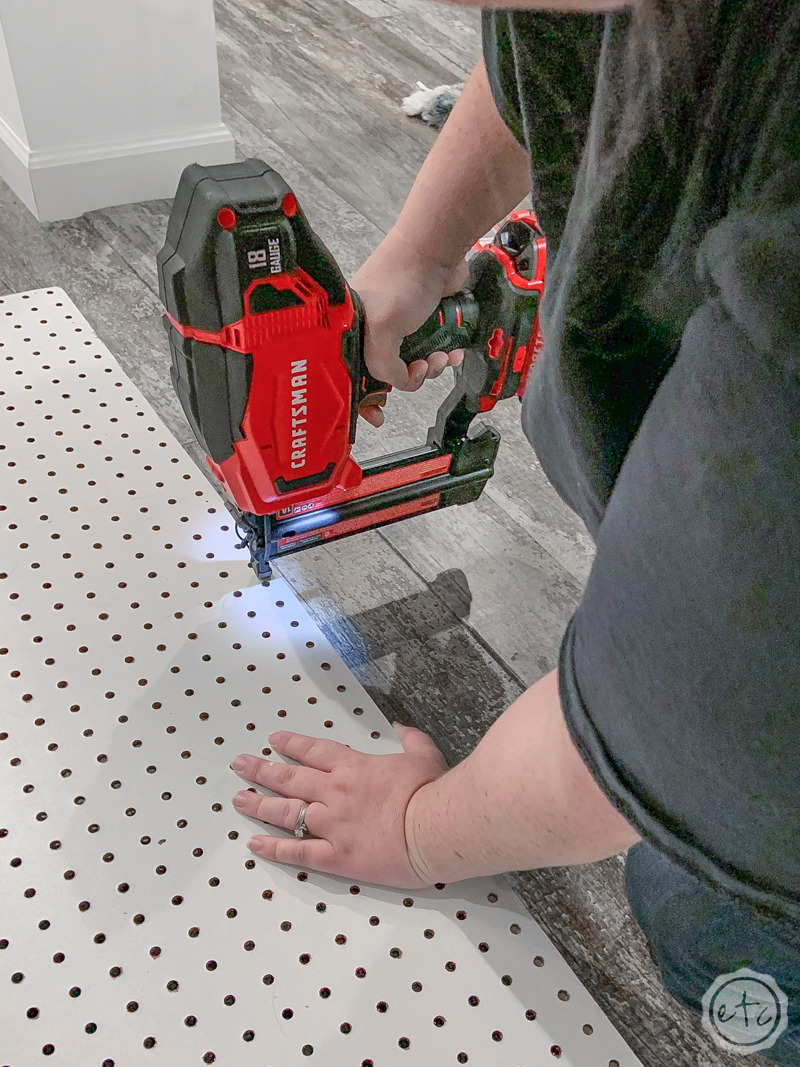
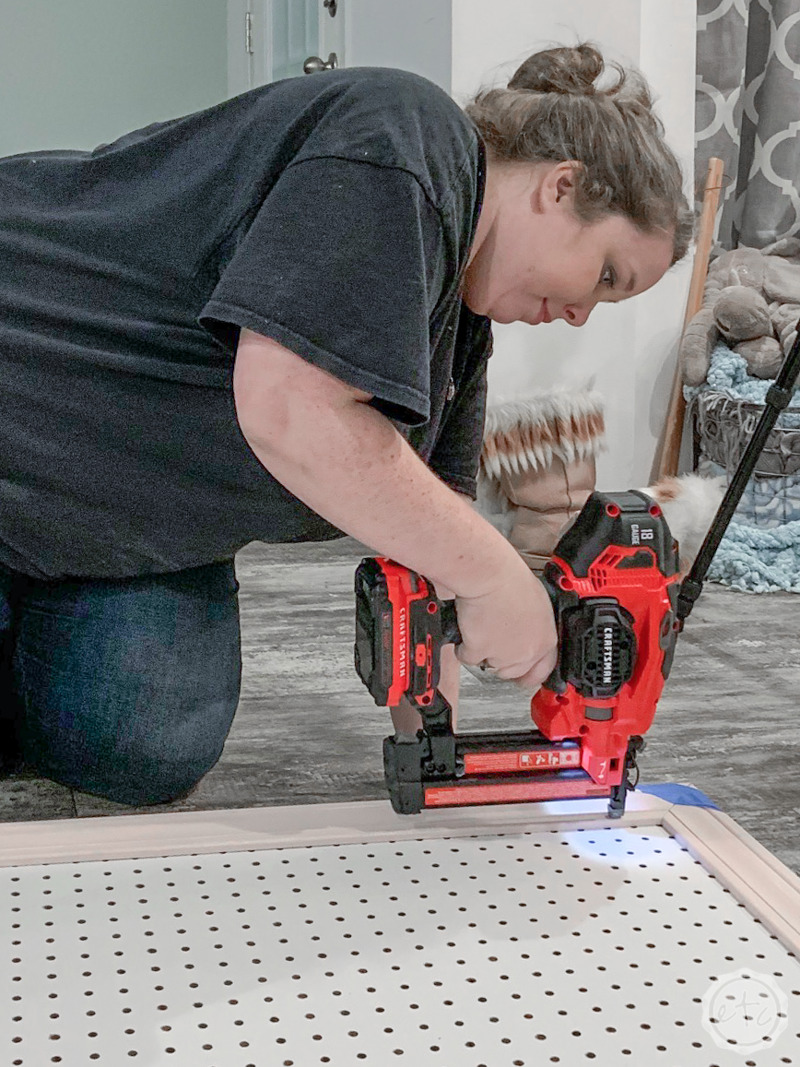
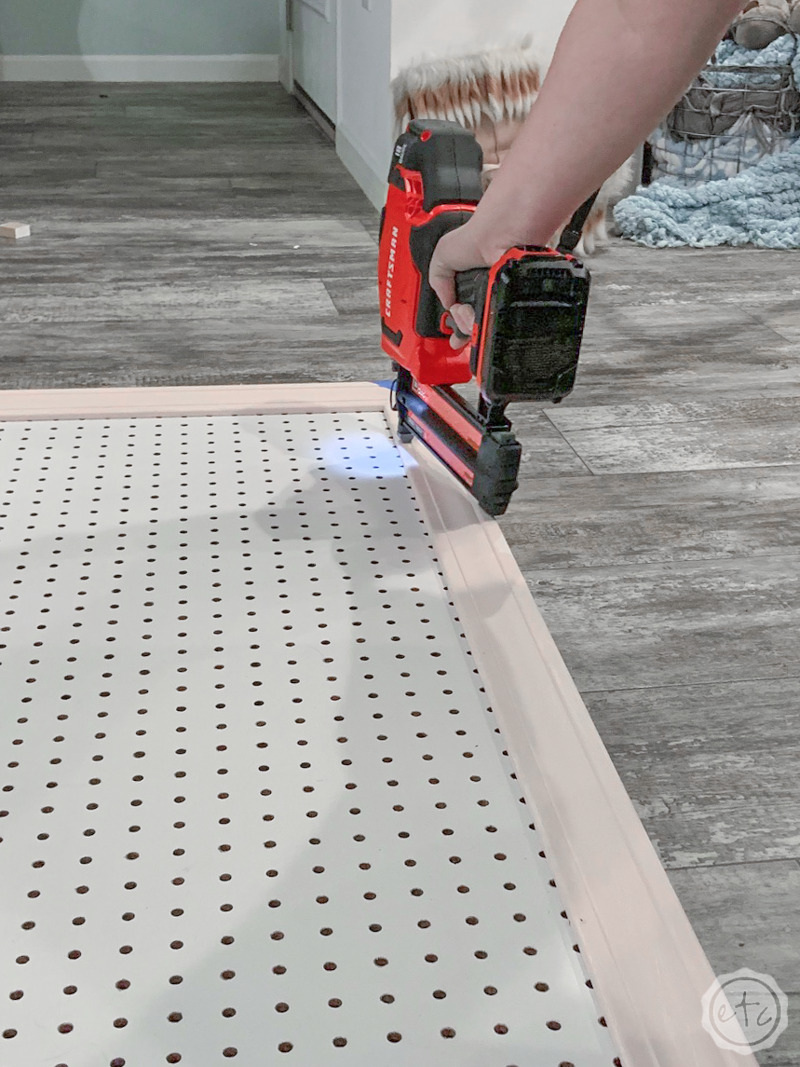
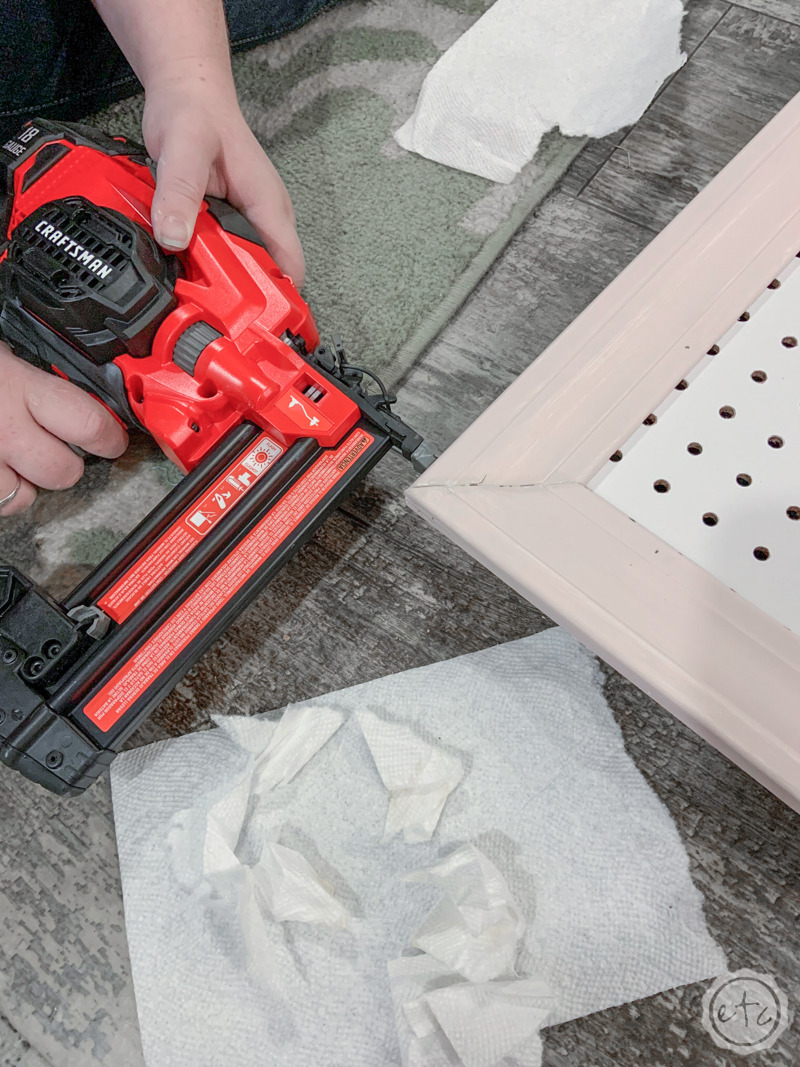
Start by placing your 4 foot base boards flush with the side of your pegboard… then shoot brad nails through the pegboard and into the side of the baseboard. Keep going allll the way down the side of your pegboard until that base board is installed… then do the baseboard on the opposite side.
Once both of the side pieces are on go ahead and line up the top and bottom baseboards (making sure they’re flush with the edge of the pegboard) then attach them in the exact same way. Brad nails through the pegboard and into the base board… perfect!
At this point you can move on to the next step or attach the baseboards together… your choice.
Step 3: Assemble your Frame
Ready to put the frame together?
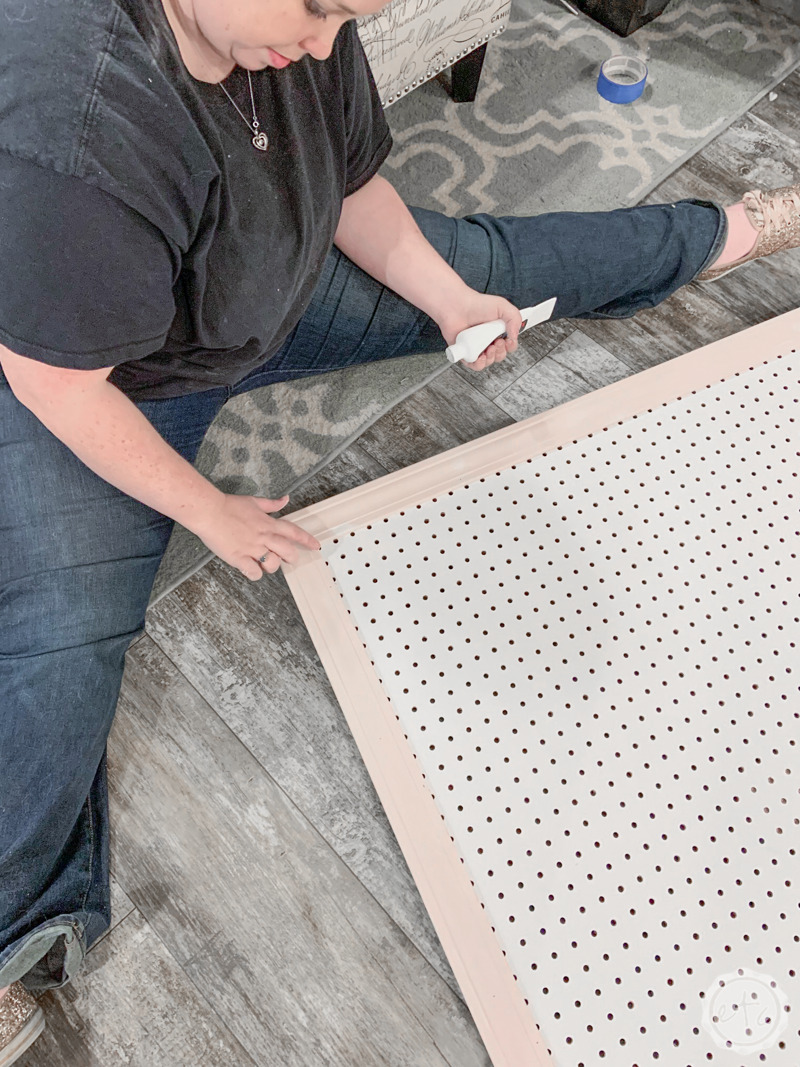
Unlike the baseboards we need all four sides of the frame to fit perfectly together. So we can’t attach them one at a time. Instead I used a bit of blue painters tape to securely fasten all four corners together… and therefore make my frame.
Once they were taped together I placed the frame on my pegboard and made sure everything was straight and square. Perfection!
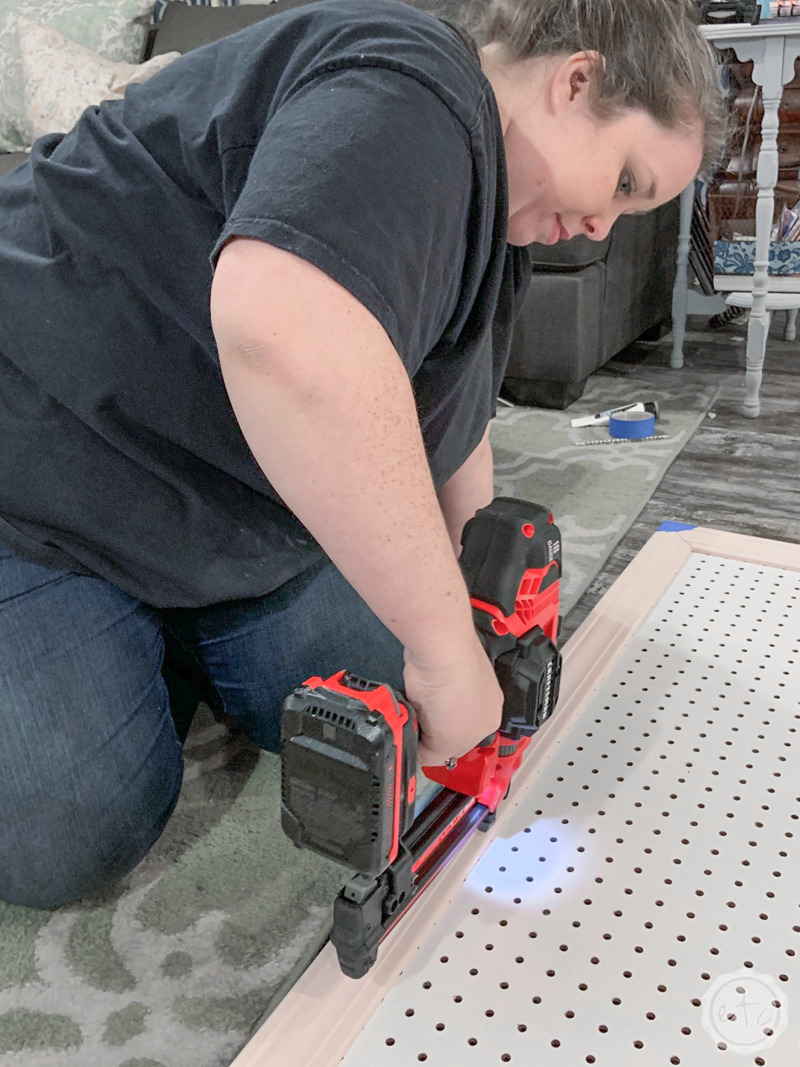
Once you’re sure you like how everything looks go ahead and secure everything with a few strategically placed brads. At least one on each side will hold everything together until you can work your way around the frame. In the meantime make sure to place your brads down in the ditch of your molding (so that they’re hidden as much as possible).
Work your way around the frame placing screws every 6 to 12 inches (remember… the more brads you use the more secure everything will be but the more spackle you’ll have to use).
Then take off the blue tape and you’re ready to do a little touch up!

Step 4: Touch Up any Imperfections
We are so close to done! Now that everything is attached let’s fill in all the gaps and brad nail spots.
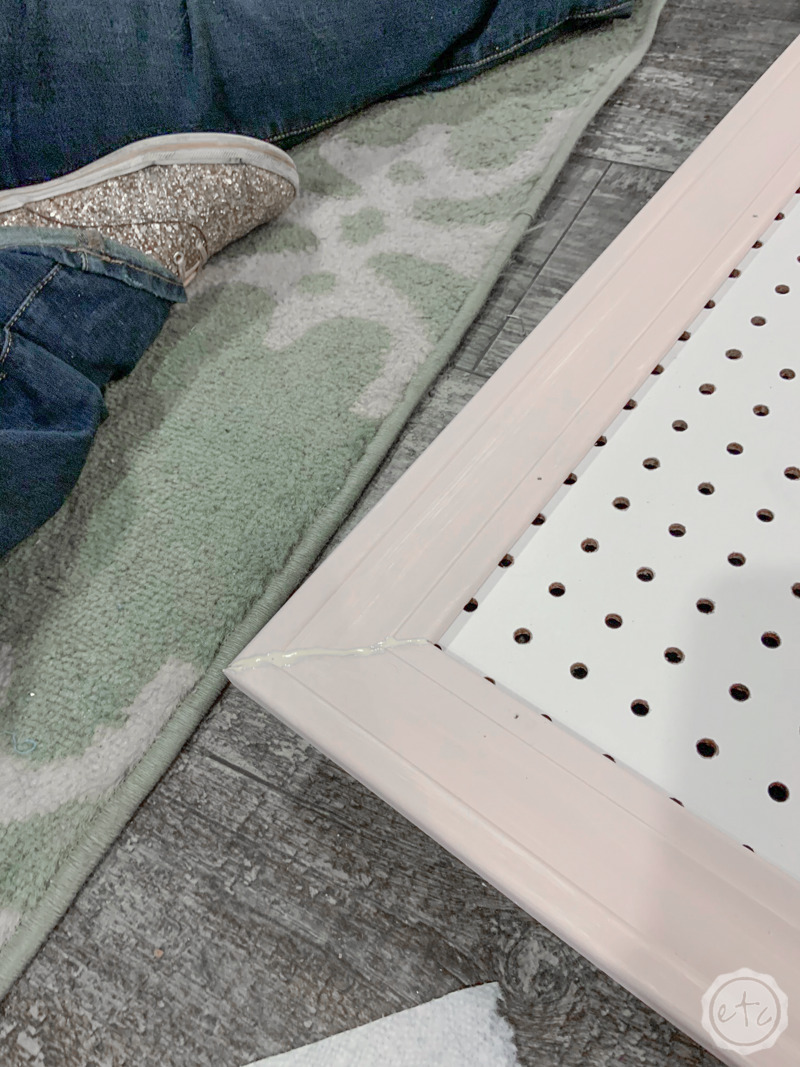
Starting with the corners! Even with our miter saw and the blue tape some of our corners need a little help. We’ll start by filling them in with wood glue and then shooting a brad nail through the side to hold everything together. You could also clamp this and wait for the wood glue to dry but the brad nails are small so I just went with it.
Just make sure not to place a brad nail close to the edge or the wood may crack.
Any wood glue that squeezes out of the top can be cleaned off with a wet rag… then leave the wood glue to dry. Once everything is dry you can use a bit of spackle to fill in any brad nail holes or gaps in the frame… once again let that dry and then do any touch up you need with a bit of paint.
Perfect! Let’s get this baby on the wall!
Step 5: Hang your Pegboard!
Let’s put this pegboard up on the wall… I can’t wait to get this baby organized! Of course, the most important part about putting this little baby up on the wall is that it’s sturdy. We don’t want it to come crashing down on all of our pretty Cricut machines later.
Not to mention all the pretty Cricut supplies falling off my pegboard!
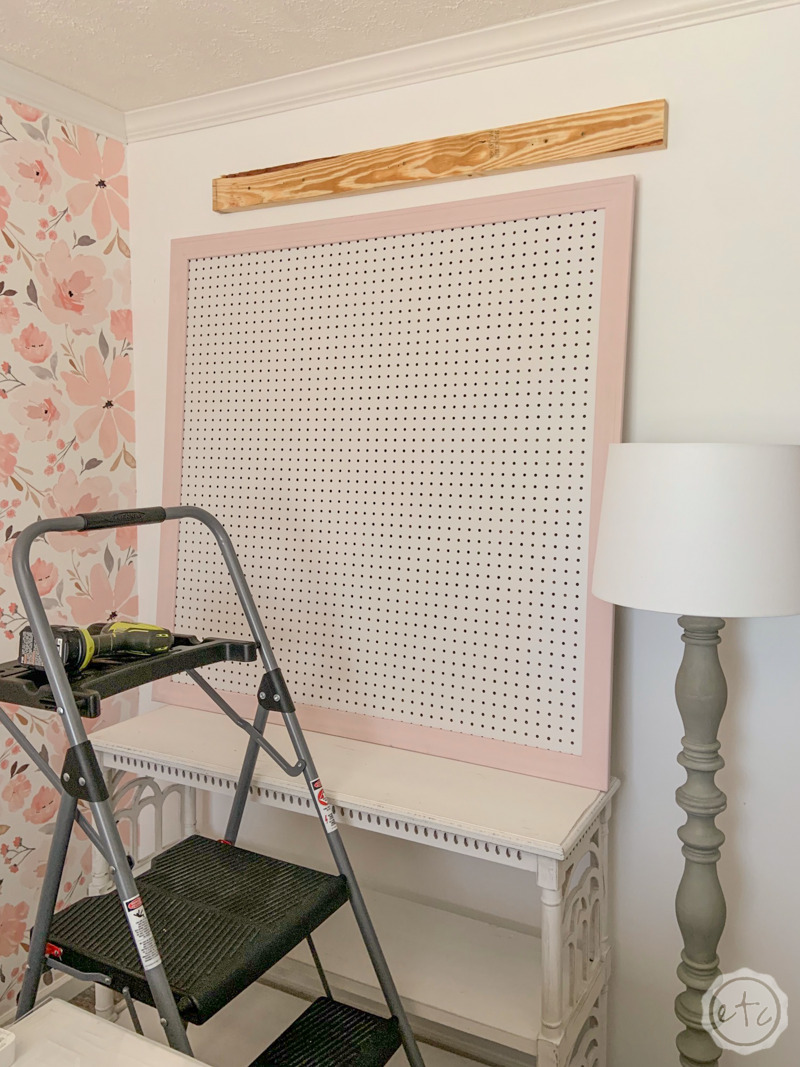
So we need to secure this baby right to the studs of our wall. So my first step was to decide how far above the Cricut shelf we needed to hang the pegboard. Once we decide on that we can check the wall for studs and use a level to screw our 2×4 directly in the studs of the wall.
I was able to screw my 2×4 directly into two studs… so it’s very strong. Super strong. Super duper strong. Ready to attach our pegboard to our 2×4?
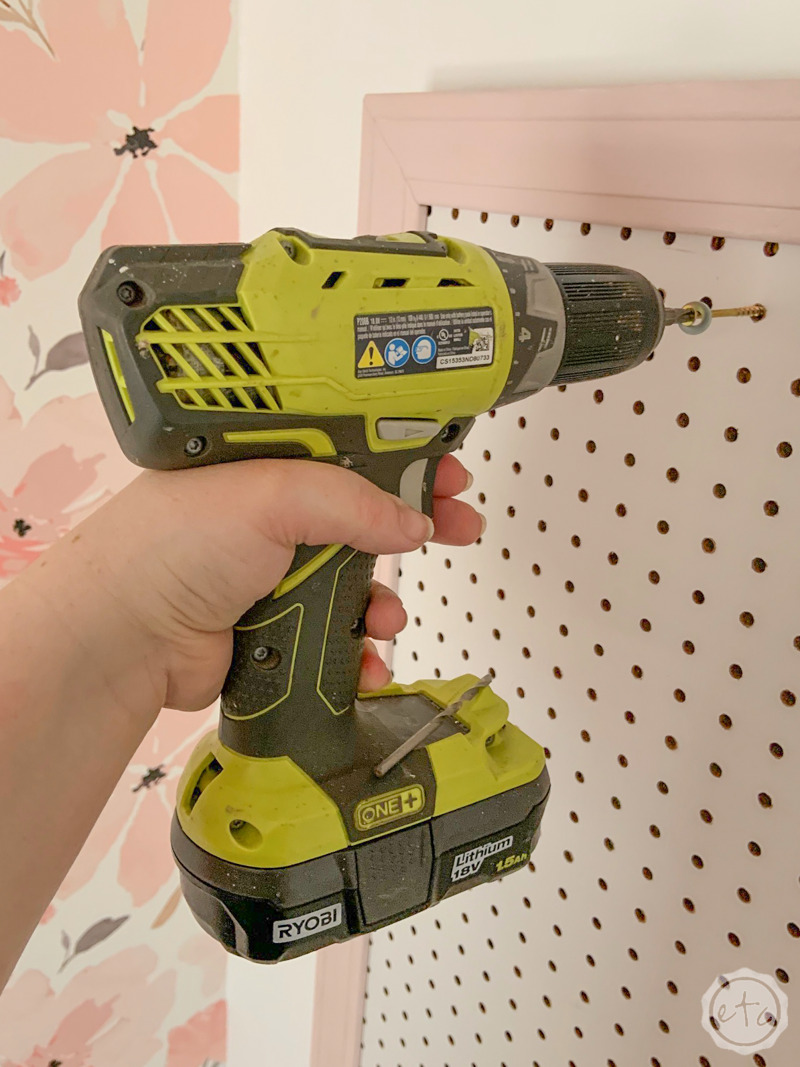
In order to do this we’re going to use a long screw directly through one of the holes in our pegboard… just make sure to use a washer on these screws as well. We don’t want the screw going right through the pegboard! I used 3 screws with washers along the top of the pegboard and called it a day.
Honestly I hated having to go through the front of my pretty pegboard for mounting but it was the strongest option and the washer/screw combination really isn’t that noticeable when all is said and done.
Step 6: Enjoy
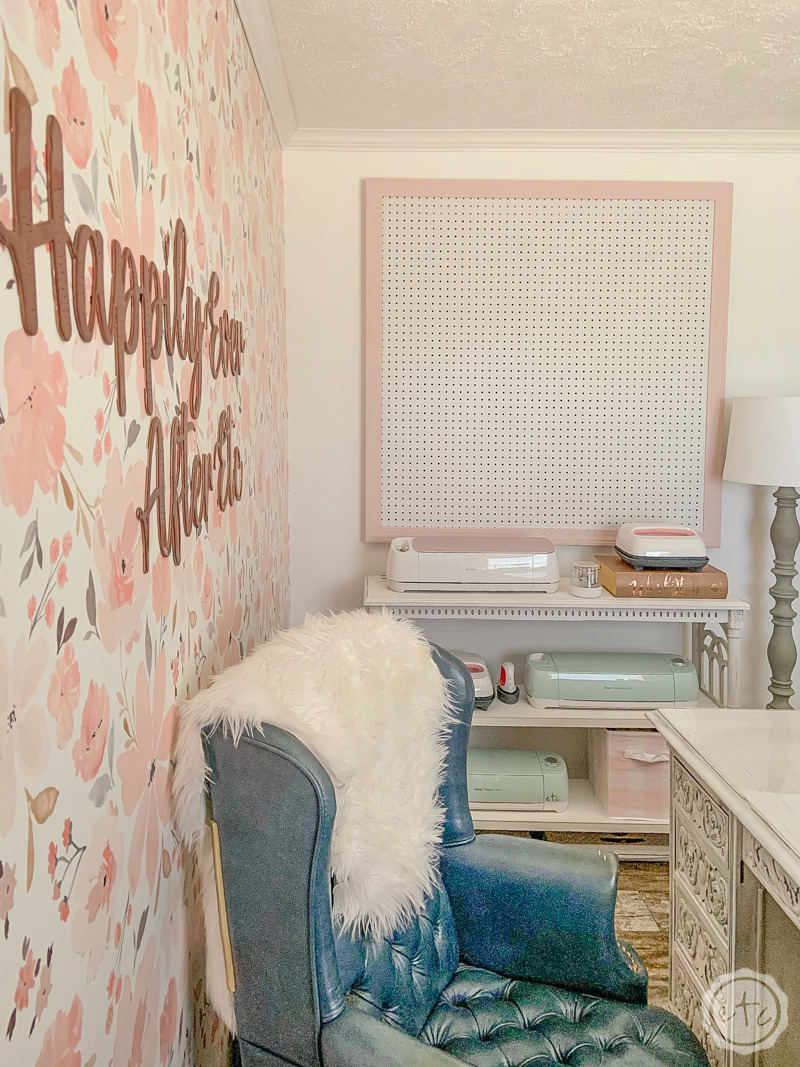
Ready for the pretty finish shots? I love, love, love how it turned out! It’s so pretty! PLUS it gives me the perfect place to organize all my cricut tools and other craft supplies that I reach for on a regular basis.
I’ll be organizing the entire pegboard soon so stay tuned if you want to see how I’ve organized it… in the meantime here’s a few pictures of how it looks in the rest of the room.
Enjoy!
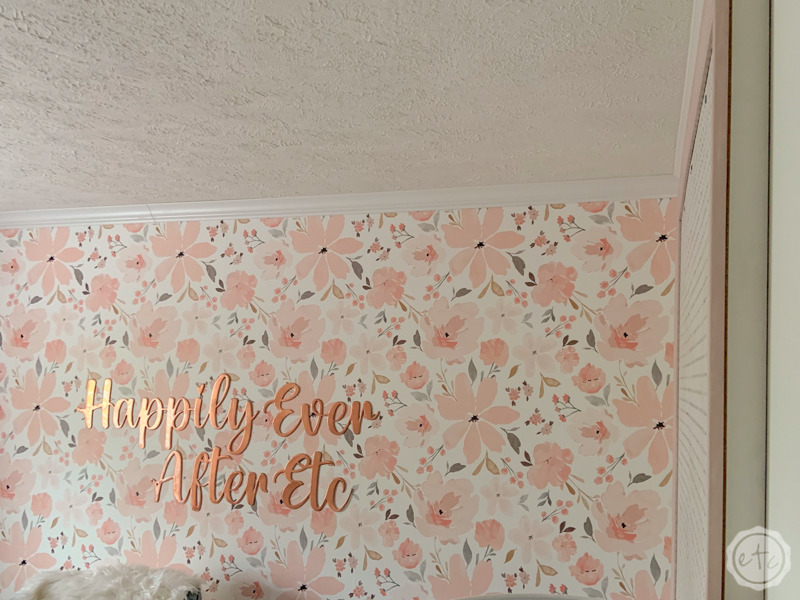
And if you’re looking at the rest of the room you can find my how to hang wallpaper tutorial here… and all the information on my custom resin logo (that I cut out with my Cricut!) right here. Last but not least you can find all the information on my sweet little cricut storage shelf here.
Now enjoy!


Leave a Reply