

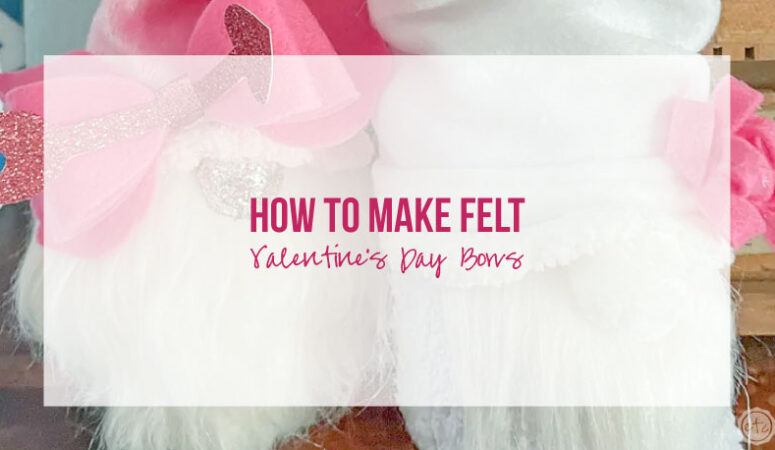
I LOVE felt bows! They’re easy to make (whether you’re using a Cricut or cutting them out by hand) and you can make them in so many different varieties! Christmas, Valentine’s Day, Back to School… the list is endless. And while I know most of you use the bow cut files in my ultimate bow collection for your kiddos (or grandkiddos!) I still love to make mine for my little no-sew gnomes.
Gnomes need to be cute too!
Of course, whether you’re putting one of these felt hair bows in a pony tail, on a headband or gracing the hat brim of an adorable gnome the steps are all the same.
Ready to get started?
Supplies:
- Cricut Maker
- Rotary Blade
- Fabric Grip Mat
- Felt
- Faux Leather with Glitter
- Hot Glue/Hot Glue Gun
- Ultimate Bow Collection Files (Heart & Cupid Bows)
- Cricut Access
- Brayer
Step 1: Prep Design Files in Cricut Design Space
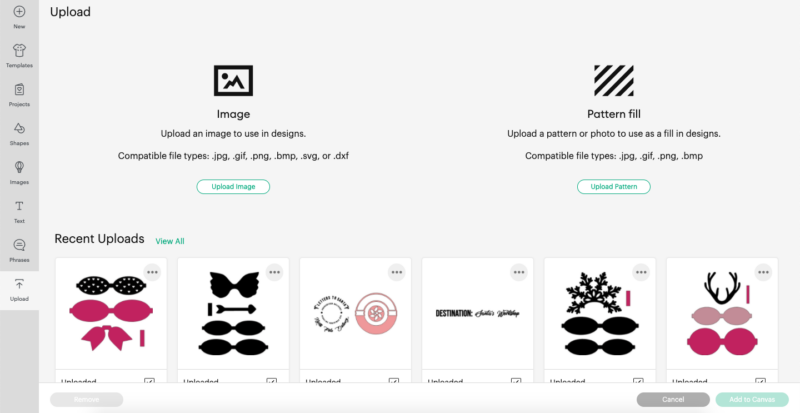
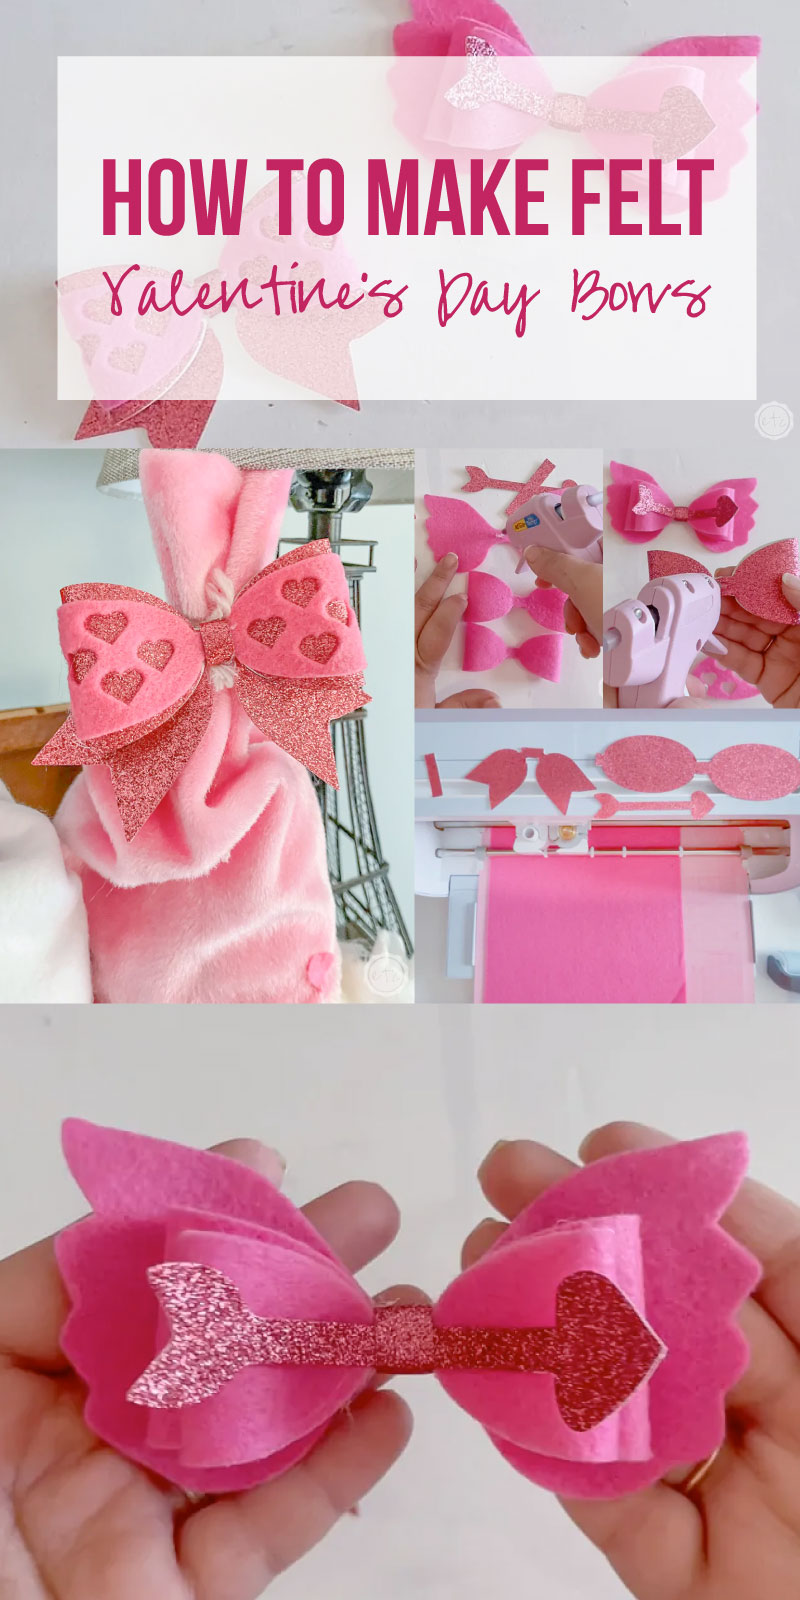
Since our design files are downloaded SVG’s we’ll need to upload them to Cricut Design Space to get started. (If you’re not sure how to upload an SVG to Cricut Design Space you can follow my tutorial here.) Go ahead and upload them and then place them on a brand new Canvas. I like to start a new project for each set of bows I make so that I can name them accordingly but you could always have one large project for alllll of the felt bows you’re going to make.
That part is personal preference!
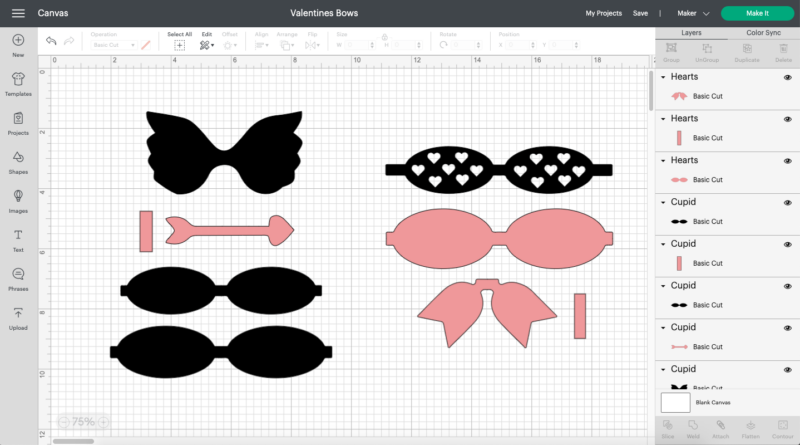
Once the files are uploaded you have a few options. In this case the heart bow is already set up for 2 colors (because the hearts stand out best if they’re over a completely different color felt) but I decided to make my cupid bow two-toned as well. For this project I selected the little arrow and the small rectangular strip (that will eventually be the small wrap that goes around the entire bow) and made them the light pink color as well.
This means that allllllll the items in black will cut out of one material on one cutting mat and allllll the pink items will cut out of a different material on a different cutting mat. I’m using a pink felt and a pink glitter leather for my bows but you could easily use dark pink and light pink felt if felt is your material of choice.
Since we don’t need our pieces to cut out in groups I went ahead and un-attached everything at this point. This means that Cricut will put alll the pink items on one mat and all the black items on another mat in the best places to use the least amount of material. As opposed to however you have them placed on the cutting mat.
Since I wanted large bows I’m ready to hit “make it” at this point… but if you want smaller bows go ahead and re-size your cut files now. Then we’ll move on to the next step.
BONUS TIP: Not sure how to upload an SVG to Cricut Design Space? Don’t worry! I’ve got you covered! Check out this “How to Upload SVG’s to Cricut Design Space” tutorial for step by step instructions.
Step 2: Cut your Design Files
Ready for the fun part?! Cutting everything out!
For this project I’m using felt and a faux glitter leather. This is the same glitter leather I’ve used in the past (remember the antler & snowflake bows for Christmas?) and swore I would never cut with my Cricut again!
Well amnesia and all that.
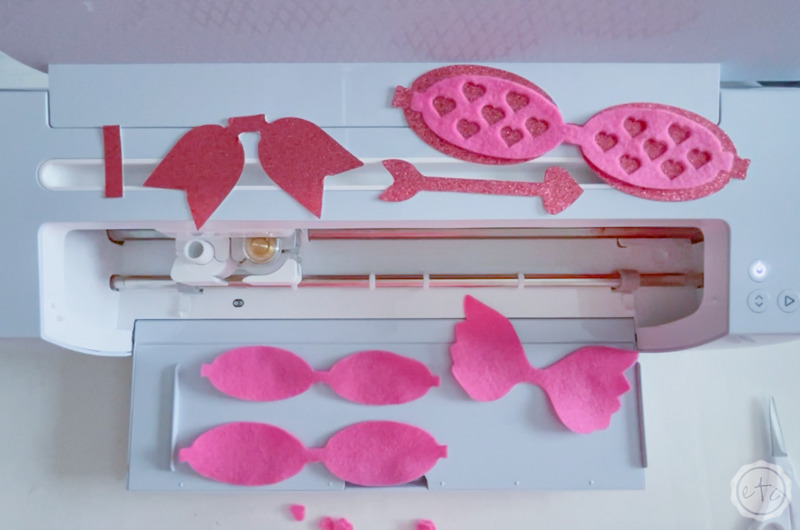
Basically I decided to try cutting larger items with more straight forward shapes out of the glitter leather (instead of the small intricate snowflakes) and it worked perfectly! I selected Felt, acrylic fabric (since it uses the rotary blade) and turned the pressure all the way up in the material settings. Then I selected more pressure before hitting go.
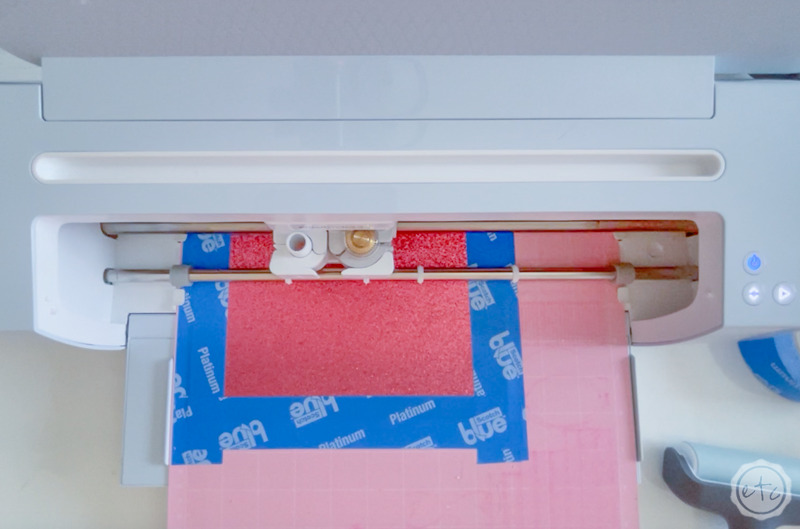
I also secured the glitter leather to a fabric grip mat with my brayer and a bit of painters tape (kind of like how I would cut basswood) and it held up much better.
Instead of shifting allllll over the mat and cutting funky it worked perfectly!
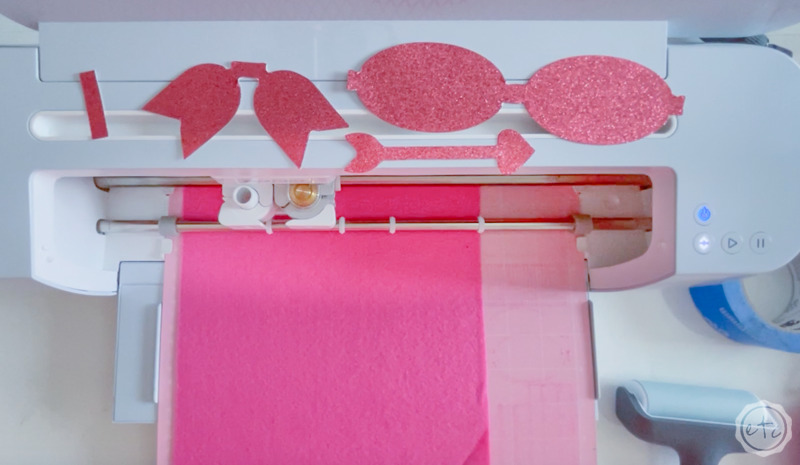
Once the glitter leather was cut out it was easy sailing to cut the actual felt. I selected the same Felt, acrylic felt setting, selected more pressure and then put my felt on my fabric cutting mat with my brayer… although I did skip the painters tape this time.
Volia! Perfect!

Step 3: Assemble the Cupid Arrow Bow
Ready to put these babies together? The general concept of assembling a felt bow is the same across the board… but there are a few differences between the cupid arrow bow and the heart bow so let’s do the cupid arrow bow first (which is assembled in a standard way) and then we’ll put the heart bow together down below.
Start by firing up the hot glue!
We’ll need it for both bows.
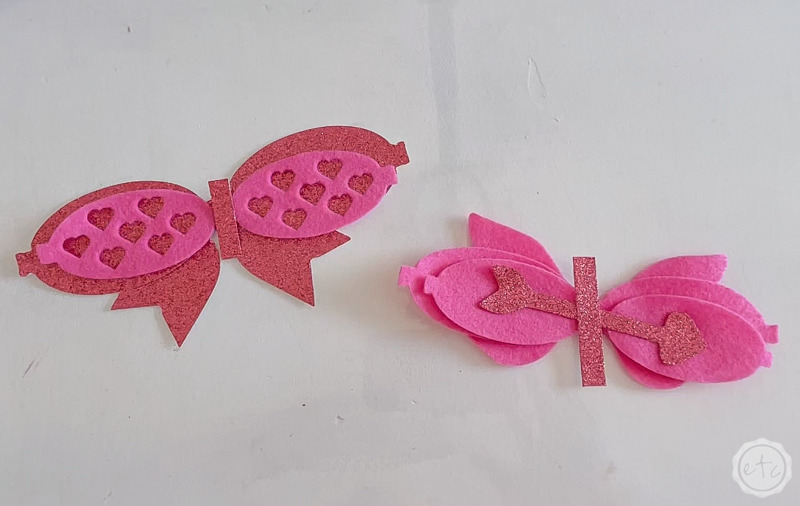
Our cupid bow has 5 pieces: the back layer which looks like wings, two bow layers, an arrow and the wrap which goes around everything.
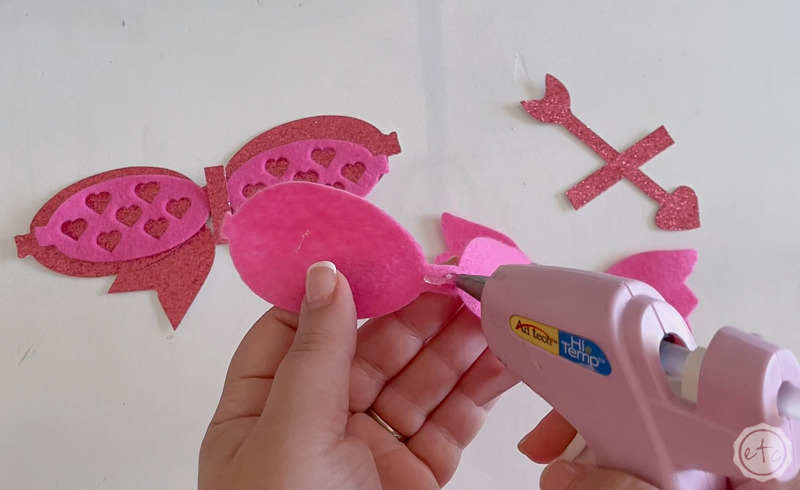
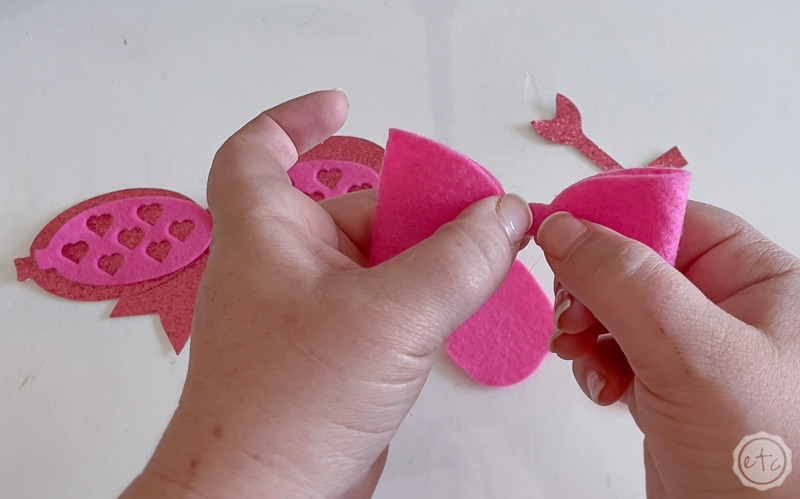
We’ll start by hot gluing the bow layers into… bows!
For this you’ll add a bit of hot glue to the center of the bow. Then fold in both sides of the felt bow until they meet in the middle. When you’re happy with the bow shape and everything looks symmetrical go ahead and press firmly until the glue is dry. Perfect!
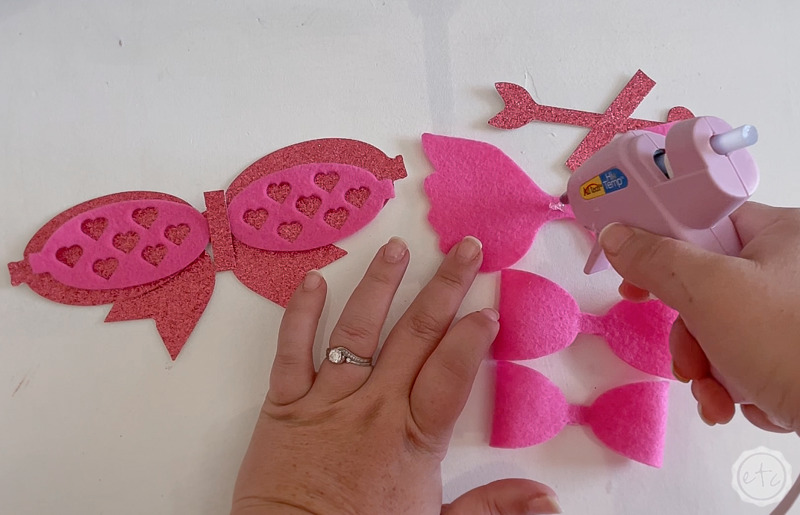
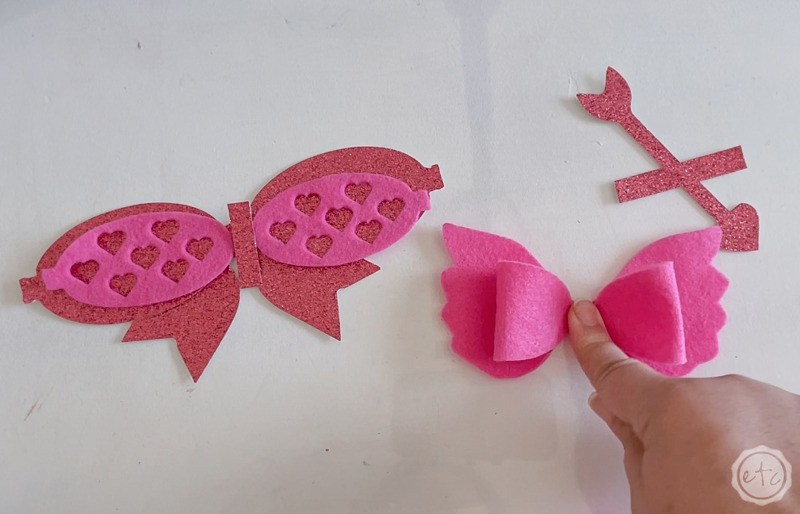
Now that our bow layers are done let’s assemble alllllll the layers. Start in the back with the wing layer and add a bit of hot glue to the center… then press the larger bow layer onto the wing layer.
Once the glue has dried we’ll repeat the process by placing a dab of hot glue onto the center of the larger glue… and then pressing the smaller bow on top.
We’re making a stack here!
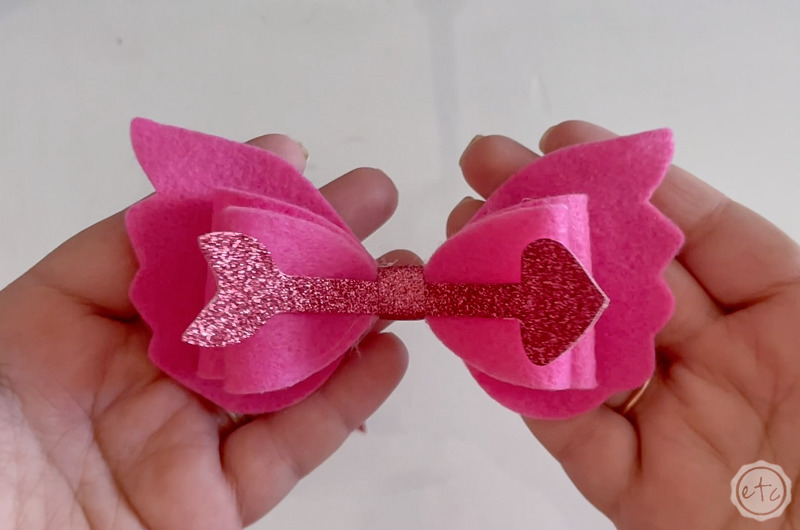
Which means… the next layer in the stack is exactly the same. One last dab of hot glue onto the smaller bow and then add your arrow across the front. Make sure the arrow is centered and push it down! Volia!
A felt stack!
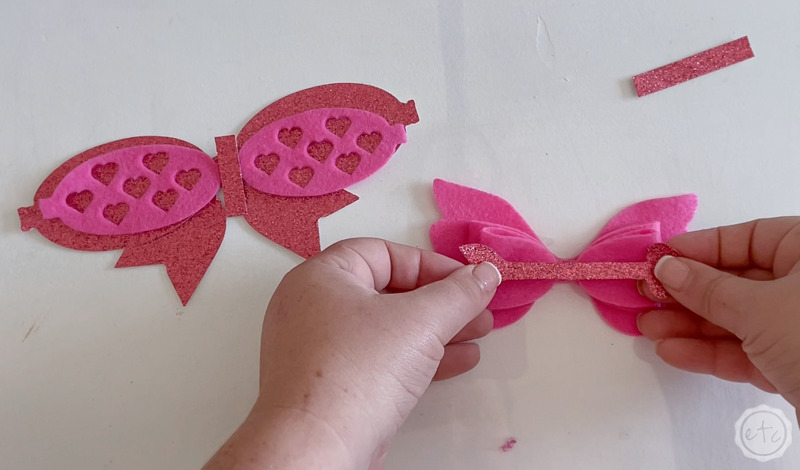
At this point our bow is basically done… but we’re going to finish it off with a wrap. Which is what the skinny rectangular piece of the puzzle is for. Go ahead and glue the rectangle to the BACK of the stack. Make sure the glitter side is facing up so that it’s visible when you wrap it around the front and glue it in place.
If you want to add a barrette, hair tie or headband this is the time… the whole stack directly to your hair piece of choice.
Just a quick note… if you’re doing something large like a headband the rectangle we pre-cut won’t be big enough (it’s sized to wrap around itself and can accommodate small items like a bobby pin but a headband would be too big). Instead cut a larger rectangle to re-place your smaller one (you don’t need to use your cricut for this… just use a paper cutter or scissors).
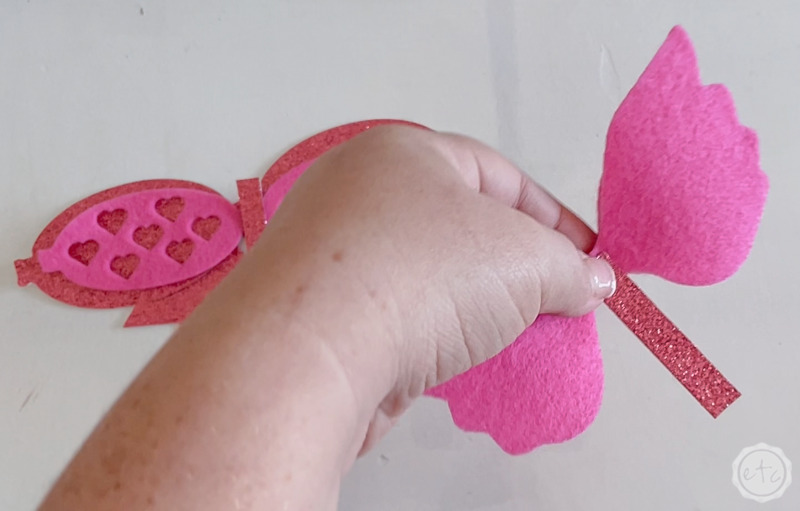
Once your stack is finished wrap the rectangular piece allllll the way around and secure it to the back of the bow with more hot glue! Perfect!
If you have any extra length left you can cut it off.
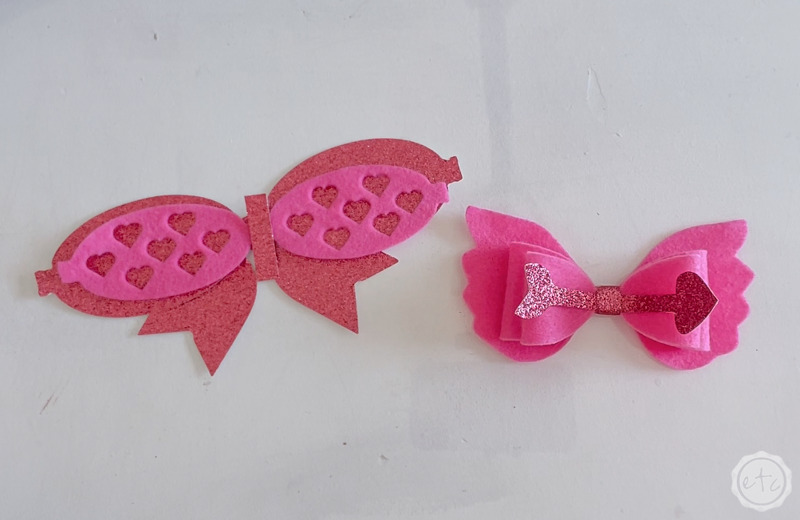
Step 4: Assemble the Heart Bow
Ready for our second bow?
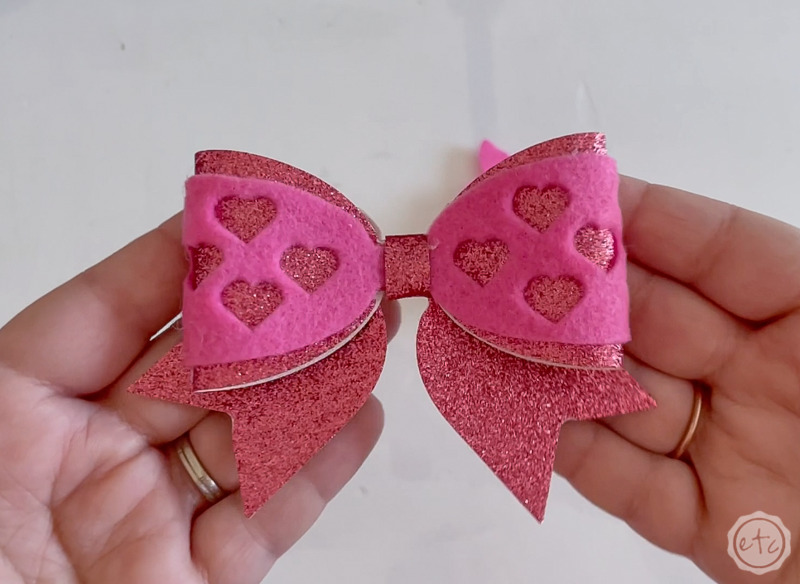
The process here is similar but not identical… we’re going to do the same steps but in a different order. Start by gluing the large glitter bow into a bow!
Place a dab of hot glue on the back and then glue both sides into the middle. Perfect!

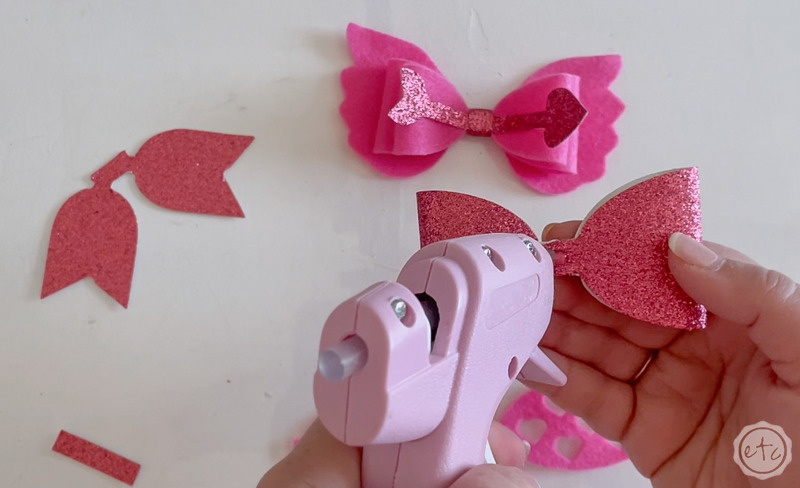
Now we’re cooking with gas!
But instead of making both of our loops independently (like with the first bow) we want the pink glitter of the larger loops to show through the heart cut-outs in the smaller loops.
So take your large bow loops and glue the smaller loops directly onto the center (without forming the smaller bow first… make sure it’s still flat!). Then add a dab of glue to the back center of the large loops and add your bow end piece to it.
Make sure the pretty side is facing front!
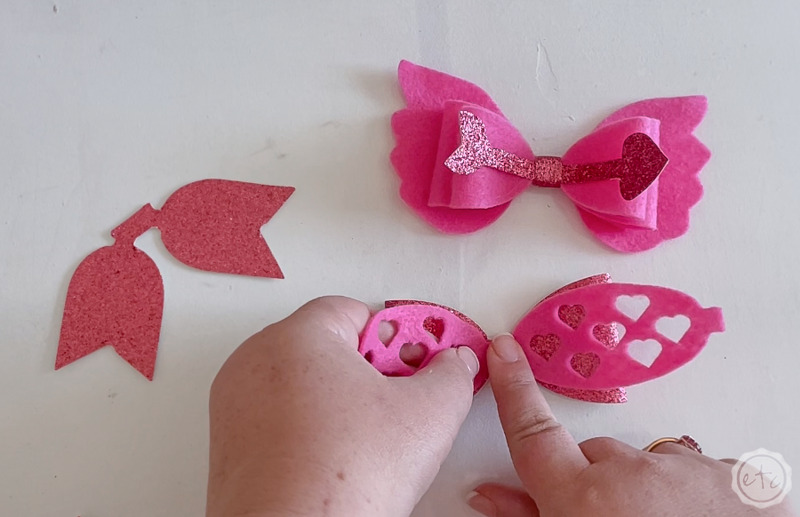
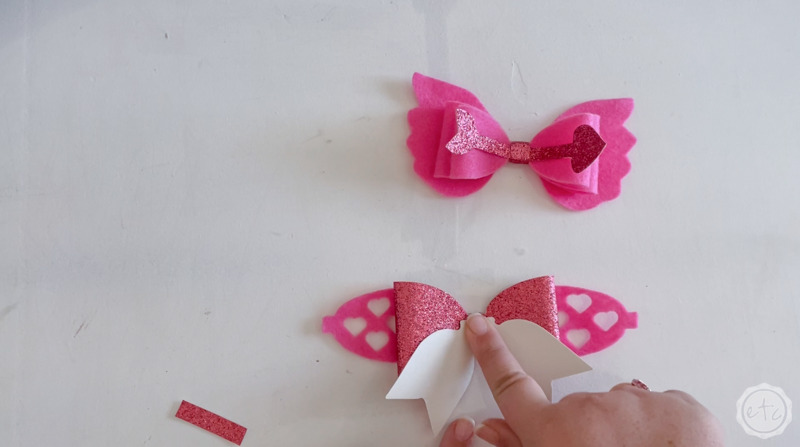
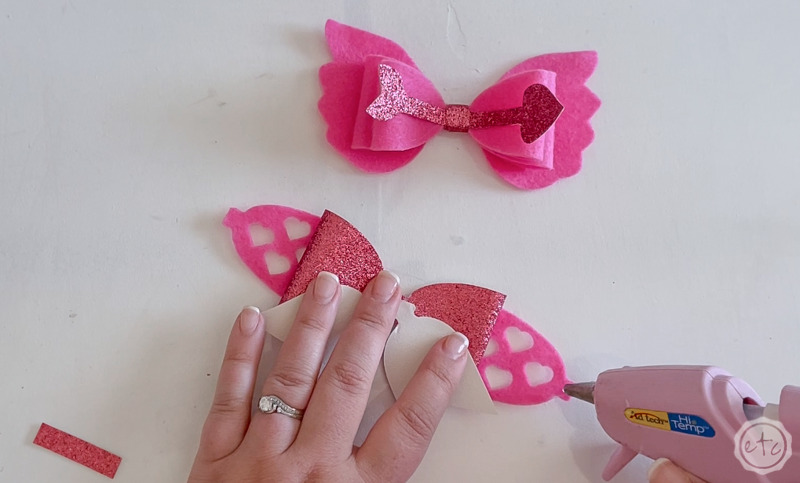
Almost done… we need to close those small bow loops. They’re not quite long enough to pull all the way to the middle of the bow loops (in the back) but that’s ok. Add a dab of hot glue to the notched side of the smaller loop and glue it as far as it will reach along the backside of the coresponding larger loop. The bow ends will hide it once everything is done and you’ll still have a pretty bow.
Easy peezy!
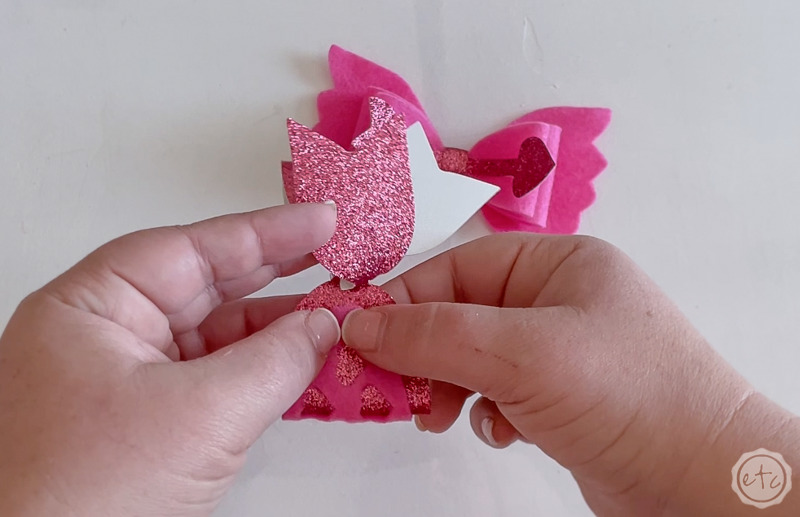
Glue both sides and volia! Two bow loops and the bow ends! All that’s left is the wrap which works in the same way as the first bow… glue it to the back, wrap it around and glue it in place!
Make sure to add in your hair band, barrette or headband before you glue the wrap in the back and you’re good to go!
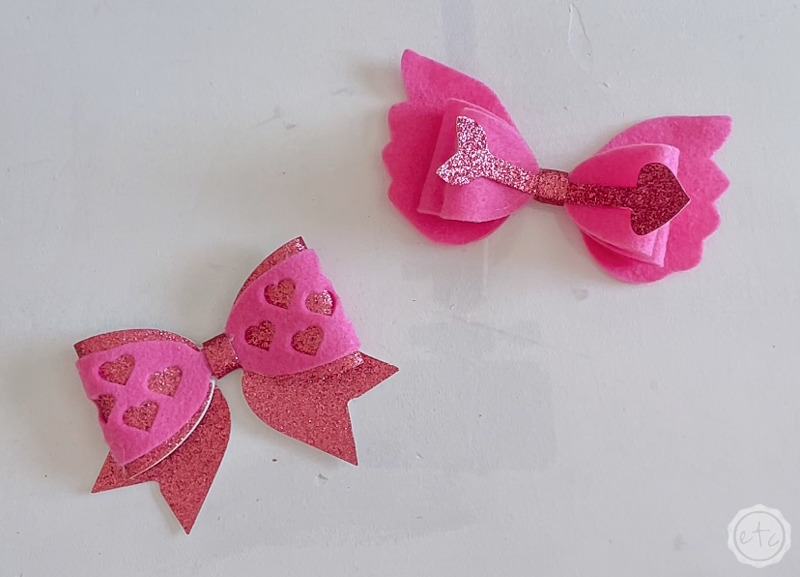
Adorable Valentine’s Day bows with your Cricut!

Step 5: Enjoy!
While these felt bows are super cute for little girls (can you imagine two heart bows on space buns?!) I have no small children to put these on… and they’d last two seconds on my dogs. In fact, I’m fairly sure my dogs would just mistake them for the felt dog toys I made them last year…
But that’s another story.
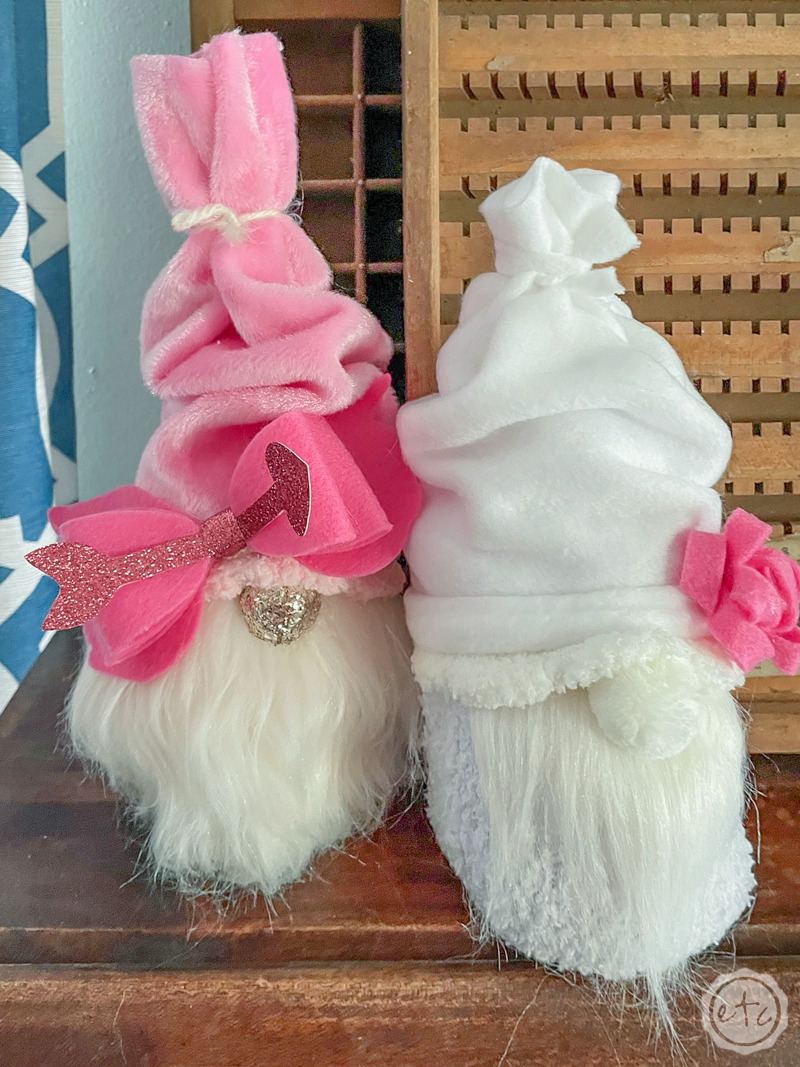
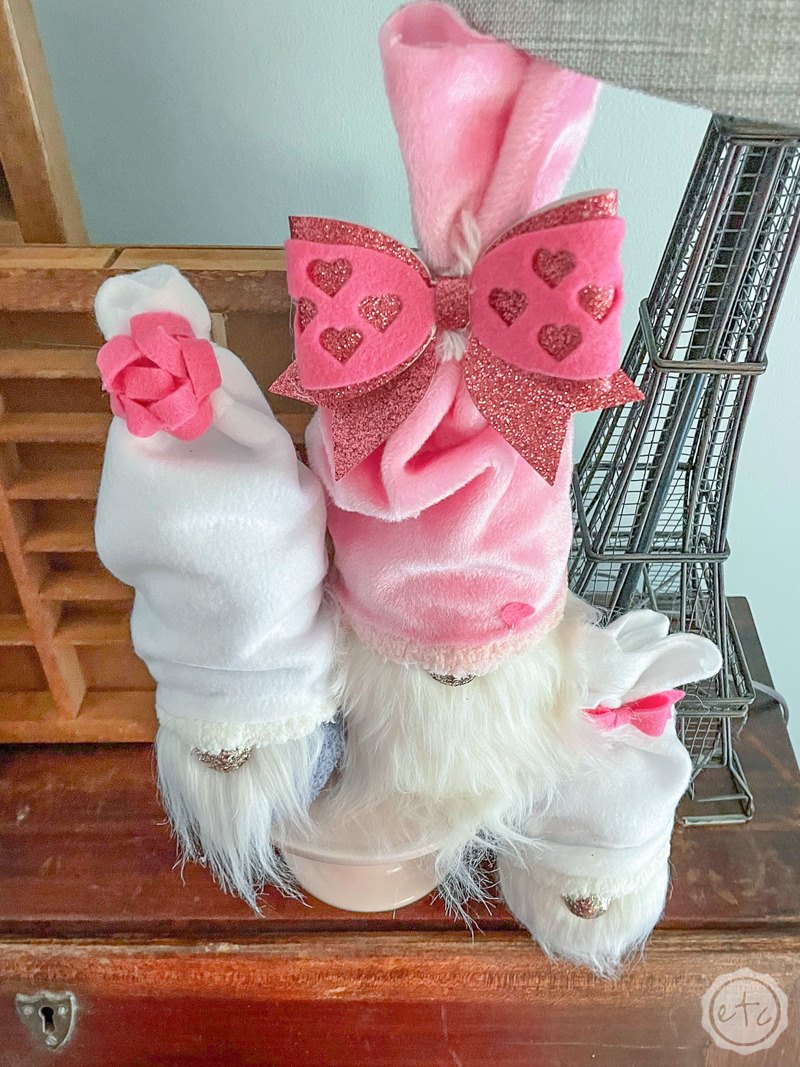
Instead I used mine for a set of adorable no-sew Valentine’s Day gnomes!
The dogs will just have to be jealous!





Leave a Reply