
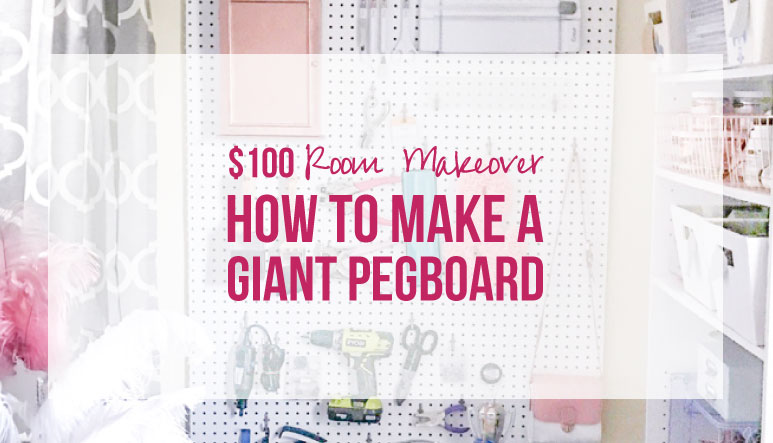

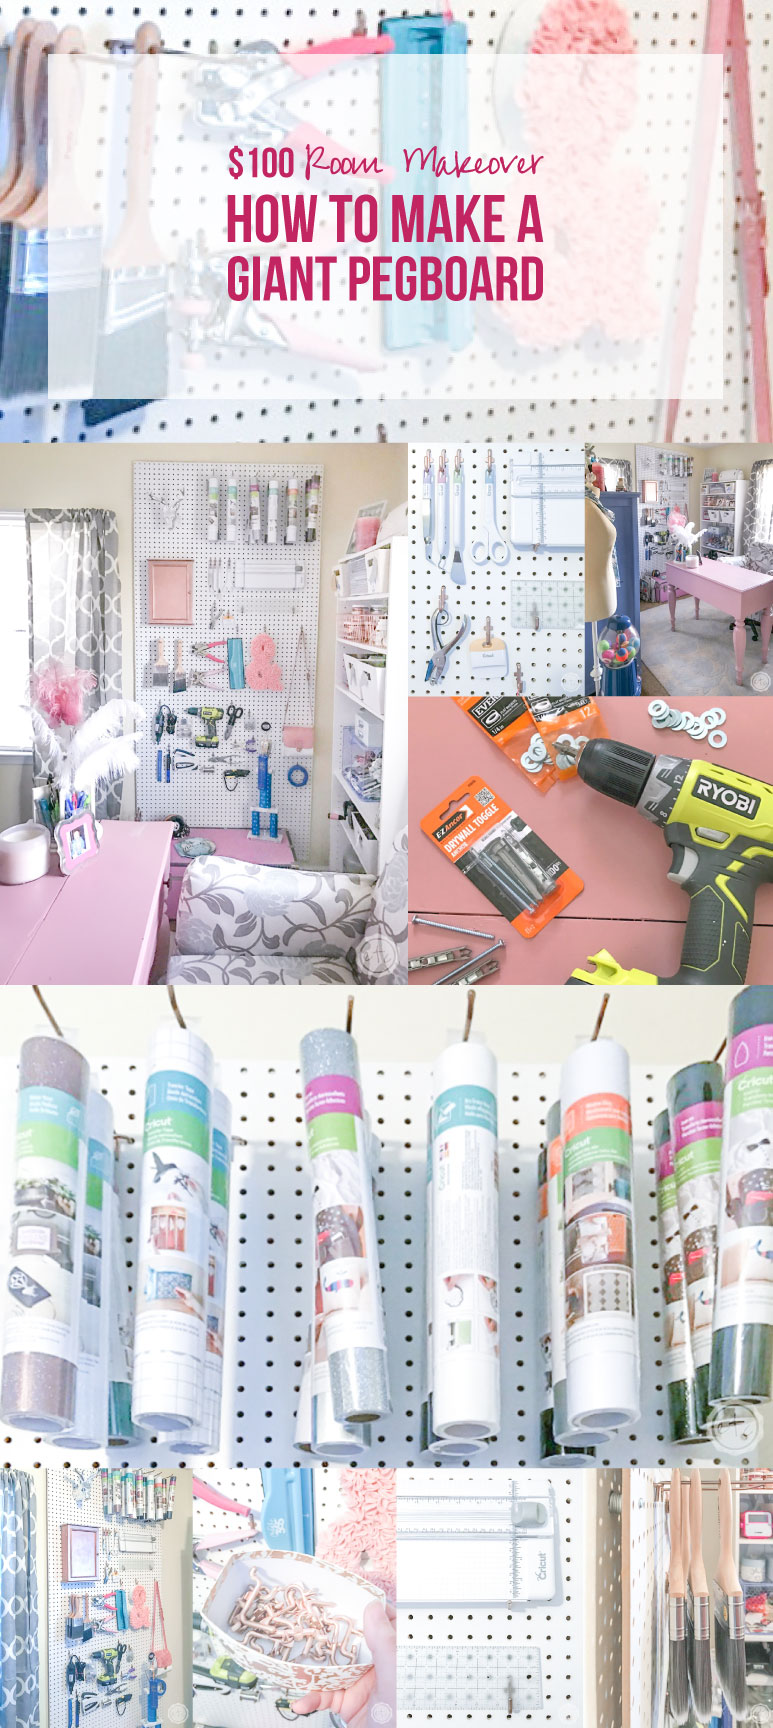
After three weeks of steady working on our Craft Room Makeover it’s finally time for our biggest, most creative project. And the best part is that with just a fifteen dollar investment at our local hardware store I’m finally sharing exactly how to make a giant pegboard.
The hubby and I picked up our giant pegboard at Marvins… it’s four feet wide by eight feet tall and took 2 guys (the Marvins loading dude and the hubster) to tie it to the top of our SUV. I thought about purchasing a smaller pegboard and adding a pretty frame but in the end the need for space won out and I decided to go with a tall pegboard that would really carry the eye allllll the way up to the ceiling.
It’s a small space so anything that makes the space seem bigger is a good thing.
Of course, the pegboard we brought home was just a tad bit too big so the first thing we did was take this bad boy outside and shave a bit off the sides. We cut our pegboard down to 7 feet 4 inches tall and 3 feet 4 inches wide.
Looking for a bunch of posts on organization & planning? I’ve got you covered! Click here to see all of my organization & planning posts in one place!


Supplies:
Large Pegboard
Powerdrill
Drywall Anchors
Washers
Pegboard hooks
Rose Gold Spray Paint
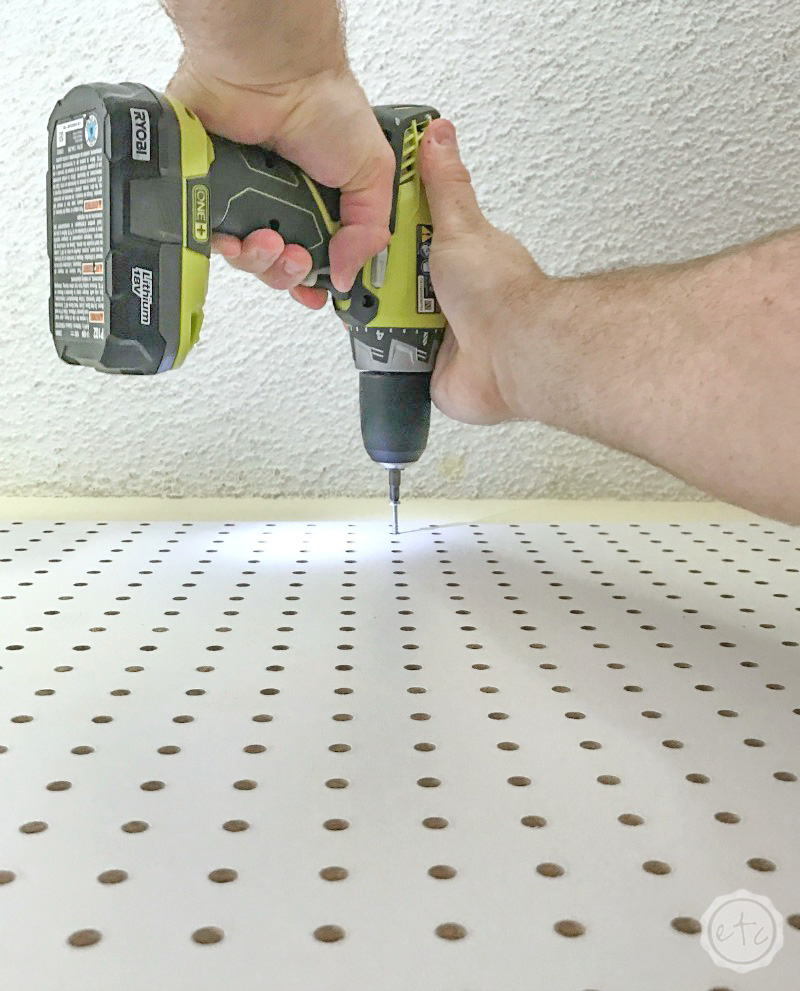
The next step is to actually hang this guy on the wall!
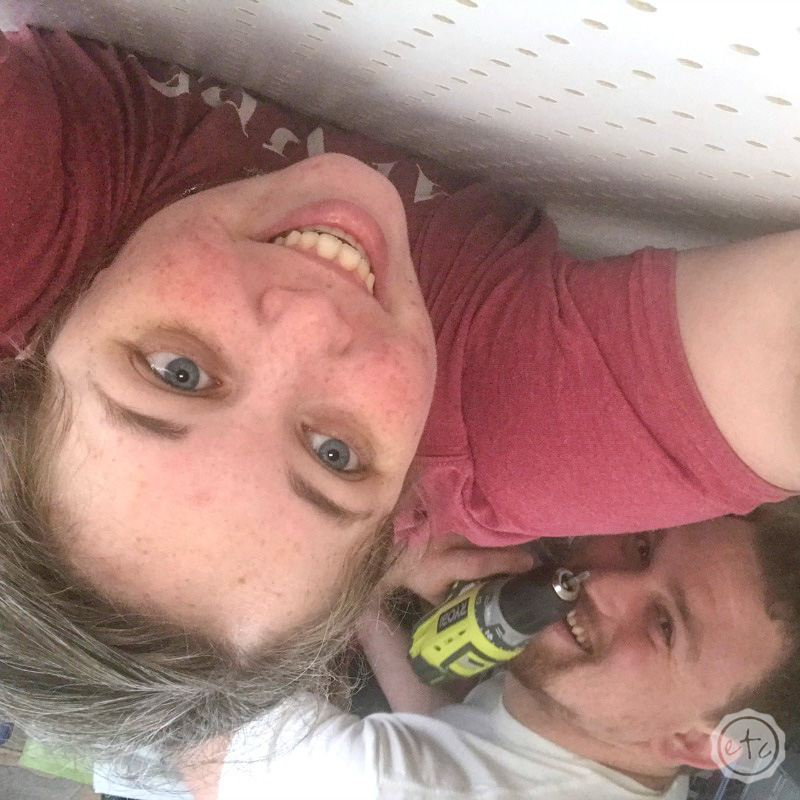
The hubby and I double teamed it… starting with holding the pegboard in place while the hubby drilled starter holes for all 7 drywall anchors. Now a normal person would use a drill bit but we seem to have misplaced all of ours so the hubby used his favorite hack: a slightly smaller screw. *wink wink*
As you can see from the photo this whole process put the two of us in close quarters… holding the pegboard put me right up against the wall while the hubbs moved around to drill the starter holes. Of course, the hubby loves his Ryobi power drill so there was no chance he would switch positions and hold the heavy pegboard while I drilled the holes!

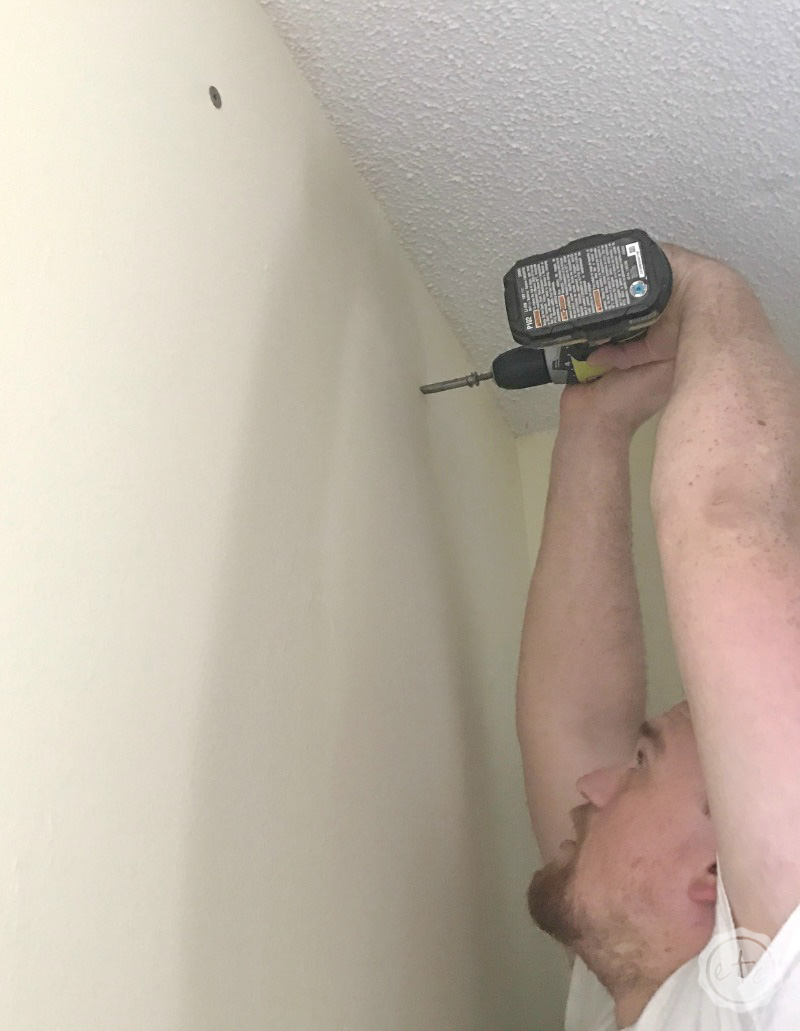
Once the starter holes were all drilled we moved the pegboard to the side and secured the drywall anchors into the wall. These specific anchors are pretty heavy duty since the pegboard we’re hanging is rather large… and I definitely will be hanging LOTS of supplies on it!
Now it’s time to actually hang the pegboard! Of course there’s a little trick… we have to hang the pegboard far enough away from the wall that the pegs can actually slide behind the pegboard and hold securely to the board. We placed a few washers (12 of the little 1/4 inchers to be specific) in-between the pegboard and the wall. Perfect solution!
This little guy is perfectly secure while allowing each peg to slide into place.
Score!
Now all that’s left to do is organize the entire board!
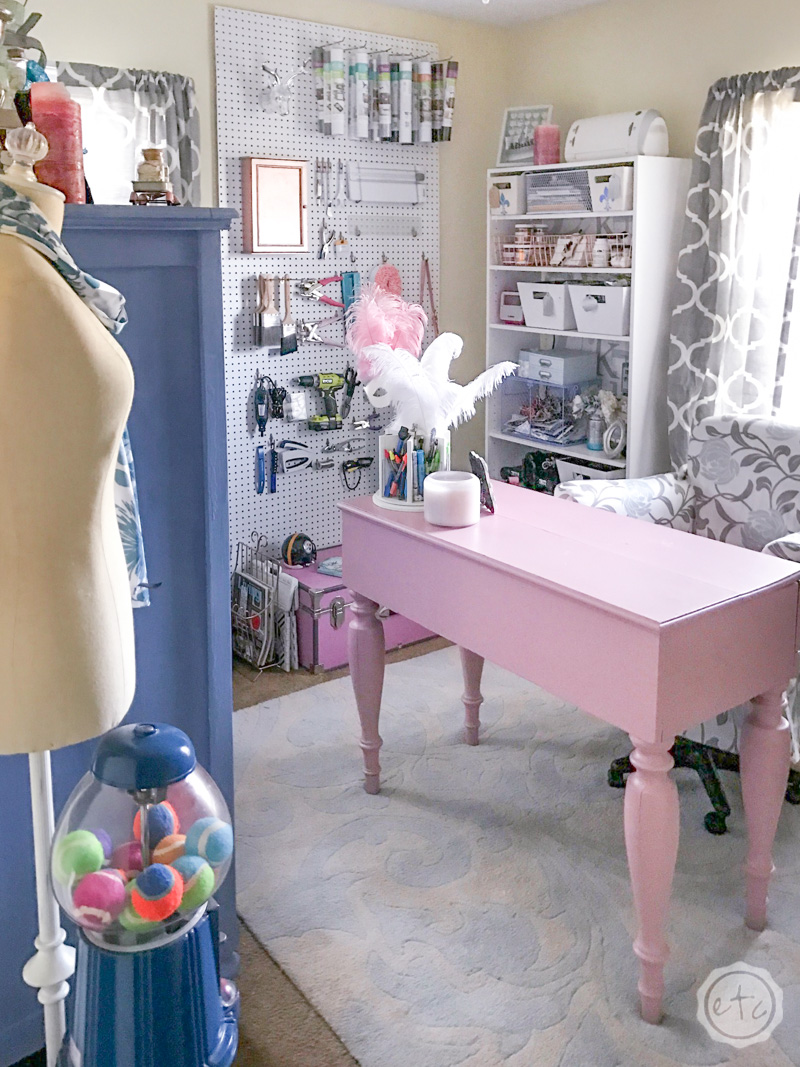
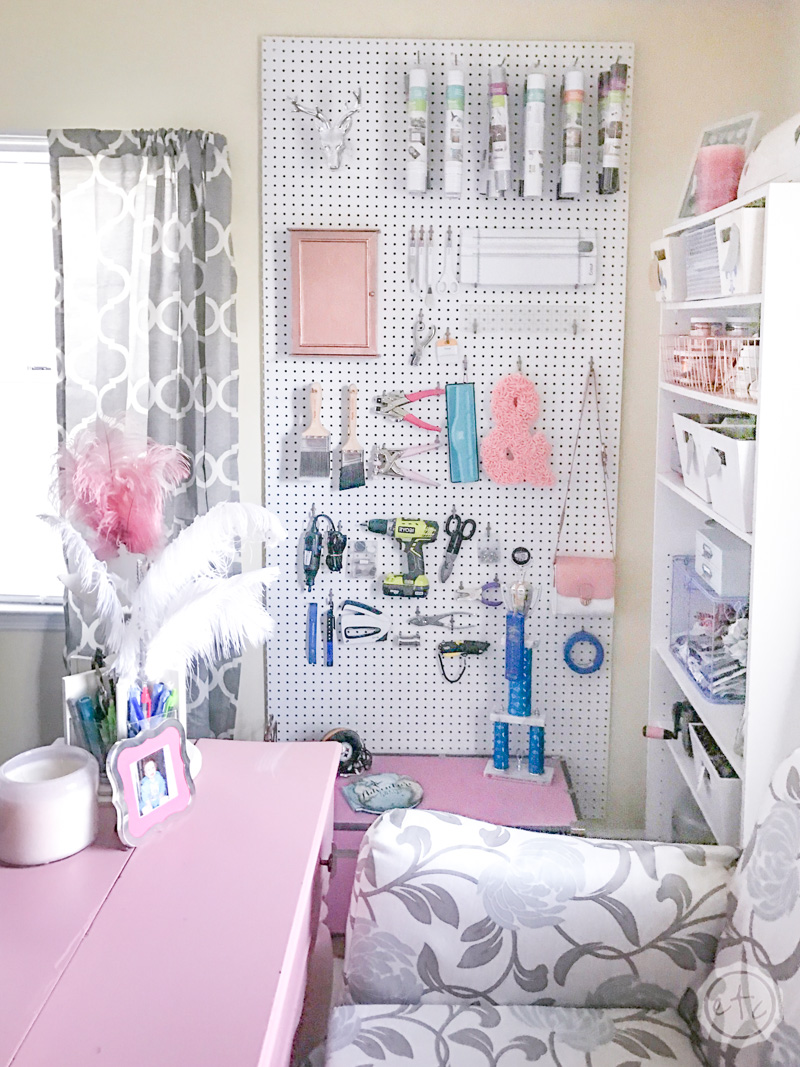
Now that the pegboard is hung there’s only one little detail left… I took a can of rose gold spray paint and hit each and every peg so that I had a nice rose gold pop! It’s kind of my favorite part.
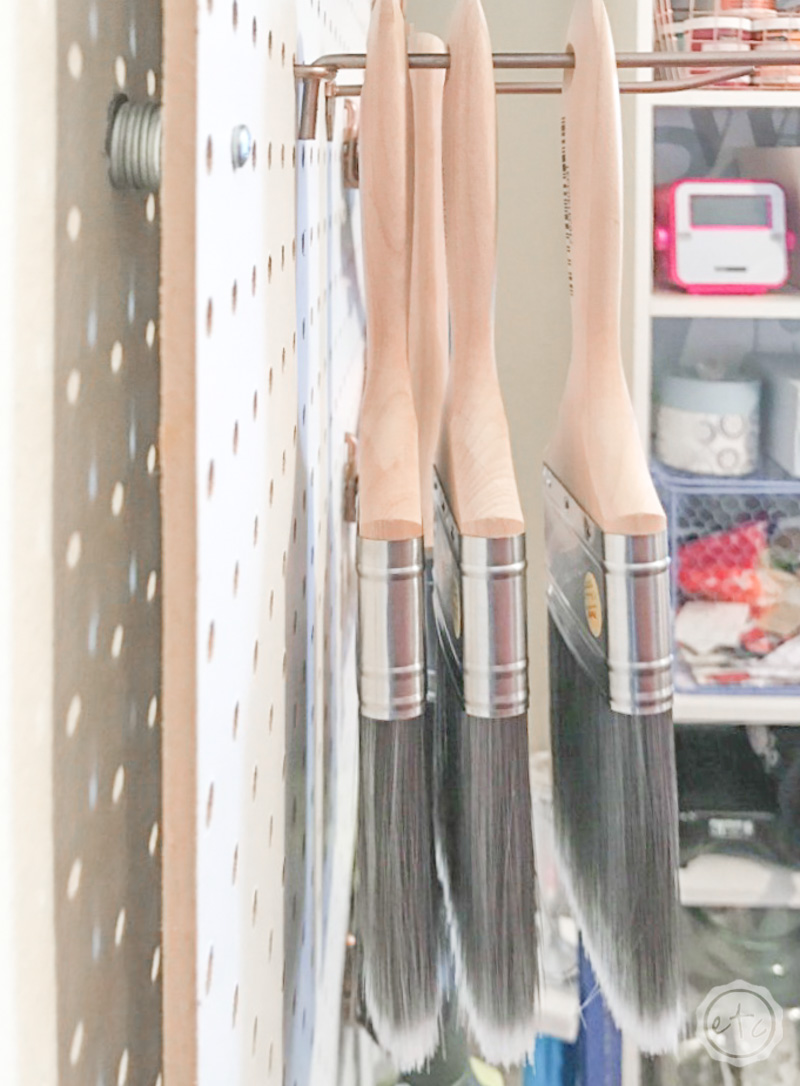
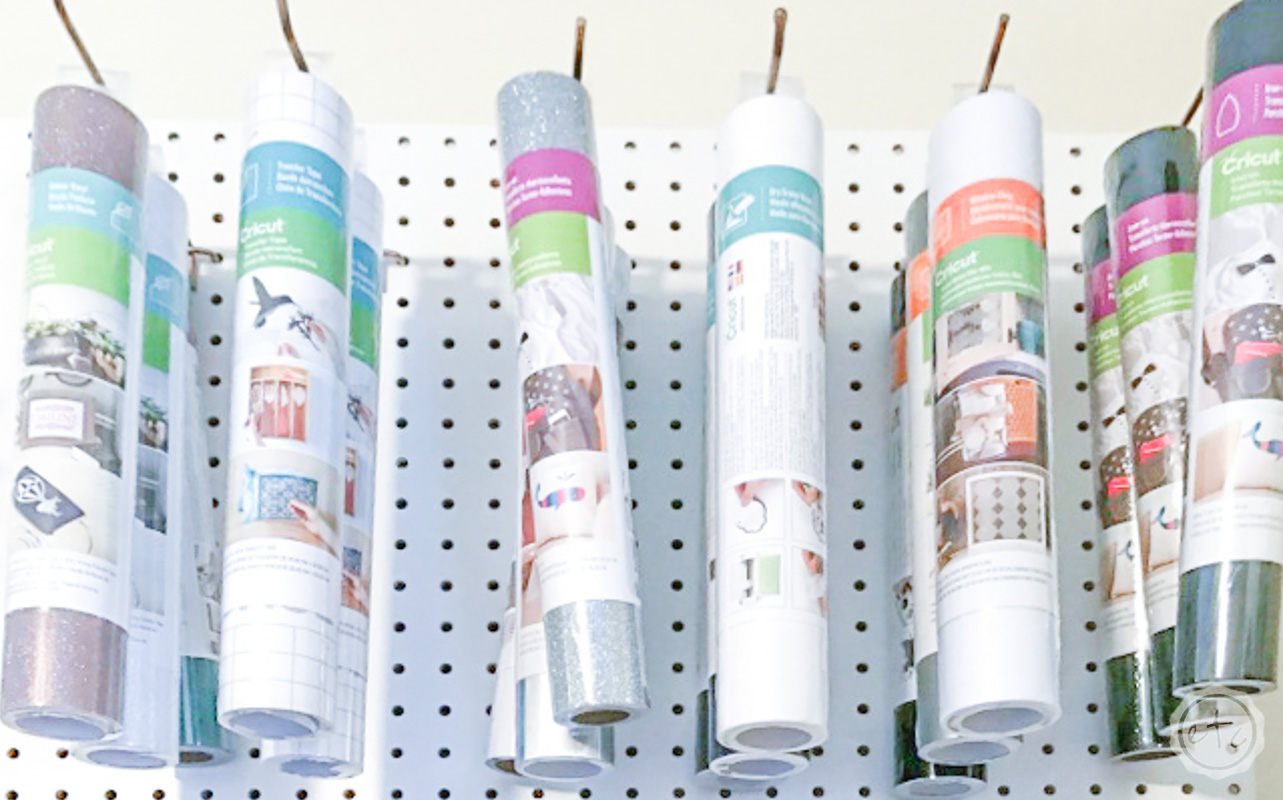
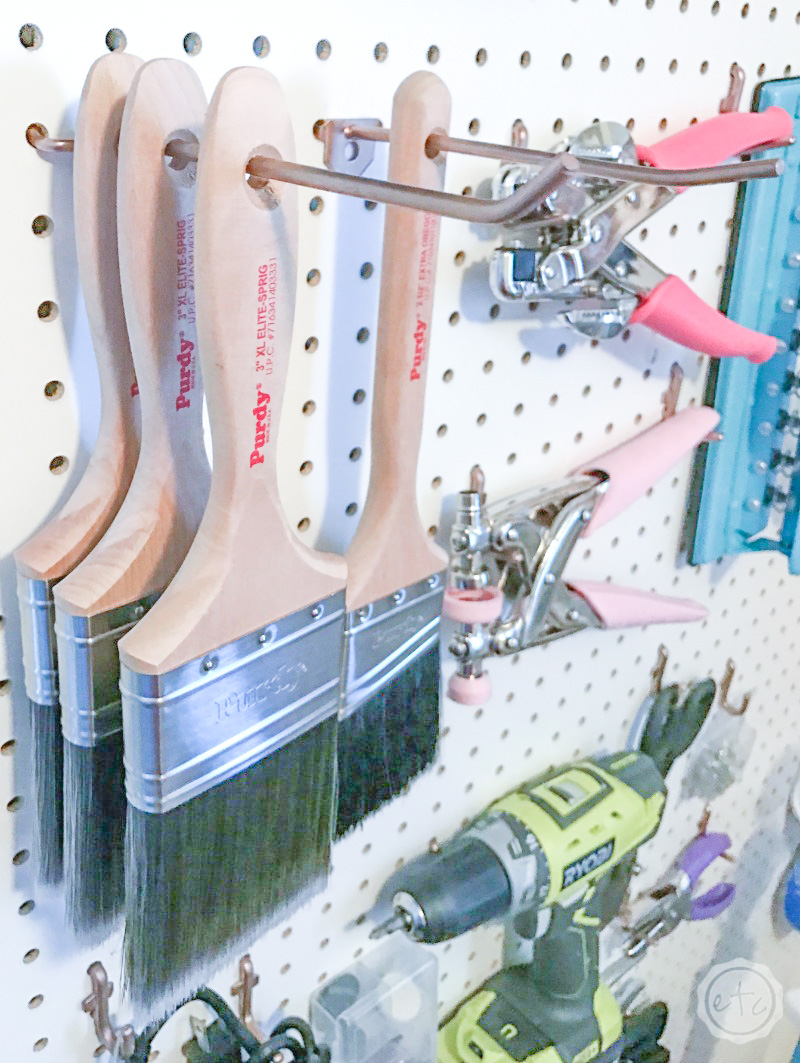
I had a LARGE pegboard and lots of tools so I ordered a variety pack of pegs… 25 J hooks and 25 L hooks. I was hoping that would be the perfect amount of hooks to hang things and hooks to hold things. I also had 8 long hooks that were perfect for my Cricut Vinyl and Purdy Paint Brushes!
These bad boys were left over from a pegboard I had when I was little (which is why one or two are a bit wonky) but I found a pack of 50 for $10 so they might be worth adding to my collection since I’m now wondering how to add pegboard to my Kitchen and Laundry Room!
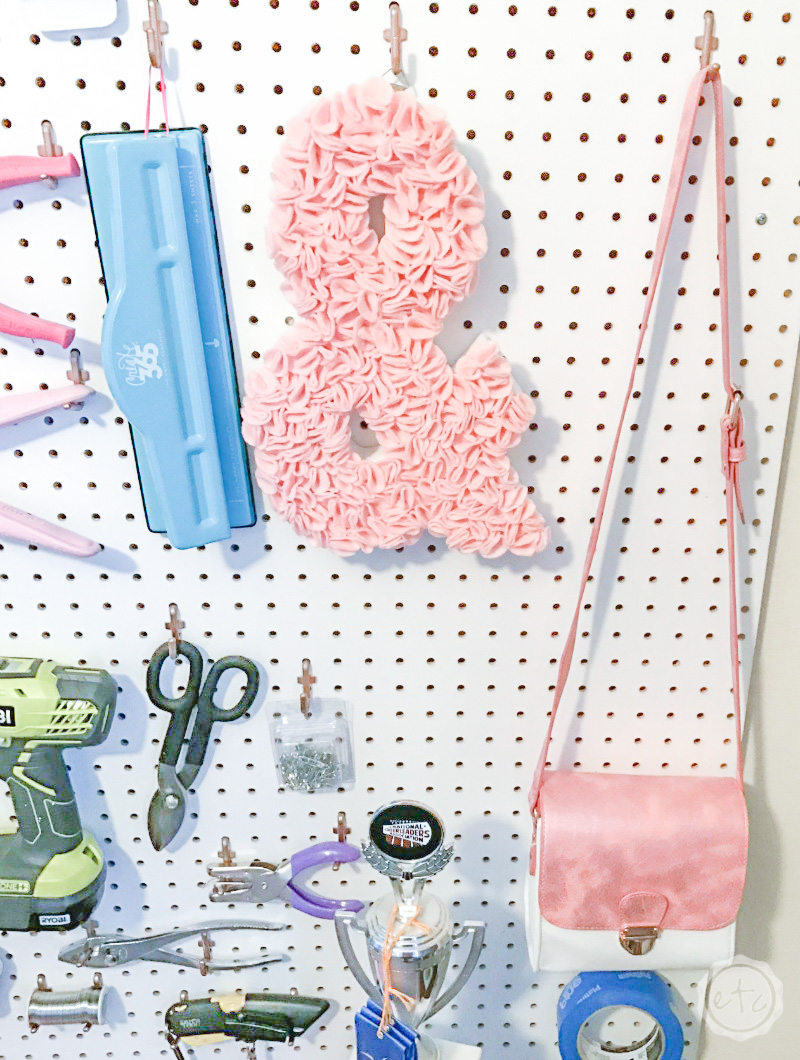
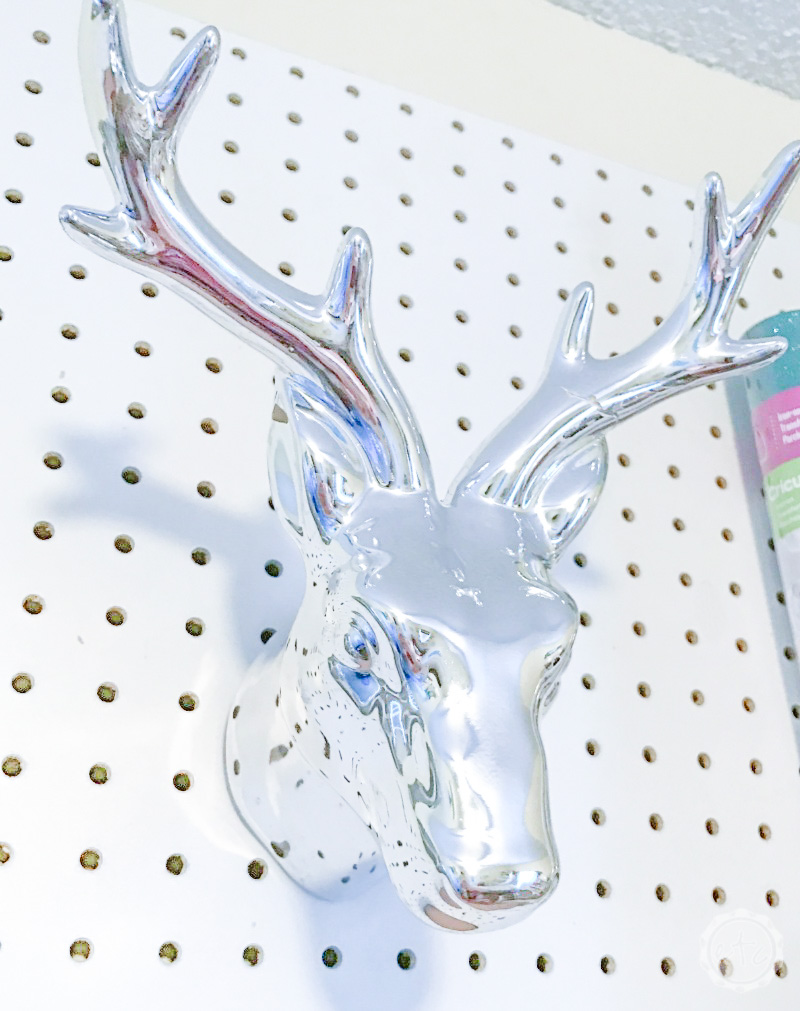
I think my little silver deer is my favorite decorative piece although my little pink ampersand actually looks pretty adorable! I whipped him up for Valentines Day but I think he’ll be a permanent fixture in the room.
Once I started organizing the peg board I decided to hang my new camera bag right on the board. It’s small enough to carry just my camera when I’m out and about and it goes perfectly with the room!
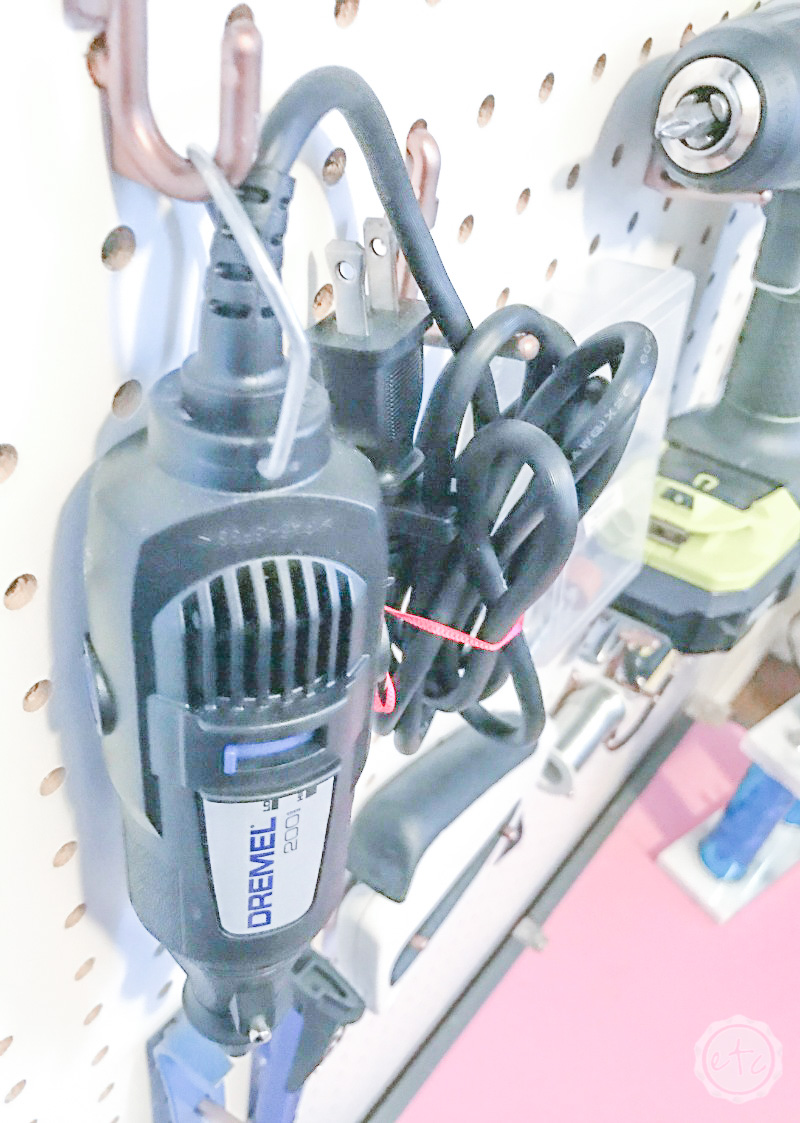
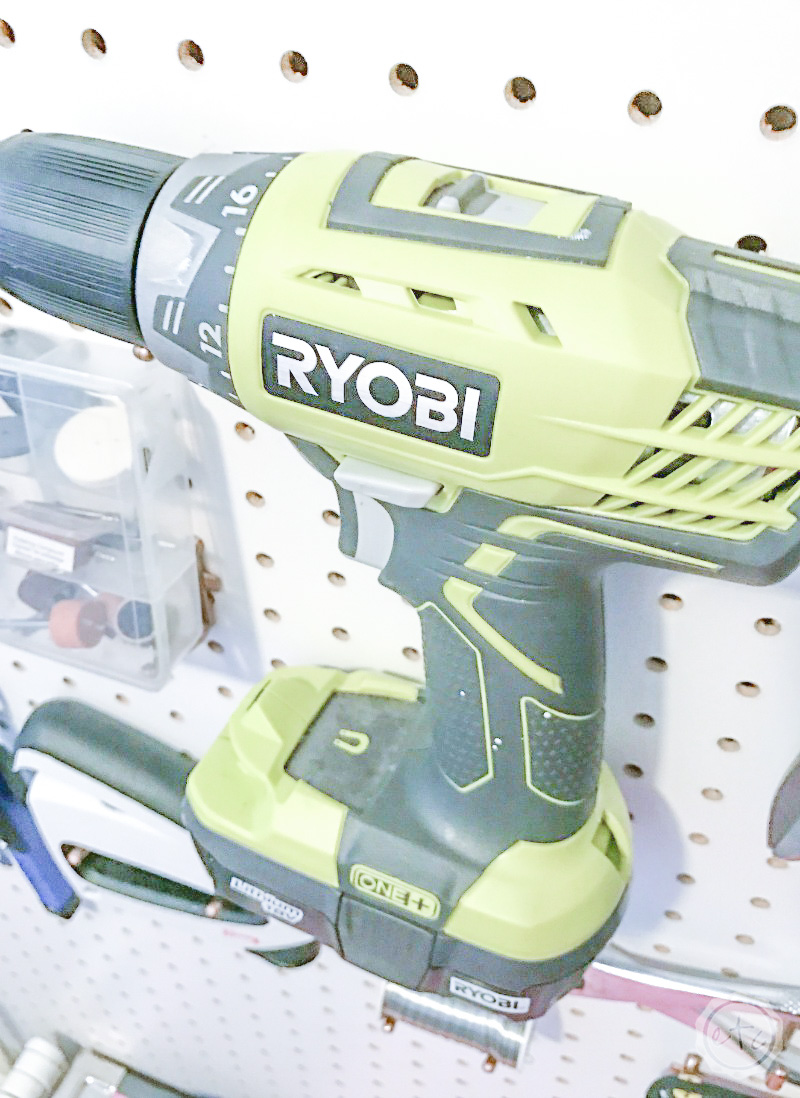

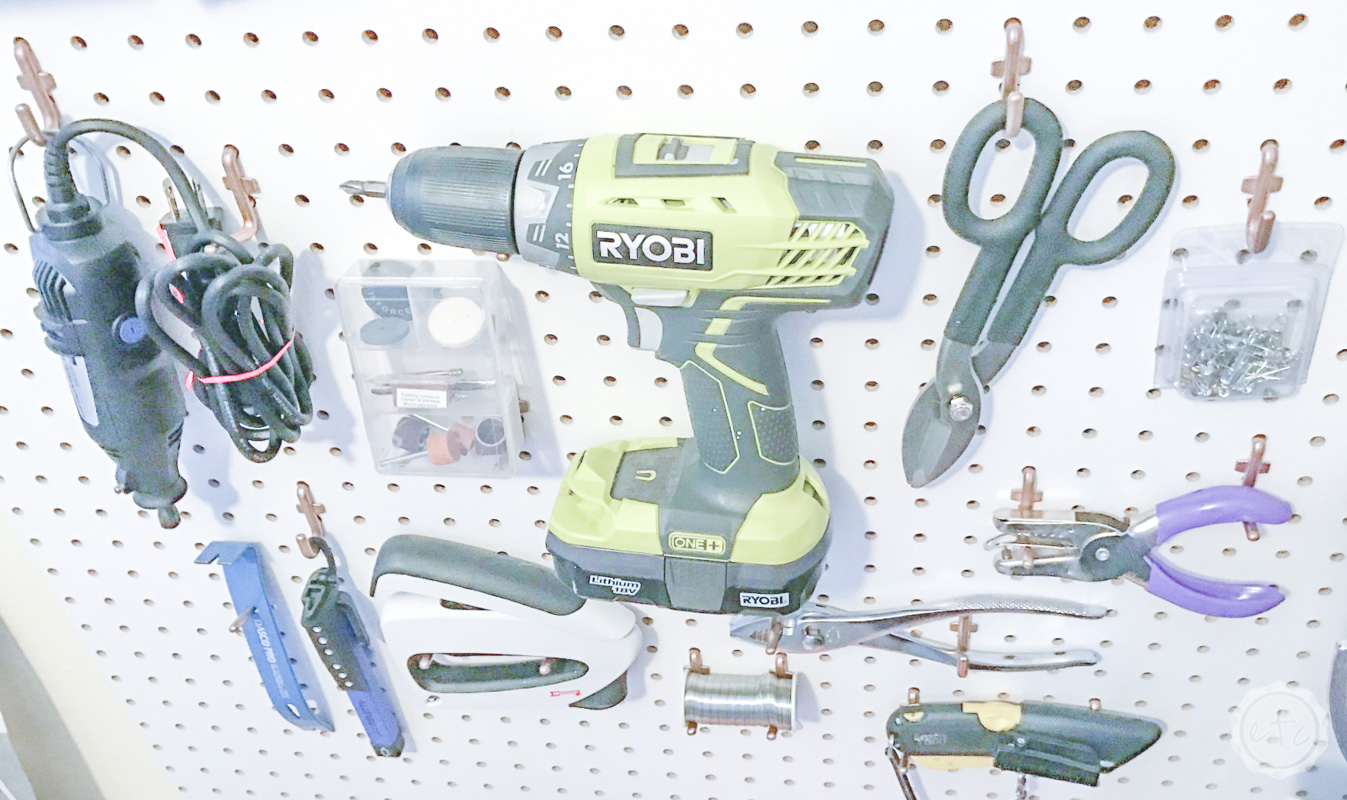
It’s ridiculous how many of the tools on this pegboard were in my swag bag from last years Haven Blog Conference! See if you can play a bit of eye spy to locate all the items!
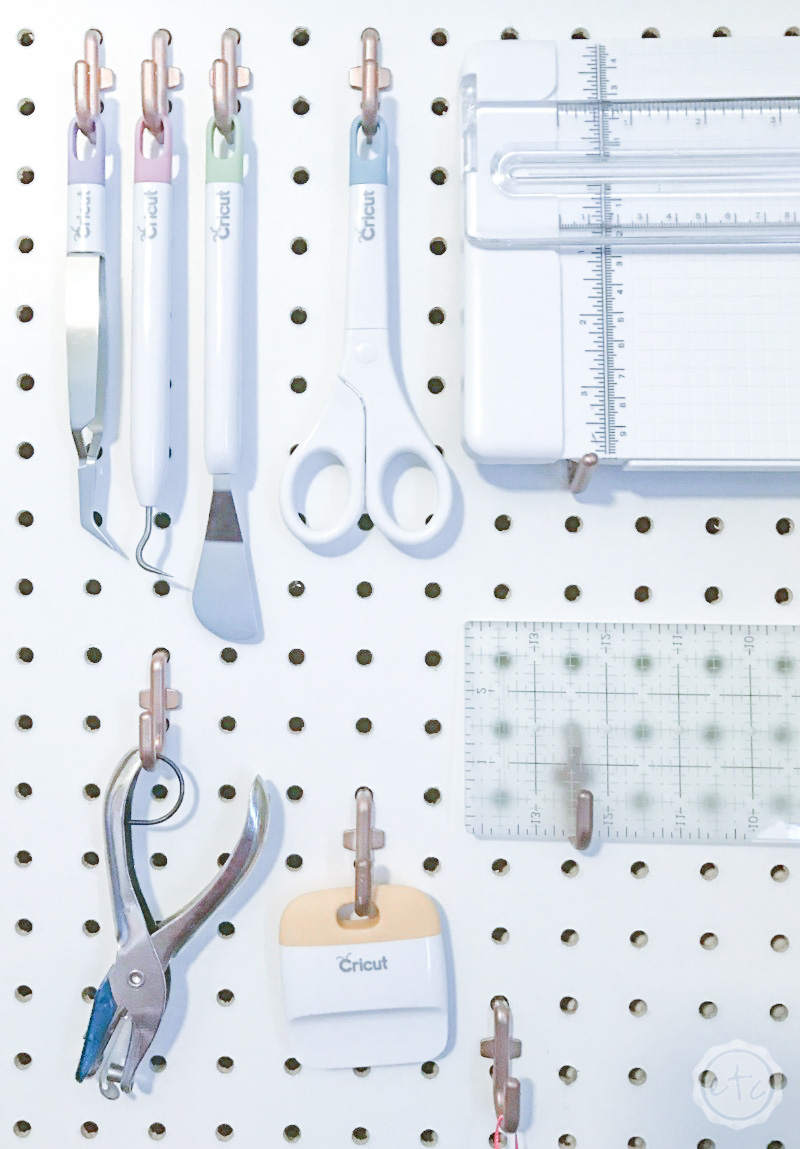
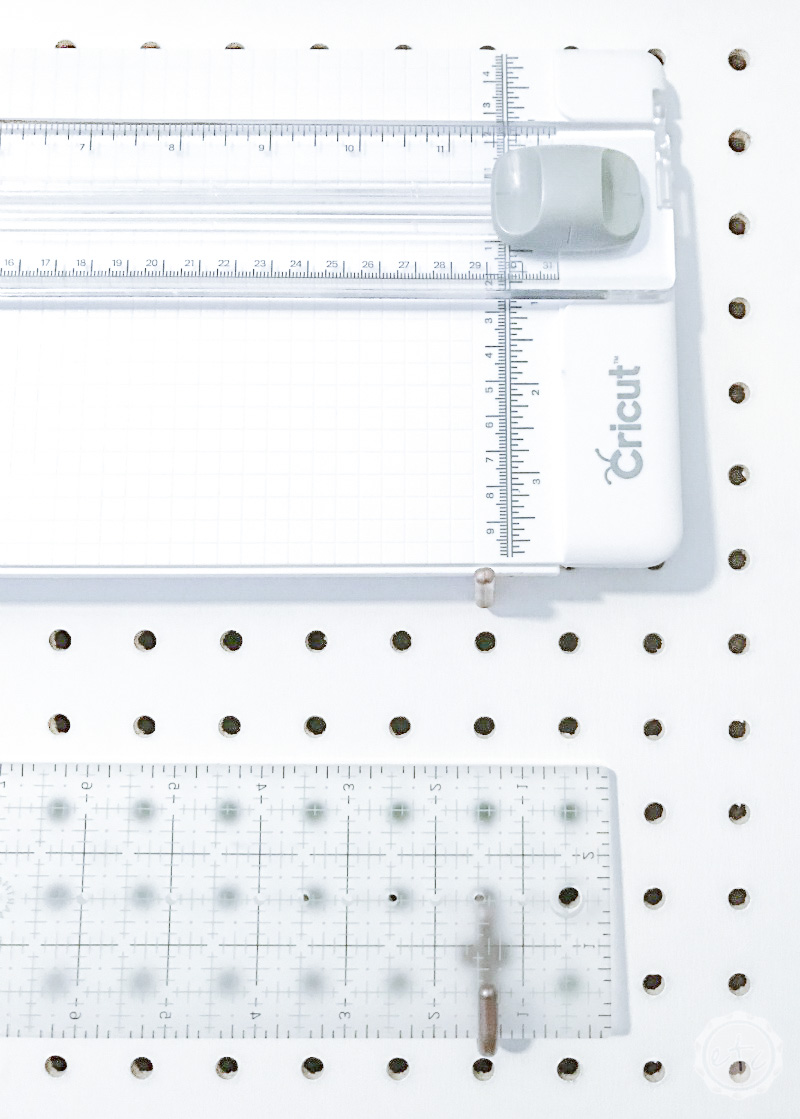
Of course, all of the Cricut items came out of my Starter Set… so that’s a whole different can of worms!
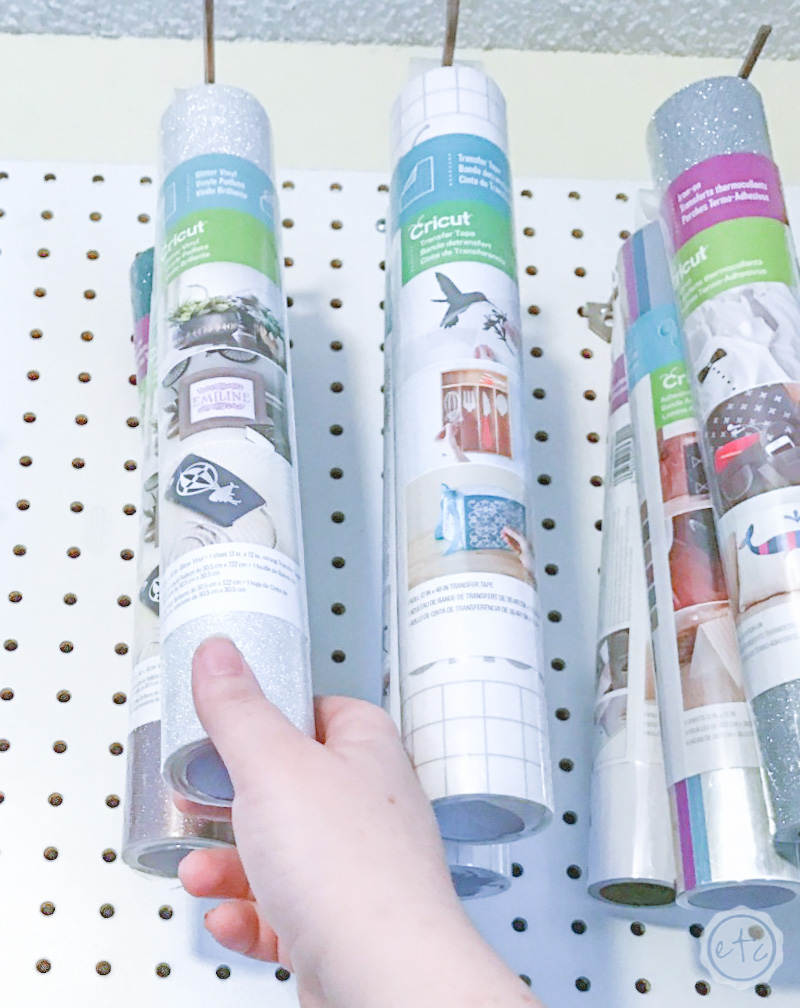
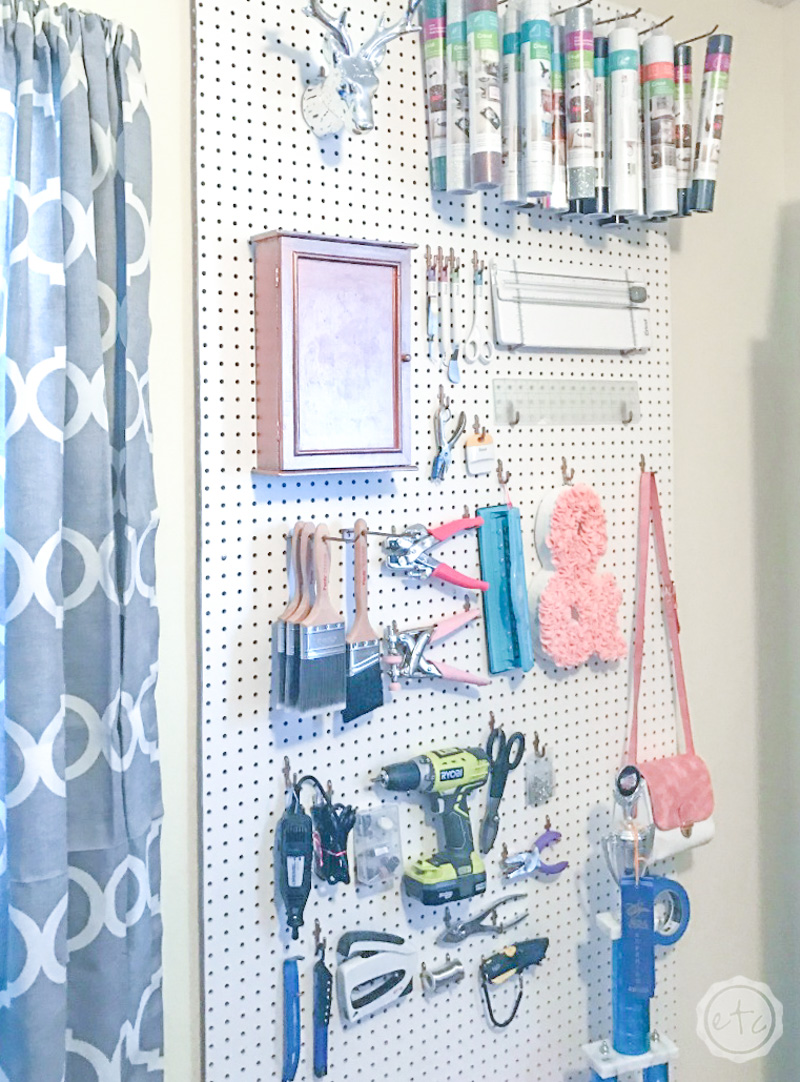

I still have quite a few hooks left so my 50 pack of pegs went further than I expected! Which is perfect because I ordered a couple baskets (3 to be exact) to round out my entire pegboard. With a basket or two in strategic places I’ll be able to add my Cricut markers and other supplies!
I’m super excited!
Of course, I’m even more excited to show y’all the reveal of my little rose gold cabinet. It’s going to hold washi tape and is my latest Thrift Store Swap project. I can’t wait to show you the reveal!


All. That. Vinyl. 🙂 I love this pegboard and how you styled it. I’m jealous. Can’t wait to see everything for the reveal!!!