

Do I have a post for you. I have had so much fun this last year working on furniture pieces for our antique booth after spending so many years painting pieces for our home. Of course, all this painting means lots and lots of questions from all of you! Questions about brushes, questions about furniture paint, questions about chair legs… all the questions.
So I thought I would put together a master list so that you would have all the answers in one place. If you’ve ever had a question about furniture paint it’s probably on this list… and if it isn’t leave a comment below so that I can update the list for the next gal.
Enjoy!
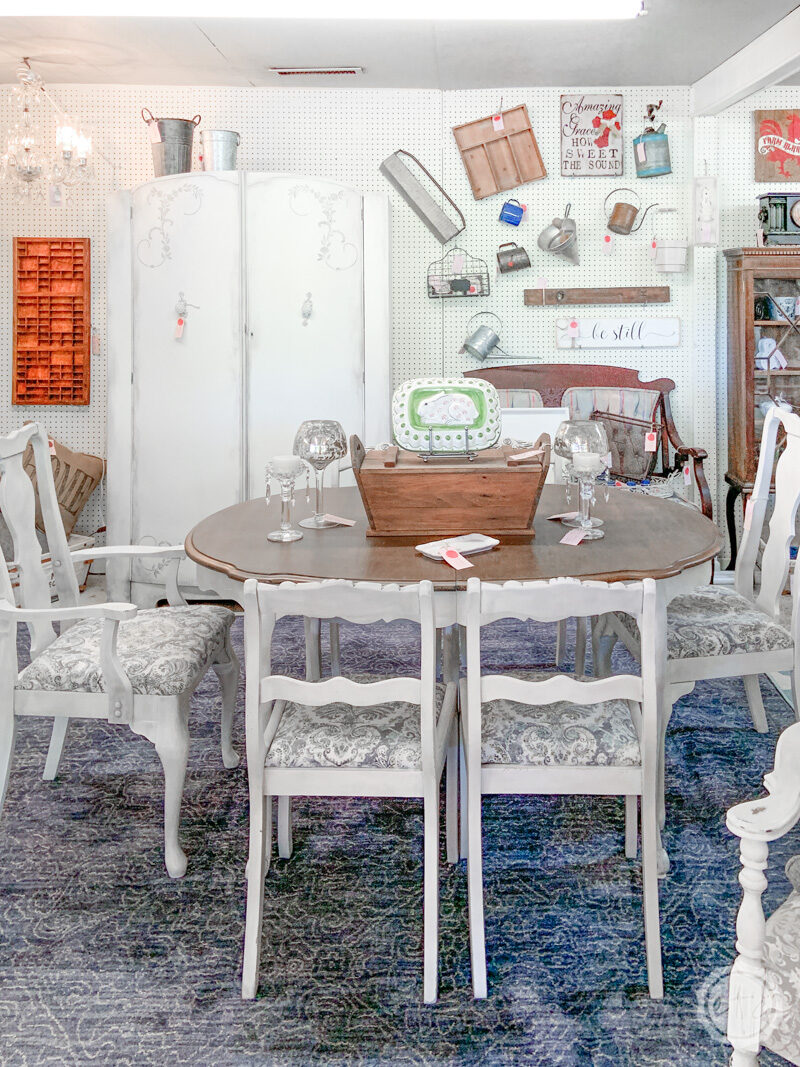
The table, chairs and armoire in the picture below are all painted rust-oleum linen white (with Dixie Belle’s grunge gray wax as the top coat!).
Furniture Paint Questions to Ask Before Getting Started on your Next Project
Ready to jump in and get started? Since this list is so long I thought a table of contents would be helpful. That way you know all the questions up front and can go through them as you need for your next project.
- What type of paint should I use on furniture?
- What’s the difference between chalk paint and milk paint?
- What is the best chalk paint?
- Can I make my own chalk paint?
- Do I need to prep my wood furniture piece?
- Can I paint furniture without sanding?
- What should I use to clean my furniture piece?
- How do I layer paint colors?
- Do I have to seal my furniture piece?
- Can I paint over paint?
- What is the best sealant for painted furniture?
- What is furniture wax?
- Can I paint over wax?
- How do I test if a previously painted piece was waxed?
- Are there different techniques to distress furniture?
- How do I avoid brush strokes?
- What’s the best brush to use for painting furniture? For furniture wax?
- How much does one quart of paint cover?
- What do I do about paint drips?
- How do I paint furniture legs and feet?
1. What type of paint should I use on furniture?
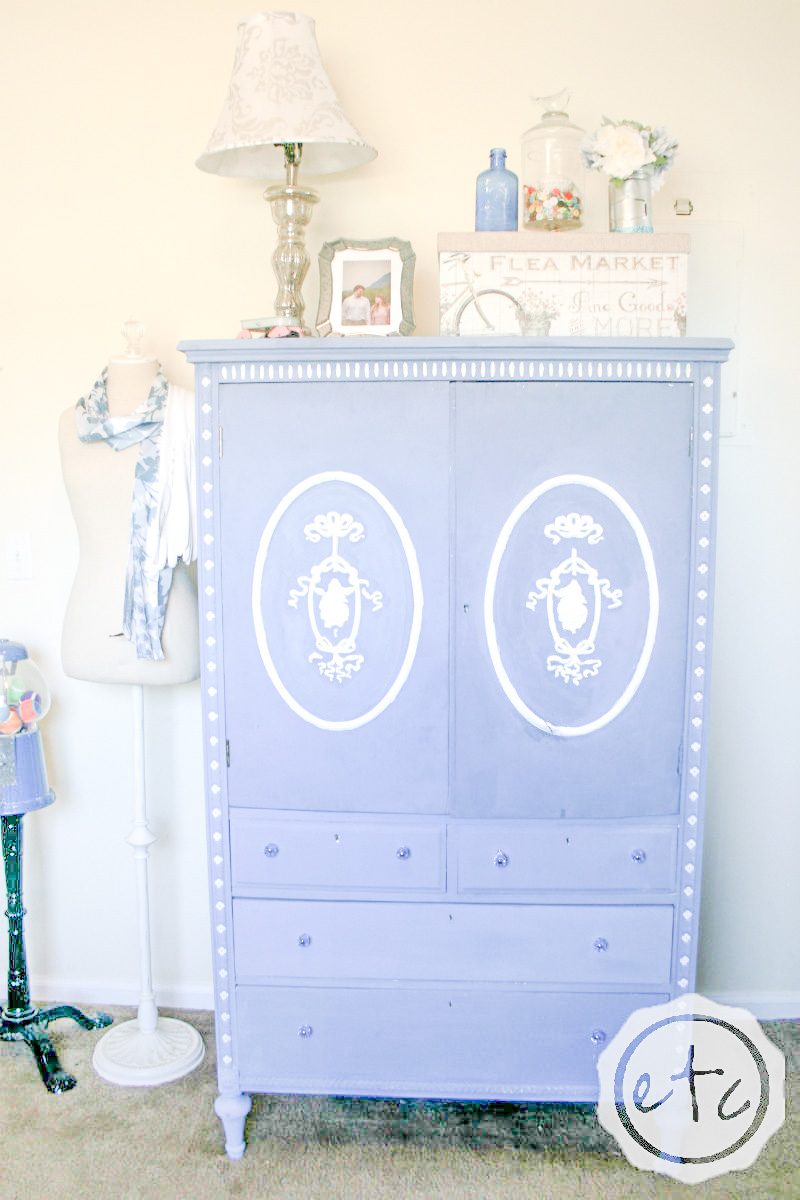
Long answer short? There’s no right answer! I’ve used chalk paint, milk paint and latex paint for different projects… I even used oil based paint to do the base coat of this vintage cabinet I use in my craft room.
Each one is different and works for different projects. If you’re not sure which paint to use I would do a little bit of research based on the specific type of furniture you’re trying to paint. Think about what you want from your project and go from there.
Here’s a few questions to ask to help you narrow down the perfect product for each and every project: What sort of surface are you painting? How much money do you want to spend? What look do you want to achieve? How durable does it need to be? How much experience do you have? Is environmental safety important to you? What products are available near you… or are you ok waiting for a product to be ordered and delivered? What color are you looking for?
2. What’s the difference between chalk paint and milk paint?
Alright let’s face it… we could spend allllll day chatting about the differences in paint. This section could really be a blog post allll on it’s own. So for the basis of today’s post I figured we would do a quick description followed by a pro and con list for both type of paint.
Hopefully this will answer your questions about the basic differences between the two types of paint and when to use each one.
Chalk Paint
Let’s face it… while I love all paint chalk paint is my favorite. It’s my go-to, always-on-hand, let’s-paint-that-real-quick product.
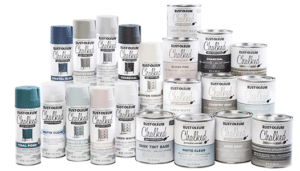
Chalk paint by definition is a a chalky, water-based paint that requires very little prep work. It finishes in a soft, matte finish although you can always top coat it with a gloss or semi-gloss if you’re looking for a shinier finish. Most people using chalk paint are using it for it’s matte finish and the easy way it distresses for an antique look. So shininess is typically not the goal.
Favorite Brands: Rust-Oleum, Dixie Belle, Annie Sloan
Pros
- Typically easy to find (rust-oleum is available online, at wal-mart, at most hardware stores etc while Dixie Belle is also online they seem to have taken over the antique store market and can usually be found at ALL THE ANTIQUE STORES EVERYWHERE).
- Available in quite a few colors depending on the brand… and the color is consistent. Which means you can touch-up pieces down the road if need be.
- Prep work really is minimal… typically clean and go. Scuff sanding is always a good idea but I don’t typically worry about it when using chalk paint. It really does stick well to most surfaces.
- It dries really quickly, which means that by the time I’m done with the first coat I can usually start on the second coat.
- Is smooth enough to go through my paint sprayer with little to no problems.
- It’s very easy to distress, so it’s perfect if you’re looking for an antique or shabby-chic look.
- It’s really silky smooth to the touch once it has dried… even after layers of distressing.
Cons
- Needs a topcoat if you don’t want the finish to continue aging.
- Typically can’t be tinted so the colors you see are what you get (unless you start mixing them). No custom colors.
- Some brands can be thicker than other types of paint which can make it hard to work with. (Rust-oleum has become my go-to brand since it is not as thick as the others.)
Milk Paint
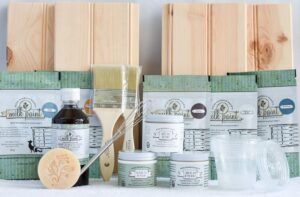
Milk paint is similar to chalk paint because of how it easy it is to distress… however milk paint (unless you add a bonding agent) tends to be chippy in nature. Milk paint is perfect when you want to get a chippy, vintage farmhouse style finish. It gives that ‘aged in a barn for 80 years sort of look that you just can’t get with other types of paint.
Favorite Brands: Miss Mustard Seed’s Milk Paint
Pros
- It’s made with all-natural ingredients which means no VOCs or chemicals.
- Can get a really chippy look without a lot of distressing.
- Can add a bonding agent to get a smooth (no chipping) look.
- It comes in a powder form, which makes it easy to store. Simply throw the baggies in a basket.
- You only mix the amount you plan to use so your paint doesn’t go bad over time.
- Since you mix the paint yourself it’s easy to add some of this color and some of that color to get the color you want.
- It penetrates the pores of unfinished wood… which means it really bonds to the surface. If you strip a piece of furniture or find an unfinished piece, milk paint won’t just sit on the surface, it will actually penetrate the wood.
- If you leave it un-sealed the chippiness will keep chipping over time giving it a naturally distressed time-worn look and feel… this can be a negative if you’re not prepared.
Cons
- You typically have to mix it yourself (which isn’t difficult) but can make color consistency difficult.
- Can be a tad bit unpredictable, you have less to no control over the chippiness. Which means it may chip in places you don’t want chipping and not chip in places you do.
- After it’s mixed, you need to use it… which means no touch up paint if you need it down the road.
- Once you start you have about a week to finish… this paint is made of milk protein so you’ll have a smelly, sour milk mess if you try to keep it too long.
- Needs a topcoat if you don’t want the finish to continue aging.
- Mixing it means clumps so I typically don’t put milk paint in my paint sprayer.
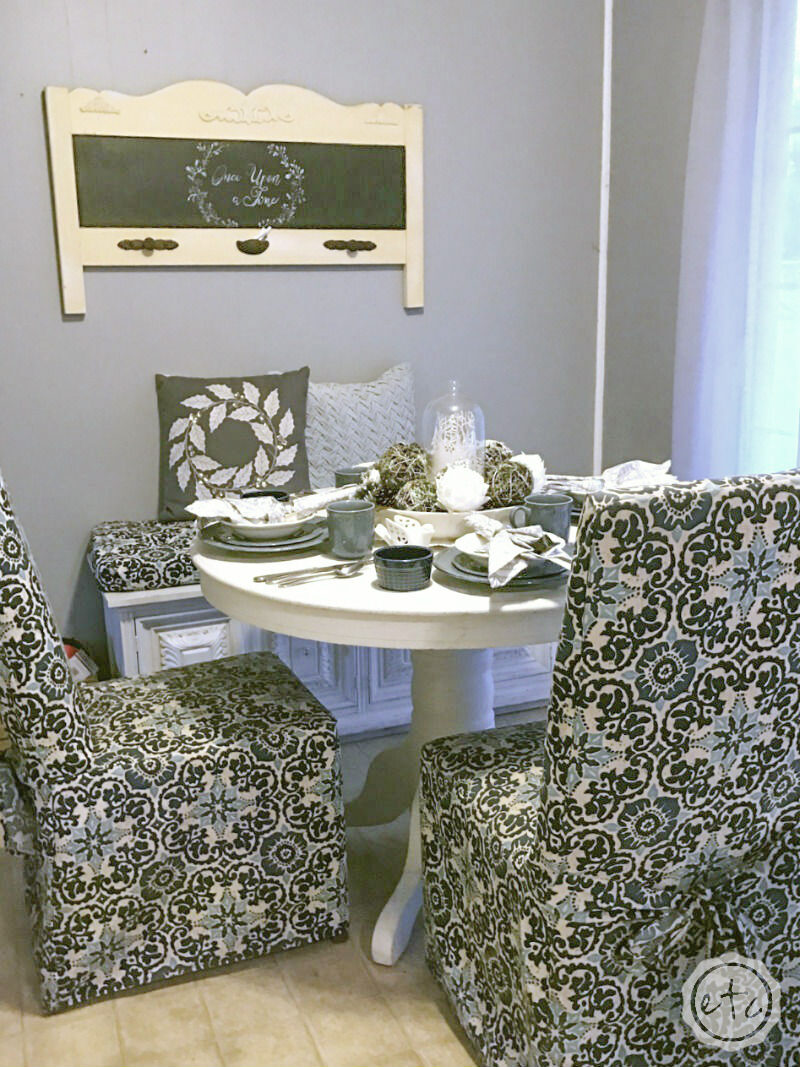
3. What is the best chalk paint?
All chalk paint is the best! I love using different brands and have even made my own at one point or another. I started by using Annie Sloan chalk paint back in 2011 when I graduated from college and wanted to make over a few hand-me-down pieces of furniture for my first apartment.
The table and bench in the picture above were both painted with Annie Sloan white chalk paint… you can see the whole room in my kitchen reveal!
It’s a great paint but has a couple of downsides for me… mainly that it isn’t widely available. I have to drive at least an hour one way in order to pick up a quart of this stuff… and unless you live near a shop that sells it chances are you’ll have the same problem. It’s a great paint once you get your hands on it but that simple driving factor has almost cut it out of my rotation completely.
Making Rust-oleum and Dixie Belle my go-to chalk paints. I love both however Rust-oleum has the slight edge for me. Mainly because while the products perform very similarly I like being able to pick up rust-oleum spray cans in the same colors as my chalk paint so that painting different surfaces (like a baker’s rack, cane chair or fence) doesn’t matter… they’re all the same color at the end of the day.
Dixie Belle has a slight edge on color selection though…. they have so many options! If you’re looking for a specific shade of blush or teal then they’ve got you covered.
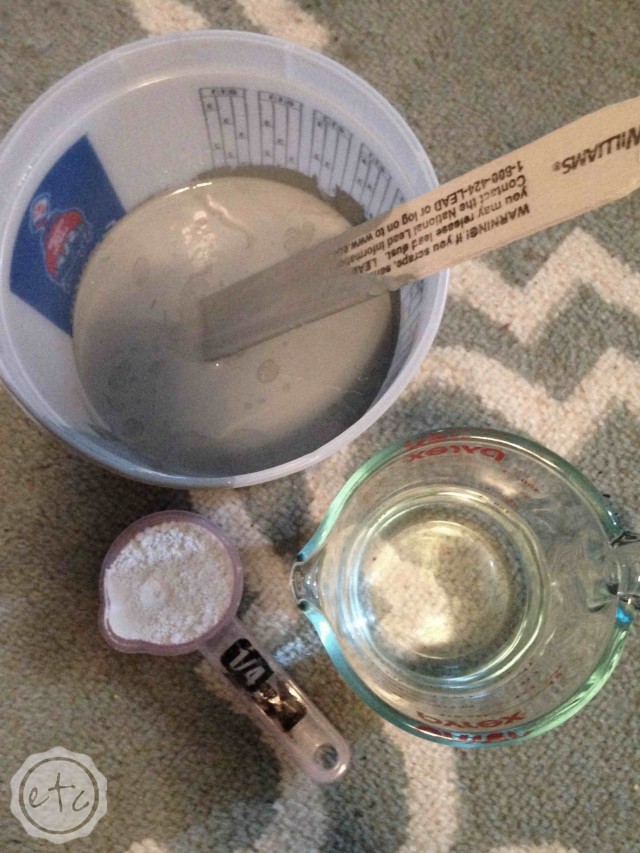
4. Can I make my own chalk paint?
Yes! It’s easier than you think… you only need a few ingredients! The best part is that you’ll use latex paint (or paint samples!) as the base so you can use paint you already have at home.
This is a great way to get those old paint cans out of the way once and for all. PLUS if you’re looking for a specific shade of pink (say you want to color match a painting) then you can get a paint sample color matched at your local paint store and then turn it into chalk paint.
Read the full tutorial on how to make your own chalk paint here.

5. Do I need to prep my wood furniture piece?
This is a loaded question! If you have a piece of furniture in good condition then chalk paint (or milk paint, fusion paint etc) will bond to it no problem! For a wooden furniture piece in good condition you don’t need to sand or use a primer… just a quick clean with a bit of multi-purpose cleaner and you’re good to go.
Paint doesn’t do well with dust bunnies and dirt particles after all.
The problem is that most pieces of furniture we’re painting isn’t in great condition… that’s why we’re painting it! It’s got dings, scratches, peeling veneer. The works. If you’re dealing with any of these issues then you need to do it first… then start painting!

BONUS TIP: The beautiful buffet up above? It had peeling veneer out the wazoo when we got it. Learn how to repair damaged veneer furniture before you paint them HERE.
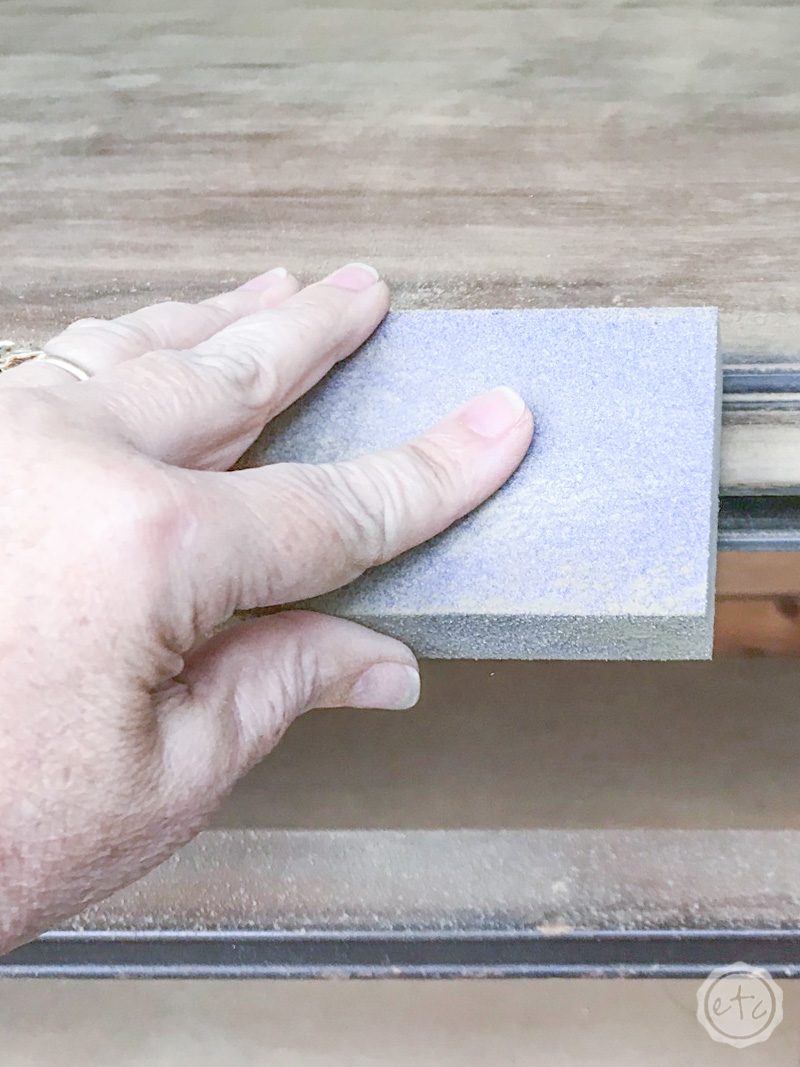
6. Can I paint furniture without sanding?
I know this isn’t the answer you were looking for but… it depends. If your furniture piece is wooden and in good condition then you’re good to go. No sanding needed.
However not all surfaces are the same. The main thing you’re looking for here is texture… if you surface is rough then it’s ready to be painted, no sanding needed. If your surface is smooth (say a painted surface) then you probably need to scuff sand it first.
A sanding block will usually do the trick… just go over all the entire surface until it feels a little rough. You’re breaking up that smooth surface and giving the paint something to grab a hold of.
7. What should I use to clean my furniture piece?
There are a million answers to this question. I know people who won’t use anything other than TSP to clean their furniture pieces… and there’s no doubt it does a good job! But you don’t always need to pull out a machete when a little pocket knife will do.
For most pieces I use a general multi-purpose cleaner… something like 409 that I use in my kitchen. I already have it on hand so it works perfectly. Really most multi-surface cleaners will work you just want to make sure they don’t leave behind a residue.
BONUS TIP: If you’re painting kitchen cabinets or a furniture piece that was in close proximity to the stove make sure you use a de-greaser to clean the surface first… grease and paint are not BFF’s.
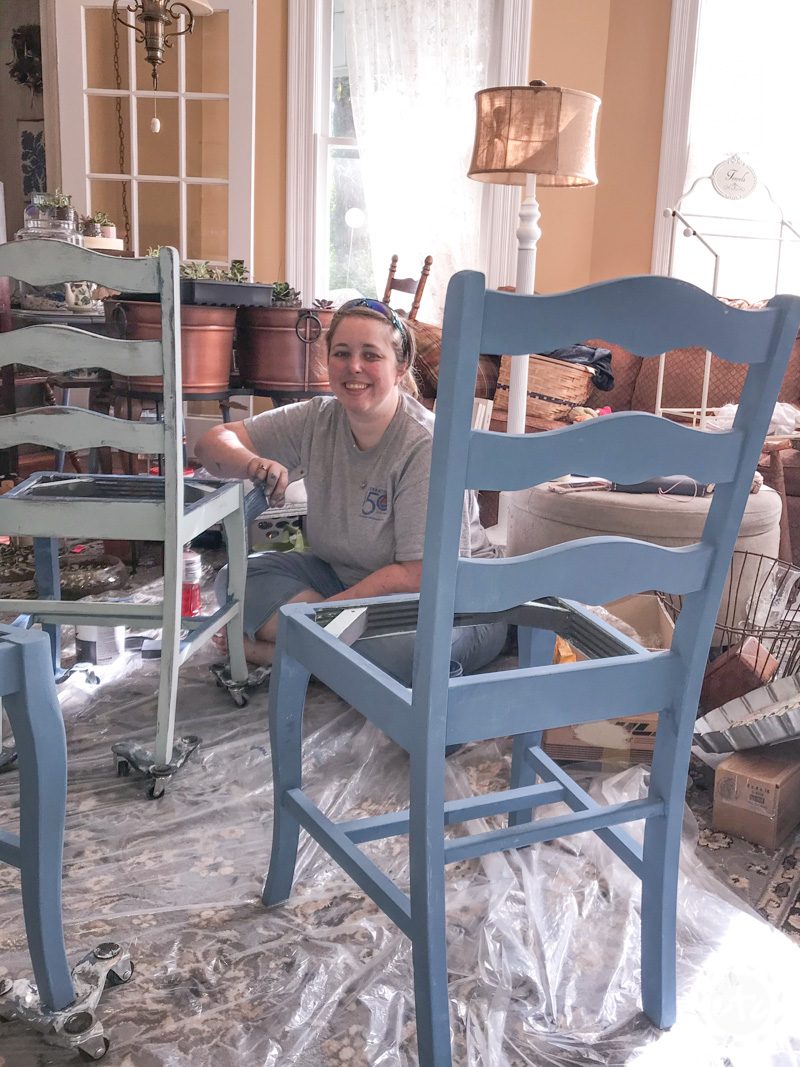
8. How do I layer paint colors?
It depends on exactly how solid you want the layers to be at the end but at it’s a fairly basic process! Whether you’re doing two or three different colors the steps are exactly the same. Start by painting a light layer of your base color. If you want the wood of the piece to peek through then use a dry brush and don’t worry about full coverage!
Painting layers is definitely a “it gets worse before it gets better” kind of process… so take a look at the chairs I painted up above. I used a dark charcoal color for the base coat (and I didn’t want the wood to peek through so I painted it solid). Then for the second layer I used a light seafoamy kind of color (serenity blue by rustoleum)… this layer I put on with a dry brush so that the dark gray would peek through in spots.
Once the entire second layer was dry I went over it with a light sanding block, making sure to hit the edges and raised areas heaviest so that the charcoal shows through. At this point I could be finished but I wanted a third color (so that these chairs looked old and chipppy… like they had been used and loved for many years).
So I repeated the process by adding a darker greek blue with a dry brush and then hitting all the edges with a sanding block once they had dried. Using this technique you could add a million different layers… although it would get a little crowded after a while.
Want a closer look? Take a peek at the full blue chippy table and chair set here!
9. Do I have to seal my furniture paint?
That’s a loaded question. The short answer is no… you don’t. If you like the look of your piece without a sealant you can definitely leave it as is. Just keep in mind a few things
Most chalk/milk/fusion paints are flat, matte or chalky meaning if you leave them unsealed that will be the final finish. No shine.
An unsealed piece means no protection. Any scratches, dings, burns, water spills, husbands feet are going directly on the surface… think of a sealant as the protective glass cover you have over your phones screen. Do you need it or not? The dresser in your craft room? Might not get a lot of wear… probably fine. The kitchen table? The coffee table? Probably want a sealer on those.
Chalk paint and milk paint are both meant to distress… which means they chip and flake easier than other types of paint. No sealant means this process will continue over time. That’s not necessarily a bad thing but if you don’t want your finish to change you need a sealant.
Taking all of that into consideration my rule of thumb is this: if it gets used, it gets sealed. Oftentimes I will put a layer of sealant over the to surface of my piece and leave the front and legs unsealed… just use a matte or satin wax (or poly) so that the sine levels are similar.
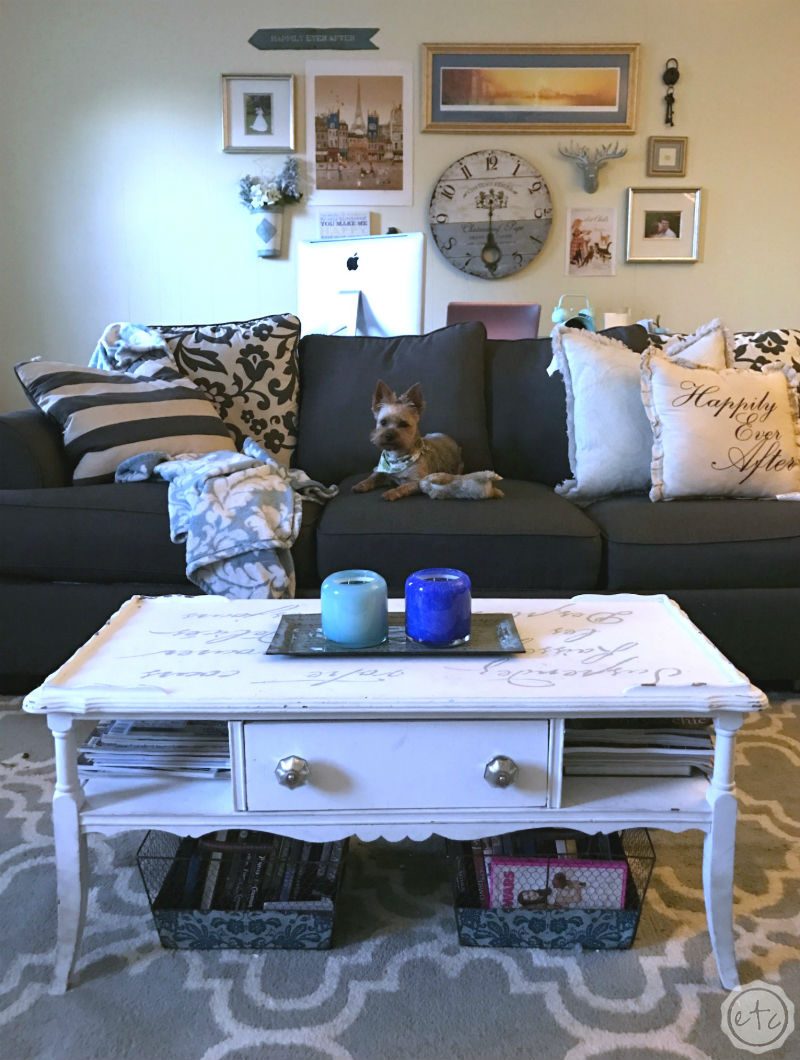
Take the coffee table up above as an example… we stenciled it so I wanted the stencil to be protected. My hubby also puts his feet on the table every day… and no I will not be able to get him to stop. I gave up trying. It isn’t worth my time… so the top got two layers of a durable polyurethane.
10. Can I paint over paint?
It depends on the paint! If you’re painting over an older piece and it’s already painted then take a look at the piece. If it was sealed with anything that sealer either needs to come off before you paint or at the very least be scuff sanded. Remember you want the surface to be rough… so if the previous paint job feels smooth to the touch then give it a scuff sanding and re-evaluate.
If the piece was painted with chalk paint or milk paint and not sealed then it’s likely good to go. The surface will be rough or matte feeling and you can apply your paint right over top of the old color. Just make sure it’s clean first.
Another factor? Color! If you’re painting a black dresser white then using a primer will help cover that old color so that it doesn’t show through. While several coats of the new white paint will cover in the end primer is typically cheaper than paint. Cheaper is always better y’all!
11. What is the best sealant for painted furniture?
When it comes to painting furniture there are plenty of methods for sealing your furniture piece. I won’t speak to allll the millions of options out there because I just don’t use them all.
If I’m painting a piece that I want to feel really old and rustic (typically something with a lot of chipping) then I use furniture wax to seal it. Usually a clear wax (dixie belle’s clear wax is my absolute favorite) with a brush is the best solution… it brushes on smooth and leaves a beautiful butter soft feeling.
Spray polyurethane on the other hand is my go-to staple for durable pieces. While you can brush it on my favorite solution is to take the piece outside, lay down a drop cloth, put it up on a few furniture wheels and spray the whole thing. This way I can do 2-3 light coats and feel like the entire piece is protected. Plus it’s easier on my wrists then brushing on poly after painting an entire piece.
When I’ve done distressing with a dark furniture wax I find that a spray sealer over top is the perfect solution. It protects the piece without smearing the design… which I’ve had happen with clear wax more times then I care to admit.

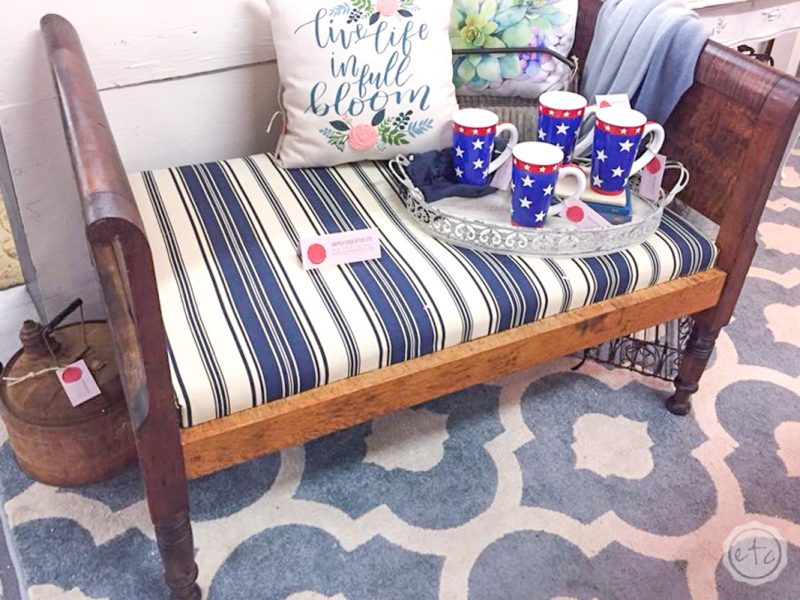
BONUS TIP: Were you wondering about the pretty toddler bed up above? If you have a wooden piece that you aren’t painting (gasp!) or a two tone piece with a wooden top and a painted bottom I love Miss Mustard Seeds Hemp Oil. It completely breathes life back into an older piece and re-hydrates the wood. Plus it’s easy to use… you can follow the instructions in this tutorial if you want to give it a try. The toddler bed up above is an 85 year old antique and a little hemp oil made it shine like new.
12. What is furniture wax?
I know, I know… I just talked about how to use furniture wax to seal your piece but you’re still not sure what it is. Furniture wax has been used for centuries to seal, protect and add shine to wood furniture.
You can use clear wax to protect furniture (both painted furniture or wooden furniture), white wax or dark wax. Typically dark wax is a brown sort of wooden toned color however they’ve been coming out with different colors in the last few years and now there are dark charcoal colored waxes as well.
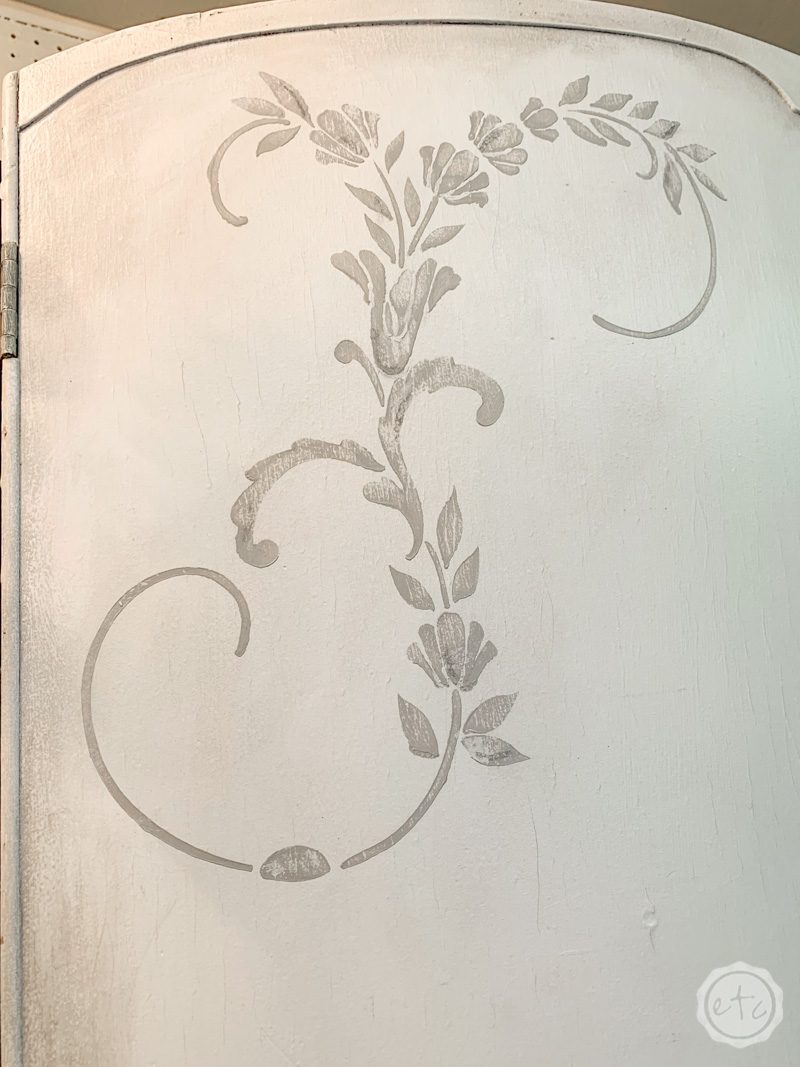
While clear wax is fairly self explanatory (it’s see through y’all, completely clear) but what about white, dark or gray? You can use any of these colors to highlight dips, divots, or areas that aren’t uniform in an older furniture piece. This can give a fun crackle like look to older pieces that have weathered over time and help them to look really antiqued.
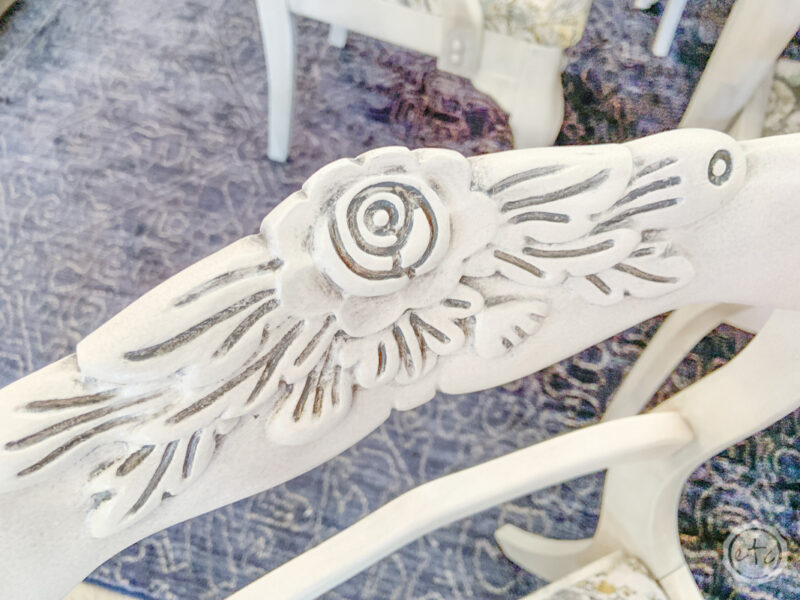
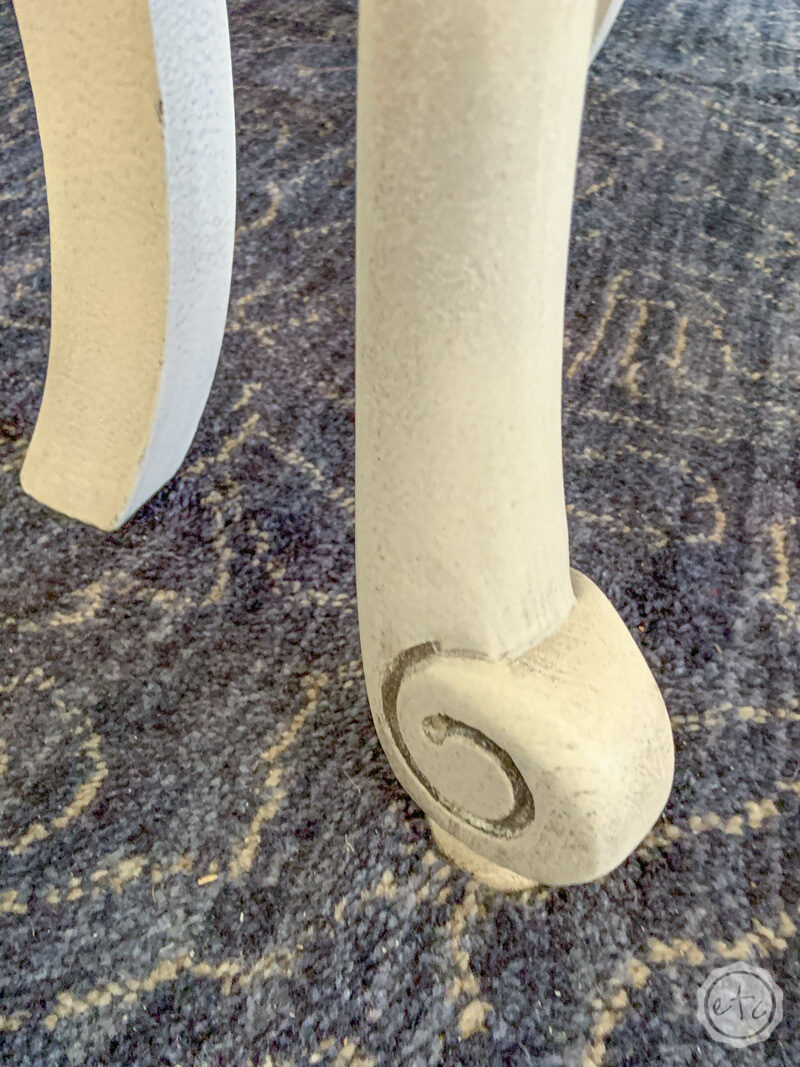
Of course, the best time to use a colored wax is to bring out specific details. Like the rose detailing on the back of the dining room chair up above. The chair itself is painted in rustoleum’s linen white chalk paint and the grunge gray wax really highlights the details in the woodwork. With a clear wax those details would fade into the background.
As far as the difference between white, dark and gray goes that’s really just down to color. Pick one that contrasts with your paint color so that the details stand out… or one that looks similar to your main color for a more subtle effect.
Favorite Waxes: Dixie Belle Clear Wax, Minwax Dark Wax, Dixie Belle Grunge Gray Wax, Miss Mustard Seeds White Wax
13. Can I paint over wax?
Short answer? No. Long answer? No.
Wax is a sealant… which is a fancy way of saying it creates a barrier between your furniture piece and the rest of the world. That includes new layers of paint. If your furniture piece has wax on it the wax needs to come off before anything happens.
Simply wipe down your piece with a clean rag to remove any excess along with dirt and yuck. Then sand your piece starting with a rough sanding block until your piece no longer feels waxy but rough.
Easy peezy!
14. How do I test if a previously painted piece was waxed?
Do a scratch test using your nails. If anything comes up under your fingernail, then there is most likely grease or wax and it needs to be thoroughly removed before painting.
15. Are there different techniques to distress furniture?
When it comes to distressing furniture techniques there are as many techniques as there are people. Mainly because there’s no wrong way to go about it! There are definitely more popular techniques however… and some techniques for distressing furniture with chalk paint are easier than others.
My favorite are using furniture wax, using a sanding block (or sandpaper to distress those hard to reach corners!), using beeswax or wet sanding.
16. How do I avoid brush strokes?
Using a great brush and good quality paint is the first step… you’ll have less problems when the paint levels out on it’s own.
BUT there are a few tips that will help you achieve a flawless finish. Start by painting in one direction (preferably with the grain). Keep your paint loaded with paint so that you don’t run out… but don’t overload the surface of your project.
You want to paint in thin layers so that the coverage is even across the entire piece. Last but not least remember that going back over semi dry paint will cause ripples so once the paint has started to dry don’t go back and try to touch it up until the paint has dried.

BONUS TIP: If you want a truly brush stroke free finish use a paint sprayer. It sounds hard and scary but once you start you’ll never go back (except for distressing and antiquing you’ll have to do that with a brush). If you’re new at using a paint sprayer check out this post filled with beginner paint sprayer tips.
17. What’s the best brush to use for painting furniture? For furniture wax?
When it comes to painting furniture a good brush makes all the difference… in how the paint goes on: smoothly? does it drag? are there brush strokes?
There are a lot of good brushes on the market but when it comes down to it my absolute favorite are the Purdy Cub 2″ Short Angle brush (if that’s not a handful to say I don’t know what is!) and this Chalk Paint Palm Brush.
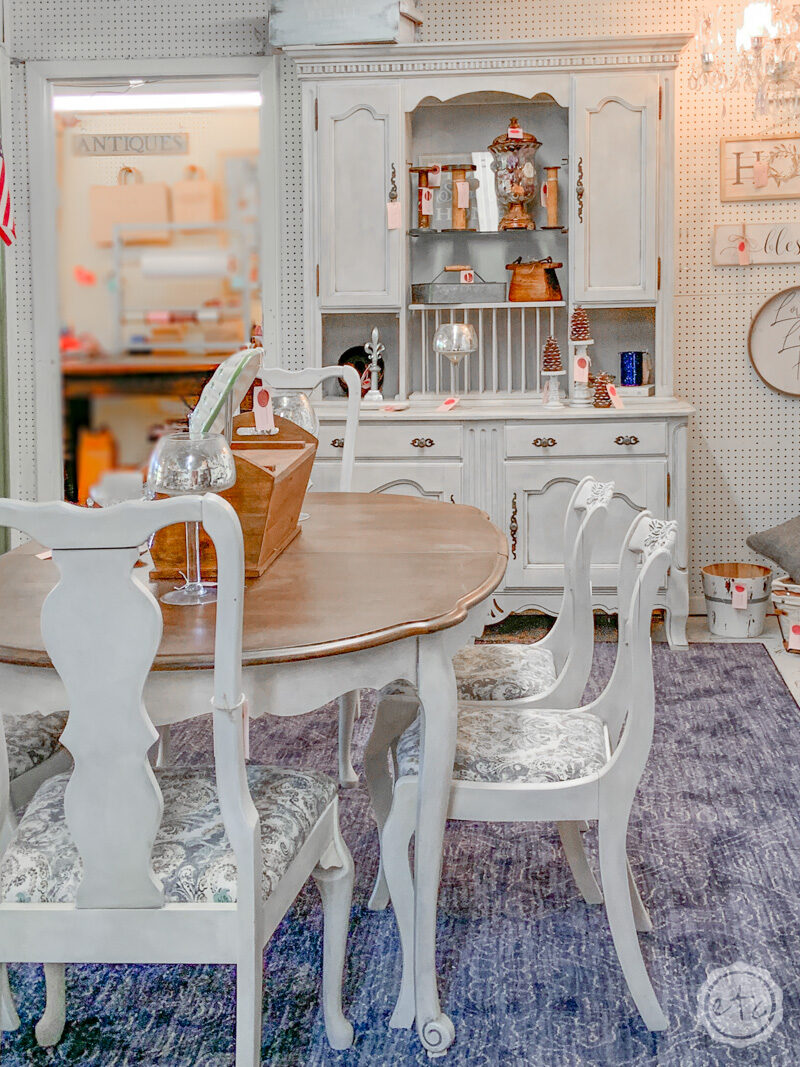
Both brushes have short handles which is easy on my wrists and lets me get into all the weird nooks and cranny’s furniture pieces tend to have (like the plate rack on the hutch I painted last week… FYI if someone asks you to paint a piece with a plate rack? Just. Say. NO).
I love the purdy cub brush when I need to do large flat surfaces or when I need to cut something in with a sharp crisp line.
The chalk paint palm brush is my go-to brush on everything else. I found it at an antique store in Chattanooga and fell in love. I have a couple and use one for paint and one for wax… they don’t leave brush strokes and fit perfectly in your hand. Score.
18. How much does one quart of paint cover?
Now this is a loaded question if I ever heard one. It really depends on the type of paint and how you’re applying it.
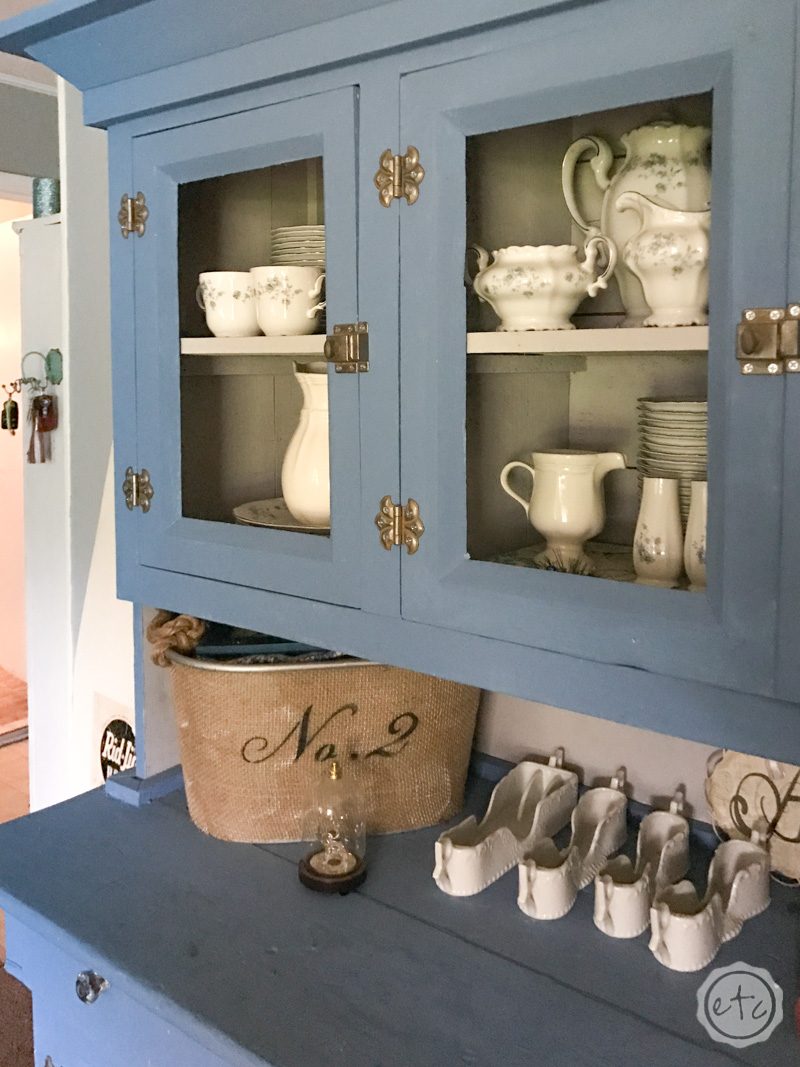
Chalk paint tends to go prettttyyyy far (a rule of thumb is that one quart covers 150 square feet). When you’re putting it on with a brush anyways. Take the picture up above: that blue pie safe in our office is huge! I did one coat of Annie Sloan greek blue chalk paint on it about 5 years ago and used about 1/4 a quart of paint. That’s excellent coverage.
A quart of white chalk paint I bought when we started making over our house made it through the kitchen table, the kitchen bench, the coffee table, 2 bookshelves, a desk and a pair of end tables.
That’s pretty good coverage!
When it comes to using a paint sprayer your paint won’t go nearly as far… mainly because you’re spraying some of it into the air instead of on your piece.
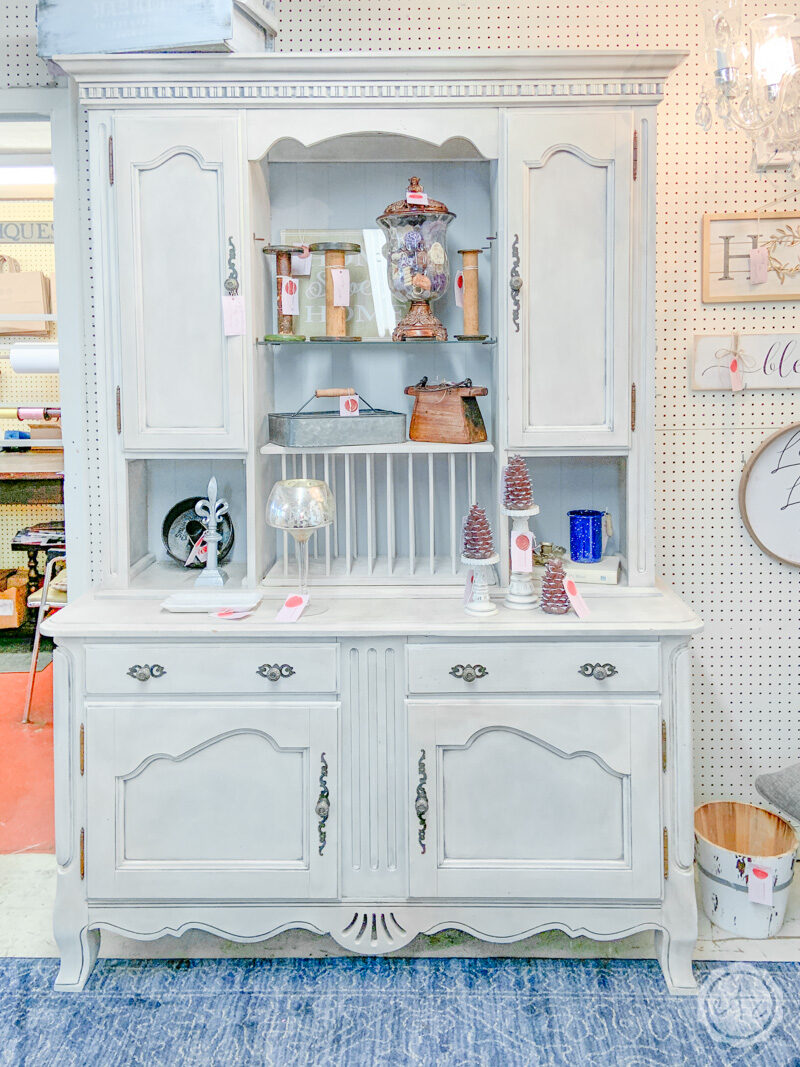
The cabinet below is huge… and I went through an entire quart of rust-oleum linen white chalk paint putting two coats of paint on this baby. Luckily it was worth it!
19. What do I do about furniture paint drips?
Alright let’s be real here… as much as we hate to admit it sometimes pant drips. We try to do light layers and be careful but paint happens.
Once it does you have two solutions. If the paint is wet you’re in luck… just blend it in with your brush and call it a day. OR if you’re using a paint sprayer take a cloth and dab the drip until it’s gone. Then lightly spray over the spot again so that the paint is even all the way across.
On the other hand if your paint drips are dry you’ll have to do a little more work. Take a sanding block and lightly sand the drips until they disappear. Don’t sand too much or you’ll create a divot in the paint that you really don’t want to deal with.
Once you’ve sanded the paint drips you can paint over the spot… if the drips weren’t that bad your new paint will blend into the old paint and you’re good to go.
If the drips weren’t that bad but the paint isn’t drying into the first coat of paint you’ll have to add another layer of paint to get even coverage.
If the drips were realllllly bad or you sanded like a maniac you’ll have to put a little wood putty in the grooves and then paint over them.
Either way… it’s a fairly simple solution. Sand and then paint! Volia!
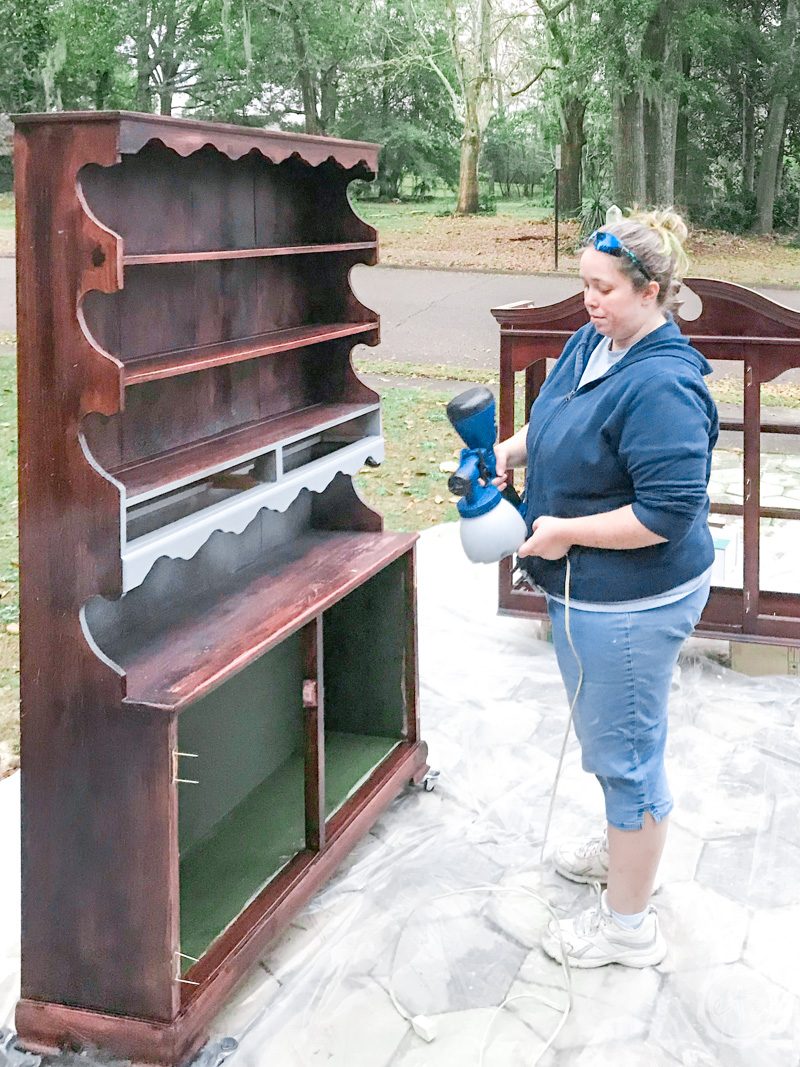
20. How do I paint furniture legs and feet?
I don’t know about you but when I first started painting the feet were the hardest part. Mainly because I would paint the feet directly on the drop cloth and then the wet paint would get stuck on the drop cloth and it. was. a. mess.
Luckily I’ve learned quite a bit since then including to use little furniture wheels when you paint.
Such a simple solution but until you know about these little guys you have no idea! They come in a set of four so you can put one under each corner (or under each leg if you’re working on a table or chair)… and my favorite part is that they have wheels.
SO YOU CAN MOVE THE BIG HEAVY THING BY YOURSELF.
Mic drop.
Get Your FREE PDF Paint Color Swatches!

Ready to paint?
Here's a snapshot of our FAVORITE 10 Neutral Paint Colors... and their coordinating colors.


