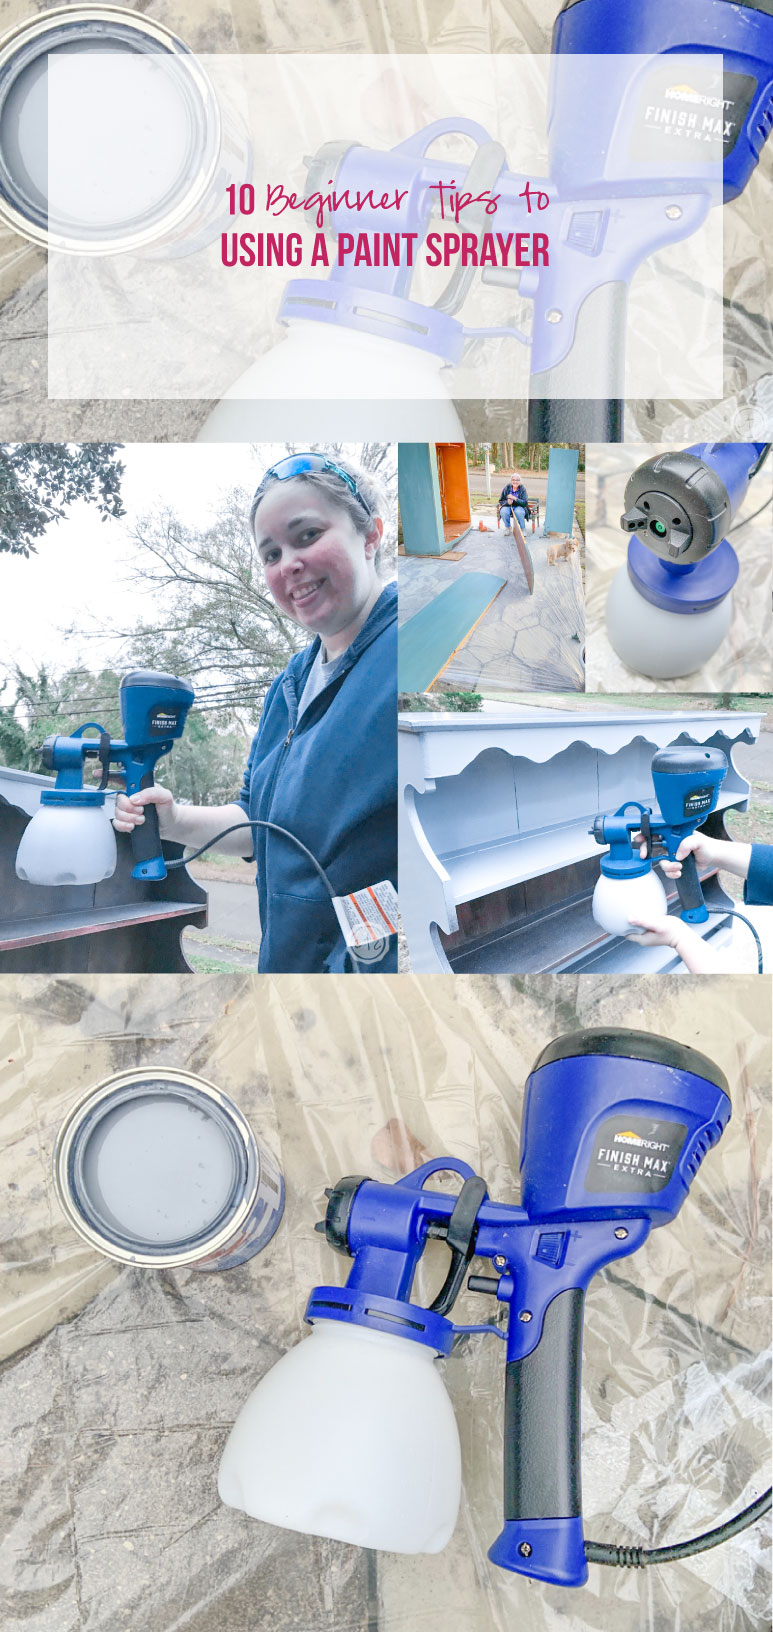
Working at Sherwin Williams for so many years I have learned more about spray rigs (or paint sprayers!) then I ever wanted to know. I spent a bit of time spraying, cleaning and taking apart the big professional rigs (more than I ever wanted too!) so when it comes to little hand held sprayers for the DIYer they seem so small!
Of course, bigger isn’t always better. A big spray rig is needed to pump gallons upon gallons for a pro painting an entire house. Day after day after day. I’m not painting a house, for the most part I’m not even painting a wall!
The average DIYer spends the majority of their time spraying furniture or spray painting projects… although the occasional wall or cabinet might be a welcome change from time to time!
Whether you’ve already purchased a sprayer or are getting ready to use yours for the first time here are my best beginner tips for using a paint sprayer to paint your furniture!
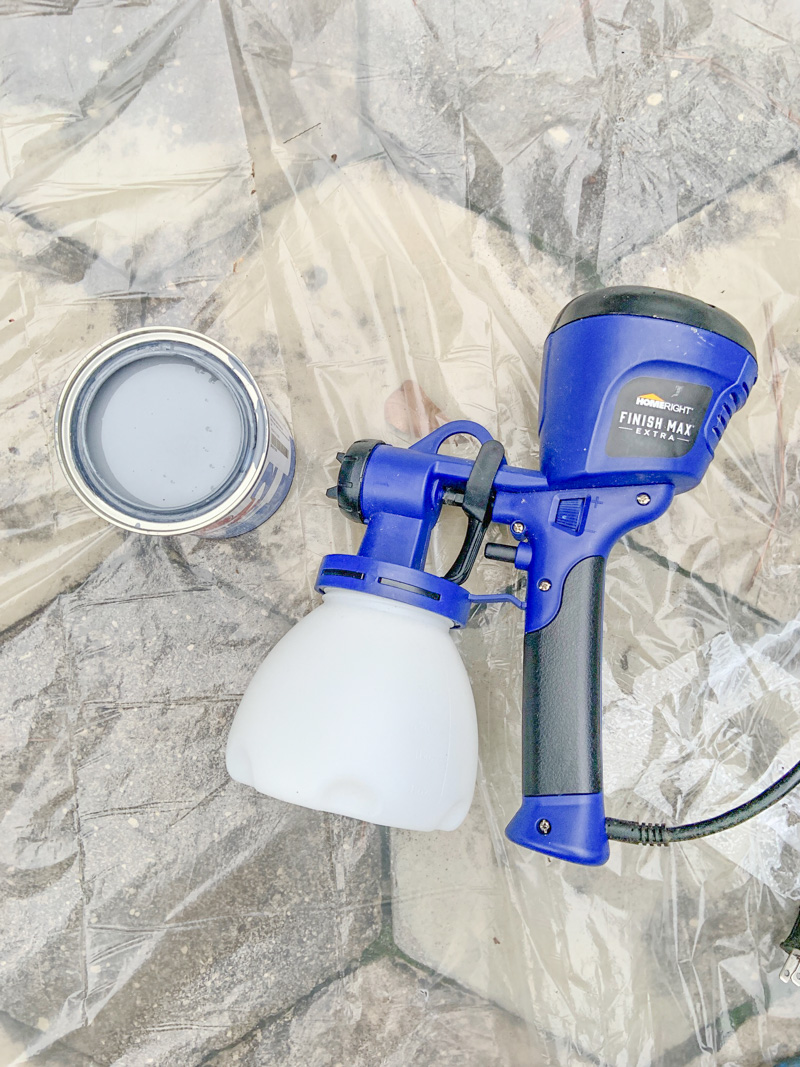
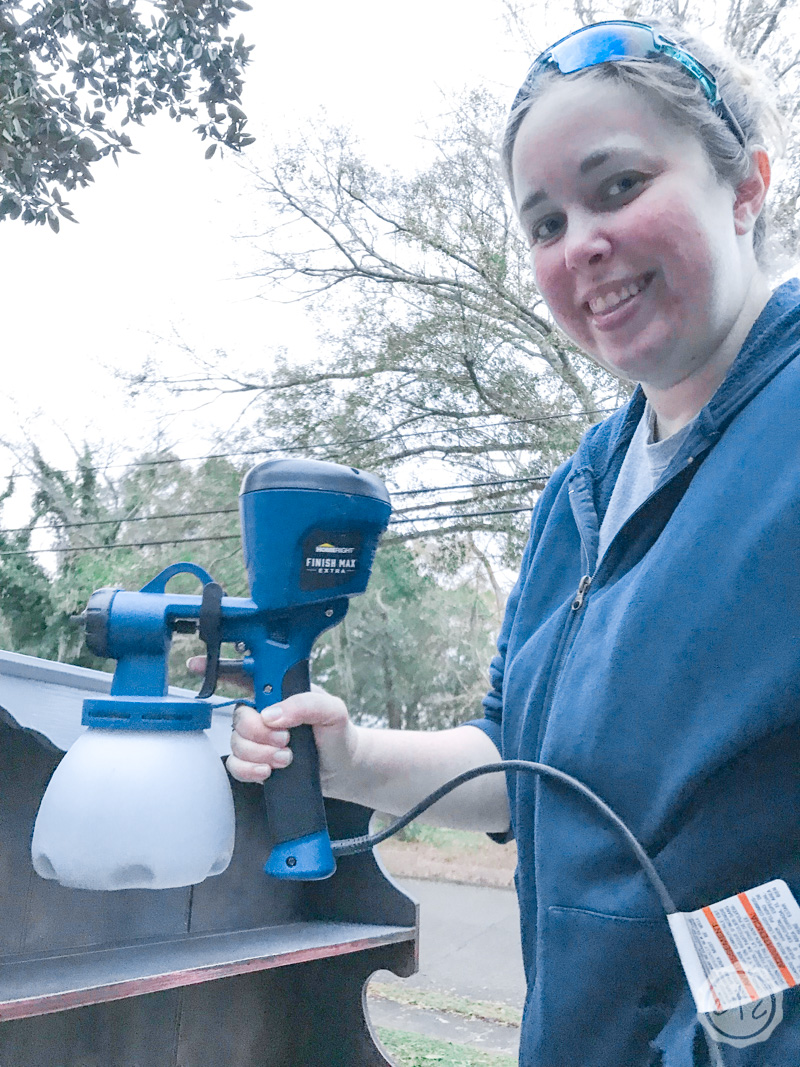
Pssst: I have used many spray rigs over the years and I absolutely love this little Homeright Finish Max. It’s easy to use and perfect for beginner’s… plus it’s easy on the pocketbook! For those looking for the next step up I love the Titan Handheld Flexspray.
1 Prep Your Surface
It’s a little boring but prep work is an important part of spraying a piece of furniture! If you are spraying over grass or concrete you don’t care about that makes life easier but most of us only have so much space in which to work.
Which means a little preparation.
Start out with a plastic drop cloth and a surface for your piece to sit on. I like to use these little furniture feet for… furniture. *wink wink* Of course, a saw horse for shorter pieces is nice too… saves you from bending over fifty million times!
A spray booth is even better since it will protect your surroundings from getting painted as well as the floor… but mine seems to be constantly wet from the last time I used it. Not from paint… because I leave it outside and it’s always raining in Alabama.
I know, I know, I should put it away quicker. Now you sound like my Mama.
Once you’ve set up your area you’ll need an extension cord… a long one… that you can get paint on. Trust me, no matter how careful you are the silly cord will get painted. So just designate one for painting. The cord on most sprayers is crazy short so you’ll definitely need one.
One last tip? The drop cloth is great for protecting the ground but the paint on the furniture dries faster than the paint on the tarp, so be careful not to track it around.
2 Prep Your Piece
I debated whether I should even include this in my little post since prep work technically isn’t part of using a paint sprayer. Prepping a piece for spraying is a little different than painting with a brush though… since you can’t exactly paint around the hardware with your sprayer.
Start the same way as normal: clean clean clean. Multi-purose cleaner and a rag are never out of style! If you need to sand or repair veener this is the time to do it. Next you can remove all the hardware or tape over it.
Since you’ll spray from one side to the other in a clear sweeping motion anything left on the piece will be sprayed! It takes an extra minute but taking all the hardware off the piece before you spray it truly is the easiest solution.
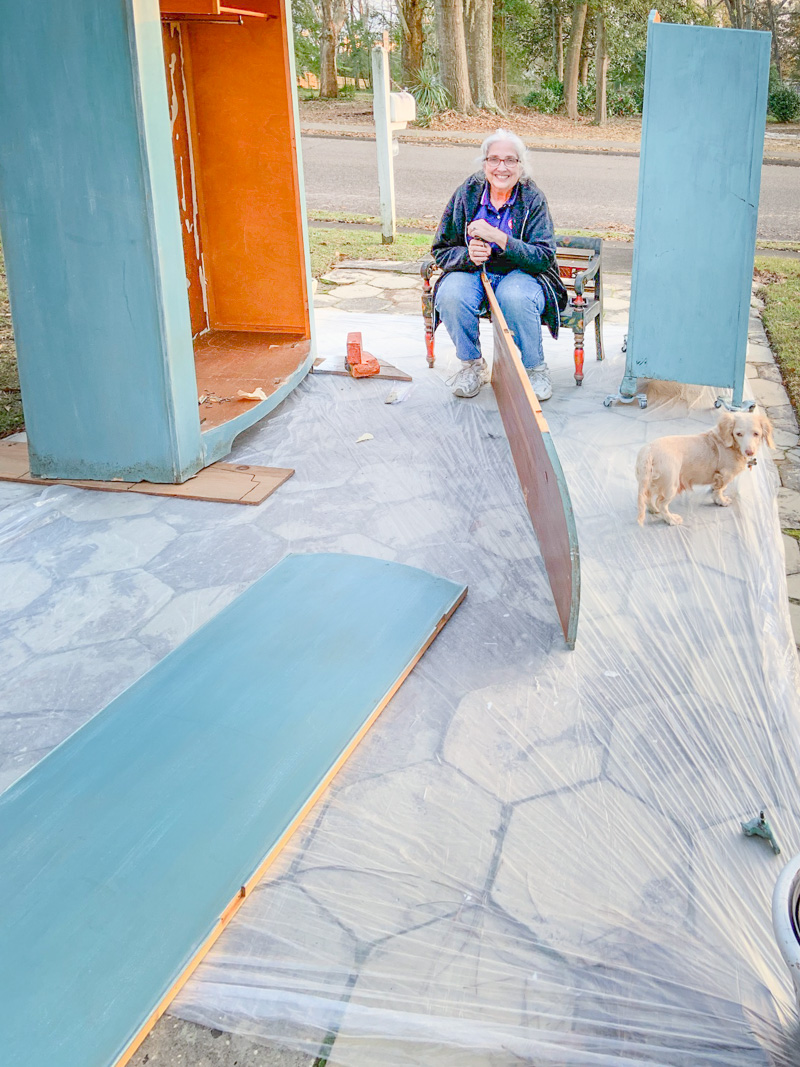
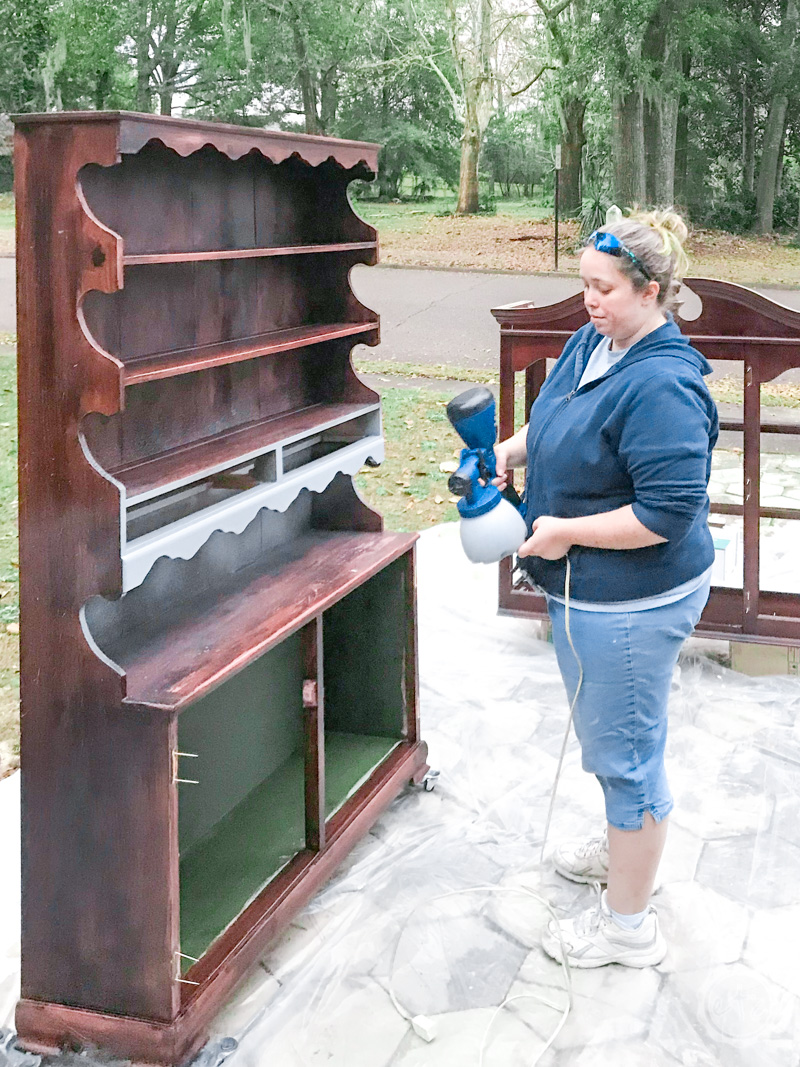
Of course, when it comes to pieces like the armoire up above all the tape in the world won’t protect the inside of the cabinet from getting painted. If you are trying not to paint the inside a spray shield will help you get nice crisp lines… only doing a small piece? Try using a long piece of cardboard for a spray shield instead.
3 Make Sure You Have Enough Paint
Alright let’s talk paint. A paint sprayer will give you a buttery smooth finish without brush strokes but it does this by… spraying paint. And spraying the paint means you lose more paint then you use.
Not really… it just seems that way.
Regardless you’ll use more paint spraying then if you were painting with a brush even though it will go much faster! Just make sure you have enough paint on hand that you don’t run out half way through. There’s nothing worse then having to stop a project midway through to make a paint run. ESPECIALLY with a paint sprayer… if you stop spraying for half an hour to run to the store you’ll have a mess of a sprayer when you come back.
The paint dries in the little spray tip and tubes and bits and bobs… you get the idea. If you have to set your paint sprayer down for longer than 20 minutes take it apart and clean it. Trust me.
If you’re going to be spraying a lot this is when it’s ideal to upgrade your sprayer… there are sprayers (like the titan flexspray) that you can leave paint in for weeks without a problem. We left paint in one for a couple months (as an experiment) and it sprayed just fine!
If your paint is older you may want to strain it first… paint gets a little clumpy when it’s been sitting for a while. I use a metal mesh strainer so that it’s easy to clean.
Last but not least if your paint is too thick you’ll want to thin it a little. I find that rust-o-leum chalk paint sprays just fine without being thinned and that’s typically what I spray since it’s cheap to order online and easy to find in my area.
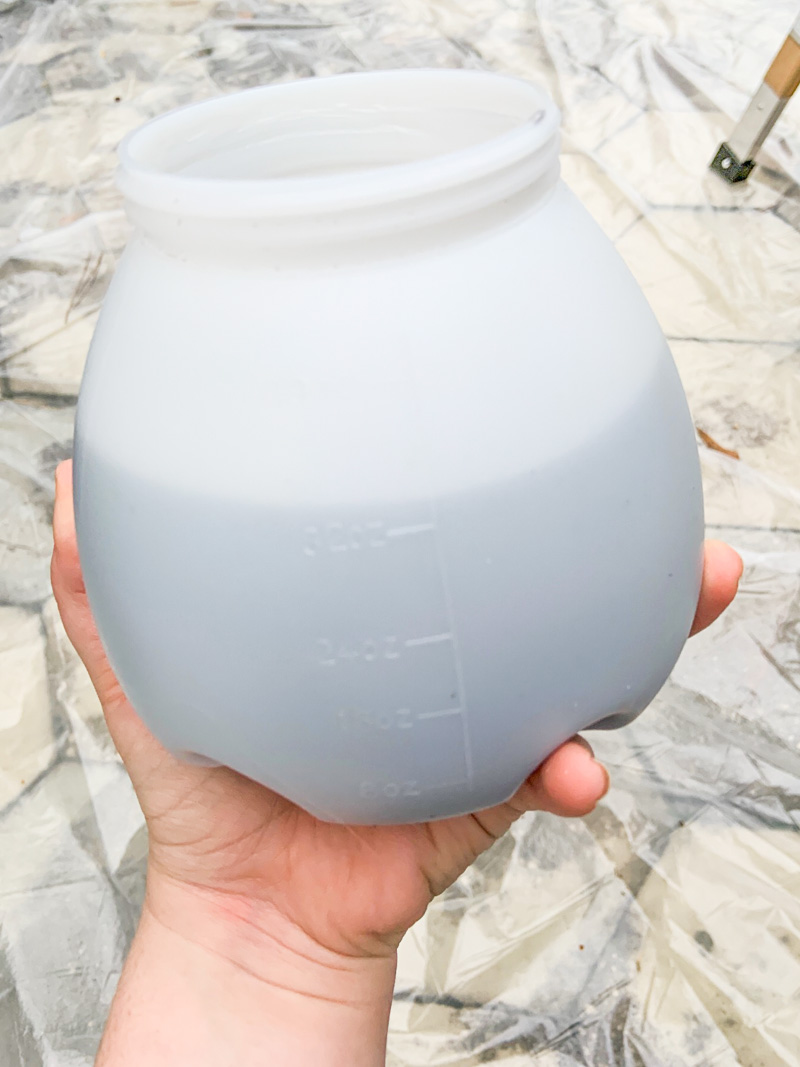
If your paint is thicker the best course of action is to fill your paint cup up 1/2 of the way with paint and then add about 1/4 of a cup of water for thinner paints and 1/2 cup for thicker paints. You’ll be painting in no time.
4 Spray about 10 to 12 Inches from Your Piece
Ready for an easy tip? Once you’ve got your paint loaded it’s time to start spraying! If you’re too close the paint will spray thick and run down the side of your piece… likewise if you are too far back you’ll be painting the air and not your piece.
Hold your sprayer about 10 to 12 inches from the surface of your piece and spray from left to right. Always start by spraying into the air beside the piece, spray the entire surface (from left to right) and off the other side of the piece into the air.
That way your finish is smooth and continuous and doesn’t have too much paint on the sides or corners from stopping and starting your sprayer.
5 Hold Your Sprayer Vertical
You want to move your entire arm – not just your hand – as you spray, and keep your arm in constant motion. Don’t stay in one place for too long… left to right y’all. Long consistent motions.
That paint sprayer is fairly light in reality but after a couple hours of spraying it feels like a million pounds so use your whole arm and just keep going!
The little tube inside the paint bucket is what sucks up paint out of the bucket and feeds it through the machine… so if you turn your paint sprayer upside down you have as much paint as is currently in that tube to paint with until your paint will run out.
Which is usually a couple seconds worth.
I try to keep my machine upright as much as possible BUT if you have a small space to paint (say the bottom edge of something or the inside top) go ahead and turn your little sprayer over and spray until the paint runs out. Then turn your sprayer over and spray a different area upright for a couple seconds (to re-fill the tube). Just repeat this until you’ve finished spraying the underside of whatever you’re working on (or you get really woozy from turning your head upside down).
Whichever happens first!
6 Change the Tip Position to Hit the Small Spots
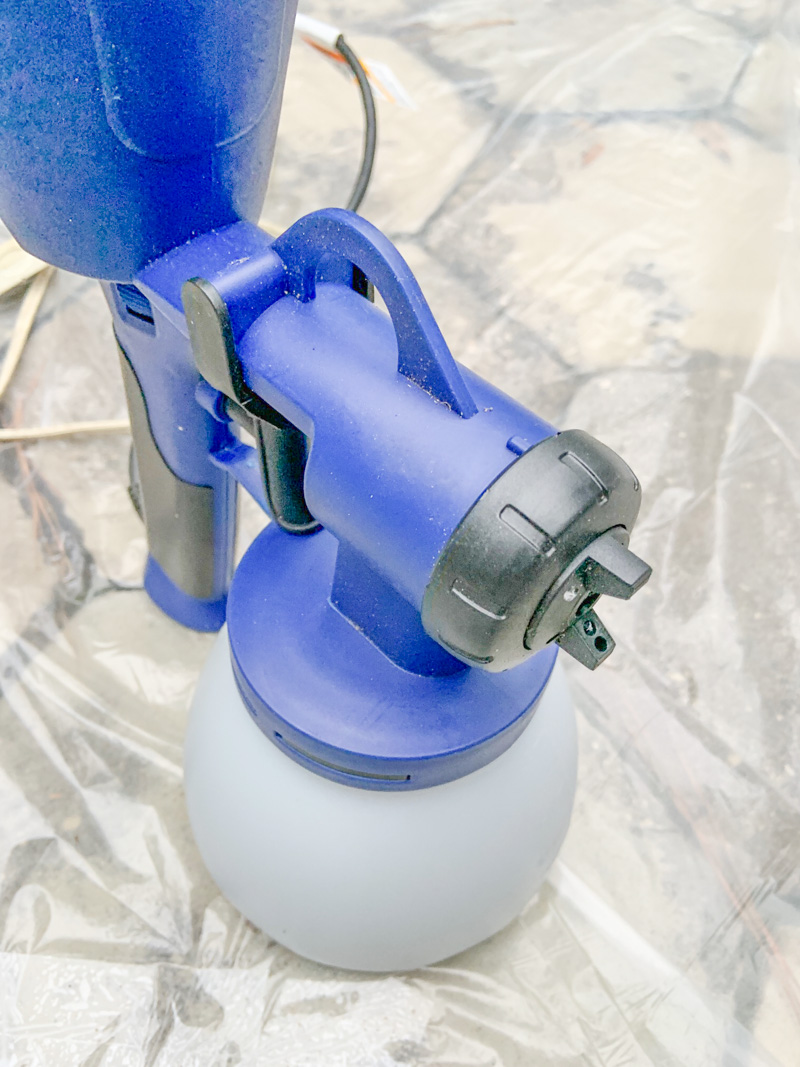
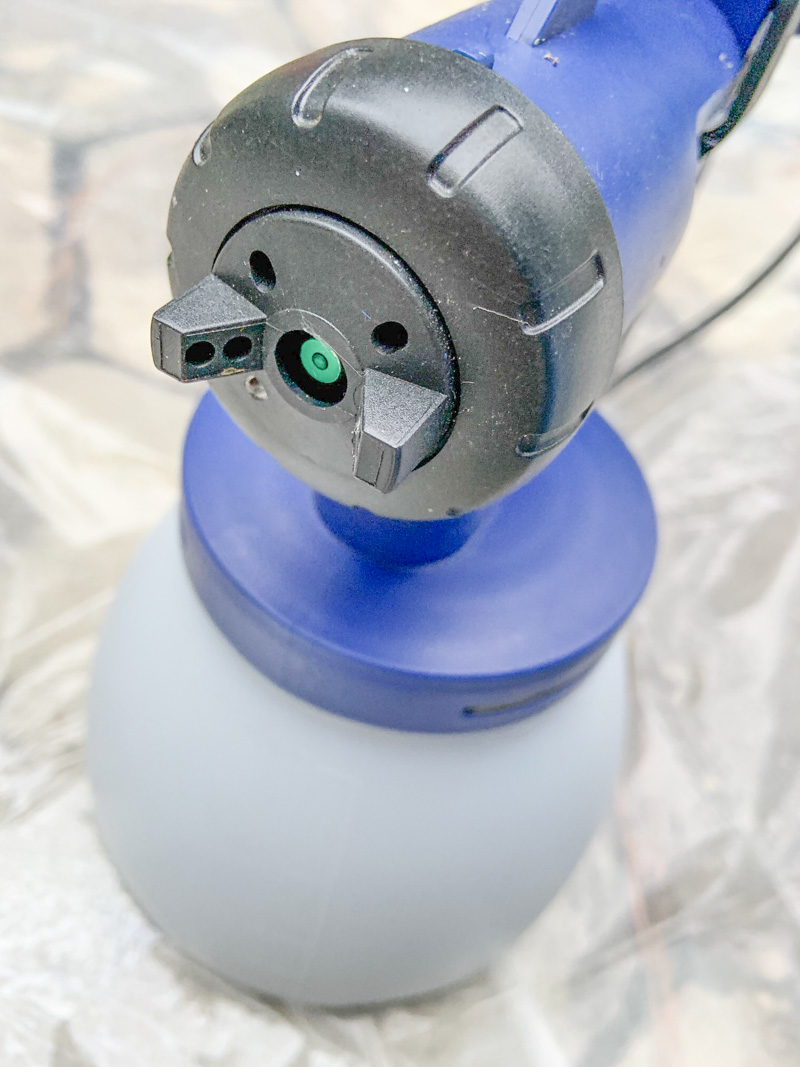
I don’t know about y’all but I am always being asked to paint pieces with tiny little nooks and cranny’s. Take a look at the front of this little spray rig. The spray tip in the middle is green and there’s a black circle around it that moves… you’ll see the two black triangles on either side of the spray tip?
Those little triangles are like little spray shields for your spray pattern and they also let you know which way your paint is coming out. If the triangles are horizontal like they are in the second picture your spray pattern will be coming out vertically.
On the other hand if you turn that little wheel and the triangles are vertical the spray pattern will now be coming out horizontally. This little baby can also spray on a diagonal but I’ve never used that pattern.
Switching the spray pattern will let you spray back into allllll the tight little corners on a piece without having to maneuver the sprayer too much so don’t forget to orient your sprayer before you get started.
7 Watch Your Spray Patterns
Alright y’all whether you’re spraying from left to right (or top to bottom) just make sure you’re overlapping your spray patterns.
The tip of your sprayer tends to put out paint in a fashion that leaves most of the paint in the middle of the stripe and very little on the sides. So overlap your spraying by about half the spray fan and you’ll be covering the piece like a boss.
Alllllllll the way to the bottom!
8 Multiple Thin Coats are Better than One Thick Coat
There’s nothing worse to a buttery smooth finish then a bunch of ugly, unnecessary, yucky spray drips. I paint a lot of furniture that’s already been painted and spray drips on a piece tell me that whoever painted it the first time probably didn’t pay much attention!
This little sprayer does a great job of covering well in one coat. Half the time I feel like a second coat isn’t even necessary (except I know the piece will hold up longer if it has two coats on it). Either way thin coats will help you to avoid the dreaded drip!
9 Sand in Between Coats if Necessary
Hopefully you won’t need to do this but every now and then you get a piece that needs to be sanded in between the coats of paint. Typically there are two reasons for this… it’s a new piece of beautiful wood and painting it raises the grain.
Some wood has a weird tendency to get scratchy and annoying after it’s been painted. You’ve heard of wood grain? Well that wood grain will lift giving it that scratchy feeling and they call this “raising the grain” luckily a light sanding will knock that grain right down again and then you can paint the next coat without worrying.
Of course, the other reason is if you do have nasty drips to deal with. Sand those drips down and then paint over them for a smooth finish!
10 Clean Your Sprayer
Alright y’all! If you’ve got to this point you’re all set with this little sprayer! You’ve painted your piece with two coats of paint and you’re ready to cover it with a poly. Of course, that only leaves one thing.
Cleaning your sprayer.
Trust me, cleaning the sprayer when the paint is wet is much easier then cleaning it once the paint dries.
First, take off the paint bucket and put any un-used paint back in the quart… then rinse out the paint bucket. Take off the little paint tube inside and the black spray nozzle cover on the front.
They just twist right off… and you’ll find a little black ring inside. Go ahead and clean all those pieces off really good with warm water. Then you’ll unscrew the green spray tip and clean it out really well with water.
Last piece of advice? Unplug the machine and spray water up through the intake tube (which is where you took the little paint tube out from inside the paint bucket) when you spray water through this little tube it will come out the front of the sprayer just like the paint does!
Once you’ve run water through for a while and it seems clean, I like to spray water the opposite way: into the front of the sprayer and down into the intake tube.
Now everything should be squeeky clean! You can dry it all off and put it back together untill next time. Easy peezy lemon sqeezy!
Any more questions? Leave them below!


