


I first learned about MMS hemp oil years ago at the chapel market in Pike Road. I’ve followed Miss Mustard Seed for years and absolutely love all of her products… not to mention her blog. While I am not a huge fan of wooden furniture there are occasional pieces that I absolutely love and don’t want to paint.
When I don’t want to paint furniture hemp oil is my go to solution. It’s an all natural solution to re-hydrated the wood when it’s older and has lost a bit of it’s luster. It looks so pretty once you’ve applied the hemp oil I can’t even stand it!
Plus it’s super easy to use.
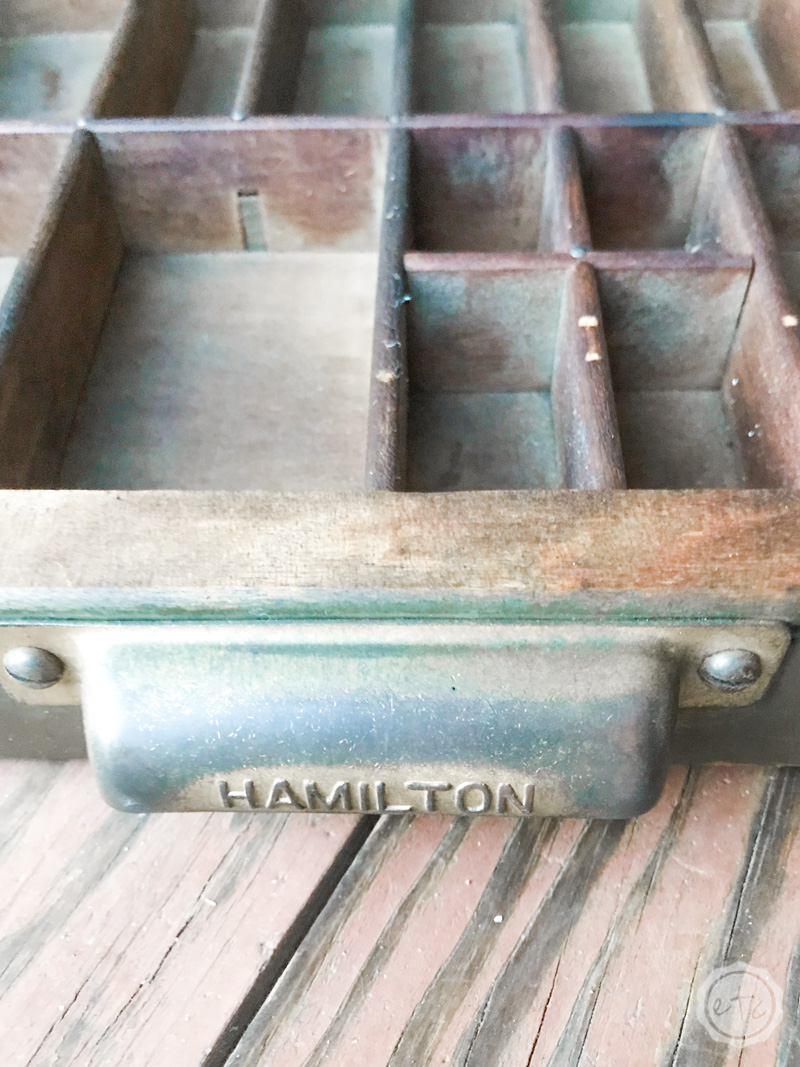
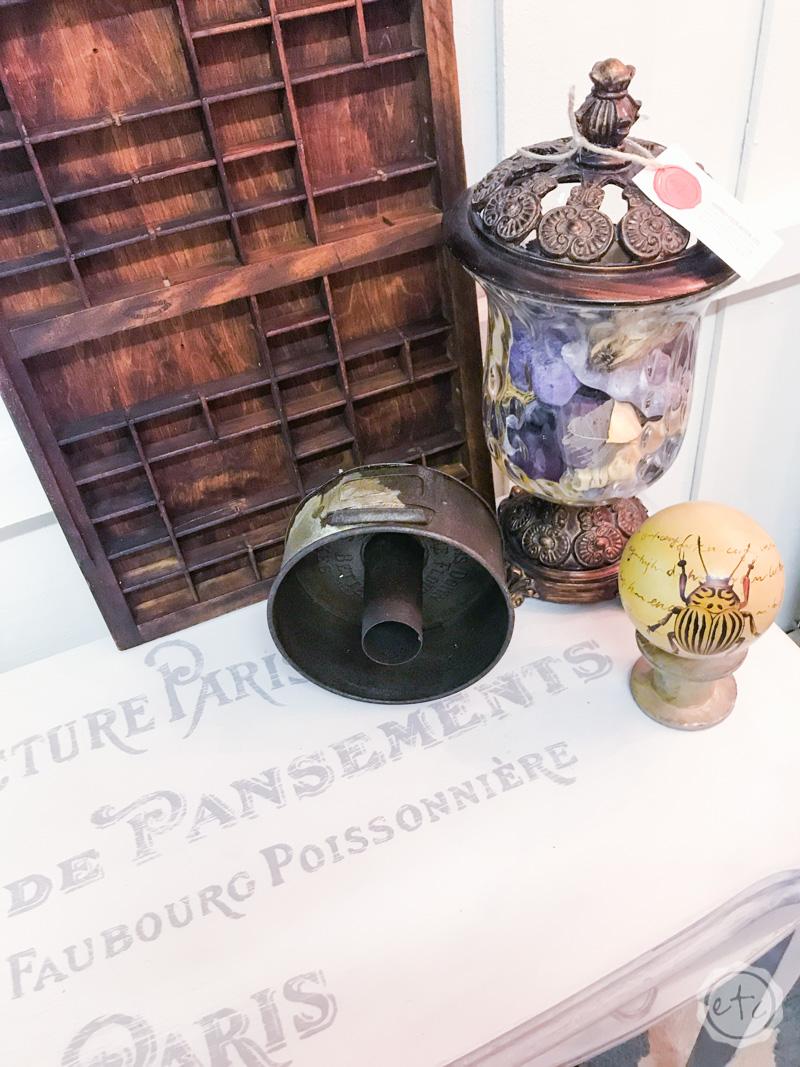
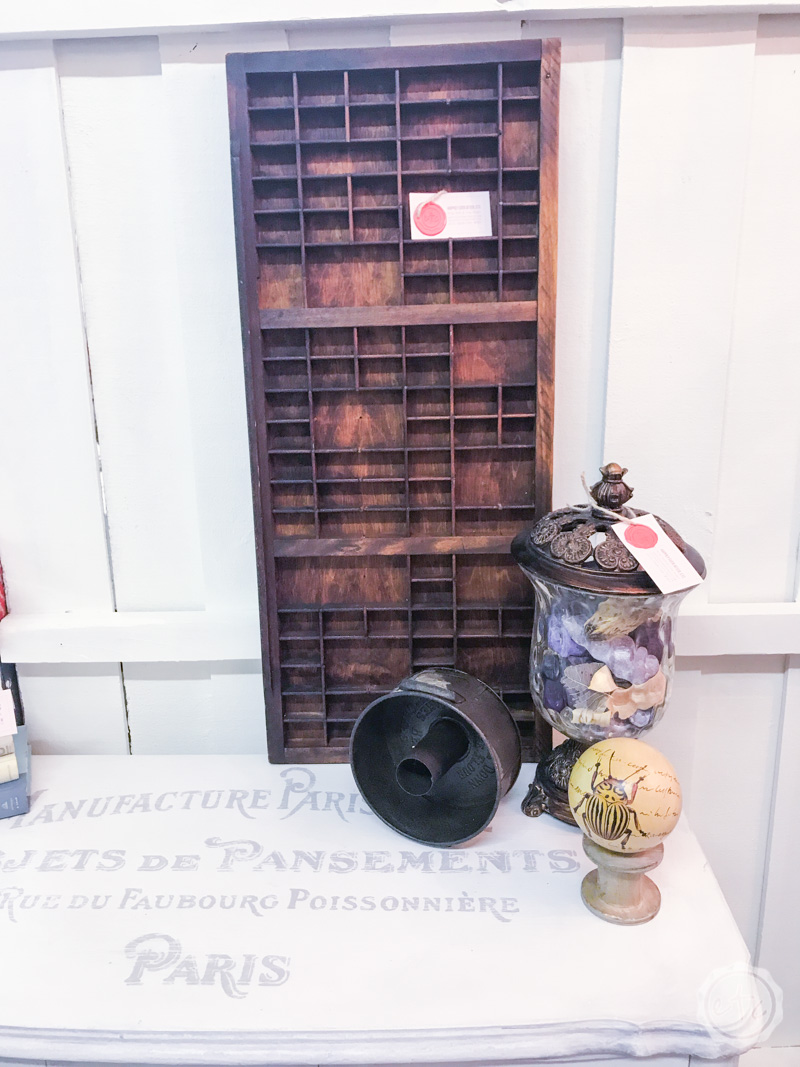
When I found a set of antique type trays a few weeks ago I decided they would make a perfect example for hemp oil… so you can see the exact difference between the trays. I mean just look at that hardware! Isn’t it beautiful?!

Supply List
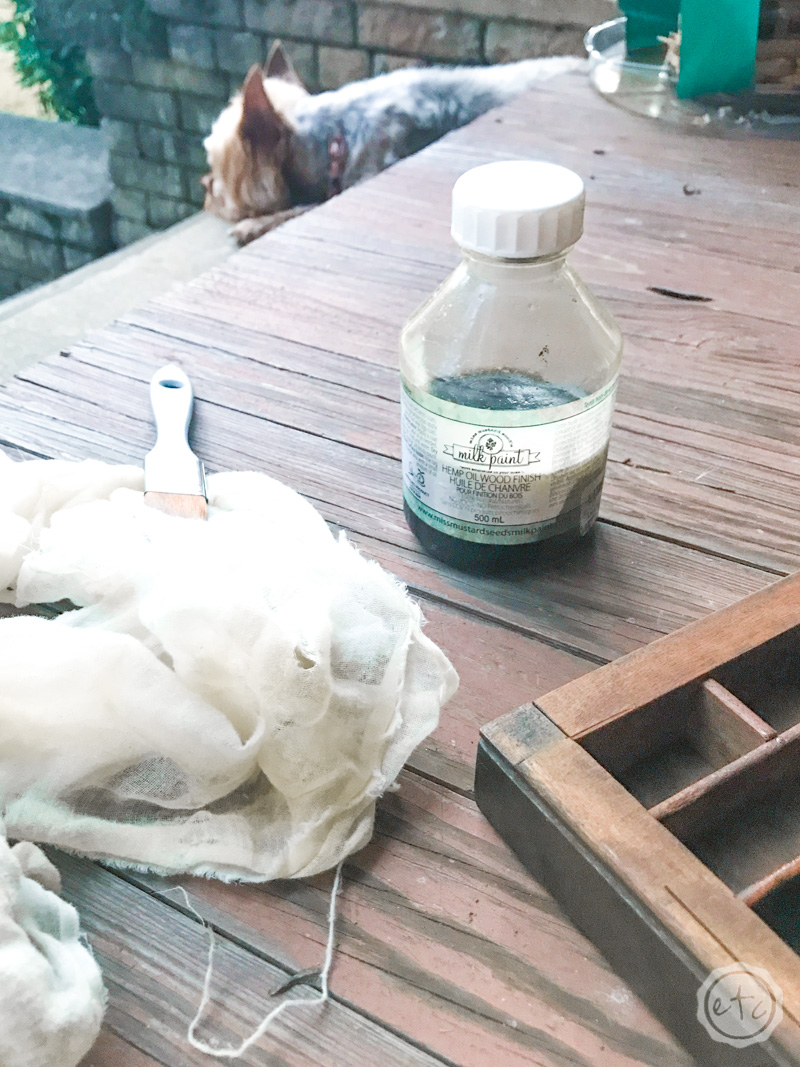
- Hemp Oil
- Paint Brush
- Tack Cloth
- Soft Lint Free Cloth
- Disposable Gloves
Step 1: Clean the Piece
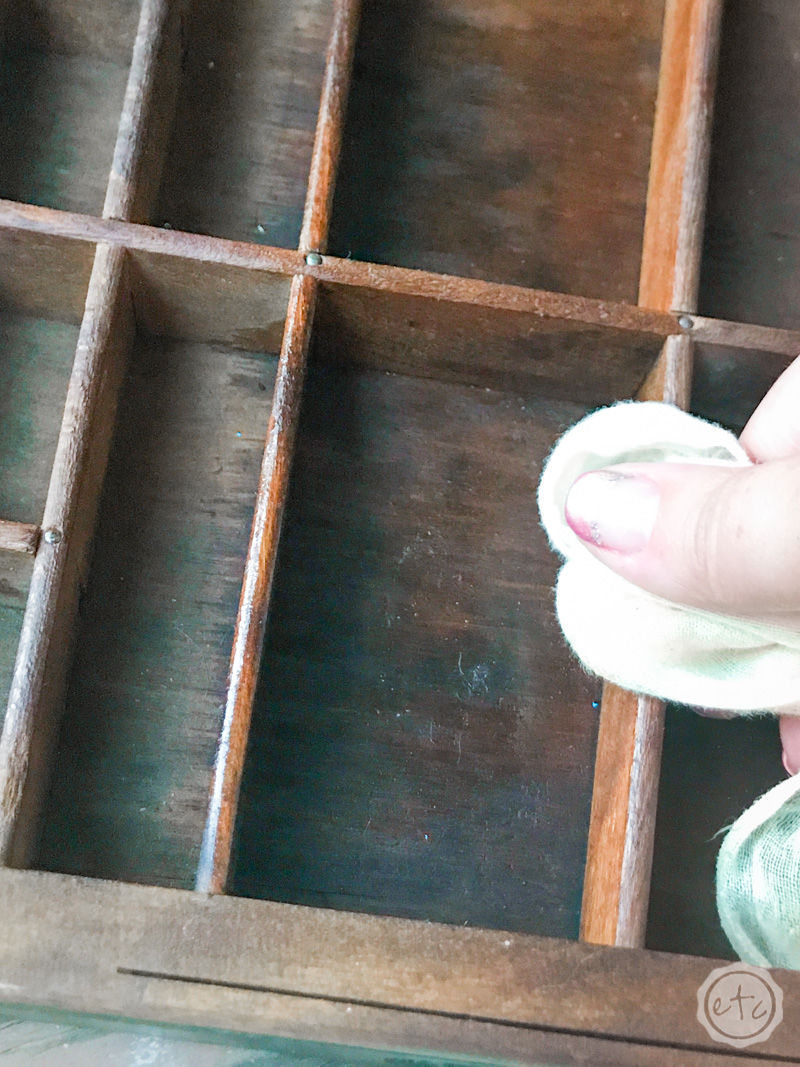
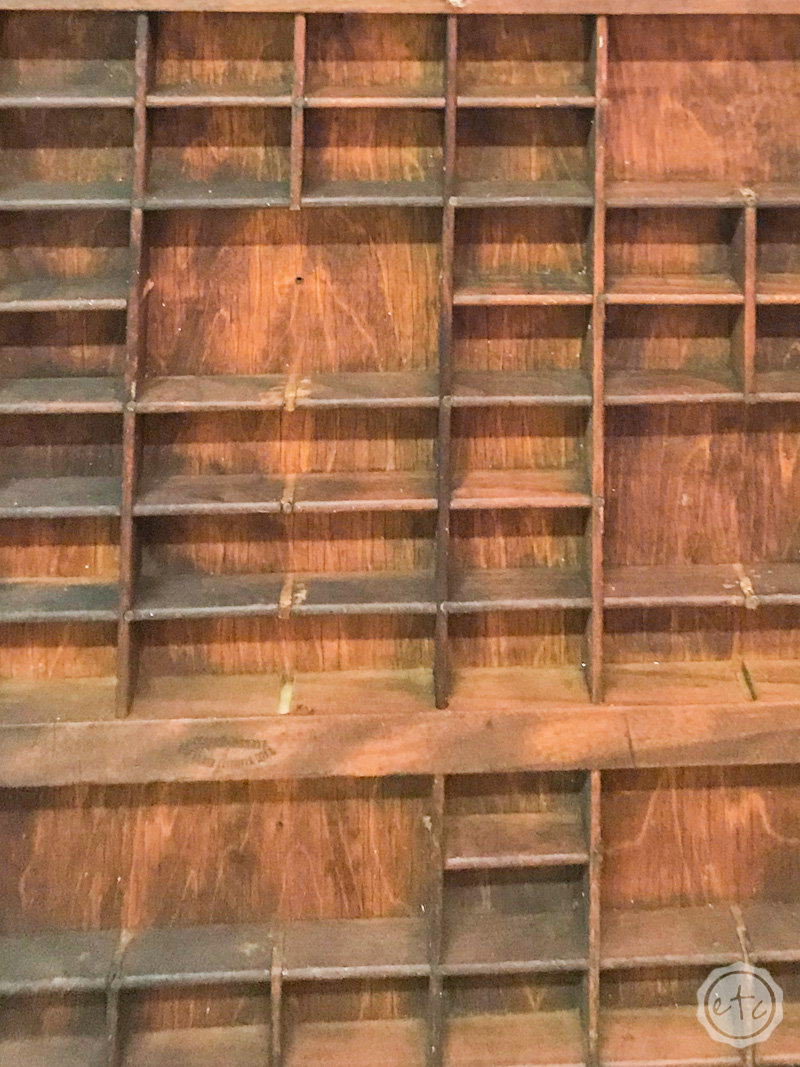
The first step in any project is the prep work… luckily in this instance the prep work was minimal. These type trays are old and definitely had quite a few cobwebs so the main part of prep work was to dust these bad boys.
When you’re prepping a piece for painting, staining or hemp oil I love to use a tack cloth to dust. It’s so sticky and picks up alllllll of the little dust particles that are over these old type trays. They’re just so sticky though! I hate the feeling that the stickiness leaves on your hands so I always wear disposable gloves when using these little guys.

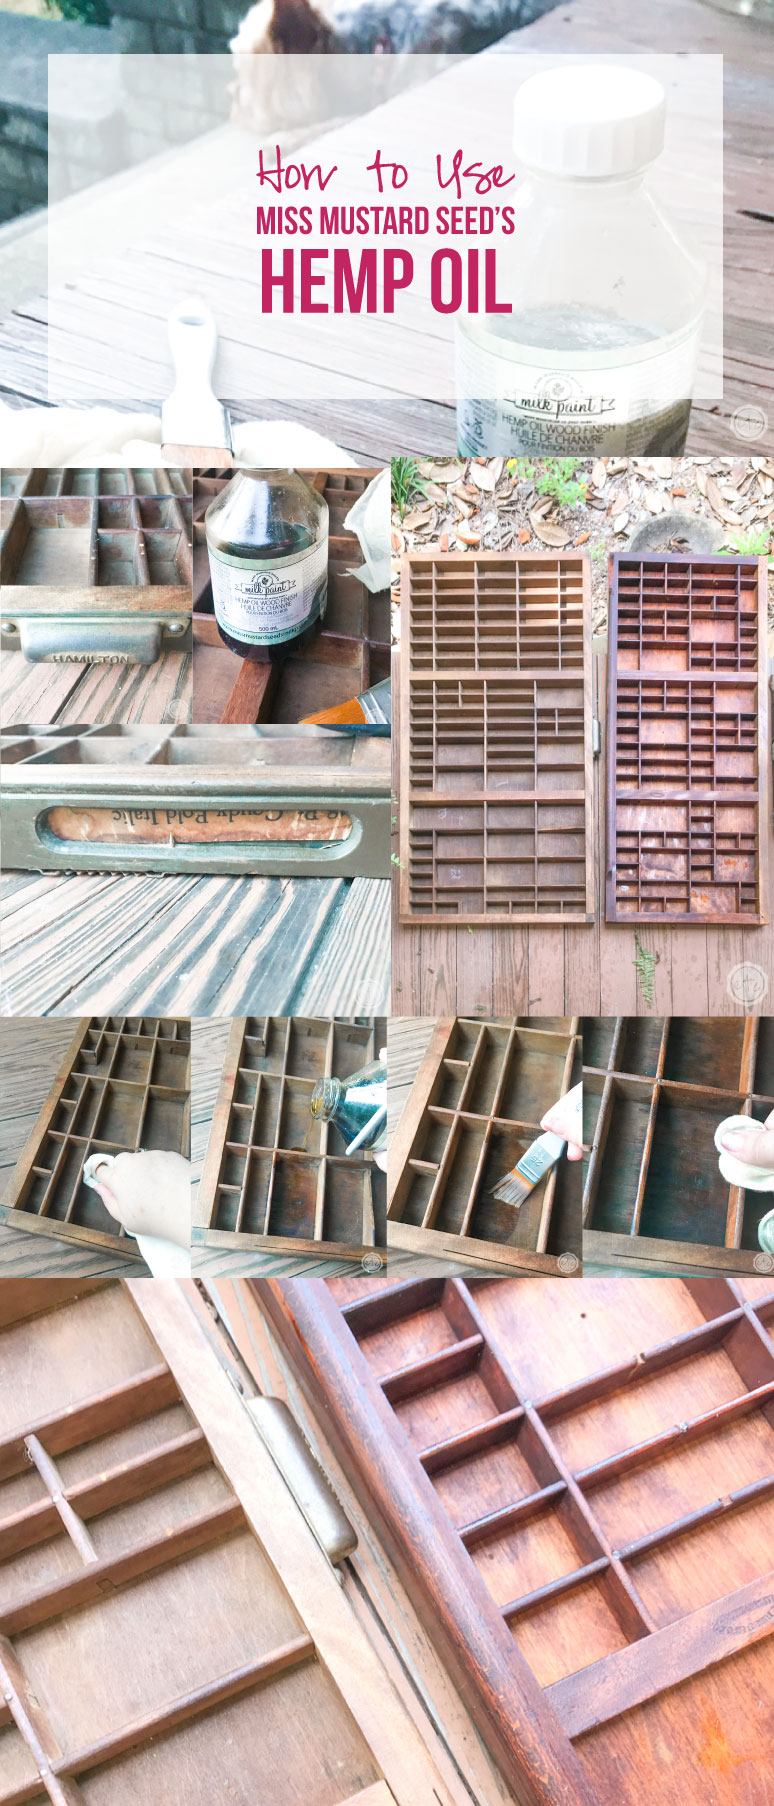
Step 2: Apply the Hemp Oil
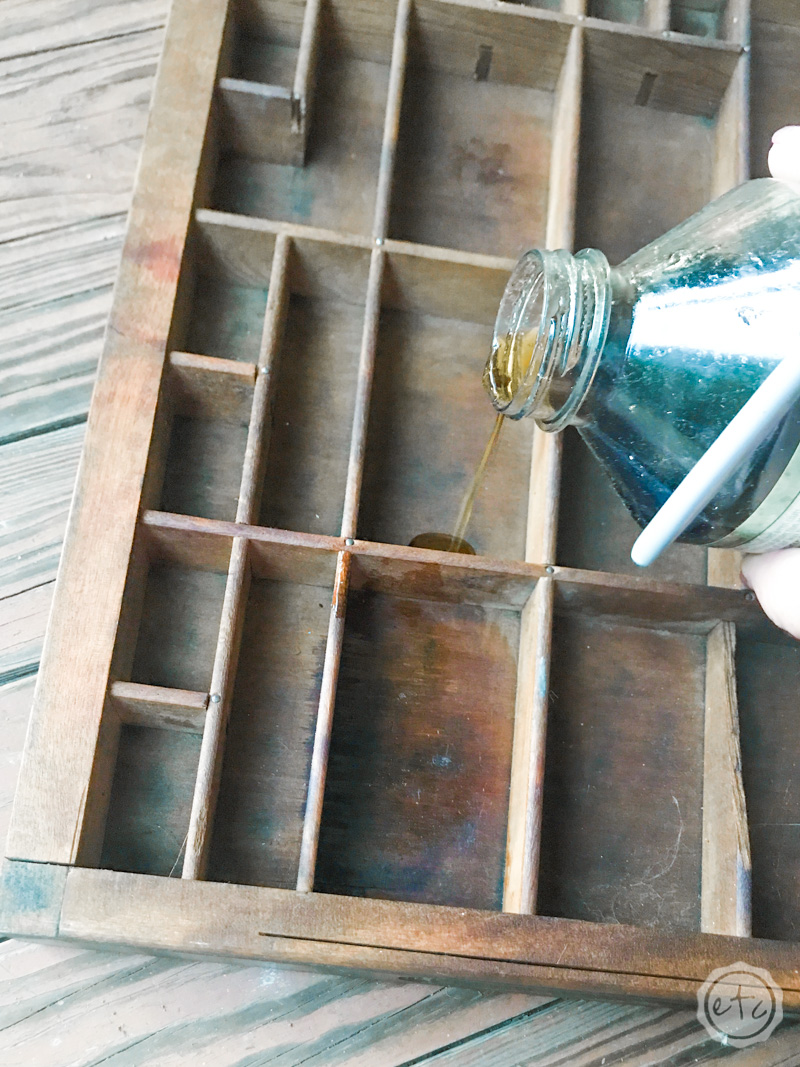
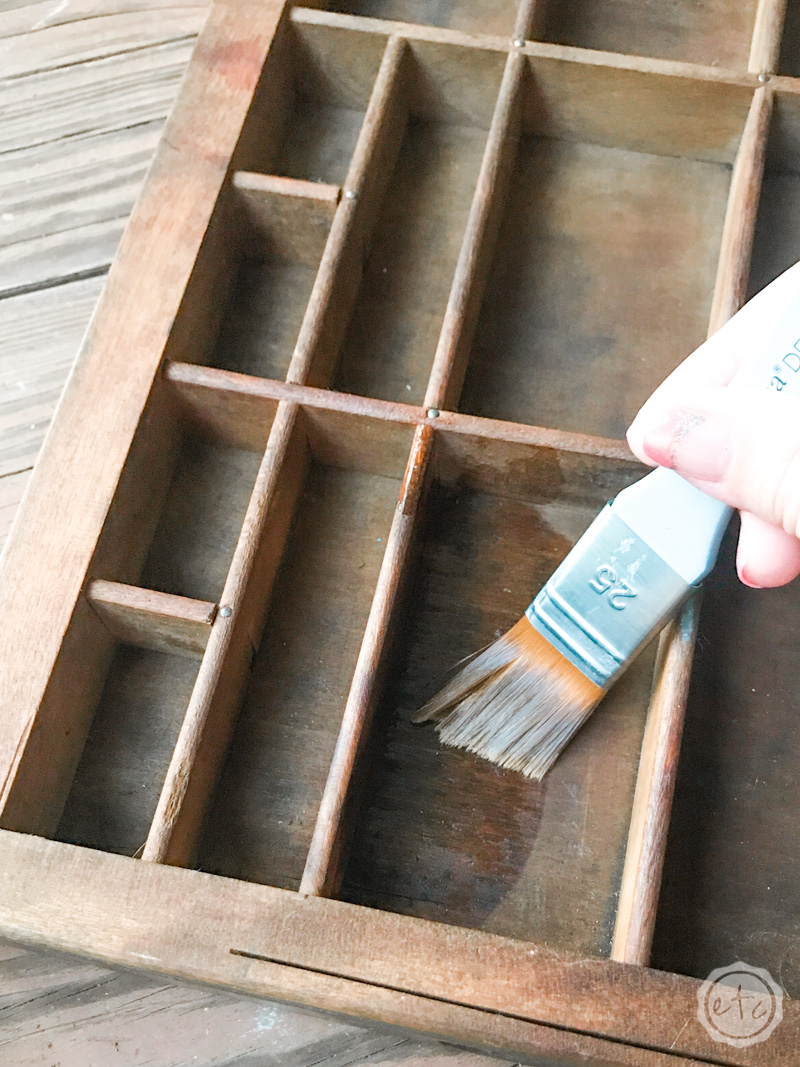
If you are the kind of person who likes to see the progression of things (like those cleaning grout videos on youtube? or peeling the plastic cover off a new phone?) then you are going to love hemp oil! It’s super easy… basically pour a bit of hemp oil onto the type trays and then use a paint brush to push the oil into all of the nooks and cranny’s.
You can dip a brush into the hemp oil and then spread it onto the piece but in this case the wood was so dry and drinking up so much of the oil I poured it directly onto the piece. Typically you’ll have a bit left over that needs to be wiped off after half an hour or so but in this case the wood drank up all the excess hemp oil so there was nothing to wipe off!
I did run a lint free cloth over all the bits and pieces just in case there was any in the corners but I didn’t find any!
Guess what? Now you’re done! Once the piece has dried you are set to go… and hemp oil is even food safe so you can use it on dough bowls or butcher block counter tops.
Of course, my most important tip is to work on this type of project outside on the porch in the summer air with a yorkie to lay on the steps nearby. This project was definitely worth it!

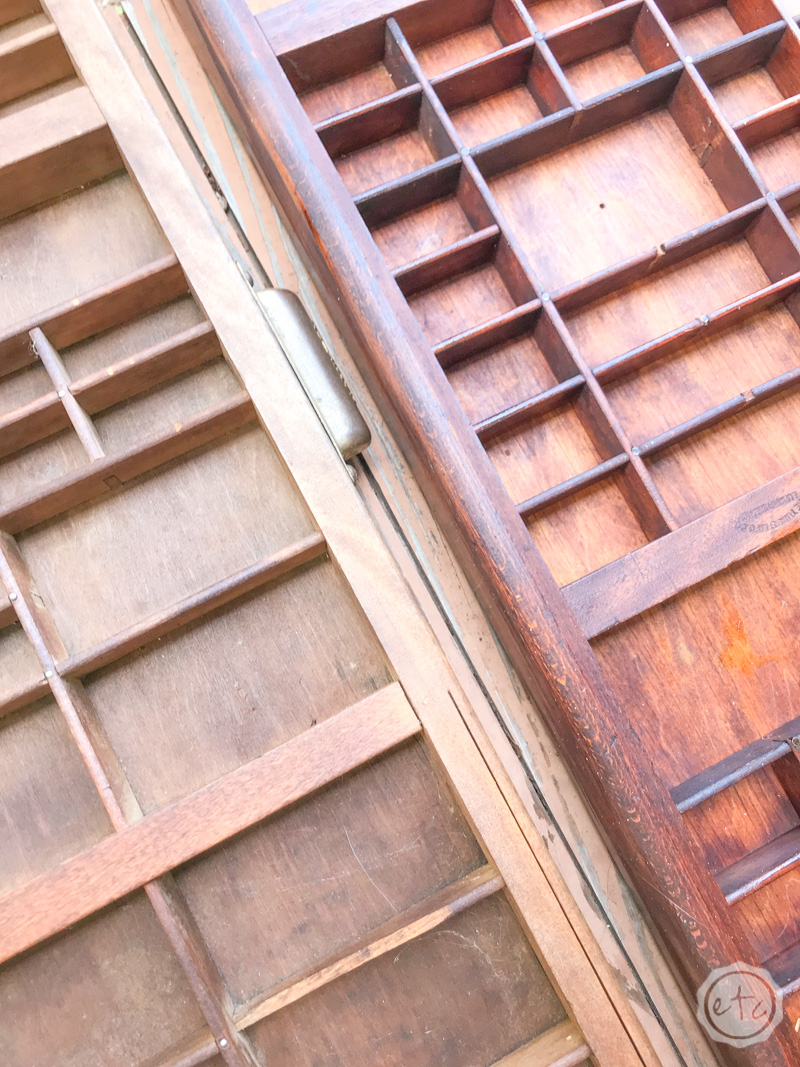
Just look at the difference the hemp oil made between the before tray (on the left) and the after tray (on the right). The wood just looks so revived and hydrated! You can definitely see the difference between the two trays and half an hour before this photo was taken the trays were exactly the same color.
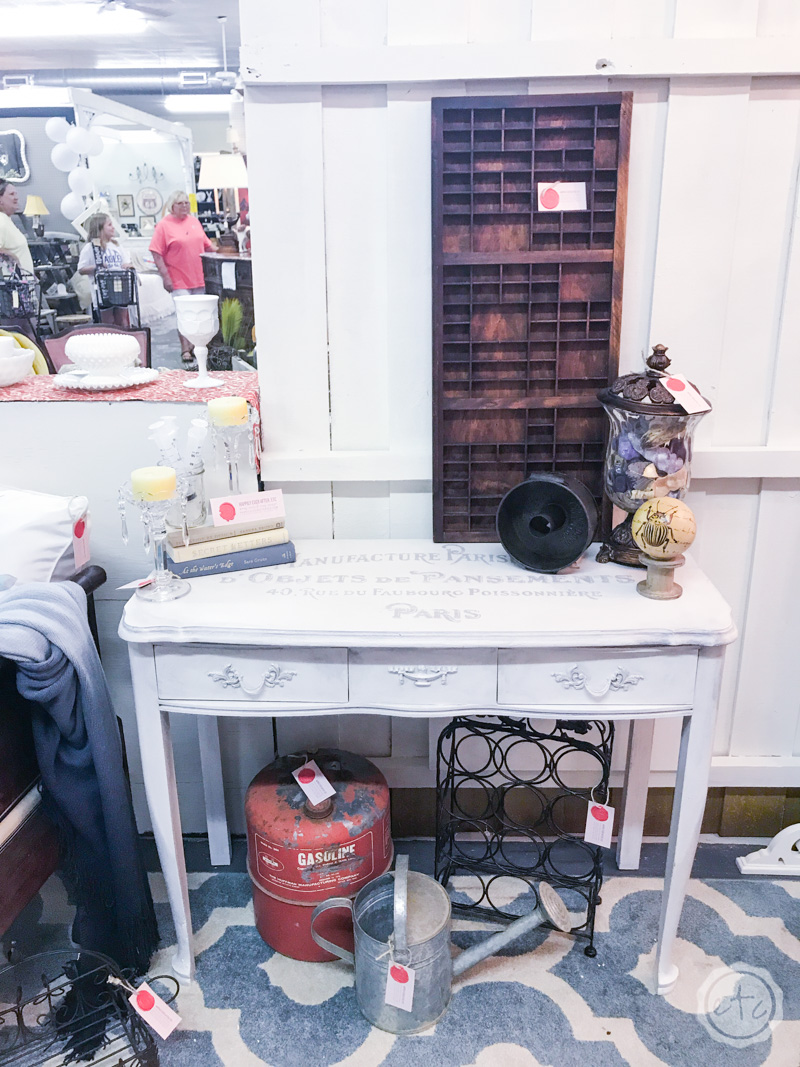
I absolutely love the hardware on the left tray and have added it to my collection… the tray on the right is already snuggled into it’s new spot at the antique booth. Now it’s just waiting on it’s new owner to find it’s forever home.
Just like a puppy.
Leave a comment below to let me know what you think of MMS’s hemp oil and if you decide to re-do a piece send in a pic to Betsy @ Happilyeverafteretc {dot} com… I’d love to see!


[…] Plus it’s super easy to use! […]