


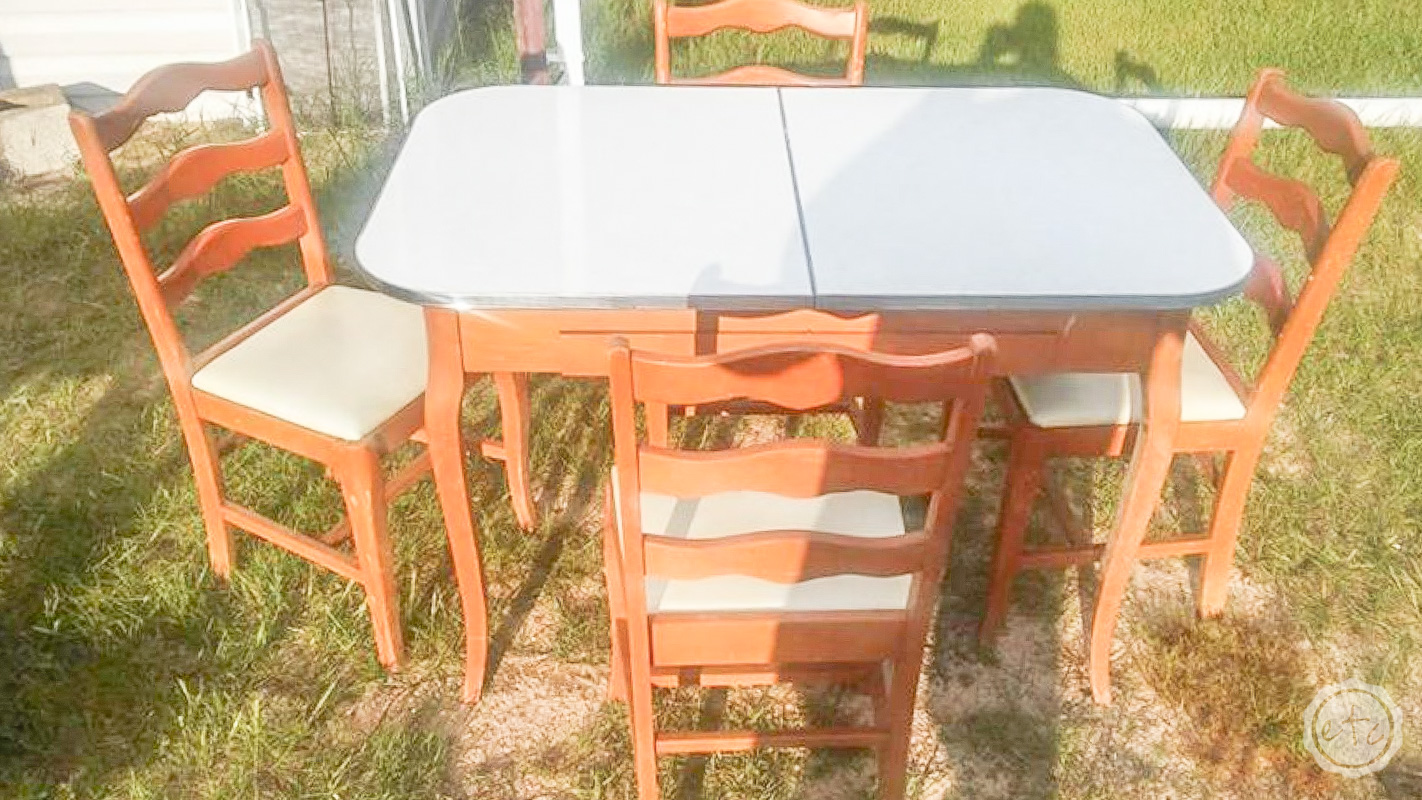
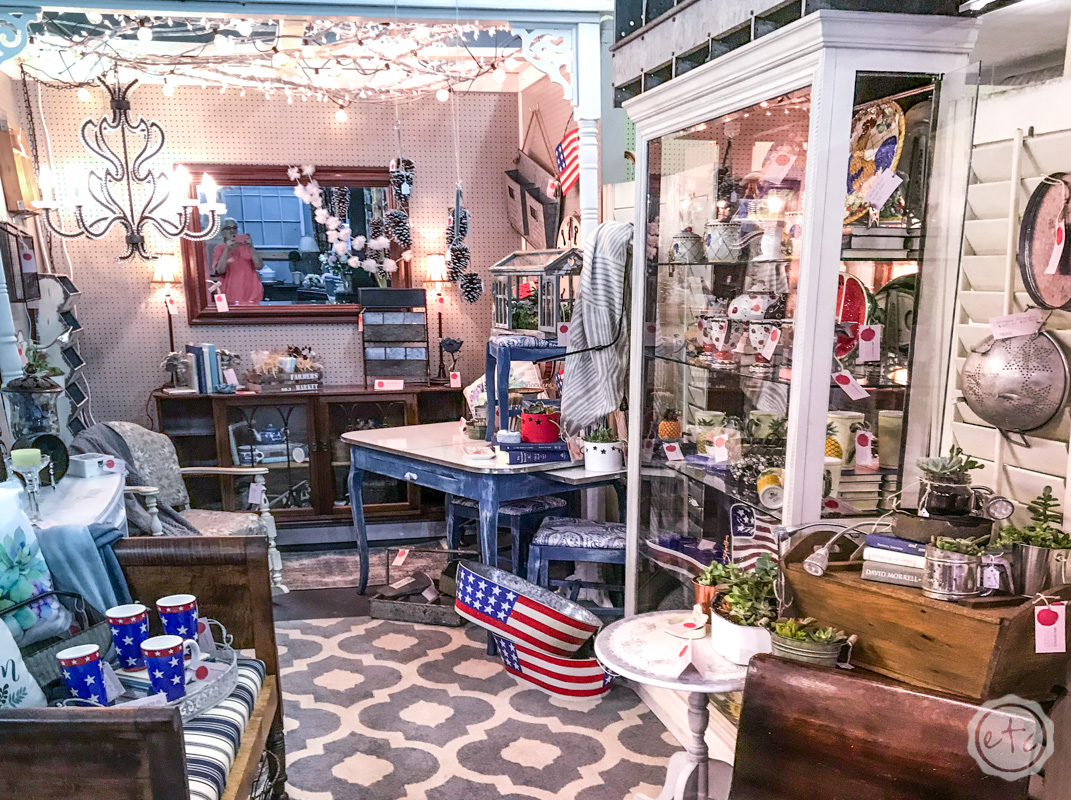
It has been a long month as Mom and I bust our butts to get allllll the pieces ready for the grand opening of our new antique booth. Of course, in the future we’re hoping to paint pieces a little at a time but for this first month we had a. million. things. to. get. ready. all at the same time. Starting with this enamel topped wooden table.
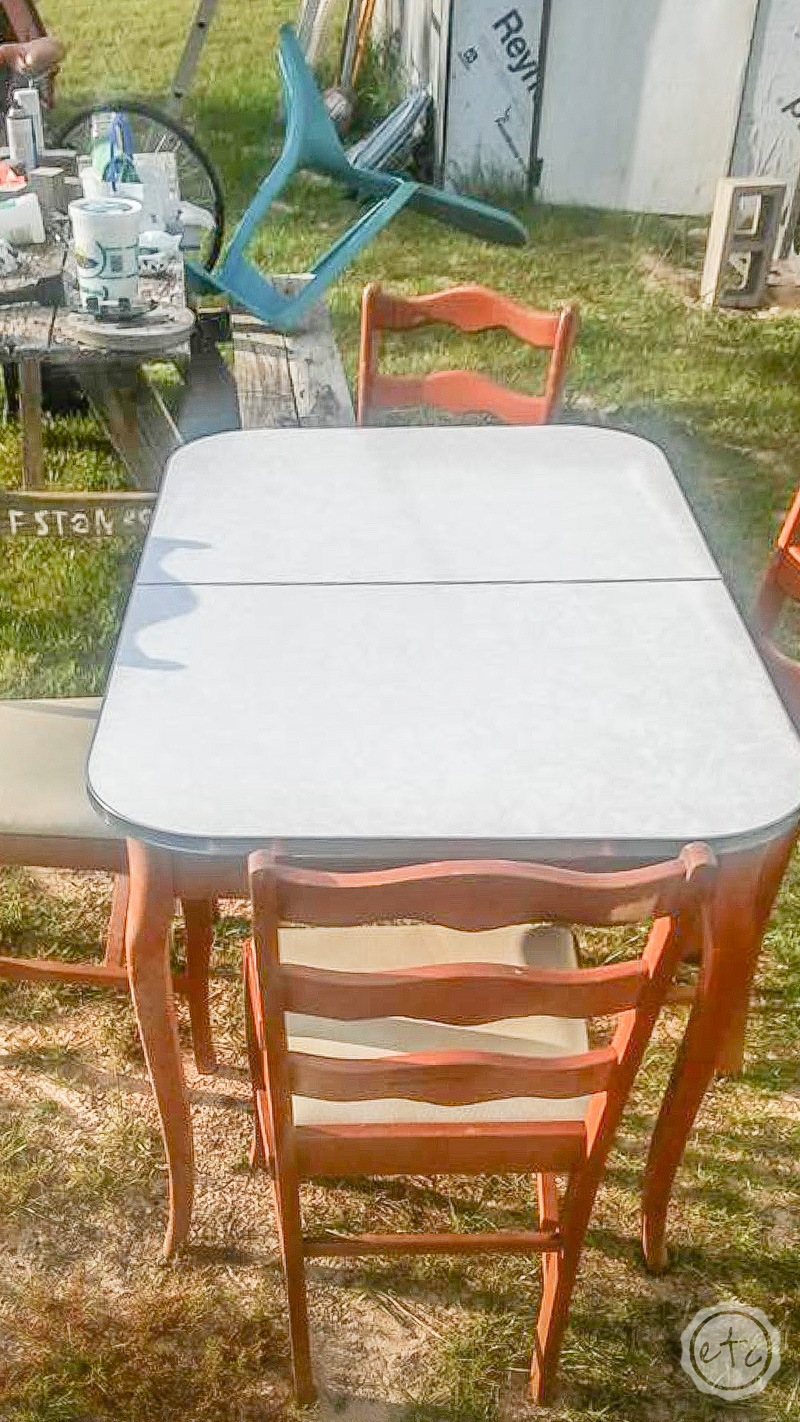
It actually wasn’t in bad shape… the enamel top is absolutely beautiful but the honey colored wood was a little dated and in need of a face lift.
I decided to do this little guy in layers to try and replicate the well worn patina of a piece that’s been loved through time. The enamel top was definitely not getting a facelift so I wanted the bottom to look as though it matched… perhaps that it had been painted several times over the years as it was passed from person to person.
Each layer of paint a different story peeking through the cracks.
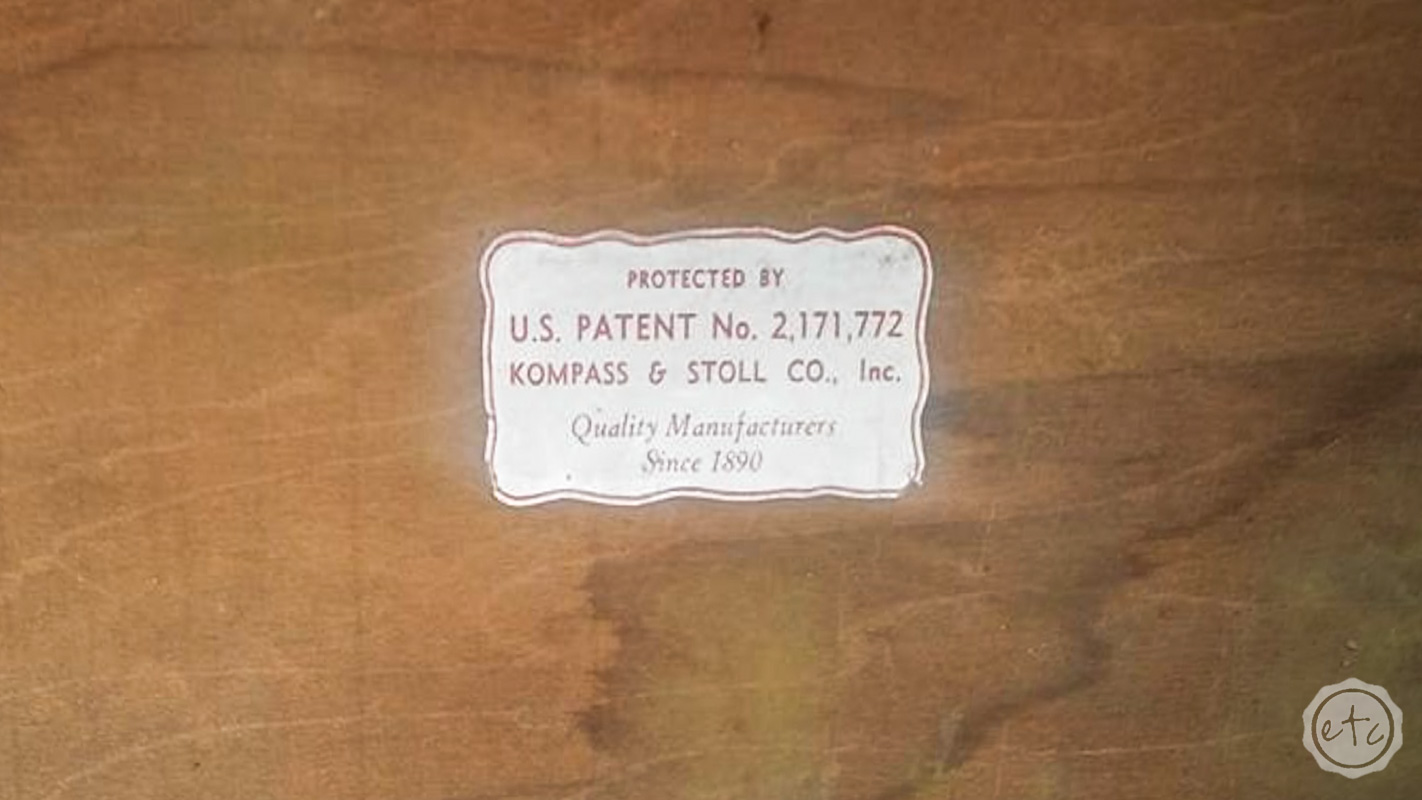
I mean just look at that hallmark inside! When you start seeing original hardware or patent stickers you know you’ve found something special.
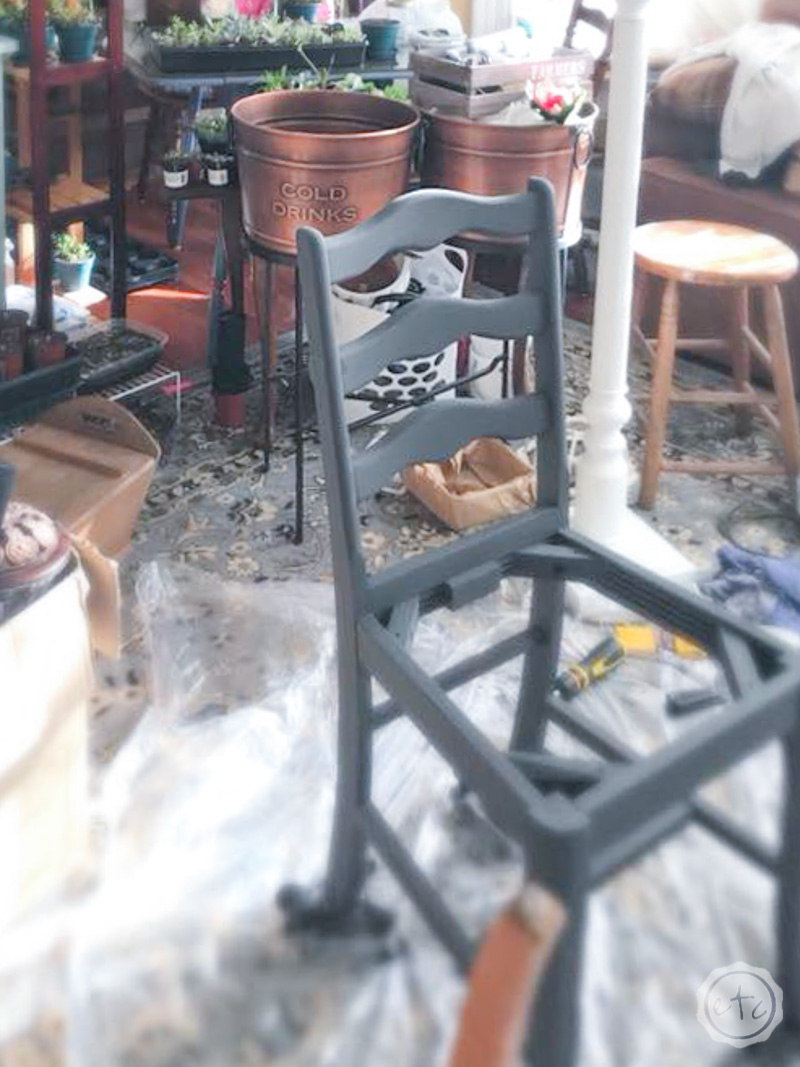
I wanted this piece to stand out but still let that white enamel pop. Since the chairs were getting recovered with a beautiful paisley pattern in whites, charcoals and blues I figured that was the perfect color scheme. I decided to start with the charcoal, then do a layer of a light seafoamy blue and then top the whole thing off with a darker coastal blue.
With plenty of distressing and crackle to let each layer show through what appears to be years of wear.

Supply List:
- Charcoal Chalk Paint by Rust-Oleum
- Serenity Blue Chalk Paint by Rust-Oleum
- Dark Blue Milk Paint- Artissimo by Miss Mustard Seed
- Sumter Blue Milk Paint by FolkArt
- Grunge Gray Wax by Dixie Bell
- Clear Matte Sealer by Rust-Oleum
- Sand Paper
- Wheely Feet aka Leg Dolly for Furniture
- Paint Brush
- Staple Gun
- Fabric for the Seats
- Upholstery Nail Remover
- Tack Cloth
Alright y’all this particular paint job turned out absolutely amazing… if I do say so myself. But it took several days of work and lots of layers to get that way.
Step 1: Prep Work
Doing your prep work is always the most important part of any project… if you don’t make sure the surface is ready for paint you’ll just be watching all of your hard work fall apart later. And the only thing I hate worse than 3 layers of paint, 2 layers of sanding and a clear coat is having all of that scratch off easily because I didn’t take the time to set it up correctly.
Luckily this piece was already old and had no sealer left on the wood… so I didn’t have to sand. Wahoo! I did wipe the entire piece down with a tack cloth though to make sure any lint, dust or sticky residue was gone before we started painting.
Of course, if you can remove the seats go ahead and do that first… it’s much easier to paint a chair if you don’t have to worry about getting paint on the fabric first! A good upholstery nail remover makes this particular step much easier although a screwdriver will work in a pinch.
Step 2: Paint a Layer of Charcoal
Since our final layer is going to be a dark coastal blue the second layer is going to be a light color (serenity blue) for contrast… which means we come full circle back to a dark layer of color on the bottom. Since paint colors tend to darken with age I decided to go with the darkest layer on the bottom and painted all 5 pieces with a charcoal gray chalk paint.
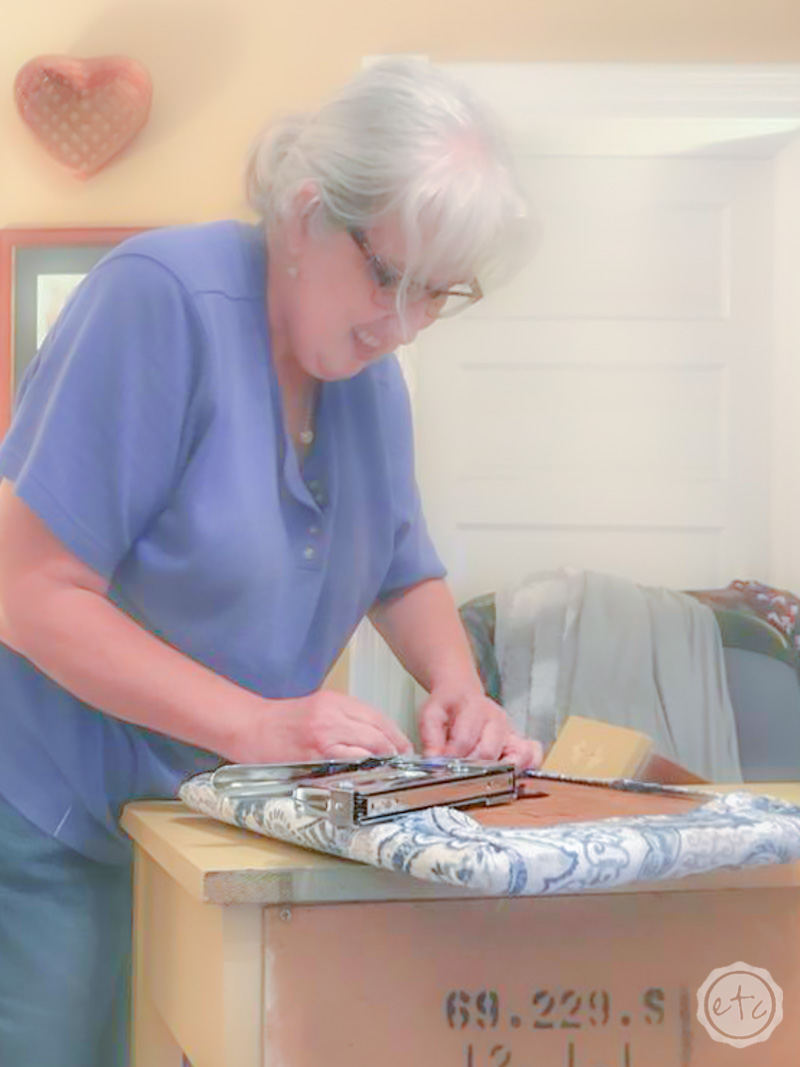
Step 3: Re-Cover the Seats
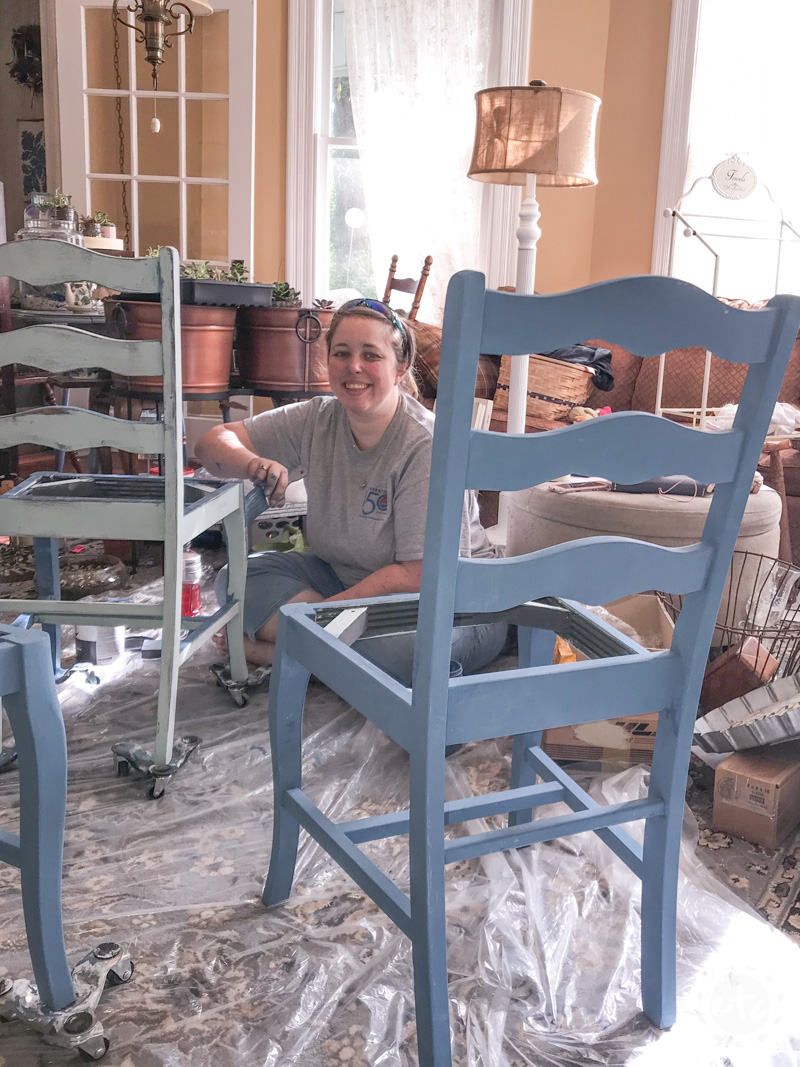
While I was working on that first layer of paint Mom decided to start re-covering the seats with our paisley fabric. Taking the old fabric off was as simple as puling out the tiny nails and then she was able to use the original seat fabric to cut the new fabric to the same size.
Since the bottom of these seats don’t show Mom was able to use a staple gun to secure the fabric to the bottom of each chair. Which is much easier than having to hide staples or nails as you go!
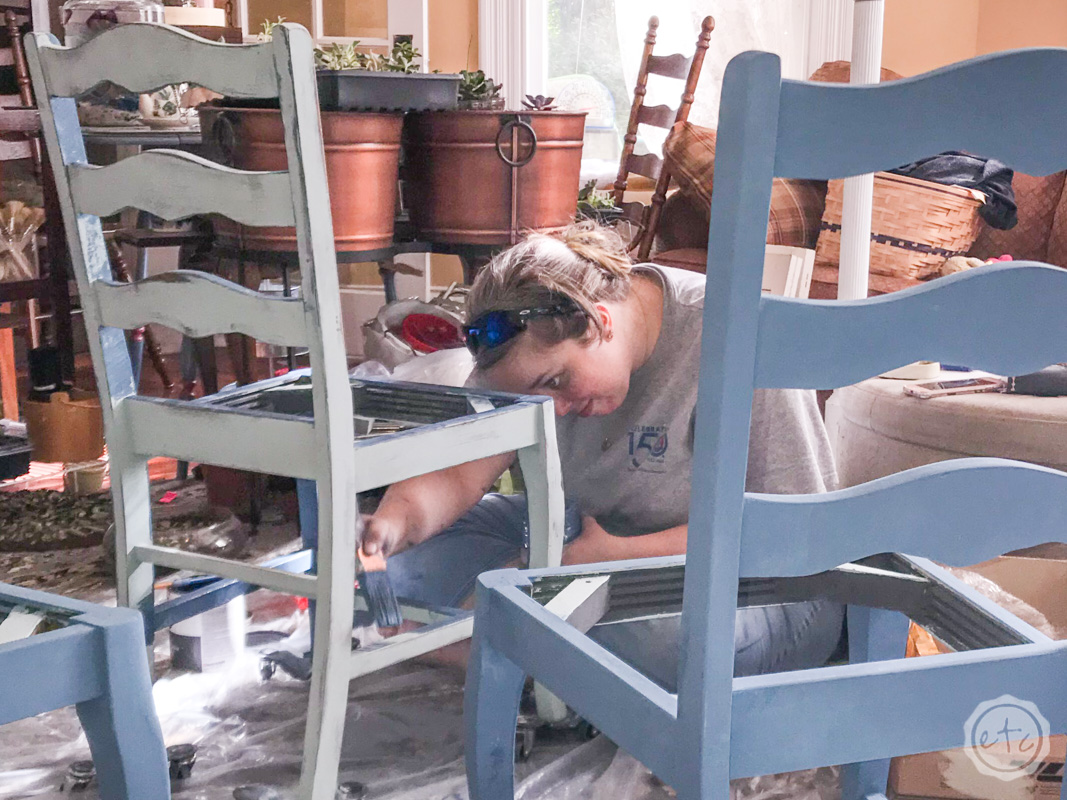
Step 4: Paint a Layer of Serenity Blue
Now it’s time for the fun to begin… once the charcoal is dry we can start on painting on the second layer of paint. This light seafoam color is so refreshing after all of the charcoal and the contrast makes it easy to see exactly which areas need to be painted.
Once the seafoam has dried it’s time for the first layer of distressing. A sanding block makes it easy to hit all of the high traffic areas. I didn’t want too much charcoal to show through so we hit the edges and high areas that would be worn from years of being moved and bumped into.
Step 5: Paint a Layer of Country Blue
We’re almost done!
For the last layer of paint I decided to go with a milk paint instead of a chalk paint so that we could get as much chippy goodness as possible. Of course, with milk paint we can’t control the chipping quite as much as we’d like… we basically have to paint the milk paint on and hope for the best!
Since I couldn’t find the exact right color I went with a mix of Artissimo by Miss Mustard Seed and Sumter Blue Milk Paint by FolkArt. Since the MMS milk paint that I have is a powder I mixed that first and then once it had enough time to thicken I added in the sumter blue for the perfect mix.
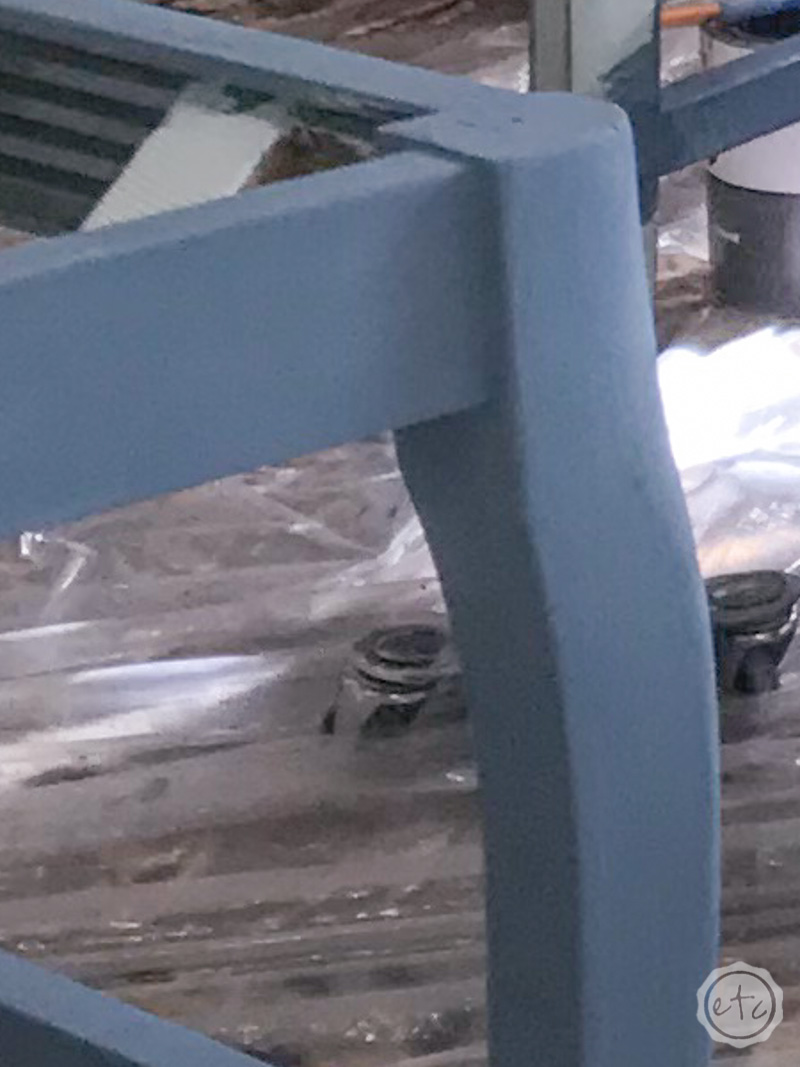
A final layer of a dark country blue (as my Mom calls it) and we’re almost done. Once the milk paint dries we can move into the last layer of sanding. With milk paint it may chip on it’s own and it might need a bit of help… this particular coat didn’t chip nearly as much as I wanted it to.
I used a sanding block to go over every single inch of this table and chair set and the layers finally came through. Then I finished it with a bit of grunge gray furniture wax. Honestly I think this may be the best piece I’ve ever done… I am absolutely in love with all the layers!
Step 6: Apply the Sealer
Of course, before we re-attach the seat cushions we have one last step… the clear matte sealer. Since this is a kitchen table and chairs I decided to seal this baby twice… I have a feeling this little set will get quite the wear and tear over the years!
The sealer is always my favorite part because it means we’re done (duh!) and it really brings out the color. I wish I had a video of putting the sealer on this piece because every single bit of those three layers showed up as the sealer was applied. It really takes a piece from ok to wow.
Now the only step left is to attach the paisley seat covers and we’re all set! Take a look!
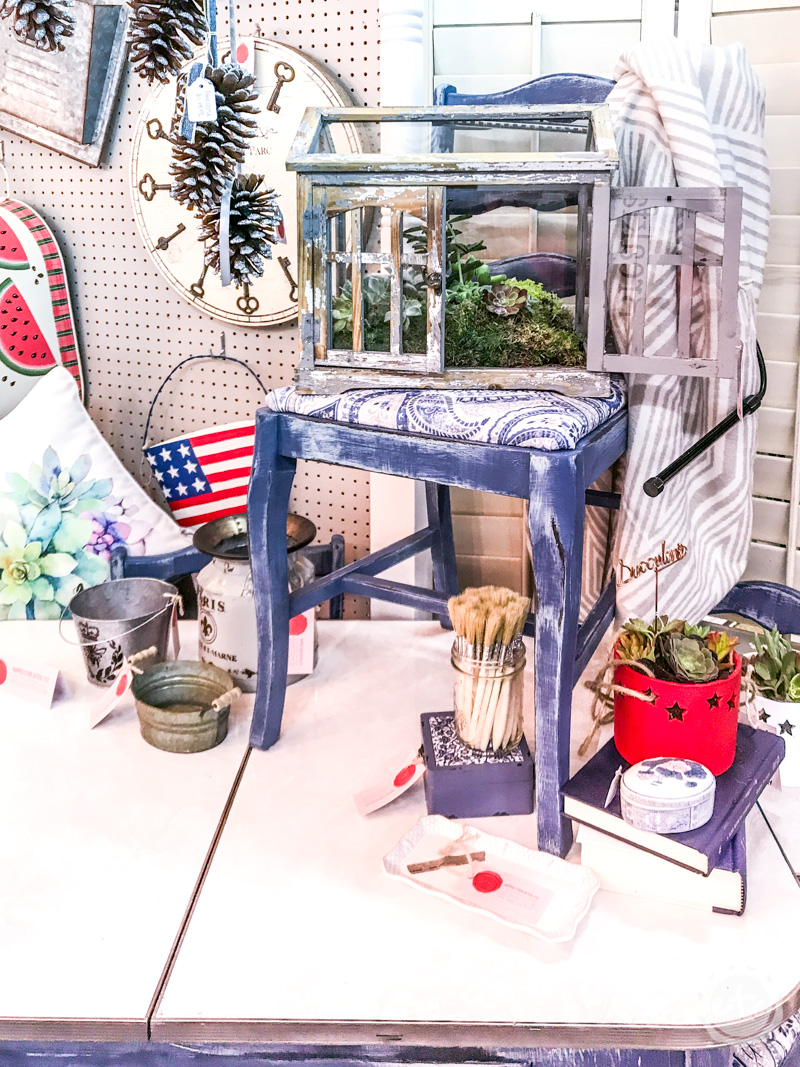
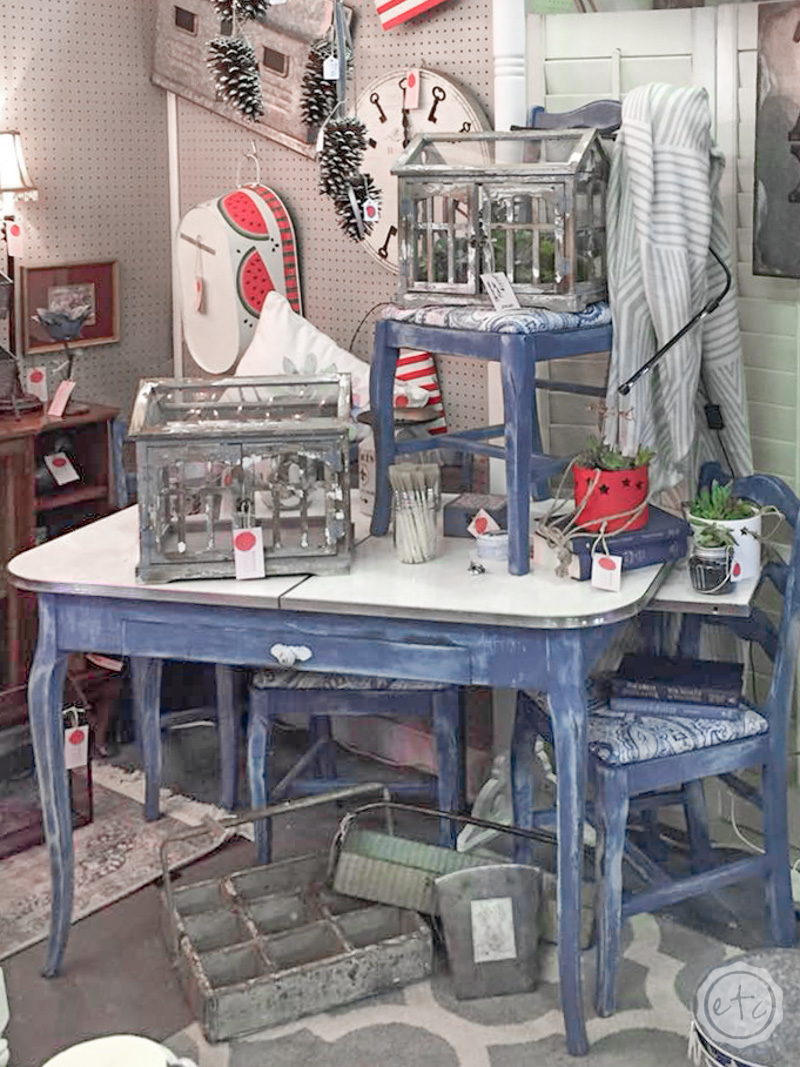
I love love love love love how this turned out! If I had the right place for it I may just keep it but in the mean time it’s looking for it’s forever home over at our antique booth.
Let me know in the comments if you love this piece as much as I do or if you would do anything differently!


[…] Want a closer look? Take a peek at the full blue chippy table and chair set here! […]