
This is a sponsored post on behalf of Cricut… all thoughts and opinions (especially on paper tufts) are 100% my own!

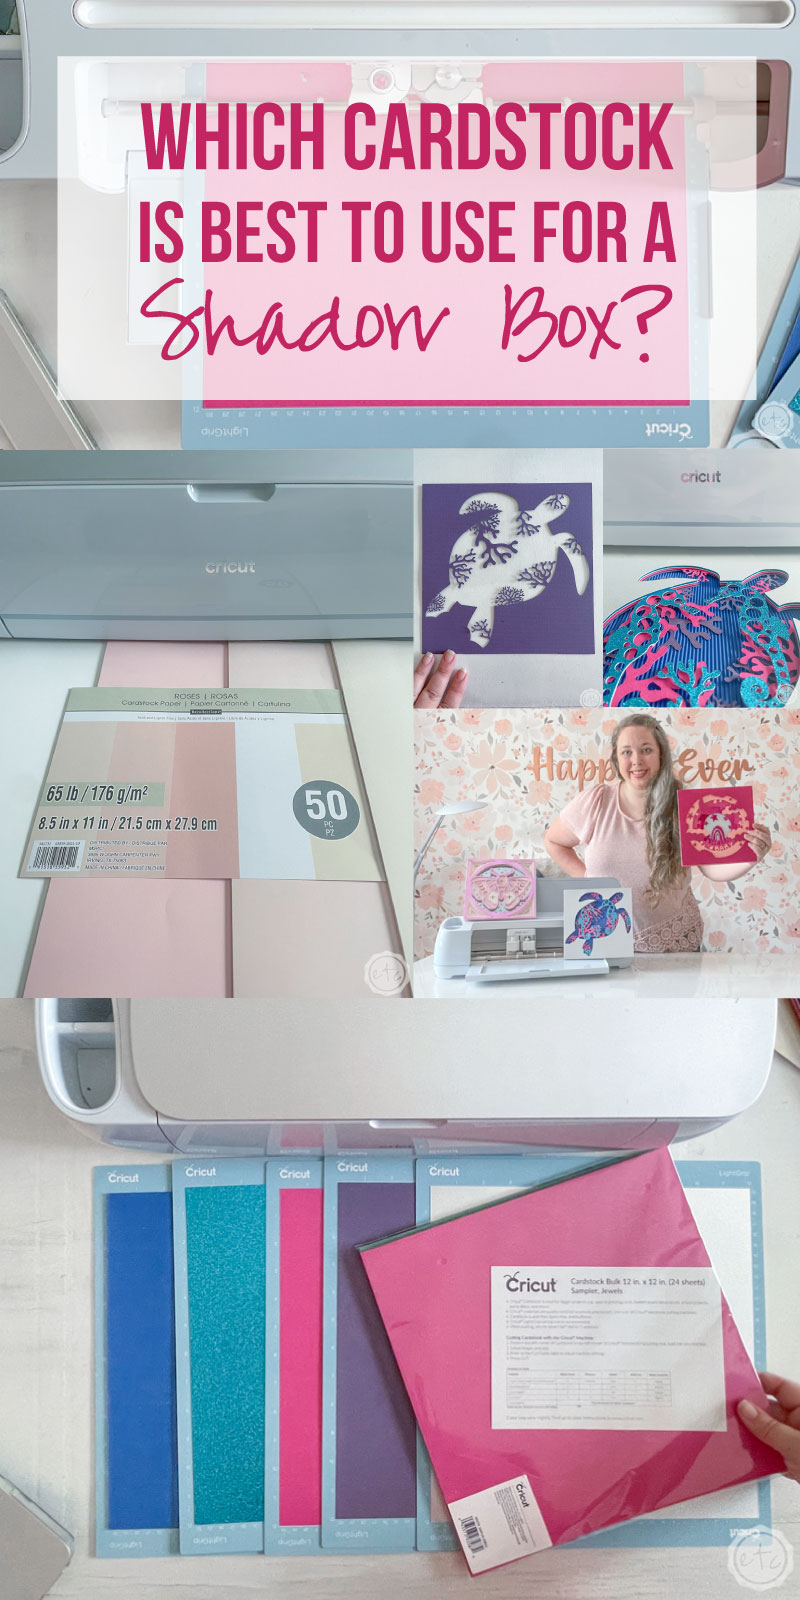
If you’ve ever tried cutting out a Cardstock Shadow Box you know that not all cardstocks are created equal! Some cut easily while some leave little bits of stuck paper all over the place. Some rip and curl while others remove nicely from your cutting mat leaving you with straight beautiful layers. And the goal of this post? To go through all of my Cricut cardstocks (we’ll examine 4) and the comparable Recollections cardstock… to see if one is truly superior.
If you need help you can follow my DIY Cardstock Shadow Box Tutorial HERE.
Of course, there are different factors. If you’re looking to add light behind your piece you’ll want to go with a lighter cardstock… but the lighter you go the easier they are to tear, curl and rip.
I’m not necessarily looking to add a light here… instead we’re going to cut several layers and evaluate the cleanness of the cut, the ability to stay straight (un-curled) and how easy it was to remove that material from the cutting mat.
Because push comes to shove you could add lights in between the layers… which I’ve seen look amazing.
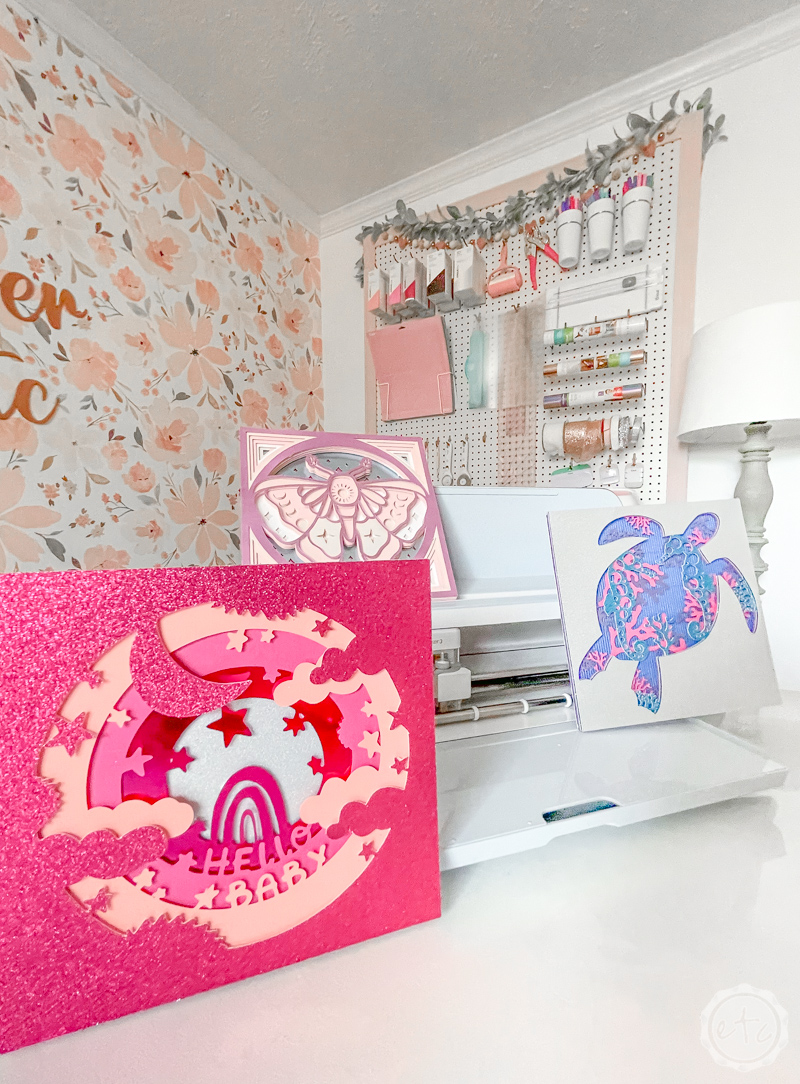
So we’re going to cut 3 shadow boxes (all with cut files I found in the Cricut Access library). Our main comparison will be between Cricut’s standard cardstock (80lb) and Recollections standard cardstock (65lb).
BUT for fun I also picked up Recollections foiled cardstock, Cricut Glitter Cardstock, Cricut Shimmer Paper and Cricut’s Corrugated Cardstock. PLUS for those of us who don’t want to buy 5 packs of cardstock only to use one sheet from each I grabbed a kit from Cricut that contains coordinating cardstock, party foil and vinyl. We’ll make our third shadow box entirely out of this kit to see if 1 kit = 1 shadow box.
Ready to get started?

Supplies:
Shadow Box #1
- Turtle Shadow Box (Cut Files)
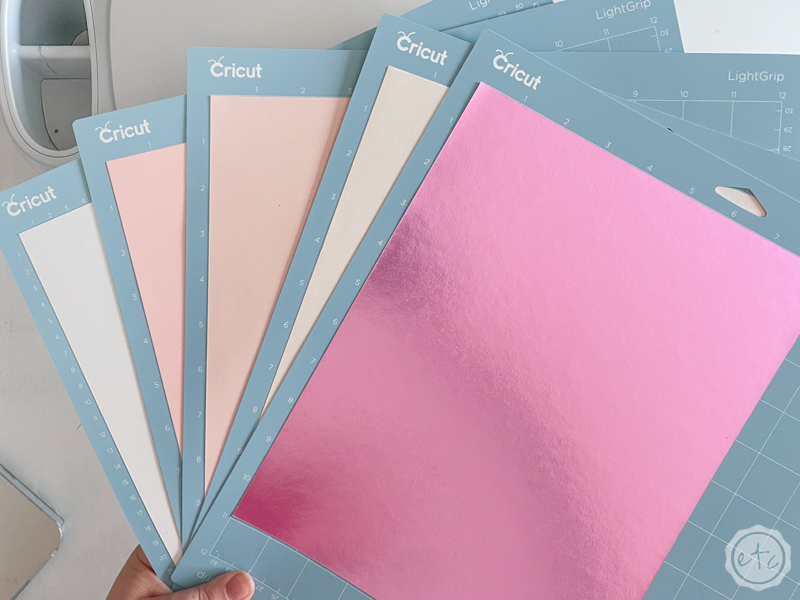
- Jewel Cardstock Sampler
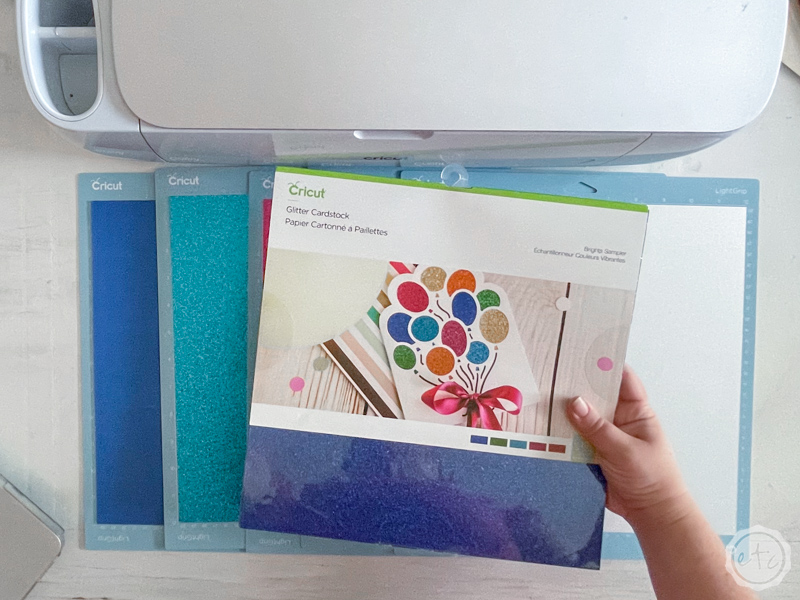
- Brights Glitter Cardstock Sampler
- Classic Shimmer Paper Sampler
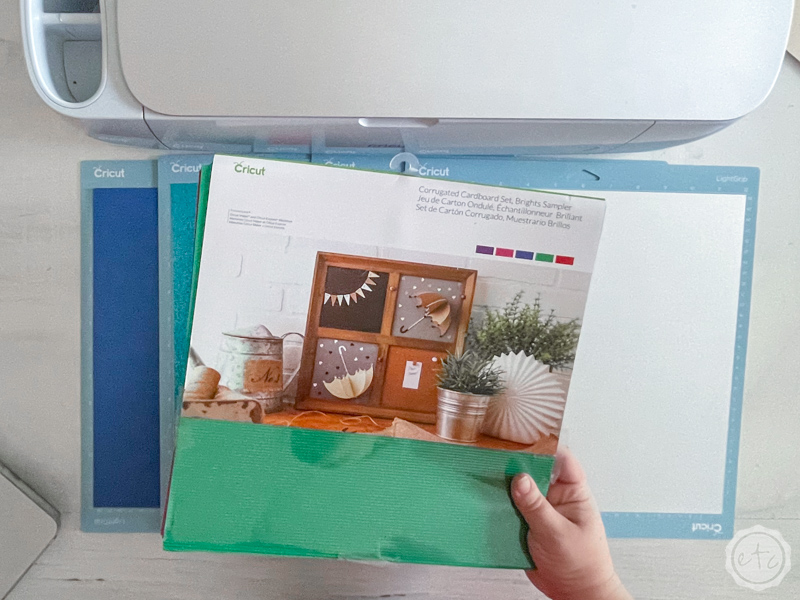
- Brights Corrugated Cardboard Sampler
Shadow Box #2
Shadow Box # 3
Cricut Material Breakdown:
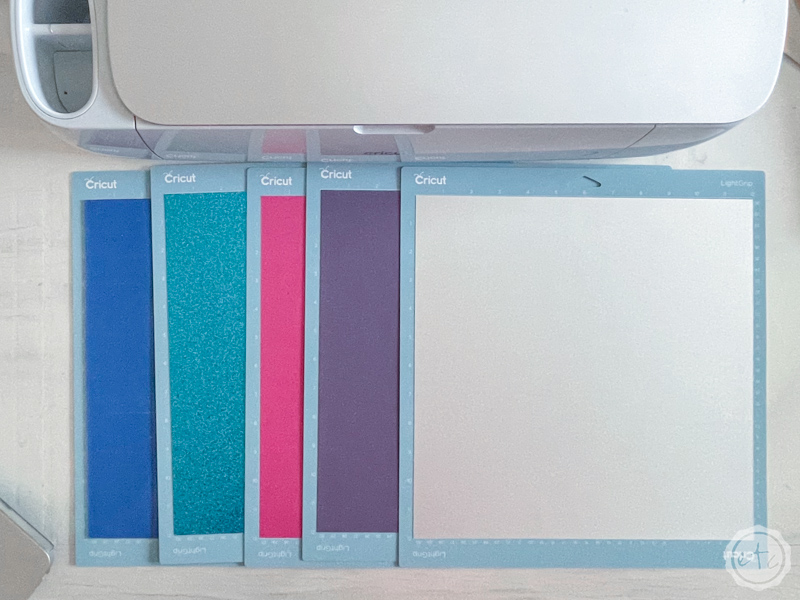
Let’s take a look at alllll of our Cricut Materials! We’ll go over each material: cardstock, glitter cardstock, corugated cardboard and shimmer paper individually and then we’ll take a look at each of the shadow boxes turned out!
Spoiler alert… the answer is awesome.
Bonus: I’ll show you how the materials from the Platinum Rose Mixed Materils Set work for the third shadow box down below… but seeing how the materials are the same as our individual materials from the 1st shadow box we won’t go over them individually. You don’t need to see the same cardstock, in two different colors, from two different packs over and over again.
You get the idea!
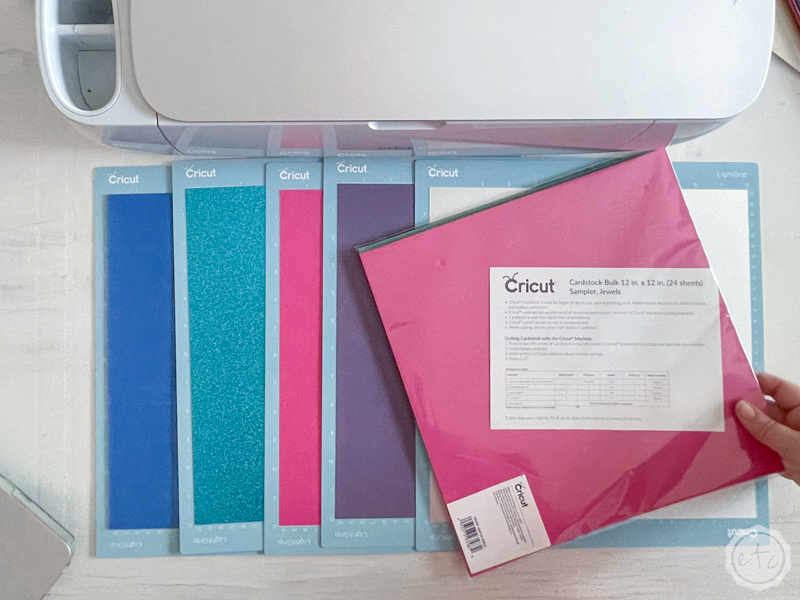
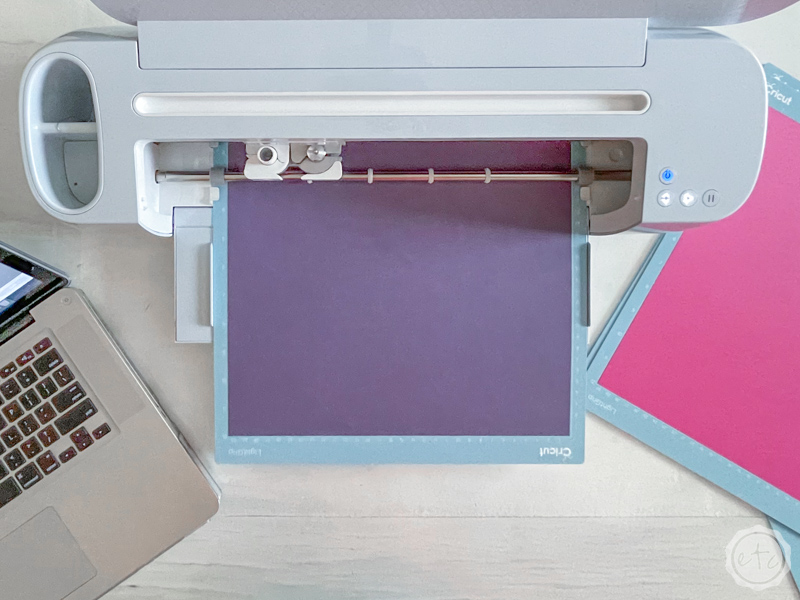
Cricut Cardstock
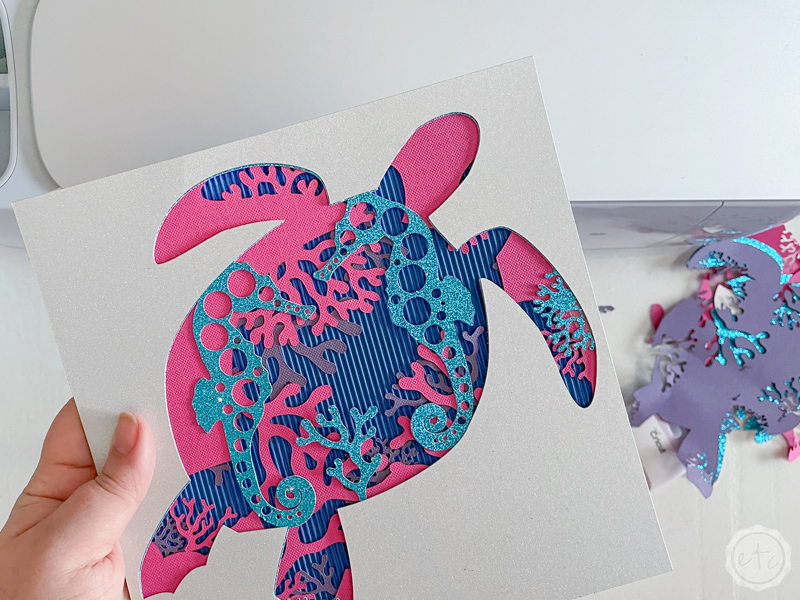
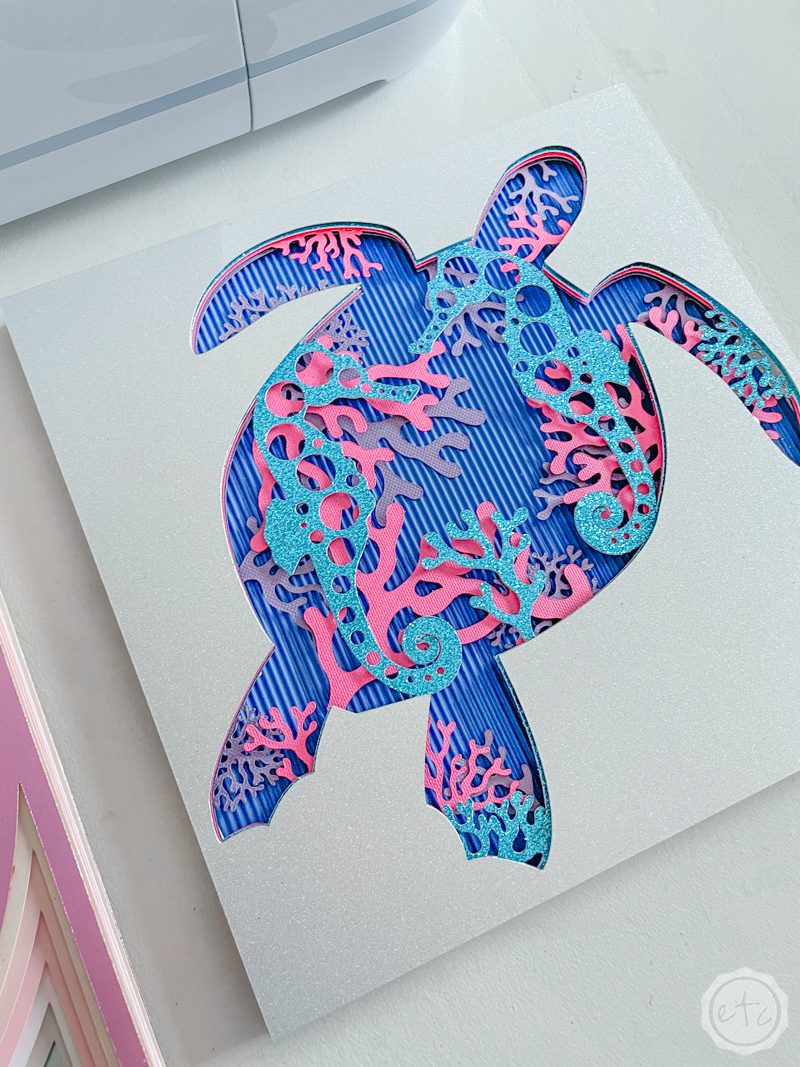
I used two colors from this Jewel Cardstock Sampler pack… the pink and the purple. It has 6 colors: pink, orange, yellow, green, blue and purple so while you could use solely this pack to cut a shadow box it would have to be a design that worked with those colors!
This little ocean theme did not.
I find that with a clean blade Cricut’s cardstock cuts perfectly on a consistent basis… I use it all the time. Just check out the paper peonies I whipped up for this little Valentine’s Day Peony wreath or the paper flowers I made for this bridal toss bouquet.
Clean, perfect cuts!
The only exception is if you forget to check your blade in between cuts… I missed a small piece of paper lodged on my blade after a dozen cuts earlier today and my purple piece of cardstock had a slight imperfection. I simply cut it off and moved on but that was user error… not cardstock error.
User error happens a lot around here… we make it work!
Cricut Cut Settings:
- Medium Cardstock (80lbs)
- Pressure: More
- Mirror: No
Level of Awesome: 95%

Glitter Cardstock
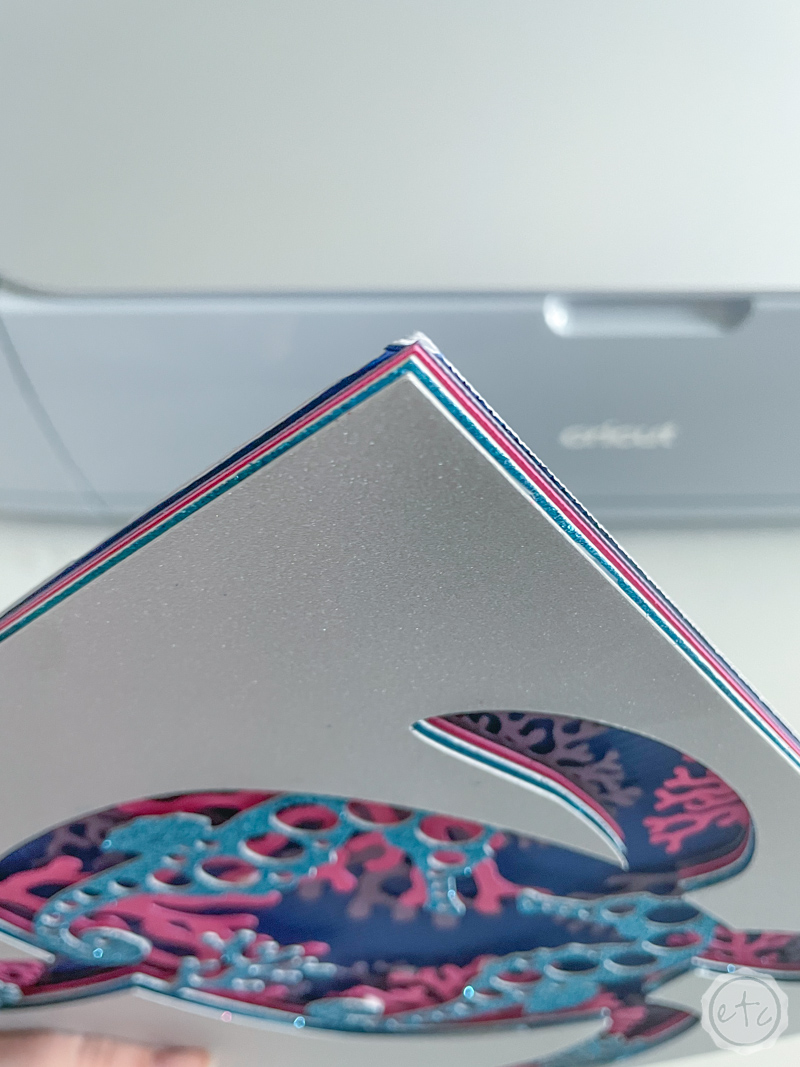
So here’s the ting… I LOVE Glitter Cardstock. Unlike glitter vinyl it cuts clean and easy every time… even with small intricate cuts. I cut the seahorse layer out of the blue glitter cardstock and it looks perfect (even with all the tiny little dots and circles). PLUS I cut our top layer of the third shadow box out of pink glitter cardstock and it also looks amazing.
No muss, no fuss. It cuts clean and the negative space just lifts out. It’s so good. It doesn’t let ANY light through though so if that’s what you’re looking for these are not the droids you’re looking for.
Either way I love how easy Cricut’s glitter cardstock is to cut… I used it for my DIY Winter Wonderland Cloche which has teeny tiny little intricate cuts AND has to be curled (so that the cardstock fits… in the cloche). It worked perfectly and is 100% awesome (if I do say so myself).
Cricut Cut Settings:
- Glitter Cardstock
- Pressure: More
- Mirror: No
Level of Awesome: 105%


Corrugated Cardstock
Oh corrugated cardstock… it’s such a fun texture and I LOVE how much fun and whimsey it adds to a piece. I thought it would be the perfect back layer to our box since it kind of looks like water.
It adds movement without even trying.
Unfortunately, we only had to cut a SQUARE out of this layer so it’s not a very accurate demonstration. Of this square we had 3 perfect cuts… but it messed up a smidge on the top corner. Which I don’t understand… it was literally a SQUARE! (I feel like this is a “you had one job!” moment).
But I’ve cut so many things out of corrugated cardstock (like this Fourth of July wreath I made entirely out of corrugated cardstock rosettes!) and it usually cuts fairly easily. Because of the different layers within this one material I wouldn’t use it for fairly detailed layers (like the sea horses) but it would work just fine for simple layers.
Cricut Cut Settings:
- Corrugated Cardstock
- Pressure: More
- Mirror: Yes
Level of Awesome: 80% (since it’s limited)


Shimmer Paper
Ok so apparently Shimmer Paper has a clear film on the back which I didn’t know about. Not a big deal but if I knew more things I would have loaded this baby face-down and mirrored the cut. As it was I just made it work.
Despite the clear film the image cut just fine and the shimmer paper looks so smooth and pretty! I love the texture (especially against the corrugated cardstock) and it worked perfectly.
Nice.
Cricut Cut Settings:
- Shimmer Paper
- Pressure: More
- Mirror: Yes
Level of Awesome: 98%
Recollections Materials Breakdown:
Ready for the comparison? Let’s take a look at our lighter weight cardstock and foil paper from Recollections. These sheets are 65lb so they’re lighter than the 80lb Cricut paper we already looked at… which is typically what’s recommended for Shadow Boxes.
The lighter the paper the more light shines through! I’ve also heard that it doesn’t cut as nicely so let’s find out if that’s true.

Recollections Cardstock:
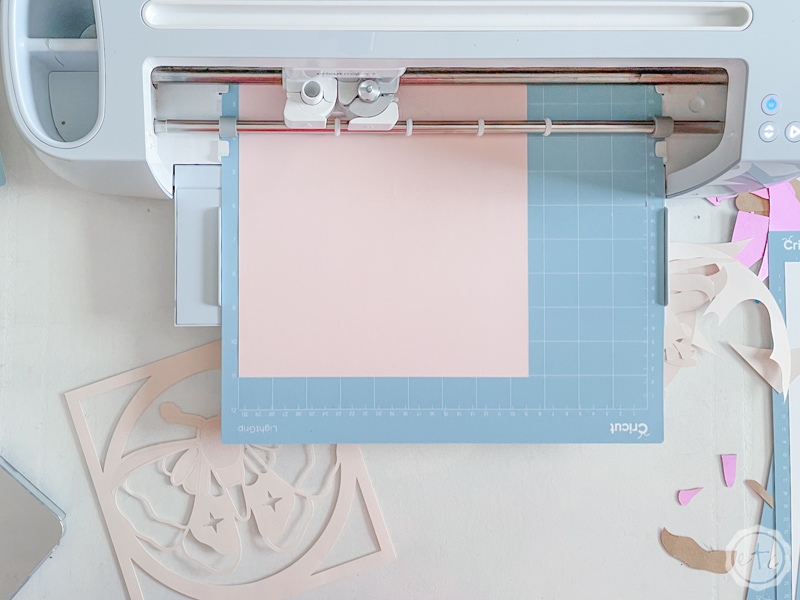
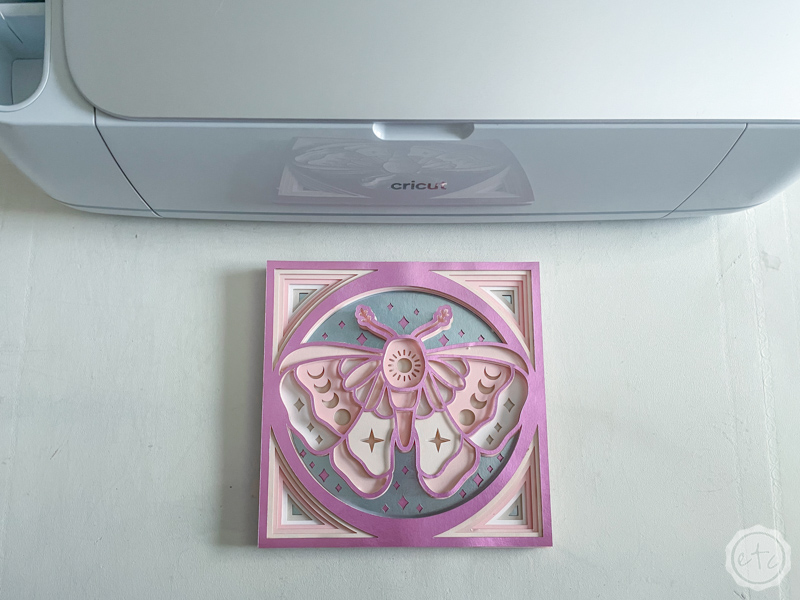
Ok… ready for the first test? This little lunar moth shadow box (#2 in our line-up) had 8 layers so I cut 5 out of our standard Recollections Cardstock. I did have to do a few test cuts to find the perfect setting which was a smidge frustrating (but allowed me to sacrifice a cut to show y’all how NOT to take cardstock off a cutting mat. We want flat cardstock layers after all… not ripped, curly messes…).
Once I found the right setting we had a fair amount of success… despite my blade being sharp and having no issues with the Cricut cardstock I kept finding sections on the recollections Cardstock that weren’t all the way cut through. Instead of the negative area falling away or lifting out of the design I had to carefully take each piece out… which was time consuming and tedious.
It also left little ripped paper tufts on quite a few spots.
Since I wanted to show y’all an accurate look at how these cut I left it all in the best shape I could but I didn’t cut off the extra paper tufts. If I had the time and patience I could have used sharp scissors or an exacto knife to remove these and leave a smooth edge.
I shouldn’t have to though.
Cricut Cut Settings:
- Light Cardstock (65lb)
- Pressure: More
- Mirror: No
Level of Awesome: 60% (because… paper tufts)


Recollections Foil Cardstock:
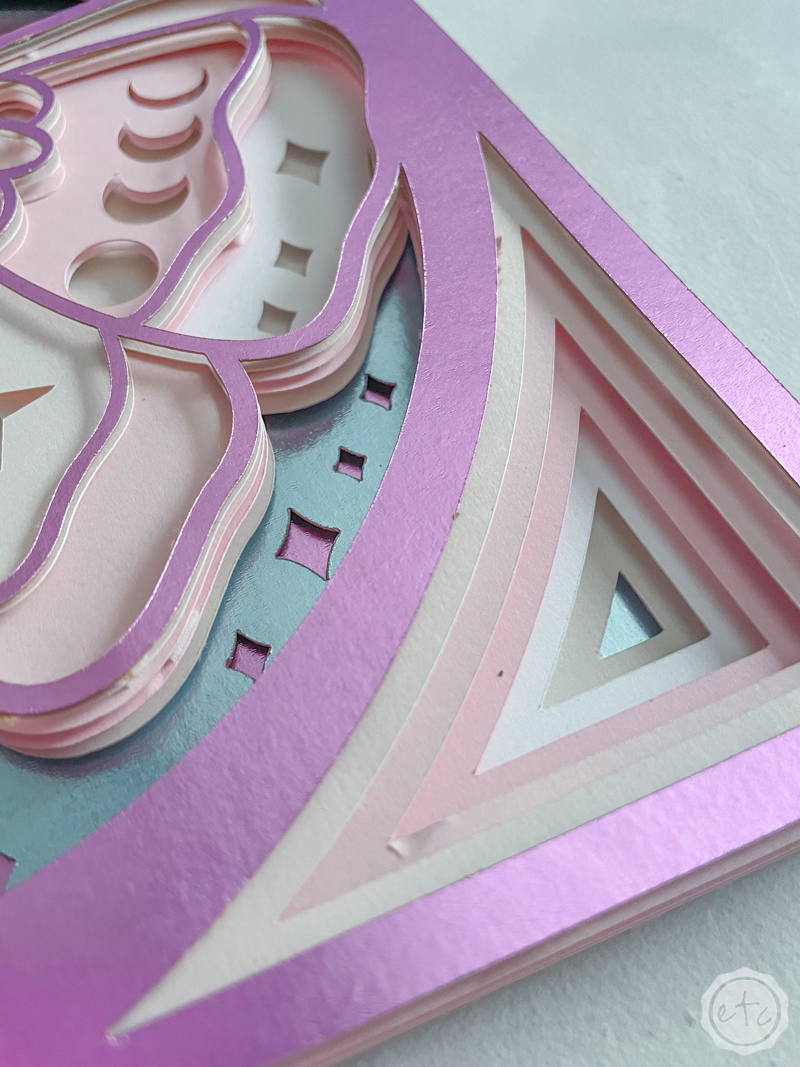
Oh pretty, pretty, pretty Recollections Foil Cardstock… you are deceptively pretty. I thought because the foil cardstock was thicker it would be easier to cut. Unfortunitely the opposite proved to be true.
The design had more spots where the cardstock was not cut all the way through… meaning I had to use an exacto knife to cut through most of these spots. AND even with the exacto knives help there were still paper tufts left on the edges of the cardstock.
And since this was thicker cardstock the paper tufts were also bigger.
It’s beautiful! Stunning! Absolutely gorgeous!
But it took twice as long to remove all the negative space as the recollections cardstock.
Boo.
Cricut Cut Settings:
- Medium Cardstock (80lb)
- Pressure: More
- Mirror: No
Level of Awesome: 30% (seriously… PAPER TUFTS!)

Enjoy!
Overall each of the cardstocks worked to some degree… and with a little extra TLC even the recollections cardstock and foil cardstock would be tuft free and ready to party.
There’s just no reason for it… my Cricut Maker cuts through different papers every day cleanly… without a single tuft. So it’s obviously a problem with the composition of the paper and not the machine.
Which is frustrating as I love the color combo and the ability to grab both packs at my local store.
Oh well… I’ll keep using Cricut’s cardstocks for my paper projects. They are available plenty of places and if they’re sold out in store I can always order whatever color I need. PLUS they have so much more variety!
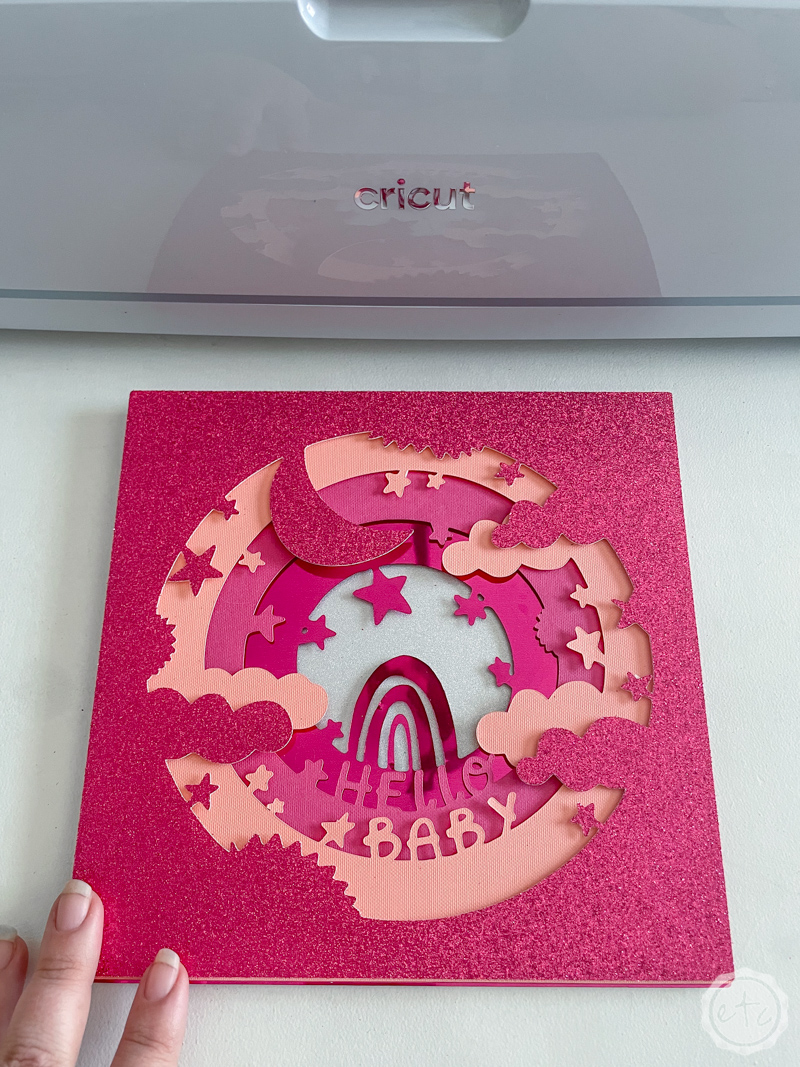
In fact the Cricut + Martha Stewart pack I picked for my third shadow box had 2 cricut cardstocks, a party foil and 2 vinyls. I had to substitute a glitter cardstock for one of the vinyl when I accidentally cut off a cloud but all 5 layers coordinated perfectly and cut like a dream!
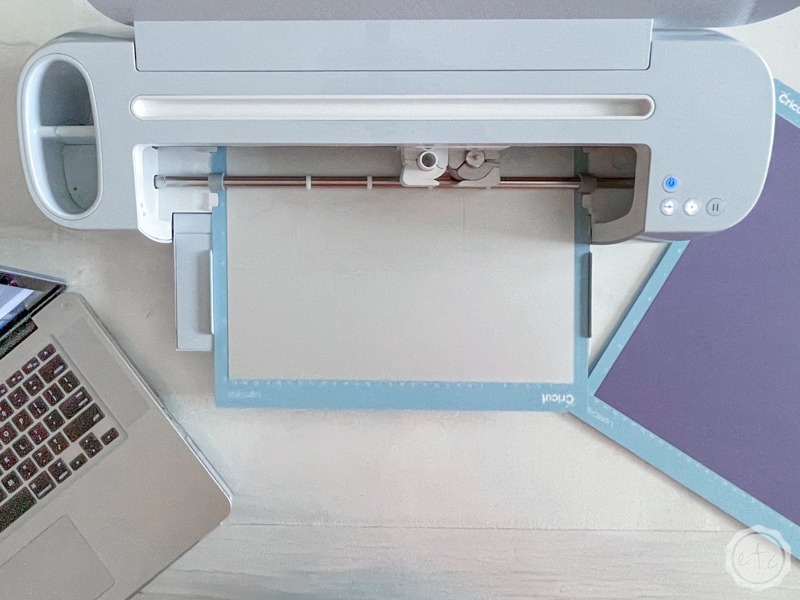
If you watch the video walk-through up above I show cutting all 5 layers and it goes so smoothly… no issues here!
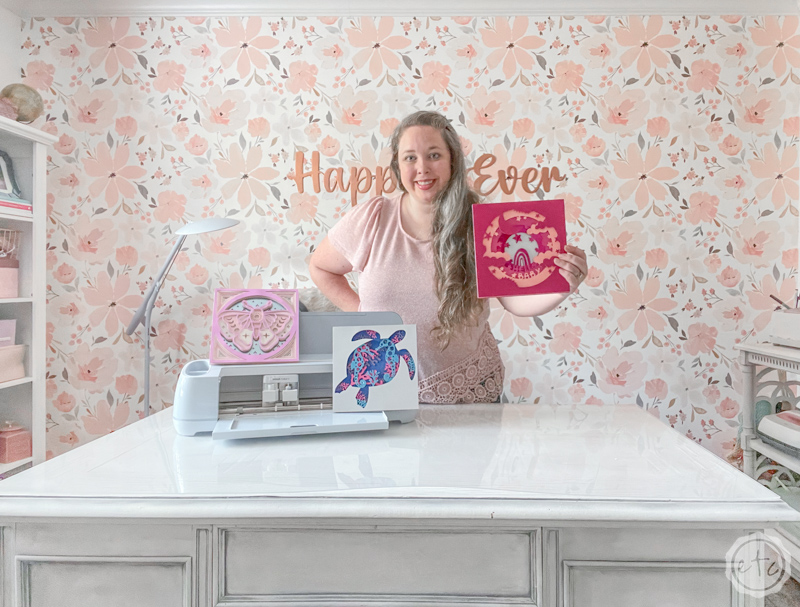
I don’t know which of the 3 designs I love the best but I’ll probably keep 2 and give the other two as gifts… once I pop them in frames of course!
Ready for all the pretty pictures!?


Leave a Reply