

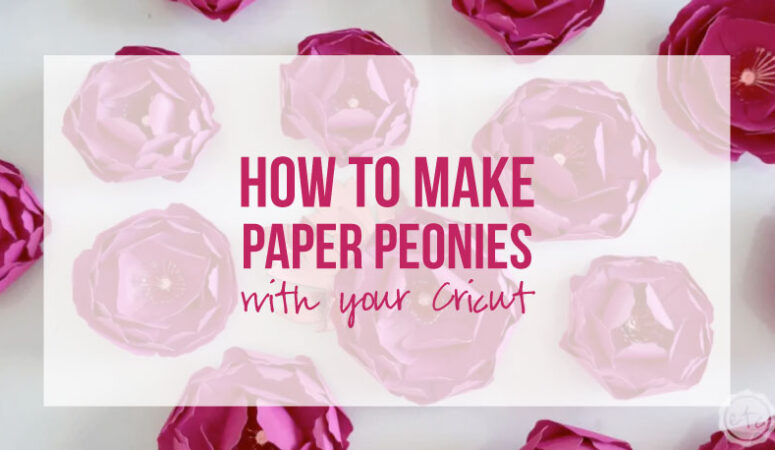
Are you ever scrolling through the Cricut Access Library looking for something completely different when a project just hits you and you have to make it? I was looking for a few card designs to test out my new card mat when this little peony cut file hit me square in the face… it was perfect for Valentine’s Day so I knew I had to make it!
Then I had to make a few dozen more so that I could put them all together on a wreath.
I’m getting ahead of myself though… let’s start a simple, easy, fun tutorial on how to cut out a peony flower using your Cricut machine.
Afterwards you can use them for whatever you like! I kind of think they’d be epic in a paper toss bouquet like this little paper floral bouquet I made here.
Supplies:
- Cricut Maker 3
- Fine Point Blade
- Kraft Board: Metallic Rose Gold
- Dark Pink Cardstock
- Light Grip Mat
- Hot Glue Gun & Glue
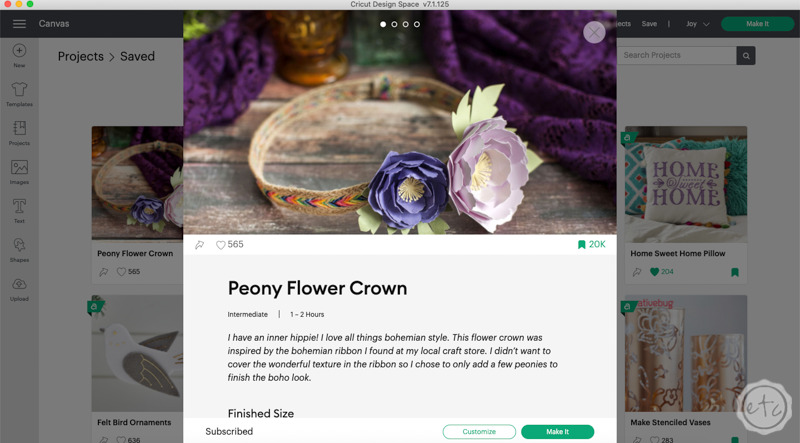
Step 1: Grab your Cricut Access Files
The best part about Cricut’s design library is that you don’t have to design your own cut files! Instead search the access library for “Peony Flower Crown” and you’re good to go! This design has two different sized peony flowers (a big one and a little one) as well as a few leaves.
Both the large and small flowers follow the same steps (they’re just different sizes!) so once you know how to make one paper peony you can make as many as you need for your specific project. Today let’s start at the beginning… pull up the Peony Flower Crown project and hit customize.
This will add all the cut files to a canvas.
From here you can see that the files are already separated into 5 colors: light pink, purple, yellow, light green and dark green. For our flowers I’m going to simplify things and make the pink and purple petals out of hot pink cardstock and everything else (the yellow flower interiors and both green leaves) out of rose gold metallic kraft board.
Now that everything is ready to roll go ahead and select your machine (I’m using my Maker 3 but almost any Cricut machine will work for this project) and hit make it! Design Space will organize all of the pieces so that they fit perfectly on your cutting mat… if we make two flowers we’ll need 2 sheets of hot pink cardstock and 1 sheet of metallic kraft board.
Let’s start cutting!

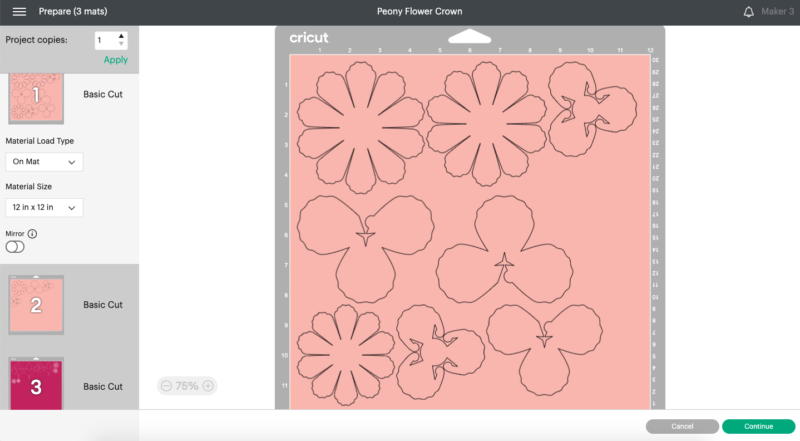
Step 2: Cut your Design
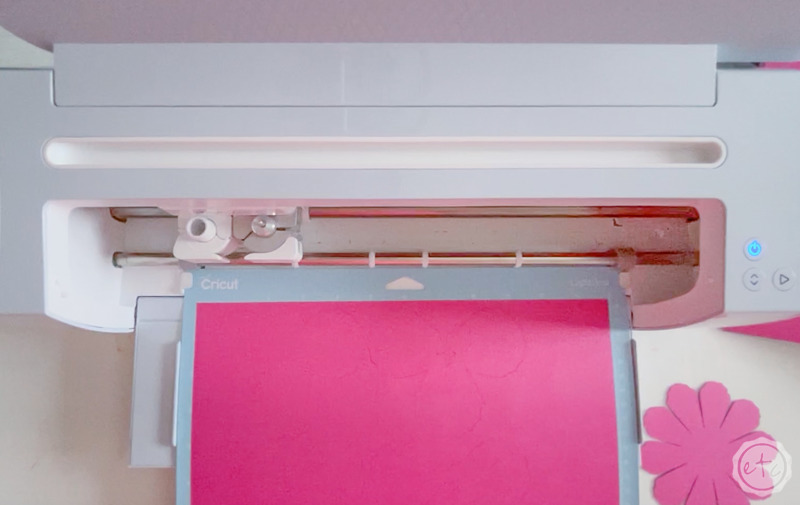
Now that your cutting mat is all set the only thing left to do is select your materials from the drop down list. Since I’m working with Cricut materials it was super easy. I selected Medium Weight Cardstock and Metallic Kraft Board (set the pressure to more… this always seems to help) and hit go!
With cardstock it’s always easiest to use a light grip mat and a sharp fine-point cutting blade. Make sure the cardstock is laid flat across your cutting mat and you’re good to go!
These materials are super easy to cut so they go pretty fast… despite the intricate cuts.
Once they’re done you can expel the cutting mat from the machine and remove the cardstock/kraft board from the cutting mat. Just make sure that you’re turning the entire cutting mat over and curling the cutting mat backwards away from your material.
If you simply grab the corner of the cardstock and pull it free from the cutting mat it can tear and it will curl. Neither of which is great. But if you curl the cutting mat the material stays flat and your pretty petals won’t be tarnished.
Yay!
Go ahead and remove the cardstock or kraftboard from the backing but keep in mind that some of (or all) of the petals might not come with the larger piece of cardstock. That’s ok… we’ll remove those in the next step.


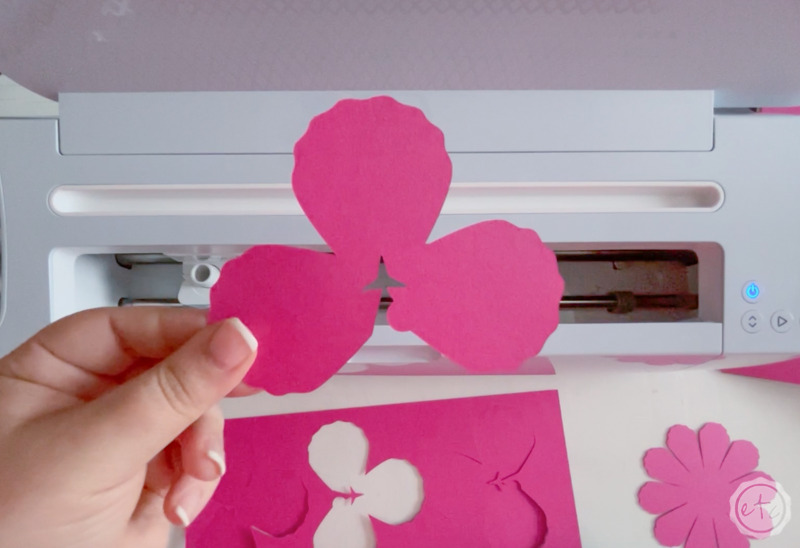
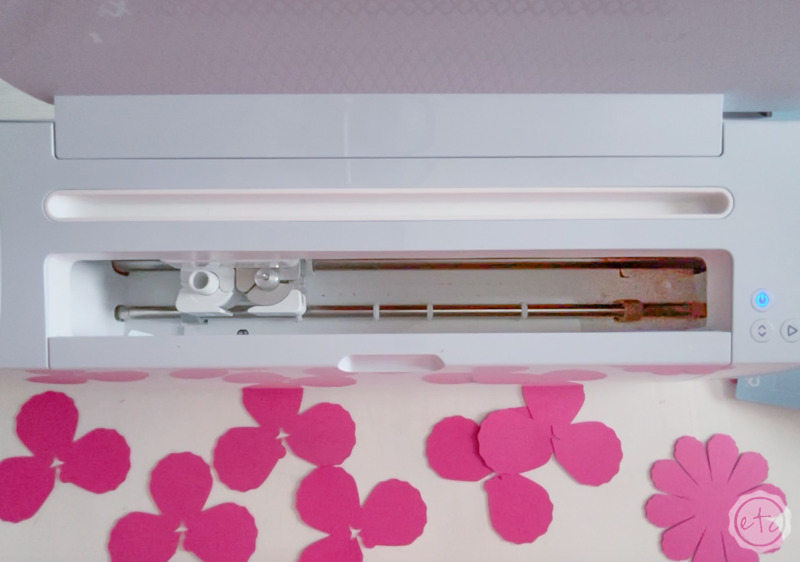
Step 3: Gather all of your Pieces
Once everything is cut and you’ve removed as much of the material from the cutting mat as possible you may find that a lot of your petals are still on the cutting mat. The cutting mat is sticky after all and they’re no longer part of the larger cardstock sheet you removed.
That’s ok. Just use a spatula to carefully get under the edges and lift them free. Just go calmly and carefully from one petal to the next and they should stay fairly flat.
The heavier kraft board leaves don’t need as much help… they should pop right off the cutting mat with a little pop of your spatula!
Once you have all your pieces we’ll move on to assembly.
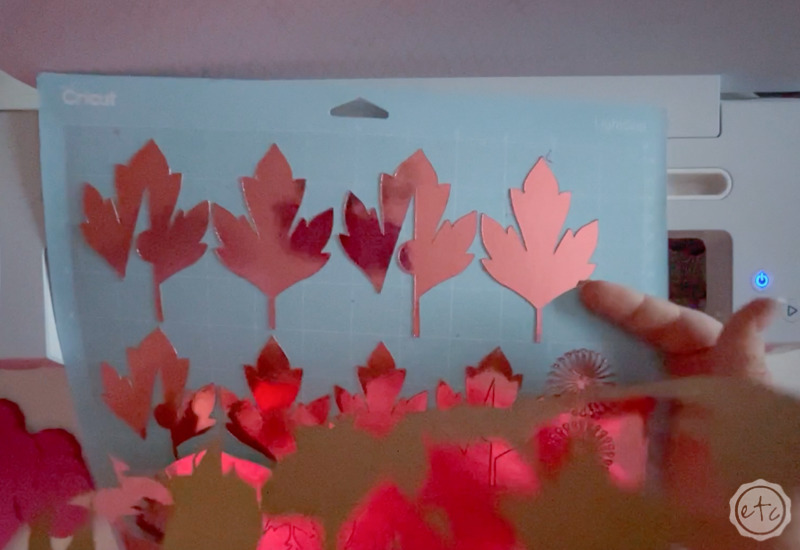
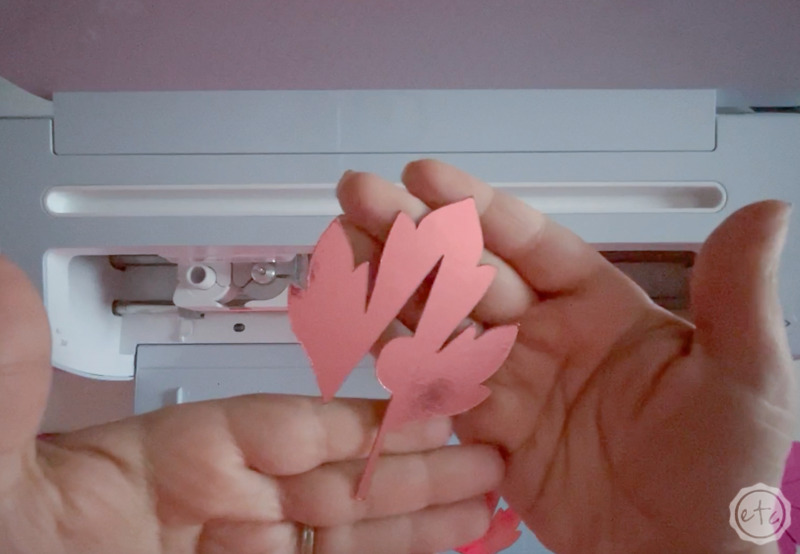
Step 4: Assemble your Peony Flowers
Let’s get this show on the road! Now that we have all our pieces it’s time to put them together! We’ll do this with a process of gluing, gluing and (you guessed it) more gluing! BUT in between the gluing we’ll also need to curl all of our flower petals so that they have that wonderful full and flowery appeal of real peonies.
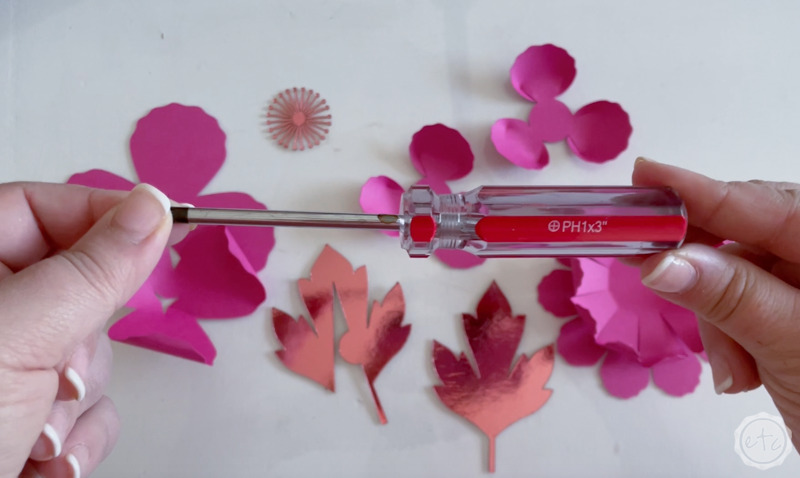
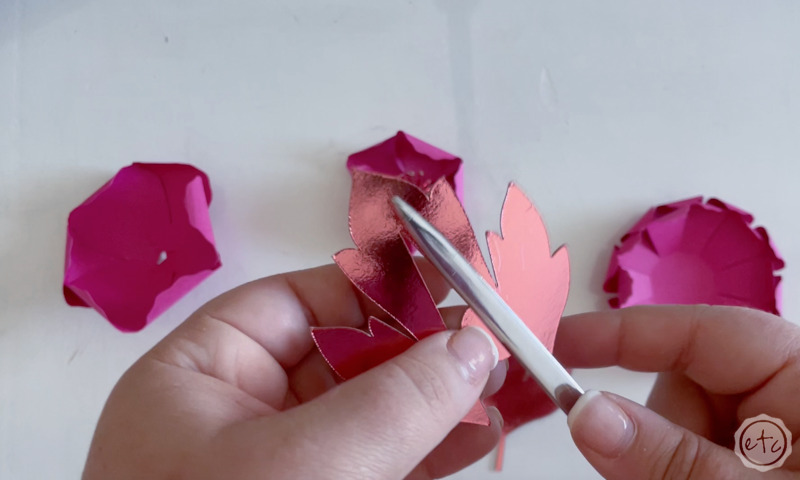
I used a small screwdriver to wrap my petals around for this but anything similar will work: pencil, chopstick, wooden dowel. The screwdriver was great because it had a handle and smaller diameter for tighter curls but you can experiment with different “curling” objects until you find the look you like.
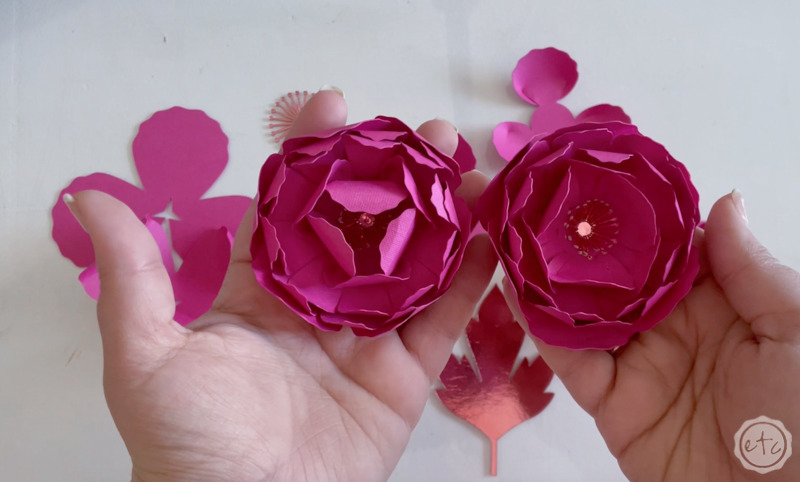
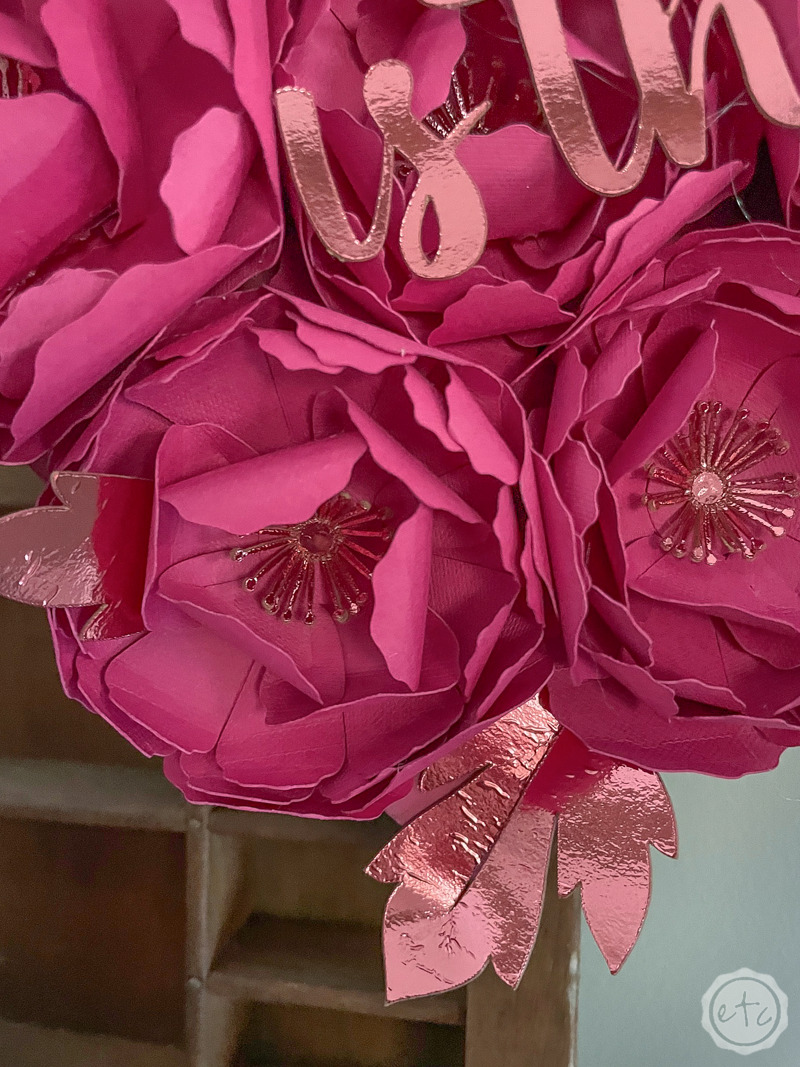
Take the two finished paper peonies below… they’re exactly the same except the one on the left used a smaller diameter “curler” than the one on the right. This resulted in tighter curls and a more closed flower. I like both so I did a few variations… this way no two flowers are identical.
Once you have your “curling” object we’ll get started with our hot glue gun… go ahead and plug that baby in so it can heat up!

Step 5: Glue and Curl the 3 Petal Layers
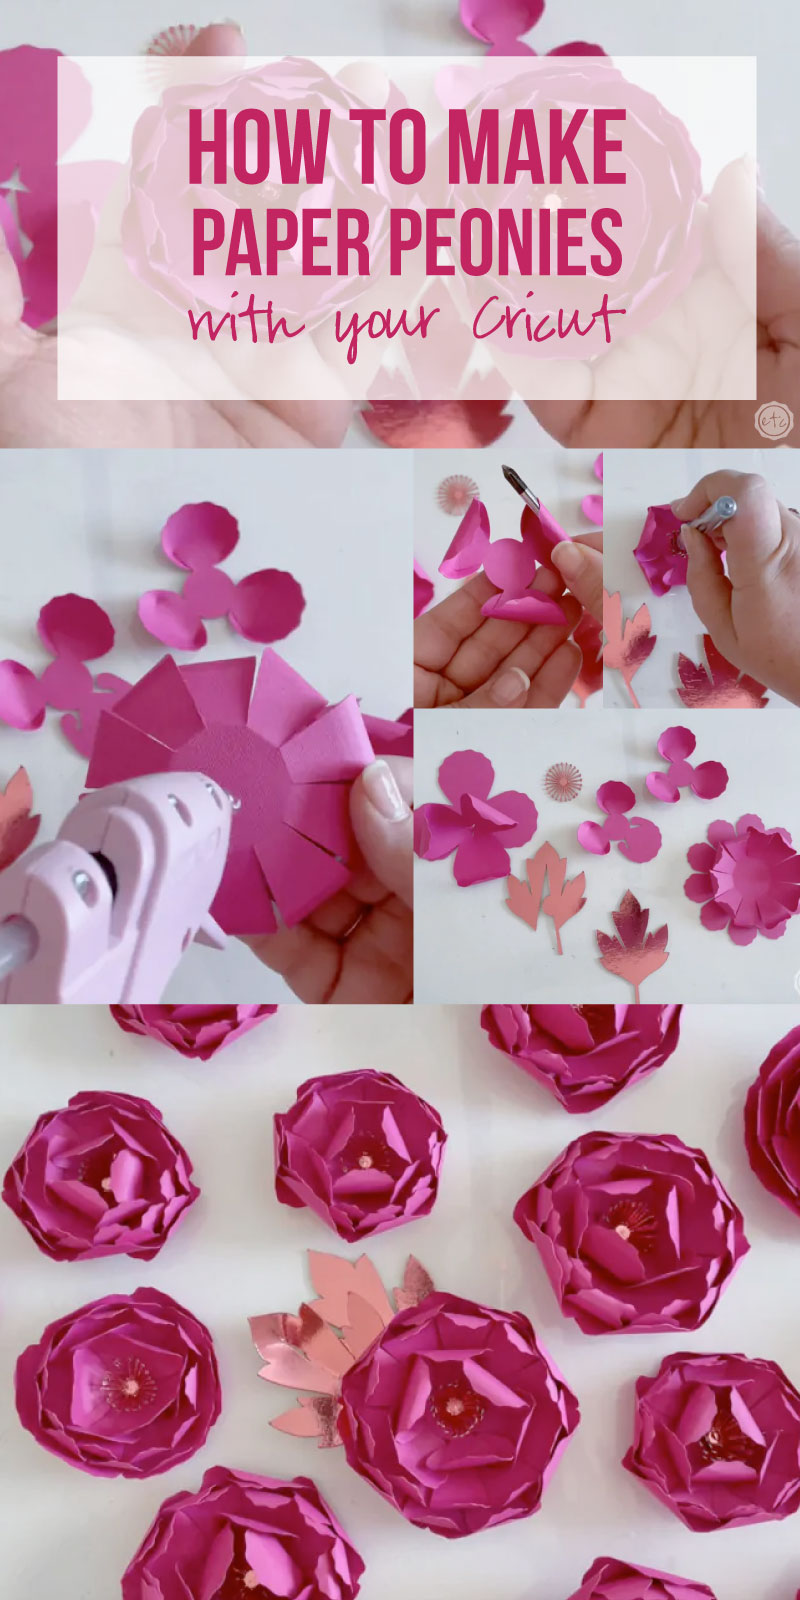
Alright y’all, Cricut Access gives us this handy little instruction guide so I *shocker* followed it. BUT in an effort to make the steps extra clear I also photographed everything for y’all.
So let’s start with the larger petals that have 3 big sections.
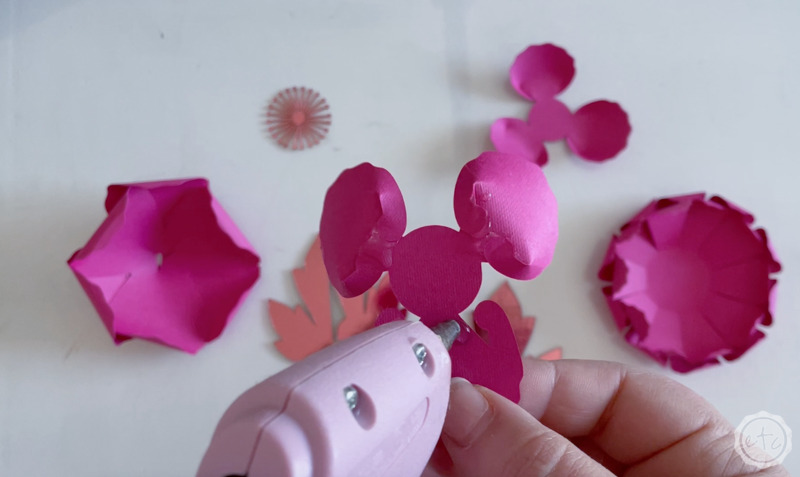
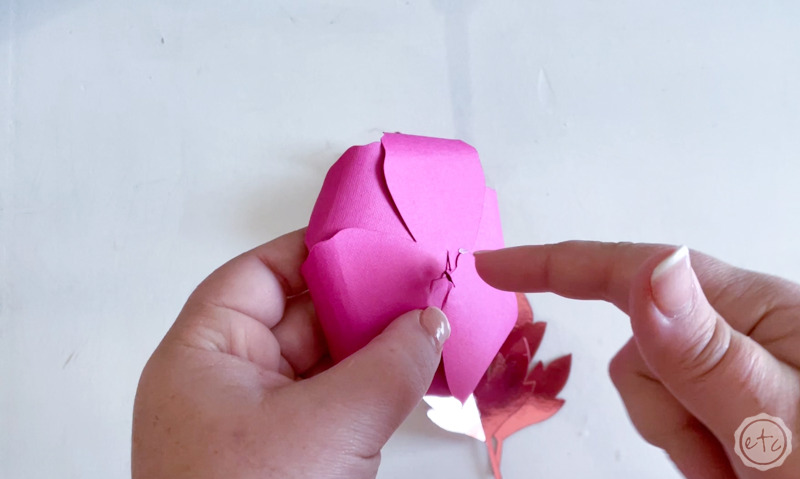
These little guys have a small half circle in between two of the petals… start by folding that half circle in and adding a dab of glue to it.
* I want to point out that the instructions say to use regular elmer’s glue… but I found that the hot glue allowed me to move faster with a more instant hold. But elmer’s glue would probably work if you’d prefer to use that.
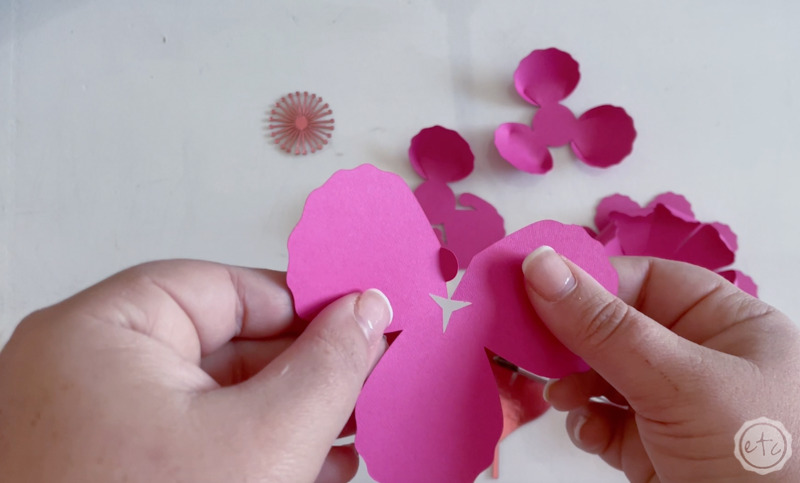
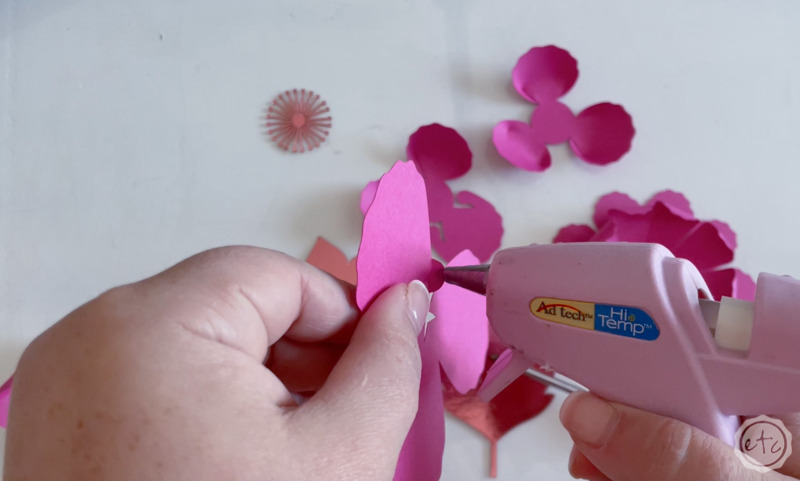

Now place the half circle behind the petal next to it and glue them together. You’ll want the petal to be in front and the half circle to be in back… this just makes our petal layer slightly cupped and less flat. It gives our paper flower a little life!
And that’s what we’re looking for… a flat 2-dimensional flower is not the goal after all.
Once the glue is dry you can start curling the petals. Start by placing your screwdriver at halfway down the petal (where the sides come up but before the wavy edges start). Then curl the petal over on itself and roll the screw driver down and off the paper until the entire edge of the petal is curled inward.
I find this easier than starting the screwdriver at the edge and curling the paper downwards along the barrel but whatever is easiest for you… the goal is to curl all 3 petals inwards toward the center.
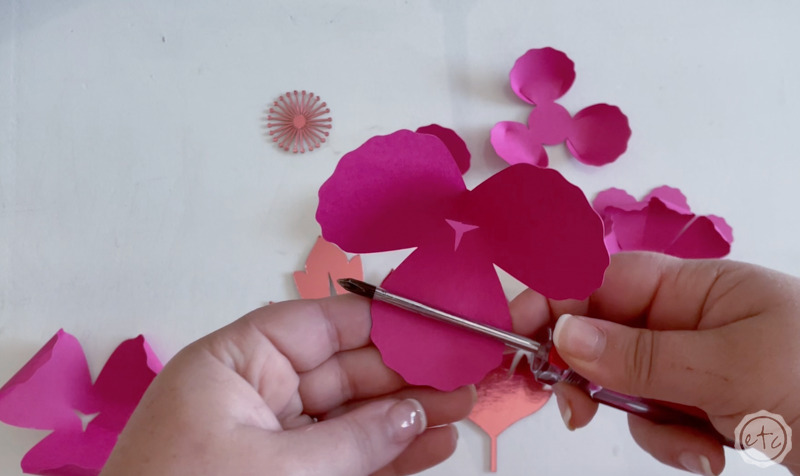
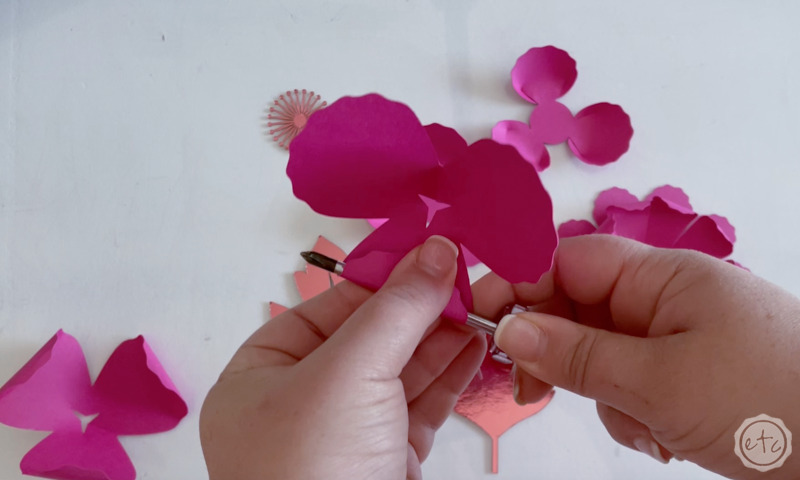
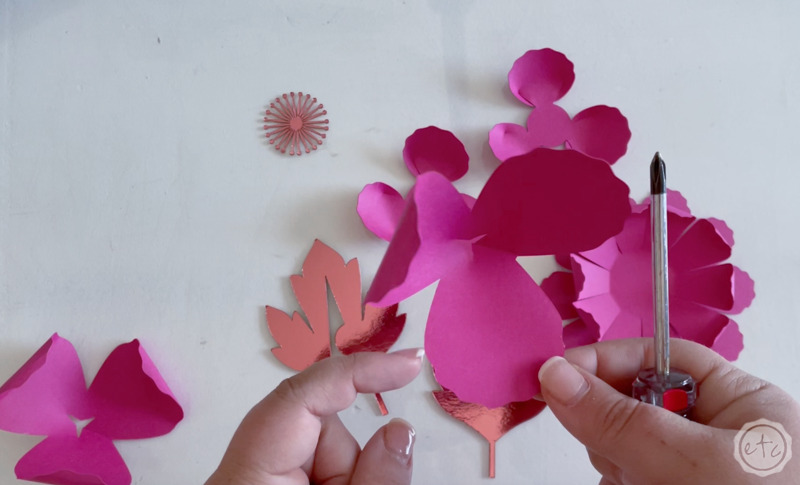
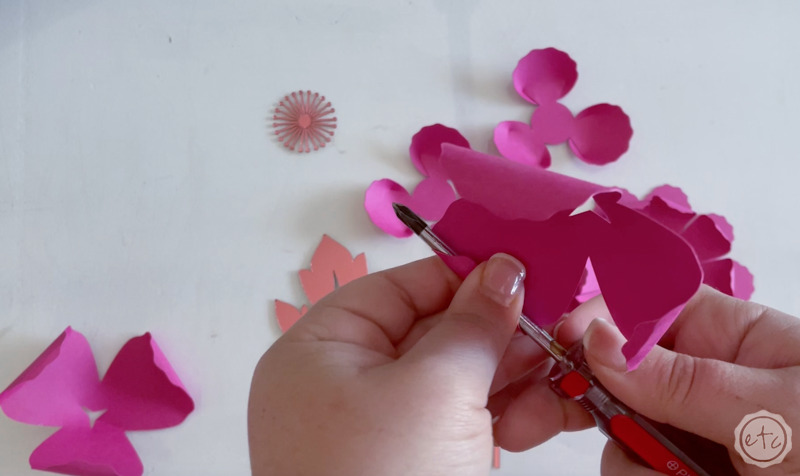
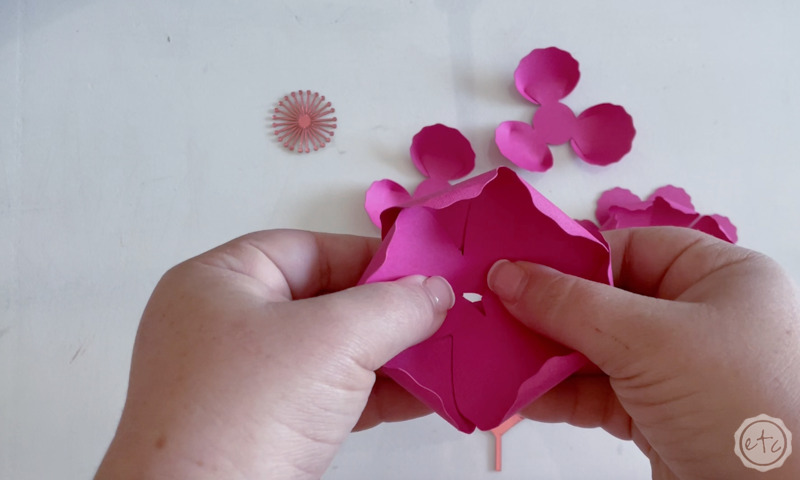
You’ll have two of these larger 3 petal layers for each flower… go ahead and form both of these and then we’ll put them together.
They’ll fit snuggly together with their petals opposite each other. Go ahead and fit them together to see how they fit first then once you’re happy with the fit you can add a bit of hot glue in between the two petal layers and glue them together.
One petal sandwich with two layers of petals!
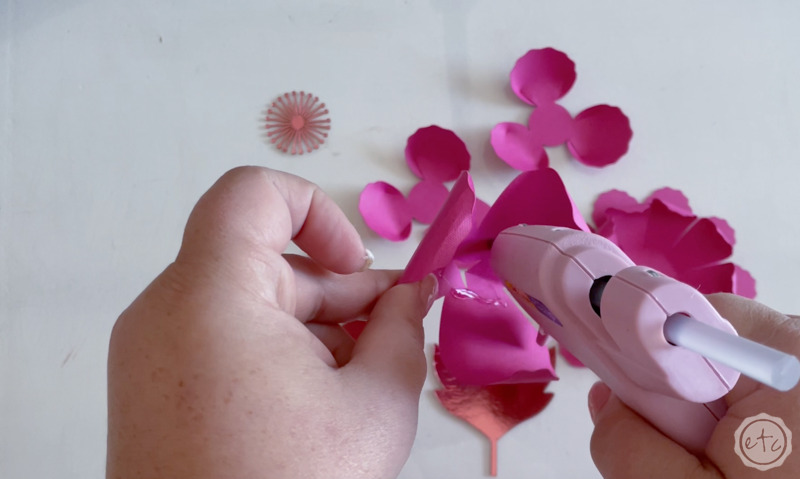

Step 6: Glue and Curl the 10 Petal Layers
Ready for the next best thing? Instead of curling 3 big petals now we’ll curl 10 small petals!
This isn’t hard but it can definitely get tedious after a while!
These don’t have an extra gluing step so we’ll jump right in to curling all the petals. Again we’ll follow the petals down the straight edge and then start curling at the tips where the wavy edges begin. Curl each petal up and in towards the center… there are two of these layers as well and I found that curling one gently and one more dramatically worked well for layering.

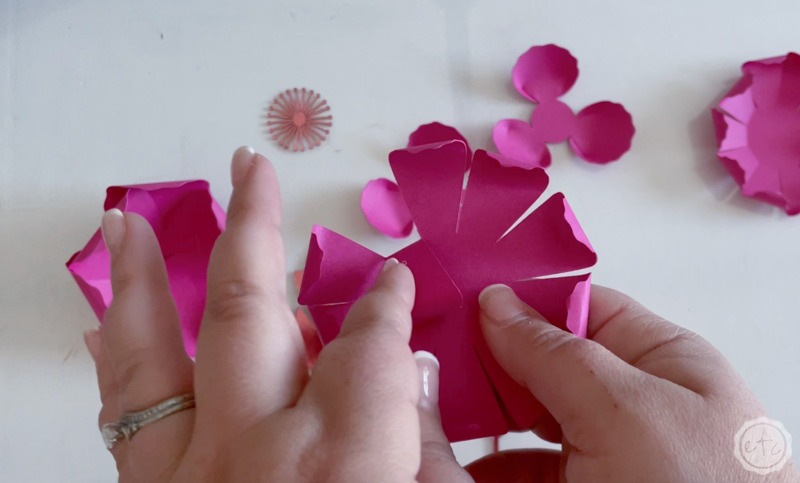
Once allllll of the curling is done I went in and folded each petal in towards the center (from the base) for a little extra curl.
This really helped when layering the petals later on!
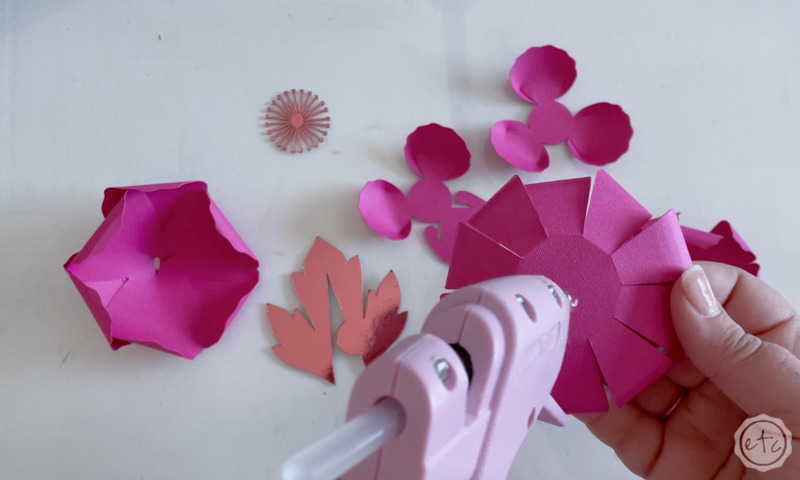
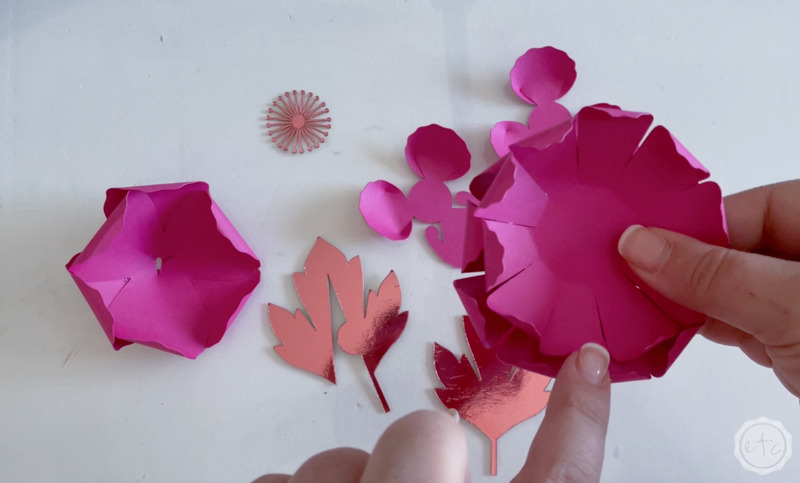
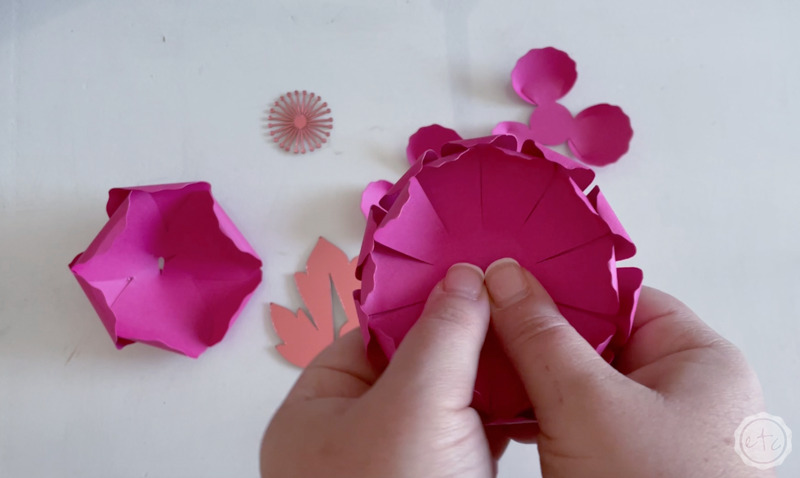
Then add a bit of glue to the back of your more dramatic layer and press it into the center of your less dramatic layer… again making sure to alternate the petals.
Volia!
Two layers done!
Step 7: Glue and Curl the Small 3 Petal Layers
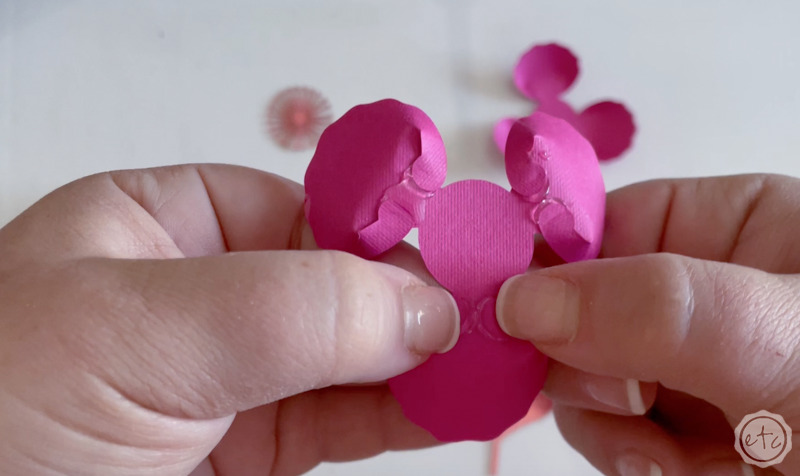
Ready for the last set of petals? These are the tiniest layers and the heaviest on the glue! Each petal has two tabs on either side… these need to be folded in and glued.
I found it easiest to do this in one step! Start by placing a dab of glue in the middle of the two tabs… then fold each tab in and hold it until the glue dries. Easy peezy!
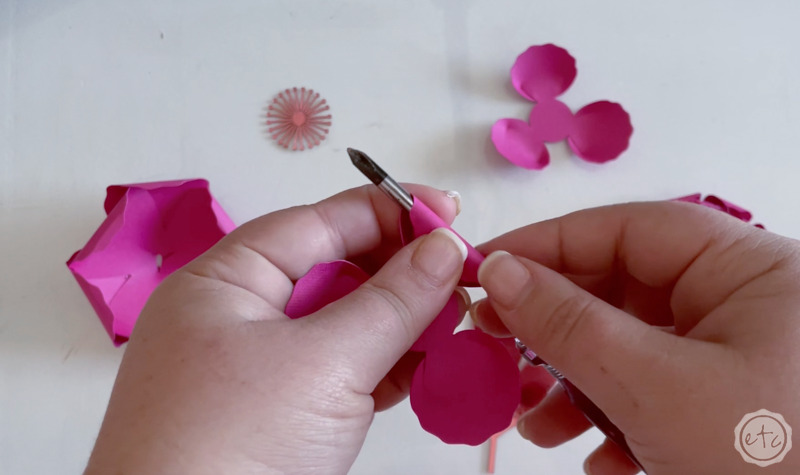
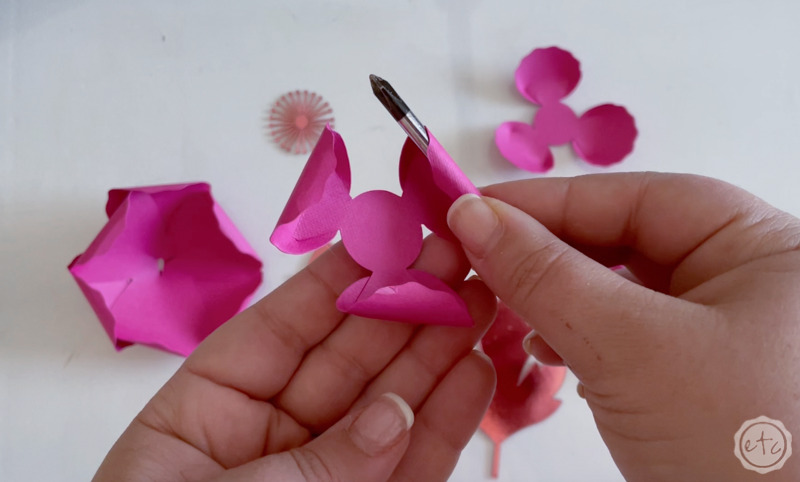
Once allllll of your tabs are glued go ahead and curl each petal inwards… peonies are very curly flowers so you want each petal layer to feel like it’s curling inwards on itself. That will help the overall flower feel very realistic.
As with our previous layers once all 6 petals on both layers are curled go ahead and glue the two smallest layers together (making sure to alternate the petals!).
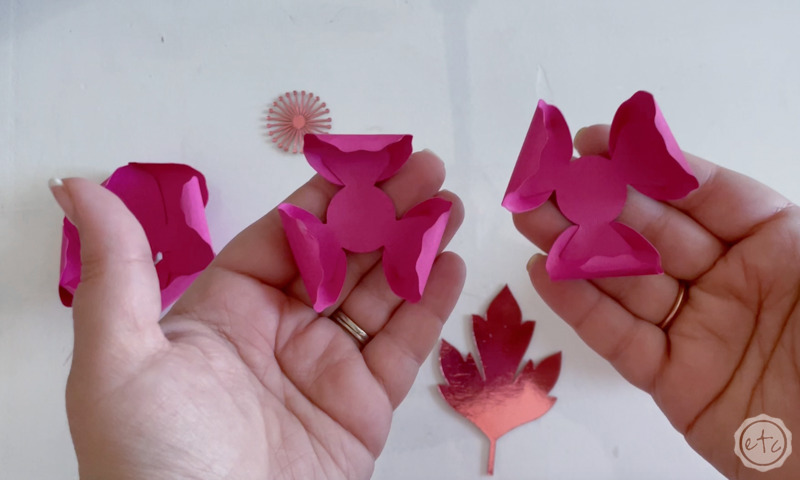


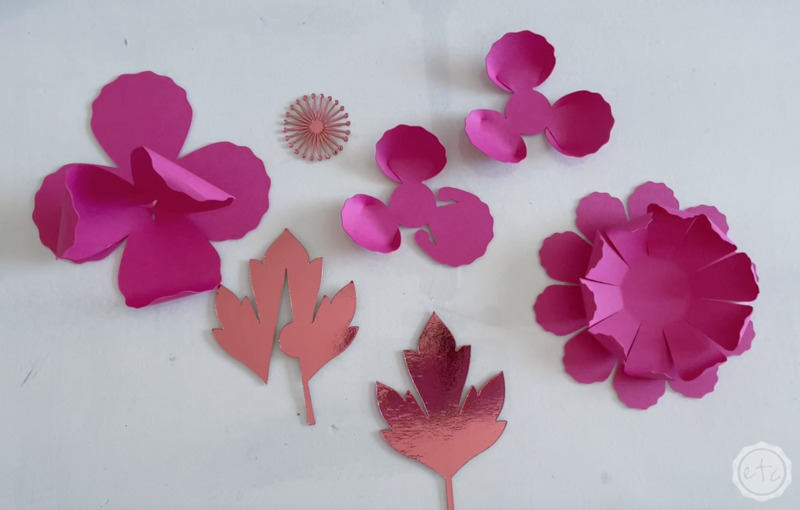
Are you tired of curling things yet? Here’s a bit a of an overview… you have 6 petal layers: two larger 3 petal layers, 2 medium 10 petal layers and 2 small 3 petal layers. We’ll finish the whole thing off with the interior portion and a few fun leaves!
Ready for the interior portion?
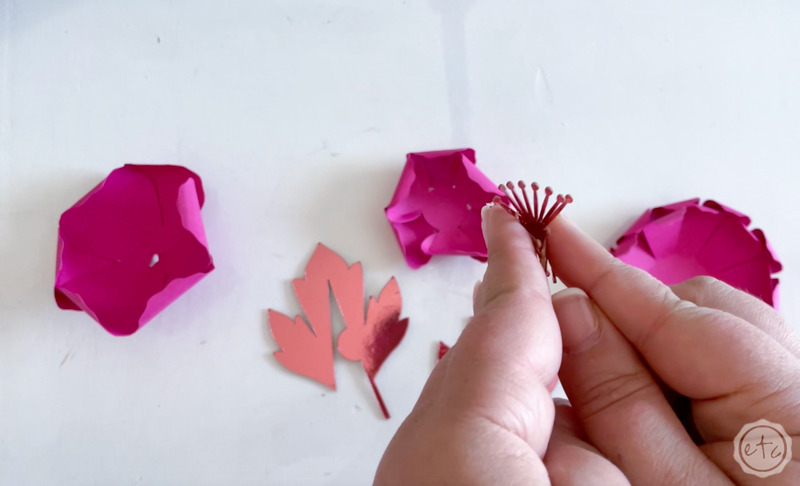
Step 8: Glue and Fold the Interior of the Flowers
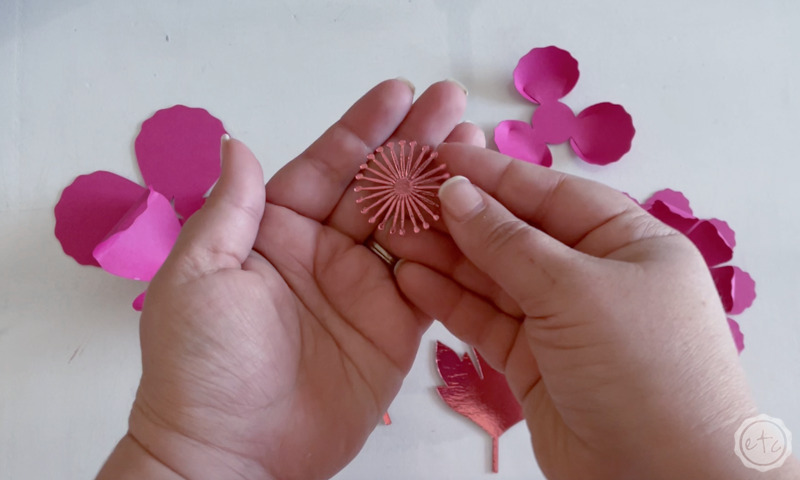
This little guy is pretttty small so be careful not to rip any pieces off! You’ll have two layers that cut for this guy as well but on some pieces I only used one.
The process is the same either way… simply fold allllll the long stems upwards to meet in the middle.


If you are using two flower interiors go ahead and glue the larger one in place first… add a dab of glue to the back and then place it in the middle of your smallest flower layer. I used a pen to really push it into place without messing up alll the fantastic curling I’ve spent hours on!
Perfect, darling!
If you’re working with one flower interior you’re done with this part… but if you’re using two go ahead and glue the smaller one directly on top of the larger one. This is all about layering after all!

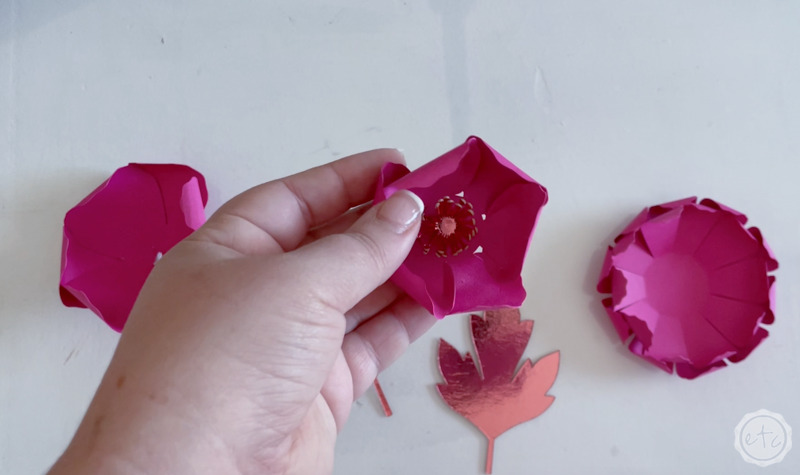
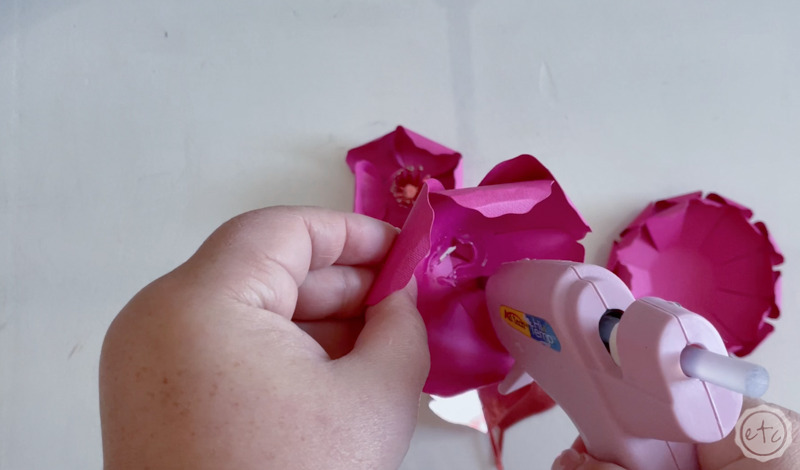
Step 9: Glue all the Petal Layers in Place
Let’s keep going with our petal layers! At this point we’re ready to assemble the entire flower… starting at the back. Go ahead and take your larger 3 petal layers and add a bit of hot glue inside. Then press the medium 10 petal layers inside.
When you press these guys together it should flatten the back of the 3 petal layers so that the entire flower is still curled inwards but the back of the entire flower is flat. This isn’t as necessary if you’re using these flowers for a bouquet but if you’re using them for a sign or wreath than a flat back is helpful.
IF you’re adding these to a bouquet go ahead and add your stem down the center opening of the larger 3 petal layers before you glue the medium 10 petal layers on top.
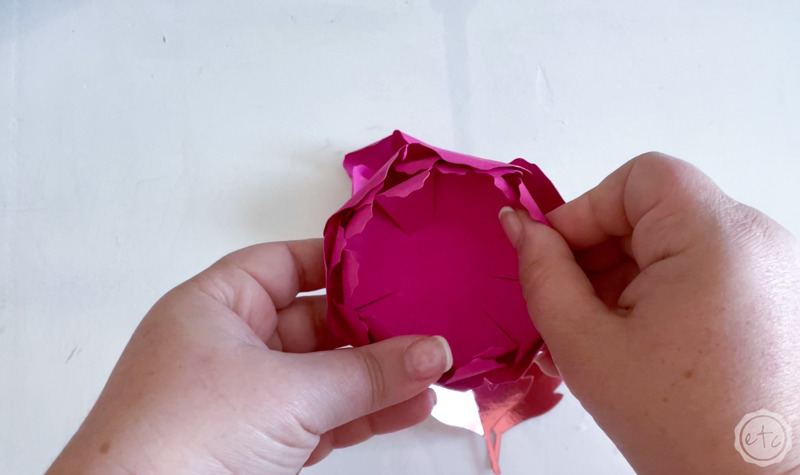

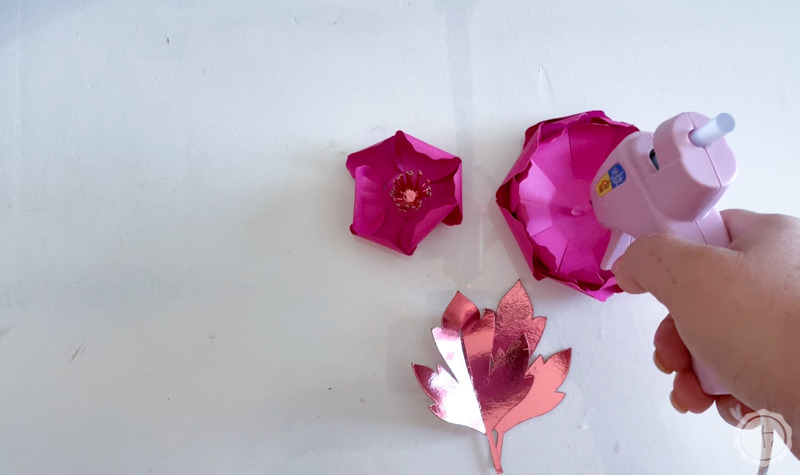
We’re so close to done! Go ahead and add a bit more glue to the center of your flower stack and add the last layer… your tiniest petals with the flower interiors.
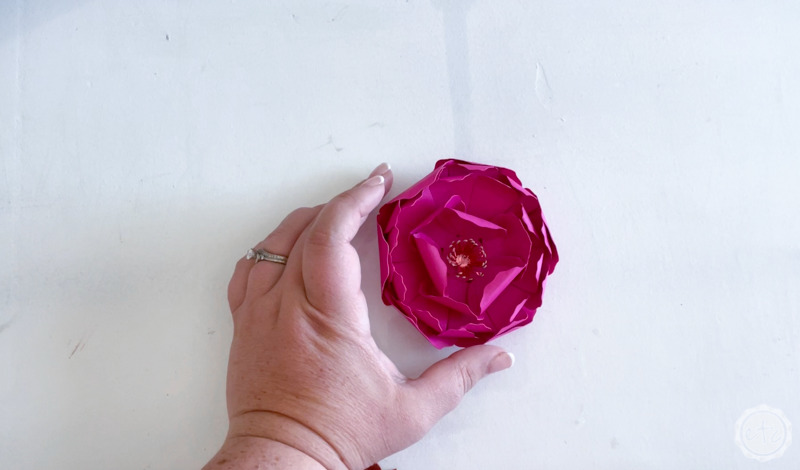
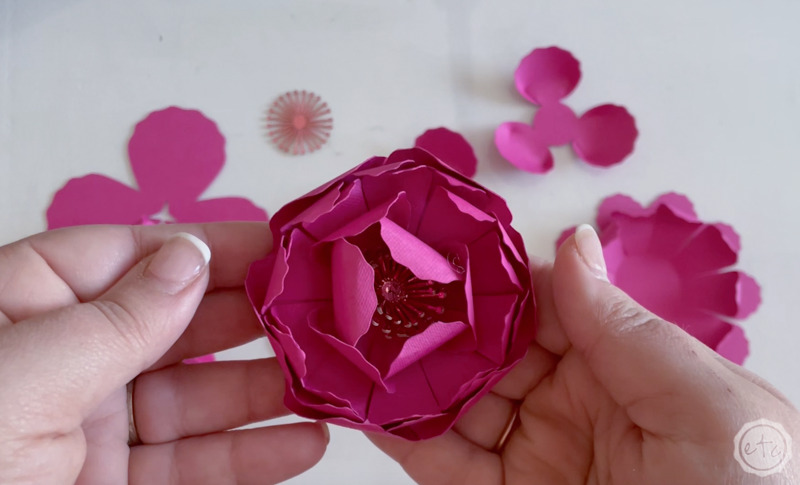
Smush them all together and volia!
One paper peony!
It’s so pretty!

Step 10: Don’t forget the leaves!
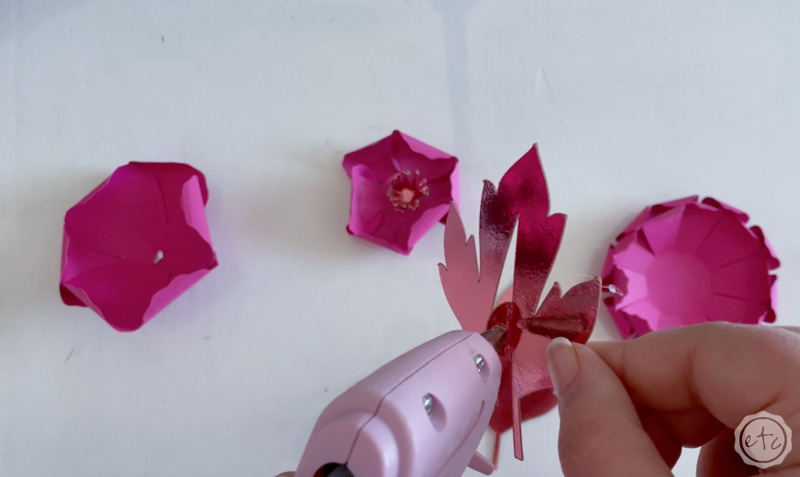
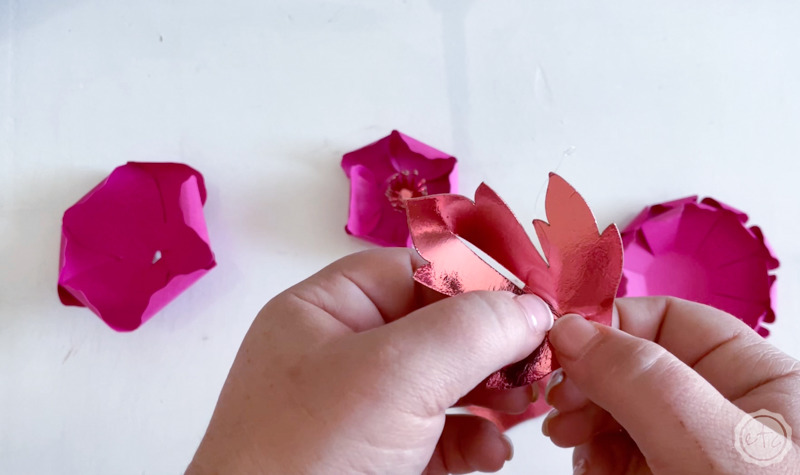
At this point you can be finished if you only want the flowers… but the leaves are so much fun! Plus they’re easy… no curling required.
Instead we’ll go back to our first (largest) 3 petal layer and fold that tab in the middle of our leaf over. Then add a bit of glue and glue it to the back of the leaf section beside it. All this does is put a little fold in your leaf.
A little get-up in your go.
A little life in your paper.
Plus it’s fun.
Step 11: Enjoy!
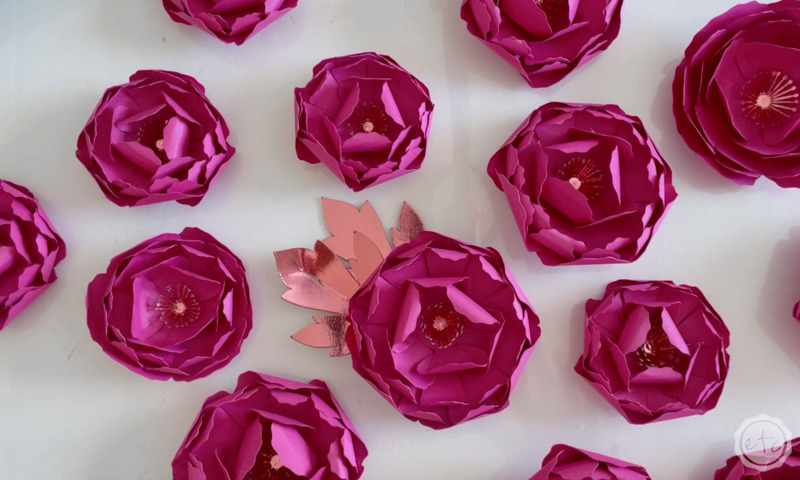
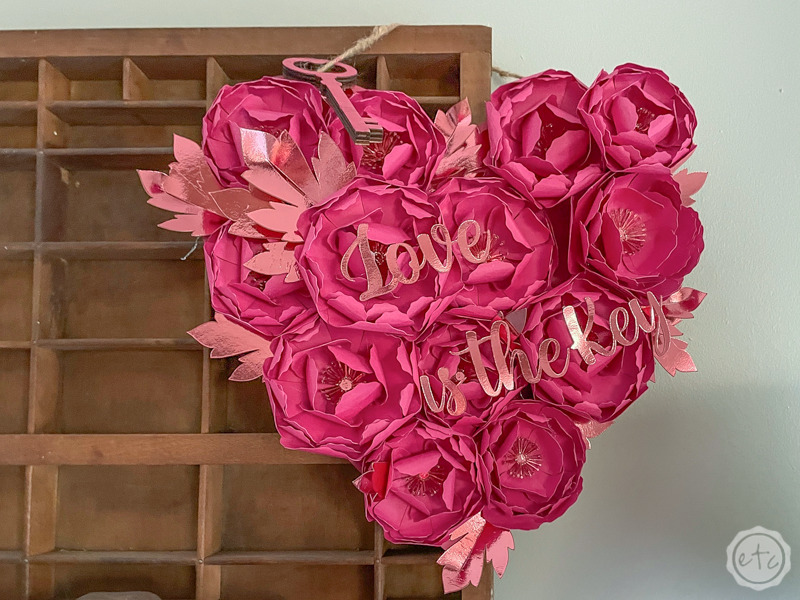
Now you’re finished!!! Depending on how many paper peonies you need you can repeat this step once or a bunch… I wanted an entire wreath of these bad boys so I curled until I couldn’t curl any more.
And it was WORTH IT!
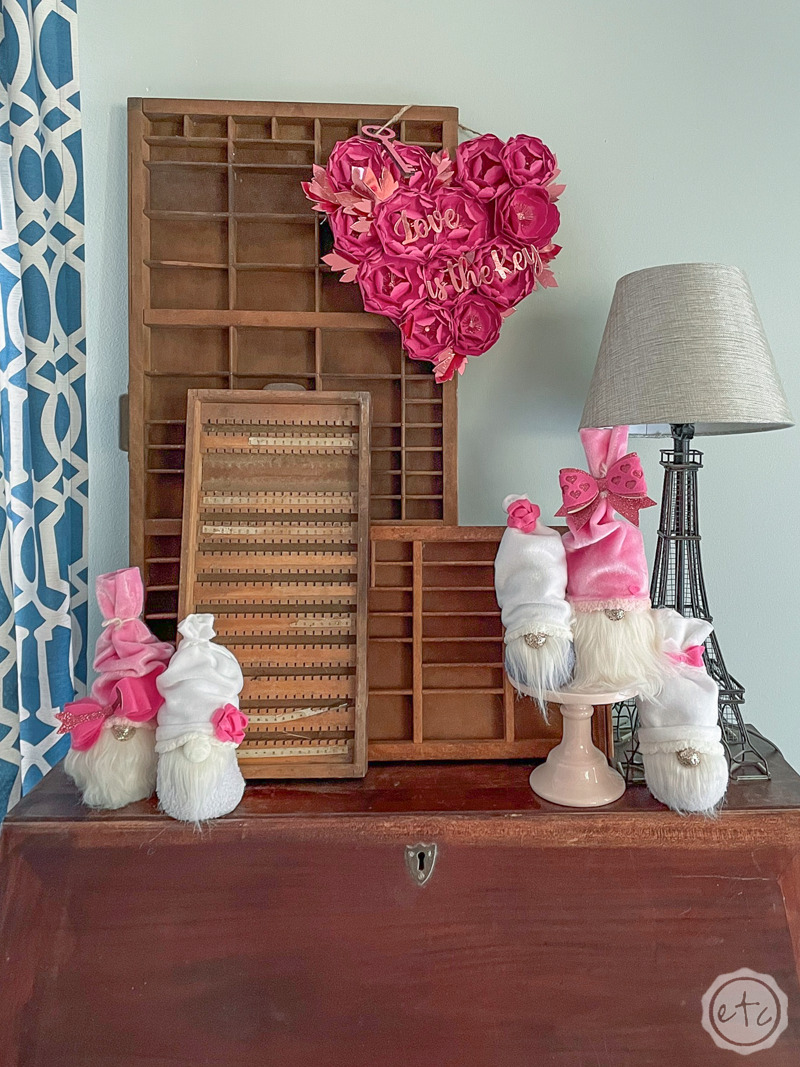
Check out the full Valentine’s Day Peony Wreath Here!

Get Your FREE PDF Guide!

Don't forget to snag your free PDF Guide to buying your first Cricut!




Leave a Reply