

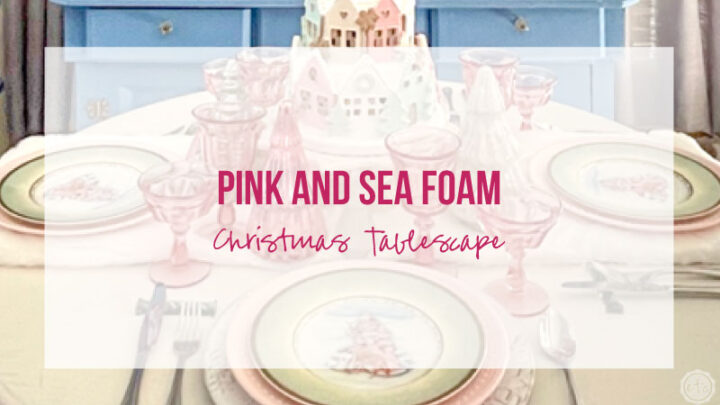
Once a year there’s a strange period of time after Christmas when I feel the need to take down my Christmas decorations but I’m not quite ready to put everything away. So instead of completely clearing the house for spring I remove all my specific Christmas decorations (my Christmas trees, Santa’s etc) and leave only my winter themed decor. Which means my pretty pink and seafoam Christmas tablescape had to come down. It was beautiful but it centered around my Fitz & Floyd Santa Salad plates.
So I picked up the tablescape and decided to put out a brand new tablescape that would work with the winter themed decor I already had out. Things like the pretty mercury glass tree forest on my kitchen island. The new winter themed tablescape will have a pretty winter wonderland centerpiece with a holographic element.
Which is my fancy way of saying I’m using my holographic trees y’all!
Ready to jump in and see how I pull this whole thing together?
Supplies:
- Duchess by Style House
- Champagne Chargers
- White Table Runner
- Blue Satin Table Runner
- Oneida Countess Flatware
- Antique Blue Knife Rests
- Holographic Glasses
- White Napkins with lace and crocheted corner
- Silver Napkin Rings
- Holographic Trees
- Silver Mercury Glass Tree
- Resin Ice Mountain Tutorial
Want to see the entire process? Watch me set up my Winter Wonderland Centerpiece:
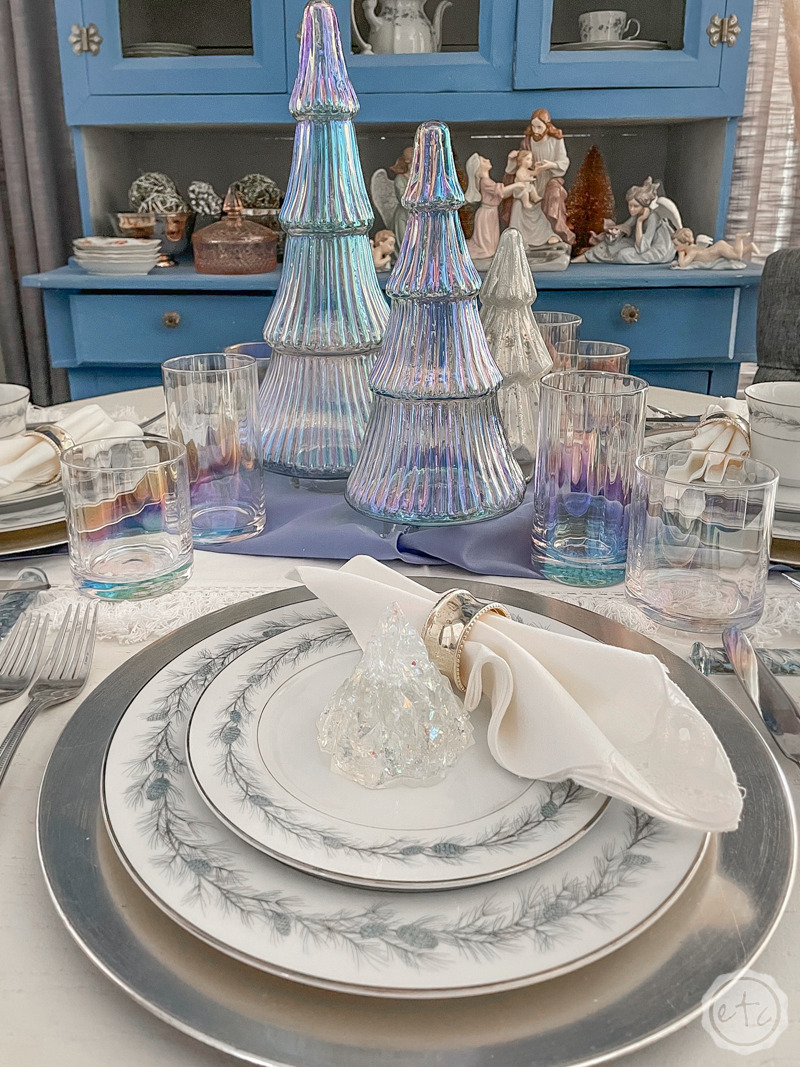
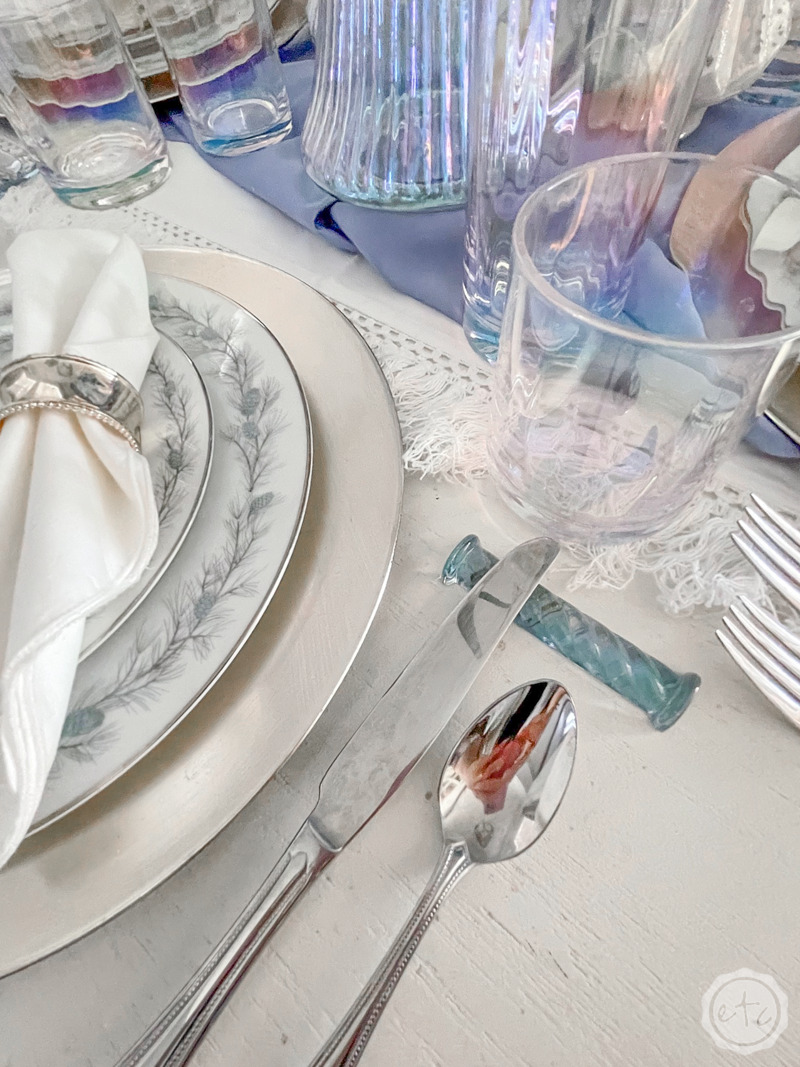
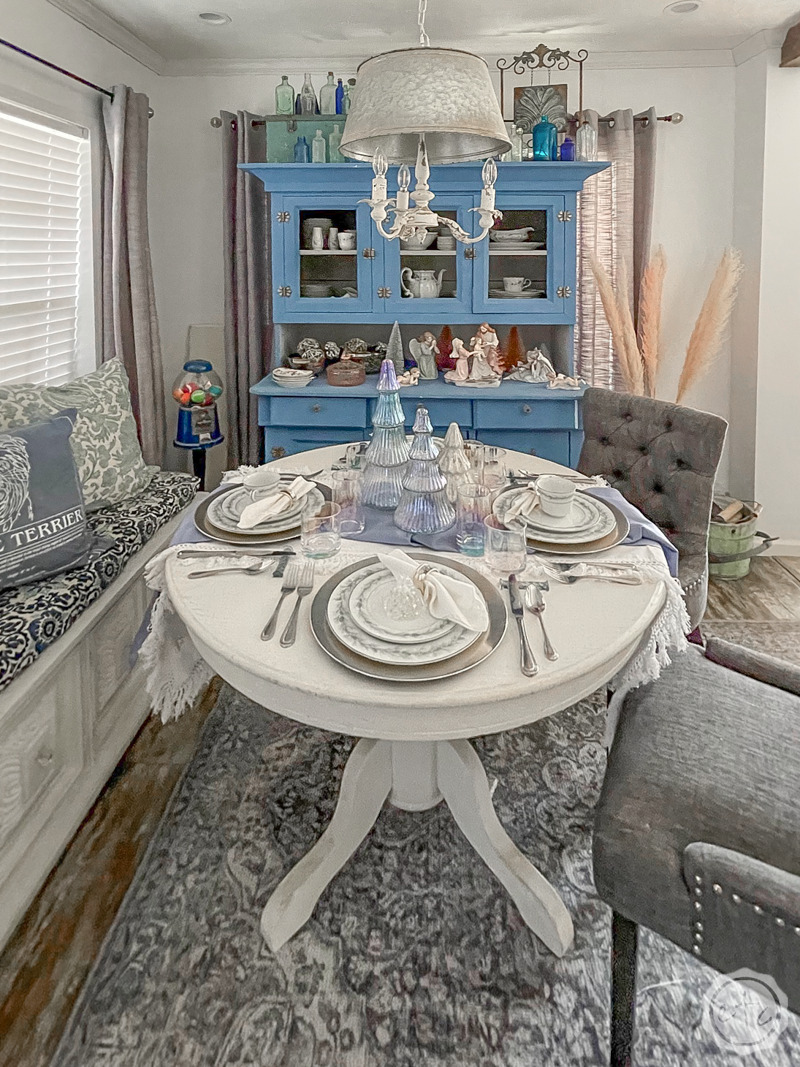
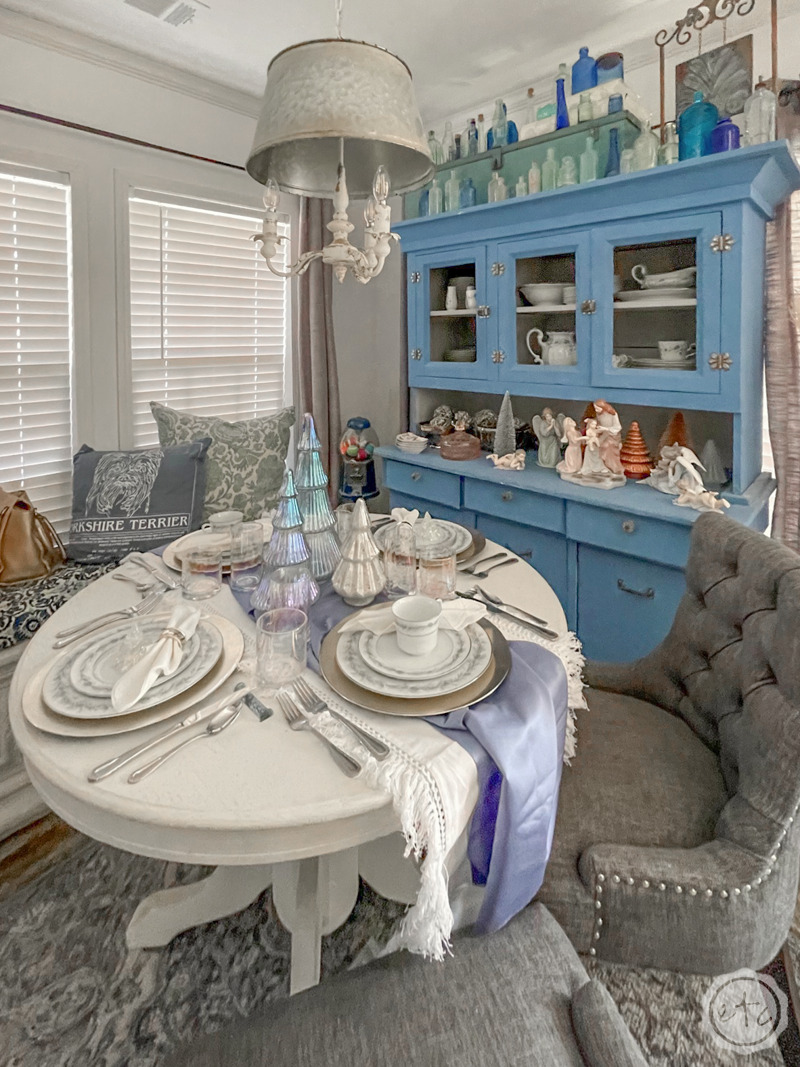
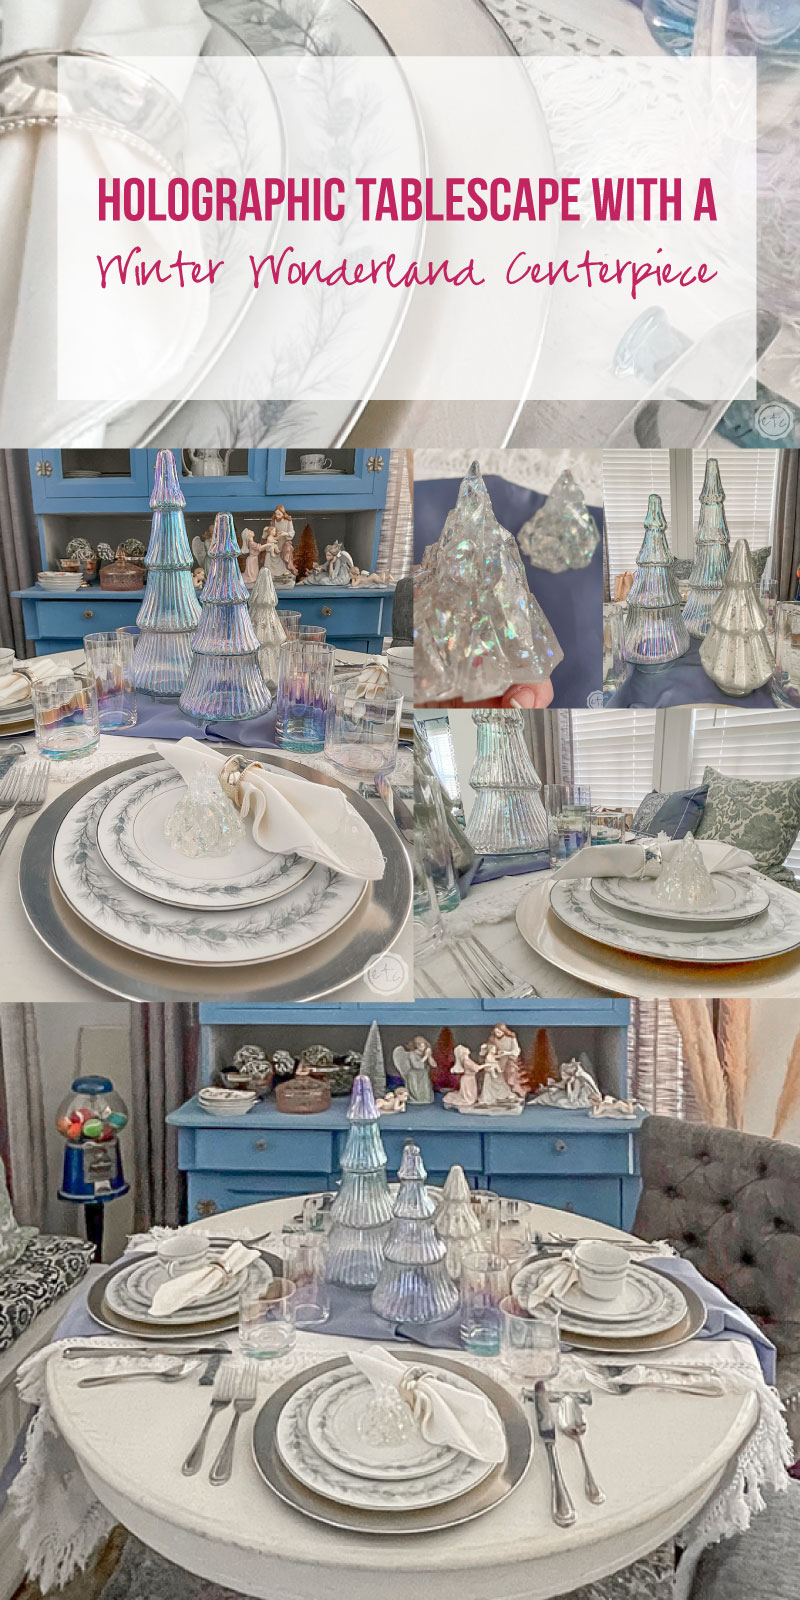
I’m in L-O-V-E love! Which is perfect since after this winter wonderland table I’ll be setting up this year’s pink depression glass Valentine’s Day table. As always I started with a few key elements and then pulled the rest of the table together for a cohesive look.
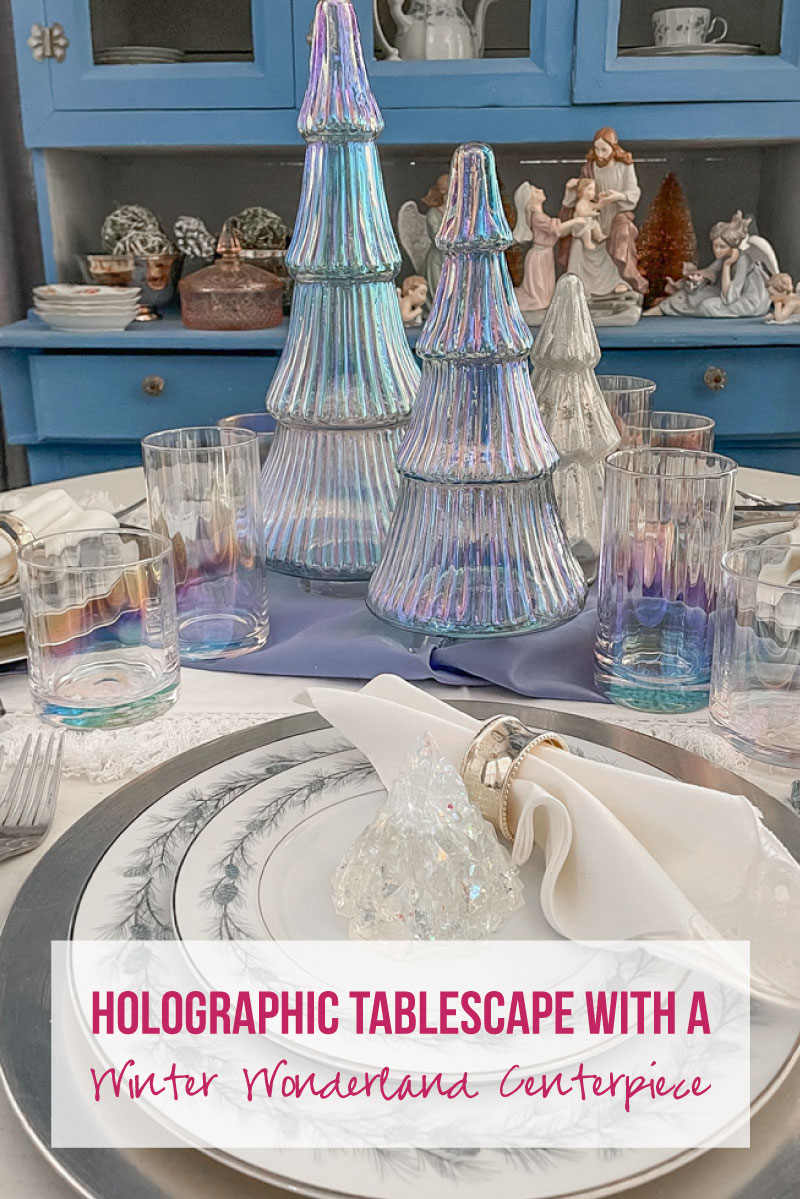
For this specific table that was a new set of dishes that I picked up at the thrift store and a few little holographic mountains I made out of resin. The dishes I picked up came in a set with dinner plates, salad plates, tea cups and the sugar & creamer set. They’re blue and silver (which should go perfectly with the holographic theme!) and have adorable little pine cones around the edges.
Plus the entire set was $20… so that was the main point.
Since I had my plates in mind and knew I was using little adorable holographic mountains in the middle of each plate the next steps were easy… let’s pull in a few silver details and a few holographic pieces!
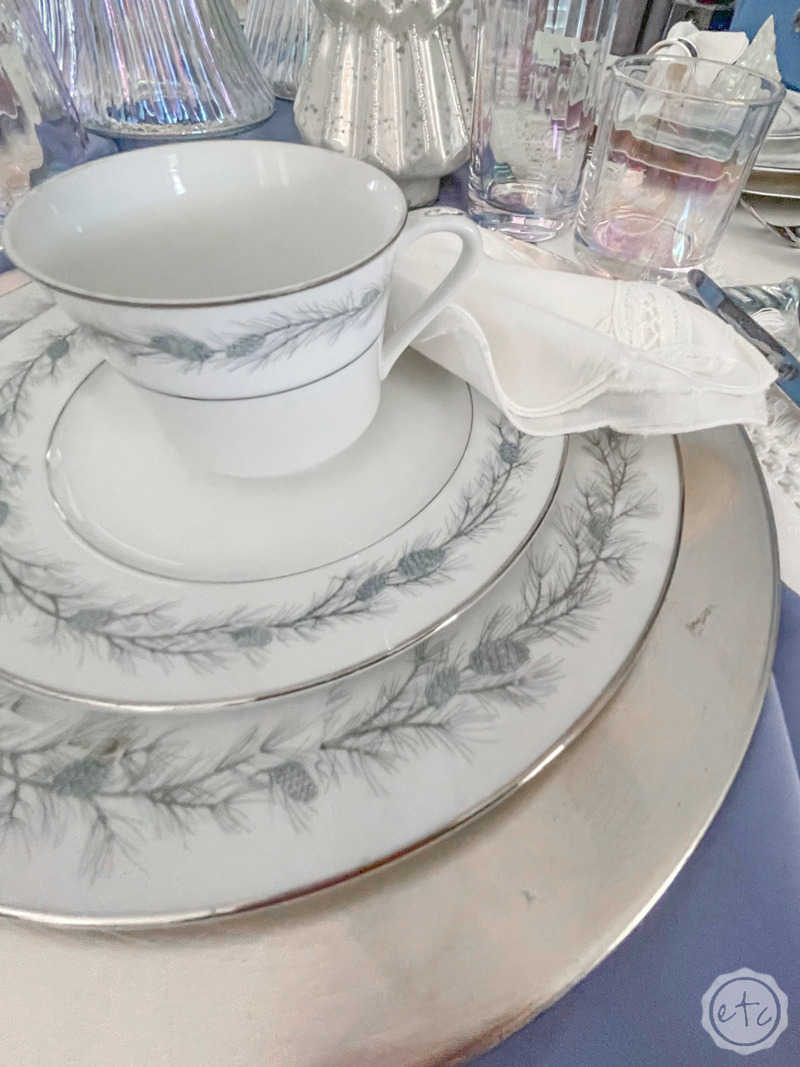
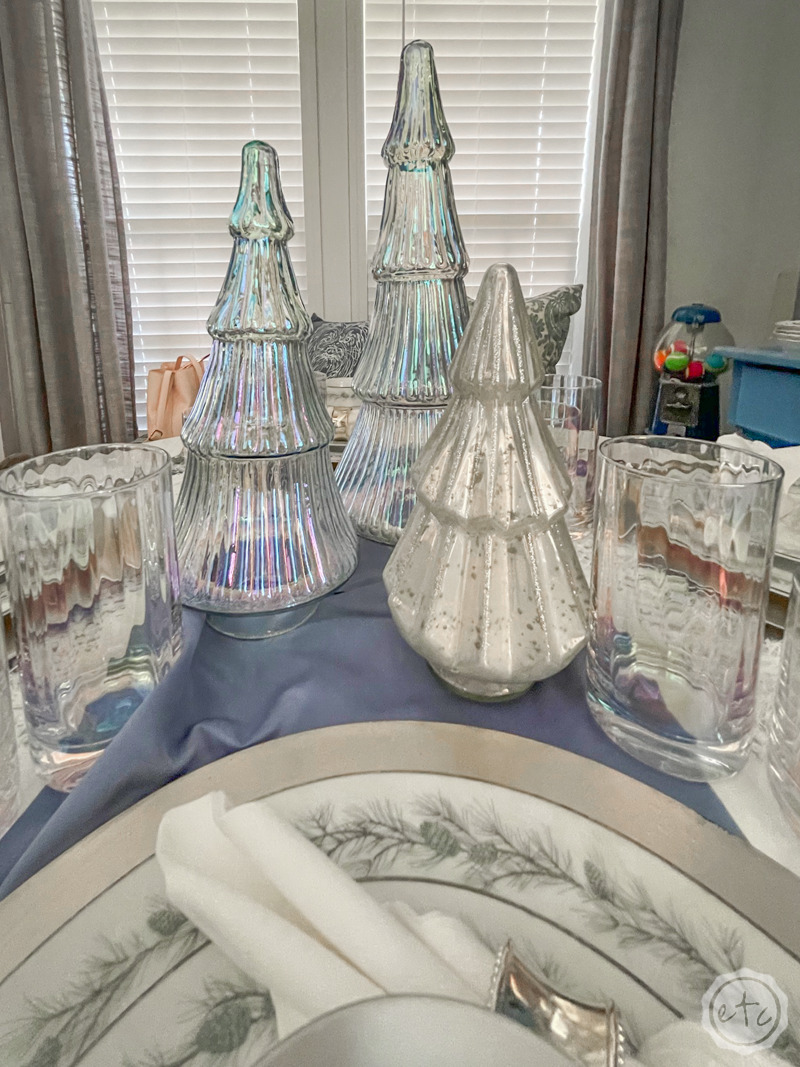
The silver details were easy… a few sweet silver napkin rings with simple white napkins along with my pretty silver flatware. I had silver chargers and champagne chargers but I went out on a limb and picked the champagne chargers instead of the silver.
While the silver matched the plates perfectly the champagne gave an iridescent feeling that helped tie the silver plates to the holographic mountains just a smidge more.
Or maybe that’s all in my head… just go with it.
Ready for the centerpiece? Let’s really bring in that holographic feeling with a few holographic trees! I have a large tree and a medium tree with a tiered look and holographic goodness. They’re sooooo pretty! Since we’re going for winter wonderland here I also pulled in a little silver mercury glass tiered tree and now we have 3 fabulous trees!
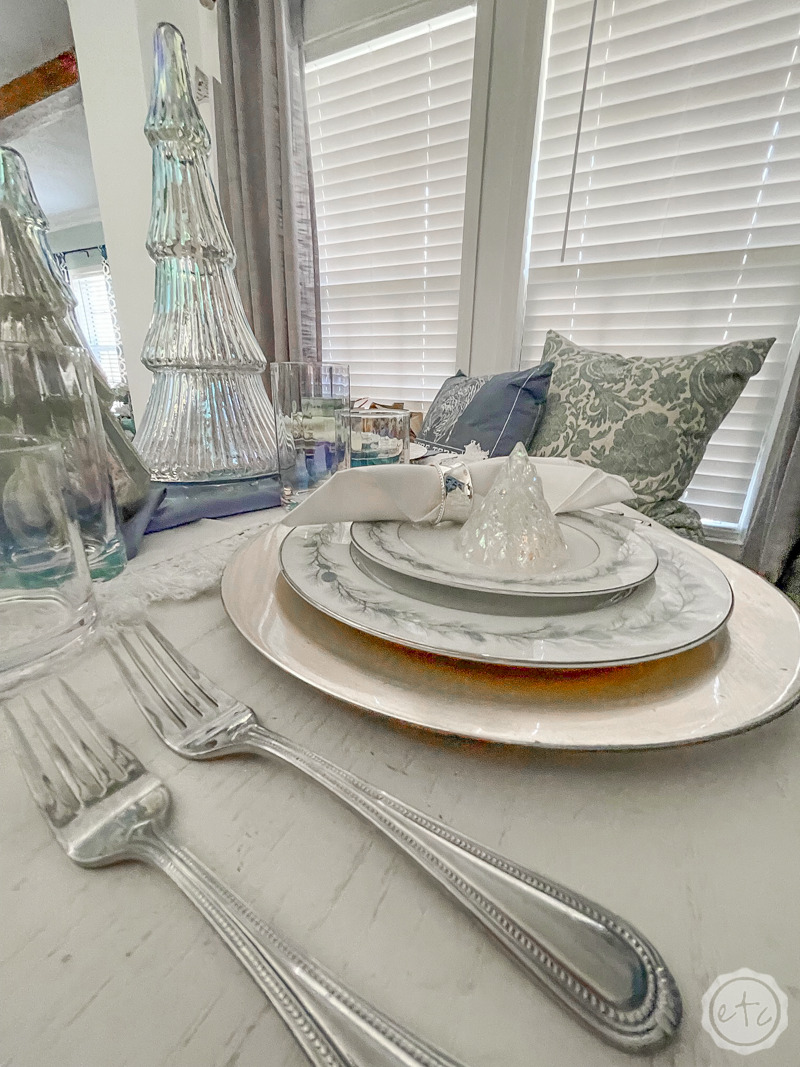
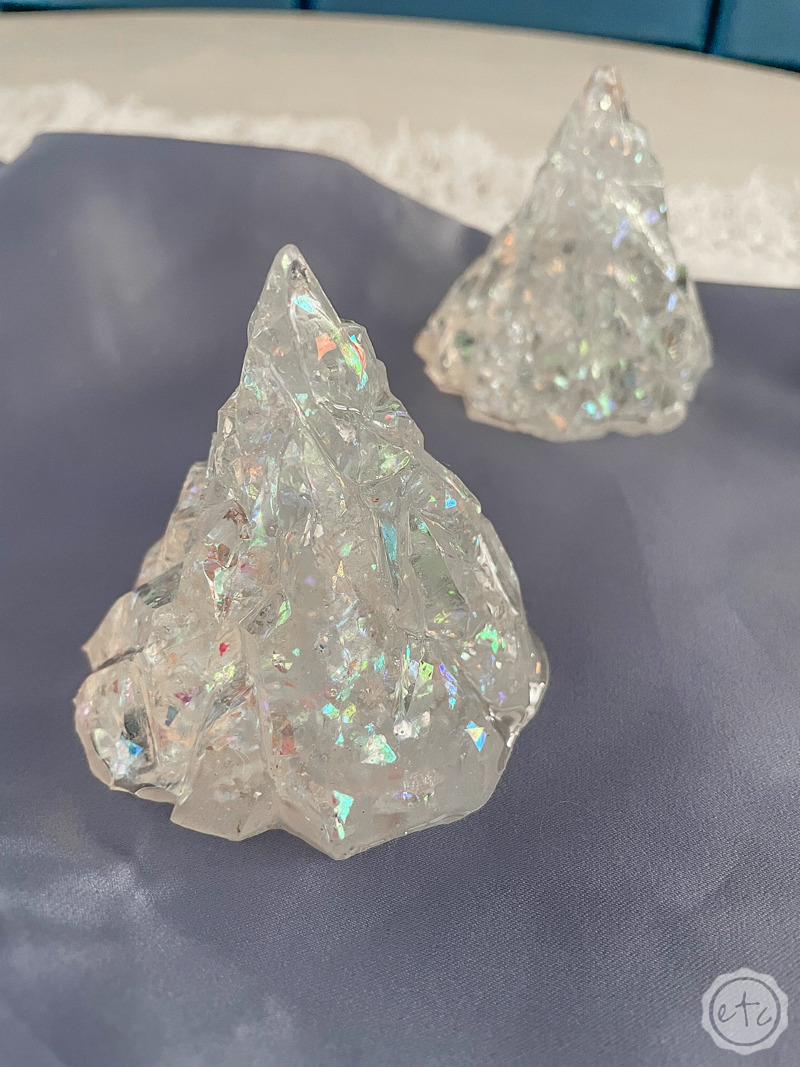
Last but not least I grabbed a few holographic glasses out of the cabinet to really tie it all together! I love how the holographic glasses bridge the gap in between the mountains and the trees so the entire look starts at the plates and builds up towards the centerpiece.
This is a pretty simple table so we’re almost done. The last thing we needed was a bit more blue to tie in the blue of the plates. My set of antique blue glass knife rests was an easy solution but I needed a bit more blue.
So I added a blue satin table runner down the center of my white table runner. I love the texture of the tassels on the white runner against the sleek smoothness of the blue satin. And it gives just the right color blue!
Of course, I could have simply gone with the blue runner and skipped the white one but I think the layered look adds a lot of dimension to the table.
All in all, I really love how it turned out!
Looking for more table decor? Check out these fun Tablescapes!








Leave a Reply