This post contains affiliate links to items I own and love for your convenience!

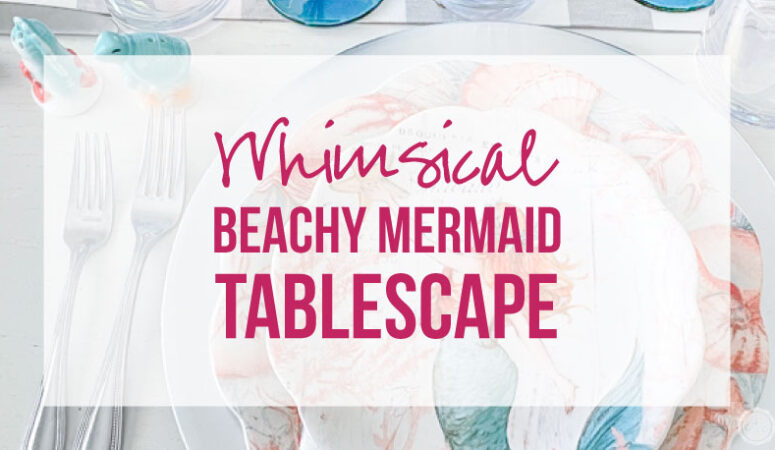
Ready for another fun tablescape? Today I’m setting up a fun new summer table with a brand new set of plates. These little babies are whimsical and beachy with a touch of mermaid fun.
Plus… I kind of love them!
Which is always my number one tip for any tablescape (really my number one tip for decorating anything in general!) find something you love as a jumping off point. Then build everything else around that one fantastic thing.
Ready to get started?
Supplies:
- Seashell Dinner Plate
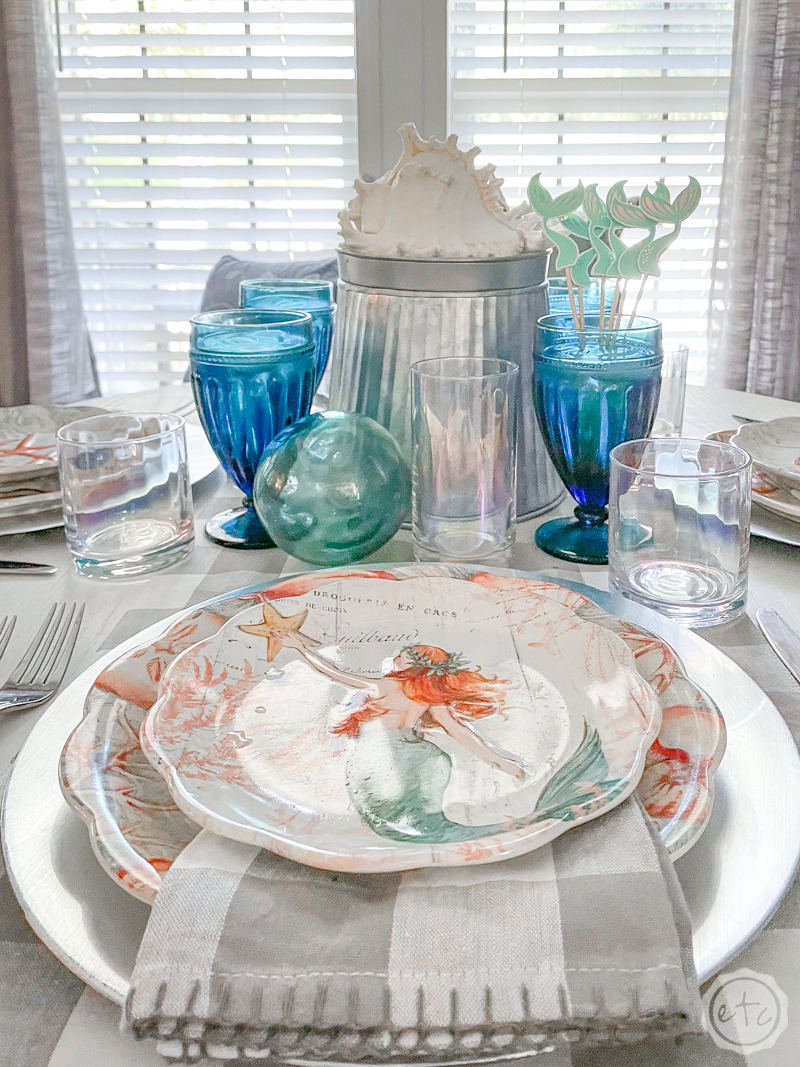
- Mermaid Salad Plate
- Starfish Salad Plate
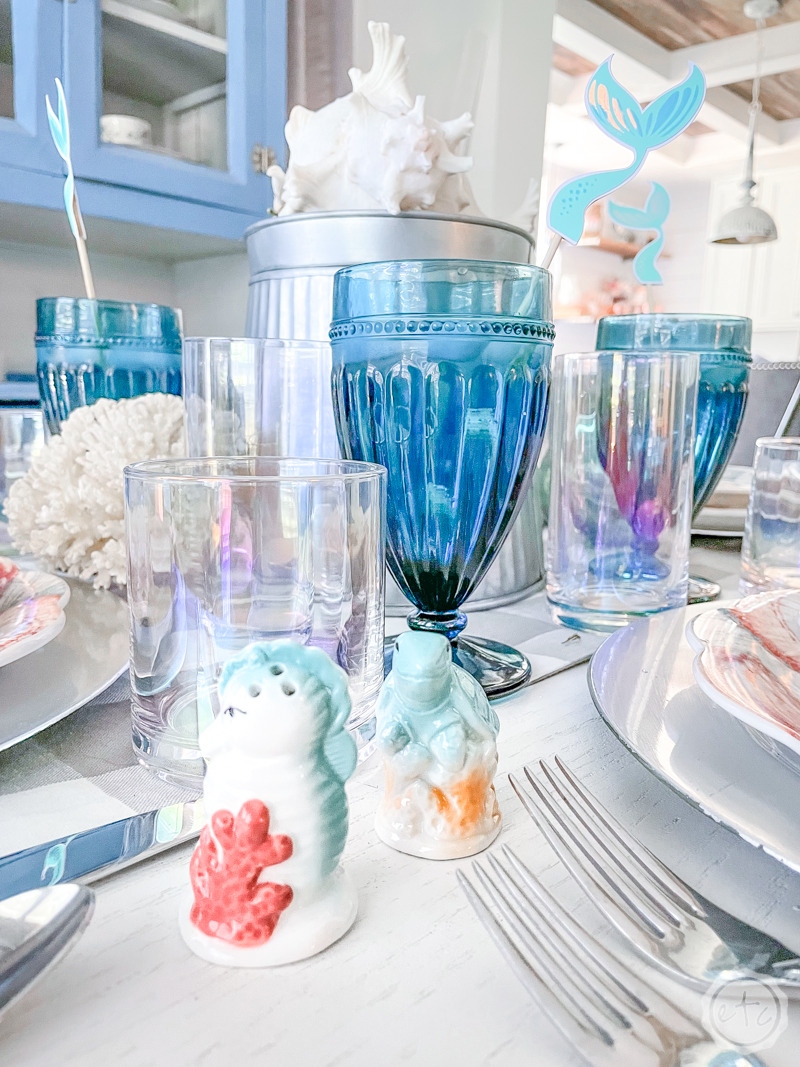
- Turtle & Sea Horse Salt & Pepper Shakers
- Teal Footed Glasses
- Holographic Highball Glasses
- Silver Chargers
- Oneida Countess Flatware
- Gray and White Buffalo Check Table Runner
- Gray and White Buffalo Check Napkins
- Silver Galvanized Drink Stand
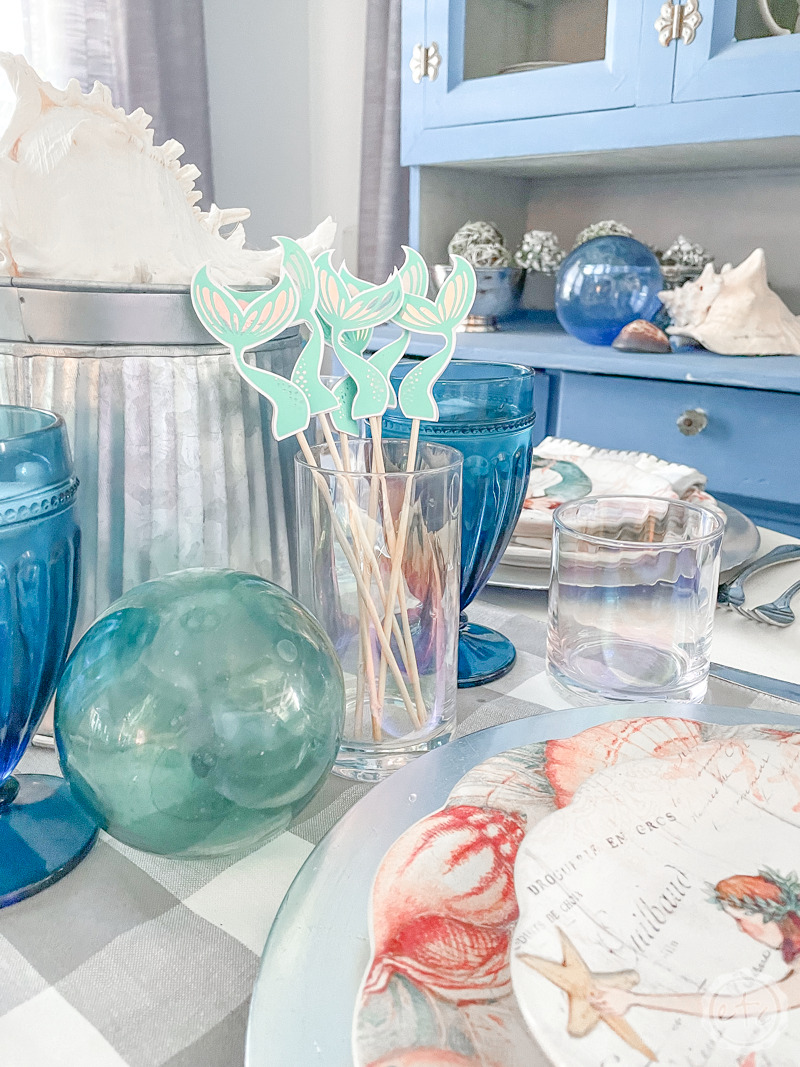
- Mermaid Tail Drink Stirrers
- Conch Shell
- Teal Ocean Float
- Starfish
- White Coral
Just a heads up… some of the items I’ve used in this tablescape are not available anymore. I’ve linked to similar items in some cases, although if you’re looking for specific pieces several of these items (like the blue teal footed highball glasses) are seasonal and will probably be re-released later. Or found on ebay… like this set of mermaid and starfish salad plates or this little sea horse and turtle salt and pepper set.

Step 1: Find your Inspiration
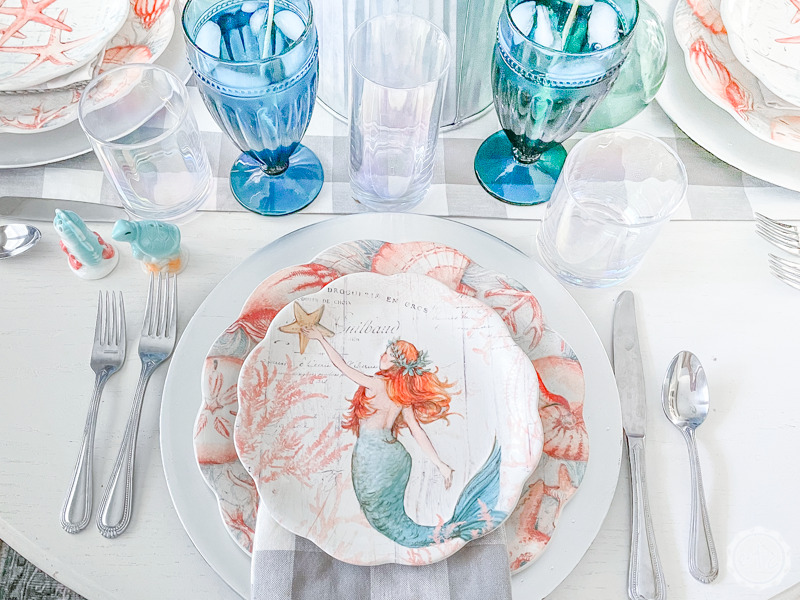
I absolutely love these little mermaid and starfish salad plates! I found them at Cracker Barrel on the way home from Haven blog conference this summer and just had to have them! Since they were only 6.99 and 8.99 respectively I bought a set of four and decided to leave all the extras behind.
There were bowls, mugs and other accessories but I just wanted a cute little table setting I could mix and match with! Of course, that means I’ll have to build out a centerpiece to go with the plates I picked up.
That shouldn’t be too hard!
I started with these flowers… but let’s be honest they’re not quite the right colors (at least in person they’re more blue and pink than teal and orange). Instead let’s find a common color for our foundation and then build a centerpiece from there.
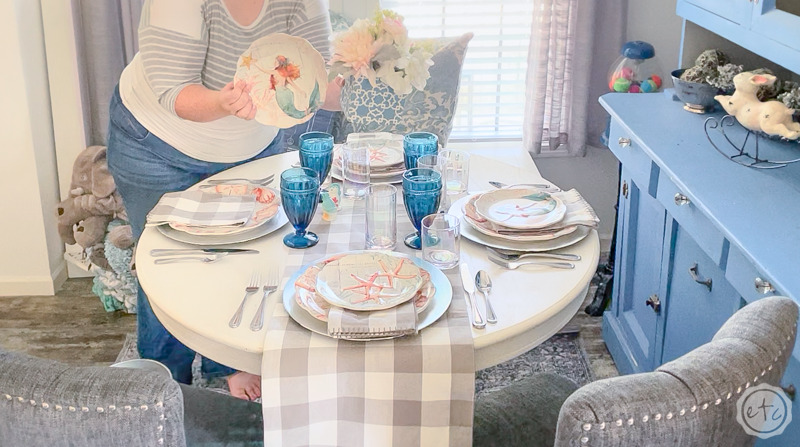
Step 2: Add in the Basics… Don’t Forget the Foundation
Ready to tie everything together with a common color? We already have teals and oranges from our plates… so whatever we use for chargers, silverware and other accents has to work with those colors.
Typically rose gold is my go-to color but let’s face it orange and rose gold isn’t the best (especially for a beachy theme) and gold would be a little too refined. Instead, I’m going to go with a more silver, galvanized look.
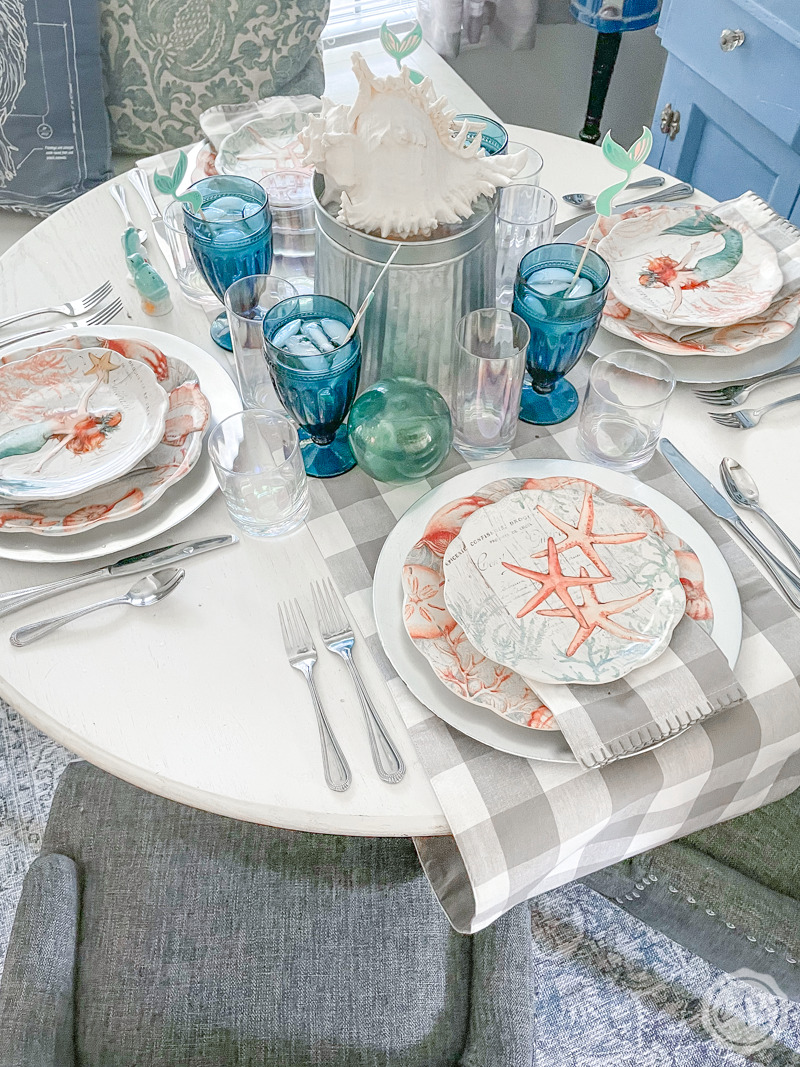
Silver chargers, flatware and a stand for the centerpiece should help tie everything together… especially with the gray and white buffalo check table runner underneath the entire table. Then I’ll add in gray and white buffalo check napkins to tie things together a bit more.
Score!

Step 3: Work on your Centerpiece
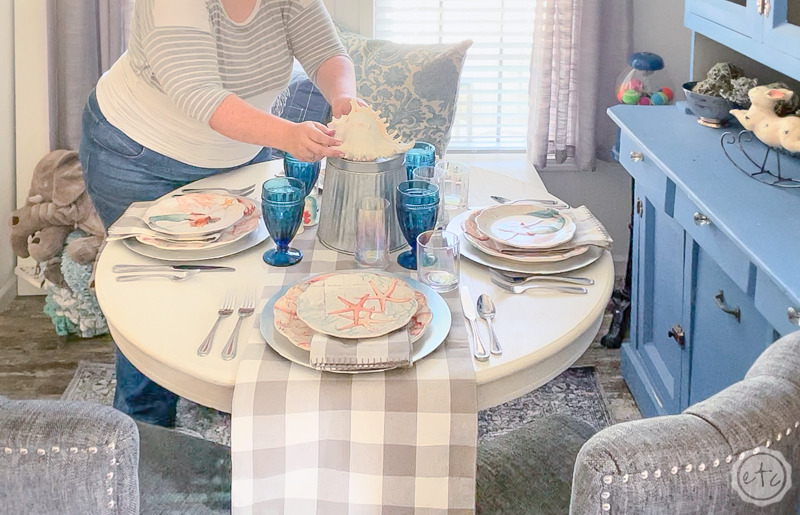
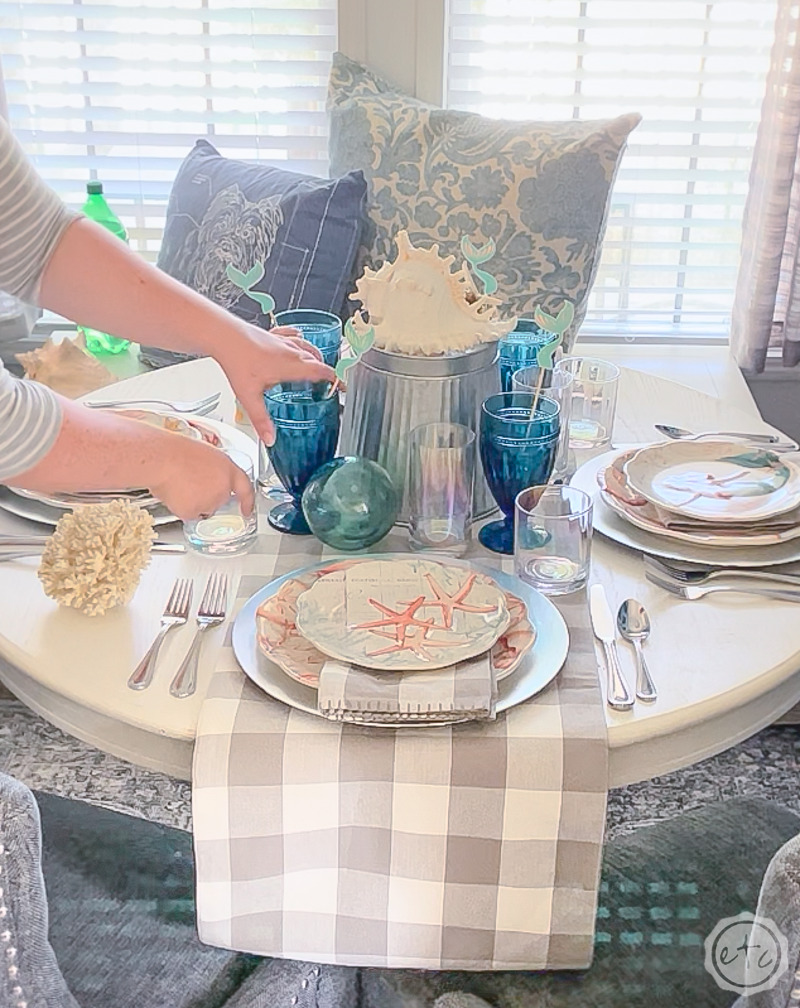
Now it’s time to add a little fun to the middle of the table… so far everything is very one dimensional. I want to add a little height but with everything already on the table we’re running short on space. So instead of a cake stand that would go up and out I grabbed this galvanized drink dispenser stand! It works color wise and will add height without width.
Now we just need a few finishing touches.
Since I’m working with things I already have (I didn’t want to buy any extra pieces from the collection or additional pieces for the centerpiece remember?) I figured what better way to dress up the table than with a few beach souvenirs?
I added a large conch shell that my parents bought me when I was a little girl, a pretty piece of coral that I borrowed from my Mom’s house, a teal ocean float that normally lives on my kitchen shelf and even a little starfish (also from my Mom’s house. Of course, living in Alabama we’re fairly close to the beach and go frequently in the summer… but I grew up as an Army brat and we lived all over.
Which meant we spent summer’s all over and Mom’s favorite hobby is definitely collecting souvenirs from everywhere we’ve lived or traveled. She’s passed that on to me! Either way it made collecting things for my centerpiece easy but if you don’t have a bunch of ocean themed memorabilia around you can always hit the beach (or an antique store… or have it shipped right to your house!).
Step 4: Add a few Special Touches
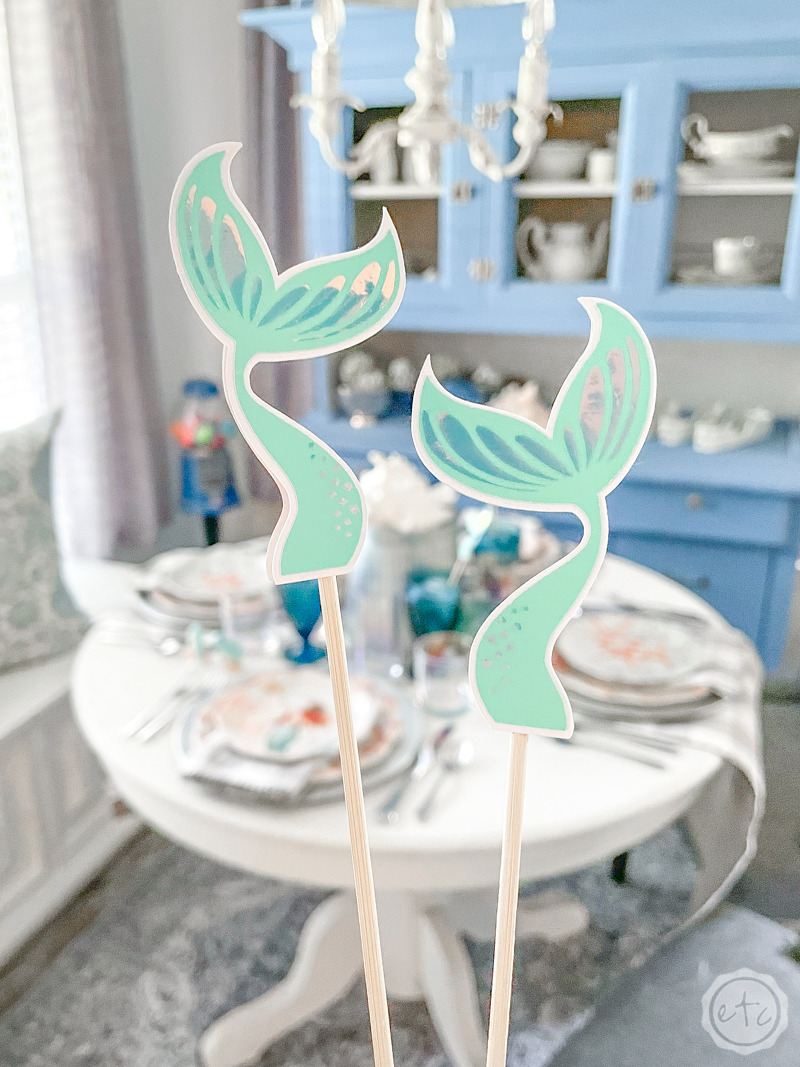
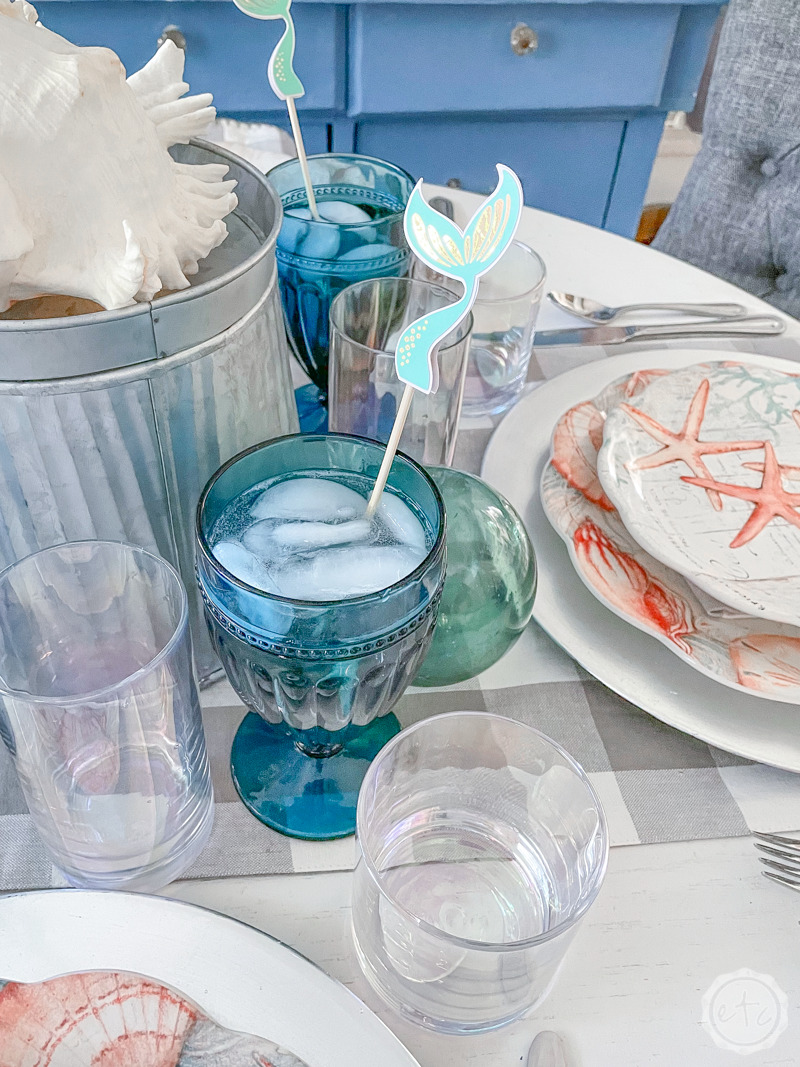
After all was said and done I felt like I still needed a few extra special touches… so I headed to my blog office to whip up a few mermaid inspired drink stirrers!
Just a little extra touch to pull all the colors (and the mermaid theme) together!
Last but not least let’s grab a few glasses to put these babies in. I have a few dark teal ribbed beverage glasses from last year’s Southern Living collection that I thought would be perfect. Then I added a set of straight holographic glasses to match the holographic iron-on on the drink stirrers!
I’m kind of obsessed!
Also… don’t ask me how many sets of glasses, china, and flatware I own. It’s a can of worms I’d rather not open. Of course, all of the glasses here are from last season at Dillard’s but they’ll probably be re-released for fall (that seems to happen a lot) and if not there are plenty of holographic highball glasses to look through.
Ready to check out how it all came together?
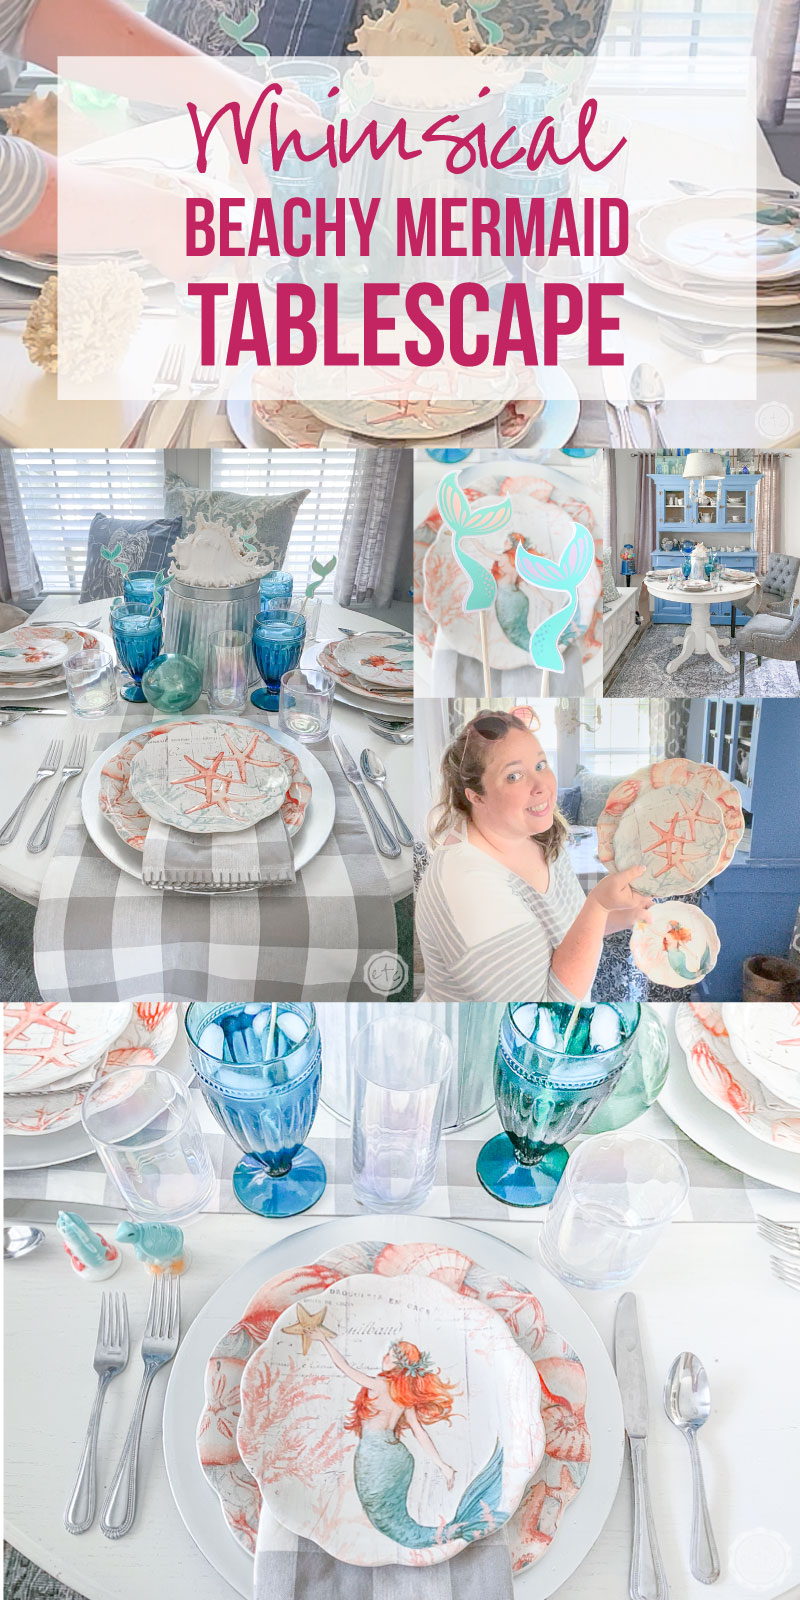
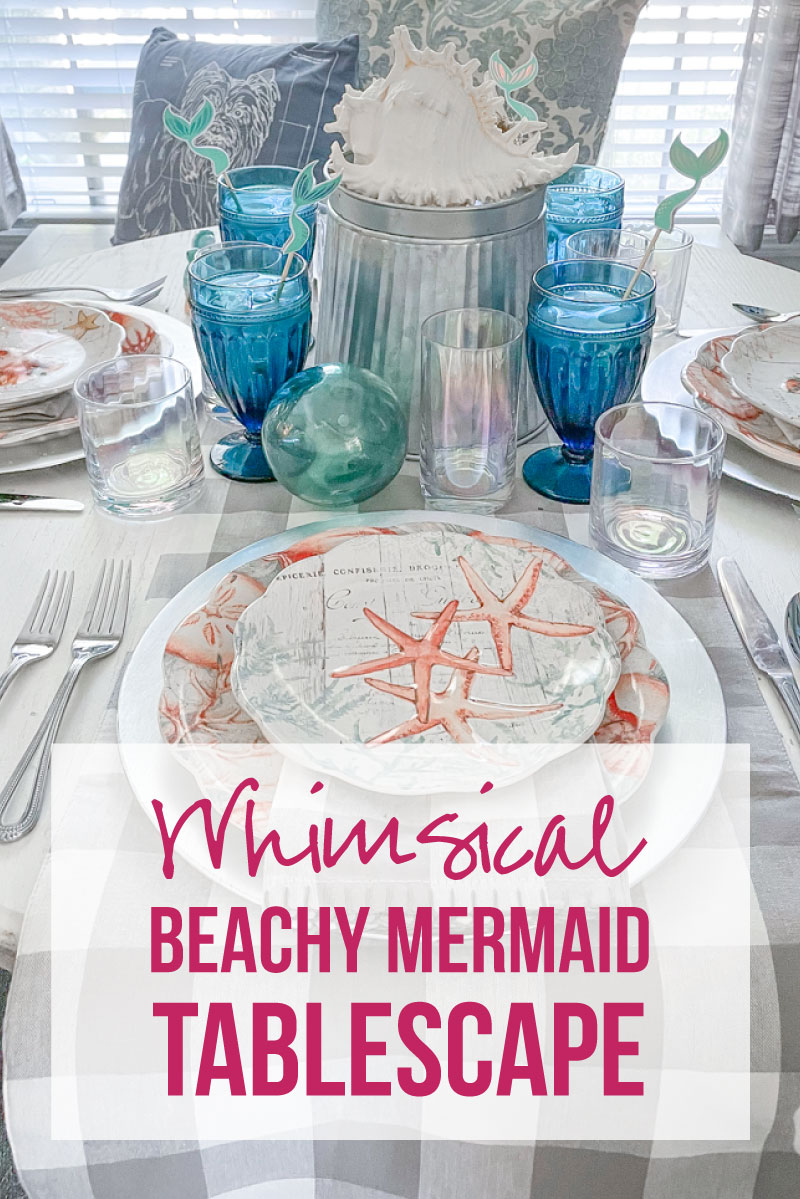
Here’s a few *ahem* pretty finished shots!


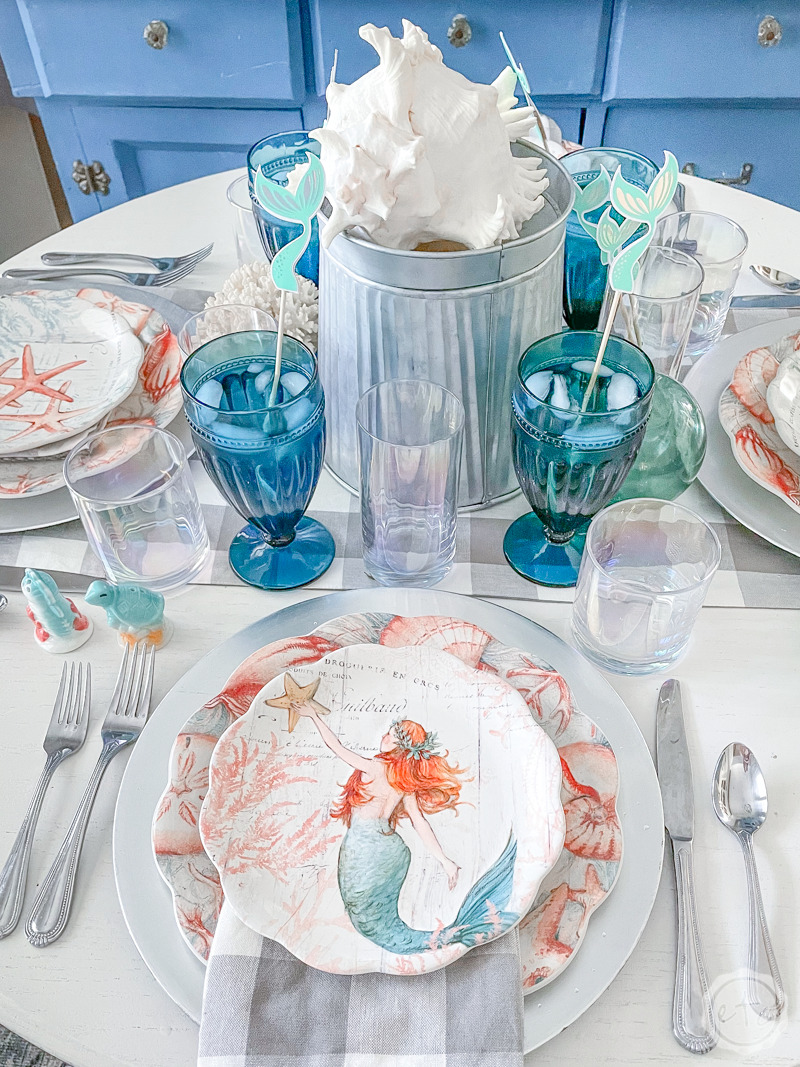
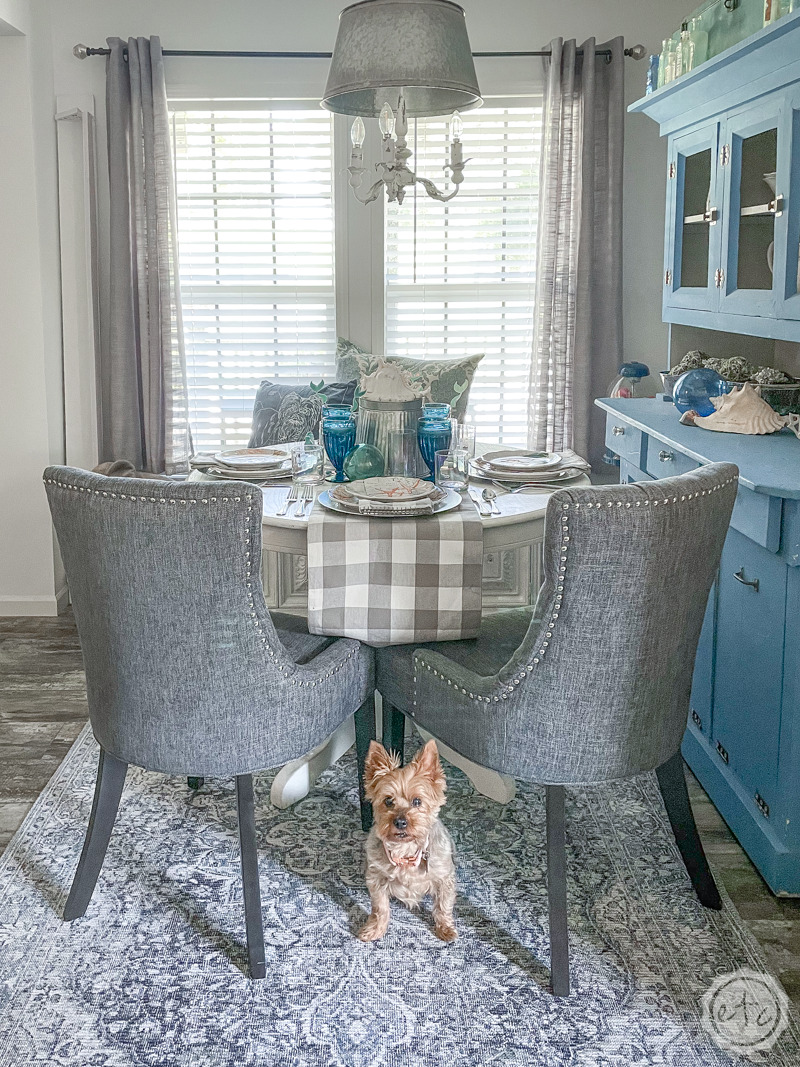
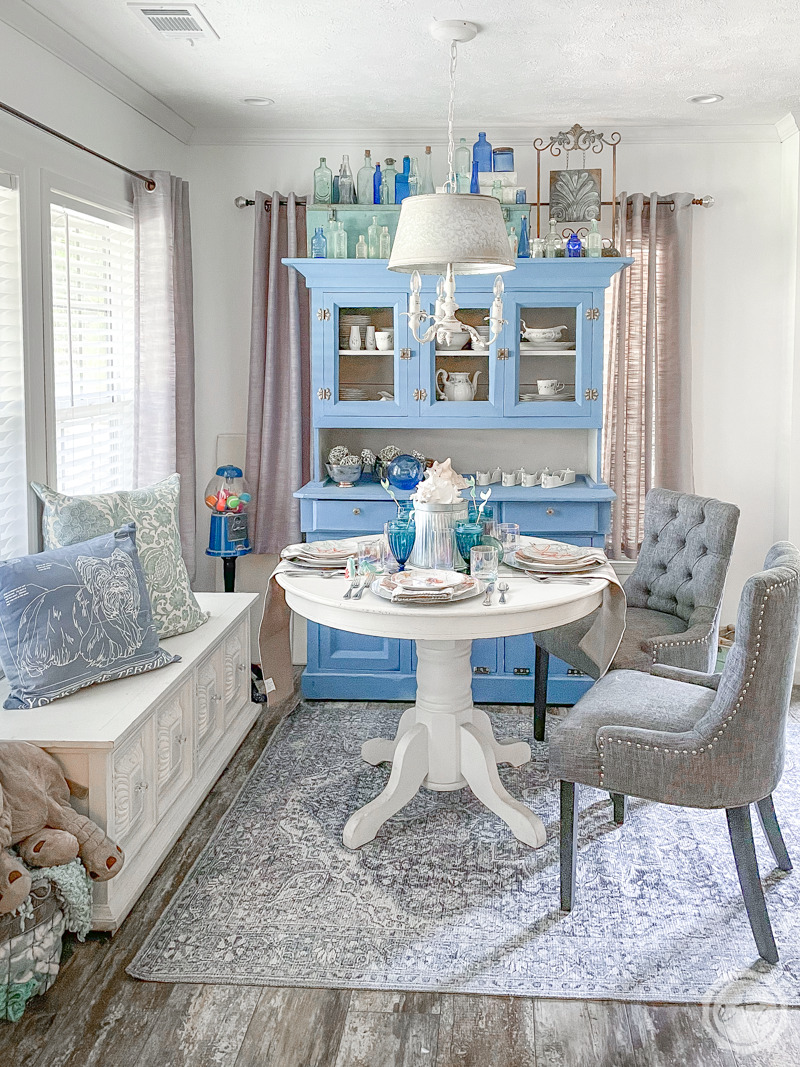
Want a closer look at the dining nook? I just did a dining room refresh with all the updates… check it out!

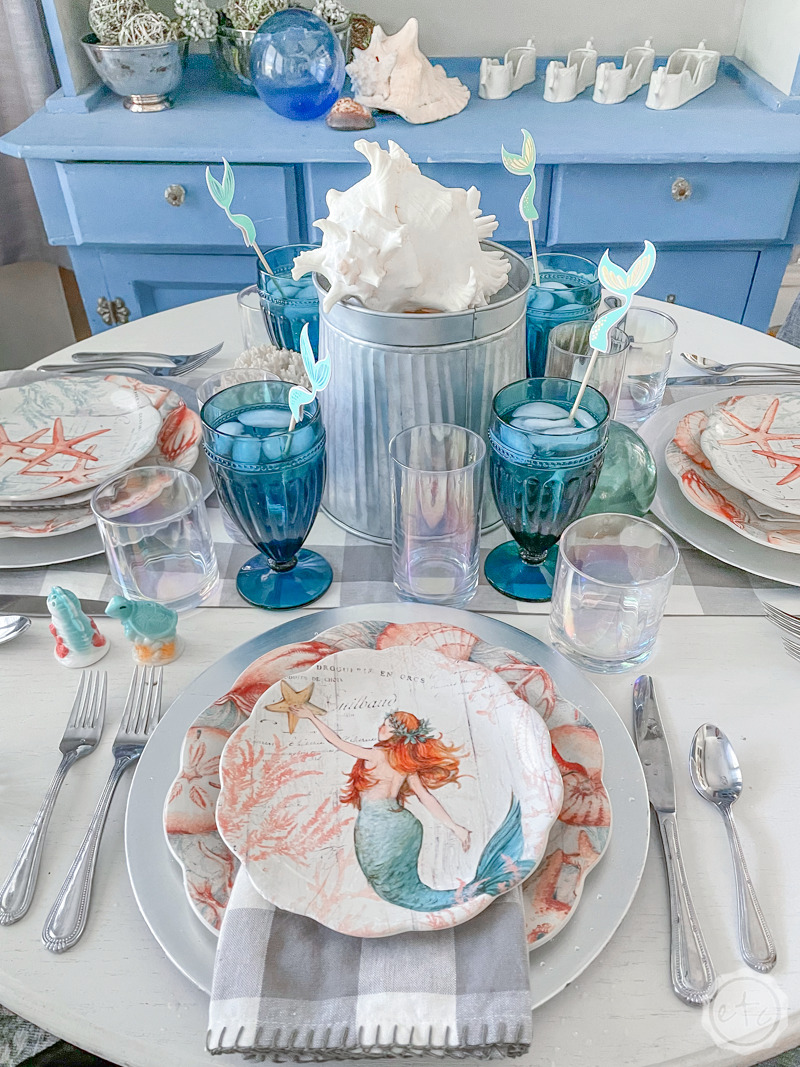

Looking for more table decor? Check out these fun Tablescapes!


