
It’s been a few minutes since I moved into my new home… I’ve unpacked quite a few things (which you saw in my 1 month update) and even put up Christmas decorations and taken them down. And since the last Christmas ornament was packed last night it is officially time for the 2 month update on my new Lula Mae Farmhouse!
The first update was a bit more personal (showing y’all how the packing/un-packing is going and how things are looking from room to room). This update is a bit more technical. In today’s post we are going to touch on everything that needs to be fixed now that the house has settled.
Let’s start at the beginning. Because the Lula Mae is a manufactured home there is a certain amount of shifting to be expected within the first month or so (the house was literally moved into place… and the soil under the foundation will shift a bit as the house settles). All of that settling means that the drywall in this home will crack, caulking will split and there are things that will need to be fixed in any manufactured home.
Really anytime you move a mobile or manufactured home for any reason (including setup) it will need to be repaired.
That is 100% normal.
Which is why they scheduled a 2 month visit from the day the house was placed on my land. This is a per-planned visit to fix things that have shifted since the house was installed.
Even though they spent several days fixing cracks and small problems the week the house was installed there are plenty of things that have changed over the last 2 months. So they instruct you to start a list… a cosmetics list (that’s what they call it!) of everything that needs to be addressed.
After 2 months you send this list to the manufacturer and they come out and address all the concerns. They fix the problems and volia! Fixed!
Ready to go over the list?
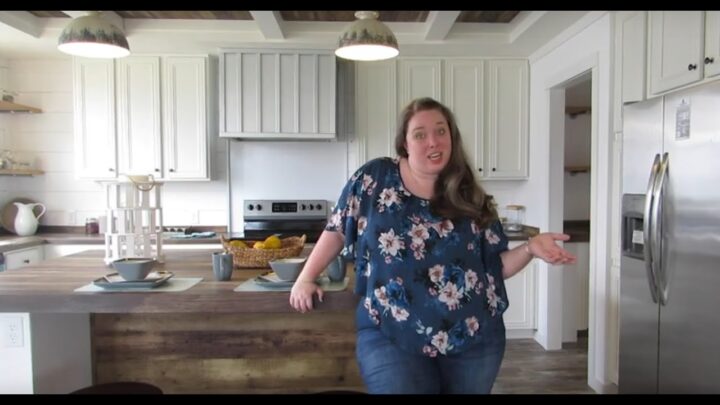
This is the exact list I sent to the manufacturer so it’s very detailed… and everything won’t make sense to y’all since you’re not in the house with me. I have included photos of everything I possibly can but the easiest way to understand it? Watch the video!
I’ll walk you through it all (literally!)
Walk Through of Cosmetic List for Things to Fix in my Lula Mae

Kitchen
- Upper cabinets are pulling away from wall. Need to be reinforced and caulked.
- Trim needs caulk (top trim and bottom trim, where the molding comes together on the doors: entire house)
- Flat Trim in between the microwave and butlers pantry needs to be caulked.
- Large drawer pull is messed up… does not slide, track needs replaced.
- Glue underneath the counters needs to be sanded off.
- Drawer front on island (across from the fridge) is crooked.
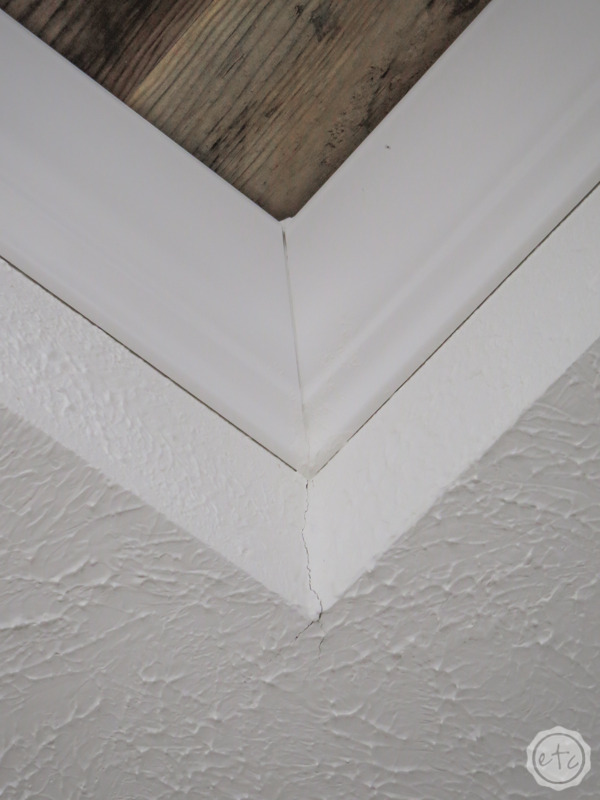
- Crack in tray ceiling of kitchen (above microwave).
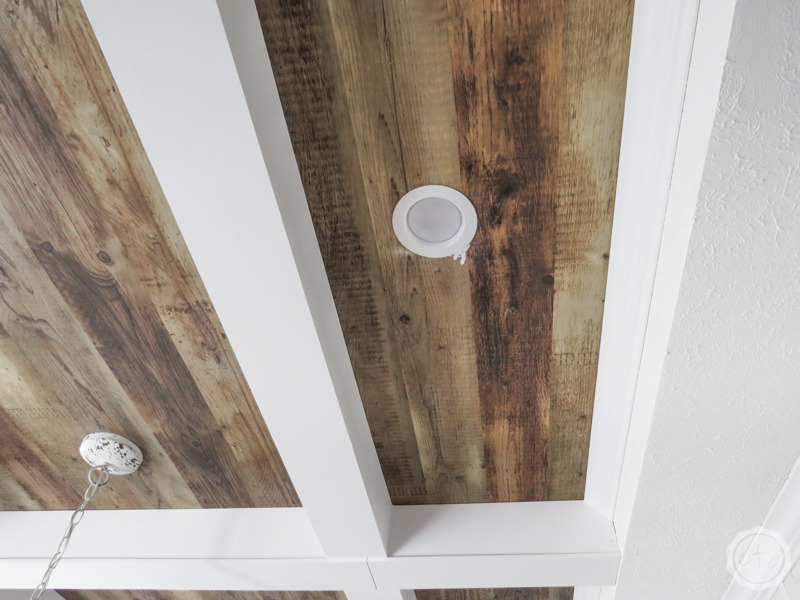
- Stuffing coming out of can light.
Let’s get started with the kitchen cabinets. It’s hard to tell in the larger photo but the caulk between the upper cabinets and the wall is definitely cracked… you can see it pulling apart.
That needs to be re-caulked and the cabinet needs to be re-checked for stability… I don’t want any of my pretty dishes crashing to the ground in pieces!
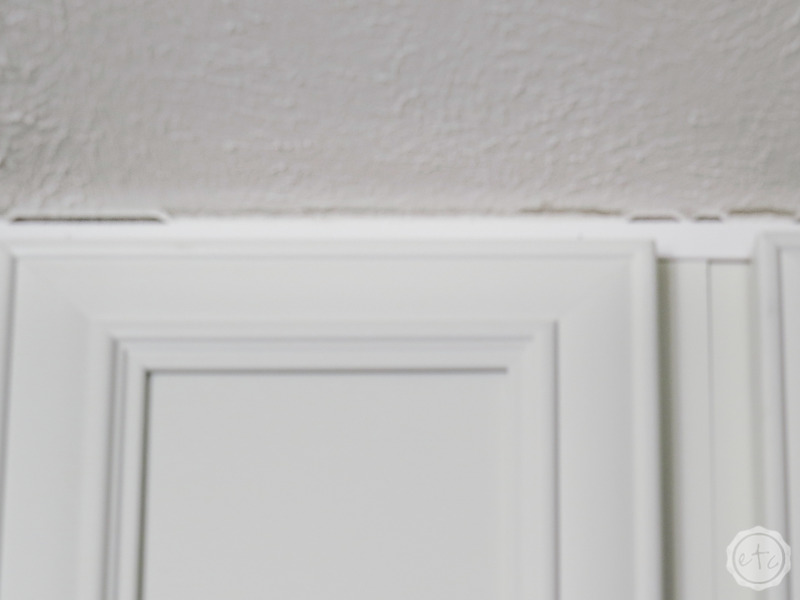
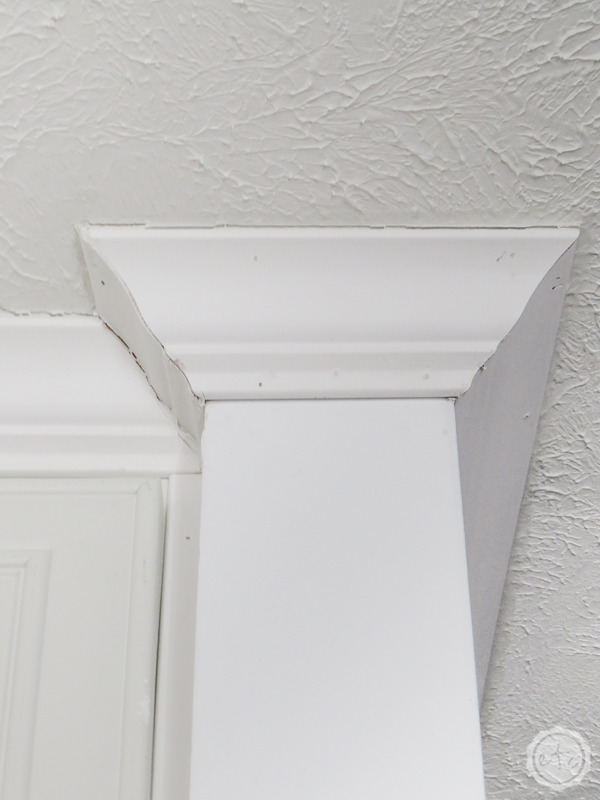
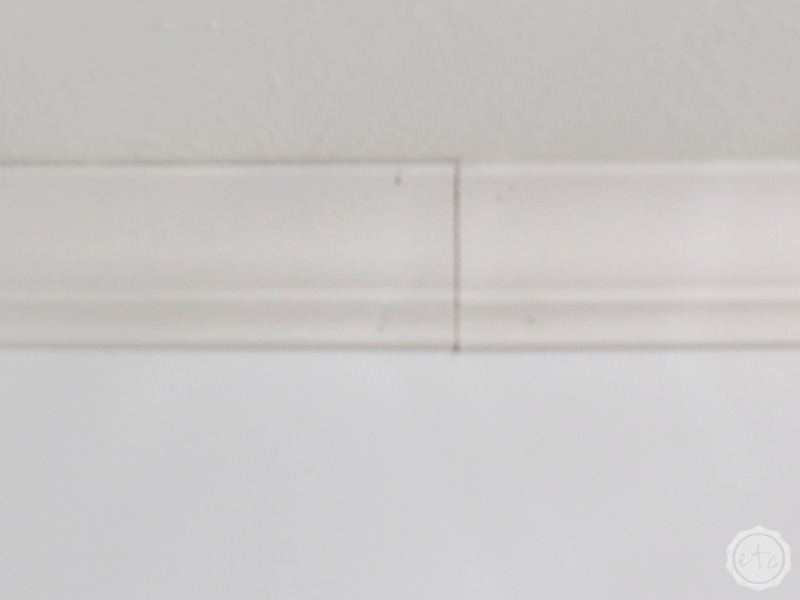
Let’s take a good look at the trim work… not only is it pulling away from the wall on the top and bottom of the trim but the corners and seams are the worst.
Honestly it doesn’t look like anyone even pretended to caulk the seams.
I’m pretty sure they didn’t.
The corners aren’t much better… of everything on the list this is probably the worst one. Because it’s not a settling problem, it’s a they-just-didn’t-do-it problem.
So it needs to be fixed.
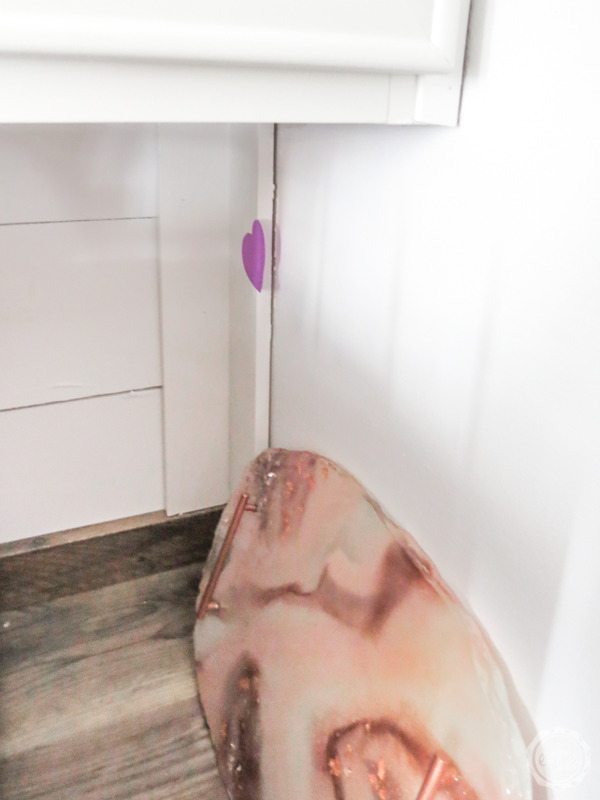
You can see a definite space between the side of the flat trim and the wall here. This is just a little space between the microwave (i.e. the counter) and the butlers pantry but still… a little caulk will make it look 100% better.
You may also notice the sticky note… one of the guys who helped install the house (Hey Arnold!) said to mark everything that needed fixed with a sticky note so that it’s easy to identify.
I figured it was worth a try!
Also… you may spot the pretty rose gold and blush resin serving tray I made last year in this photo. I need a great place to display it… any ideas?
Definitely not in this drawer… at least until they fix it!
I’ve taken the drawer out and looked at everything and honestly it looks like an easy fix. The track that the drawer is in has completely broken… it simply needs to be replaced.

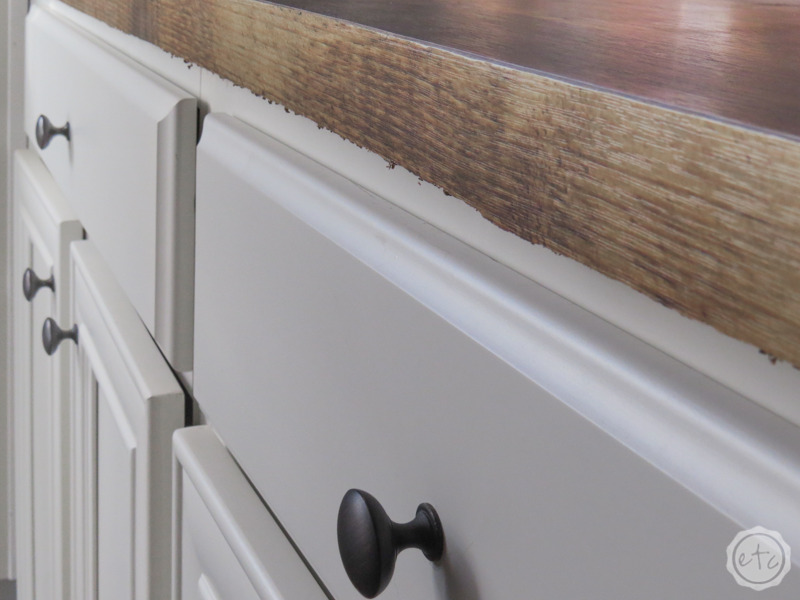
Then there’s the counters, these babies look like wood but they’re definitely not solid wood. They are made of some type of sheeting (I’m really not 100% sure the exact material) BUT I do know that they’ve been glued in place.
I know this because the glue is glooped up along the bottom edge and needs to be sanded smooth.
I know that’s what needs to happen because when we did the original walk through and I asked about it that’s what I was told… and for some reason they still haven’t fixed it.
No, I’m not bitter about it at all.
It’s a fairly easy fix and at the end of the day the counters are super easy to clean and look great. So once we get all those goops off it will be perfect!
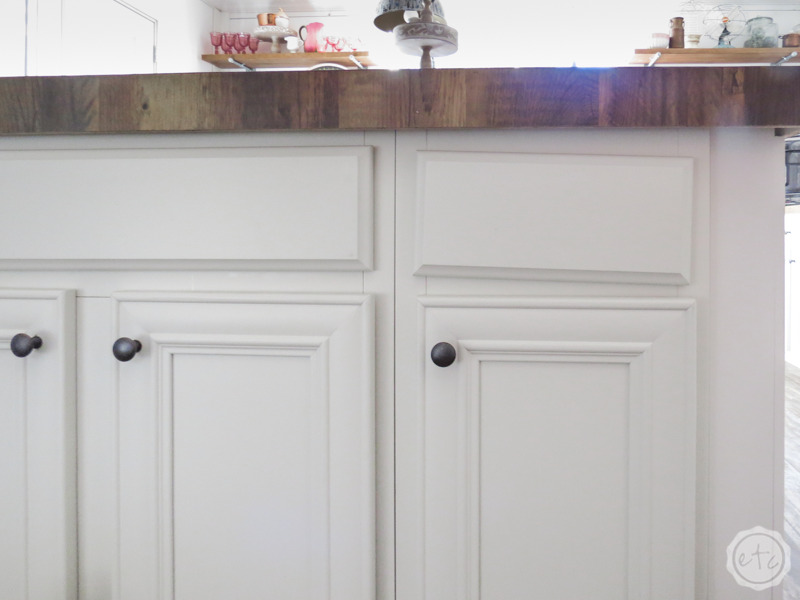
Underneath that counter on the island is plenty of storage. Actually the entire kitchen has plenty of storage… which is excellent! But the tiny fake drawers on the sides are a little wonky.
The long one looks straight but this tiny one is crooked. It just needs to be straightened and we’ll be good to go.
Two more fixes in the kitchen and we’ll move on!
The corner of the tray ceiling over the microwave has a crack… all the way down the edge. It’s just from the house shifting and should be easy to fix but it looks funny now.
Then there’s this can light.
It appears to be installed over a bit of installation that needs to be put back into the ceiling or removed from the ceiling.
Either way… it can’t stay here.
Laundry Room
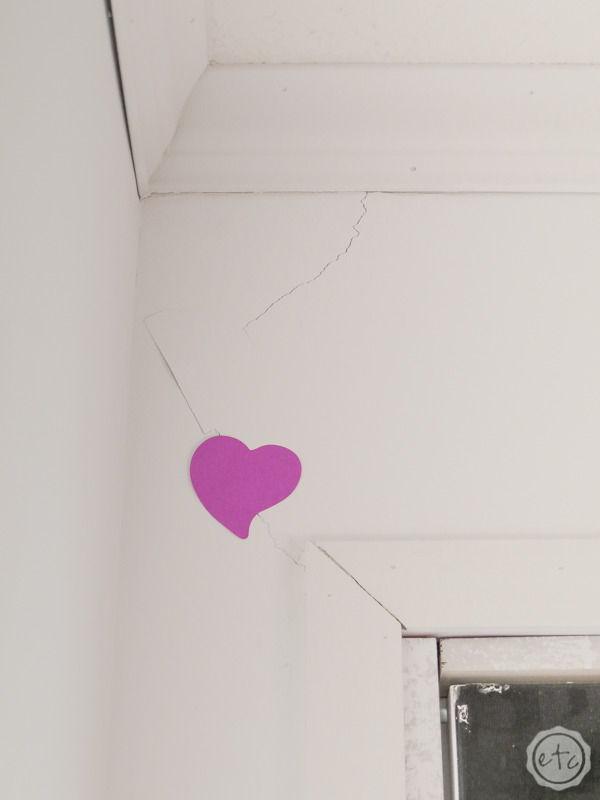
- Crack on wall by back door.
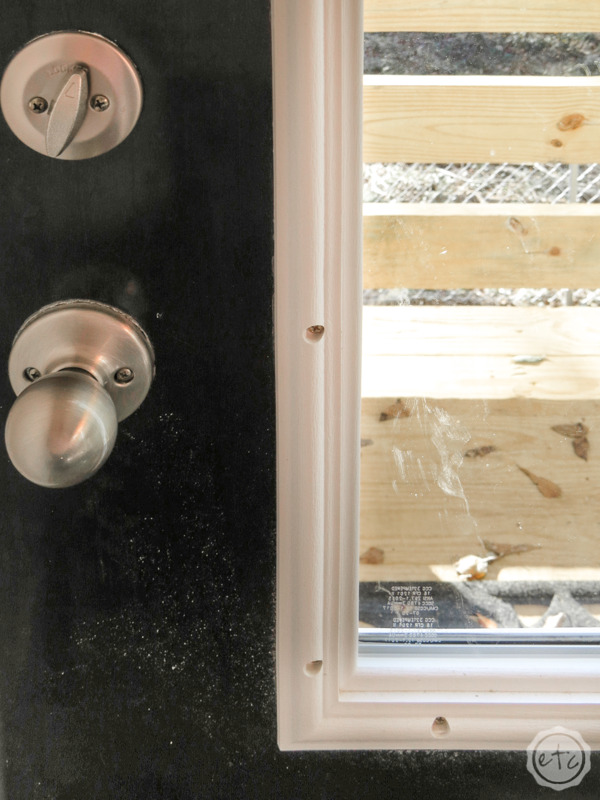
- Door window needs pegs to cover screw holes.
- Trim needs caulk (top trim and bottom trim, where the molding comes together on the doors: entire house)
- Backdoor threshold? Rain comes in under along the entire width of the door.
- Wall has drips/marks that need to be repainted.
Cracks y’all… anytime I say cracks in the wall, cracks above a door, cracks above a post… this is what I’m talking about. These little areas over the doors are the most susceptible to cracks so it’s no wonder that they appear here the most.
Of course, these cracks over the door are probably the worst in the house, most of the other cracks are significantly smaller.
On to the door… the little screw holes around the windows came with little pegs to cover the screws. They’re basically small white caps that cover the screws so you only see smooth white trim.
Unfortunately they only gave us enough for 2 of the 3 doors… so I need more for this back door.
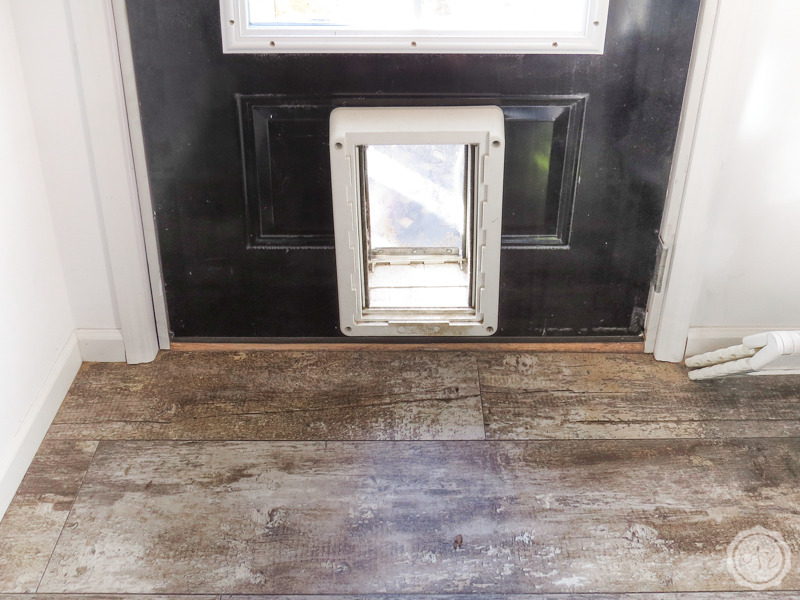
Then there’s the bottom of the door. The dog door (that I will have a full tutorial on later) lets in a bit of water but even before it’s install there was always quite a bit of water coming in under this door during rain storms.
I don’t want that water to damage the floor, or the walls so I’m guessing we need to look at the threshold and see what we can do about keeping the water out.
Then there’s the mystery drips. There’s some here and on several of the walls and cabinets in the butlers pantry. Obviously something was spilled here but what made it here and around the corner into the next room?
Either way, I’ve scrubbed with a magic eraser and it won’t come off so these bad boys need to be re-painted.

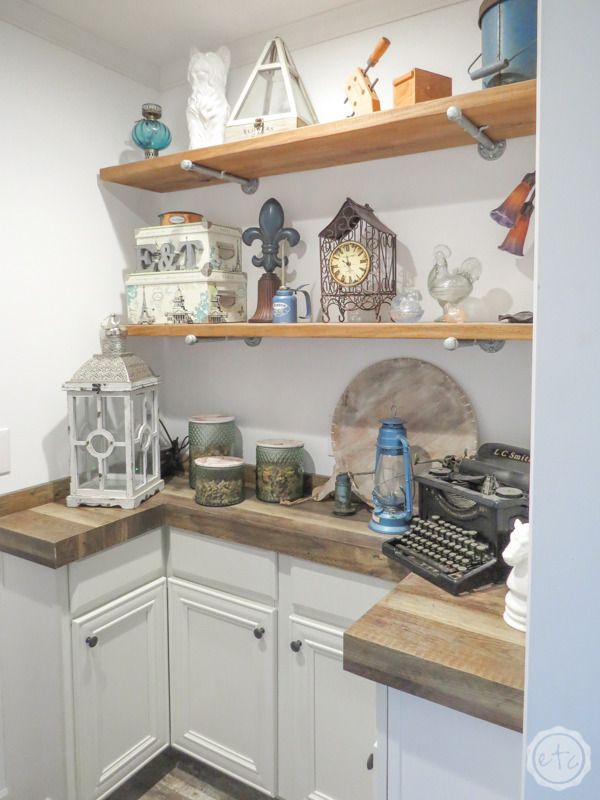
Butlers Pantry
- Trim needs caulk (top trim and bottom trim, where the molding comes together on the doors: entire house).
- Lower cabinet has drips/marks that need to be repainted (I don’t know what this is but it does not come off with scrubbing and it’s on the cabinet and several walls in the laundry room/ butlers pantry).
A little paint on the mystery drips in here and a little caulk for the trim and the butlers pantry will be good as new!
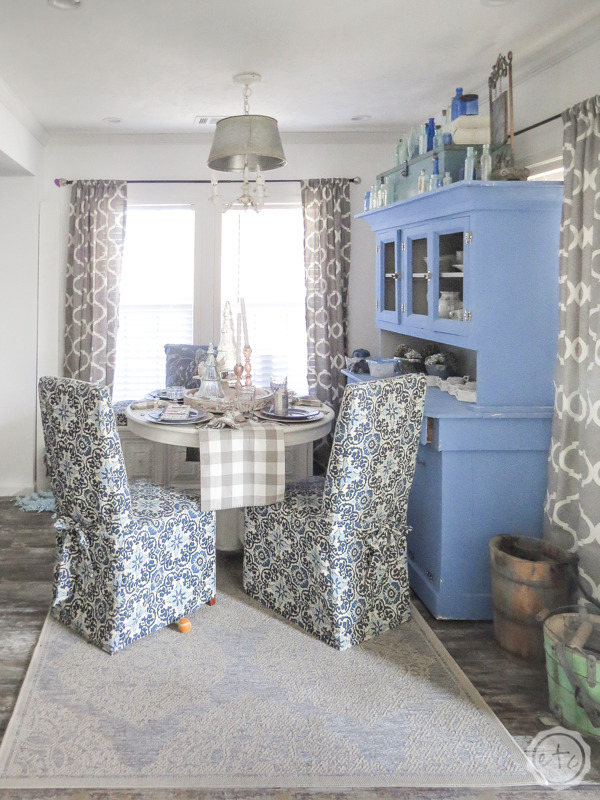
Dining Room
- Trim needs caulk (top trim and bottom trim, where the molding comes together on the doors: entire house)
- Chandelier is at living room height, needs to be lowered to dining room height.
- Light switch by side door… does nothing? What is it suppose to go to?
- Crack in dining room wall above window.
- Crack in dining room along the top of the post and up to the ceiling.
The dining room is mainly a-ok. It has a crack above the wall and a crack along the top of the post (all the way up to the ceiling). There’s also a light switch by the door that does absolutely nothing.
For the life of me I cannot figure out where this switch goes or what it’s suppose to do. I’m sure it’s something but I don’t know what!
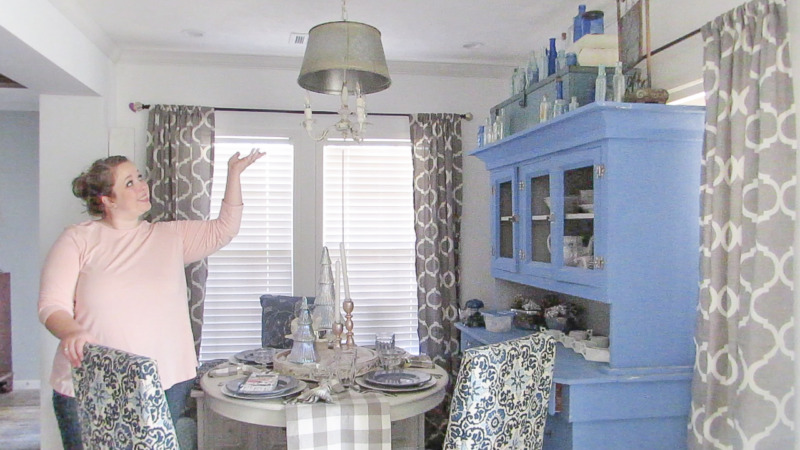
The biggest problem is the chandelier… when we added a ceiling fan to the living room (one of the many changes we made: go over the full list here) we moved the little chandelier to the dining room.
And it looks awesome in the dining room!
But it’s still at living room height… which means it’s hung high enough for people to walk under. It needs to be lowered to dining room height so it looks good over the table.
A little more chain and it should be right as rain.
Living Room
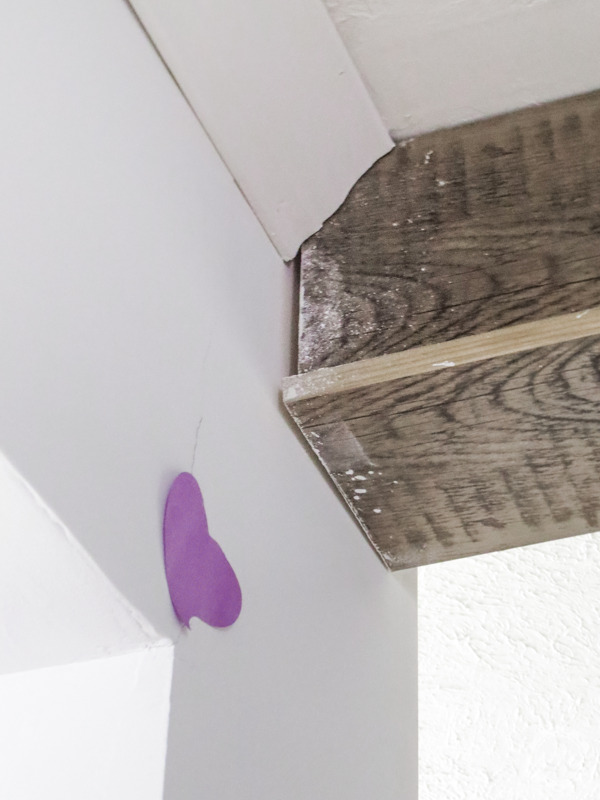
- Paint on beam.
- Large gap between beam and wall above the post… needs to be fixed.
- Ceiling by galvanized trim is missing texture.
- Ceiling by beam in living room was mudded but not textured or painted.
- Trim needs caulk (top trim and bottom trim, where the molding comes together on the doors: entire house)
Let’s start with this little beam… or the edge of the beam. Because it has a lot of the problems… starting with the paint on the end. The beam must have been painted when the column was touched up so now… the beam needs to be touched up. It also has a large gap of space between the wall and the beam that needs to be fixed.
We don’t want to see that space!
On the other hand there’s a space to the left of this galvanized beam that is a little naked. It’s missing paint and texture all together… it needs a little help.


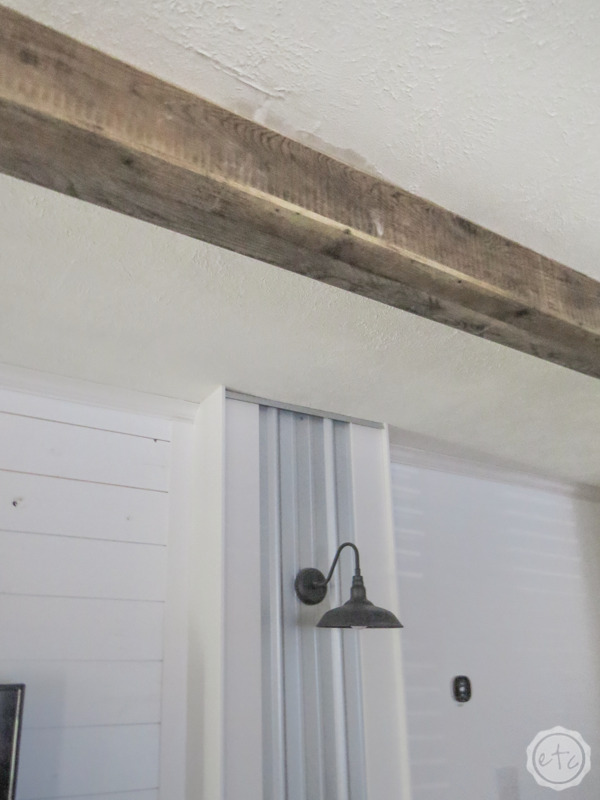
And if you think the little spot by the galvanized beam is bad this spot by the wooden beam is even worse. They obviously fixed the ceiling with a little mud at one point… and then forgot to paint and texture it.
So it’s just named!
Mud everywhere!
That is not the look we’re going for.

Hallway
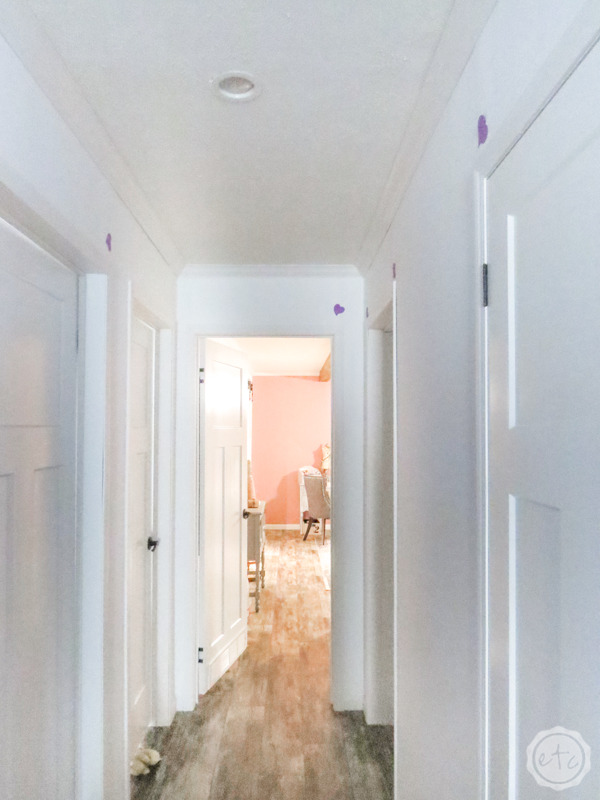
- Crack in wall above doors (almost every door)
- Trim needs caulk (top trim and bottom trim, where the molding comes together on the doors: entire house)
Remember how I said the space above the doors is usually the worst? The easiest to crack? Well that’s pretty evident here… there’s a crack above almost every single door.
Which is predictable but still absolutely crazy!
Hall Bath
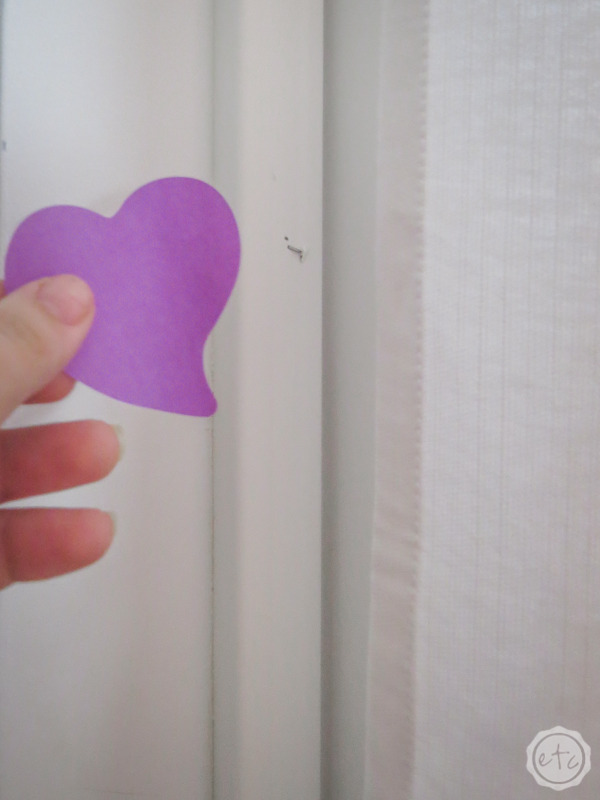
- Staple in trim by tub.
- Trim by tub has large gap in the corners.
- Trim needs caulk (top trim and bottom trim, where the molding comes together on the doors: entire house)
This little bathroom only has a few problems… and they’re all in the same place! The trim around the tub!
There’s a staple coming through the side of the trim and a little further up there’s a gap where the two pieces of trim come together. Pull that staple and add a little spackle and we should be good to go.
1st Bedroom
- Trim needs caulk (top trim and bottom trim, where the molding comes together on the doors: entire house)
- Trim inside closet door needs to be nailed down.
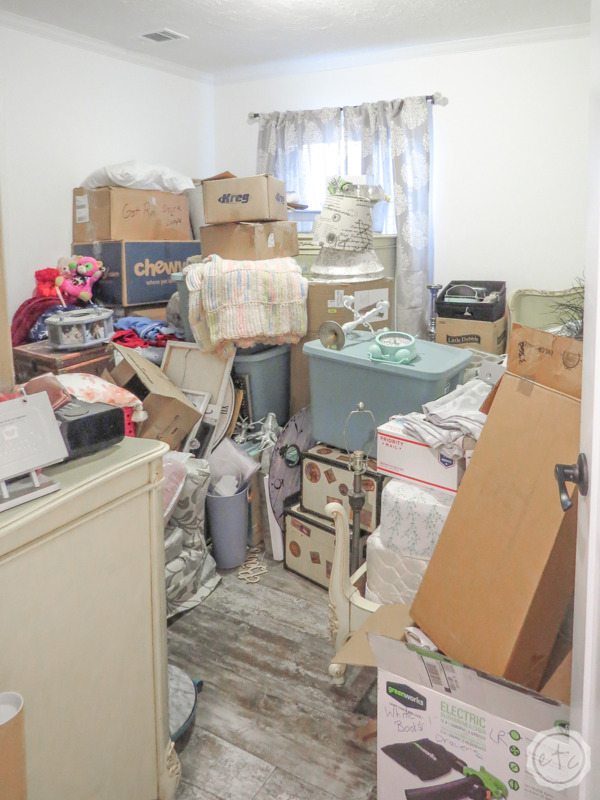
Soooo… there’s several cracks in the bedrooms that need fixed. But since the second bedroom currently looks absolutely ridiculous I doubt that will be happening.
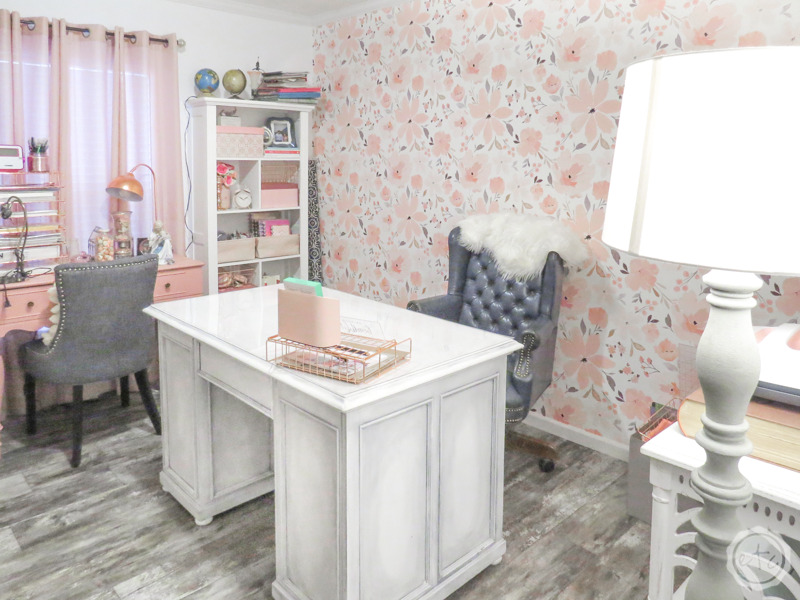
On the other hand the 1st bedroom (my office) only needs minor trim work… and a few finishing nails to hold down the trim inside the closet.
Easy peezy.

Master Bedroom & Bathroom
- Barn doors are not hung straight. They simply roll all the way over to one side.
- Trim needs caulk (top trim and bottom trim, where the molding comes together on the doors: entire house)
- Mud on ceiling by beam needs to be textured and painted.
- No hot water in tub… lukewarm at best.
- Half wall in bathroom needs caulked between the wall and the half-wall.
- Paint drips down the back of the half-wall.
- Grout in shower is being washed away.
We’re going to put the master bedroom and bathroom into one big category… one big master suite if you will. Mainly because they’re one big room!
Especially since the barn doors for the bathroom don’t actually work… so you can’t really close them. Well, let’s rephrase… you can close them but they’ll slide allllllll the way to the right so there’s still space to walk through on the left.
Which is pointless.
I’m not sure if they’re not hung square to the house or if the house in that spot isn’t square to the foundation but something is off… and it results in the doors sliding all the way to the right if they’re not held in place.
Since I’m the only one who uses this room it’s not a huge deal but I would like to close the doors when I shower or take a bath… it would help keep the heat in!
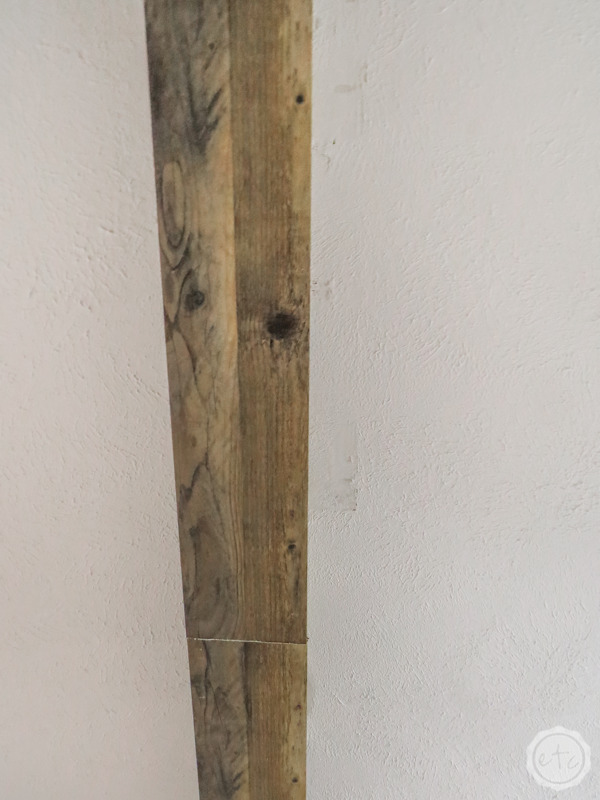
Then there’s the beam in the bedroom… it has the same problem as the living room where you can see mud on the wall. It was obviously patched but never painted or re-textured. Luckily that’s an easy fix.
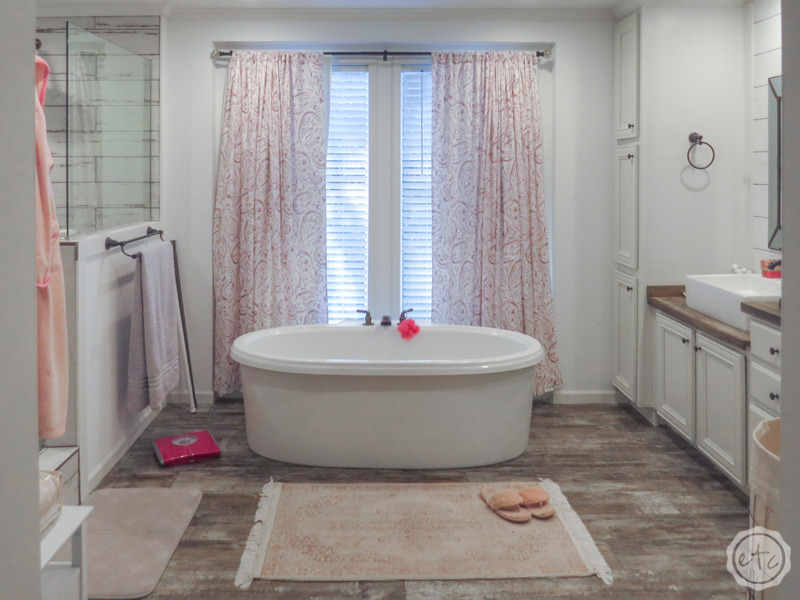
Then there’s the tub… this bad boy is beautiful. I mean g-o-r-geous… and I love to take baths so I definitely have a standing tub date with this bad boy at least once a week.
After it gets fixed.
Because right now it gets warm, lukewarm… never hot. I thought I was going crazy until I watched a video from a YouTuber with the same problem. She found out that they place a regulator on the back of the tub to keep it from getting tooo hot.
It’s a safety precaution so that when you’re in the tub you don’t scald yourself.
I appreciate it but it’s mainly a safety feature for kiddos and I’m not a kiddo… luckily she had the regulator taken off her tub so I’m crossing my fingers that we can do the same here. I want to take a hot bath!
That’s kind of the whole point.
Across the room from the tub there’s this half wall… it has a gap that needs to be caulked and if you look at the other side you’ll notice paint drips.
Allll along the top of the wall… paint drips like crazy.
No good.

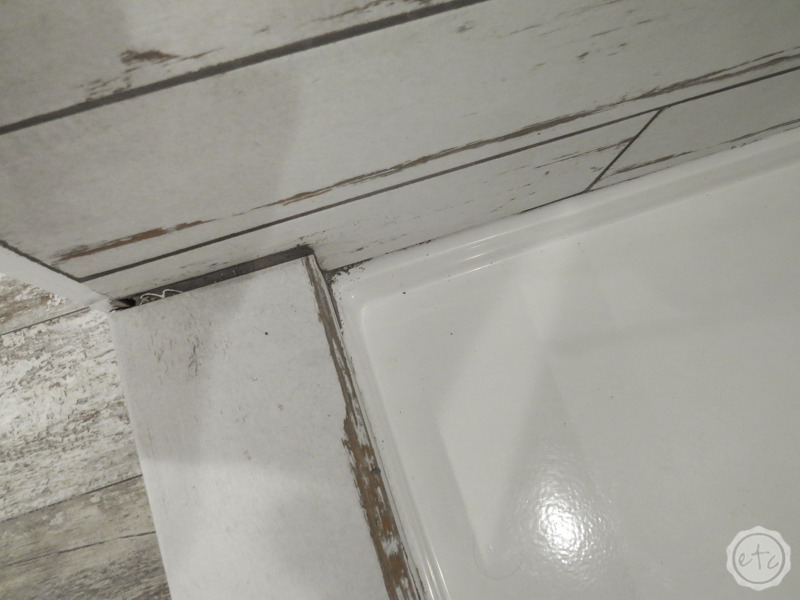
Last but not least we have the grout in the shower… it’s a black (or very dark gray) grout which means it’s super visible. Especially as it washes away.
I’m not sure exactly what the problem is but it doesn’t appear to be water soluble. Which is a problem for a shower. You can see some of the grout in the very corner of the photo but then there’s not much all along the seam coming down the wall… and that’s because it keeps washing away in big clumps.
Surely that’s a problem!

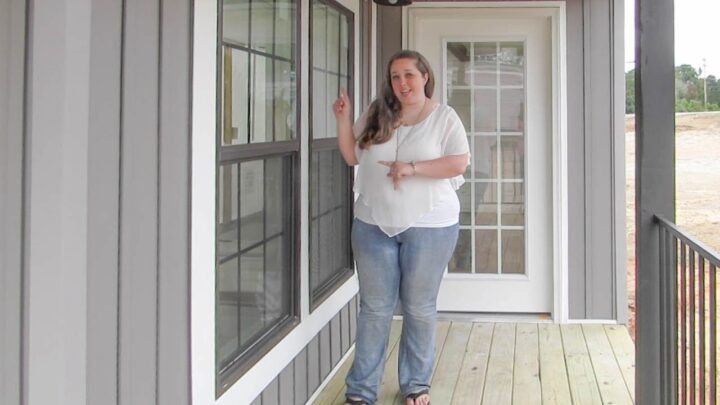
Front Porch
- Front door sticks. Cannot lock/unlock the front door without lifting it.
- No electric outlet on front porch? Was told that was a standard feature.
- Trash in side yard left by workers needs to be picked up.
- Missing skirting under the grill spot.
Ready for the veeerrrryyyy last spot? Honestly if you’ve made it this far in the post you probably deserve an ice cream or something. This is a long post!
Heck… I deserve an ice cream… ice cream for everyone!
I may have gone insane… back to the scheduled program.
This little front porch section is really just anything that’s wrong with the porch and exterior. Starting with the front door. The house keeps shifting so the front door is never 100% square with the house. The side and back doors seem to be fine but the front door is a constant struggle.
I’m hoping they can tighten it a bit and re-square it to the frame so that it opens and closes easier. Unfortunately unless I put this house on a permanent foundation (which I plan to do down the road) the front door sticking may just be a perpetual problem. I guess time will tell.
They also forgot to install one piece of skirting around the side of the house… and they left all the trash/extra vinyl/pieces of the house they didn’t need in the side yard. That should be an easy fix.
A not so easy fix is the missing electrical outlet on the front porch. There is suppose to be an outlet by the front and back doors but the front porch is missing a plug. And since I do all of my resin projects outside (so the dogs and kitty don’t inhale the fumes) I do need a plug on the porch… especially since it is suppose to be a standard feature.
Hopefully that will be an easy fix but I’m really not sure!
Wish me luck!
I’ll be back with an update after they come to complete the cosmetics list… but if you’re following along make sure to subscribe over on YouTube. I tend to upload these videos there first!
Catch you next month!
Want to follow my journey to purchase my new home? Check out every post from the beginning:
Get Your FREE New Home Checklist

Moving into a new home?
Here's 22 FREE printables to help you get organized!


