


Ready for a quick and easy DIY? When I moved into my new house I realized that cabinet shelves in my house are HUGE! Meaning they are big boxes with no middle shelves… like I could put something really tall and skinny in them but if I need to store smaller items like canned goods or spices we’re looking at a whole bunch of wasted space.
And since I have these same cabinets in my butler’s pantry (where I’m currently storing my tools) and both of my bathrooms (tall shelves: great for towels and extra sheets… bad for make-up and soaps) I knew there had to be a solution.


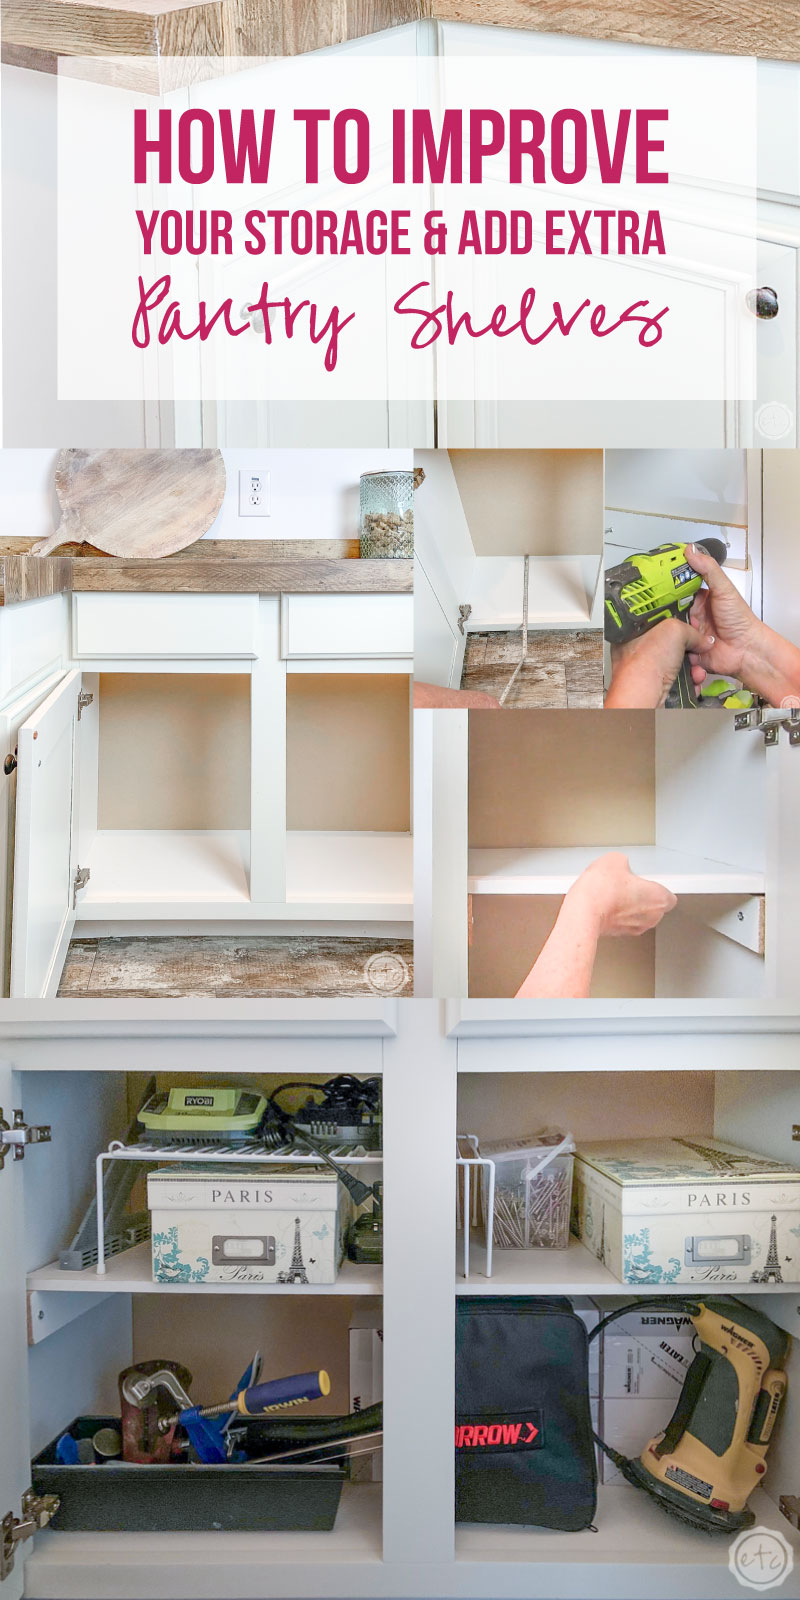
So we decided to buy a bit of wood and put in shelves half way up in all of these really tall cabinets. Luckily this is a really easy project (we did 12 cabinets in an afternoon) so even if you’re not 100% confident with your power drill you can do this!
Let’s get started.
Supplies:
- 3/4 x 2 x 8 for the side supports
- 3/4 x 12 x 8 for the shelf tops
- OR 3/4 x 24 x 8 for deeper shelf tops
- Power Drill
- Wood Screws
- Drill Bit
- Level
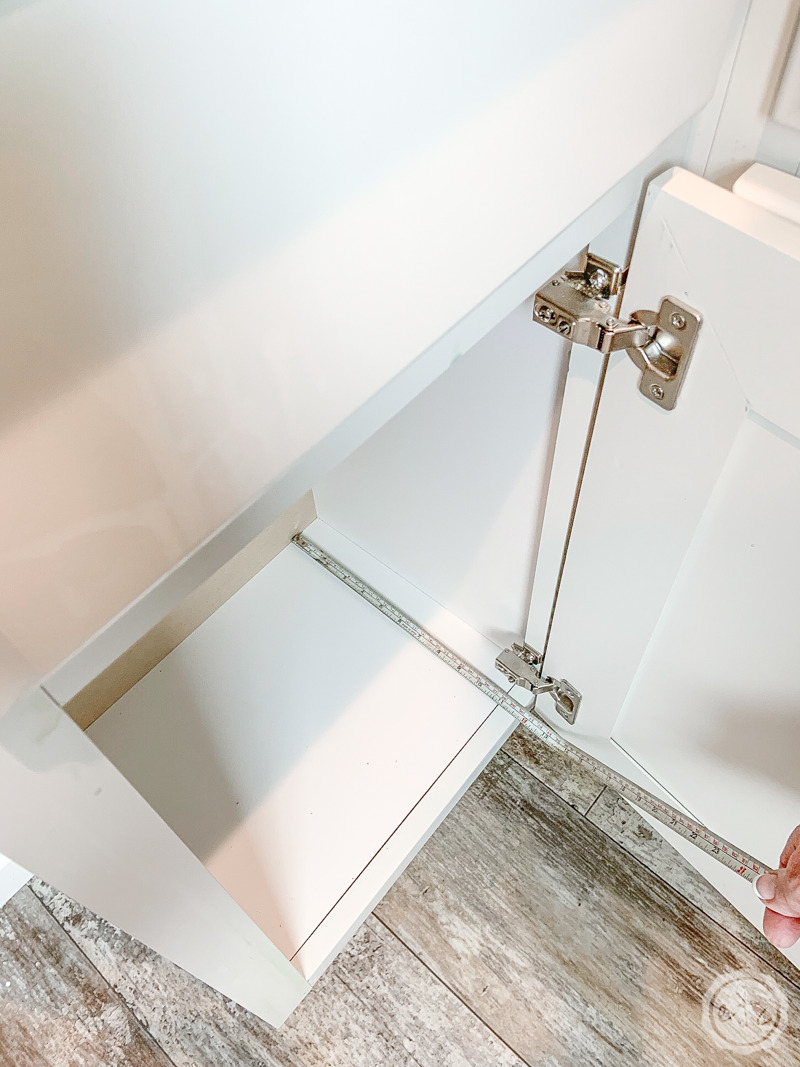
Step 1: Measure Your Cabinet
Alright y’all… let’s talk about this for a minute. Before we can jump into the project we need to measure the cabinet that we’re putting shelves in.
Grab your measuring tape and measure from one side to the other and then from the front to the back. My cabinets are 23 inches long by 13 inches wide.
That means our side supports will need to be 23 inches long… and the top will need to be 13 x 24 deep.


Step 2: Cut your Shelves
Since the side pieces only need to be cut in length you can have the Lowe’s cutting guy trim those for you right in the store. You should be able to get 4 23″ long pieces out of a single 8 foot long board.
The shelf tops on the other hand need to be 13 wide by 23 deep. And the only boards I could find were 24 inches deep. So the solution was to have them cut for width at Lowe’s… the gentleman at the cutting machine cut down my larger shelf top boards to 13 inches wide (leaving the 24 inches deep).
Then when I got home I used my portable work table, a circular saw and my circular saw guide to trim 1 inch off the back of each shelf top.
If you have a standard size cabinet the gentleman at Lowe’s can do alllll the cuts… but that last inch that needed taken off for my 23 inch deep cabinet was too fine of a cut for the large Lowe’s saw.
Luckily that circluar saw guide makes it pretty easy to cut the inch off the back and make sure the shelf tops are the perfect size.


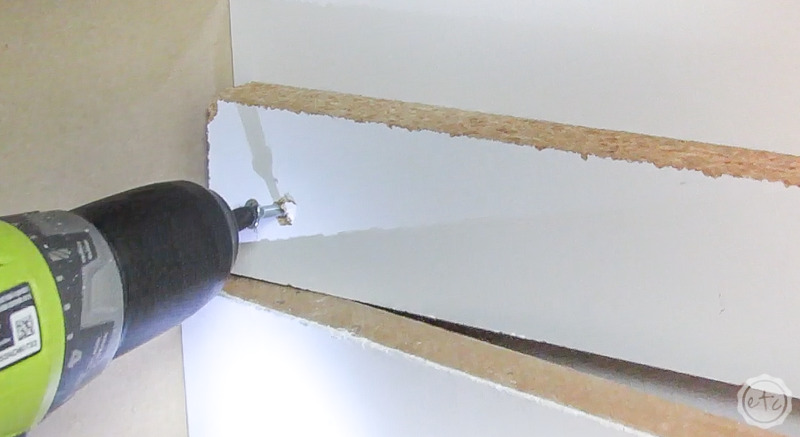
Step 3: Attach your Side Supports
Now that everything is cut and ready to go we can add our first piece. Go ahead and load a drill bit into your power drill (you want it to be a little smaller than the wood screws you’ve chosen). Then drill a hole on either side of you side support. For longer shelves you may need a screw in the middle as well.
Once the holes are drilled you can add them to your cabinet! I found the easiest way to do this was to place it in the cabinet on top of a spare piece of wood. The shelf top wood is 12 inches wide so that puts our shelf roughly halfway up the cabinet… perfect.
By resting the side support on a spare piece of wood it frees up our hands… now you can use the power drill to screw a wood screw into both ends of the side support. Just double check that the whole thing is level and you won’t have any problems down the road.
Make sure to hold it steady and you’re all set!
Volia!
Keep going and add side supports to each side of your cabinet (or cabinets if you have a few… if you have a longer cabinet you may want to cut a long support for the back as well.
Support the entire shelf!


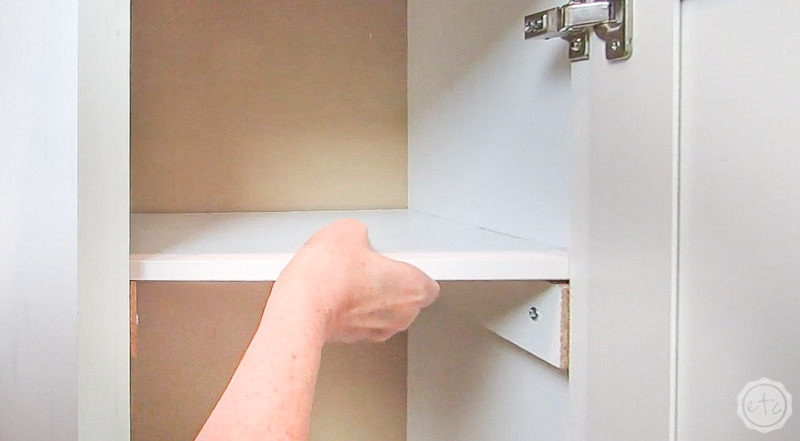
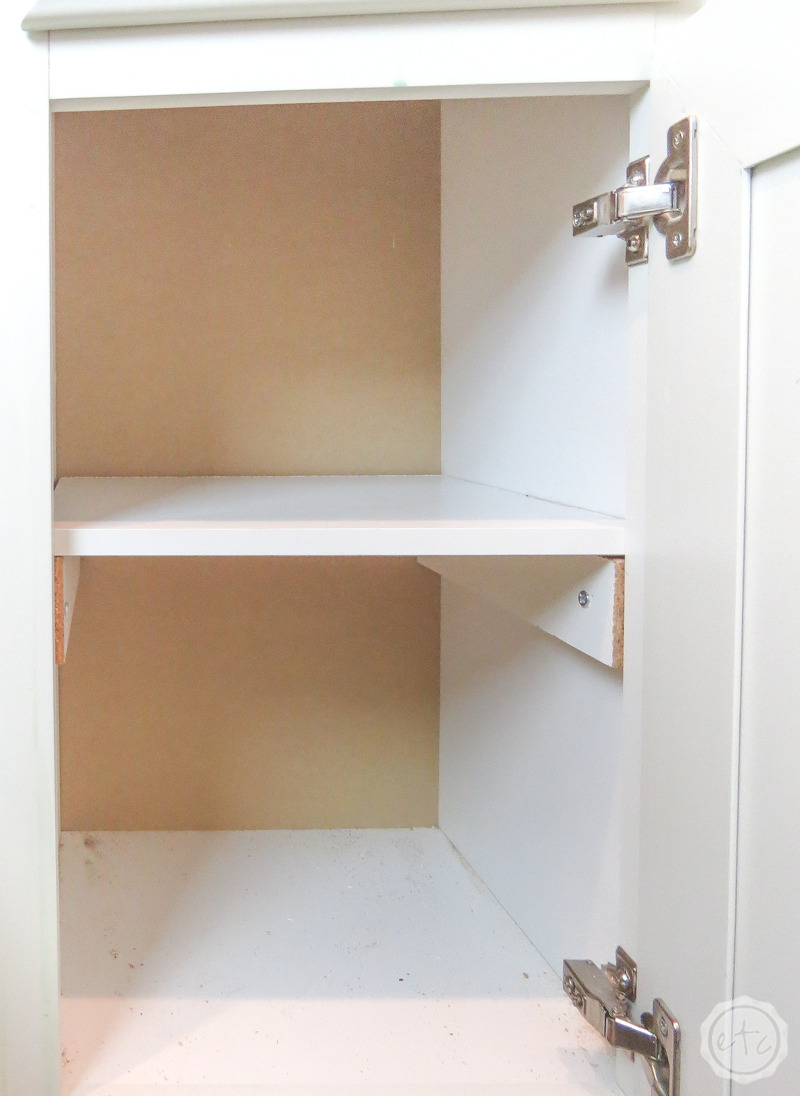
Step 4: Place your Shelf Top
Now we’re ready for the grand finale! Take your shelf top and carefully place it on top of the supports.
There you go… it’s that easy!
Make sure that the finished side is out and you’re good to go… move on to the next shelf.
Optional: If you think your shelf will move around too much you can sink screws into the top down through the shelf supports to secure it… or get fancy and cut pocket holes into your shelf supports before attaching them. I haven’t had any problems with mine simply being set on top.

Step 5: Organize your Shelves!
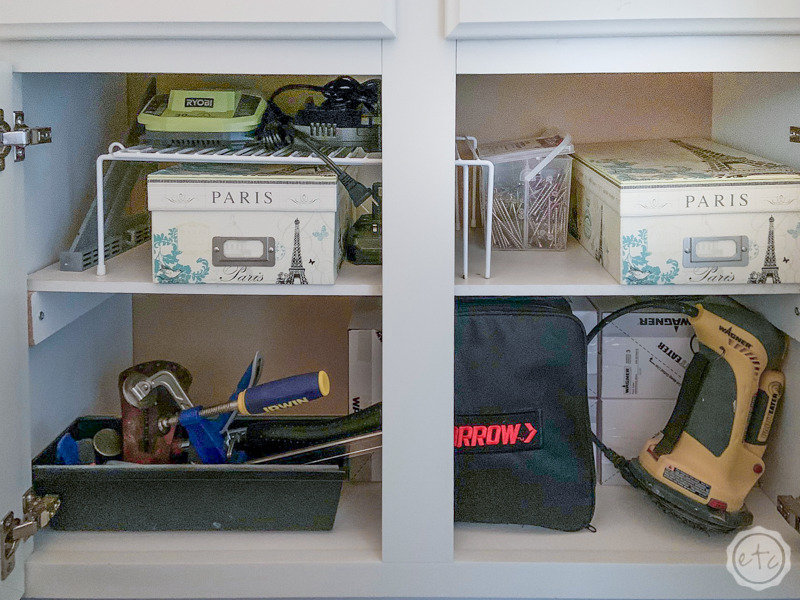
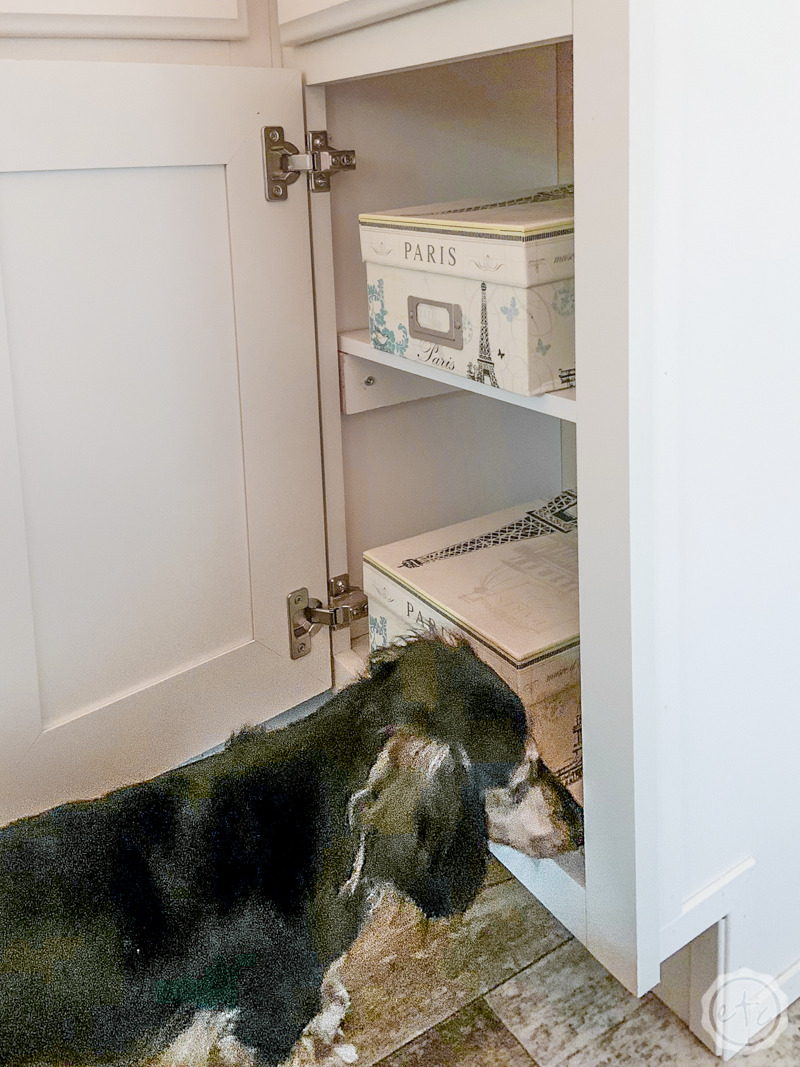
Now it’s the fun part… actually filling your shelves! For this little Butlers Pantry I’m using the current shelves to store my tools and work supplies. Eventually my tools will go on custom shelves in the laundry room but for now this works perfectly!
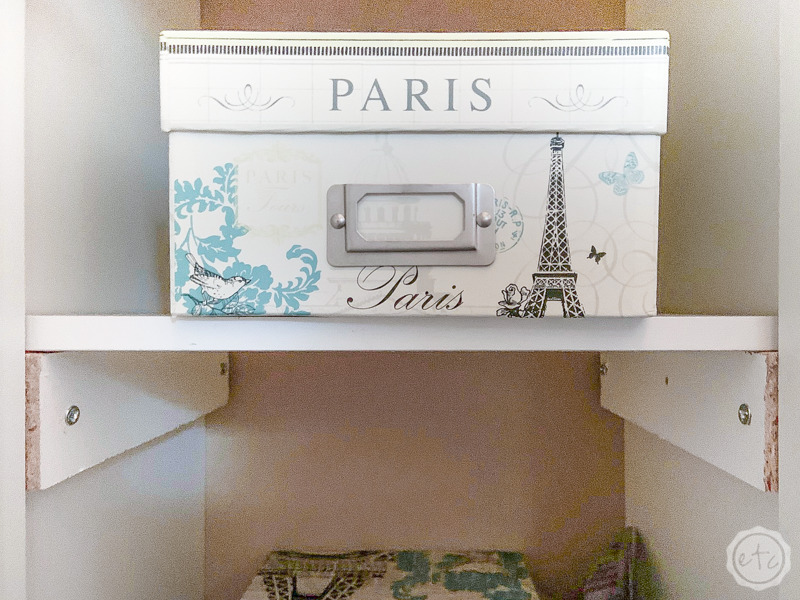
I’ve used a few pretty boxes to corral like items (glues in one, staples in another, dremel pieces in a third… you get it).
From there I grabbed a shelf expander rack to store a few extra chargers and make even more room. Technically you could add as many additional shelves as you like to each cabinet… but I find one in the middle works wonders and a shelf expander gives you added shelf space where you need it while leaving the rest of the space open for larger items.
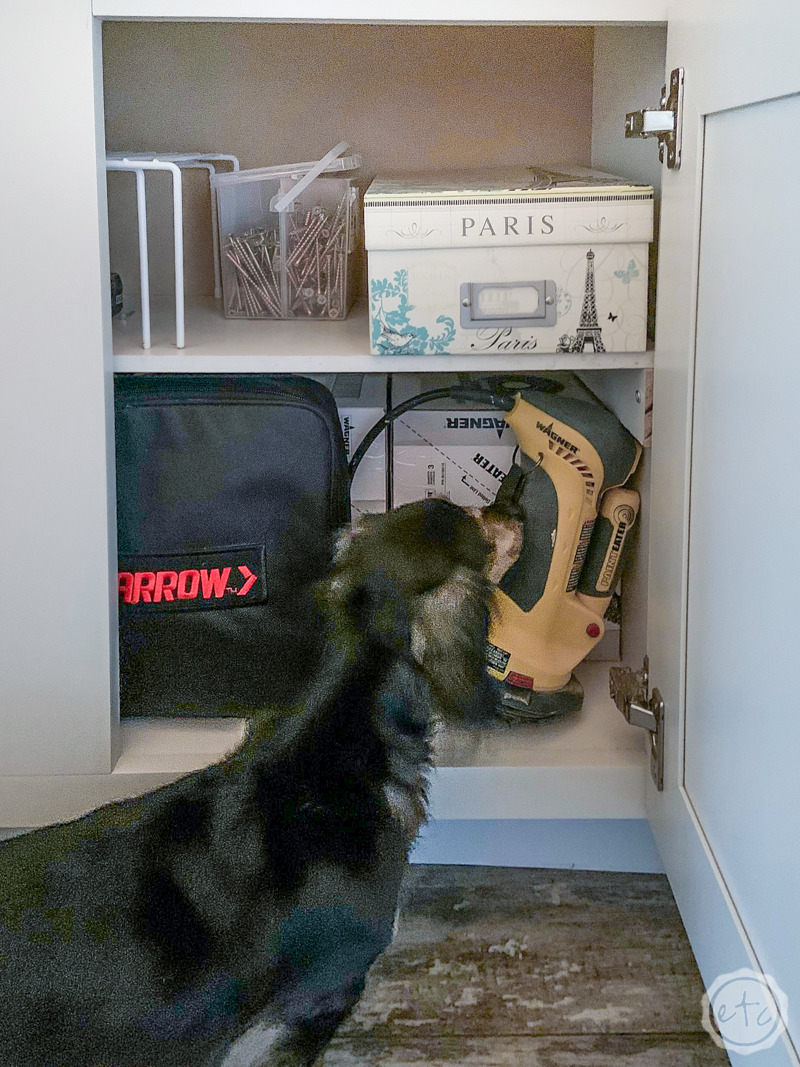
Check out the rest of the shelves… Cinnamon sure is!


Want to follow my journey to purchase my new home? Check out every post from the beginning:


Leave a Reply